Backpacking Gear
Beginner Backpacking Gear: 13 Affordable Essentials Worth Buying First
A practical starter kit for new backpackers, covering the big three, cook systems, water treatment, and clothing layers with clear strengths and trade-offs.
Introduction
Backpacking gear can get expensive quickly, with tents that cost more than a thousand dollars and complete kits that rival the price of a used car. New backpackers do not need any of that to get outside. The smarter approach is to start with approachable, well-priced gear, learn what you personally like, and only then spend more on the pieces that matter most to you.
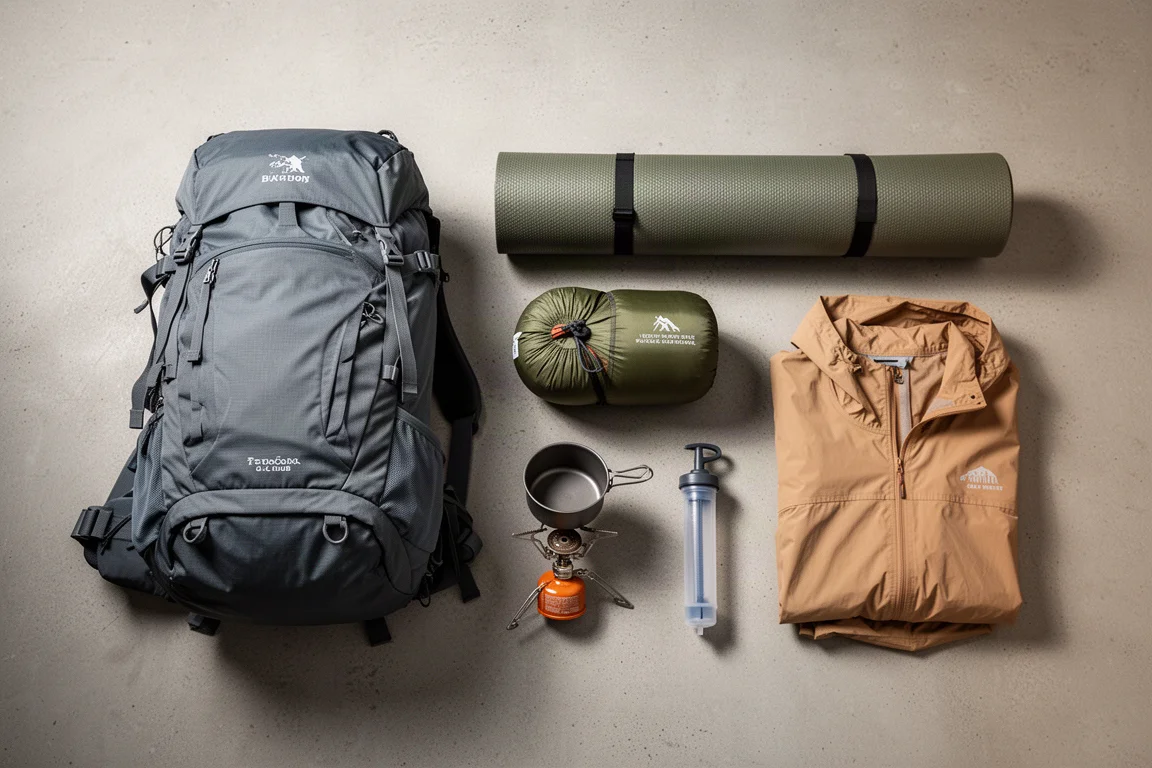
This guide covers the gear that makes the most sense for a first backpacking setup, along with a few items that are worth buying immediately because they simply work well. It covers the big three (pack, shelter, and sleep system), then the cook system, water treatment, and clothing layers that round out a kit.
What to Look For in Beginner Backpacking Gear
Three priorities matter most when you are buying your first setup.
The big three items, your pack, your tent, and your sleep system, make up most of the weight you carry and most of your spending, so they deserve the closest attention. Everything else can usually be improvised or bought cheaply.
Fit and simplicity come next. A pack with an adjustable torso removes the guesswork of ordering the wrong size, and a shelter that pitches the way you expect means you are not fighting your gear at the end of a long day.
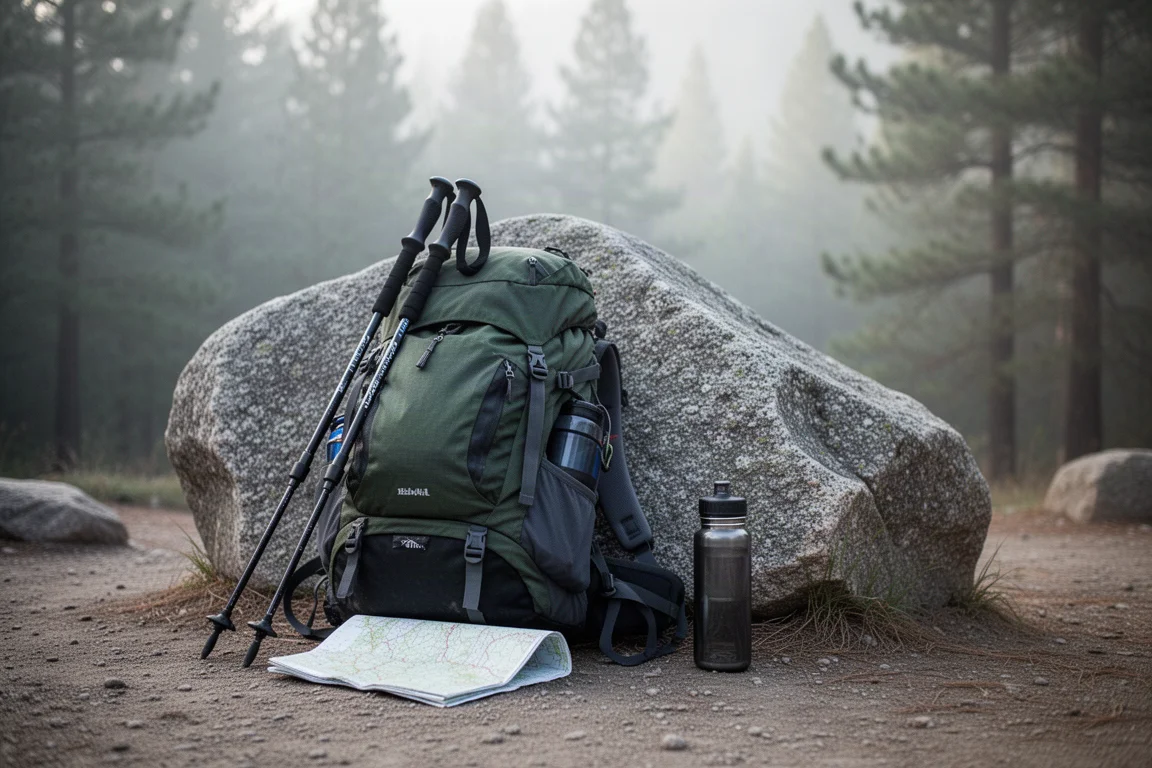
Price discipline matters too. A dependable, affordable option that you actually use beats an expensive one that stays in a closet, and gear you learn on teaches you what you want to upgrade later.
Packs, Shelters, and Sleep Systems
Backpack: Cap on MT 100
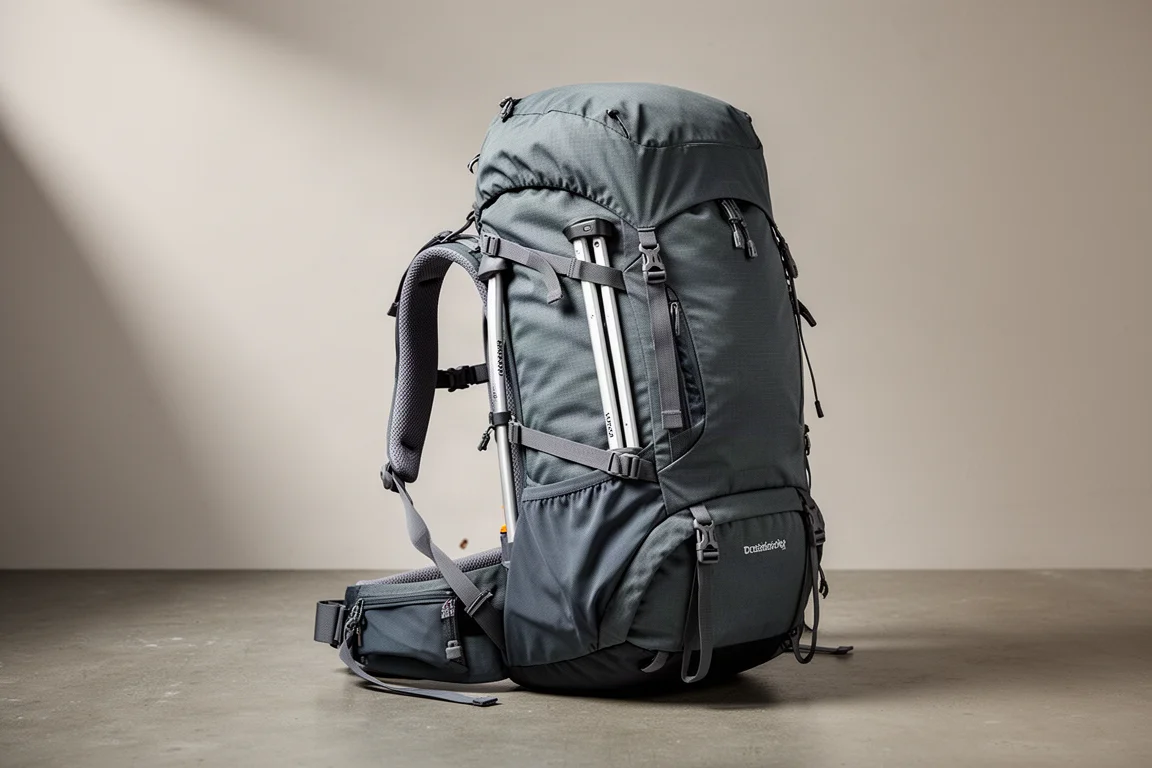
The Cap on MT 100 is the easiest recommendation for a first pack, mainly because of its adjustable torso. Instead of guessing your size and hoping the fit works out, you dial in the torso length with a simple locking system, which lets the pack carry weight on your hips rather than your shoulders.
That adjustability is backed up by a thick foam hip belt, generously padded shoulder straps, aluminum stays, and load lifters. Together they let the pack carry loads of roughly 40 to 45 pounds comfortably, which covers most beginner trips. There is a decent amount of internal volume, water bottles are easy to reach without taking the pack off, and the price lands under or around $100 depending on where you buy it.
The trade-offs are honest ones. It is a heavy pack, and lighter options exist even in the same price range, though they usually give up the adjustable torso. Storage is limited as well: there is no large stretchy front pocket for wet rain gear, and only one water bottle side pocket instead of two.
Shelter: Naturehike Mongar 2
For a first tent, the Naturehike Mongar 2 is a spacious, forgiving choice. It measures 50 inches wide, enough for two 25-inch wide sleeping pads side by side, and that extra width is worth having if you want a genuinely comfortable night.
It is also a double-wall, fully freestanding design, so pitching it is intuitive and free of the surprises that come with trekking pole shelters or semi-freestanding tents. The polyester fly resists sagging and stretching when wet, which helps it shed rain and manage condensation, and the tent weighs around 1,800 g.
The main drawback is packed bulk. Even with the poles left out of the stuff sack it takes up noticeable space, and while it is not heavy, it is not the lightest option available either.
Ultralight Shelter Alternative: 3F UL Lanshan
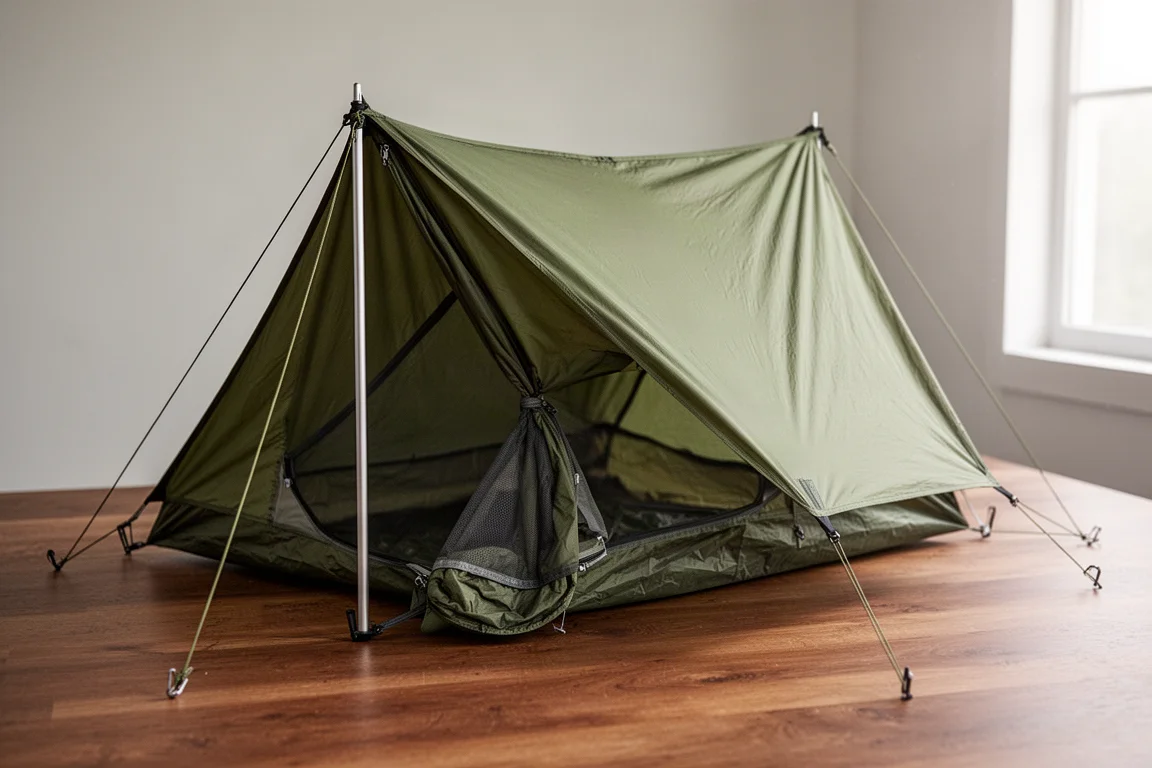
If saving weight matters more to you than freestanding convenience, the 3F UL Lanshan is the alternative worth knowing about. It is a trekking pole tent, and it is noticeably lighter than the Mongar 2 for exactly that reason.
Trekking pole shelters can take some getting used to, but once you have pitched one a few times they become quick and intuitive. For backpackers who want to go as light as possible, that trade is usually worth making.
Sleeping Pad: Best Way Ridge Light
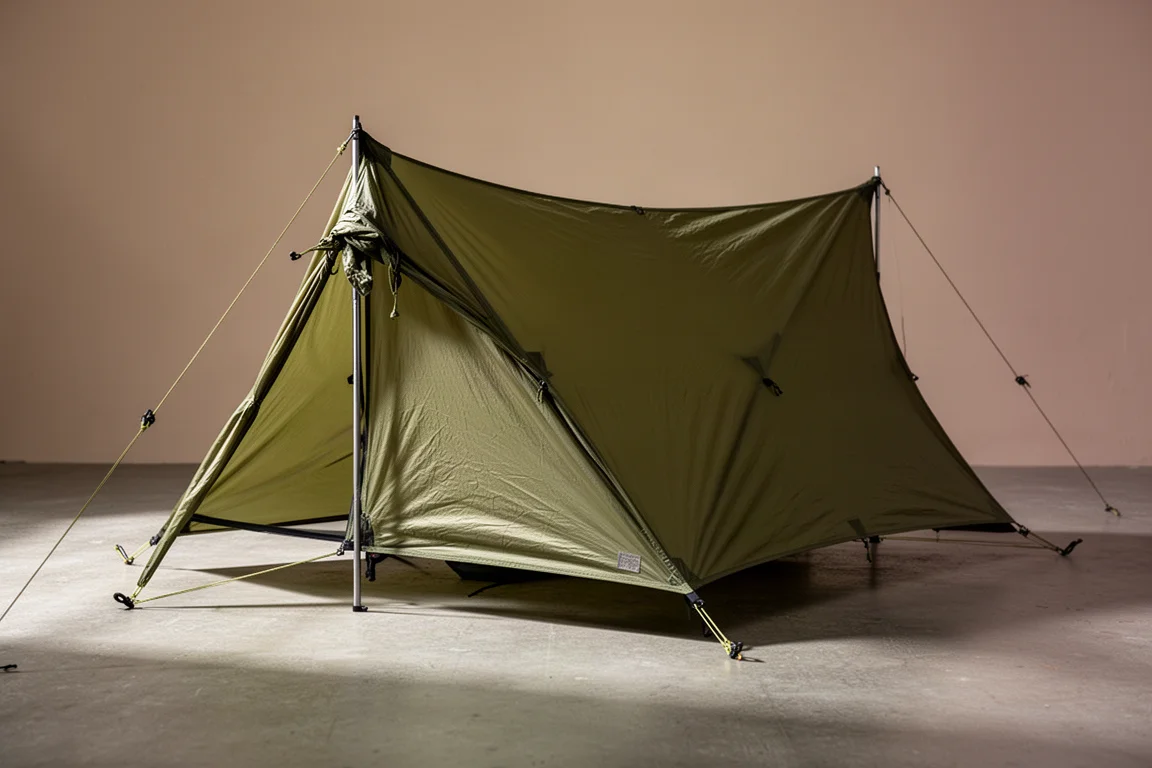
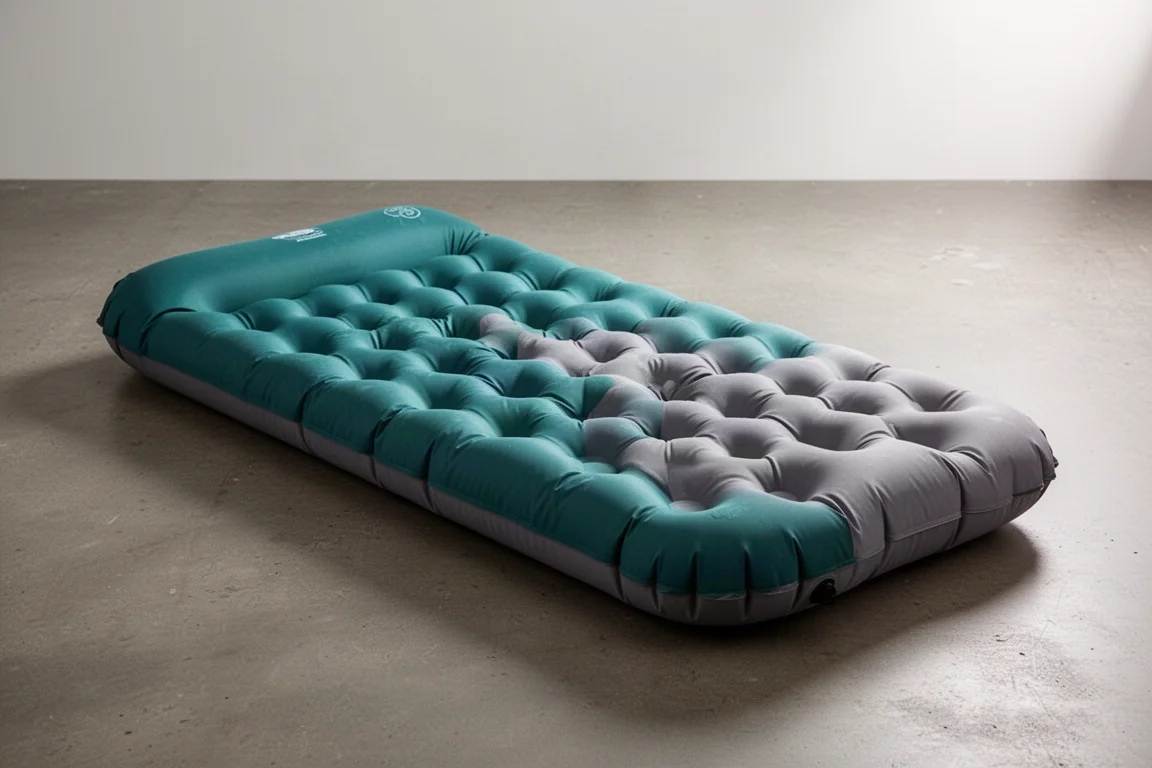
The Best Way Ridge Light is a solid pad at any experience level. It provides insulation from the ground, which makes a bigger difference to how warm you sleep than most people expect, and it is one of the most important pieces for sleeping comfortably. Choose the 25-inch wide version if you can; it adds comfort without much extra weight.
At 700 g it packs down compactly, and the warmth comes from a reflective film inside that bounces heat back toward you. The dimpled baffle pattern is what makes it comfortable: each raised area acts like a small spring, relieving pressure points when the pad is fully inflated.
That last detail matters. Inflate it as much as you can rather than letting air out, because the baffling works best at full pressure. At around $40 it is one of the best value items in a starter kit. The main limitation is thickness, since heavier sleepers over roughly 200 to 220 pounds may bottom it out.
Pillow: Trekology 2.0
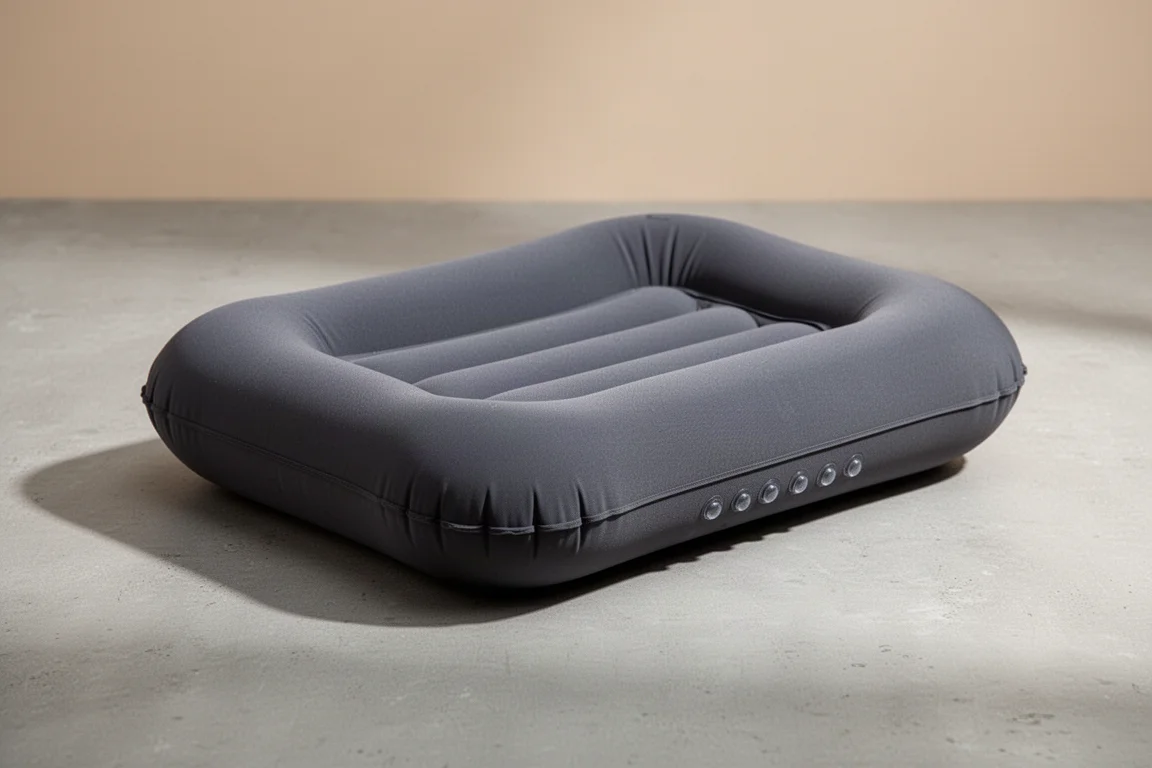
A pillow is easy to overlook and hard to do without. It keeps your head from kinking and takes pressure off your shoulder, and the Trekology 2.0 remains one of the best options for new backpackers.
Its standout feature is the pad strap, which wraps around your sleeping pad and holds the pillow in place. Without something like that, a pillow tends to slide away when you change position during the night. It weighs only 90 g and uses a soft, stretchy top fabric that is supportive even without foam on top.
Broader-shouldered sleepers may find it a little thin. A simple fix is to slide spare clothing, a sit pad, or even your shoes underneath to raise it up.
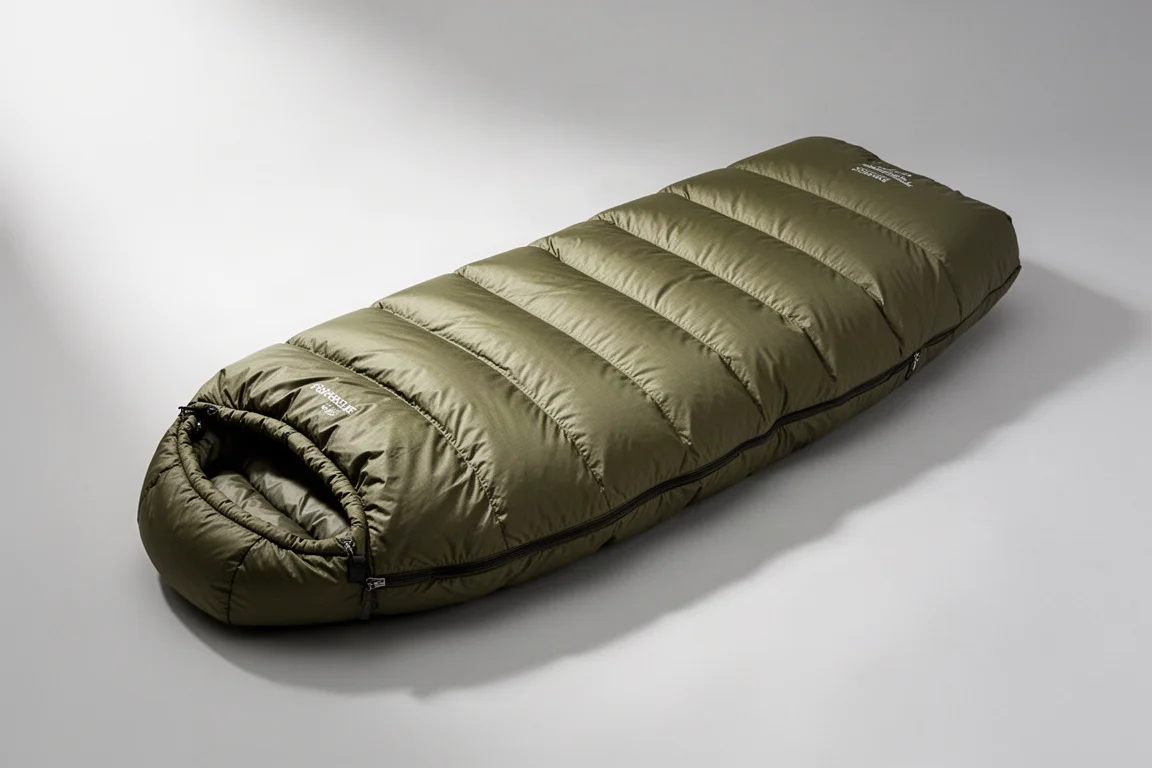
Sleeping Bag: Kelty Cosmic 20
For top insulation, a sleeping bag is usually the more intuitive first purchase, and the Kelty Cosmic 20 is a sensible one. It uses down fill, so it is compact and fairly lightweight, and it stays quite affordable.
Warmth is good for a 20 degree rating, and it will keep you comfortable below freezing. The honest downside is that it is not the lightest bag on the market despite the down fill, and it is not the warmest for its weight either.
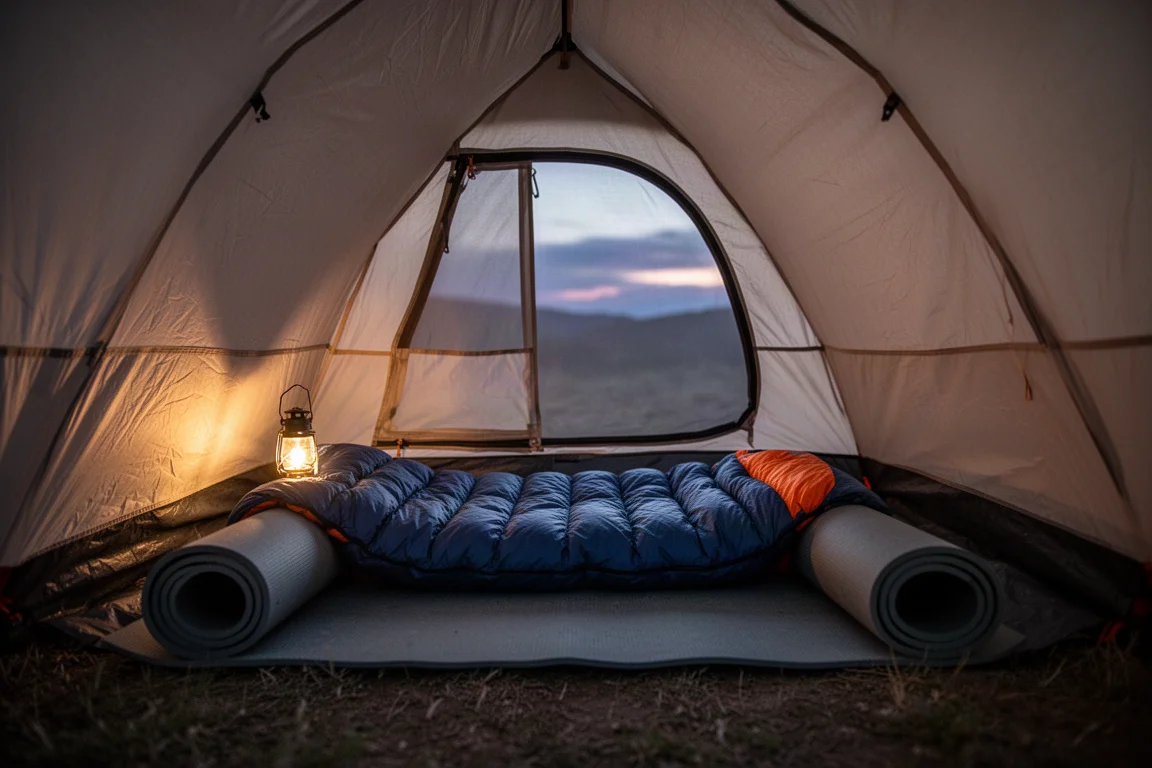
If you want insulation that behaves like a familiar blanket, with no learning curve, this is a reasonable place to start.
Quilt Alternative: Waratah Quilt
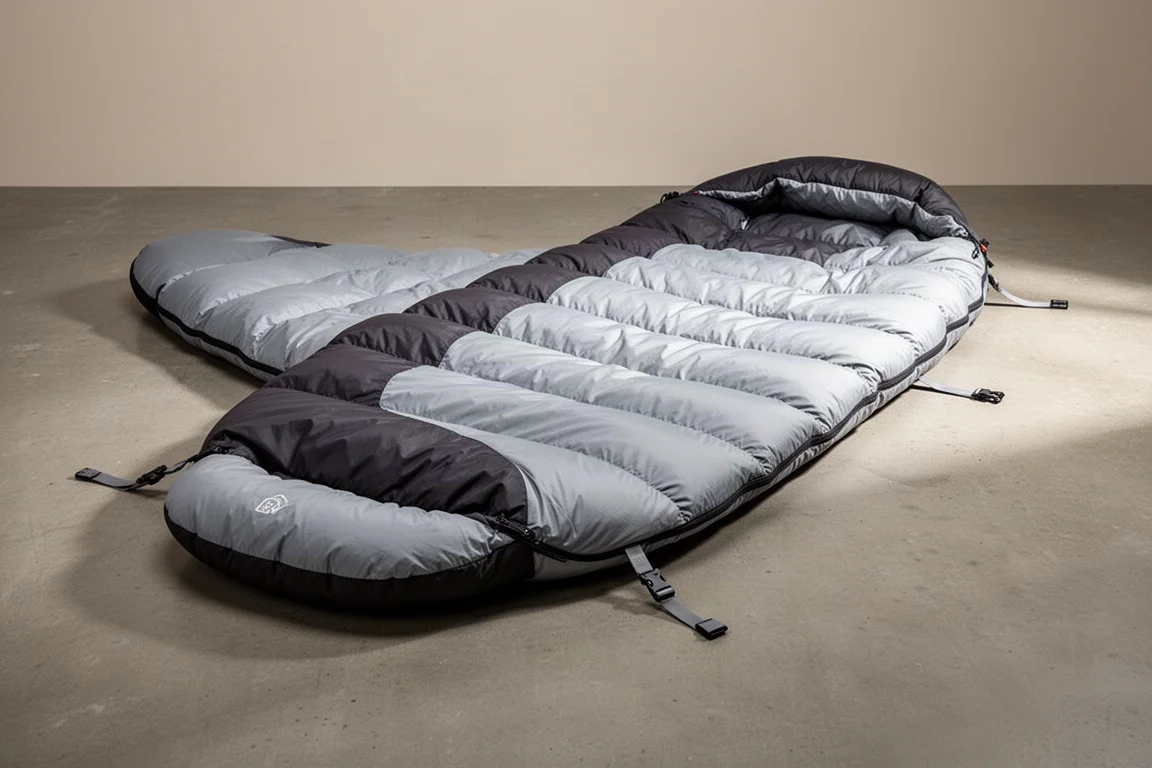
Backpacking quilts are worth considering even for beginners. A quilt is essentially a blanket that attaches to your sleeping pad with straps, so you can shift position underneath it without getting tangled the way you can inside a bag.
The Waratah Quilt costs about the same as the Kelty Cosmic 20 down bag but weighs roughly half as much, packs smaller, and sleeps a little warmer. For many people it also makes for a more comfortable night overall, which is why it is worth weighing against a traditional bag.
Cook System and Water Treatment
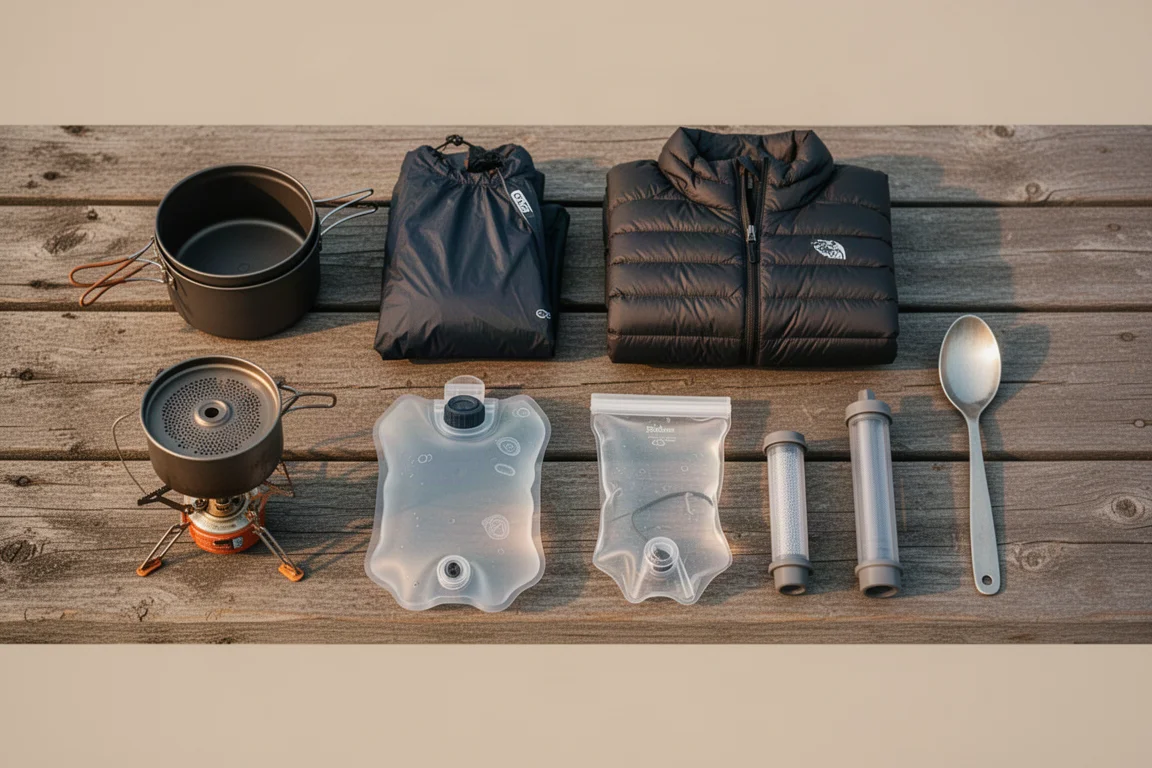
A cook system can add a lot of unnecessary weight, and a fiddly one is frustrating at the end of a long day. Keeping everything in one small bag, even a freezer bag, makes it easier to manage. You will also want a long-handled titanium spoon for freeze-dried meals, which are the simplest option when you are just starting out.
Pot: Fire Maple Petrol Pot
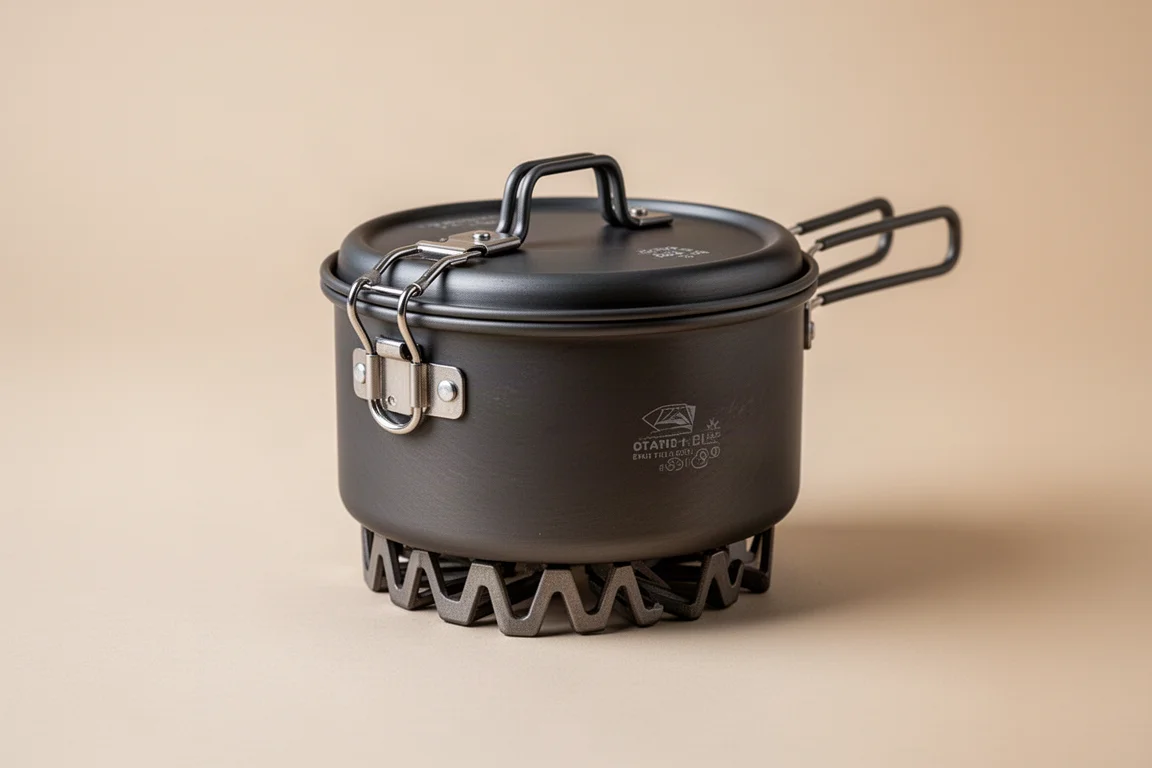
The Fire Maple Petrol Pot earns its place because everything else nests inside it. A heat exchanger on the base captures heat from the stove efficiently and also shields the flame from wind, and the pot has a pop-out handle plus a removable lid for boiling.
Three grooves in the base let the matching stove slide on and sit in place, with the burner tucked up inside the bottom of the pot. That arrangement protects the flame and improves fuel efficiency, which matters on longer trips.
Stove: Fire Maple Green Peak Stove
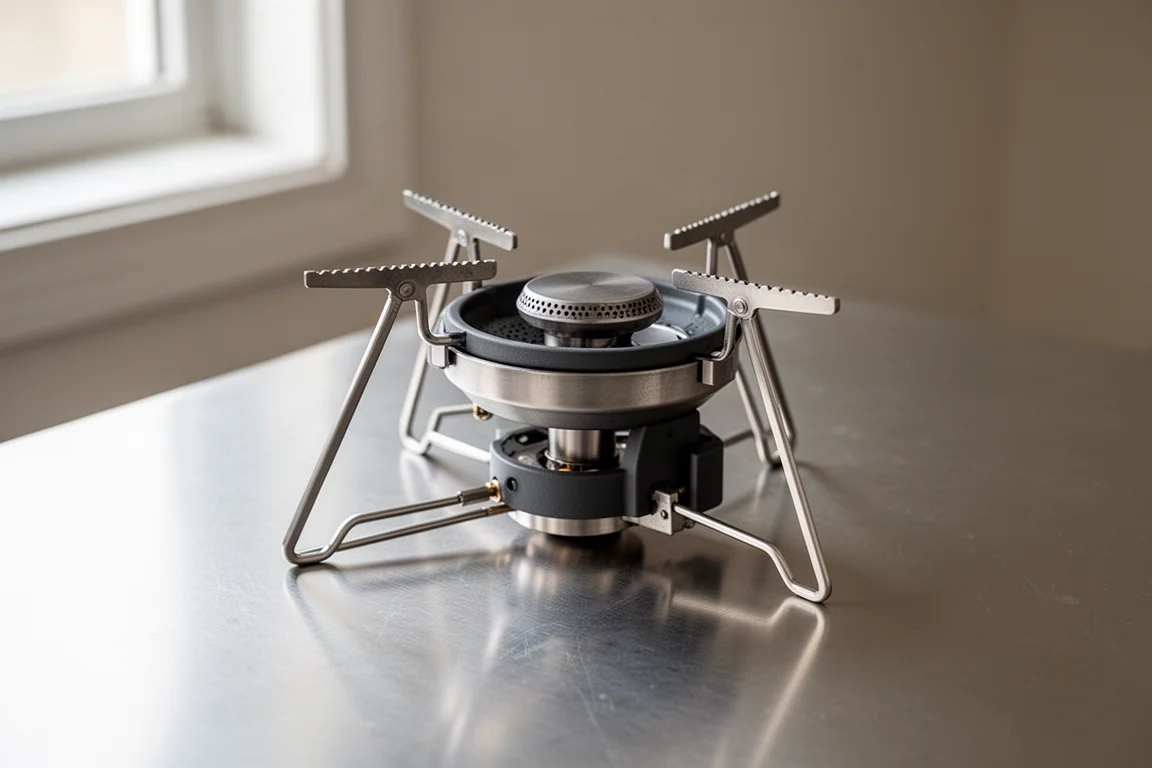
The Fire Maple Green Peak Stove pairs with that pot and runs on isobutane canisters, which are easy to find in most parts of the world and simple to use. Isobutane also keeps working below freezing, unlike some other fuels that become finicky in the cold.
The stove has a wide burner with a small lip that shields the flame, three pot-support arms, and a piezo igniter that produces a spark when you turn the gas on. In practice it has proven reliable, though it is still worth packing a backup lighter for the backcountry. Pot and stove together cost around $50, making the pair a compact and affordable system.
Water Filter: Hydro Blue Versa Flow
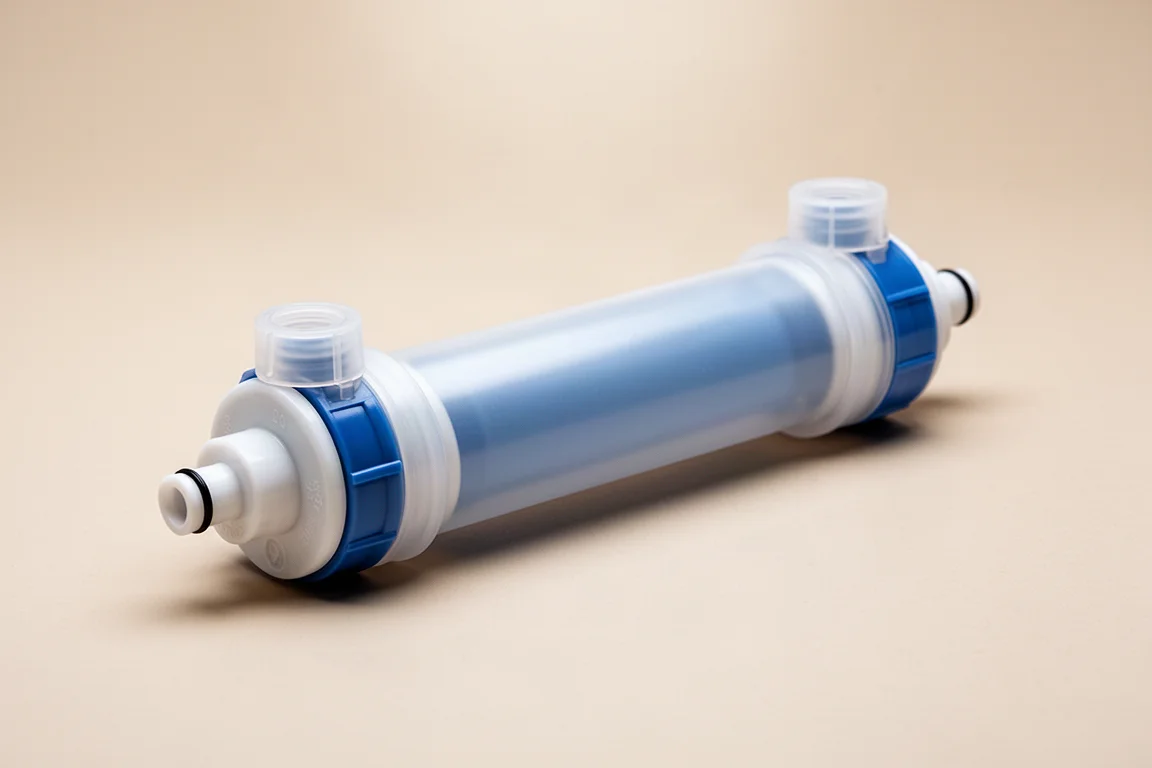
Treating water with a filter is far easier than boiling it, and the Hydro Blue Versa Flow is a lightweight, affordable option that is simple to operate. You attach your dirty water container to one end, push water through the filter, and clean water comes out the other.
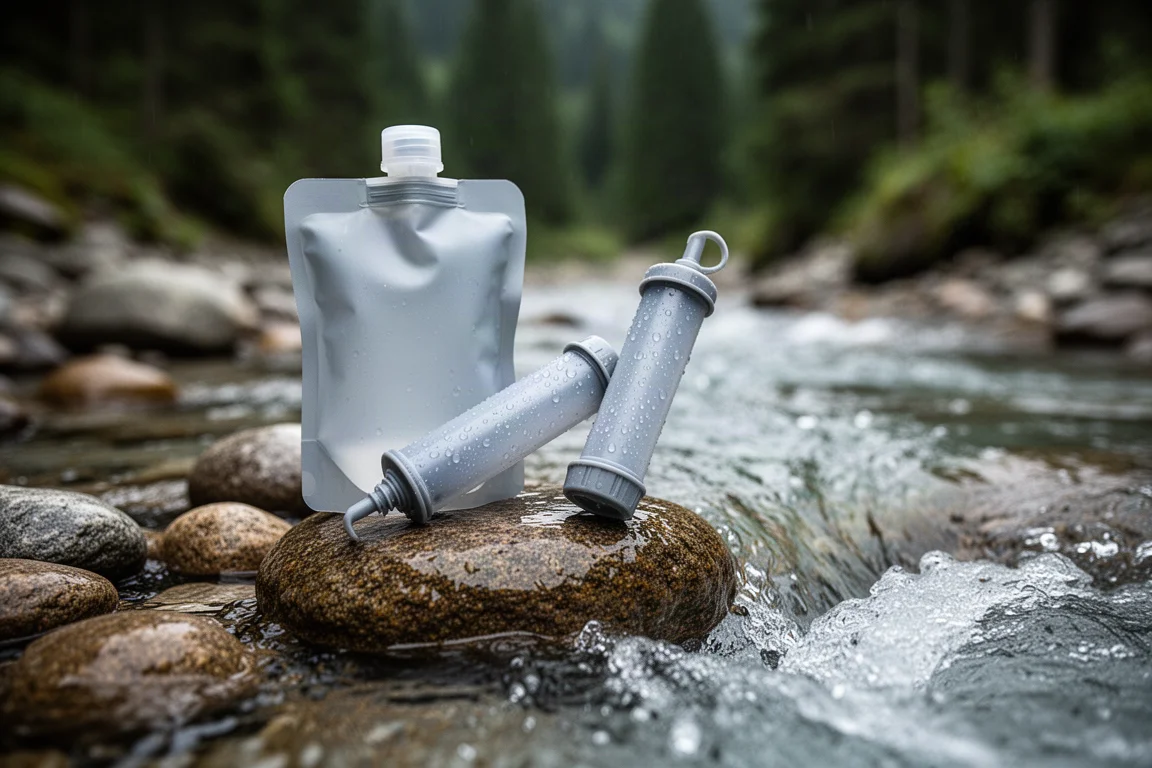
Small caps on the ends are a practical detail: they keep residual water from leaking when you carry the filter inside your sleep system on freezing nights. Filters should not be allowed to freeze, so keeping this one warm in your bag is worth the small effort.
Water Container: CNOC Bag
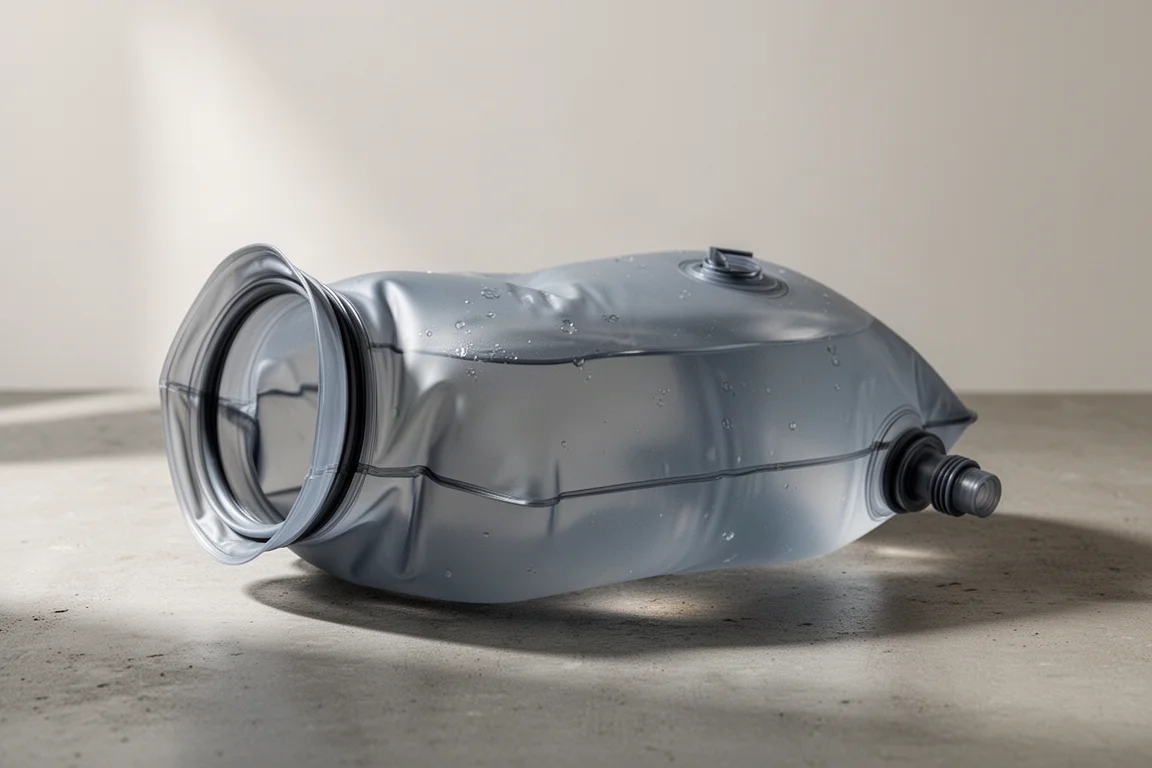
The CNOC Bag is the natural partner for that filter. Its wide opening makes scooping water from streams, rivers, or lakes easy, and its narrow end screws directly onto the filter.
Once the bag is full, you simply squeeze the water through. Together the bag and filter make one of the lightest, cheapest, quickest, and easiest ways to treat water in the backcountry.
Clothing: Rain Gear and Camp Insulation
Two types of clothing are worth planning for: rain gear for wet weather, and insulation for sitting around camp in the evening.
Rain Gear: Frogg Toggs
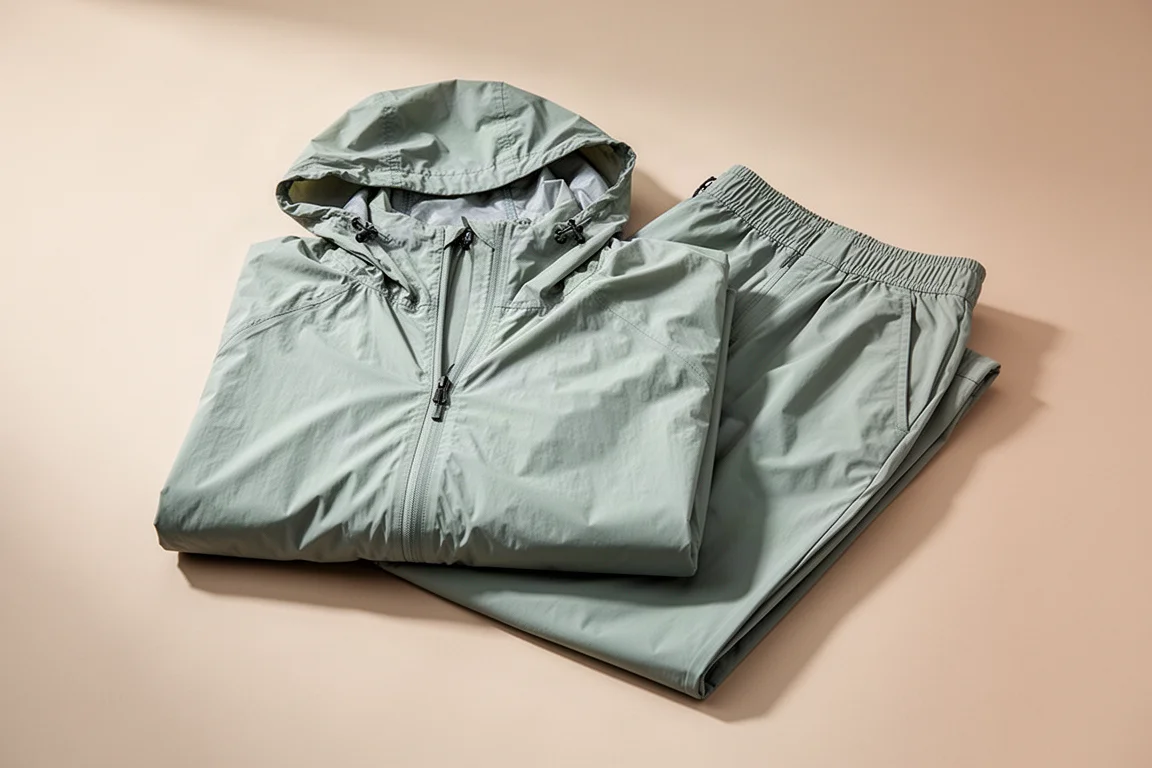
You can bring whatever rain jacket you already own, but everyday rain gear tends to be heavy and bulky in a pack. Frogg Toggs rain gear is inexpensive, roughly $20 to $40 for a jacket and pants combination, and dramatically lighter and more compact than typical town rain gear.
Durability is the trade-off. It is not the most robust option, so trips involving a lot of bushwhacking may call for something sturdier. For most beginners, it is a lightweight layer that simply works.
Camp Insulation: Cathlon MT 100
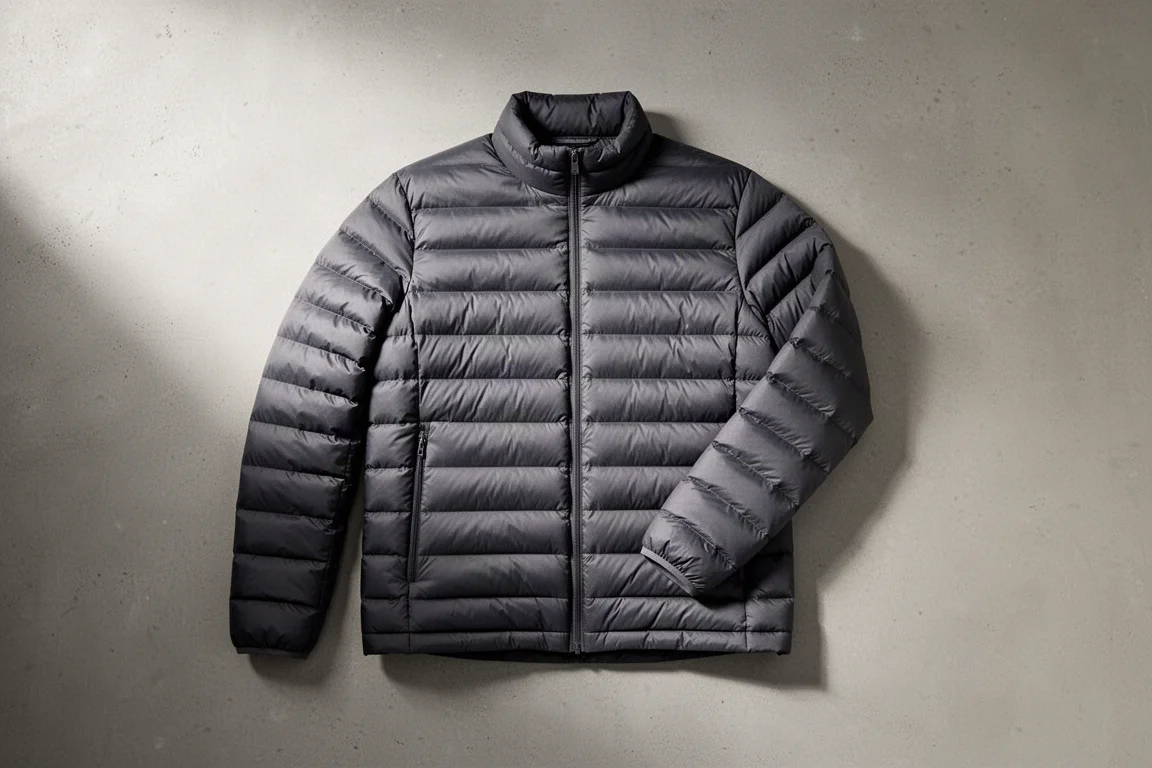
A down jacket is the best choice for camp insulation because it is compact, light, and warm. The Cathlon MT 100 has been a reliable recommendation for years for both new and experienced backpackers.
It is very lightweight, very inexpensive, and warm enough on its own down to about freezing, or a little below when worn over a fleece sweater. On specs alone, few jackets come close at the price.
Buying Advice: Building a Beginner Kit
You do not have to buy everything at once, and you probably should not. Start with the big three, because they carry the most weight and account for most of your comfort on the trail, then add the cook system and water treatment as your trips get longer.
A few small habits make an affordable kit work better. Line your pack with a trash compactor bag or a plain garbage bag instead of relying on a rain cover: put anything that must stay dry inside, twist the top closed, and tuck it at the bottom of the pack. Bring a backup lighter in case an igniter fails, and sleep with your water filter on freezing nights so it does not ice up.
If your budget only stretches to one upgrade, spend it where you feel the limitation most. A lighter shelter or a warmer, lighter quilt will change your experience more than swapping out a pot or a pillow.
Conclusion
Beginner backpacking gear does not have to be expensive to be good. An adjustable pack, an intuitive freestanding tent, a warm and comfortable sleeping pad, a pillow that stays put, and a sensible sleep system cover the majority of what matters.
From there, a compact stove and pot set, a simple squeeze filter with a scoop bag, and lightweight rain and insulation layers round out a kit that will serve you well on real trips. Learn what you like on approachable gear first, then upgrade with confidence.
Further reading
Related Reviews

Backpacking Gear
Building a 10 lb Base Weight: An Ultralight Backpacking Gear List
A practical walkthrough of the ultralight pieces behind a 10 lb base weight, from a 765 g pack and a roomy one-person tent to a full camp chair and a dependable water filter.
Backpacking Gear
A 15-Pound Lightweight Backpacking Gear List for Solo Trips
A beginner-friendly 15-pound backpacking setup built from easy-to-find gear, with notes on what each piece does, how it packs, and where to spend your attention.
Backpacking Gear
8 Ultralight Backpacking Gear Upgrades Worth Carrying
Eight small, affordable backpacking upgrades that solve real trail annoyances, from a pillow that stays put to a fuel valve that rescues leftover canister gas.