Aquarium Frag Racks
Bashsea Mad Rack vs Mad Rack Pro: Choosing the Right Frag Rack
A practical look at the Bashsea Mad Rack and Mad Rack Pro lineup, including frag capacity, sizing, and which design matches your system.
Introduction
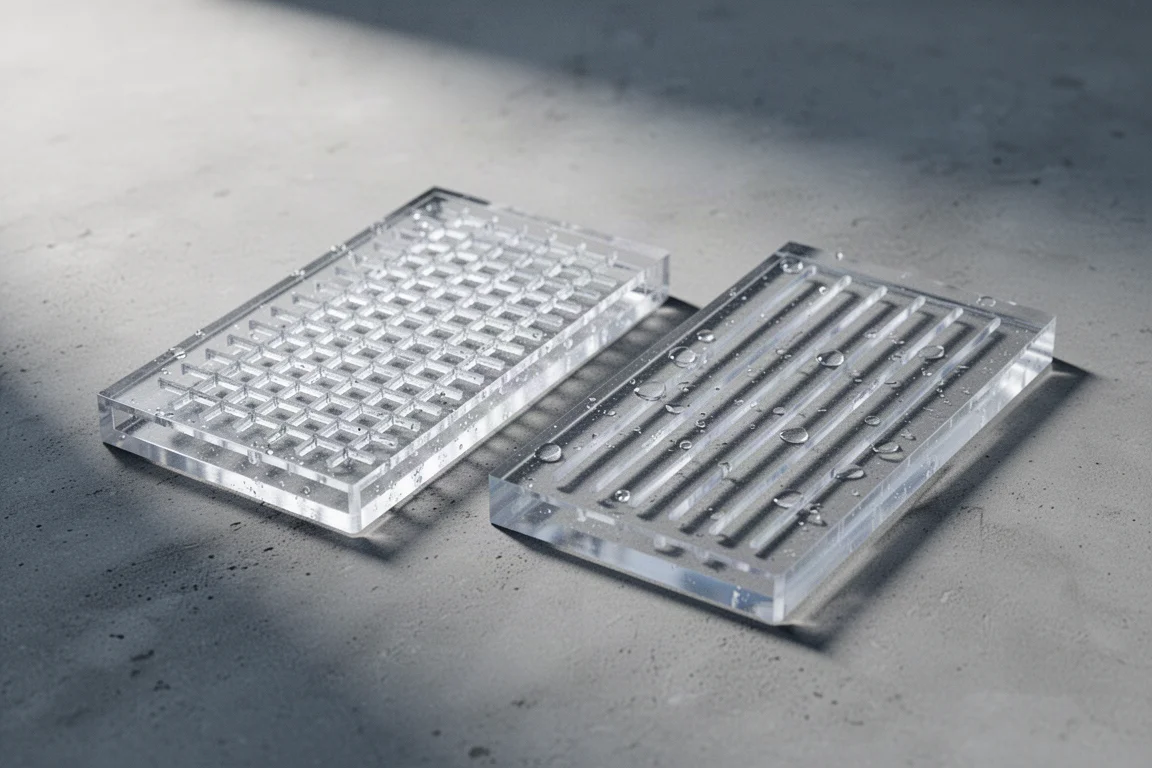
Most frag racks are simple grids, and for a handful of loose plugs that is perfectly fine. The Bashsea Mad Rack lineup sits at the other end of that scale. It is built for coral farms, retail systems, and hobbyists who are serious about growing coral rather than just holding it in place for a while.
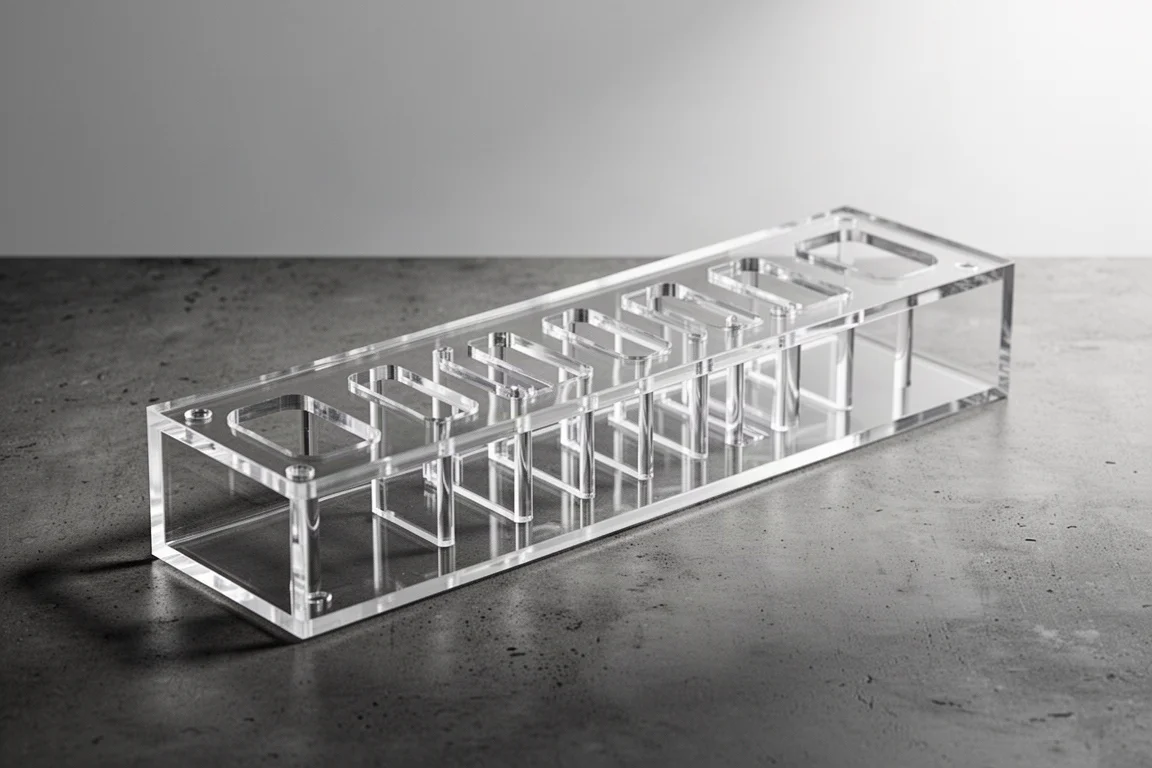
Both families in the lineup share the same foundation: thick 3/8 inch cast acrylic, clean laser-cut edges, and an open flow design that helps keep detritus from settling on the rack. They come in three sizes, so there is a compact option for a smaller system and a full grow-out platform for a larger one.

Where the lineup splits is in the way each rack holds a frag plug. One family is built to hold as many frags as possible. The other gives up some of that capacity in exchange for more space and more flow around every individual piece of coral. That single difference is the fastest way to decide which rack belongs in your system.
What Sets the Bashsea Mad Rack Lineup Apart
The first thing you notice is the material. These racks are made from 3/8 inch cast acrylic rather than thinner sheet material, and the edges are cleanly laser-cut. In practice that means the slots and gaps that hold frag plugs are consistent from one end of the rack to the other, and the rack itself holds its shape under normal use in a sump or frag tank.
The second detail is the open flow design. Water moving through and around the rack matters for coral health, and an open structure helps prevent detritus from settling on the platform and between the plugs. Over weeks and months, that difference in debris accumulation affects water quality and how much maintenance the rack demands.
All three sizes follow the same approach. The 611 is the compact option, the 1111 is the middle size, and the 1122 is the large platform. There is no material or build difference between them, only footprint, height, and the number of frags each rack can hold.
Mad Rack vs Mad Rack Pro: The Core Difference
The standard Mad Rack uses a free-flow slotted design. The slots let you pack in a serious number of frags while still keeping water moving through the rack, which makes it the density-focused option in the lineup. If you are running a frag system, managing inventory, or simply want to maximize how many pieces you can hold in one place, this is the workhorse.
The Mad Rack Pro replaces those slots with a variable gap design. It still holds frag plugs securely, but each plug gets more space around it and more flow passes between them. The result is better circulation around each frag, less detritus build-up, and more consistent growth across the rack.
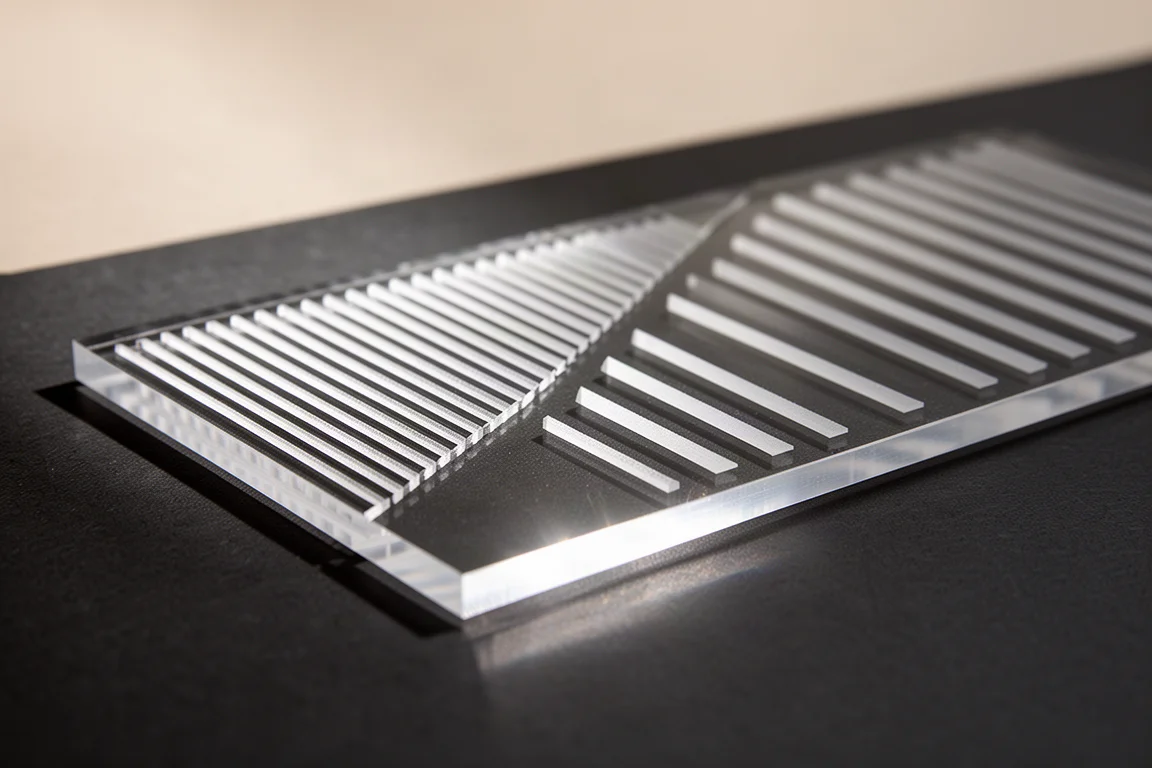
That density comes with a real trade-off. Once you start pushing higher flow, or working with more demanding corals such as SPS, the tighter spacing of the standard Mad Rack can begin to limit how those corals grow. The Pro exists for exactly that situation.
Bashsea Mad Rack: Built for Maximum Frag Capacity
The standard Mad Rack is the capacity-first design. The free-flow slotted layout lets you fill the platform densely while still allowing water to move through it, which suits high-volume frag systems where the number of pieces in the tank matters most.
Bashsea Mad Rack 611
The 611 measures 6 by 11 by 2 inches and holds up to 50 frags. It is the smallest rack in the lineup and a sensible starting point for a compact frag system or a sump with limited floor space.
Bashsea Mad Rack 1111
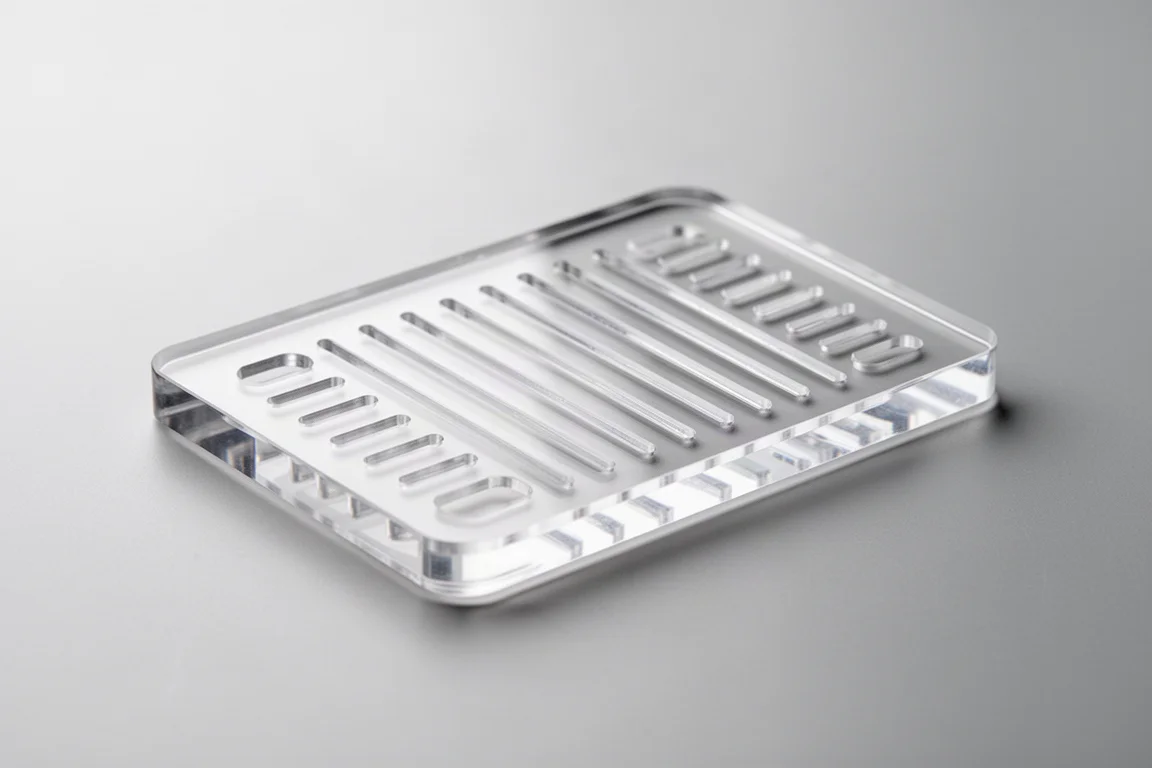
The 1111 measures 11 by 11 by 3 inches and holds up to 90 frags. The taller profile and larger footprint make it a natural middle step for a dedicated frag tank.

Bashsea Mad Rack 1122
The 1122 measures 22 by 11 by 3 inches and holds up to 170 frags. This is the largest standard rack and the one that makes the most sense for a grow-out platform or a retail system with a steady flow of inventory.

Bashsea Mad Rack Pro: Built for Flow and Coral Health
The Mad Rack Pro is purpose-built for higher flow systems and better overall coral health. The variable gap design holds each frag plug securely while leaving more open space around it, so circulation reaches every piece instead of being blocked by a dense wall of plugs.
The Pro models share the same size designations as their standard counterparts, so you are not giving up floor space to make the switch. What changes is capacity.

Because each plug sits in a wider gap, fewer frags fit on the same platform. If your priority is growing coral well rather than holding the largest possible number of pieces, that trade is the point of the Pro rather than a shortcoming.
Bashsea Mad Rack Pro 611
The Pro 611 holds up to 42 frags, compared with 50 on the standard 611. It is the right choice when a small system runs higher flow or holds more demanding corals.

Bashsea Mad Rack Pro 1111
The Pro 1111 holds up to 78 frags, against 90 on the standard version. For a mid-sized frag tank that leans toward SPS, this is a straightforward upgrade in circulation.
Bashsea Mad Rack Pro 1122
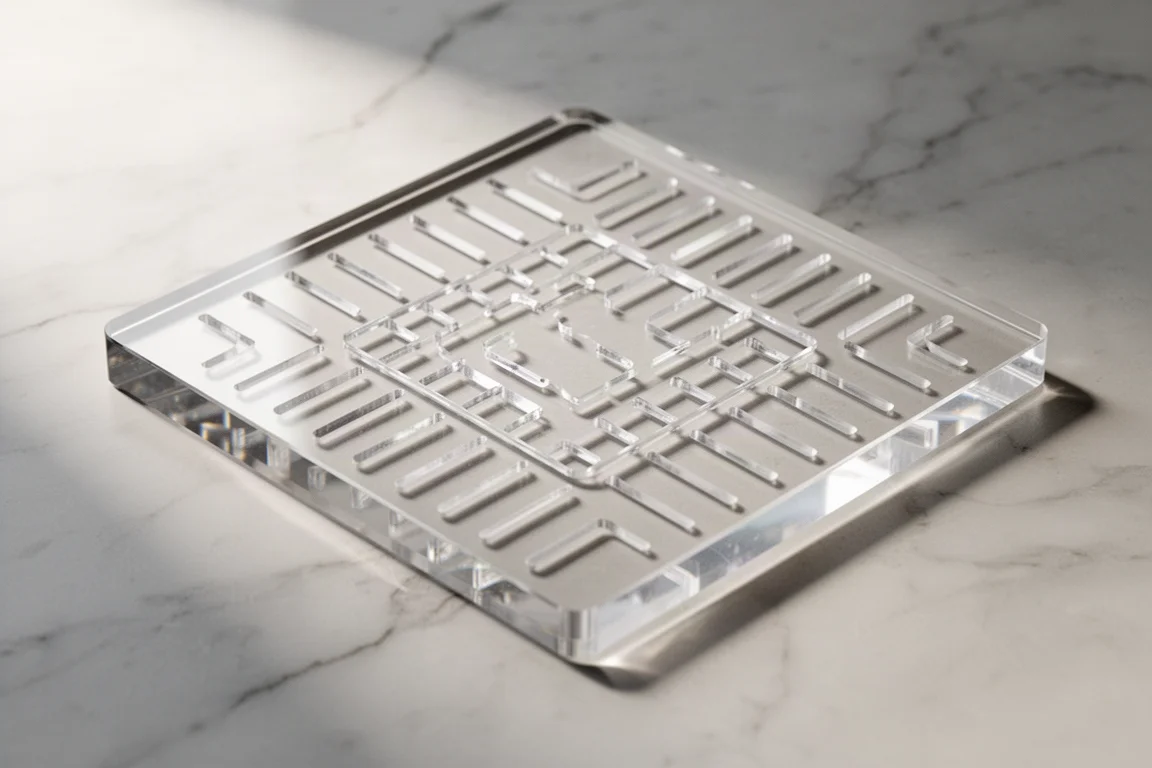
The Pro 1122 holds up to 142 frags, compared with 170 on the standard 1122. Even with the reduced count it remains a large platform, and it suits a grow-out system where consistent growth across the rack is the goal.
Build Quality and Everyday Handling
Both families are built the same way, so build quality is not part of the decision. The 3/8 inch cast acrylic gives the rack a solid, rigid feel, and the laser-cut edges keep the slots or gaps uniform across the platform. That consistency matters more than it sounds, because a plug that sits loosely in one spot and tightly in another makes a rack frustrating to work with over time.
The open flow design is the other shared trait. Whether water is moving through narrow slots or wider gaps, the structure itself does not trap debris the way a closed platform would. That keeps maintenance predictable and helps the rack stay out of the way of your filtration and circulation equipment.
Because the material is clear acrylic, the rack also disappears visually inside the tank. The coral, not the hardware, stays the focus.
Matching the Rack to Your System
Size comes first. The 611 is the compact option, the 1111 is the middle size, and the 1122 is the large platform, and each Pro model matches one of those footprints. Once you know how much floor space your sump or frag tank can give up, the family choice becomes the only real decision left.
Then look at how your system runs. If flow is moderate and you are working mostly with hardy corals, the standard Mad Rack’s density is a genuine advantage, because you can hold more pieces in the same footprint. If you run higher flow, or your focus is SPS and other demanding corals, the Pro’s wider gaps give each frag the circulation it needs to develop evenly.
Which Bashsea Mad Rack Fits Your System?
The honest answer is that neither family is better in the abstract. The standard Mad Rack is the better fit when the goal is to hold as many frags as possible. The Mad Rack Pro is the better fit when the goal is to grow coral better, particularly in higher flow systems.

A useful way to decide is to ask what you would be unhappy about in six months. If a half-empty rack bothers you more than slow growth, choose the standard Mad Rack in the size that matches your space. If uneven growth or debris collecting around plugs bothers you more than a lower frag count, choose the Pro.
Whichever direction you go, the size ladder is the same. Start with the 611 for a compact setup, step up to the 1111 for a mid-sized frag tank, and choose the 1122 when you need a full grow-out platform. Pick the Bashsea Mad Rack that matches that goal, and your corals will get more out of the system because of it.
Conclusion
The Bashsea Mad Rack lineup splits cleanly into two philosophies. The standard Mad Rack maximizes capacity with a free-flow slotted design, holding up to 50, 90, or 170 frags depending on the size you choose. The Mad Rack Pro trades some of that capacity, at 42, 78, and 142 frags, for a variable gap layout that improves circulation and supports more consistent growth in higher flow systems.
Both share the same 3/8 inch cast acrylic construction, laser-cut edges, and open flow design, so the choice really is about volume versus performance. Decide which one your tank needs, and the rest of the lineup falls into place.
Further reading
Related Reviews

Backpacking Gear
Building a 10 lb Base Weight: An Ultralight Backpacking Gear List
A practical walkthrough of the ultralight pieces behind a 10 lb base weight, from a 765 g pack and a roomy one-person tent to a full camp chair and a dependable water filter.

Road Bikes
10 New Road Bikes Worth Watching: Aero, Titanium, Steel and Endurance Standouts
A practical roundup of 10 new road bikes, from aero flagships chasing single-watt gains to titanium, steel and endurance platforms built for real roads.

Bikepacking Gear
11 Bikepacking Essentials for Long-Distance Cycling
Eleven bikepacking essentials for long-distance cycling, from a steel gravel frame and a two-person tent to helmet lights, packable gloves, and a frame bag that puts weight in the right place.