Backpacking Gear
Backpacking Gear Loadout: 8 Standout Pieces From a Four-Day Solo Trip
A field-tested backpacking loadout built around eight standouts, from a small-footprint trekking pole shelter to a dependable canister stove and a camp chair worth the grams.
Introduction
A four-day solo trip through the Sawtooth Mountains asks a specific question of every item in a pack: does this earn its place? The loadout that went out the door weighed in at roughly 38 lbs with food, water, and camera gear included, and it had to cover a windy, exposed campsite with a tight tent pad, water available throughout the day, and evenings cold enough that the sleep system mattered more than anything else.
What follows is a breakdown of the eight pieces that stood out most, plus a look at the supporting items that filled out the rest of the pack.
What a Four-Day Solo Loadout Has to Handle
Mountain trips in this range punish assumptions. Wind arrives without much warning, rain can move through quickly even when the forecast looks clean, campsites are often small and uneven, and water sources are frequent enough that carrying a large reserve rarely makes sense. Nights sit close to freezing at elevation, which puts real weight on the shelter and sleep decisions.
That combination shapes the priorities here: a shelter that pitches in a small footprint and stands up to wind, a sleep system that stays warm and comfortable, simple water treatment, and layers that can be adjusted through the day rather than swapped out entirely.
Weight matters, but this loadout was not built as a race to the lightest possible number. Camera gear, a camp chair, and a few comfort items stayed in, because the trip was as much about enjoying the evenings as covering distance.
Shelter and Sleep System
These are the items that decide whether a night in the mountains is restful or a grind, and both the shelter and the sleep system performed well in conditions that were not always gentle.
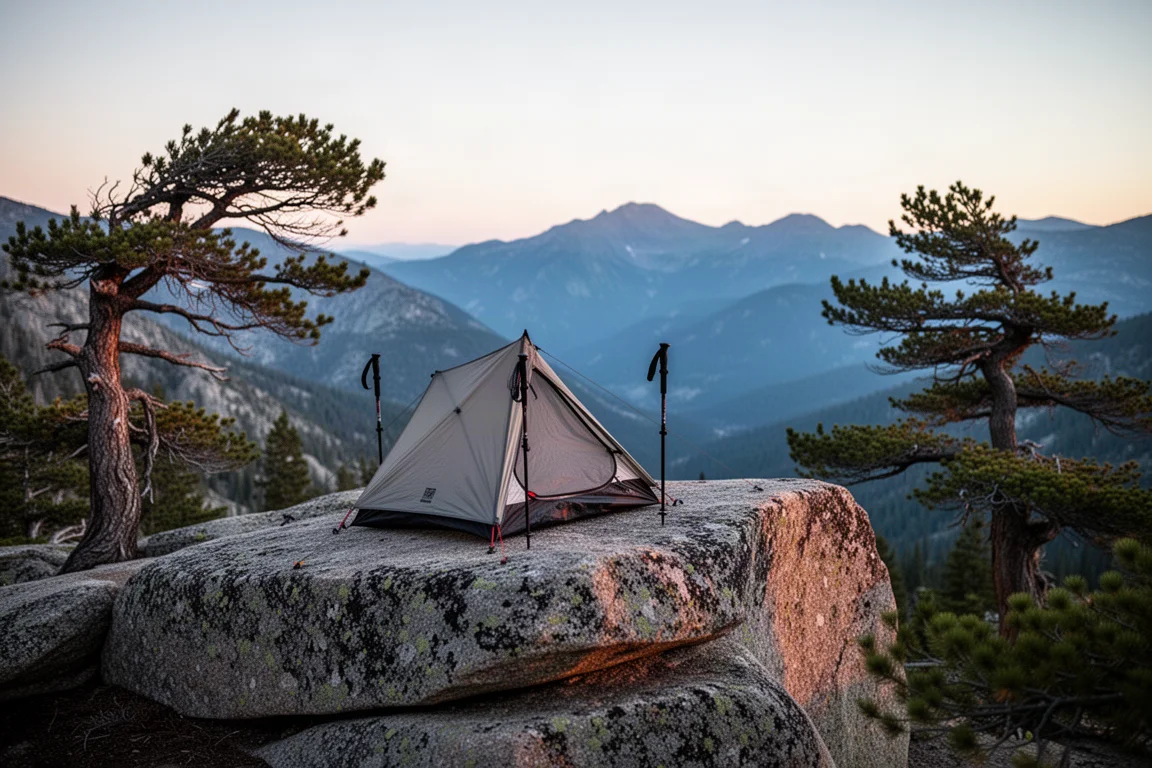
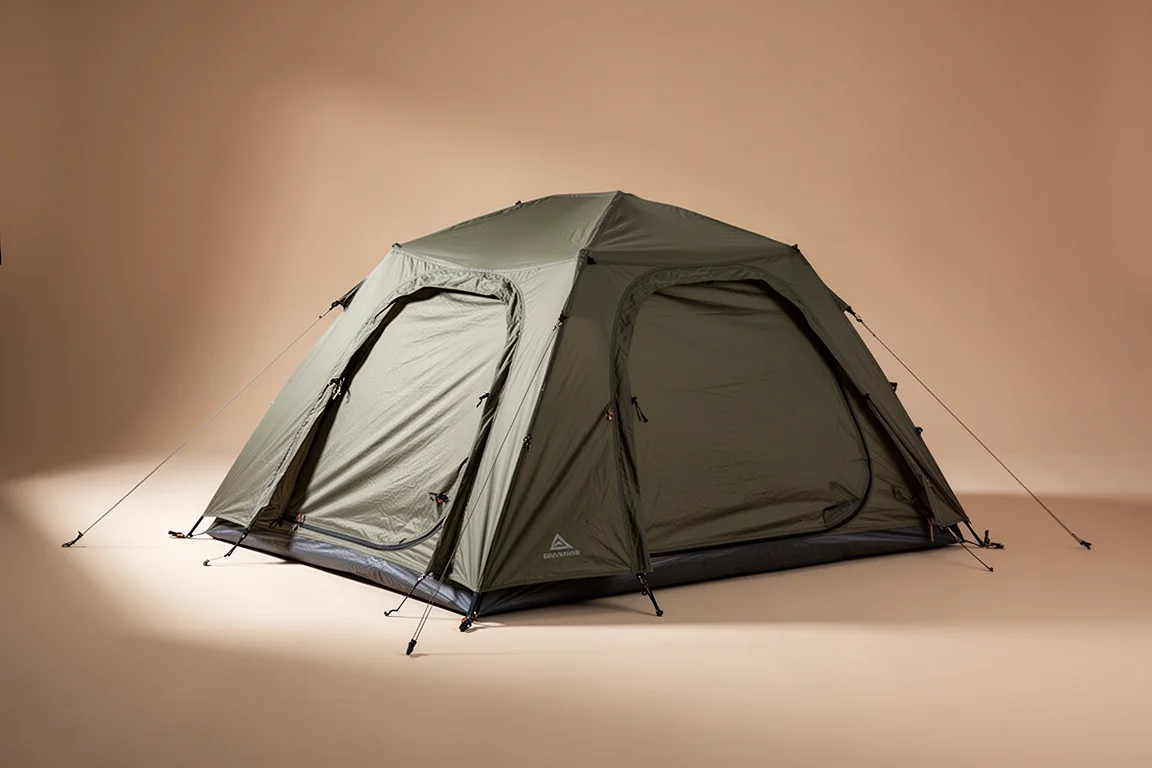
Tarptent Dipole 1 Li
The Dipole 1 Li is a single-wall trekking pole shelter made from a lightweight composite fabric. It uses two doors and two vestibules, which keeps gear separated from the sleeping area and makes the interior feel considerably larger than the packed size suggests.
The footprint is the real advantage. The pitch used on this trip sat in a tight, uneven spot that a bulkier two-person shelter would have struggled with, and the tent stayed stable through strong wind and a short spell of rain. For mountain trips where campsites are rarely generous, that mix of low weight and compact footprint is hard to argue with.
Western Mountaineering Ultralite 20
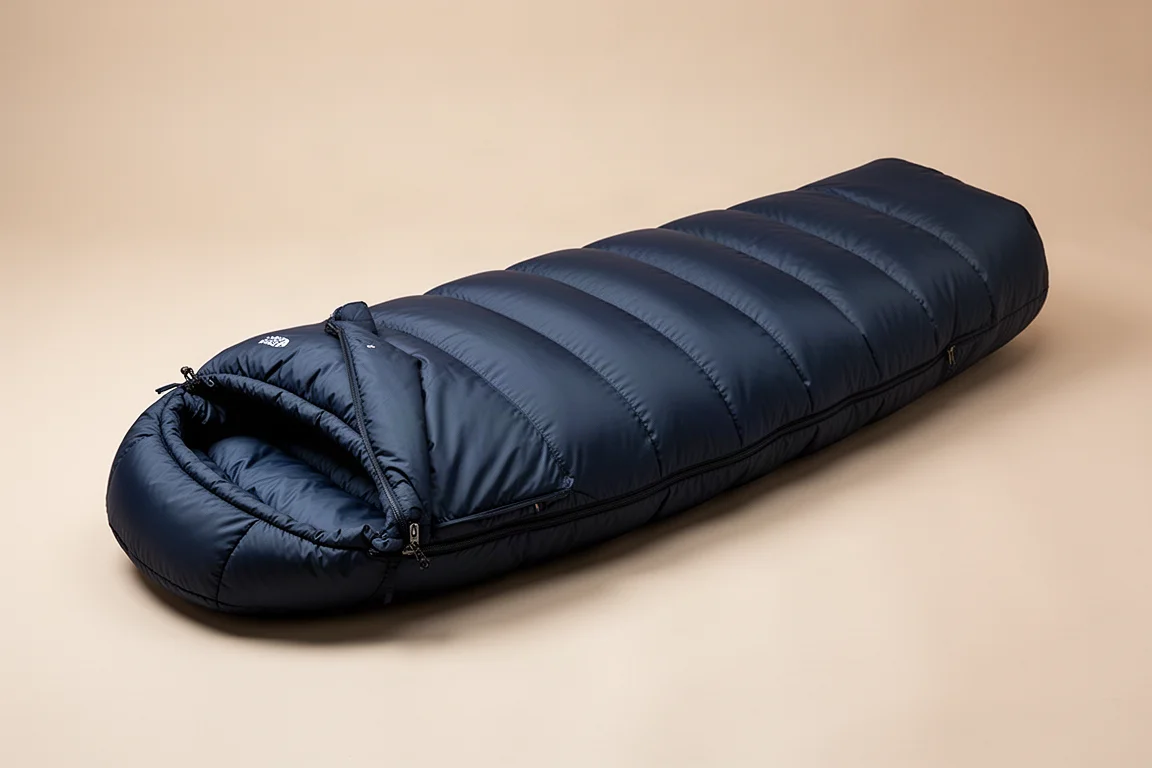
The Ultralite 20 is a traditional mummy-style down bag rated to 20°F, and it has become the default choice for cold-weather trips because it simply performs. Warmth has been consistent night after night, and despite the mummy cut it does not feel restrictive or claustrophobic to sleep in.
That reliability is the whole point. A bag that keeps you warm without needing to be managed lets you sleep, and sleeping well is what makes consecutive long days possible.
Nemo Tensor All-Season
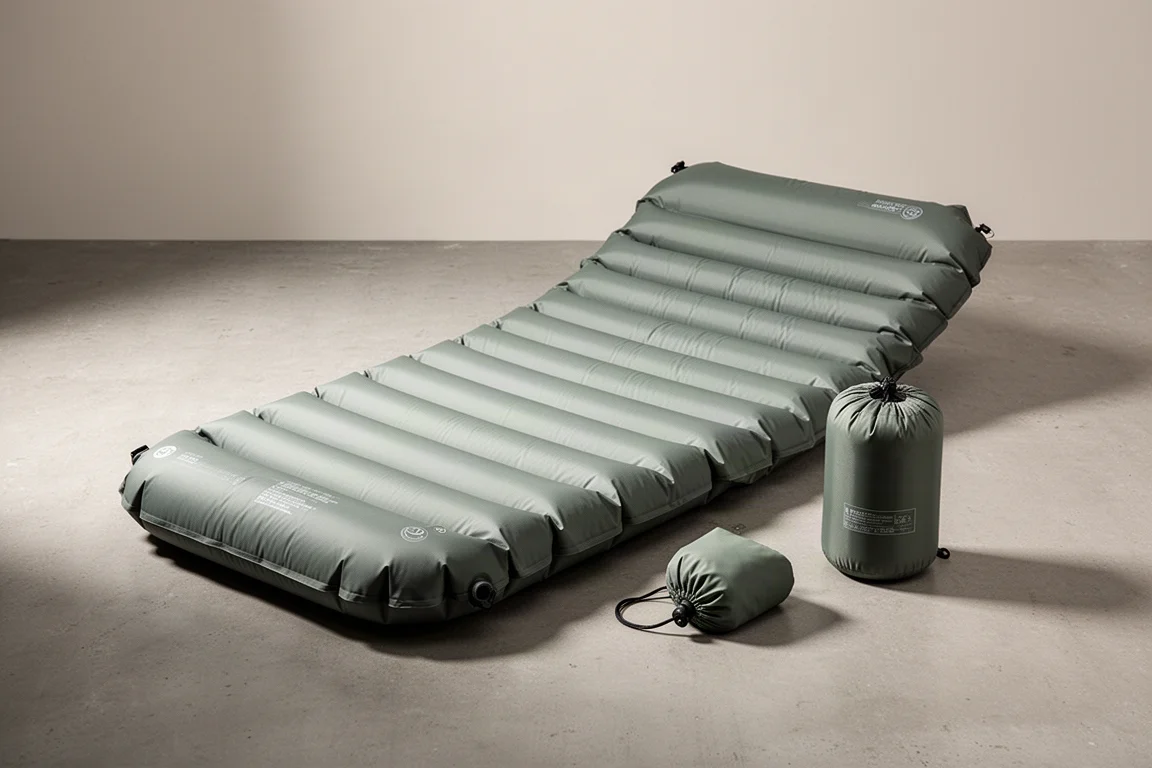
The Tensor All-Season is a 5.4 R-value insulated pad, and the version tested here was the regular wide. The thicker face fabric compared with the previous generation is noticeable, and it contributes to the support the pad provides through the night rather than only to durability.
Comfort held up in every position tried, side and back included, and the regular wide weighed in at just under 20 oz. For three-season and shoulder-season trips where ground temperatures drop overnight, that combination of insulation and support is often the difference between a full night of sleep and a restless one.
Rounding Out the Sleep System
A few smaller pieces completed the sleep kit. The Nemo Fillo pillow uses a memory foam topper and sits at a height that works well for side sleeping while staying light enough to justify the space. A pair of fleece Highline leggings and an Altitude Performance Tee were kept as dedicated sleep layers, so the day’s sweaty clothing could come off before getting into the bag. A spare pair of socks and underwear rounded out the set, which is a small amount of weight for a meaningful margin of comfort if conditions turn wet.
Water Treatment and Hydration
Water was plentiful on this route, which changes the calculus: treatment can stay simple and capacity can stay small.
Sawyer Squeeze
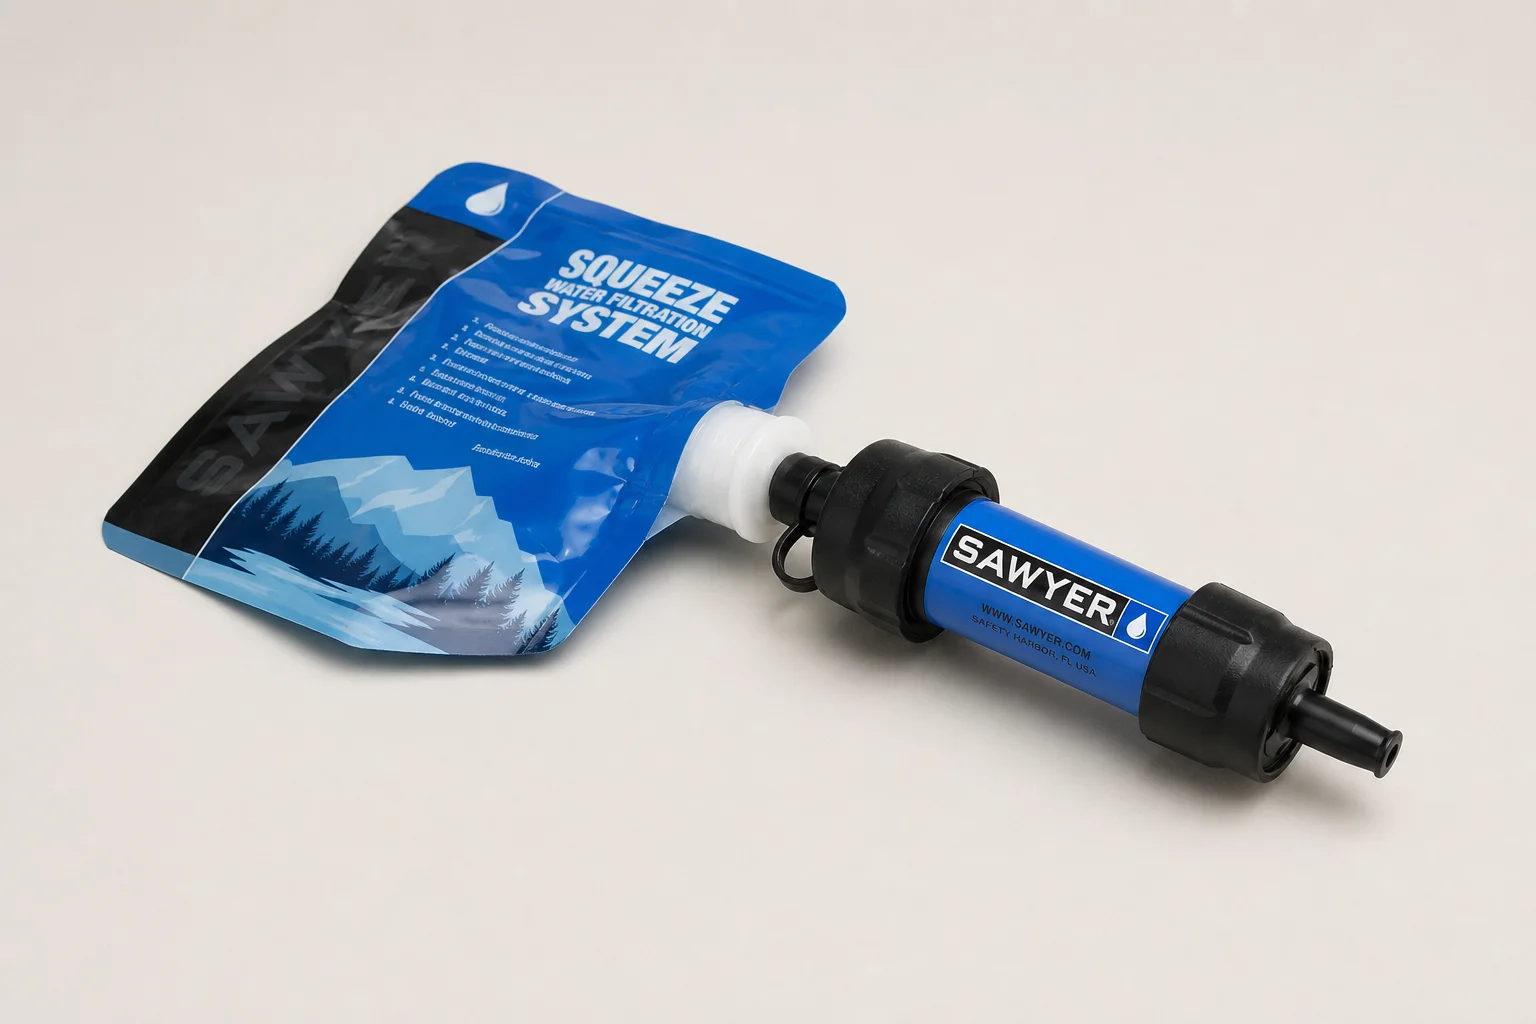
The Sawyer Squeeze handles filtration, paired with two 1 L bottles and a Cnoc Vecto 2L bag. A small coupler from Sawyer turns the filter and the Vecto bag into a gravity setup, so water can be collected at camp and left to filter while other chores happen.
The appeal is that there is nothing to break and nothing to think about. On a route where water is available throughout the day, this setup covers everything needed and removes the temptation to carry a heavy reserve.
Footwear and Apparel
Most of the apparel on this trip came from Outdoor Vitals, chosen for how the pieces layer together rather than for any single standout item.
Danner Trail 2650
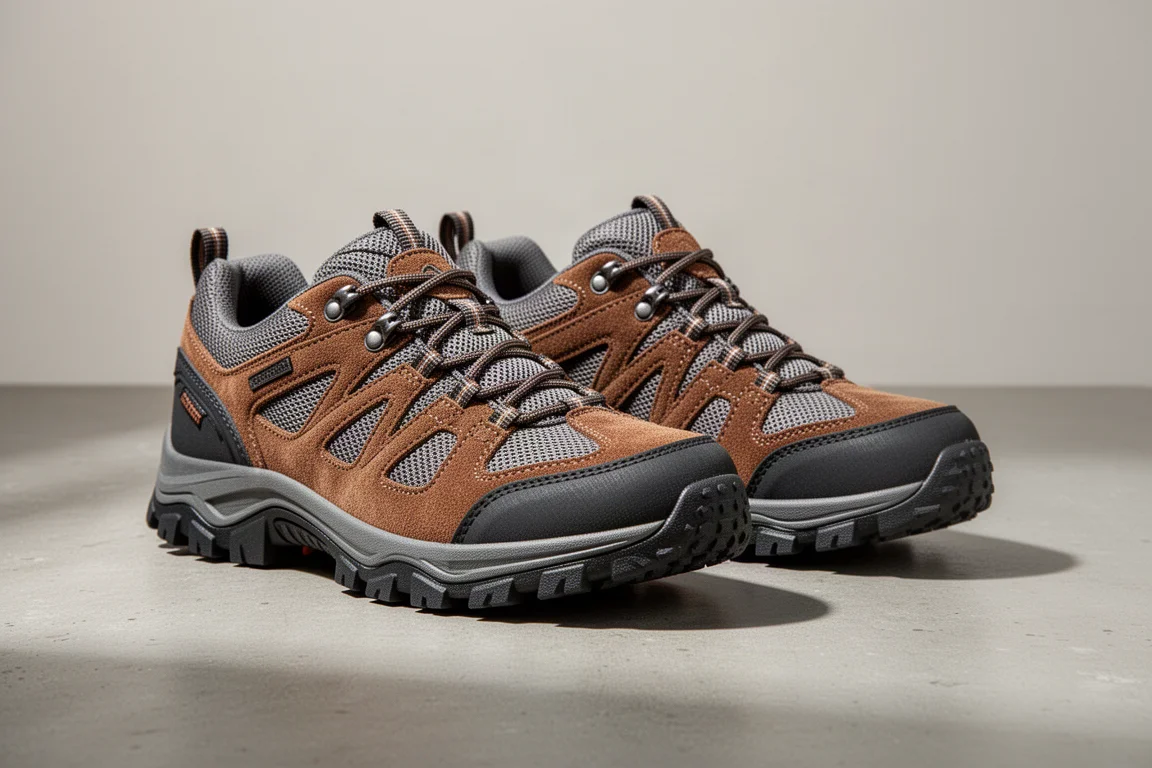
The Trail 2650 has become a default hiking shoe for good reason: it is comfortable from the first mile, it has not produced blisters on long days, and it suits narrower feet with a modest heel-to-toe drop. Aftermarket insoles were added inside for a little more support underfoot.
Shoes are the most personal decision in any loadout, but this pair has been consistent enough across trips to be the one that gets picked without much thought.
Socks, Shorts, and Layering
The Swiftwick Flite XT Trail socks have become the go-to trail sock here, largely because they have never caused a blister and have held up over a long stretch of use. The Outdoor Vitals Skyline Trail shorts were the better of the two shorts carried: lightweight, breathable, cut to fit without a belt, and comfortable enough to stay chafe-free over consecutive long days. The Satu shorts remain the alternative option.
Layering followed a simple three-step system. The Altitude hoodie is the base and sun layer, a piece that performs well enough to be a go-to. The Ventus hoodie sits over it as a mid layer with roughly 25 g/m² of insulation, taking the chill off, blocking wind, and packing down small enough to disappear into the pack. The Vario jacket adds more warmth at roughly 40 g/m², with a full-length zip and hand pockets for cooler starts and evenings. A Tushar rain jacket came along as well, which is close to non-negotiable in mountains where weather can change quickly even when the forecast looks settled.
Cook Kit and Food
The cook kit has stayed essentially unchanged for years, which is usually a sign that it works.
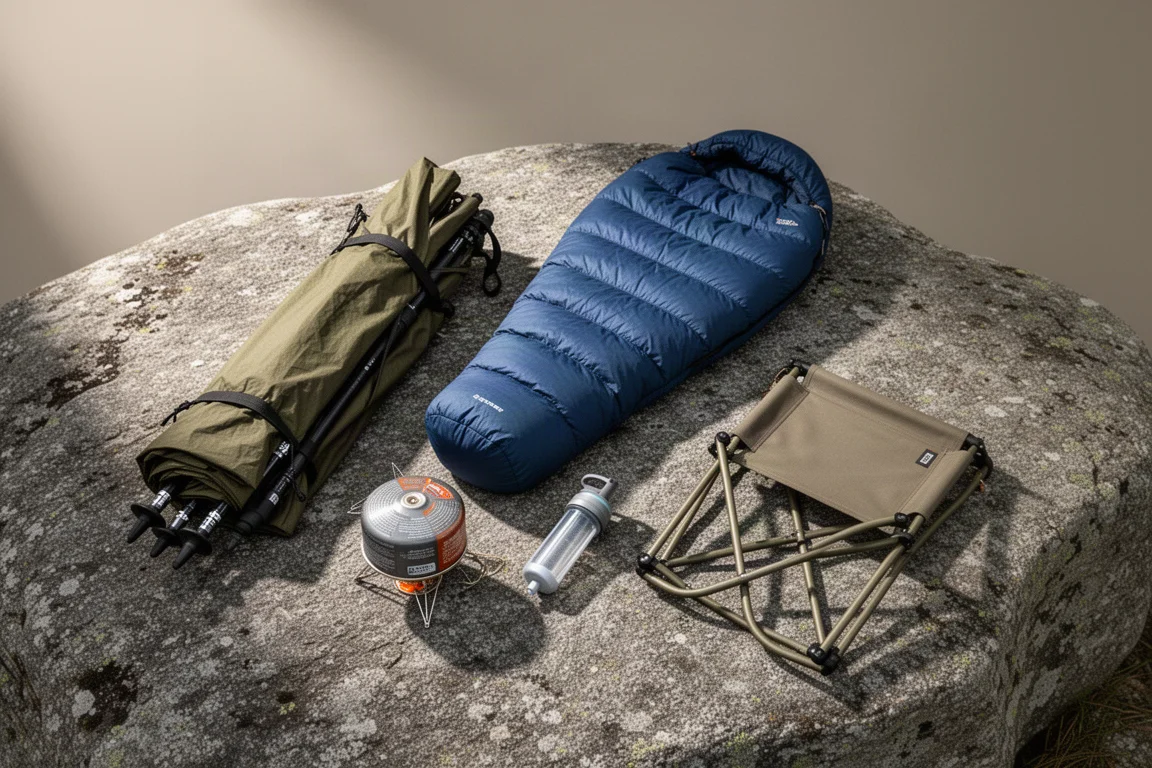
Soto Amicus
The Amicus is a canister stove that has been a long-standing favorite here, and the reason is reliability: it lights and runs without fuss, trip after trip.
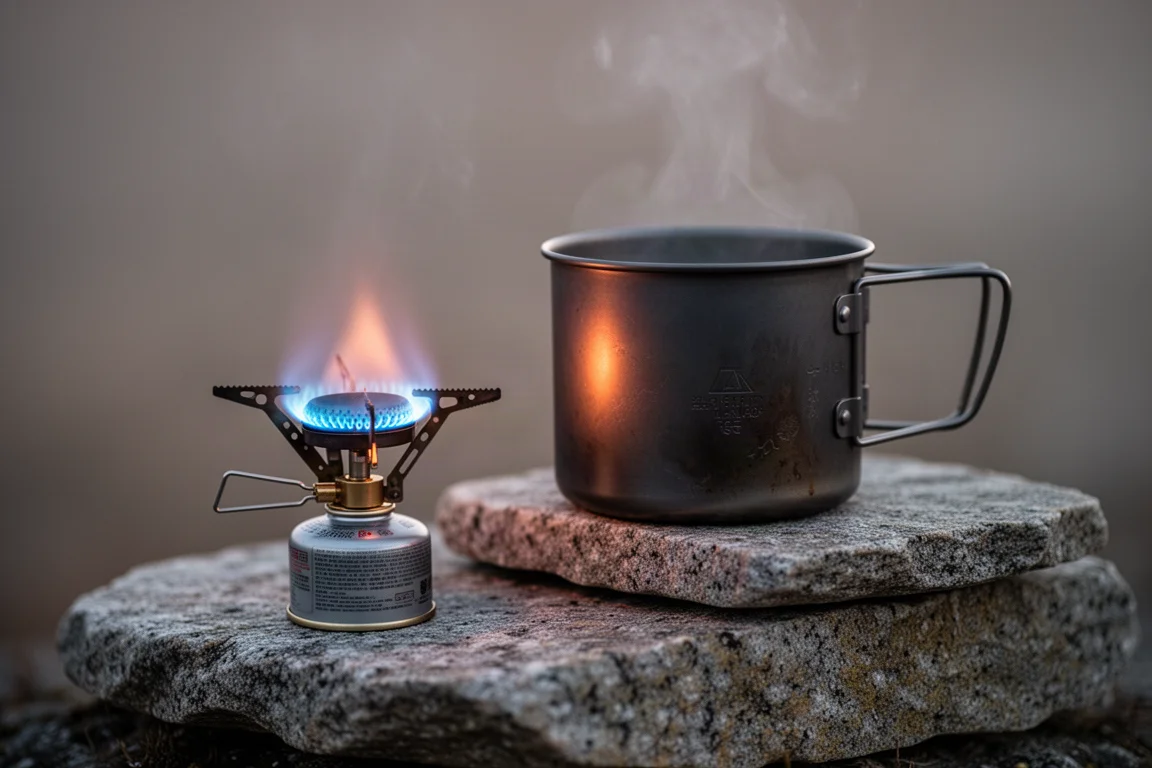
It is paired with a 100 g canister, which is plenty for a short solo trip of this kind. For anyone building a first cook kit, this is the sort of stove that removes a variable from the trip rather than adding one.
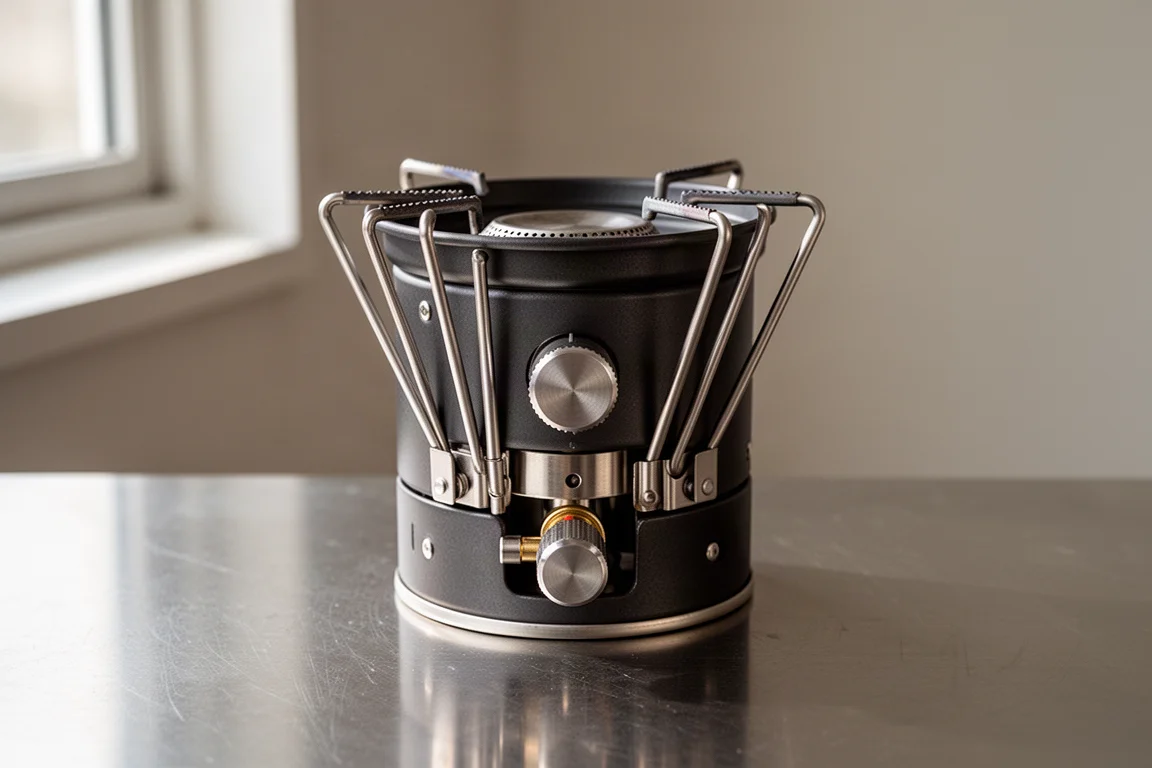
The Rest of the Cook Kit and Food Bag
Everything else in the kit is deliberately minimal: a Toaks Titanium 550ml pot, a microfiber towel that doubles as a way to grab hot pot handles and stops the stove and lighter from rattling inside the pot, and a GSI cup that has outlasted nearly everything else in the pack.
Food was kept simple and high in calories. Tortillas, peanut butter, oatmeal for breakfast, cheese, fruit and grain bars, and a chicken pouch covered the days, while dinners were all Peak Refuel meals for their calorie and protein content. The lesson from this trip was straightforward: three days in, there was still more food in the bag than expected, so portions for shorter trips can be trimmed without much risk.
Electronics and Navigation
Electronics were the heaviest single category, and camera gear accounted for most of that weight.
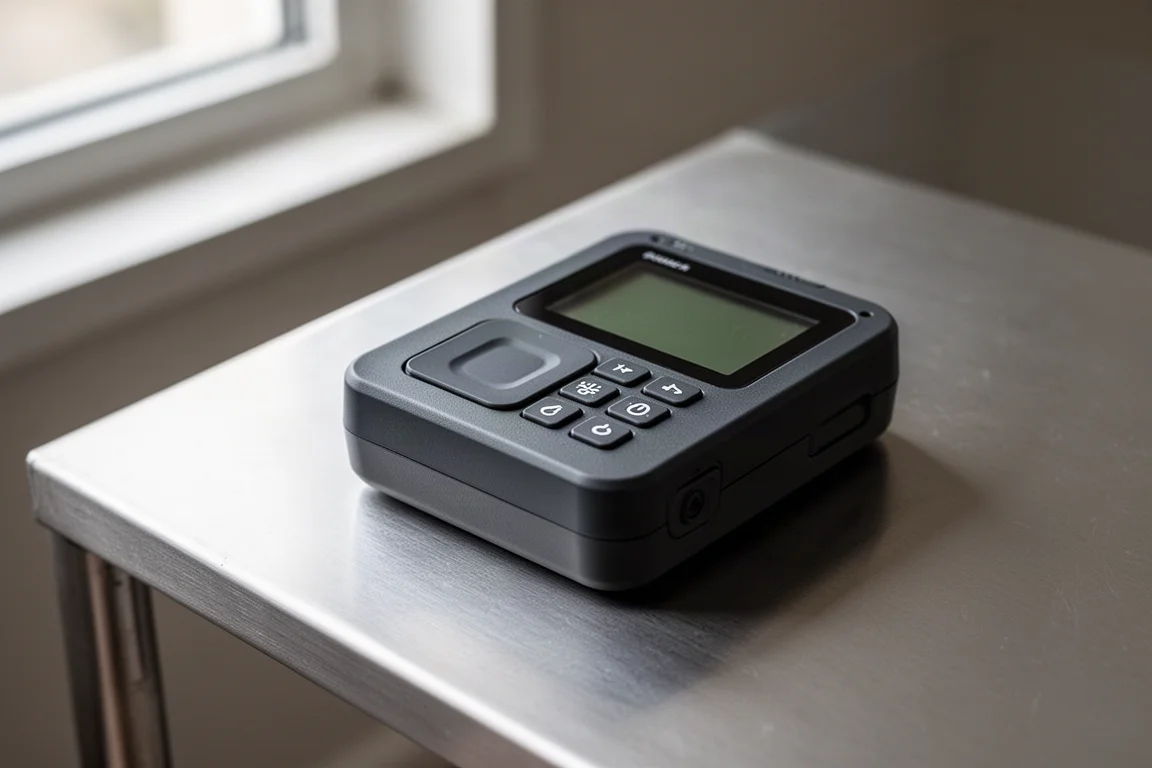
ZOLEO Satellite Communicator
The ZOLEO satellite communicator provides two-way messaging off grid, along with a medical assist feature and SOS capability in an emergency.
For solo travel in areas without cellular coverage, that combination is the piece of gear you hope never to use and never want to leave behind.
The Rest of the Electronics Bag
An iPhone 13 Pro handled navigation with onX Backcountry, along with photos, video, and the occasional movie in the tent at night. Power came from a Nitecore Carbo 20000 battery bank, and a Flextail Tiny Pump X2 inflated the sleeping pad and doubled as a lantern after dark. A Nitecore NU21 headlamp, charging cables, and a Govee Bluetooth thermometer filled out the small items.
Camera gear included a Sony A7C with a 20-70mm f/4 lens on a tripod, spare batteries with a charging case, and a DJI Mic wireless microphone system that stores and charges in its own case. All of it travelled inside a dry bag, which kept the electronics protected from rain and condensation.
Camp Comfort and Extras
These are the items that turn a functional camp into an enjoyable one, and each one has to justify the grams it adds.
The fishing kit is a good example: a Redington Crux 8’6” 4-weight fly rod with a Rise reel, plus fly boxes, tippet, hemostats, and clippers. A 50 ft length of line and a carabiner kept food hung and away from chipmunks. A pair of Maven B.7 10x25 binoculars earned their place on a trip with long ridgelines, making it easy to pick out marmots and pikas on distant slopes.
Bug protection came in three forms: a Flextail Tiny Repel, a Nitecore EMR06 repellent device, and Sawyer insect repellent lotion. The two devices went unused because the bugs never arrived in force, but in a wetter season they would have been welcome. A Benchmade Mini Bugout in CF Elite was the knife carried, and medicated lip balm finished the small items.
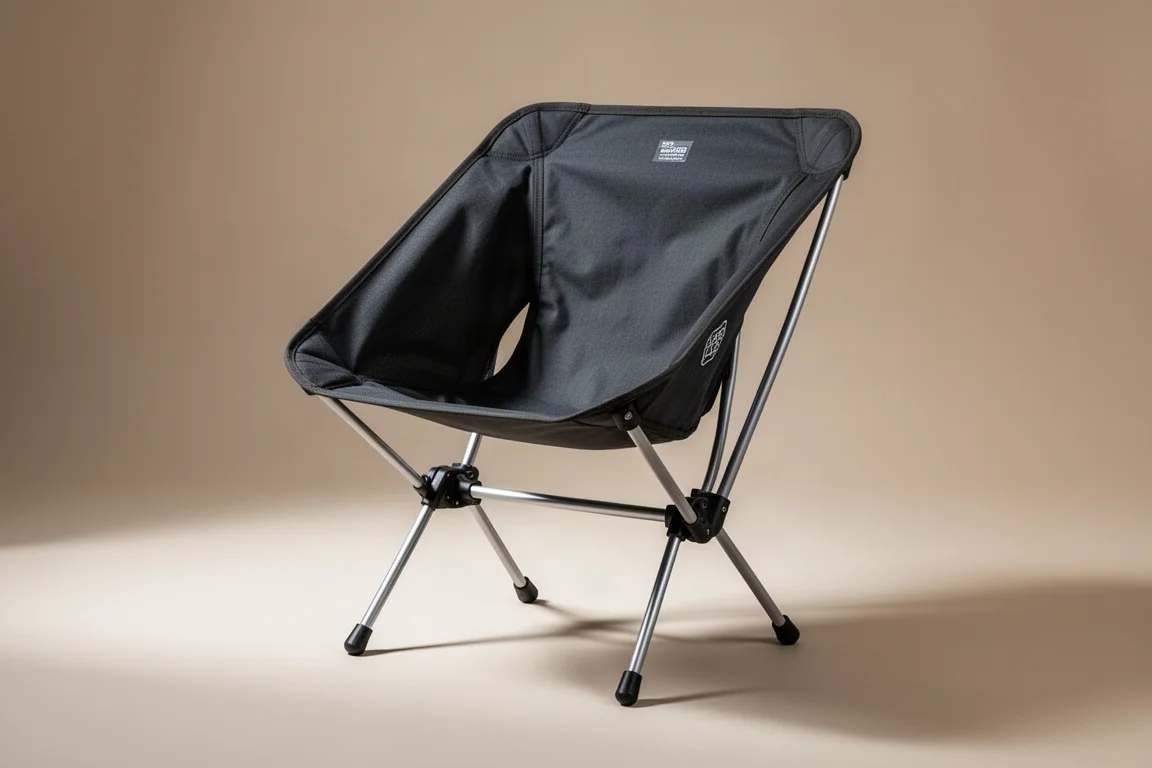
Big Agnes Skyline UL Chair
The Skyline UL chair is the definition of a luxury item that keeps earning its weight. It packs down to a small bundle, goes together quickly at camp, and turns the end of a long day into something to look forward to.
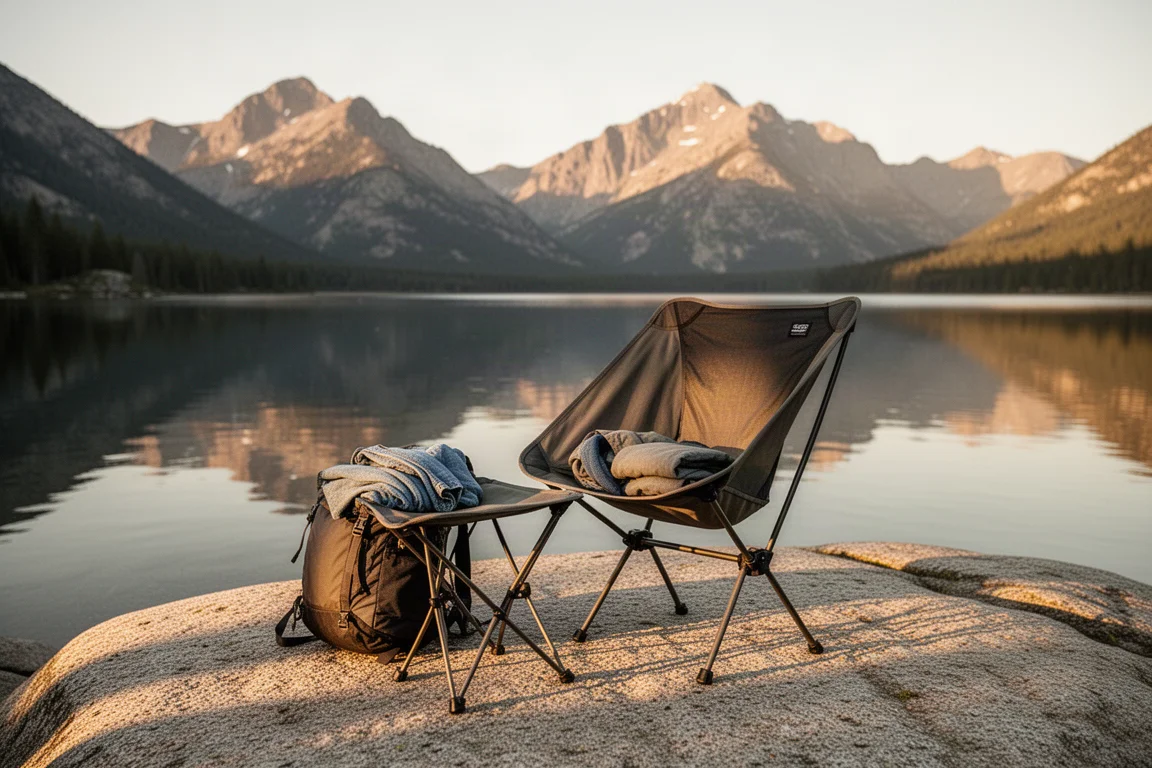
Weight-focused backpackers will leave it at home, and that is a fair call. For anyone whose enjoyment of a trip depends on being able to sit back and watch the light change over a ridge, this is the item that pays for itself.
Buying Advice for a Similar Loadout
Start with the shelter and the sleep system, because those two decisions determine whether you actually sleep. A small-footprint trekking pole shelter is worth serious consideration where campsites are tight, provided you already carry trekking poles.
Keep water treatment proportional to the route. Where water is frequent, a squeeze filter plus a 2 L collection bag covers a full day and camp without adding reserve capacity you will never drink.
Give footwear and socks the most patience. The Trail 2650 suits narrower feet, and sock choice has as much influence on blister risk as shoe choice does. A spare pair of socks and a dedicated sleep layer are cheap insurance.
Build layers additively: a base and sun layer, a light mid layer, a warmer insulated jacket, and a rain shell. That covers most mountain conditions without carrying one heavy piece that only works in a narrow temperature band.
Electronics are where weight creeps in quietly. A power bank, a headlamp, and a satellite communicator cover the essentials, while camera gear is a choice rather than a requirement.
Finally, audit comfort items honestly. A camp chair and a pair of binoculars are easy to justify when they change how a trip feels. Three forms of bug protection is one or two too many on a dry route, even if they would be welcome in a wetter season.
Conclusion
Eight pieces carried this loadout: a compact trekking pole shelter, a dependable 20°F down bag, an insulated pad with genuine support, a squeeze filter system that stays out of the way, a comfortable pair of hiking shoes, a stove that simply works, a satellite communicator for peace of mind, and a camp chair that makes the evenings worth the weight.
The supporting items matter just as much, from the layering pieces that handle changing conditions to the small electronics that keep navigation and power running. Together they form a loadout that handled wind, rain, tight campsites, and cold nights without asking for much in return, which is the standard any backpacking kit should be measured against.
Further reading
Related Reviews

Backpacking Gear
Building a 10 lb Base Weight: An Ultralight Backpacking Gear List
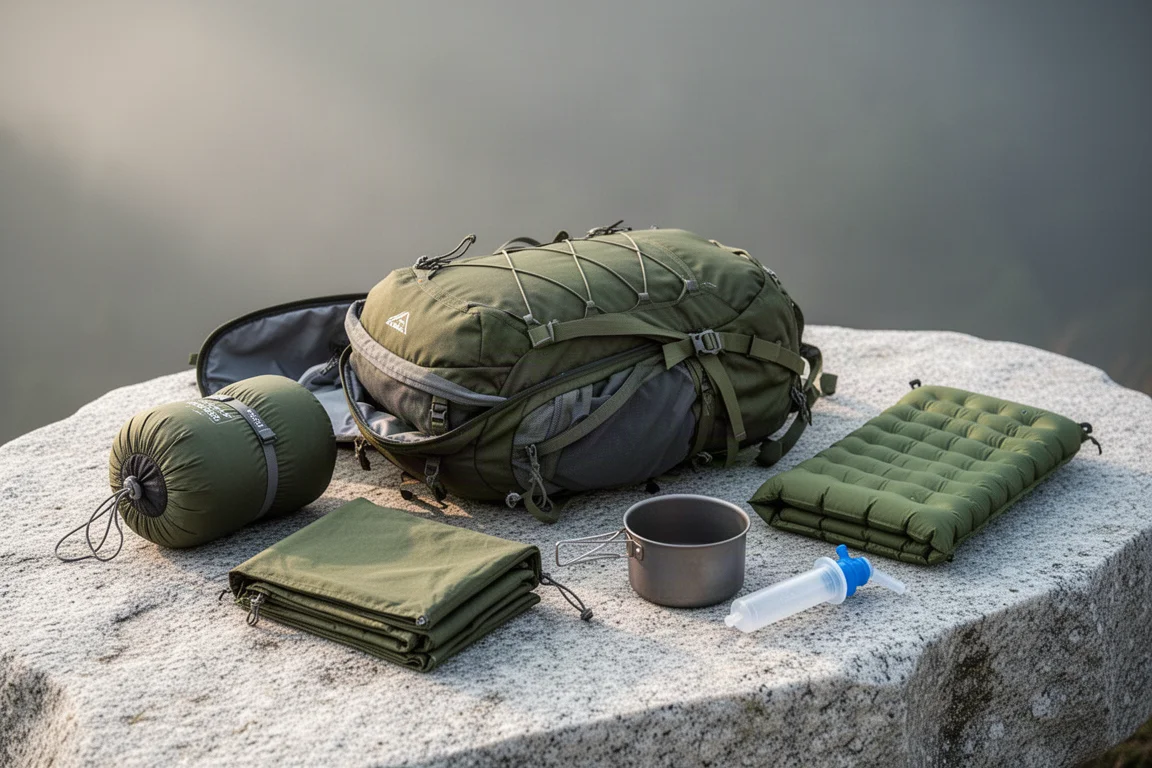
A practical walkthrough of the ultralight pieces behind a 10 lb base weight, from a 765 g pack and a roomy one-person tent to a full camp chair and a dependable water filter.
Backpacking Gear
A 15-Pound Lightweight Backpacking Gear List for Solo Trips
A beginner-friendly 15-pound backpacking setup built from easy-to-find gear, with notes on what each piece does, how it packs, and where to spend your attention.
Backpacking Gear
8 Ultralight Backpacking Gear Upgrades Worth Carrying
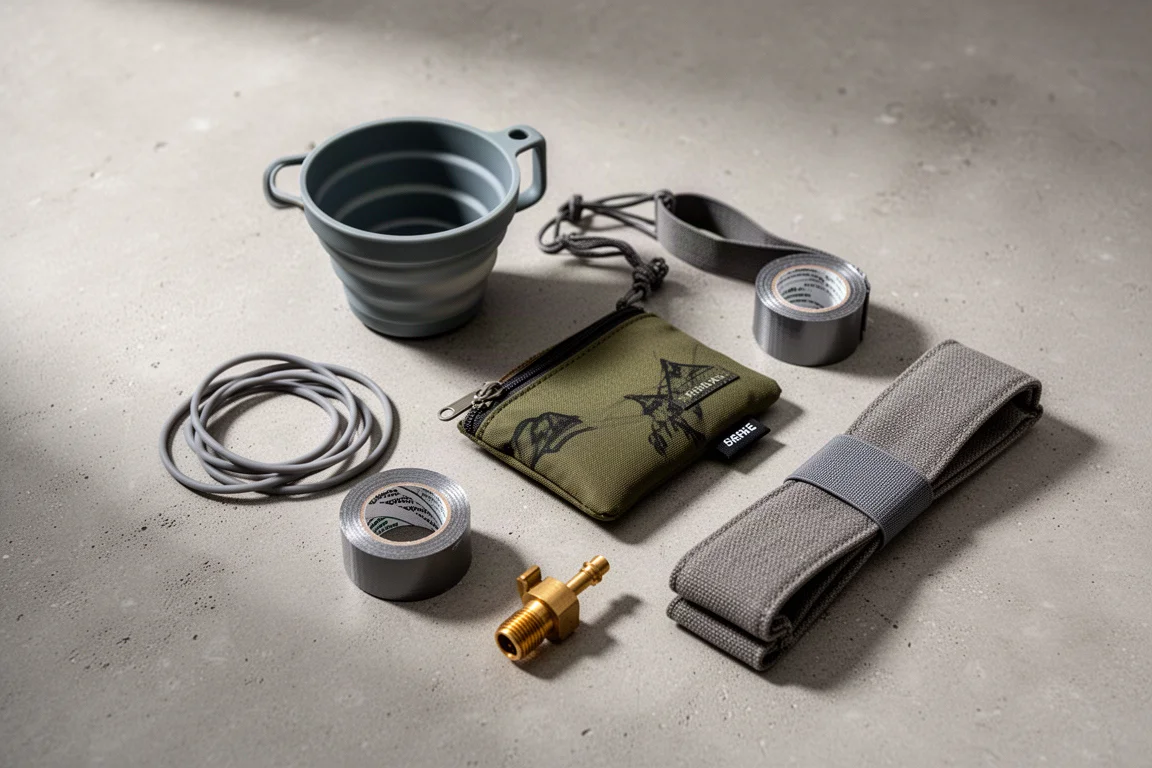
Eight small, affordable backpacking upgrades that solve real trail annoyances, from a pillow that stays put to a fuel valve that rescues leftover canister gas.