Backpacking Gear
Backpacking Gear List 2026: Eight Core Items and How They Pack
A practical three-season backpacking kit built around eight core items, from the pack and quilt to the canister, stove, shelter, and water filter.
Introduction
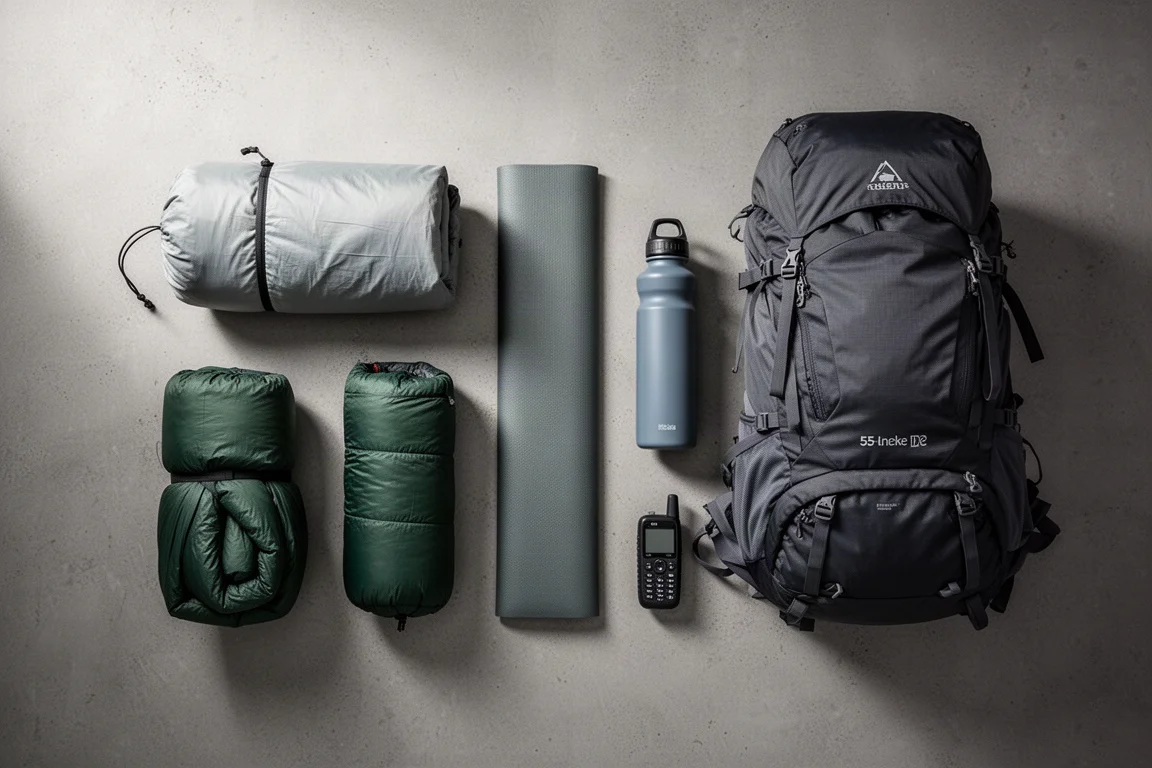
A backpacking kit is never really finished. Pieces come and go as seasons change and as new gear earns trust on real trips, and the list below reflects a kit that has shifted noticeably over the past year. Most of it stays the same from summer through late autumn. The pack, the sleep system, the shelter, and the water setup all carry over, while colder trips simply add warmth and rain protection on top.
This guide covers eight items that form the core of that kit, along with a note on how the load is packed and what the whole thing weighs before food and water go in. Packed as described, the setup comes in at roughly 17 lb.
How This Kit Comes Together
Packing strategy matters as much as the gear itself. The heaviest items sit in the middle of the pack, close to the frame and against the back, so the load carries on the hips rather than pulling on the shoulders. Around those heavy items, softer gear is stuffed into the gaps to stop anything from shifting on the move.
The bottom of the pack belongs to the sleep system, the main body holds food storage and the shelter, and anything needed quickly during the day lives in the lid or the side pockets. Rain protection and small warm layers go in the stretchy front pocket, where they can be reached without taking the pack off.
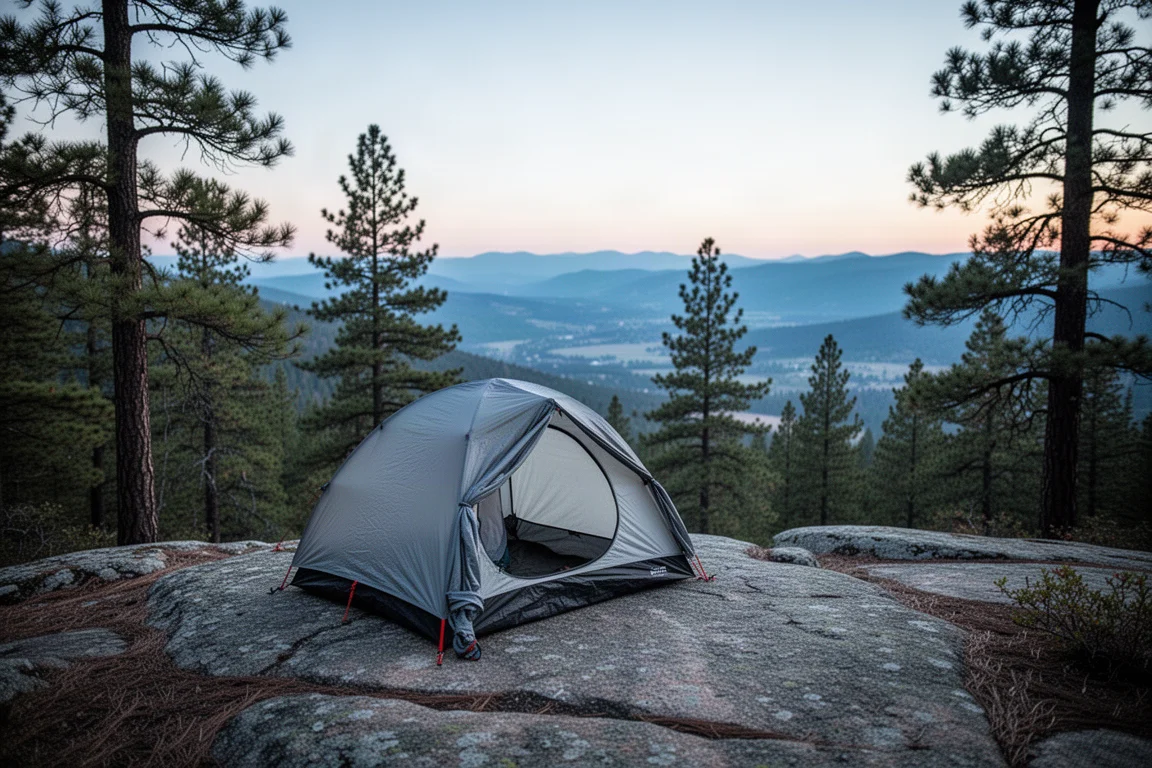
Season to season, the framework stays the same. Cold-weather trips mean more food, which means a larger canister and a heavier pack, plus a rain jacket instead of an umbrella and an extra warm layer or two. The structure of the load itself does not change.
The Pack: REI Flash 55
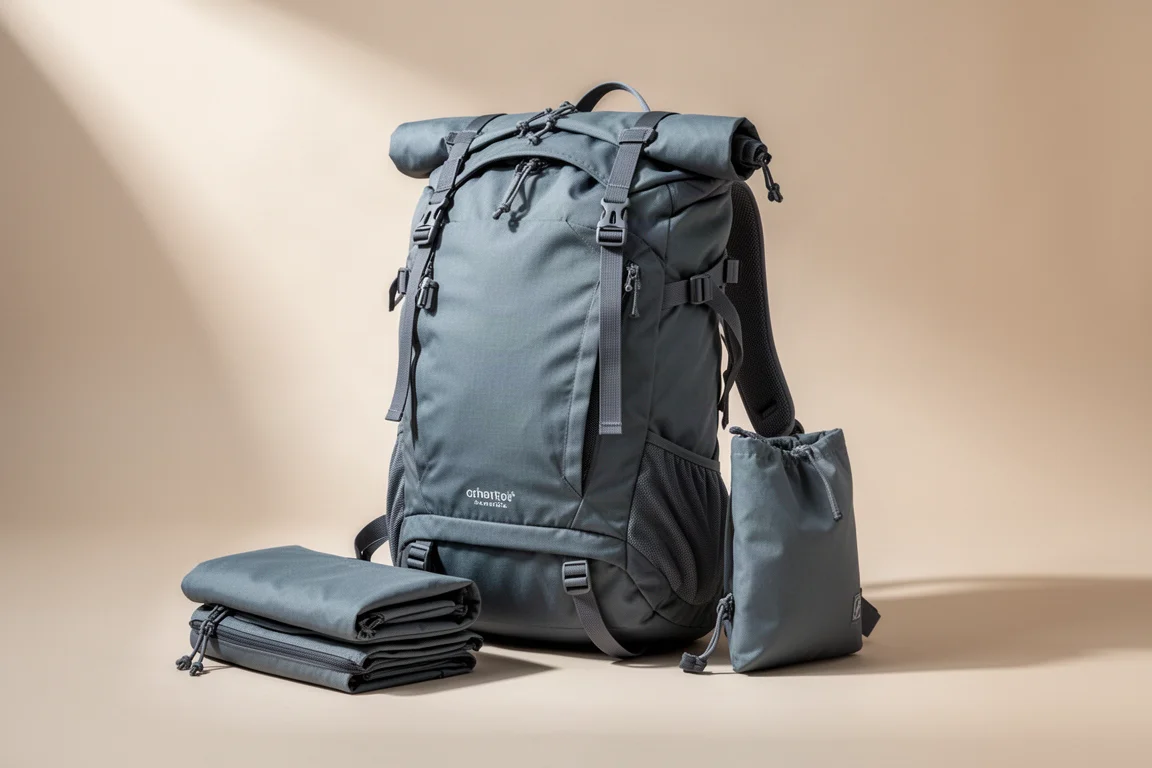
The REI Flash 55 is the anchor of this kit, and it is a pack that keeps earning its place. This is the older version rather than the current redesign, and it stays in service until it genuinely wears out. Its appeal is straightforward: a simple, light harness and a layout that is easy to pack without overthinking it.
The only modification is a pair of webbing straps added across the base of the pack. The Flash 55 is designed to accept them, and they create an external carry point for a thin foam pad that would otherwise take up space inside. That single change adds a useful amount of flexibility for very little weight.
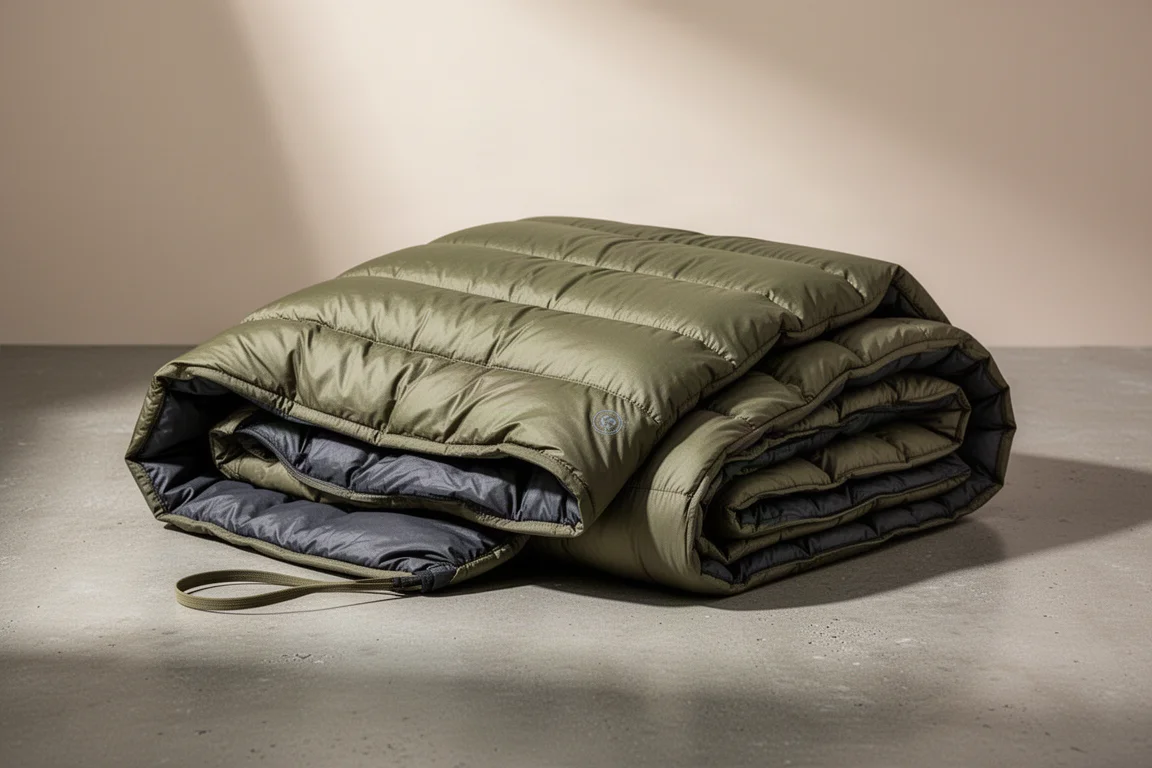
The Sleep System: Enlightened Equipment Revelation Quilt
The Enlightened Equipment Revelation is a 20°F quilt, and it has been the only sleep insulation used on backpacking trips this year. A quilt saves weight by removing the material that a sleeping bag would compress beneath the body, and it works best when paired with a pad that has enough insulation of its own.
The plan is to stretch this one quilt across three or more seasons by adding a liner and warm base layers rather than buying a second, warmer bag. That approach suits hikers who sleep warm and who are comfortable adjusting layers through the night. In wet conditions the quilt goes into the bottom of the pack inside a pack liner, which is the simplest protection against a soaked sleeping system. A dedicated pack liner is convenient, but a heavy-duty compactor bag does the same job.
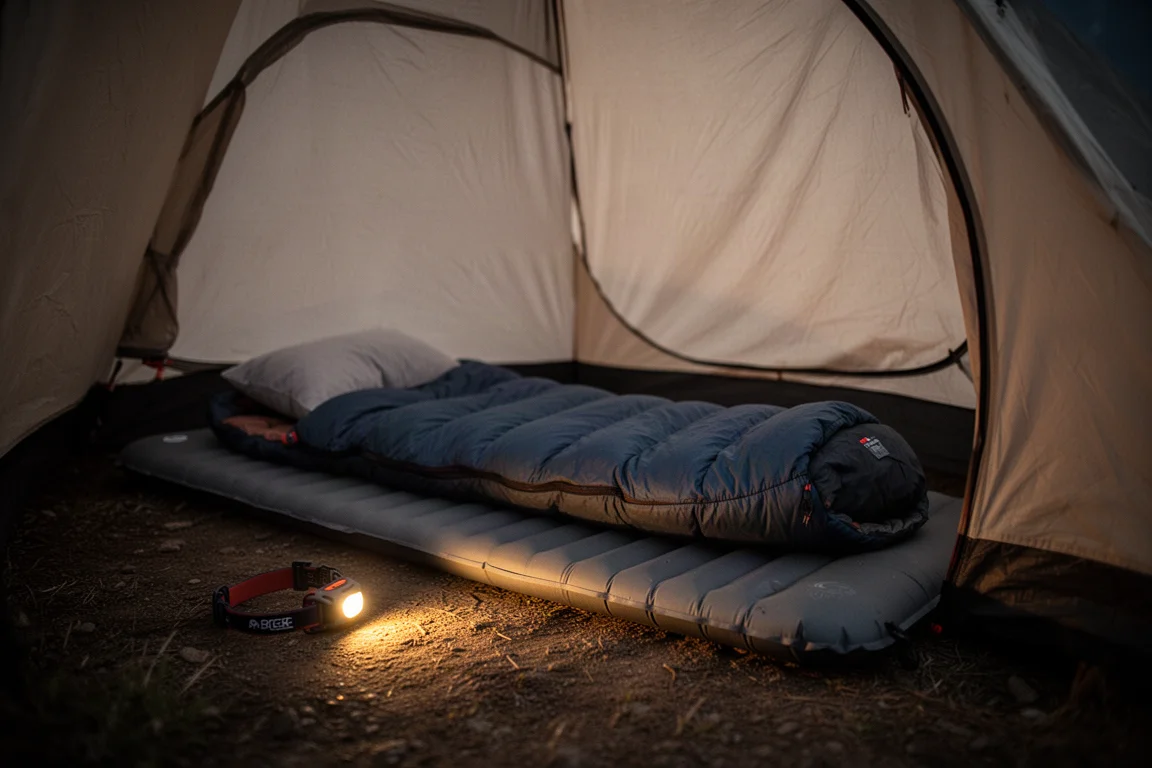
Because a quilt has no hood or draft collar, the head end needs a little more attention. A camp pillow that worked well inside a sleeping bag no longer stays in place on top of a quilt and a pad, so the current solution is to stuff a jacket inside a neck gaiter and use that as a pillow instead.
The Sleep System: Nemo Tensor Insulated Sleeping Pad
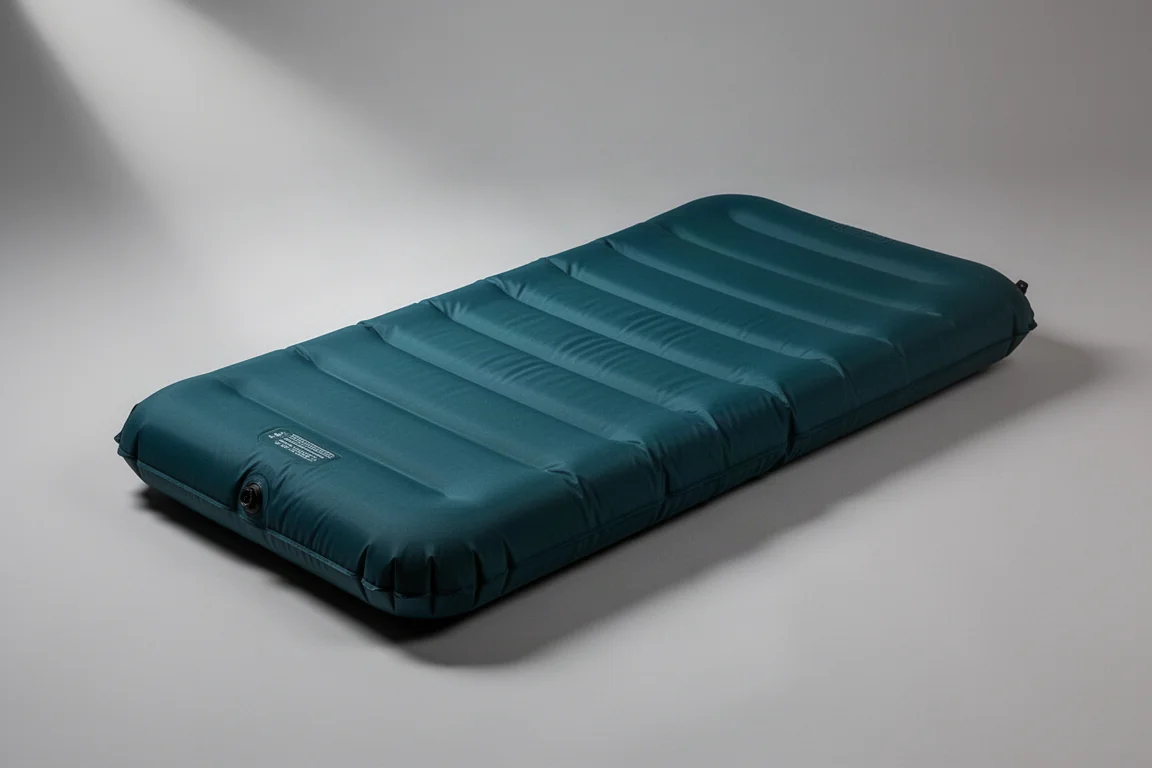
The Nemo Tensor Insulated has been the sleeping pad of choice for years and remains the default for the vast majority of trips. It balances packability, comfort, and warmth well enough that there has been little reason to look elsewhere, and it pairs cleanly with a quilt.
A more heavily insulated winter pad is on the way for colder trips, but that is an addition rather than a replacement. For three-season use, this pad covers the range.
Food Storage: BearVault Bear Canister
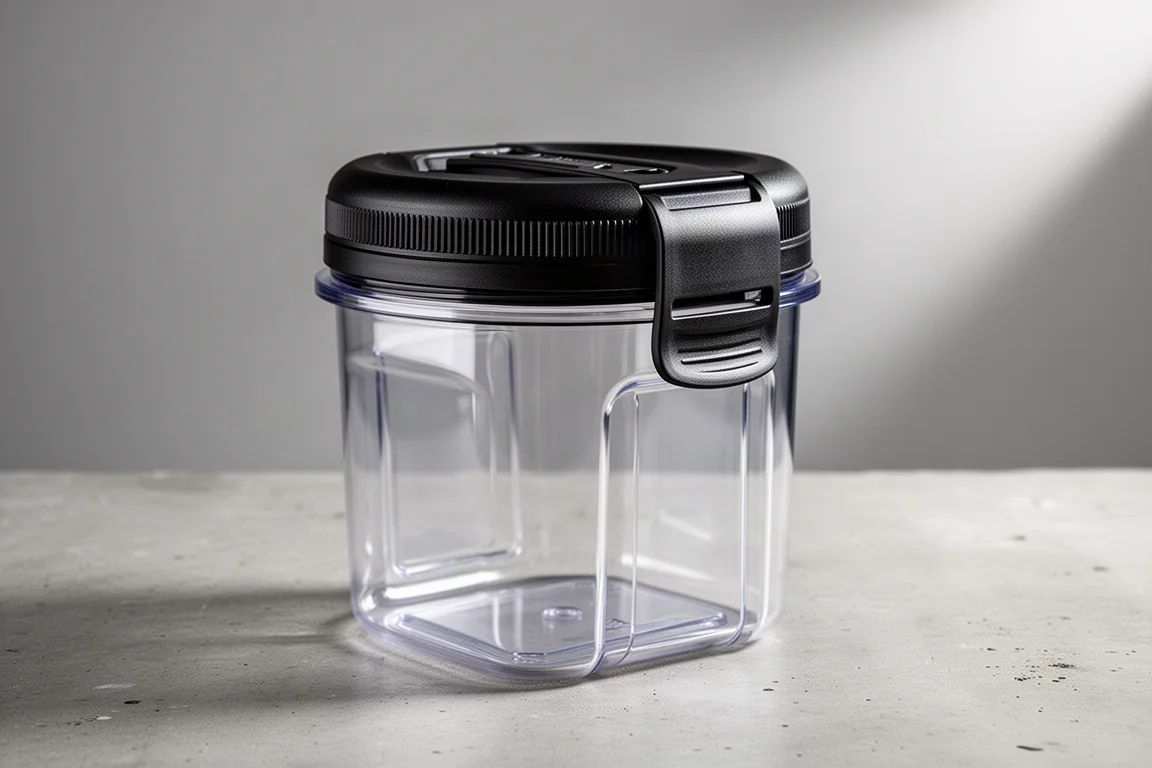
A bear canister is a year-round item here, not a seasonal one. The midsize canister in this kit is the one that gets used most, and it becomes essential in cold weather, when the extra calories needed to stay warm translate into a noticeably larger food load. Carrying the bigger canister is simply easier than trying to compress food into something smaller.
Packing the canister is a deliberate step. It goes in sideways, so the lid faces one side of the pack and the base faces the other, sitting as close to the frame as possible. Everything else is then packed around it to lock it in place. Any leftover space inside the canister gets filled with items that will not be needed while hiking, such as a small toiletry kit, string lights for camp, and the cook kit.
Cooking: Soto WindMaster Stove
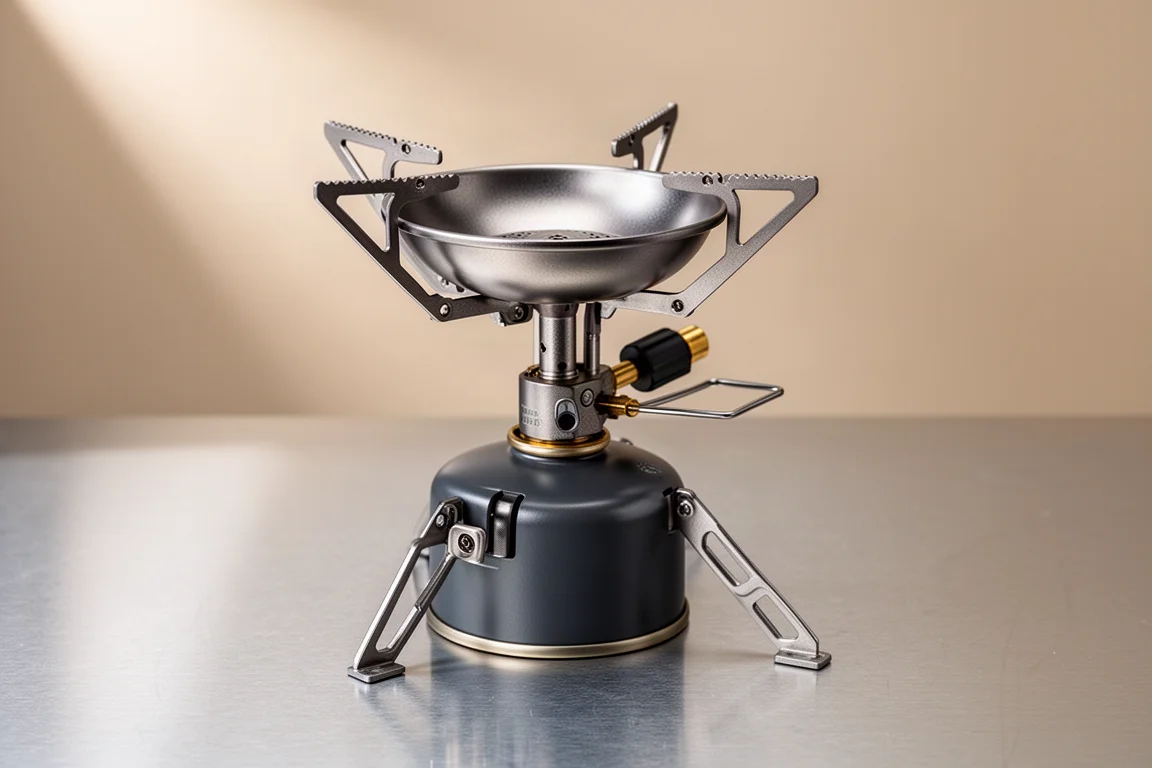
The Soto WindMaster has become a favourite among the stoves used over the years. Its strengths are practical ones: it boils water quickly and holds up well in cold and windy conditions, which matters on exposed campsites where a flame that keeps burning is worth more than a stove that is marginally lighter.
The stove nests inside the pot along with a fuel canister at the bottom. It takes a little arranging to get everything to sit flat, but the whole cook kit then packs as a single unit and can be dropped into whatever space remains in the canister or the main compartment.
For anyone weighing up stove options, the trade-off is usually between integrated systems that are fast but bulky and small canister stoves that pack down tightly. This one sits firmly in the second category.
Shelter: Durston X-Mid 2
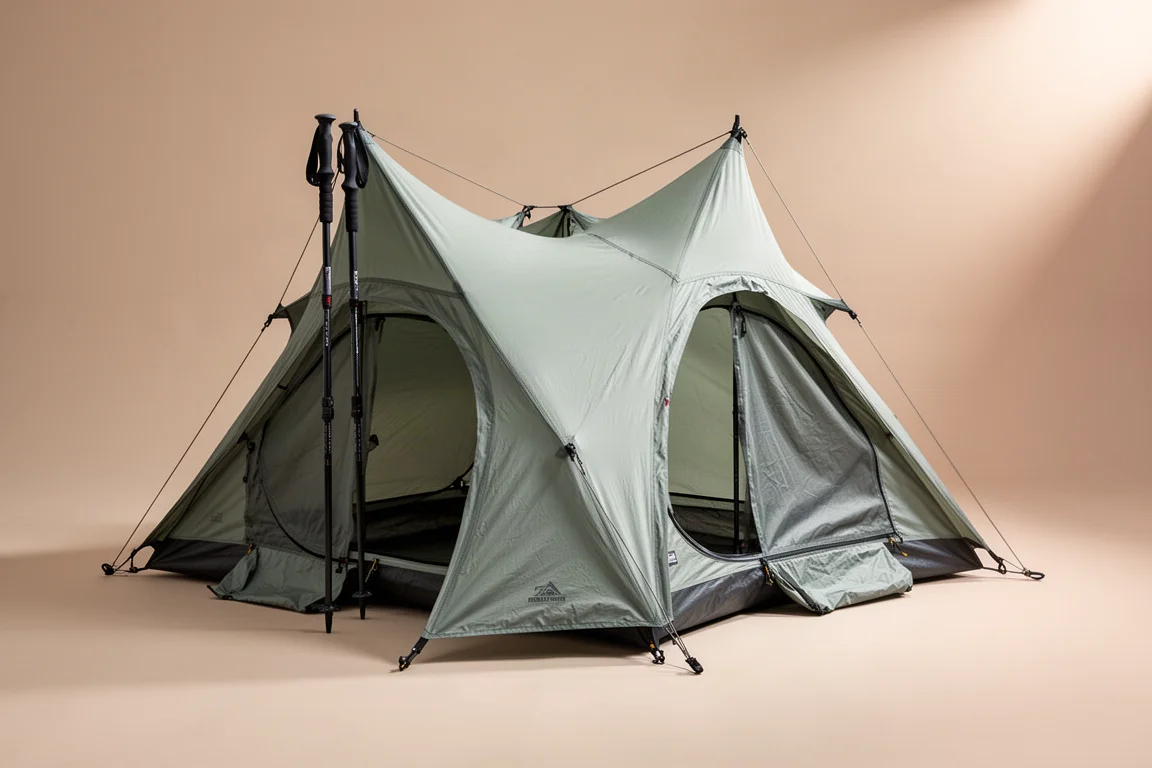
The Durston X-Mid 2 is the newest addition to the kit and a shelter with a strong reputation among backpackers. It is a trekking-pole tent rather than a freestanding one, so there are no poles in the package, only the fabric body. That is a deliberate trade: leaving the poles at home saves weight, and trekking poles that are already being carried do the structural work.
The tent packs into the main body of the pack. Because it is new to this kit, it has not yet been used on a trip, and the honest expectation is that the first few pitches will involve some learning. For hikers who already carry trekking poles and want a light two-person shelter with a straightforward pitch, it is an obvious candidate.
A lightweight synthetic jacket and a grid fleece hoodie get stuffed around the bear canister in this section of the pack, both to hold the canister in place and to keep the softer layers within easy reach.
Weather Protection: Patagonia Torrentshell 3L Rain Jacket
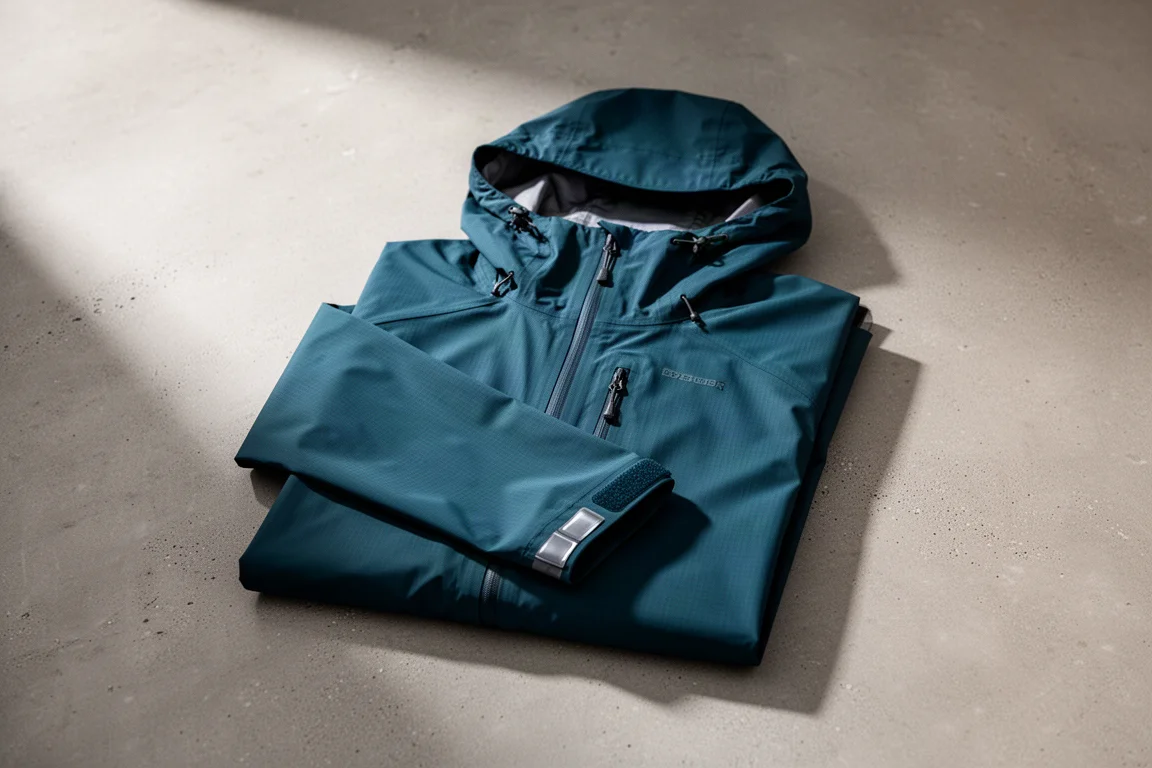
The Patagonia Torrentshell 3L lives in the large stretchy pocket on the front of the pack, where it can be pulled out without stopping to unpack. For most of the year an umbrella handled the rain, but as temperatures drop a three-layer jacket becomes the better choice, and it doubles as a wind layer above the treeline.
Liner gloves and a wool neck gaiter ride in the same pocket. Keeping the small warm items with the rain shell means one grab covers the most common change in conditions.
Water Treatment: Sawyer Squeeze Filter
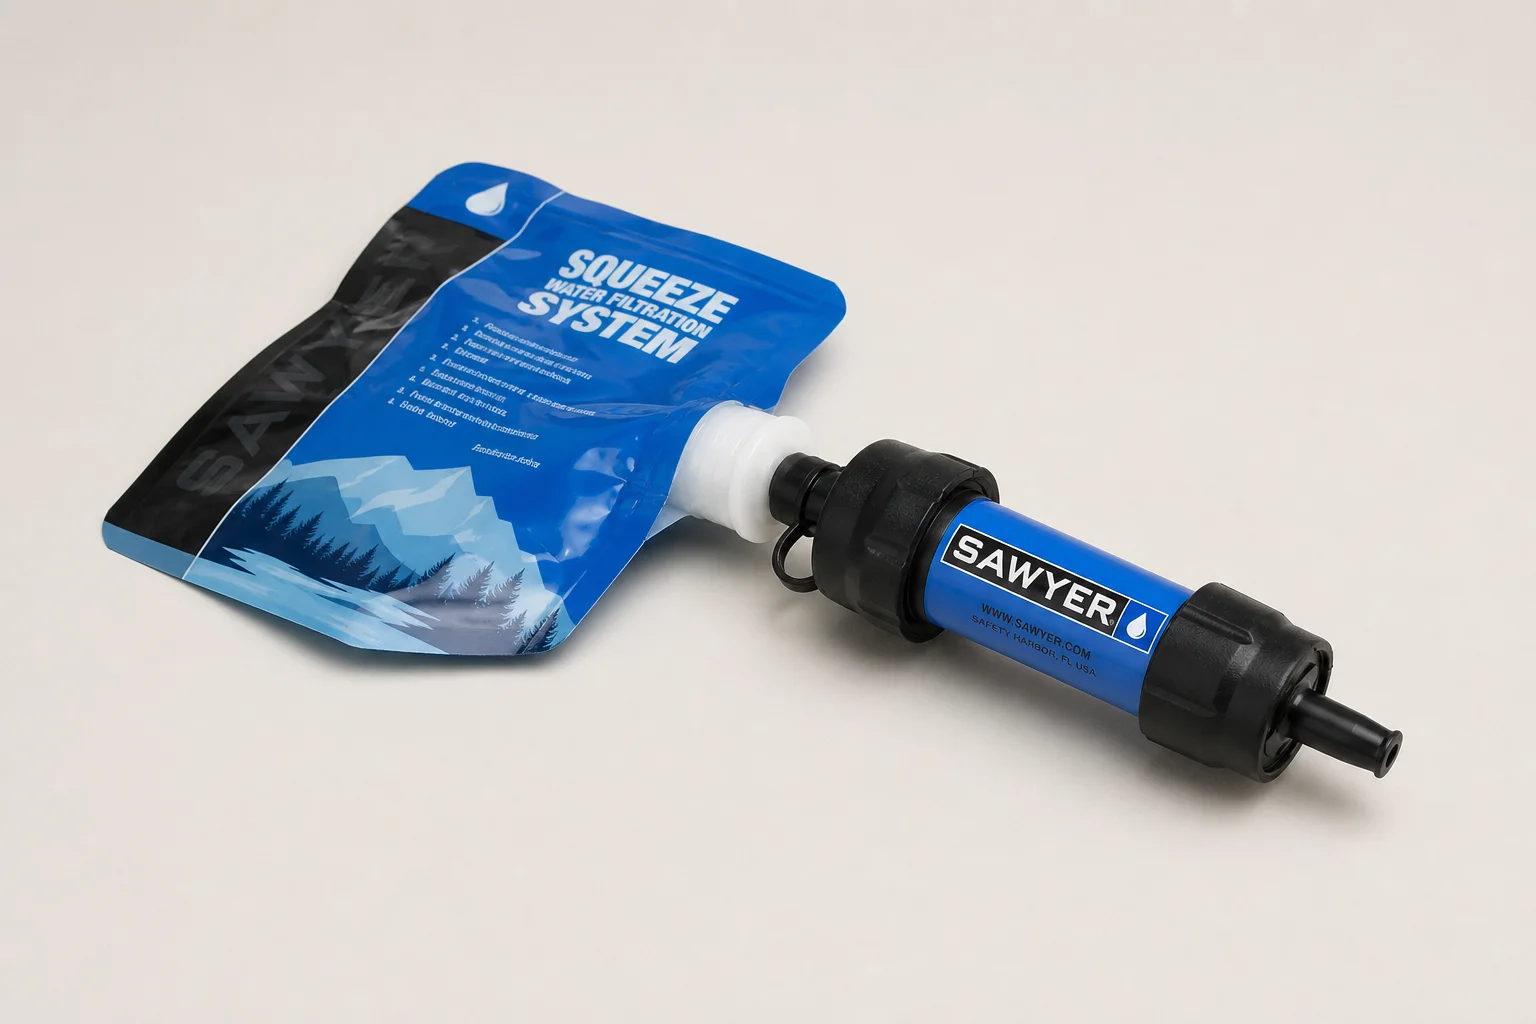
The Sawyer Squeeze filter is paired with a two-litre squeeze pouch and a one-litre collapsible bottle, and that combination covers most trips. A one-litre hard bottle also comes along, mainly for cold weather: boiling water can be poured into it and the sealed bottle used as a heat source inside the quilt at night. An electrolyte mix with a high sodium content and no sugar makes that bottle worth drinking as well as worth sleeping next to.
Cold weather also changes how the filter is stored. The filter and pouch ride in a side pocket, and when temperatures drop the filter gets wrapped in a neck gaiter or a hat to keep the internal hollow fibres from freezing.
Buying Advice
If you are building a kit from scratch, the pack and the sleep system deserve the most attention. Those two items decide whether a trip is comfortable, and they are the hardest to work around if they are wrong. A quilt that matches your sleeping temperature and a pad with enough insulation for the conditions will do more for a night’s rest than any accessory.
Shelter is the next decision point. A trekking-pole tent saves weight but requires poles and a bit of practice to pitch, while a freestanding tent is heavier and simpler. Water treatment, a stove, and small comfort items are comparatively inexpensive, and they are worth buying early because they make every trip easier.
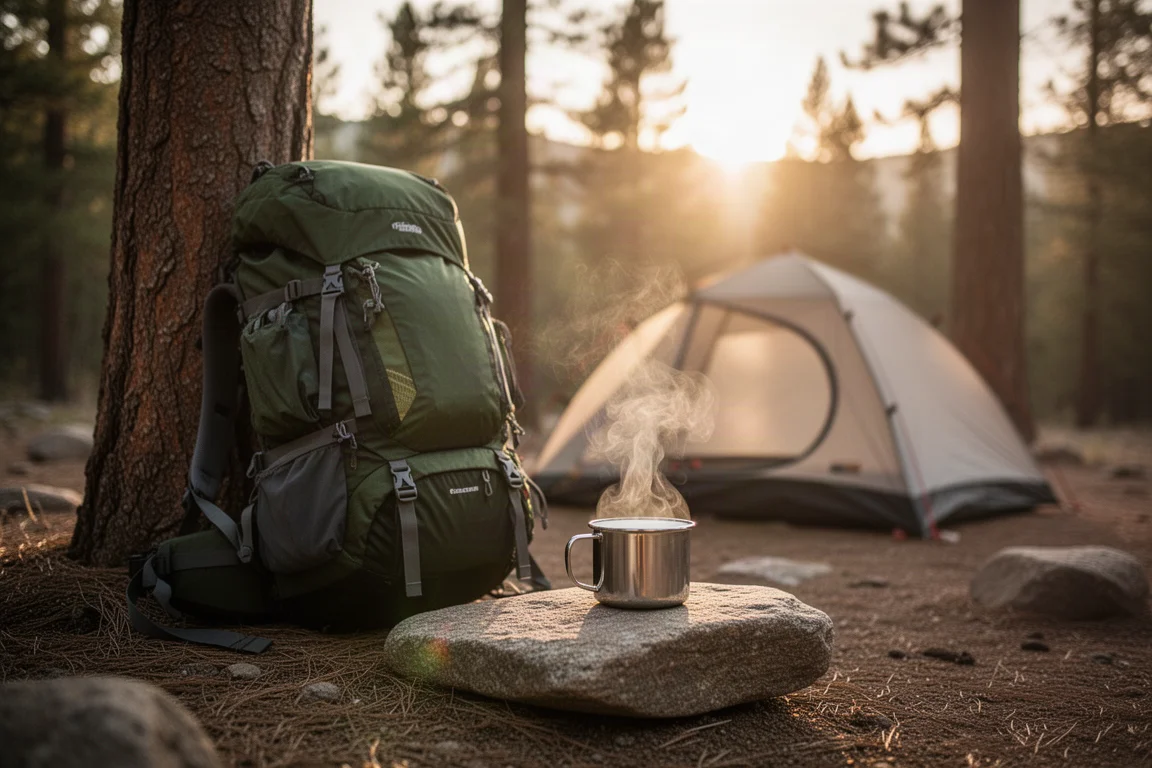
Food storage is the one category where local rules, rather than personal preference, usually decide what you carry. A canister that fits the food you actually bring is more useful than one that is technically lighter but too small for a cold-weather food load.
Cold-weather trips also shift the budget in a quiet way. More food, a heavier canister, and a proper rain jacket all add weight and cost at the same time. Building the three-season kit first and layering winter items on top is the more economical path.
Conclusion
The eight items above form a kit that works across most of the year, with a few seasonal swaps for cold and wet conditions. The pack and the quilt set the tone, the canister and the shelter handle the structure of the load, and the stove, rain jacket, and filter take care of the daily routines that make a trip run smoothly.
Weighed packed and without food or water, the setup lands around 17 lb. That number is not a target or a judgement, just a useful reference point. Once food and water go in, the pack gets considerably heavier, and knowing the base figure makes planning easier. Start with the items that affect comfort and safety, add the rest as trips demand, and let the kit evolve from there.
Further reading
Related Reviews

Backpacking Gear
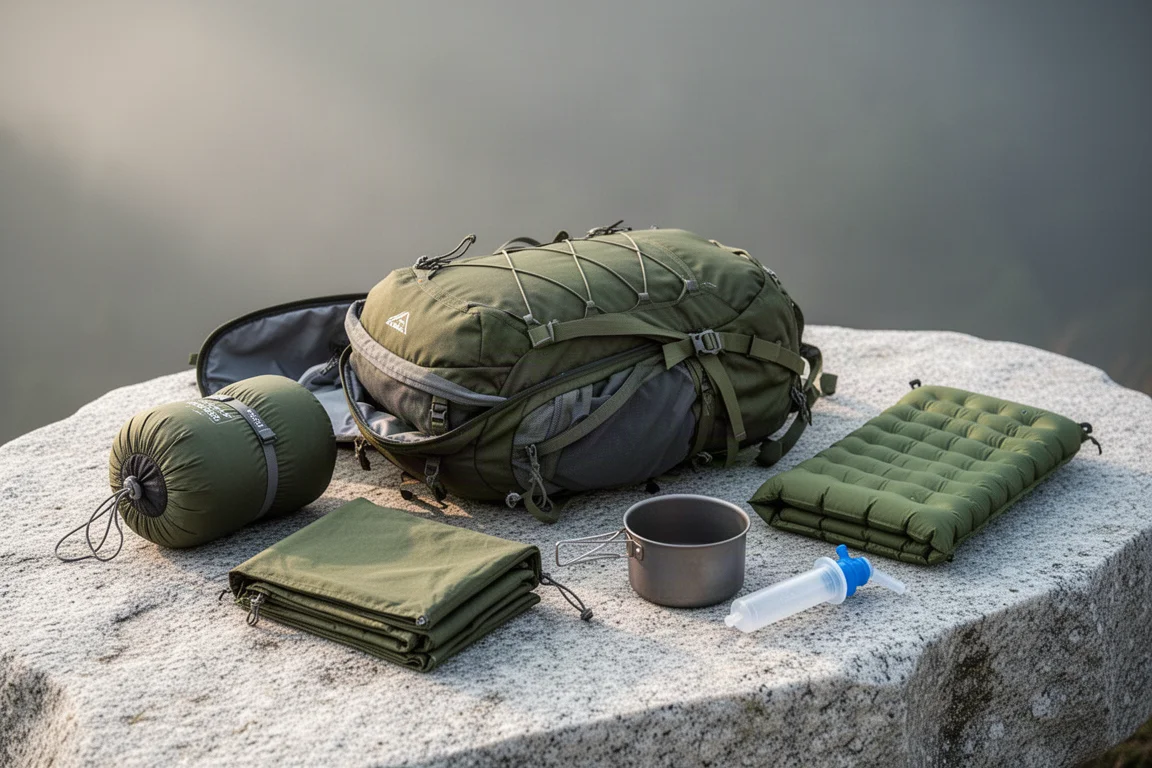
Building a 10 lb Base Weight: An Ultralight Backpacking Gear List
A practical walkthrough of the ultralight pieces behind a 10 lb base weight, from a 765 g pack and a roomy one-person tent to a full camp chair and a dependable water filter.
Backpacking Gear
A 15-Pound Lightweight Backpacking Gear List for Solo Trips
A beginner-friendly 15-pound backpacking setup built from easy-to-find gear, with notes on what each piece does, how it packs, and where to spend your attention.
Backpacking Gear
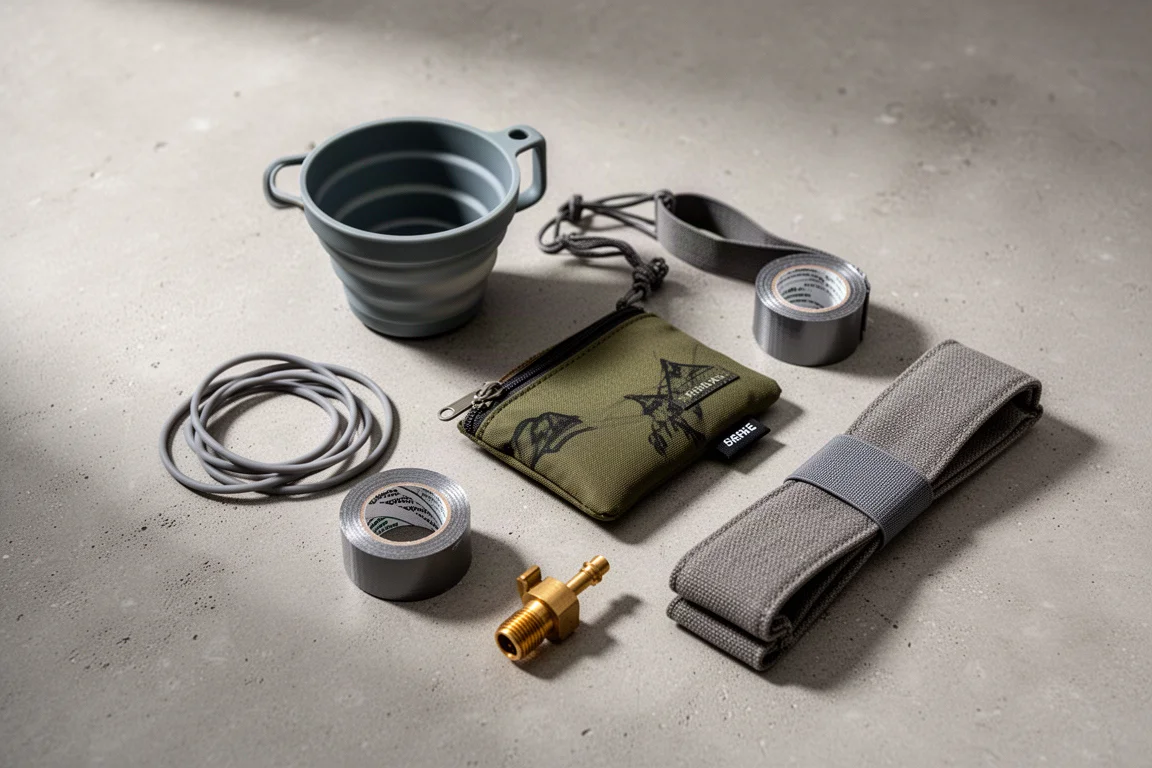
8 Ultralight Backpacking Gear Upgrades Worth Carrying
Eight small, affordable backpacking upgrades that solve real trail annoyances, from a pillow that stays put to a fuel valve that rescues leftover canister gas.