Backpacking Gear
Backpacking Essentials for Beginners: Six Pieces of Gear Worth Buying First
A practical starter list for new backpackers covering shelter, sleep, clothing, cooking, water, and electronics, with six affordable items worth buying first.
Introduction
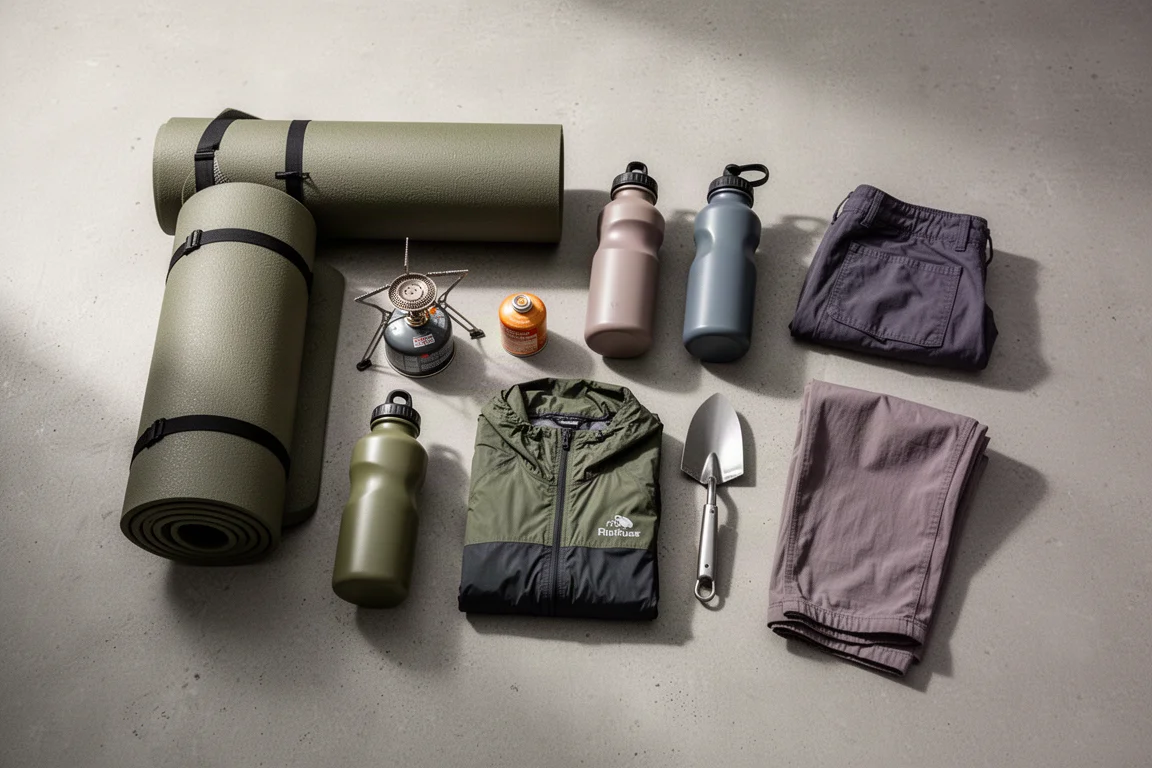
Getting into backpacking does not require a wall of new gear. A surprising amount of a first kit is already sitting in kitchen drawers and closets, and the items genuinely worth buying are usually the inexpensive ones that solve a specific problem well.
The goal of a starter setup is coverage: stay warm, stay dry, eat, drink clean water, and know where you are. Anything beyond that is a preference rather than a requirement.
Once those basics are handled, the extras can follow in later seasons. This guide walks through the categories that matter on a first overnight trip and calls out a few specific items that deliver a lot of function for very little money.
What a Starter Backpacking Kit Actually Needs
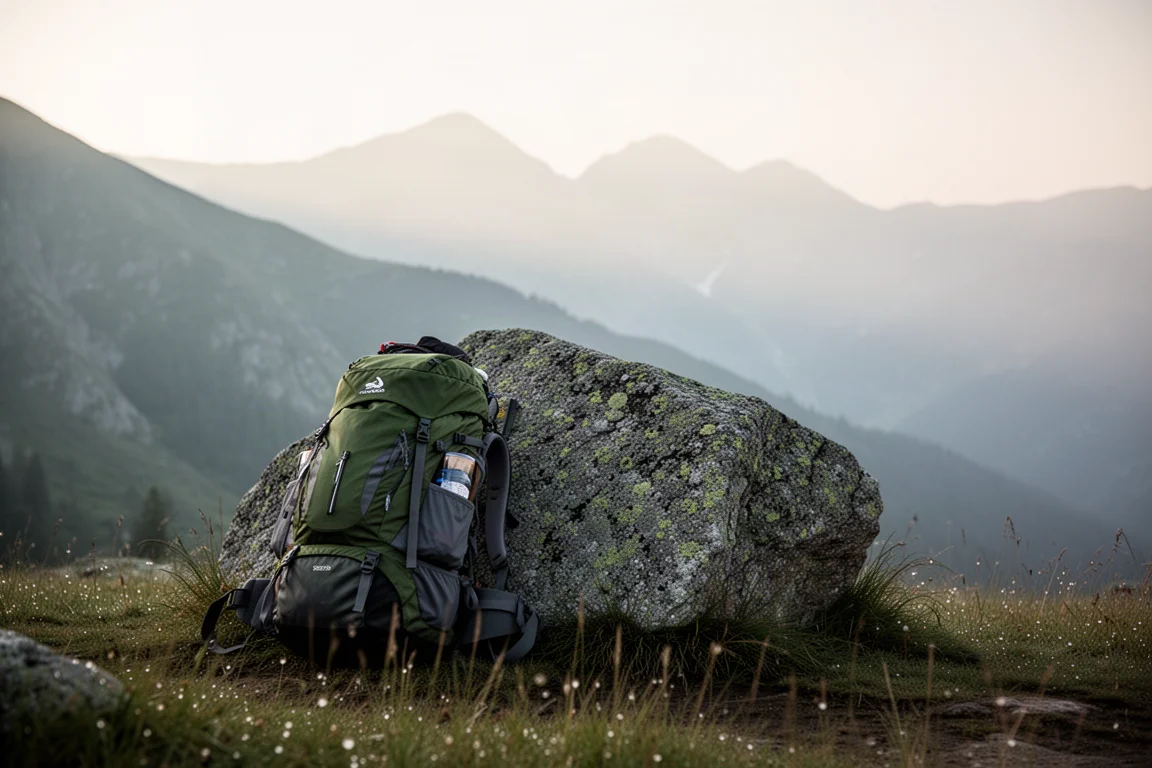
Start with the pack. For most people, a 50 to 60 liter backpack is the sweet spot: large enough for a multi-day load, small enough that it discourages overpacking. Look for an internal frame, typically two aluminum stays, and a thick hip belt. Together those two features move weight off your shoulders and onto your hips, which is the difference between a comfortable day and a punishing one.
You do not need a waterproof backpack. A simple pack liner, which is really just a trash bag, does the same job for a fraction of the cost. Stuff the liner inside the pack first, then pack everything inside the liner, and your gear stays dry through a full day of rain.
Resealable plastic bags are worth carrying in two sizes. Gallon bags hold smaller gear, electronics, and repair kits so they do not disappear into the bottom of the pack. Quart bags stay within reach for a phone or a camera when the weather turns.
Shelter and Sleep: Where to Spend and Where to Save
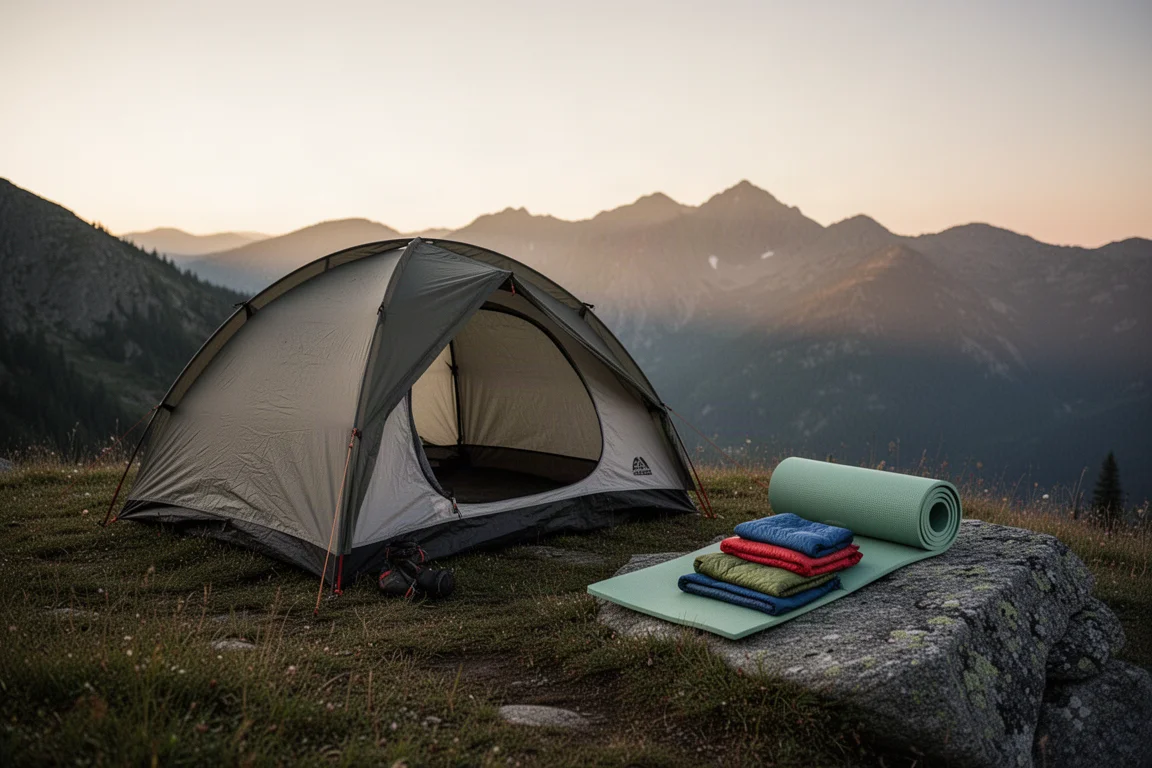
A sleeping bag or quilt rated around 20°F, roughly -8°C, is the most versatile single choice. That rating covers spring and fall shoulder seasons, and in summer you can simply leave it partly open. A 30°F or 40°F bag narrows the range of trips you can take, which is why 20°F is the better first purchase if you plan to own only one.
For a sleeping pad, foam is the safer starting point. It costs far less than an inflatable, and it cannot puncture and deflate in the middle of the night. Roll into camp, lay it out, and you are done.
The tent is the one area worth spending a little more than the absolute minimum. In a serious storm, the tent is what keeps you dry and sheltered, and that is not the moment to discover the limits of a bargain shelter. Tent stakes deserve a quick look too: avoid models so thin that they bend when driven into hard ground, and avoid shapes that pull out easily.
Best Budget Rain Jacket: Frog Toggs Ultralight 2
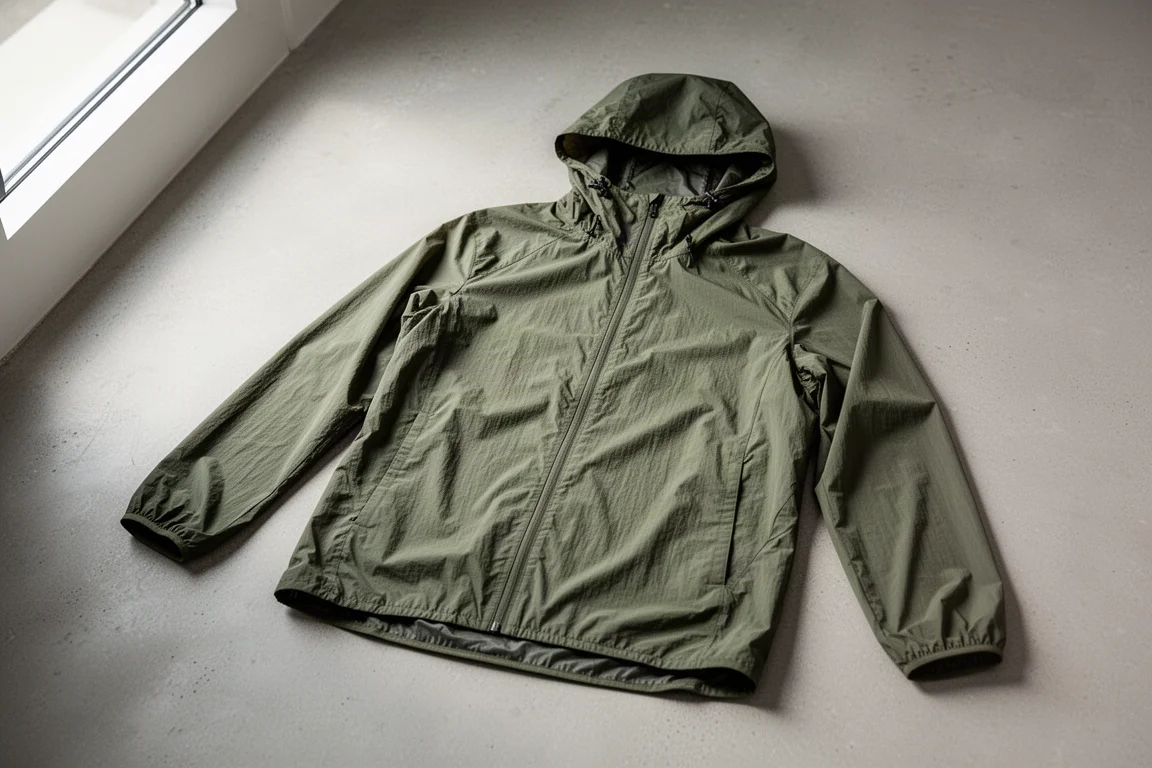
The Frog Toggs Ultralight 2 is the rare budget item that performs like a much more expensive one. It costs around $15, and it keeps you dry. That is the entire job description of a rain jacket.
The trade-off is durability. The fabric is not built to survive years of hard use, which is why a small roll of duct tape belongs in the repair kit alongside it. A patch takes seconds and keeps the jacket in service.
Spending more buys durability and features such as pit zips and pockets. Those are genuinely nice to have, but they are not what keeps rain off you. If the budget is tight, this is a sensible place to save.
Warm Layers, Socks, and Trekking Poles
A warm jacket is not optional, even in midsummer. Weather changes, and a fleece sweater or a down puffy is what keeps a cold evening from becoming a miserable one. Which one to choose depends on where and when you hike: a down jacket suits colder trips, while a fleece suits warmer ones.
If you own both, bring both. A fleece is comfortable to hike in during the day, and a down jacket worn over it at camp adds a lot of warmth. The pairing also gives you insurance: if the fleece gets soaked during the day, a dry down jacket is waiting in the pack.
Leg cover matters for two reasons. Pants or tights trap body heat, and they keep insects from feasting on you at camp. A beanie is another tiny item with an outsized payoff, and a light one is easy to justify even in warm weather.
Socks are the piece of clothing that most directly shapes how a trip feels. Carry at least two pairs, sometimes three, and rotate them roughly every three days. Nothing on a long hike matters more than your feet, and a clean pair of socks goes a long way toward keeping them blister-free.
Trekking poles are worth carrying. They help reduce strain on knees, ankles, and joints, they help you hike faster and more efficiently, and they are linked to fewer injuries. There is no need to buy the most expensive pair, because the difference is small.
Best Lightweight Camp Pants: Body Wrapper Dance Pants
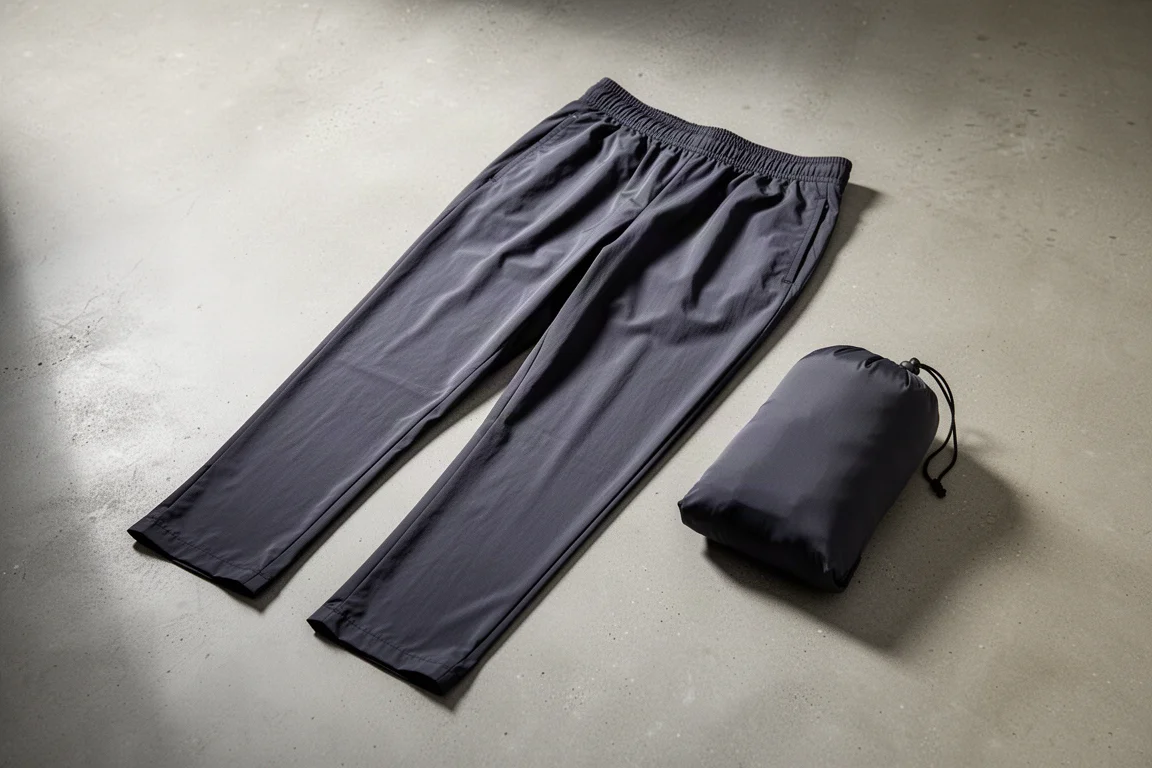
Dance pants are one of those inexpensive items that quietly outperform their price. Searching for dance pants, including the Body Wrapper version, turns up a pair that costs roughly $20, packs down extremely small, and weighs very little.
They are also more durable than the price suggests, so they tend to last. For the amount of function they deliver on trail and at camp, they are hard to beat.
Think of them as an evening layer rather than a replacement for your hiking trousers. They add warmth and insect protection at camp and take up almost no space in the pack.
Best Budget Canister Stove: BRS 3000T
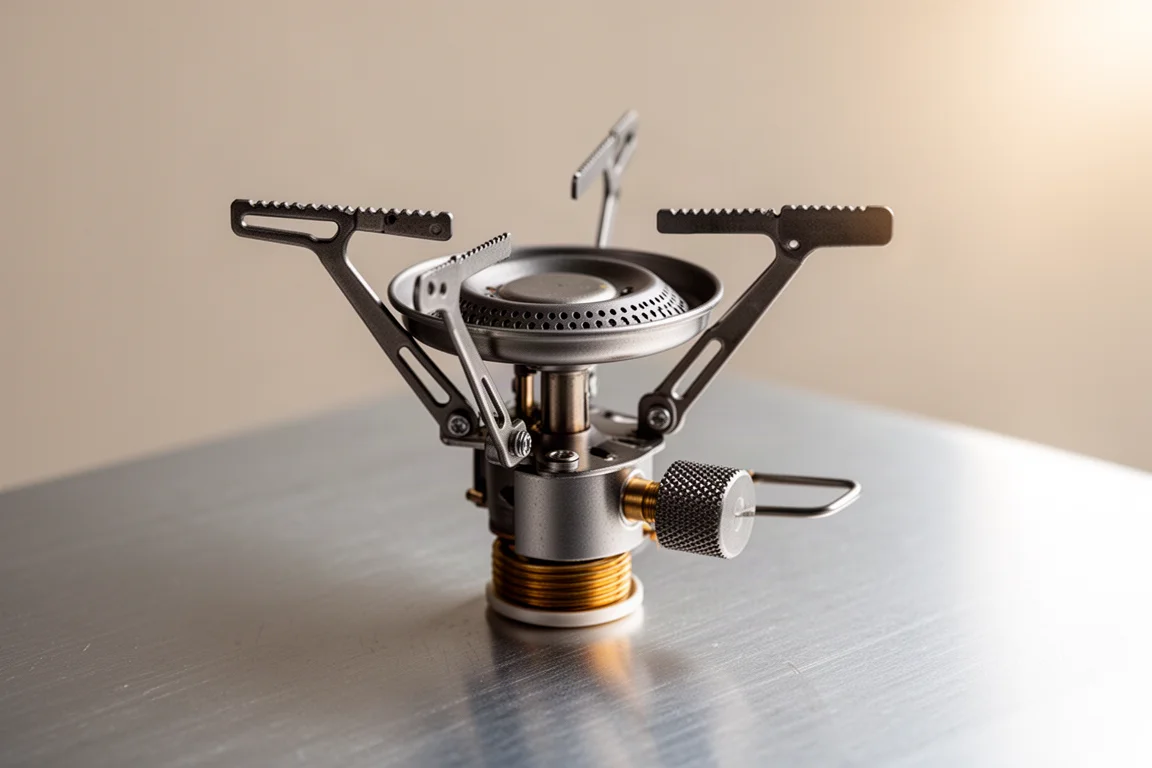
The BRS 3000T is the clearest value in a cooking kit. It costs around $15 against $100 or more for many alternatives, and it has a long record of dependable use on the trail. It screws directly onto a standard fuel canister and boils water without fuss.
Pair it with a pot of at least 700 milliliters. Smaller pots become frustrating once you are cooking a real meal. Titanium is a pleasant luxury because it saves weight, but a cheaper pot works perfectly well.
You do not need a specialty spoon either. A spoon from your kitchen drawer is the right answer. For food storage, a bag of roughly 15 liters holds about seven or eight days of food and keeps everything in one place.
Best Water Filter: Platypus Quick Draw
Water treatment is one of the few places where cutting corners has real consequences. A stomach bug in the backcountry is a serious problem, so a reliable filter belongs in every kit.
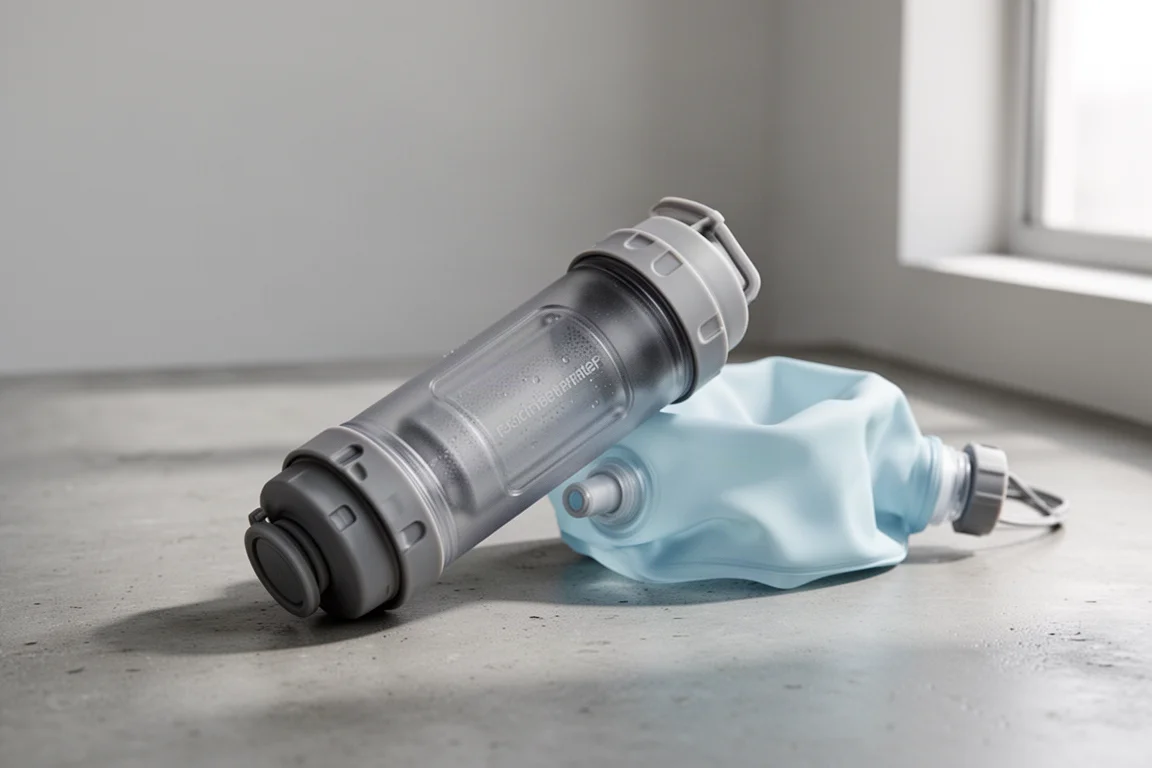
The Platypus Quick Draw is a favorite for exactly that reason. It threads onto the top of a standard one-liter sport bottle, so you can scoop water, screw the filter on, and drink clean water directly from the bottle.
Capacity planning matters as much as the filter itself. Carry at least two liters, and check water availability before you go. Two liters is plenty in a well-watered range such as the Appalachians, while a desert route can call for as much as ten liters. One-liter bottles are cheap, light, and easy to carry two or even four of.
Another Water Filter Worth Knowing: Sawyer Squeeze
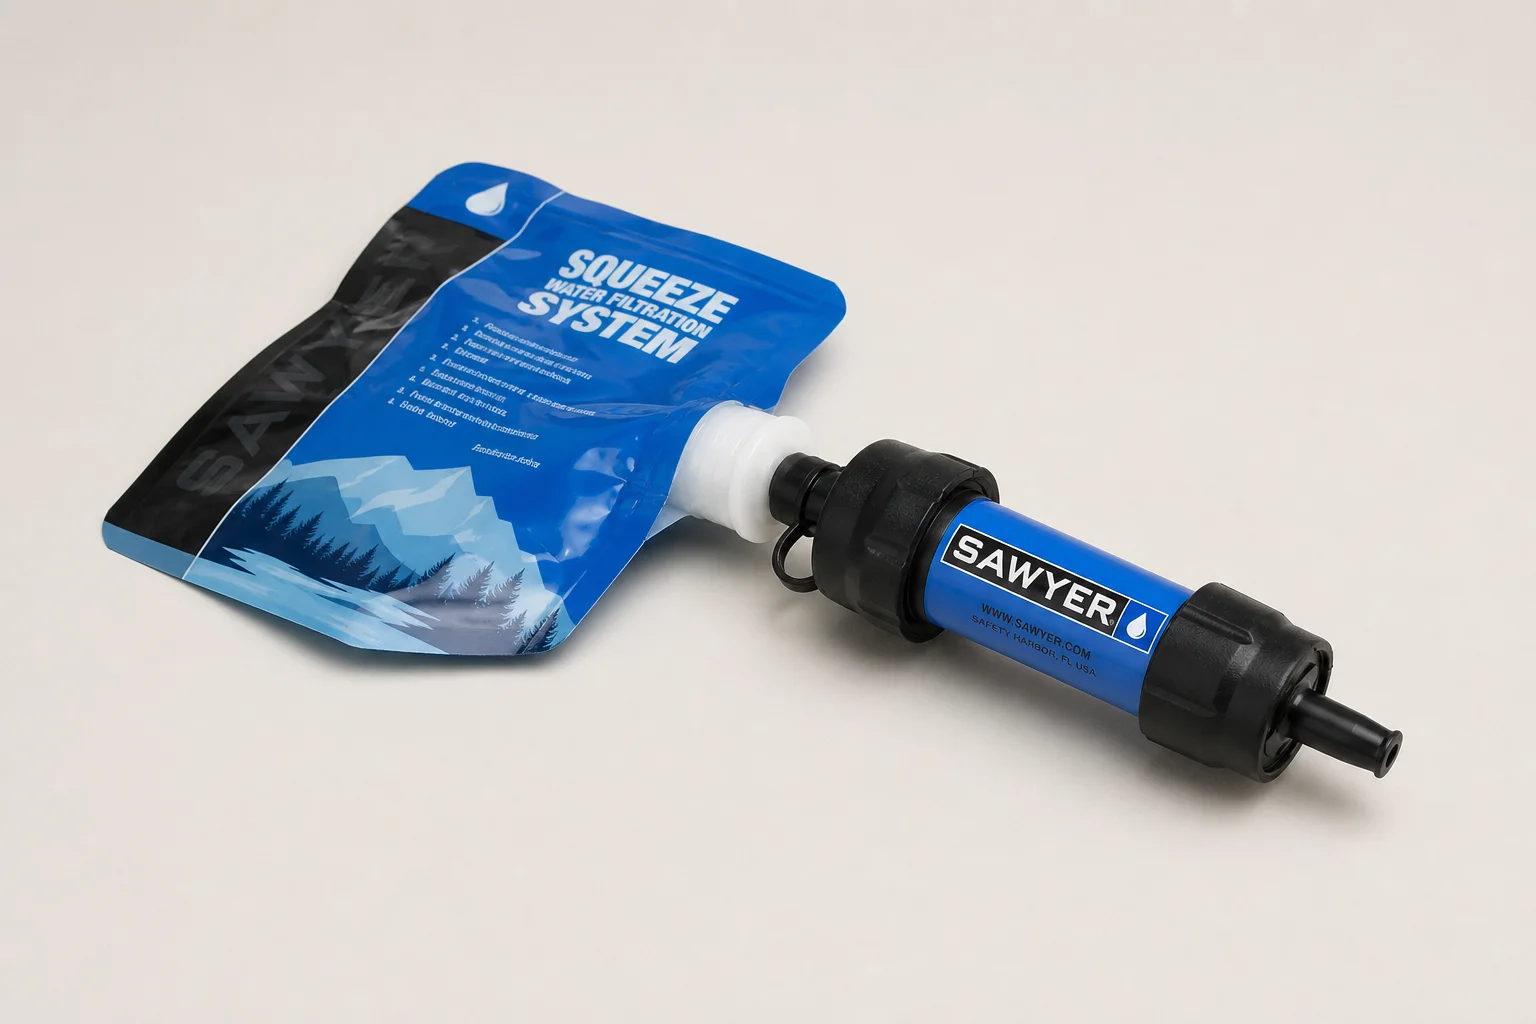
The Sawyer Squeeze is the other filter that earns a place on a starter list. It works on the same principle: fill a bottle, attach the filter, and drink or squeeze the water through it.
Having two proven options matters, because availability and pricing shift over time. Either one will treat water reliably on a multi-day trip, and both thread onto common one-liter bottles.
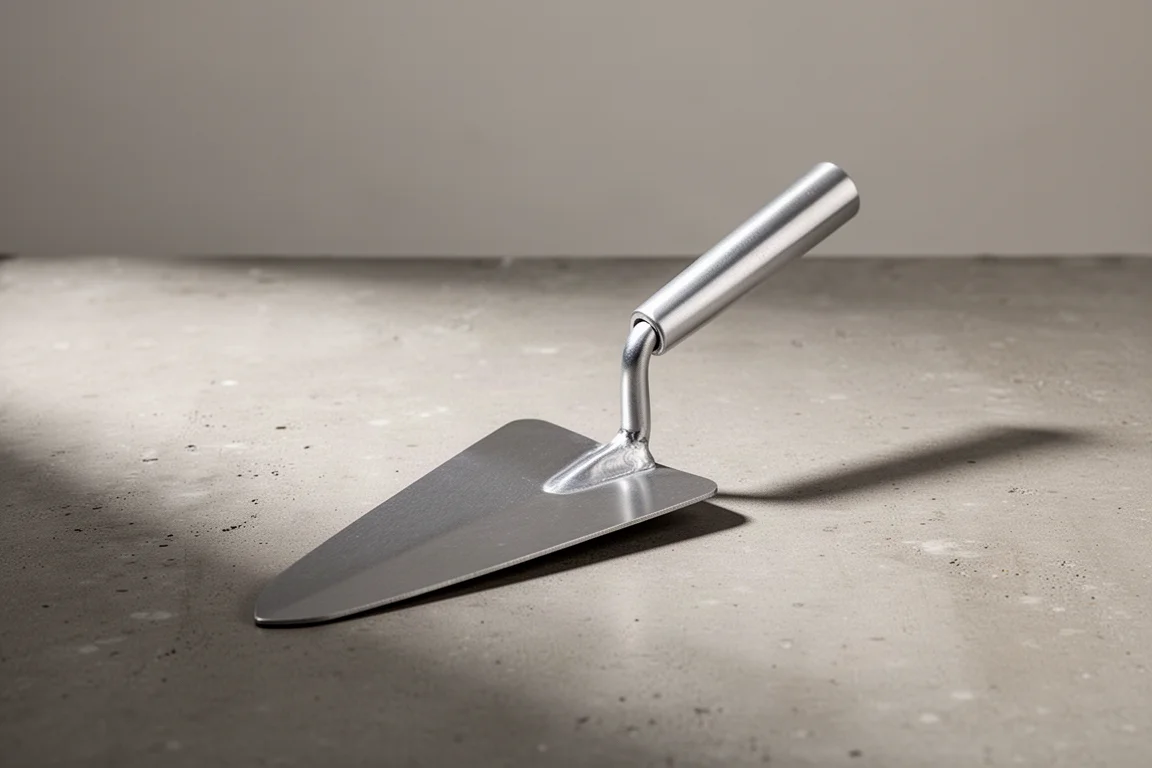
Best Camp Trowel: Deuce of Spades
A trowel looks like an odd thing to call essential until you walk up to a beautiful viewpoint and find where someone else did not bother. Burying waste properly takes a few seconds and keeps campsites and vistas pleasant for everyone who follows.
The Deuce of Spades is a small, light trowel that makes the job quick. Carry it with a little toilet paper and it is always ready when you need it.
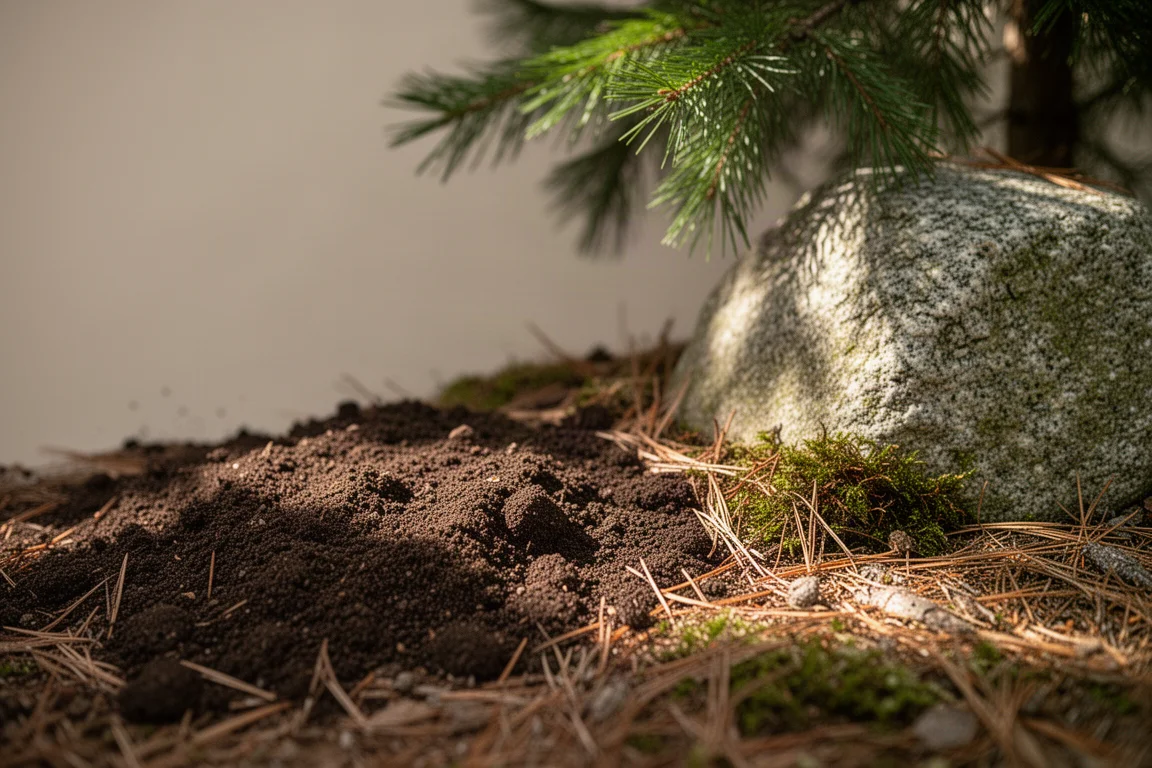
Together, the trowel and the toilet paper are among the smallest and most useful items in the pack, and they weigh almost nothing.
Electronics: Navigation, Power, and Light
Your phone is your primary navigation device. Trail apps are the easiest starting point: AllTrails is a common first choice, while Gaia GPS and Caltopo are popular with hikers who want more control over maps and routes. Whichever you use, carry a paper map as well. A phone can crack on a rock or take a swim in a river, and a paper map does not care.
A battery bank keeps that navigation working. Choose one rated at least 10,000 milliamp hours, and remember the charging cord. Without a battery bank, you end up rationing power and relying on a single device for safety, which is a worse position to be in.
For light, a headlamp is the popular choice because it keeps your hands free for trekking poles, but a small handheld flashlight works too. A rechargeable light is the better pick, because being caught after dark without a working light is how people get lost.
Repair, Hygiene, and Safety Essentials
A small repair kit covers the failures that would otherwise end a trip. Wrap duct tape around something compact so it is always available for a torn rain jacket or a punctured tent. Add strong needle and thread for a ripped pair of shorts or a shoulder strap chewed through by a mouse, which does happen.
Blister tape earns its place by being preventive. At the first hint of rubbing, whether on a heel, a toe, or between toes, tape the spot and the blister usually never forms.
A small pocket knife with scissors, tweezers, and a toothpick handles splinters and minor repairs. A basic hygiene kit of toothbrush and toothpaste covers the rest, and a lighter handles both the stove and an evening fire where fires are permitted.
Keep a simple medical kit with whatever makes you feel comfortable in the wilderness. Ibuprofen, acetaminophen, an anti-diarrheal, and a triple antibiotic cream for cuts are a reasonable starting point.
How to Build Your Kit Without Overspending
The biggest mistake new backpackers make is buying everything at once. Most of this list is already in your home: a spoon, a lighter, a toothbrush, a battery bank, a flashlight, and a set of resealable bags. Start there and add only what is genuinely missing.
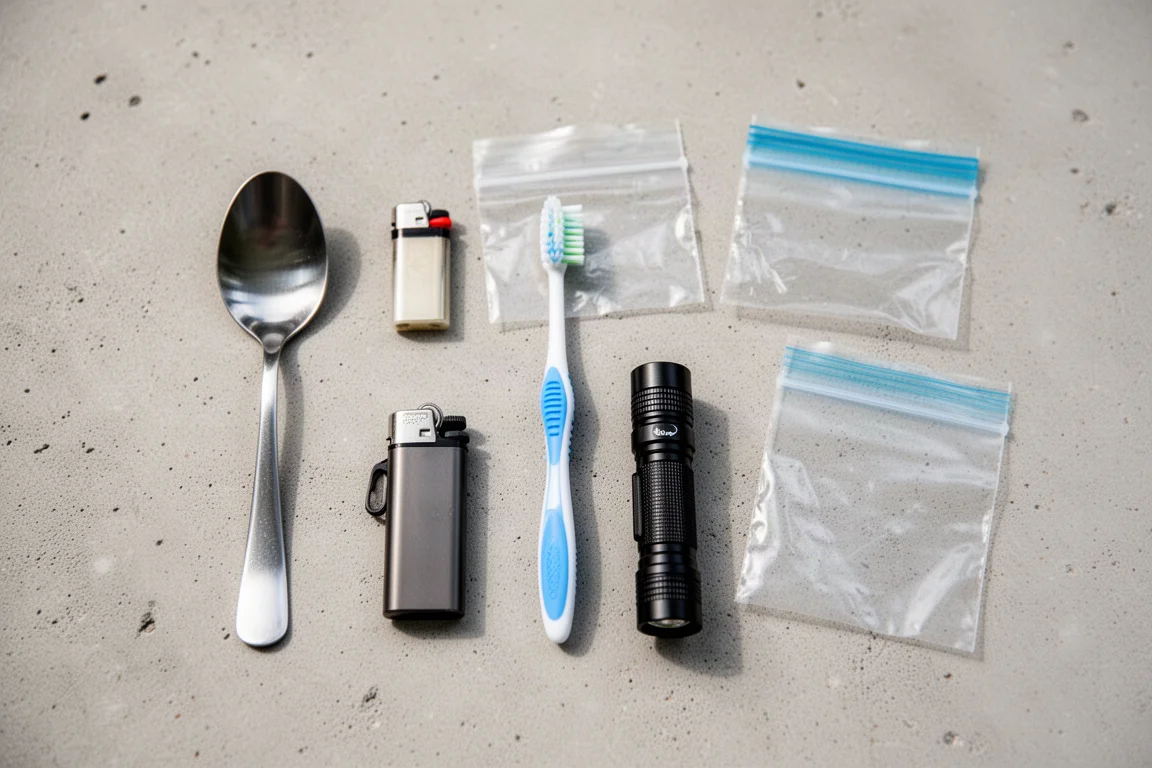
Buy the safety-critical items properly. A shelter that holds up in bad weather and a filter you trust are not places to save. Everything else can be a budget choice, and the budget choices here are good ones.
Then upgrade slowly. If you enjoy backpacking over the next five or ten years, replace the heavy items one at a time with lighter versions. There is no rush, and the trips matter far more than the gear list.
Bring whatever else makes you happy and comfortable out there, whether that is a camp chair or a favorite mug. The essentials keep you safe; the extras make the trip yours.
Conclusion
A first backpacking kit comes down to a short list of categories: a pack that carries weight well, a sleep system rated for the shoulder seasons, a rain jacket, a warm layer, a stove, a filter, and a small bag of repair and hygiene items. The specific products above are affordable, proven, and easy to replace if something is lost.
Buy the safety items with care, save on the rest, and start walking. The gear gets lighter and better with every season you keep going.
Further reading
Related Reviews

Backpacking Gear
Building a 10 lb Base Weight: An Ultralight Backpacking Gear List
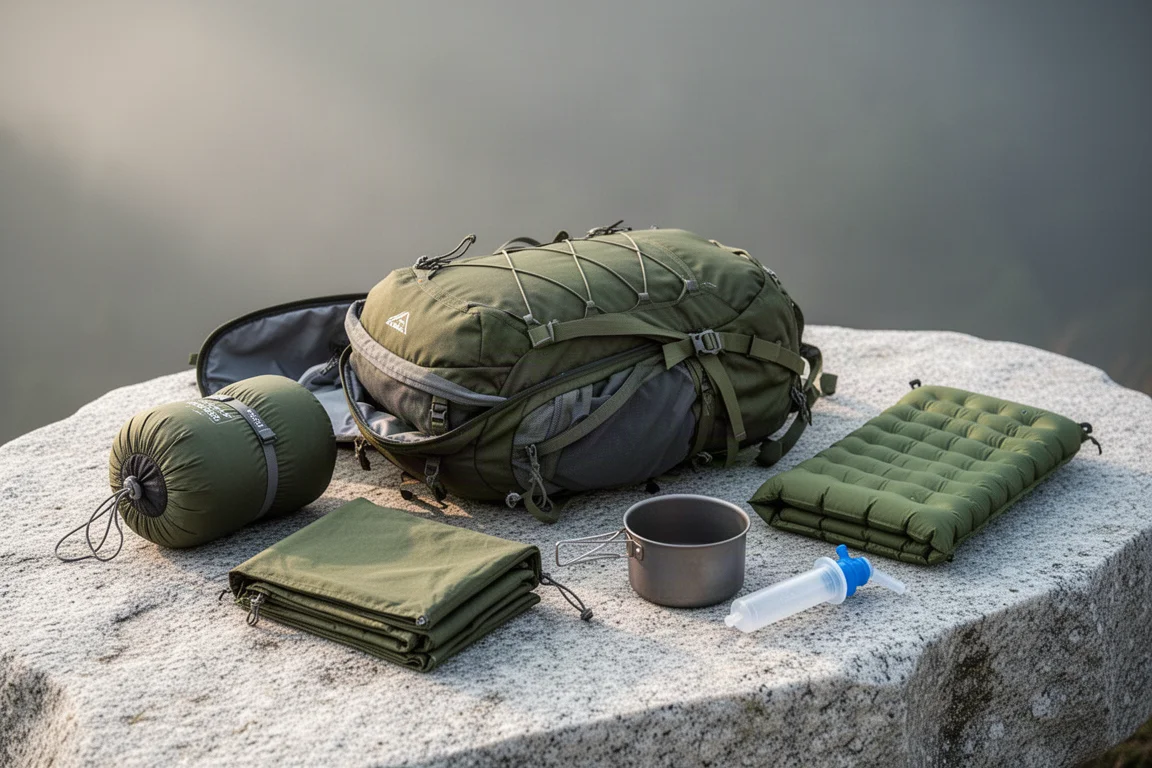
A practical walkthrough of the ultralight pieces behind a 10 lb base weight, from a 765 g pack and a roomy one-person tent to a full camp chair and a dependable water filter.
Backpacking Gear
A 15-Pound Lightweight Backpacking Gear List for Solo Trips
A beginner-friendly 15-pound backpacking setup built from easy-to-find gear, with notes on what each piece does, how it packs, and where to spend your attention.
Backpacking Gear
8 Ultralight Backpacking Gear Upgrades Worth Carrying
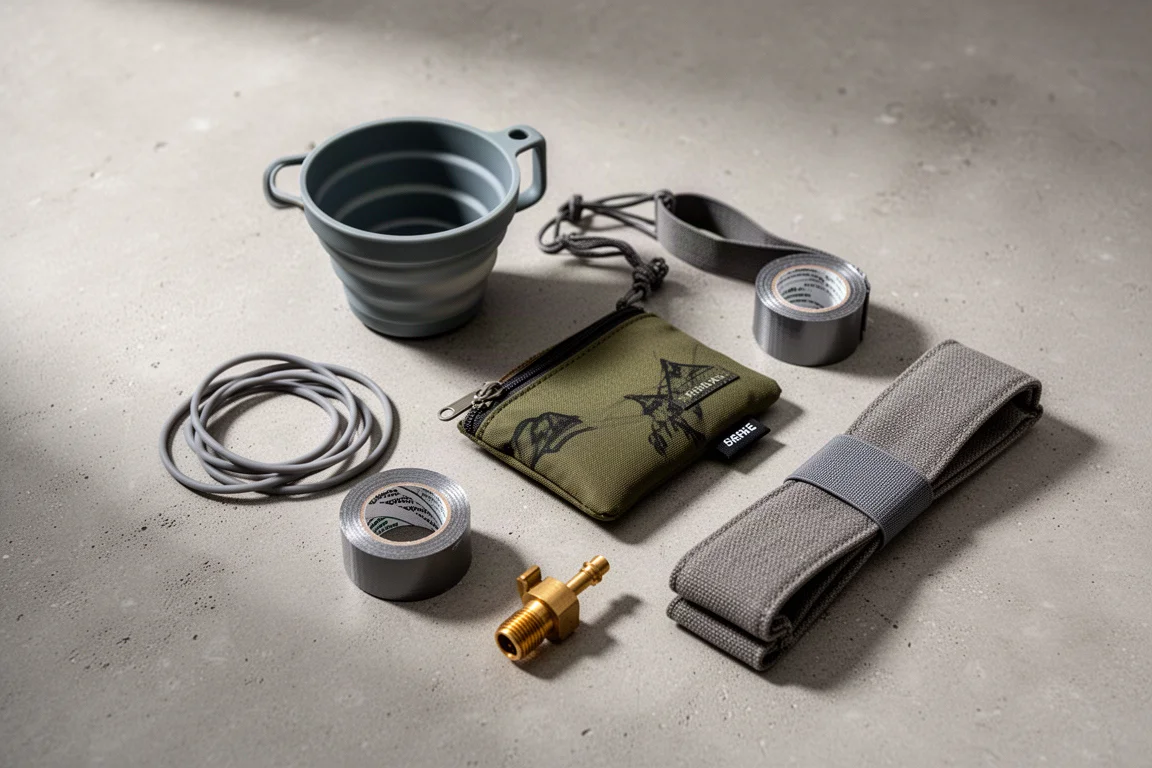
Eight small, affordable backpacking upgrades that solve real trail annoyances, from a pillow that stays put to a fuel valve that rescues leftover canister gas.