Backcountry Gear
Backcountry Splitboard and Ski Safety Gear: The Essentials Worth Carrying
From avalanche safety basics to communication, navigation, and the humble ski strap, here is the gear that earns a spot in a backcountry pack.
Introduction
Staying safe in the backcountry does not require a pile of gear, but it does require the right gear, packed with intention. A handful of tools carry most of the safety burden, and a few unglamorous extras can genuinely save a day when something breaks deep in the mountains. This guide walks through the essentials: the avalanche safety trio, a dependable pack, communication and navigation tools, and the repair items that veteran tourers never leave behind.
One note first: gear alone does not make anyone safe. Take an avalanche safety course and treat backcountry education as ongoing. What follows is a practical look at the tools that work well in the field.
The Three-Piece Safety Ticket
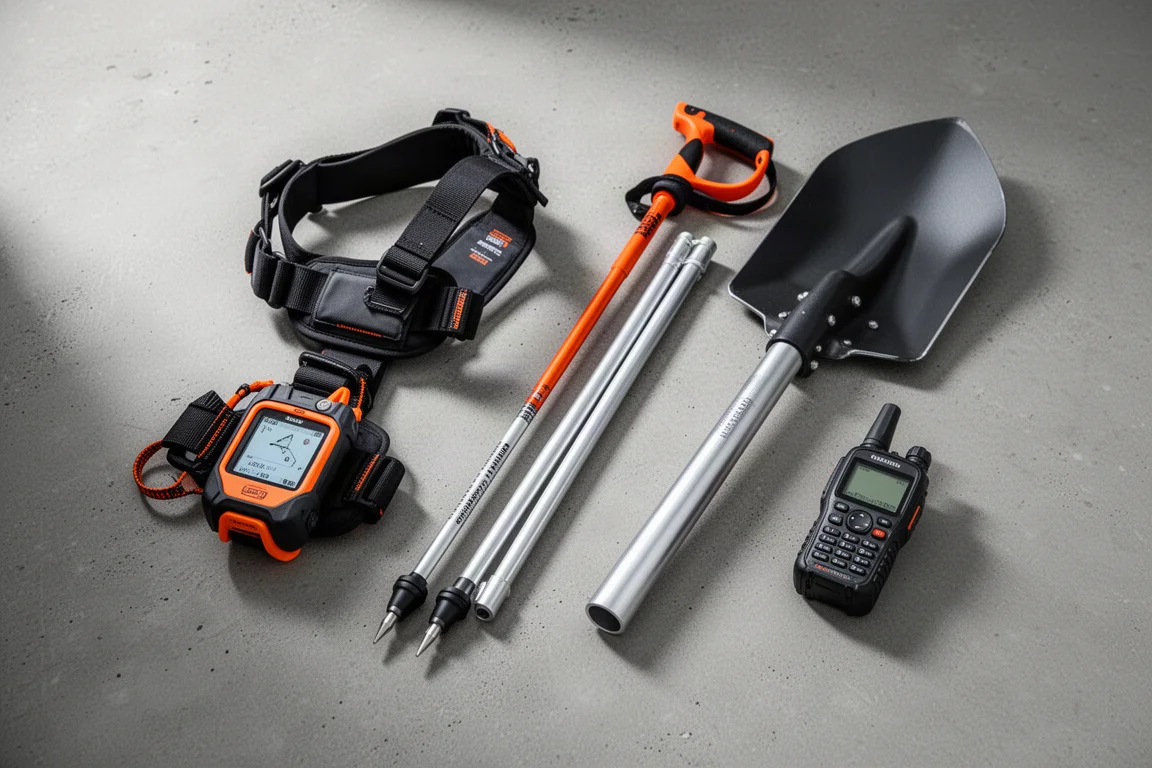
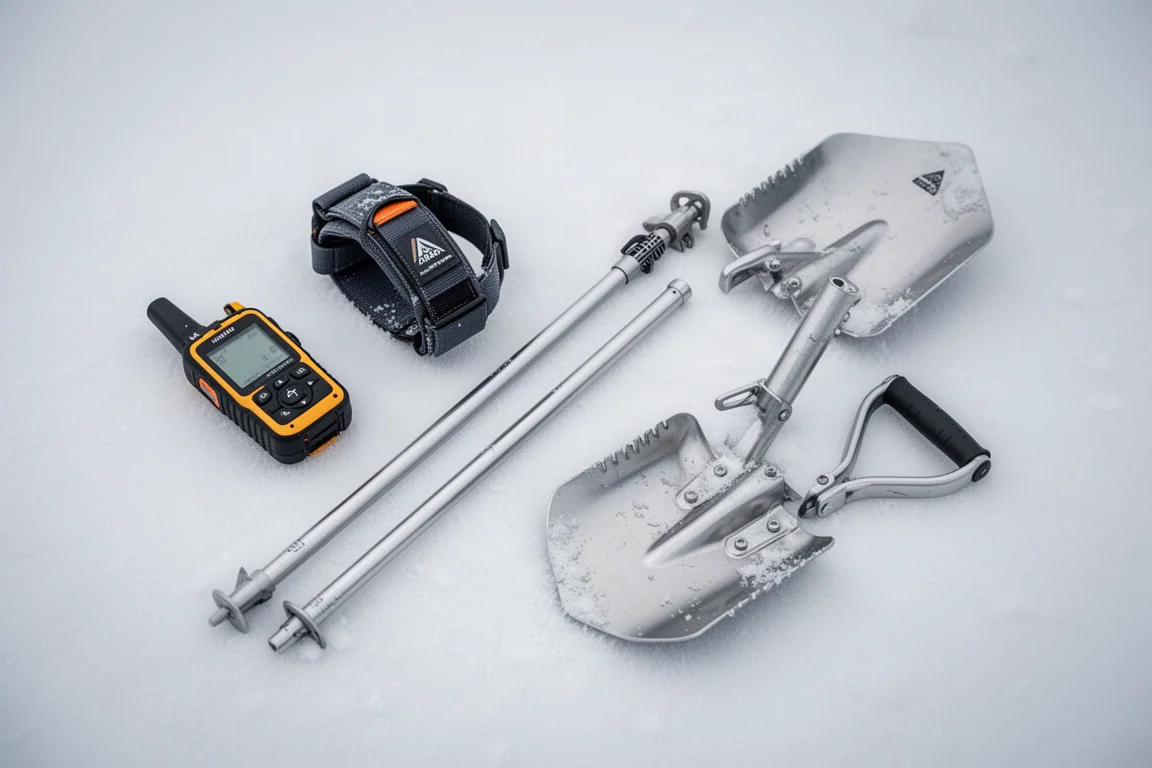
Before anything else goes in the pack, three items are non-negotiable: a beacon, a probe, and a shovel. Think of them as a three-piece ticket to the backcountry. Without any one of the three, access to the backcountry should be off the table.
A beacon, also called an avalanche transceiver, constantly emits a signal so that you or a partner can be located after an avalanche. A probe is a collapsible pole used to pinpoint a buried person once the beacon has located them, with centimeter markings so you know how deep they are. A shovel then does the digging, and it should be metal, typically aluminum, because compacted avalanche snow can be incredibly firm.
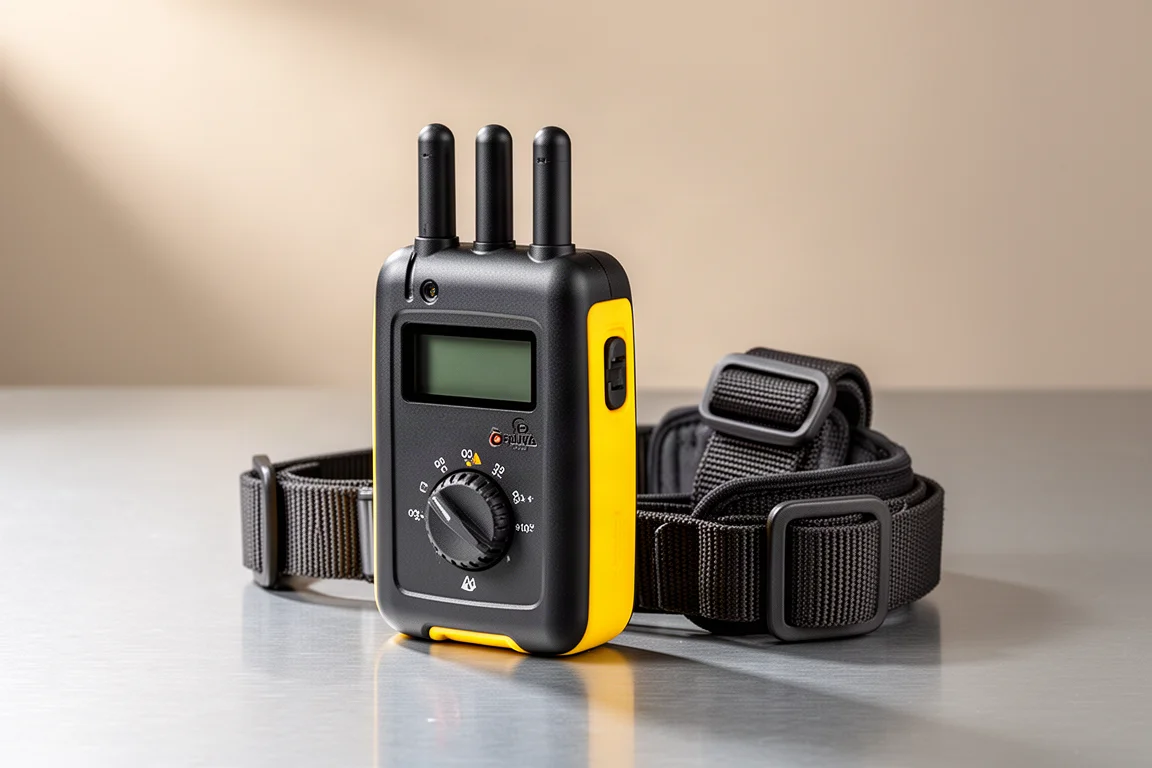
The transceiver is one of the only items that rides on your body rather than in the pack. Beacons come with a chest harness, but many riders prefer a pocket instead: access is much quicker than unbuckling chest straps and jacket zippers, it sits comfortably, and the leash still has somewhere to clip.
Choosing a Backcountry Pack
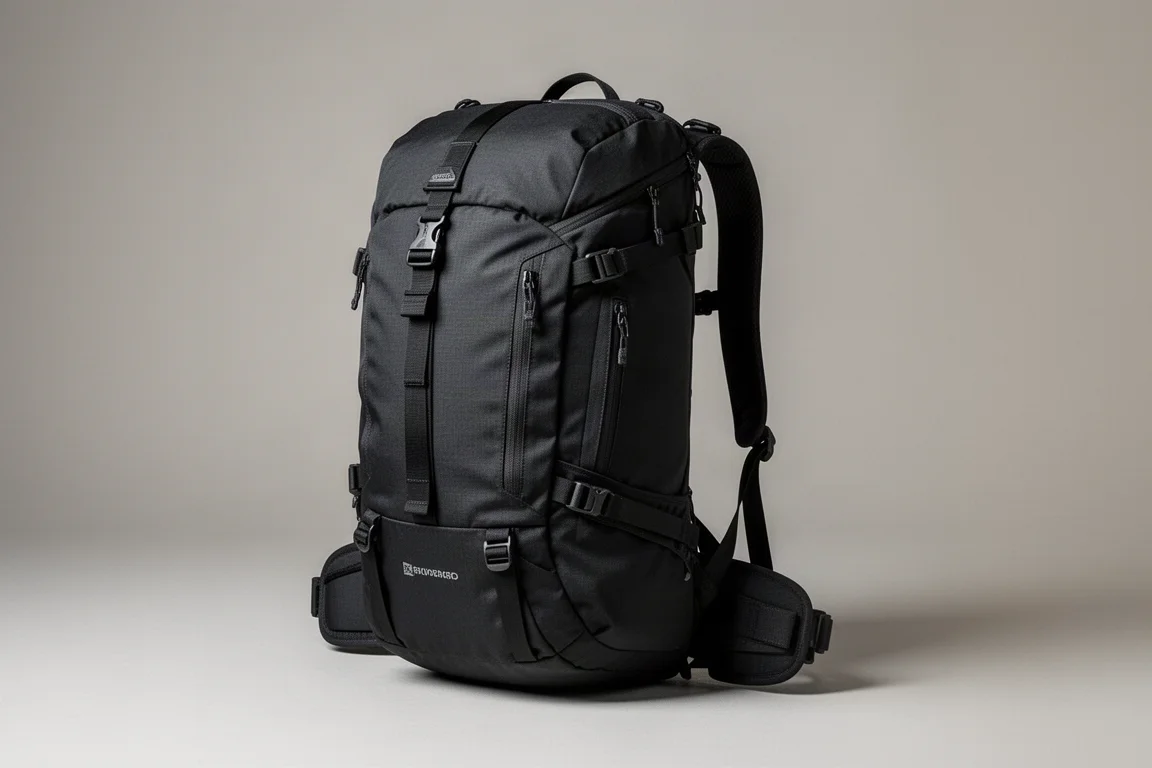
A reliable pack matters as much as the gear inside it. When shopping, size is the first decision: 25 to 35 liters suits most day tours, depending on how much you typically carry. Look for both vertical board carry and an A-frame carry, since the A-frame option tends to get used more often.
Back-panel access to the interior is worth prioritizing, along with comfortable hip straps, because you may be carrying significant weight with a board on your back. Finally, find a pack with a dedicated quick-access area for the shovel and probe; an outside pocket that rips open quickly makes avalanche gear retrieval fast when it counts.
Backcountry Communication: BCA Link Radio
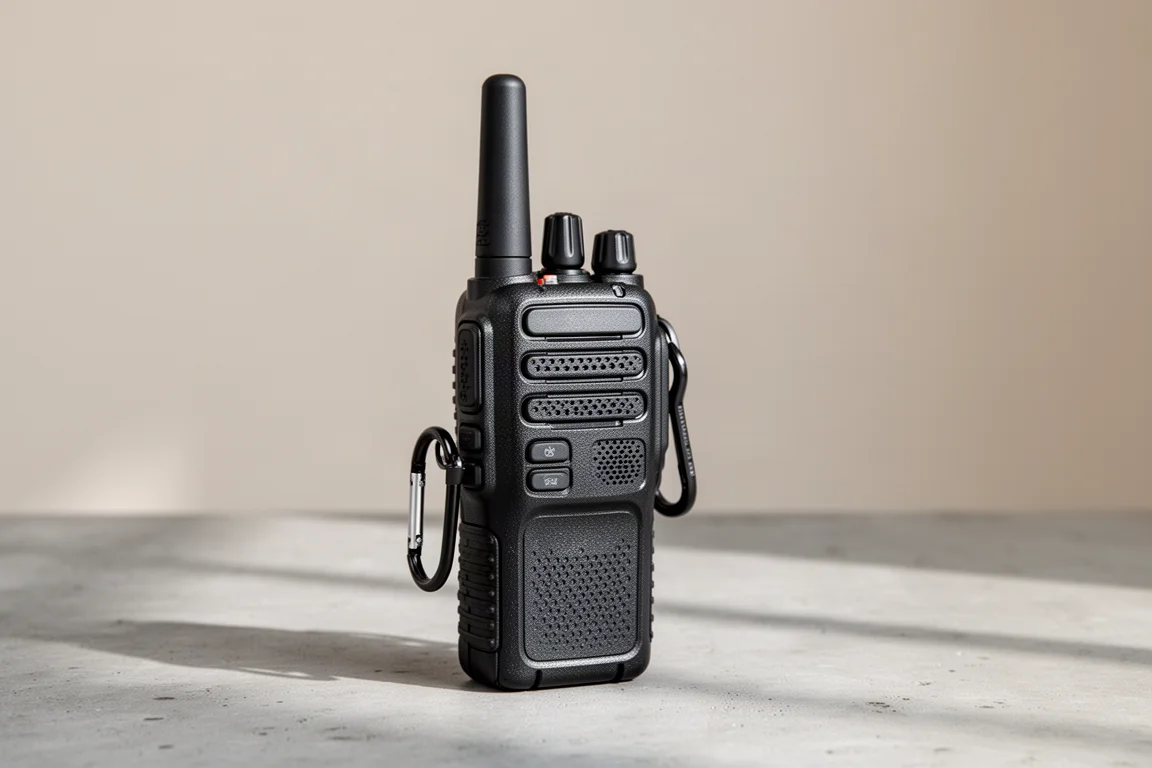
Radios are often left off essential lists, but communication between your team is critical. With reliable radios you can talk to someone who has not dropped in yet and brief them on the run and any hazards to avoid. If an avalanche happens, you can reach teammates spread far apart, or simply confirm that certain riders are clear and safe.
One practical detail: choose a radio that can lock the channel so it does not accidentally change while stowed in the pack.
Trip Planning and Navigation: onX Backcountry
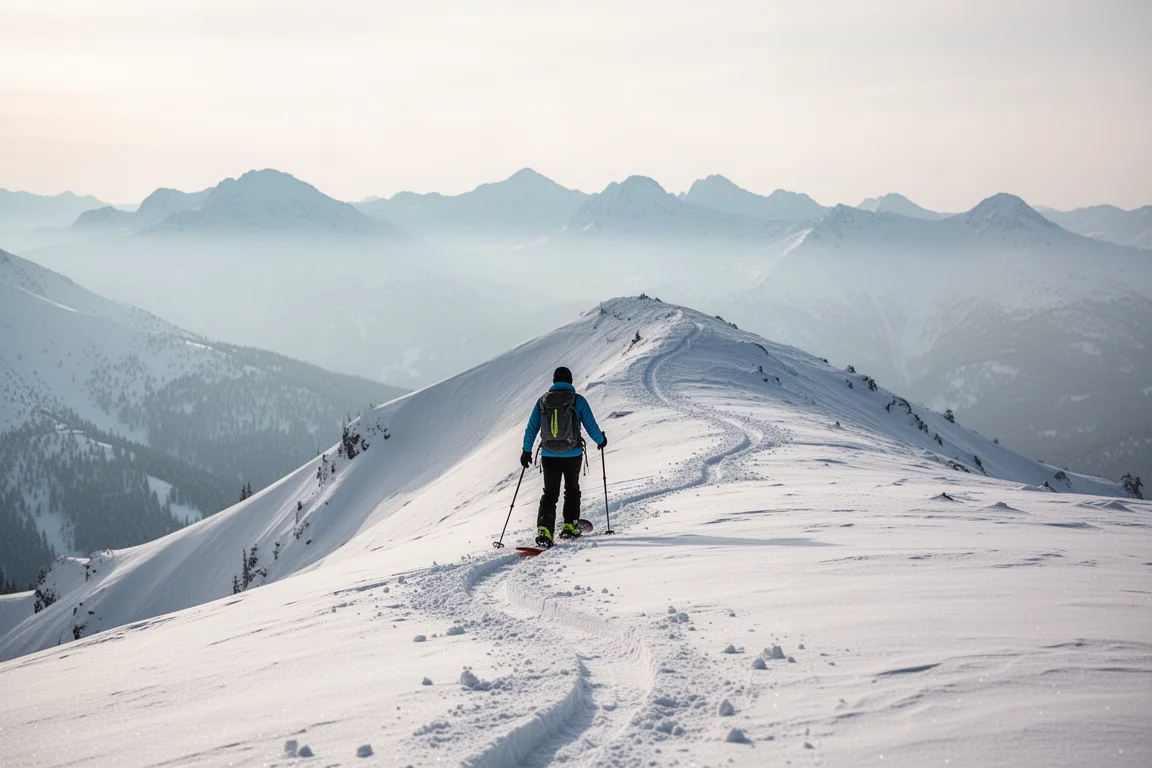
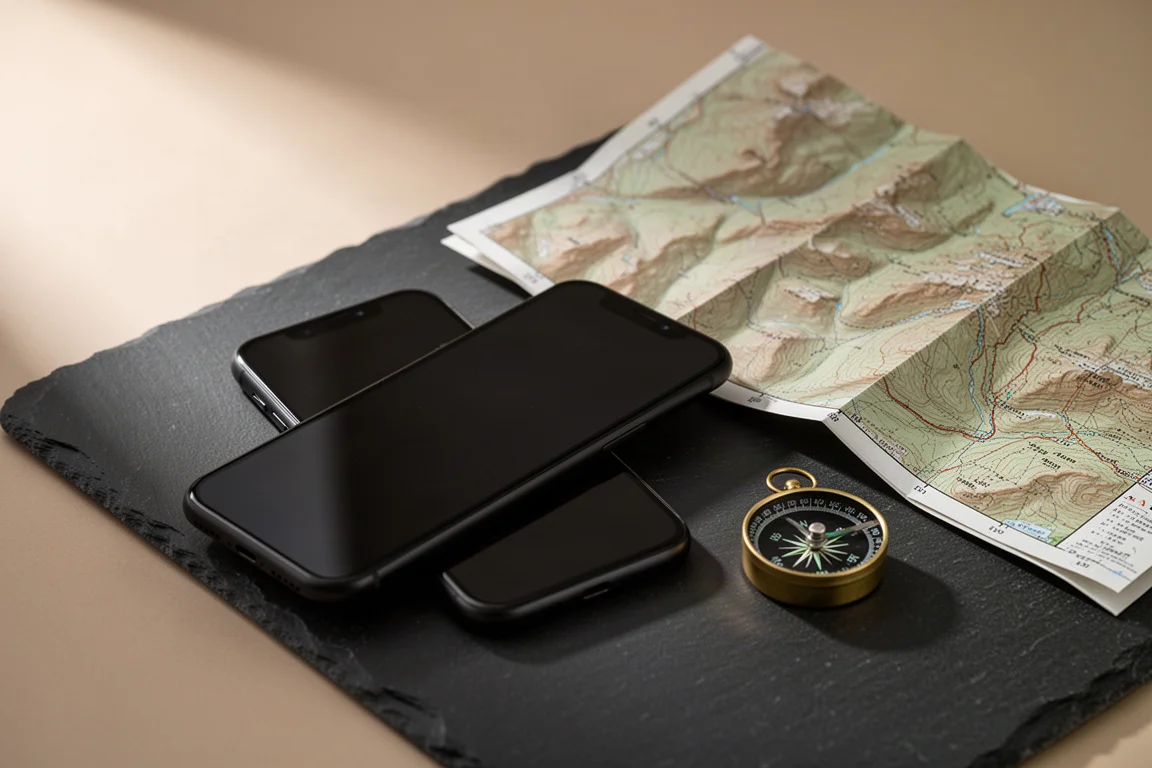
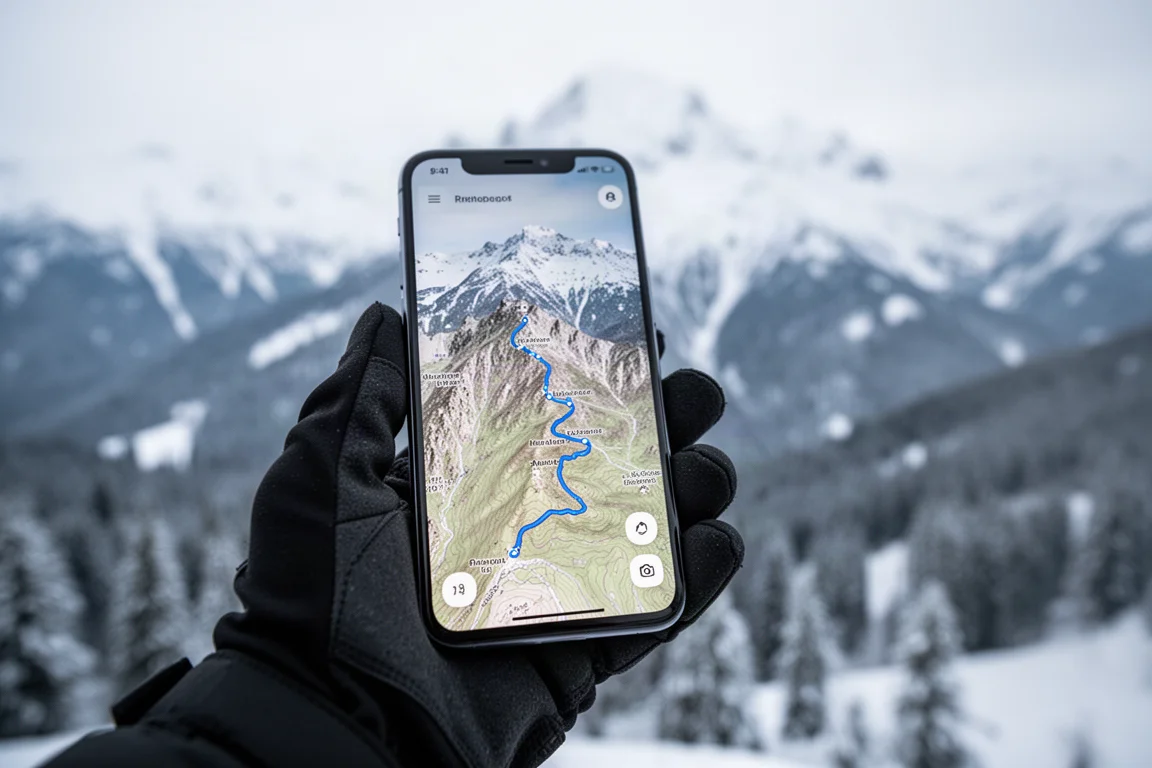
Packing properly is only part of the equation. Having a solid plan for where you are going and which hazards to avoid during travel matters just as much. onX Backcountry maps have proven especially valuable for planning, with a large catalog of established routes to browse and detailed trip plans that can be imported from sources like guidebooks.
The app shows the danger level for the terrain you will travel through, drawn directly from reports from top avalanche resource centers such as the Utah Avalanche Center and Colorado Avalanche Information Center. Layer options include the Avalanche Terrain Exposure Scale, avalanche runout zones to understand what an avalanche may do in that terrain, and potential release areas based on slope angle and features like tree locations. Once the trip is planned, an offline map can be downloaded to follow when out of cell service.
Off-Grid Messaging and Tracking
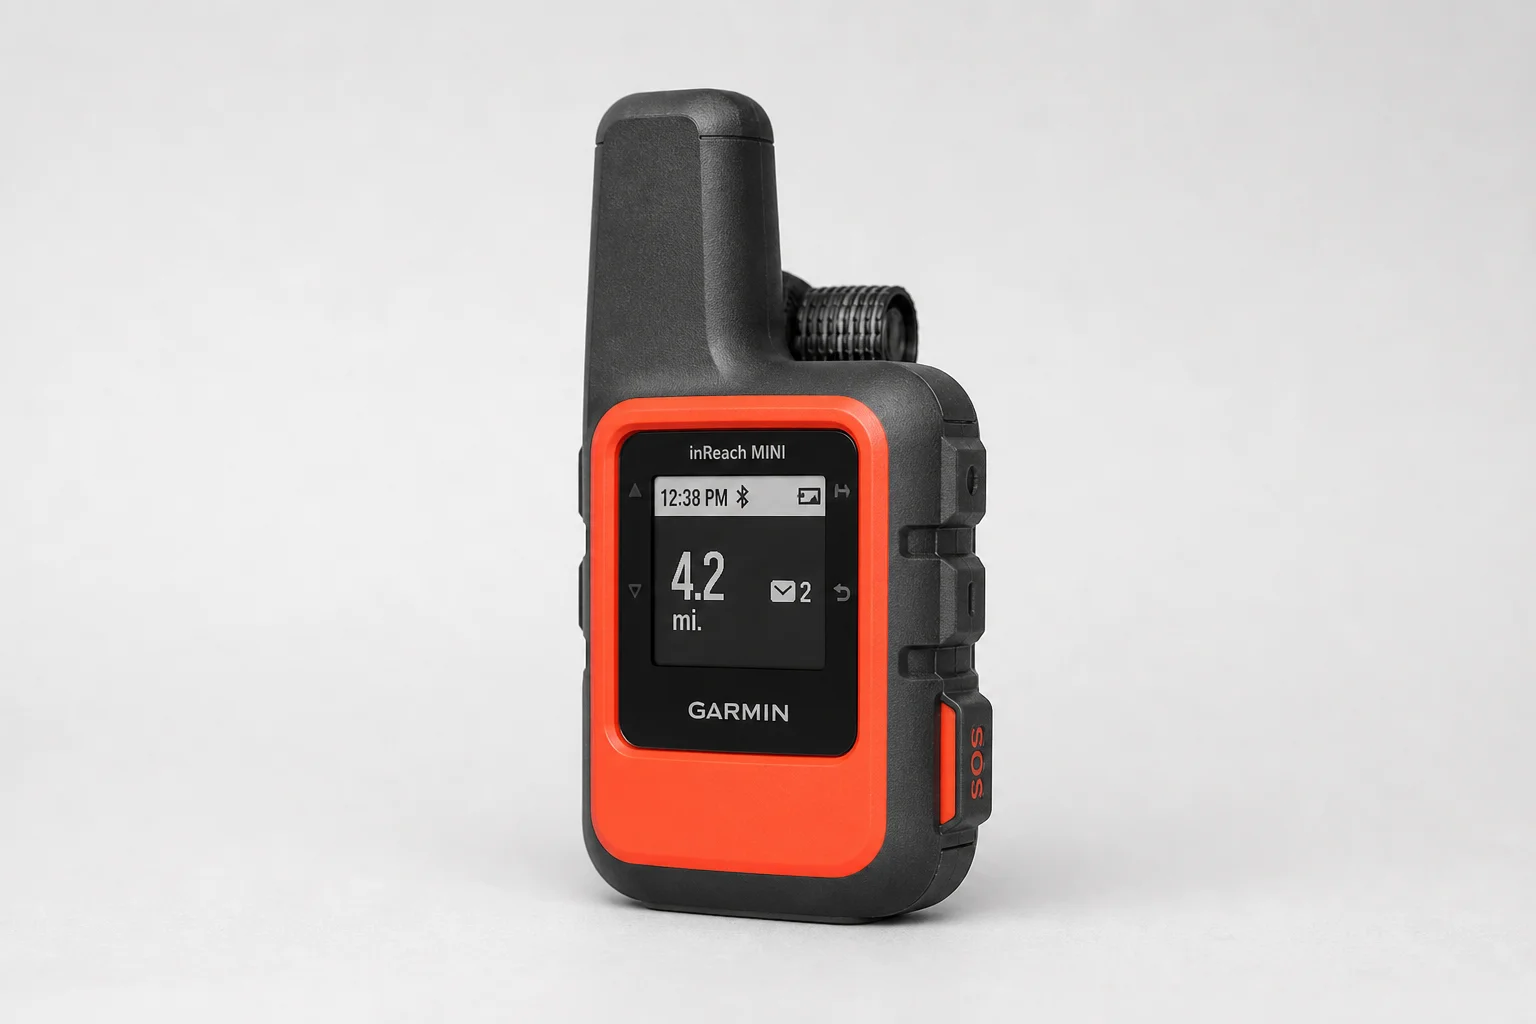
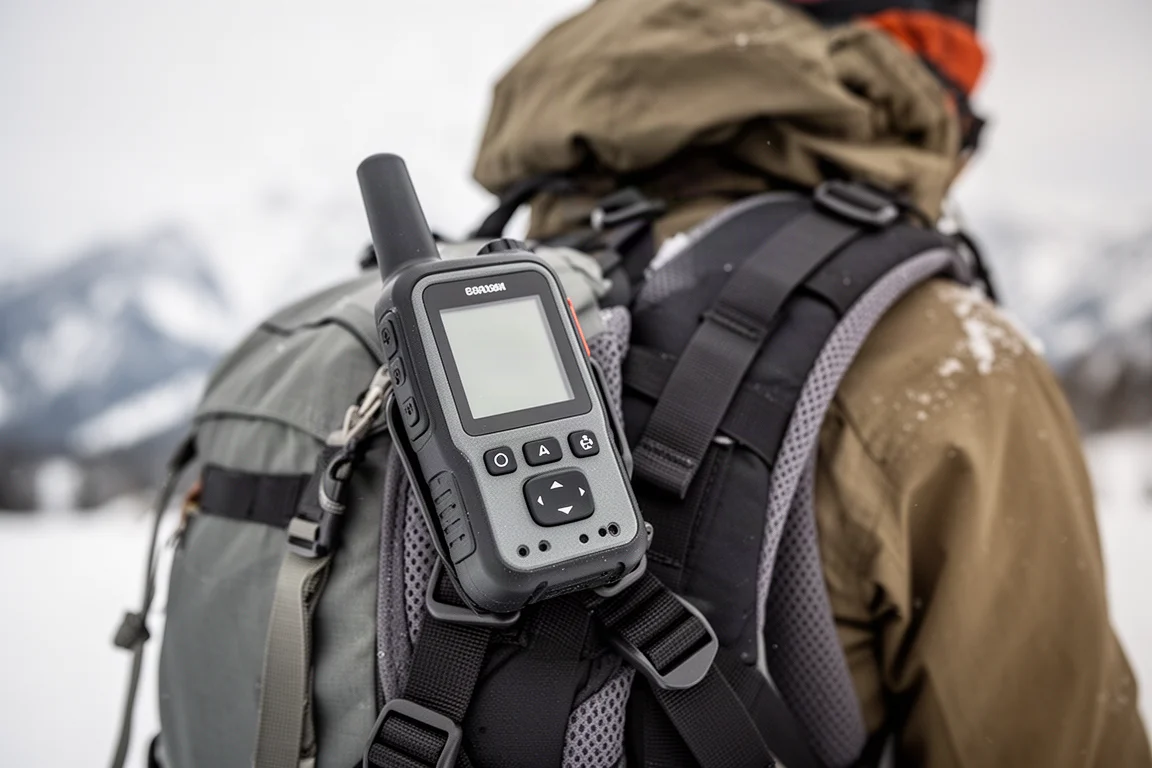
Deep in the mountains, most of the time you are outside of cell service. That is where a satellite communicator earns its place. In an emergency it is the most reliable way to contact help, and on a normal day it lets you send messages to folks back home to confirm everything is going to plan or that you are running behind schedule. Messages can include a map of your location.
Clipped to a shoulder strap, it doubles as a stats display, showing pace, distance covered, and elevation gained.
First Aid, Food, and Hydration
A first aid kit rounds out the safety equipment. It covers minor injuries like cuts and bleeding, and it is a smart place to stash a lighter, a roll of duct tape, and painkillers organized in a small labeled tube. It is the kind of kit that usually goes unused, but when a friend tumbles through sharp rocks, a few bandages become extremely helpful.
For hydration, carry a water bladder clipped to the hip strap for quick access, emptying it before dropping in and refilling for the hike out. Electrolyte tabs help with long days. For fuel, a full lunch depends on trip length, but at minimum keep a bag of granola or bars within quick reach inside your jacket.
Tools and the Mighty Ski Strap
At minimum, carry something to tighten your bindings with. Backcountry travel puts a lot of stress on gear, so bring a tool that can tighten anything with a screw. Many splitboard bindings use a T25 screw head, so carry a matching bit. A multi-tool with pliers and a knife has proven handy in real situations as well.
Then there is the number one item: the ski strap. Carry as many as you can. On one particular day, two riders needed every single one of six straps: skins would not stick to skis, a binding broke, and other gear failed. Without them, getting home would have been a serious problem. Straps lock things down, chain together for longer lengths, and handle broken poles, broken pack straps, and even an ankle strap replacement on a big line. Keep them in hip pockets for quick access.
Final Packing Details
A few finishing touches make the whole system work. When not in use, stow the helmet in a dedicated helmet pouch and clip it to a strap so it cannot pop out and get lost. Carry sunglasses for the hike up so goggles do not fog before the ride, and wrap a sticker around the arm of your shades, cut to shape, as a makeshift glacier shade for harsh sun.
Splitboarders should keep a mini scraper in the skin bag for clearing snow during transitions, and fold skins neatly against the back panel of the pack. Three-way collapsible poles stow easily in the pack, with outside attachment points when needed. For bigger missions, add an ice axe and crampons: store crampons teeth to teeth, away from anything they could damage, and lash the axe to the outside of the pack.
Conclusion
The backcountry packing formula is simple to describe: the beacon, probe, and shovel ticket first, a pack that fits your mission, communication and navigation tools second nature, and a repair kit, food, and water that keep small problems small. Match every item to a real purpose, practice with your safety gear regularly, and keep building your backcountry education. The mountain rewards preparation.
Further reading
Related Reviews
Backcountry Gear
Best Ultralight Backcountry Gear 2026: 8 Picks for a Remote Alaska Traverse
Eight lightweight gear picks for a 400-mile wilderness route with no roads, trails, or towns, from bear-resistant food storage to a packable tenkara rod.
Backpacking Gear
Building a 10 lb Base Weight: An Ultralight Backpacking Gear List
A practical walkthrough of the ultralight pieces behind a 10 lb base weight, from a 765 g pack and a roomy one-person tent to a full camp chair and a dependable water filter.

Road Bikes
10 New Road Bikes Worth Watching: Aero, Titanium, Steel and Endurance Standouts
A practical roundup of 10 new road bikes, from aero flagships chasing single-watt gains to titanium, steel and endurance platforms built for real roads.