Astrophotography
5 Game-Changing Astrophotography Upgrades: From Beginner Sky Tracker to Intermediate Rig
Five upgrades that take an entry-level astrophotography setup to the next level, from control software and auto guiding to a cooled one-shot color camera.
Introduction
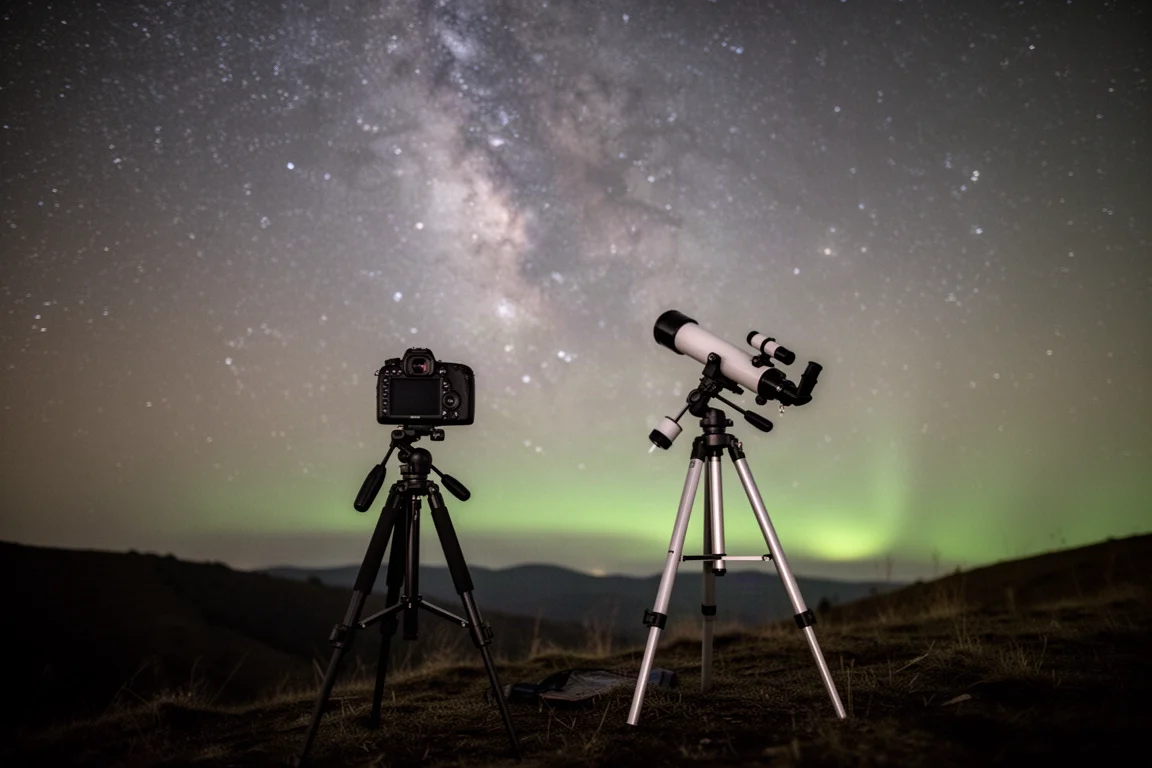
Moving from a beginner setup, typically a sky tracker with a short lens or small telescope and a DSLR, to something more intermediate can feel like a big leap. The good news is that a handful of targeted upgrades deliver most of the improvement. This list ranks five game-changing upgrades, starting at number five and working up to the one that can completely transform your images even if you keep using your sky tracker.
5. Equipment Control Software, a Sequencer, and Plate Solving
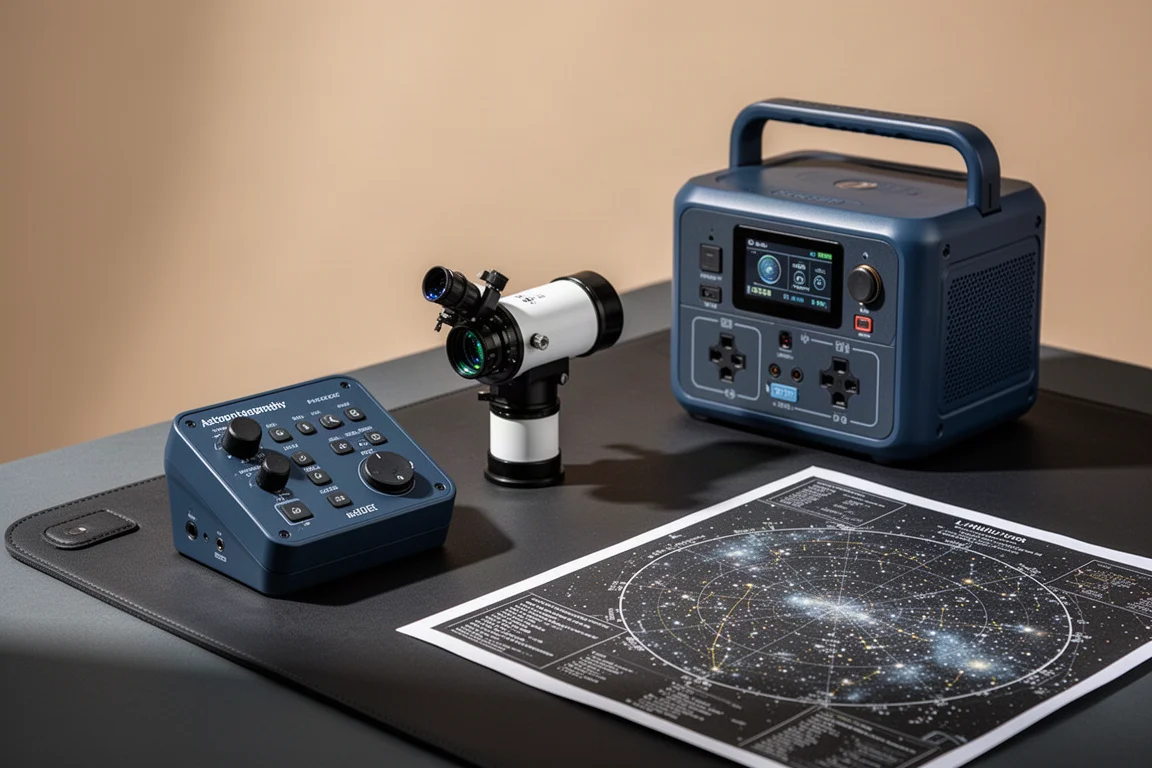
At number five sits some kind of equipment control software: a sequencer and a plate solver. Popular software options include Sequence Generator Pro, N.I.N.A., and TheSky X, and on the hardware side there are all-in-one controllers like the ZWO ASIAir Plus. The goal is simple: control your camera, your mount, and any other accessories all in one place.
Plate solving takes a photo of the sky and lets the computer check a database to see exactly where your telescope is pointing. That means you can frame and position your telescope down to the pixel, and it is extremely accurate. A sequencer like SGP or N.I.N.A. becomes almost necessary once you start integrating all this equipment, and it saves a lot of time in the process.
4. An Auto Guiding System
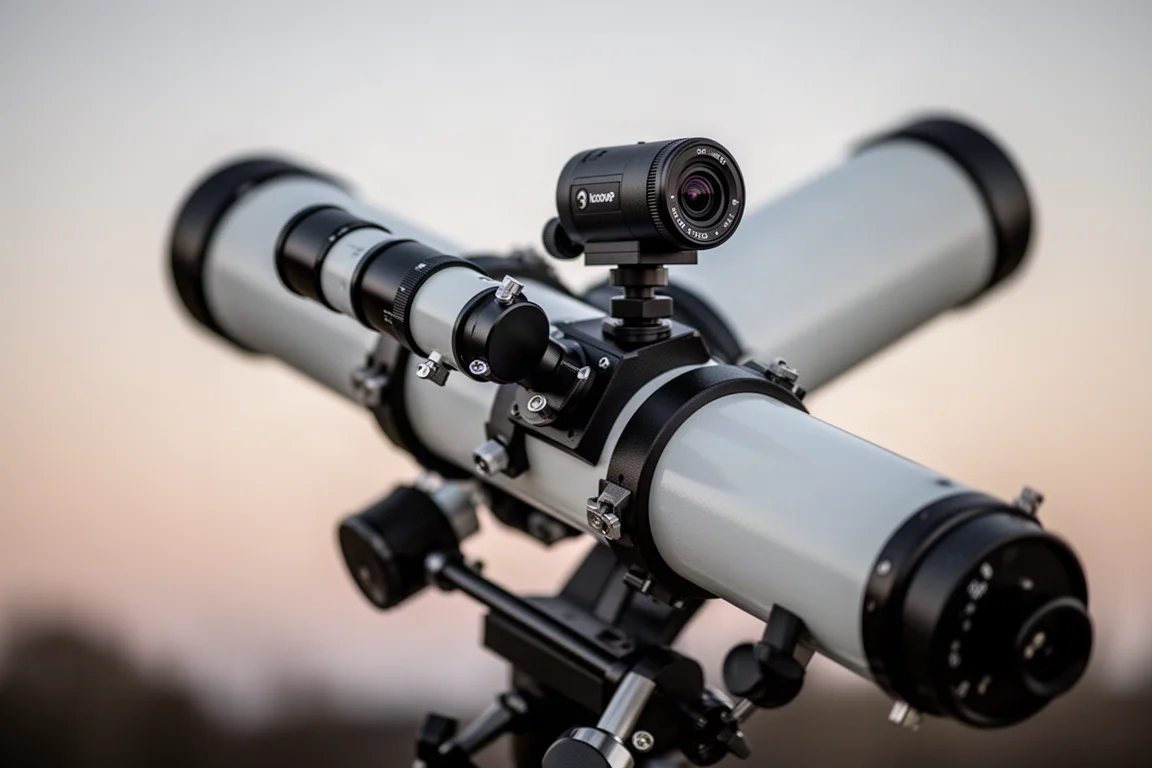
Number four is an auto guiding system, which pairs a guide scope and a guide camera mounted on top of your main imaging scope. These small cameras, essentially planetary cameras, take photos of the stars every few seconds. Software called PHD2 tracks the movement of those stars and sends the information to your mount, which then makes the necessary corrections in both right ascension and declination.
The payoff is real: increased sub exposure length and drastically sharper images, because your mount follows the exact motion of the object you are imaging. When shooting through a narrowband filter, 10-minute exposures are sometimes necessary, and for that kind of work an auto guiding system is absolutely essential to taking the next step in astrophotography.
3. A Bigger, Beefier Equatorial Mount
The number three spot goes to a bigger equatorial mount, something in the 30 to 35 pound payload capacity range. By upgrading your mount and its payload capacity, you effectively improve image quality through longer sub exposures and better stability.
Your equatorial mount is the base of the entire astrophotography rig and is arguably one of the most important pieces of the puzzle. Many astrophotographers will tell you that the mount was their single biggest game-changing upgrade going from beginner to intermediate. It lands at number three here only because the top two picks can be used in conjunction with a sky tracker.
2. A Narrowband or Dual Band Filter
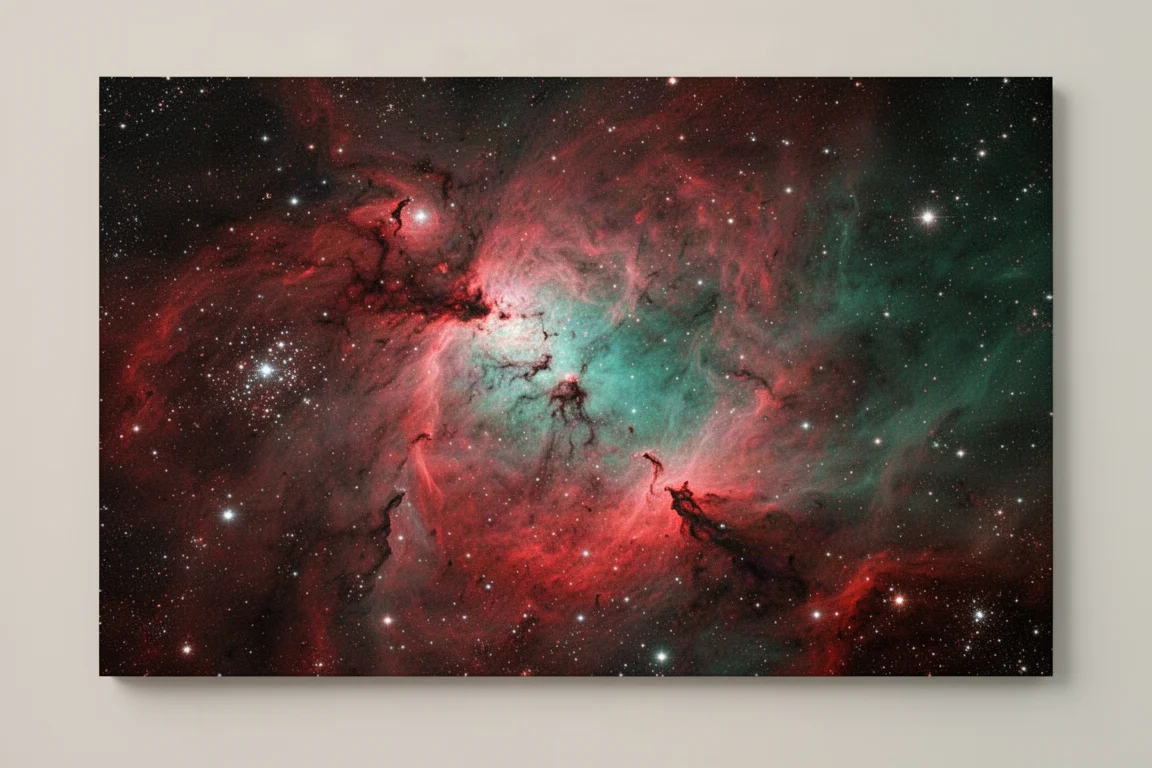
At number two is a narrowband filter, also called a dual band filter. These work best with cameras that are sensitive to hydrogen alpha light, such as modified DSLRs or dedicated color astronomy cameras. The filter restricts incoming light to two or more specific wavelengths, usually the hydrogen alpha and OIII lines.
One important caveat: these filters are suited solely for emission nebulae and should not be used on galaxies. Where they truly shine is for anyone living in a highly light-polluted area, because they effectively block out light pollution and only allow signal coming in from the nebula, letting you still capture impressive shots from home.
1. A Cooled One-Shot Color Astronomy Camera
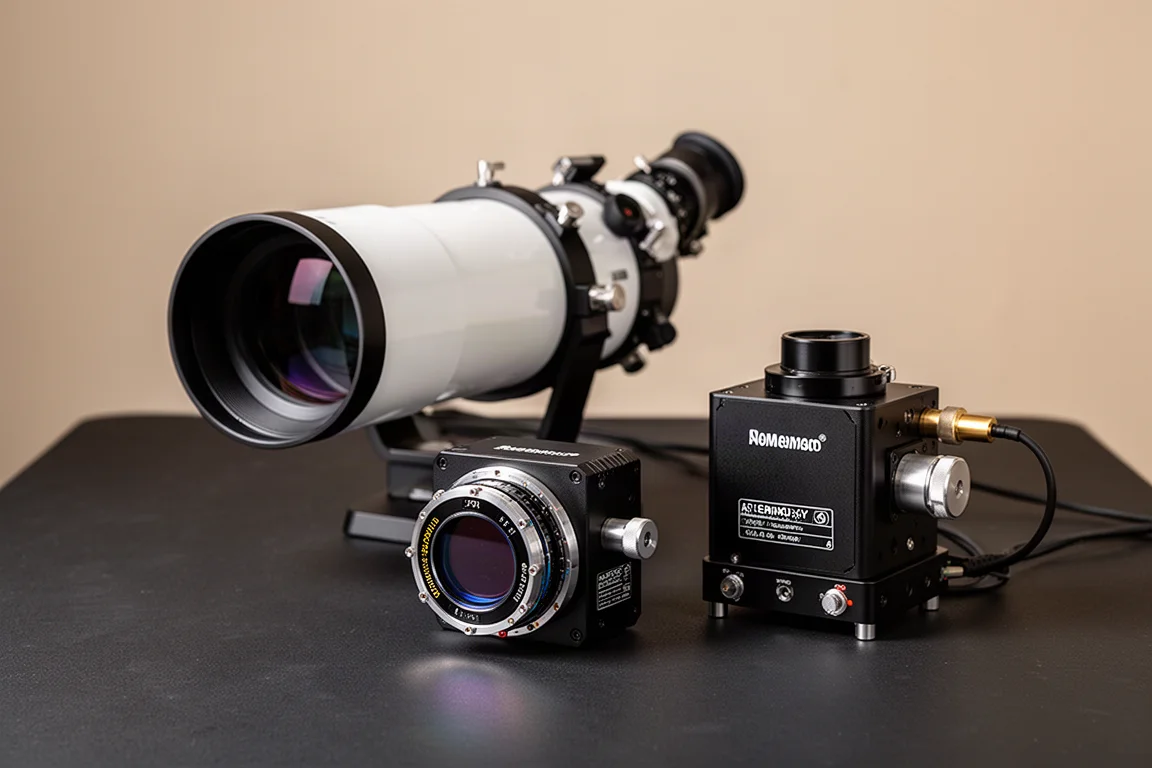
The top spot goes to a cooled dedicated one-shot color astronomy camera. Because the sensor is cooled, you get higher signal-to-noise and lower thermal noise, which improves nearly everything about your astrophoto. Cooling also makes calibration frames much easier, especially dark frames, which are temperature dependent. Once the sensor is cooled, you can take multiple dark frames and build a dark library to reuse across future projects without retaking them over and over.
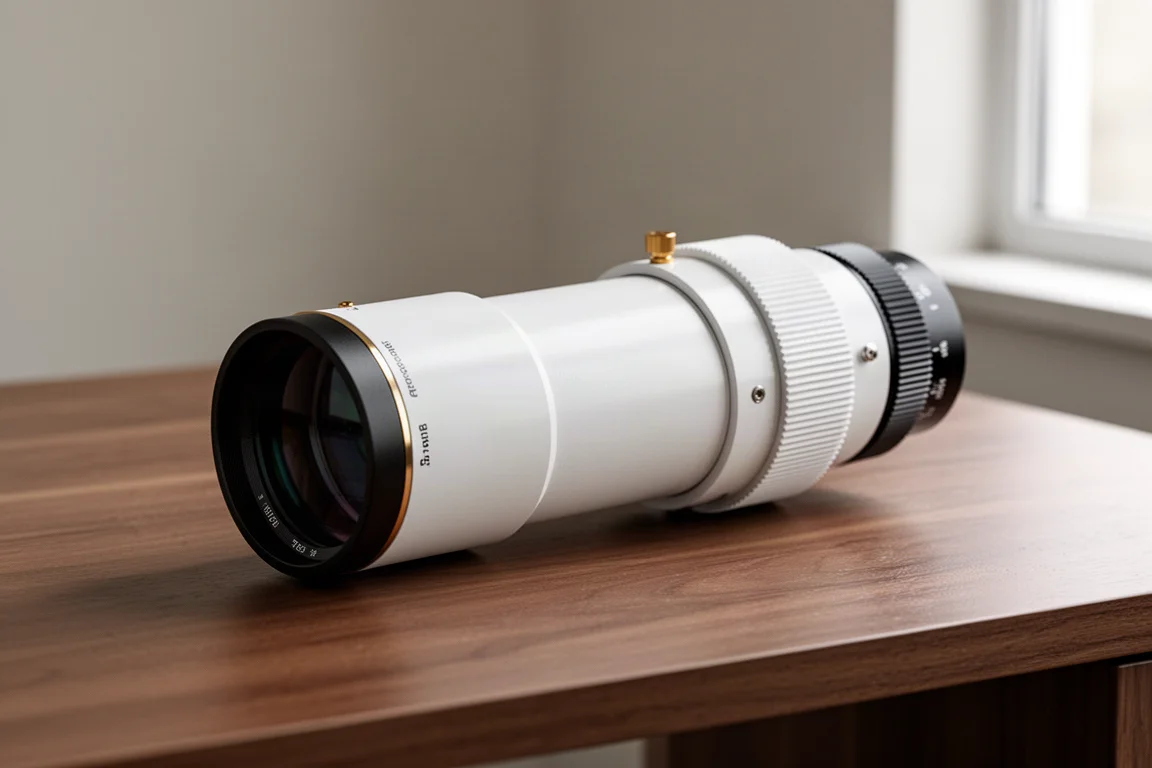
A one-shot color camera also has a clear advantage over a DSLR: it is much more sensitive in the hydrogen alpha wavelength. This ranks number one because you can pair it with a sky tracker and a telephoto lens, or something small like the William Optics RedCat 51, and completely transform your images compared to shooting with a standard DSLR.
Honorable Mentions: Power and Focus
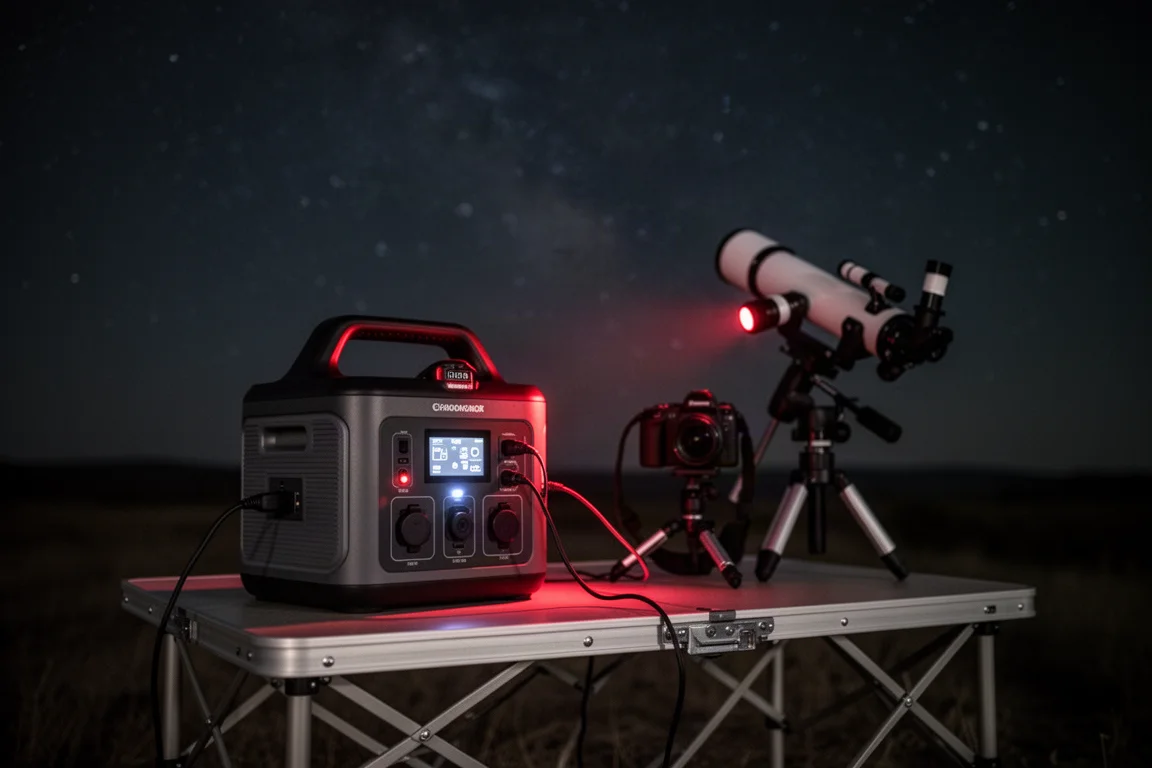
Two more upgrades did not make the main list but deserve a mention. First, a reliable power tank such as the Celestron Lithium LT or Celestron Lithium Pro. A dependable power source matters on any imaging night, and it becomes absolutely necessary when traveling to dark sky sites.
The second honorable mention is a Bahtinov mask, or focus mask. Placed on the front of your telescope, it lets you achieve tack sharp stars and the best focus possible. Without one, you may be eyeballing the stars and settling for focus that looks sharp when it could actually have been a little bit sharper.
Conclusion
The single most transformative upgrade here is a cooled one-shot color astronomy camera, since it works even with a sky tracker and a small refractor or telephoto lens. Narrowband filters pair naturally with it for light-polluted skies. Beyond that, control software, auto guiding, and a stronger mount form the backbone of a serious intermediate rig, while a power tank and a Bahtinov mask round out a reliable, frustration-free imaging session. Whatever you add first, match each upgrade to the bottleneck in your current setup and your images will thank you.
Further reading
Related Reviews
Astrophotography
ASKAR FRA400C Review: A Versatile 400mm Refractor for Astrophotography and More
The ASKAR FRA400C is a compact 72mm refractor that balances reach, versatility, and portability for astrophotographers and visual observers.
Astrophotography
Askar SQA106 Review: A Premium 106mm Astrograph With Exceptional Optics
The Askar SQA106 is a premium 106mm quintuplet astrograph with impressive sharpness across full-frame sensors, though its price and weight demand careful consideration.
Astrophotography
Astro Imaging Gear 2026: Eight New Products Worth Watching
A look at the most interesting new astrophotography and astronomy products announced this year, from fast telescopes to smart cameras and wireless accessories.