Astrophotography
Askar 103 and ZWO ASI 2600 MC Pro Duo: A $5,000 Astrophotography Setup Worth Building
A triplet apochromatic refractor paired with a dual-sensor cooled camera makes a robust, simple, and cost-effective deep-sky imaging system for intermediate astrophotographers.
Introduction
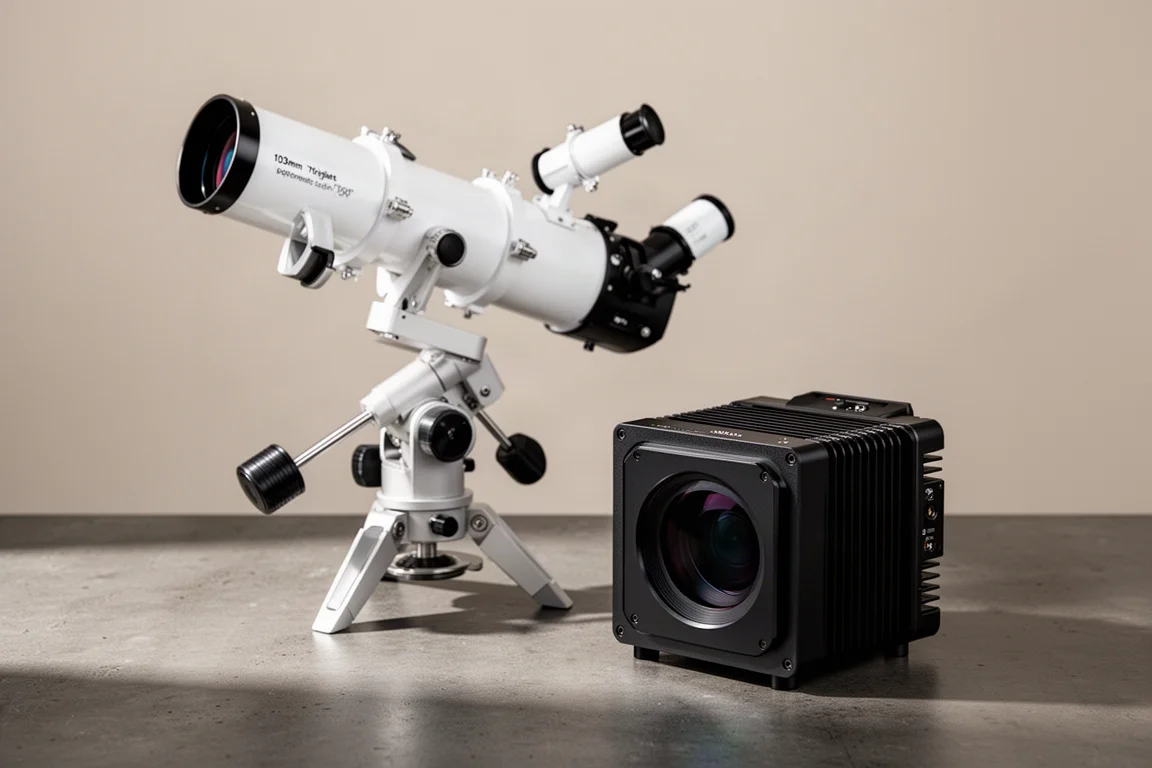
If you are leveling up your astrophotography in 2024 with a budget of around $5,000, the pairing of the Askar 103 triplet apochromatic refractor and the ZWO ASI 2600 MC Pro Duo stands out as both robust and simple, yet relatively cost-effective. This combination replaces an older style of setup, moving from a small 60mm travel refractor to over 100mm of aperture, and swapping an entry-level dedicated astronomy camera for a large-sensor cooled model with built-in guiding.
Going from 60mm of aperture to over 100mm makes a huge difference. Small refractors are great for capturing large objects like the North American Nebula and the Andromeda Galaxy without a mosaic, but the jump in light gathering and detail opens up a much wider range of targets.
Why This Scope and Camera Combination
The thinking behind this system came from trying to define a sensible upgrade path for intermediate astrophotographers. The previous recommended setup, built around a small refractor on a lightweight mount, cost about $3,000 and could be set up in under three minutes, which made it a reliable starting point. But that telescope has become considerably more expensive over the years: a comparable scope that once cost $1,099 now lists at $2,499, while the Askar 103 sits at $999 in 2024.
The camera upgrade matters just as much. The ASI 294 MC Pro was a great introduction to dedicated astronomy cameras at $999, but it came with persistent noise problems, including hot pixels that bias frames never fully removed, and banding, often called walking noise, that stayed visible even with dithering. The ASI 2600 MC Pro Duo has a larger sensor with higher resolution and far less noise, which helps avoid many of those calibration headaches. The Duo part adds a second built-in camera for guiding, eliminating the need for a separate guide scope and guide camera entirely.
Getting the Spacing and Back Focus Right
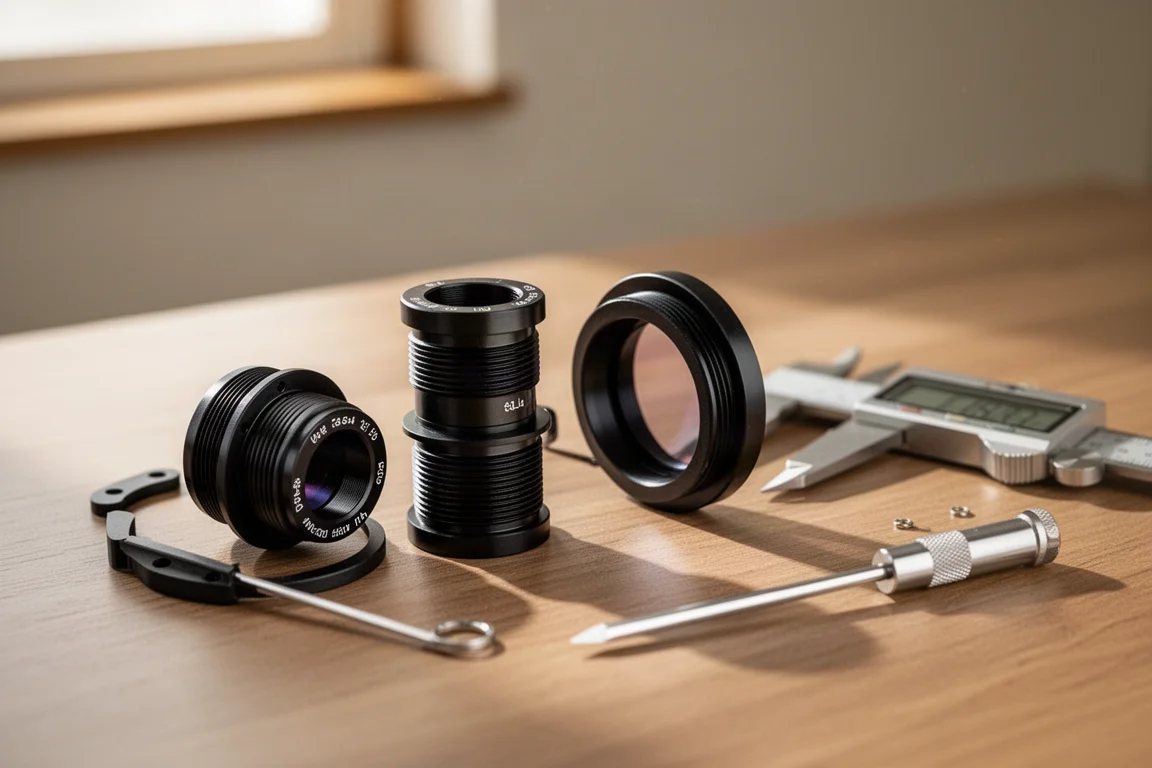
Assembly is straightforward in principle: mount the telescope, attach the field flattener to the camera, and connect everything to your control unit. One practical lesson learned the hard way: thread standards matter. The camera and its adapter use M54 threads, and a generic flattener with M56 threads looks like it should fit but does not. A generic flattener bought today would come with M48 threads that work with the included adapter, and the official Askar field reducer also uses M48 threads that thread directly into the adapter supplied with the camera.
Back focus is the other key detail. There needs to be 55mm between the sensor and the base of the M48 thread. Rather than doing the math on every adapter, checking the stack with calipers gets you there quickly: 54 to 55mm is right where you want to be. A light pollution filter can also be salvaged from an older flattener and dropped inside the focal reducer, sliding it into place with a small screwdriver through the side slots.
For control, the camera and mount can plug directly into a computer with the capture software of your choice, or you can use a dedicated control box like the ASI Air. One connectivity tip worth noting: if image transfer feels slow, check whether the device has defaulted to 2.4GHz Wi-Fi instead of 5GHz. That single setting cost a full hour of clear skies during testing.
A Simple Five-Step Processing Workflow in Photoshop
Once the stacked image is exported as a TIFF, Photoshop handles the rest in five steps. First, adjust levels (Command or Control plus L) by isolating the histogram into its first quarter, moving sliders without clipping the black point into the data. Second, use the Camera Raw filter to align the colors with Curves so red is no longer dominant, a common issue with light pollution filters.
Third, return to levels and curves until the image looks pleasing, using a control-click trick on the black point, the nebula, and a bright star to lift the nebula. Fourth, go back into Camera Raw for final adjustments: the Clarity control brings up midtones and makes the nebula pop. Fifth, apply denoising, keeping it to the minimum amount so you do not lose stars or end up with an oil-painting look, especially on short total integrations.
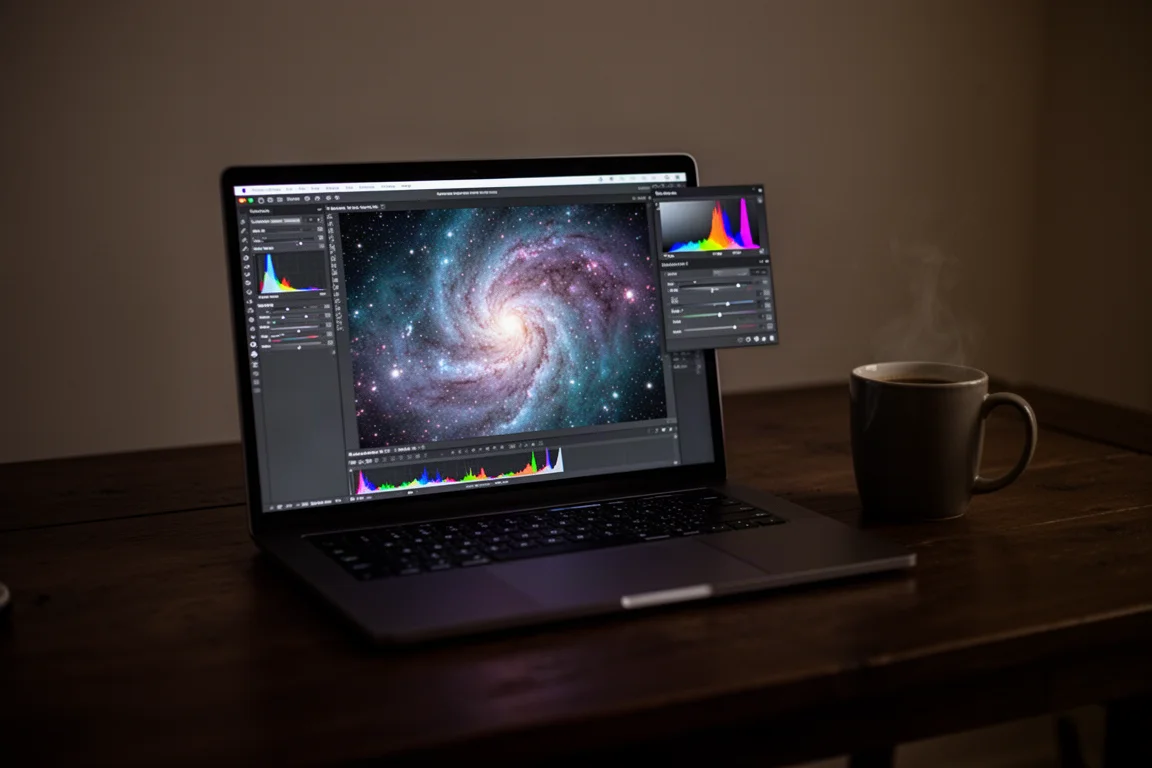
If you want stronger noise reduction, dedicated paid software does a better job than Photoshop. Saving the image and running it through Topaz DeNoise with default settings removes substantial noise while keeping stars intact, and you can drop the result back into Photoshop for final tweaks.
Real-World Results After a Month of Testing
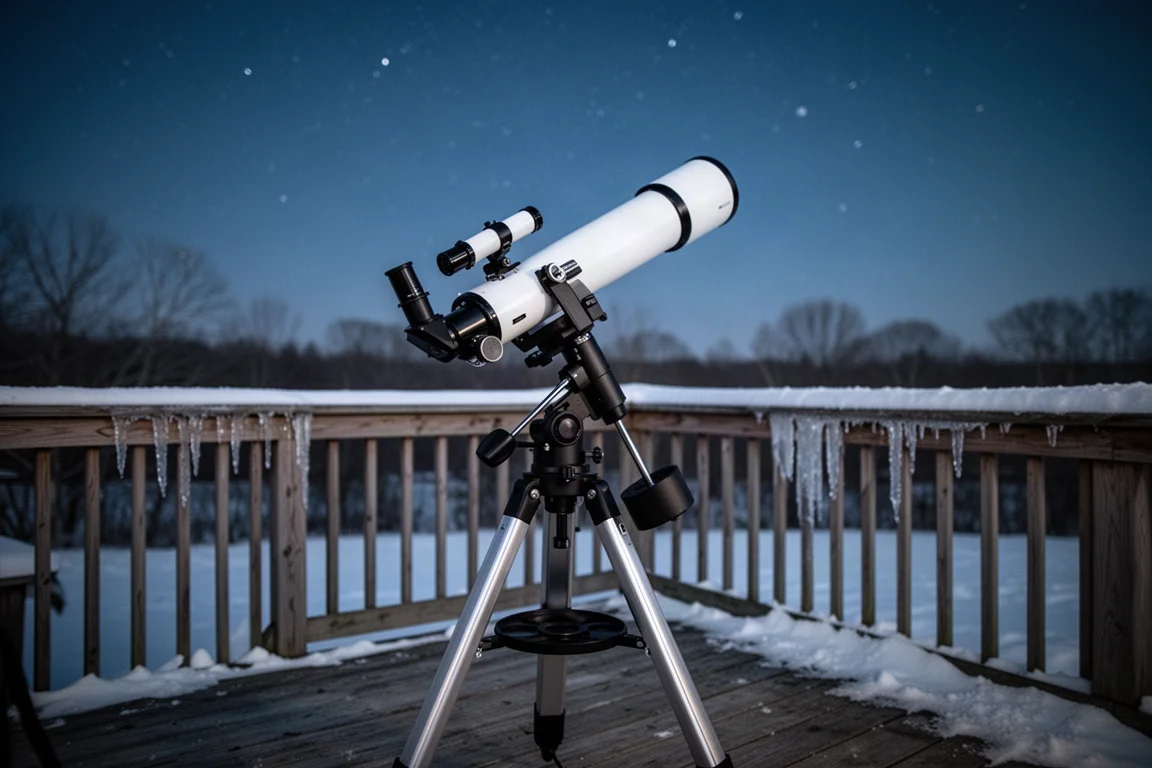
After about a month of thorough testing through three major snowstorms, the pairing left a strong impression. Guiding was fantastic, consistently hitting around half an arcsecond of precision thanks to the Duo’s built-in guide sensor. Images looked flawless right up to the edges. A 24-minute exposure of the Horsehead Nebula and a one-hour shot of the Rosette showed no sign of walking noise or hot pixels, a dramatic difference from the older camera. Six minutes on the Orion Nebula and about 30 minutes on the California Nebula revealed a level of detail that only improves with more exposure time and darker skies.
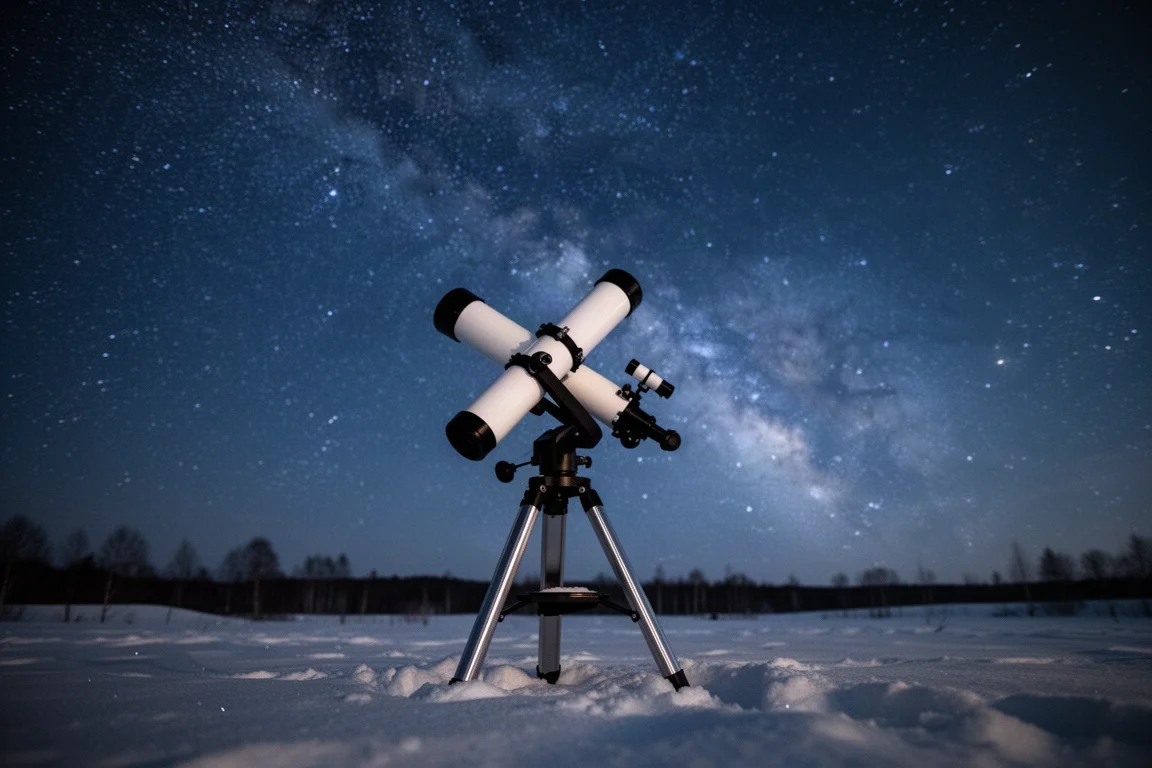
A few practical notes. The gain needed to be turned way up to see stars on screen for focusing, possibly because the guide sensor sits far off to the focal plane within the scope’s natural vignette. Focus needs watching when moving the scope from a warm house to a cold backyard; there was no electronic focuser, just a Bahtinov mask, so refocusing between targets was necessary. No frost or dew issues appeared during dry winter city conditions, and the camera includes a built-in dew heater as a safeguard. Galaxy attempts were thwarted by weather and vantage points rather than the gear, so darker skies are the next goal.
Overall Buying Advice and Full System Costs
Pricing as of January 2024 in US dollars, the telescope costs $999, the camera $1,999, and the EQ6-R Pro mount $2,250. Add a field flattener, either the generic version at about $130 or the official Askar one at $199. The mount is arguably overkill here: the general rule is not to exceed half a mount’s capacity for astrophotography, and this full setup with cabling comes in around 15 pounds. The Sky-Watcher HEQ5 at $1,475 (30 lb capacity) or the ZWO AM3 at about $1,800 with tripod (29 lb capacity) would work just as well and save roughly $450 to $775. With the HEQ5, the whole system may squeeze in below $5,000.
One caution from experience: a Celestron AVX mount, while cheaper, proved too finicky for astrophotography in practice. And write your mount’s baud rate in Sharpie on the mount itself; you will forget it, and you will struggle to connect in the middle of the night.
Conclusion
The Askar 103 paired with the ZWO ASI 2600 MC Pro Duo delivers cleaner images, simpler rig assembly, and better value than the setups it replaces. The guiding is excellent, the sensor’s low noise transforms short winter sessions into usable data, and at $999 the telescope undercuts aging alternatives while matching their performance. For anyone stepping up from a small refractor and an entry-level camera, this is a system that is easy to recommend, and hard to give back.
Product link
View more details for Askar 103
This product is mentioned in the review. Check the specifications, options, and compatibility before buying.
View more details for Askar 103Further reading
Related Reviews
Astrophotography
ASKAR FRA400C Review: A Versatile 400mm Refractor for Astrophotography and More
The ASKAR FRA400C is a compact 72mm refractor that balances reach, versatility, and portability for astrophotographers and visual observers.
Astrophotography
Askar SQA106 Review: A Premium 106mm Astrograph With Exceptional Optics
The Askar SQA106 is a premium 106mm quintuplet astrograph with impressive sharpness across full-frame sensors, though its price and weight demand careful consideration.
Astrophotography
Astro Imaging Gear 2026: Eight New Products Worth Watching
A look at the most interesting new astrophotography and astronomy products announced this year, from fast telescopes to smart cameras and wireless accessories.