Camping Tents
ALPS Mountaineering Trail 2 Person Tent: Setup, Strengths, and What to Know First
A close look at the ALPS Mountaineering Trail 2 Person Tent, a trekking pole shelter with a genuinely simple pitch and a few unresolved questions.
Introduction
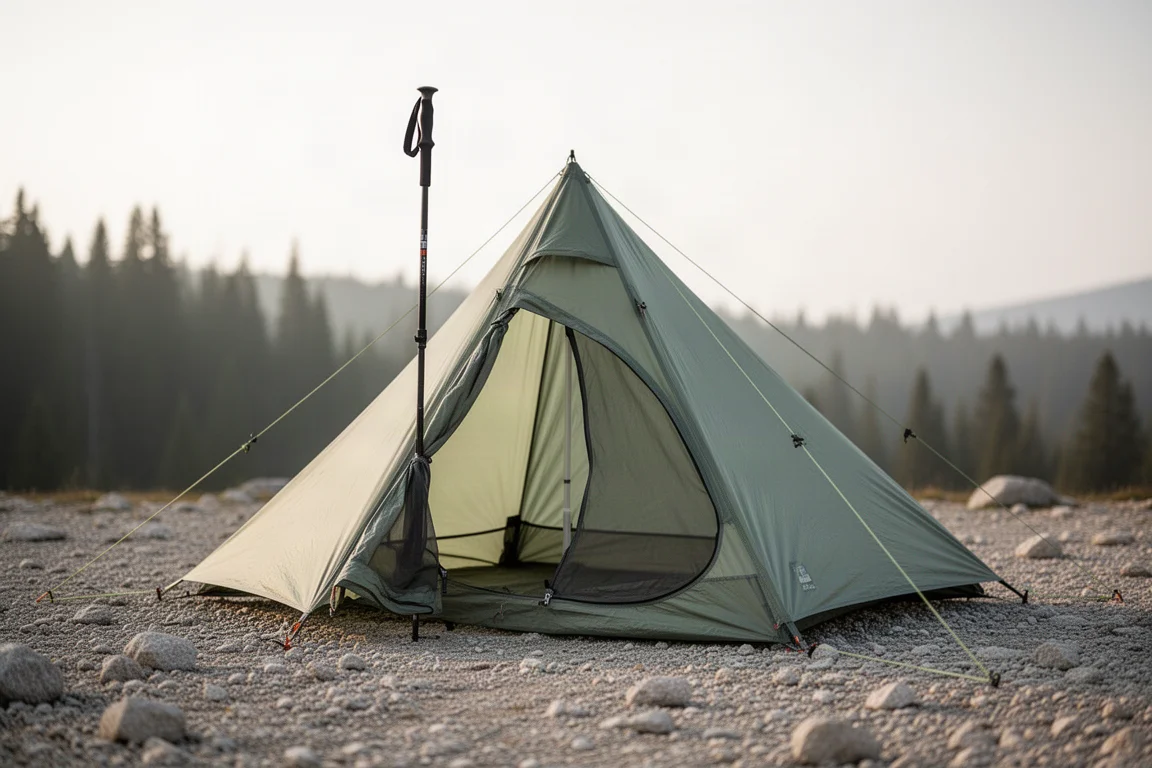
The ALPS Mountaineering Trail 2 Person Tent is a trekking pole shelter rather than a freestanding one. Instead of a dedicated pole set, it uses a single trekking pole extended to 51 inches and slotted into the tent structure, and the body and fly are joined as one connected piece. The practical effect is a shelter with very few components and a pitch that most campers can work through quickly.
This breakdown walks through how the tent goes up, what it asks you to supply yourself, where it makes sense, and the questions that are still open before committing.
Who This Tent Is For
This tent is aimed at backpackers who already carry trekking poles and want a light, fast-pitching shelter without a separate pole set. Because the body and fly are interconnected, there is less to assemble, unpack and repack, which suits campers who pitch late in the day or move camp often. The two-person capacity and single door layout point to a straightforward overnight shelter rather than a basecamp tent with lots of living space.
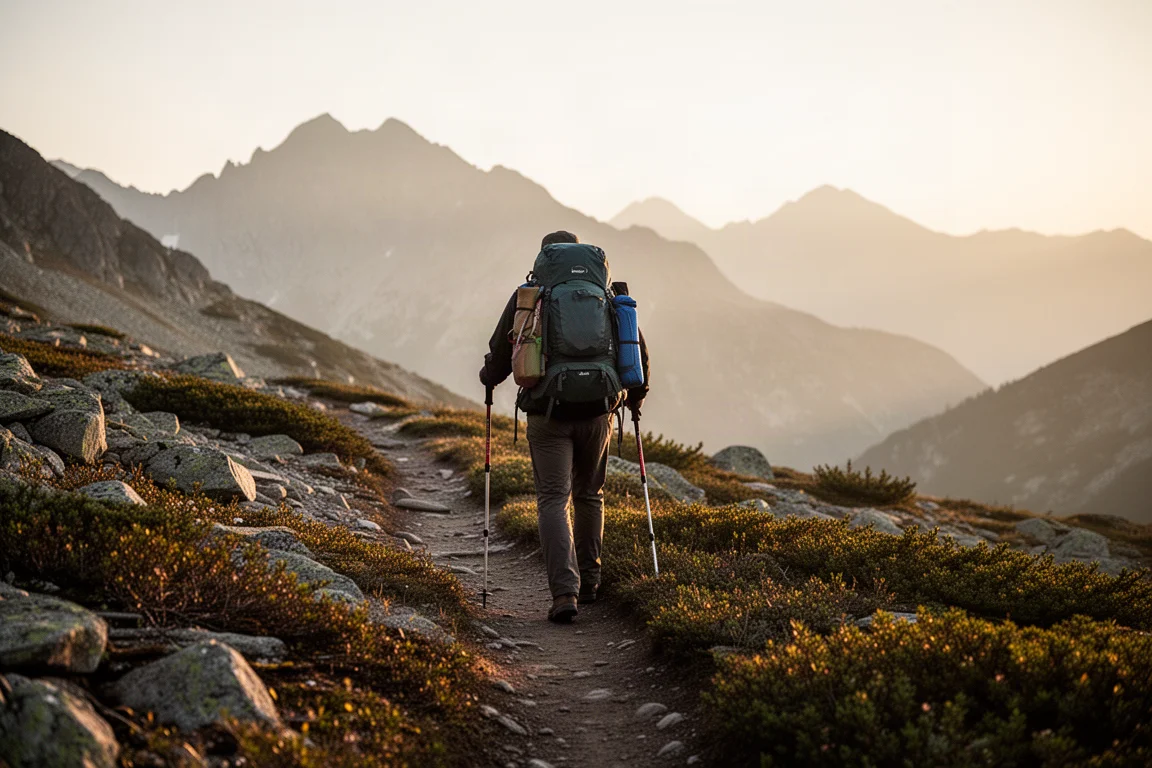
Anyone who prefers a freestanding tent that can be pitched without stakes, or who does not normally carry trekking poles, should think carefully here. The tent depends on that pole for its structure, so it is only as convenient as the pole you bring with you.
How the Setup Process Works
The process starts with a ground sheet, which is optional but useful for keeping the floor clean and protected. Unfold the tent body and lay it over the sheet, then orient the door in the direction you want.
Around the perimeter you will find adjustable stake-out lines, each with a metal loop at its midpoint. Extend those lines before staking so you have room to tension the tent afterwards. Five stakes hold the perimeter: one at the back, opposite the door, and two on each side. The doorway is staked later, bringing the total to six.
Next, extend the trekking pole to 51 inches and fit the protective cap over the tip. The pole inserts into a sleeve at the floor, where a slit in the material takes the hand grip, while the capped end seats at the top of the tent. Interior straps can be attached to the pole, or left hanging to hold a lantern or headlamp. Close the mesh door, zip the front, stake the doorway, then walk the perimeter and fine-tune the stake-out points for a taut pitch. Vents can be opened once the tent is pitched.
The main technique worth repeating is giving yourself leeway. Pull the stake-out points away from the body first, then tighten everything at the end. Doing so keeps the whole process smooth.
Main Strengths
Setup is the headline strength. It is a genuinely simple sequence: stake the perimeter, insert the pole, stake the doorway, make adjustments. There is very little that can go wrong as long as the perimeter is staked out properly.
The minimal parts count helps too. With the body and fly connected, there is no separate fly to align and no pole set to assemble, so packing and unpacking stay quick.
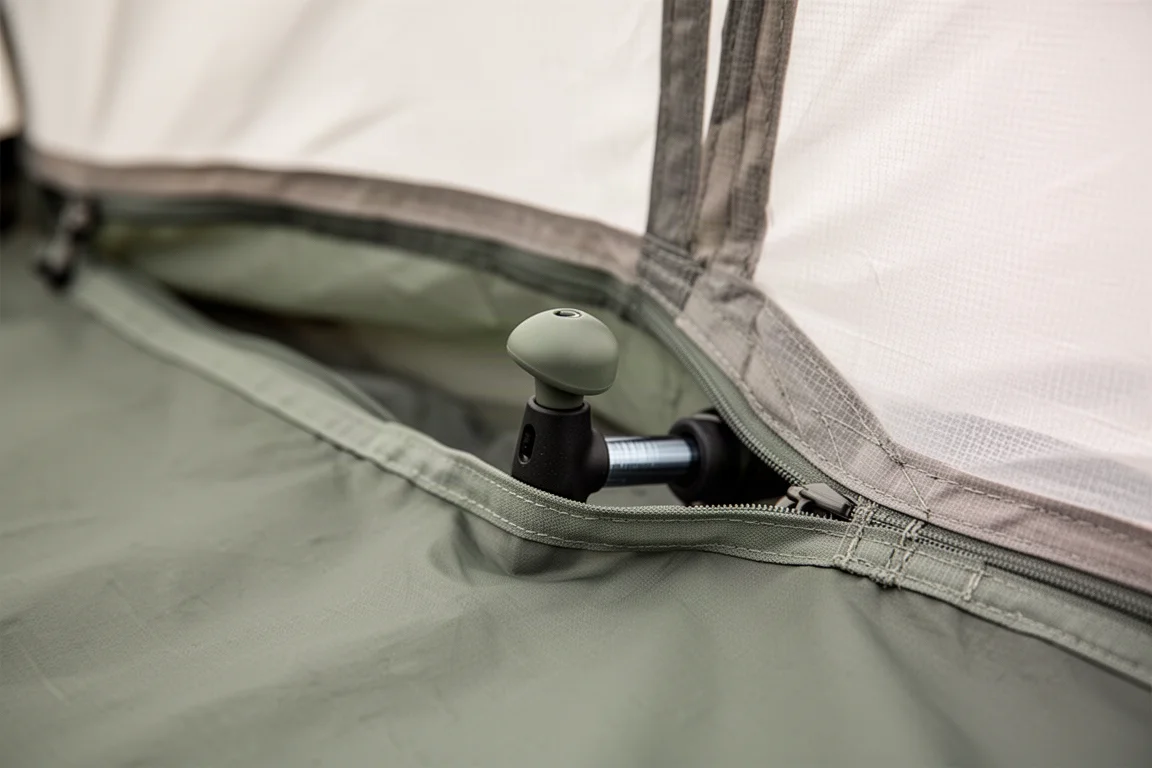
Small details support the same theme. The supplied pole cap protects the inside of the tent from the pole tip, the interior straps double as gear hanging points for a lantern or headlamp, and the vents can be opened after pitching to improve airflow.
What You Need to Supply Yourself
Two items are not included. The first is the trekking pole itself, which is essential to the structure of this tent. The second is a ground sheet. A simple sheet of plastic works well, and its purpose is protection rather than waterproofing: it keeps the floor away from debris and dirt on the ground. It is not there to stop water coming through, and a tent in good condition does not rely on it to stay dry.
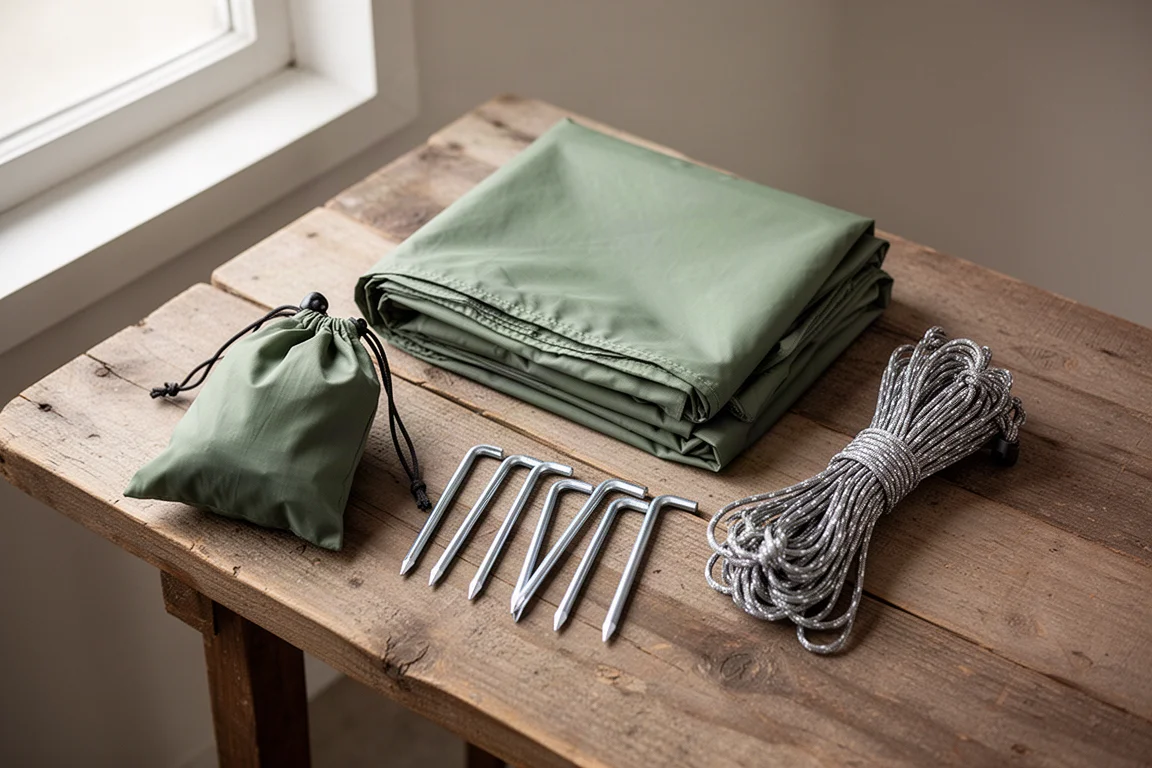
The tent stakes and guy lines are supplied in a small bag, so the six stakes needed for a full pitch are already covered.
Wind, Weather, and Guy-Out Points
The tent has numerous guy-out points and comes with a matching set of guy lines. In stormy or windy conditions these are worth the extra few minutes: attach the lines, stake them out, and tension the pitch properly rather than relying on the perimeter stakes alone.
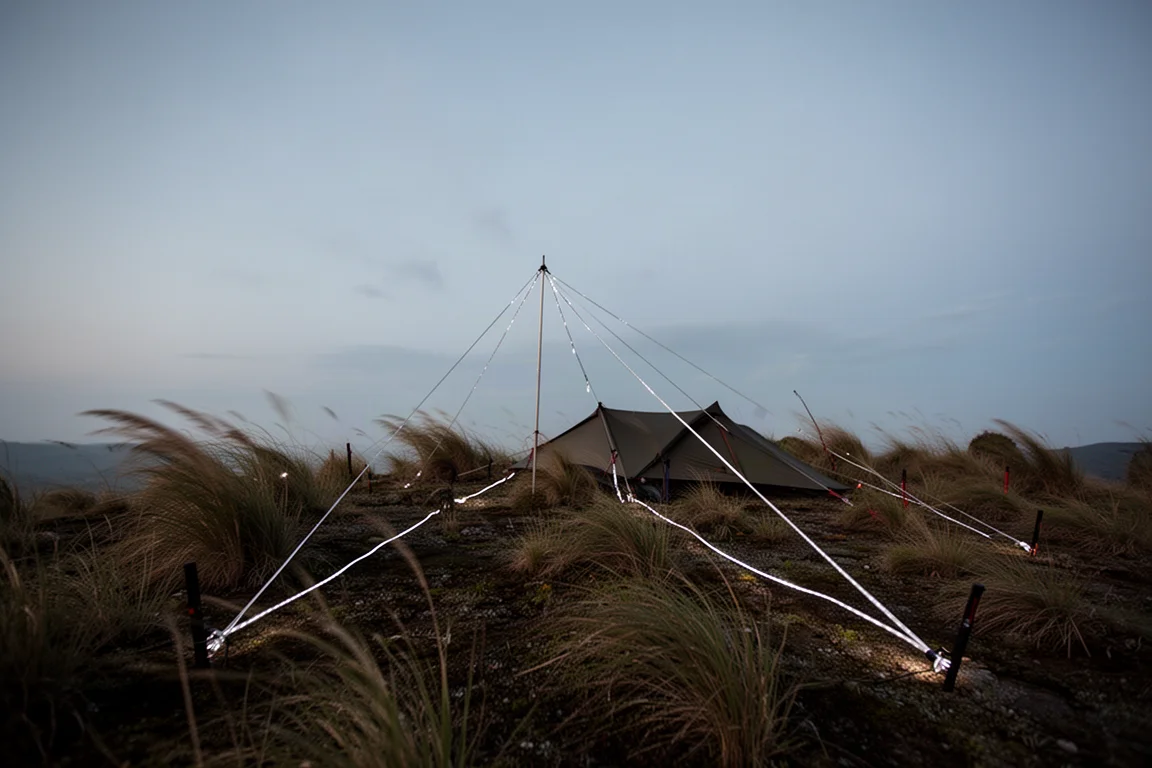
If you expect exposed campsites or changeable weather, treat the guy lines as part of the normal setup rather than an emergency measure. A fully tensioned pitch is also easier to fine-tune later if conditions shift overnight.
Things to Consider Before Buying
The setup is not the concern here. Early hands-on time with this tent has raised questions about build quality and real-world performance, and there are potential issues that are likely to become clearer only with more use in the field. Until those are settled, the value proposition is genuinely uncertain.
There is also the one-door layout to weigh. A single door is normal for a lightweight two-person shelter, but it does mean less convenient access for the person sleeping furthest from the entrance.
Buying Advice
If you already carry trekking poles and want a shelter that goes up in minutes with almost nothing to assemble, this tent is a logical candidate on paper. The pitch really is that simple, and the included stakes, guy lines and pole cap cover the basics.
The hesitation is durability and performance rather than convenience. On the information available so far, the sensible approach is to wait until the tent’s quality and field behaviour are better established, or to buy only where you can easily return it if it does not hold up. If you need a shelter now and cannot wait for that clarity, a design with a longer track record is the lower-risk choice.
Conclusion
The ALPS Mountaineering Trail 2 Person Tent gets the hard part right: the setup is quick, logical and hard to get wrong, and the single-wall, trekking-pole design keeps the parts count low. What holds it back is everything that comes after the pitch. With quality and performance questions still open, this is a tent to research carefully before you commit rather than an obvious first pick.
Product link
View more details for ALPS Mountaineering Trail 2 Person Tent
This product is mentioned in the review. Check the specifications, options, and compatibility before buying.
View more details for ALPS Mountaineering Trail 2 Person TentFurther reading
Related Reviews
Camping Tents
3F UL Gear Taiji Two-Person Tent Review: Field Waterproofing Results and Buying Advice
The Taiji pairs an attached fly with a removable inner, but sustained rain exposed untaped vent seams that need sealing before this shelter can be trusted.
Camping Tents
3FUL Gear Lanshan 2 Pro 4-Season Review: A Sub-$200 Single-Wall Trekking Pole Tent
An early look at the 3FUL Gear Lanshan 2 Pro 4-Season, covering its straightforward pitch, generous interior space, and the condensation and seam-sealing questions that come with any single-wall shelter.
Camping Tents
Alps Mountaineering Lynx 1-Person Tent Review: Big Value in a Small Budget Tent
A close look at the Alps Mountaineering Lynx 1-Person Tent, covering real interior dimensions, materials, setup time, ventilation limits, and who should buy it.