Camping Tents
Alps Mountaineering Ranger Tent Review: A Roomy One-Person Shelter With a Demanding Setup
The Alps Mountaineering Ranger is a tall, spacious one-person tent with robust hardware, but its multi-pole setup and missing printed instructions ask a lot of first-time buyers.
Introduction
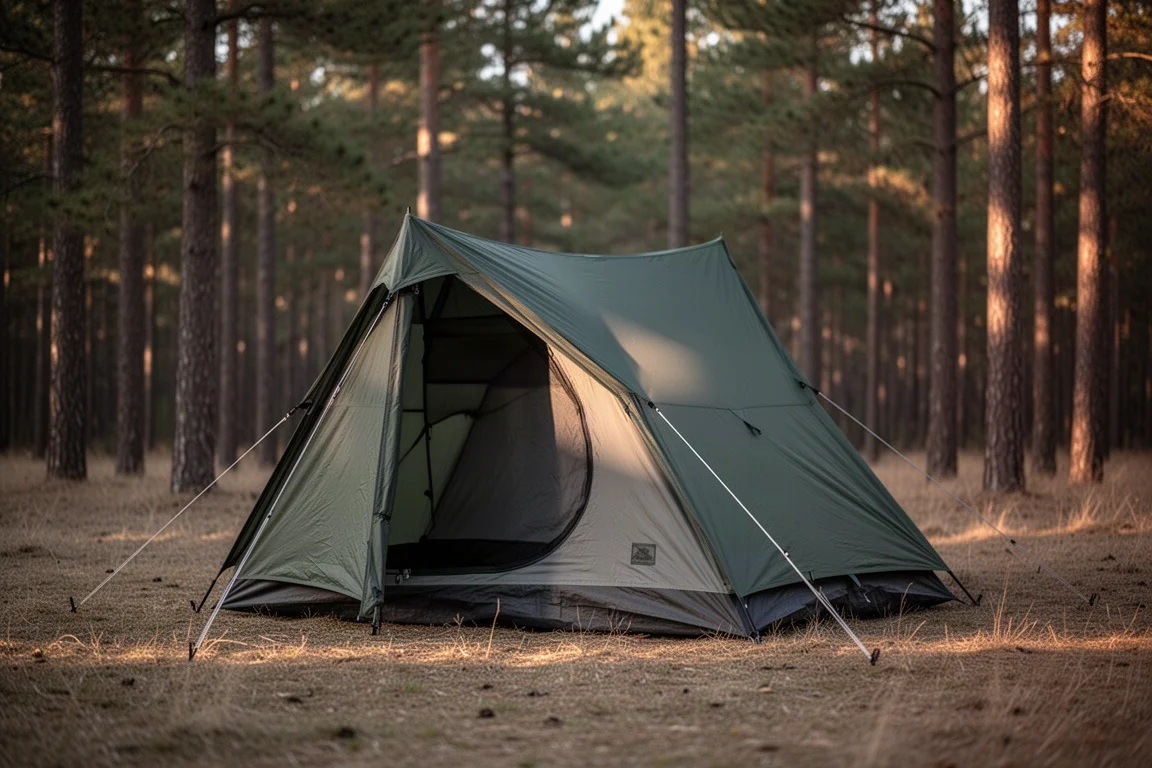
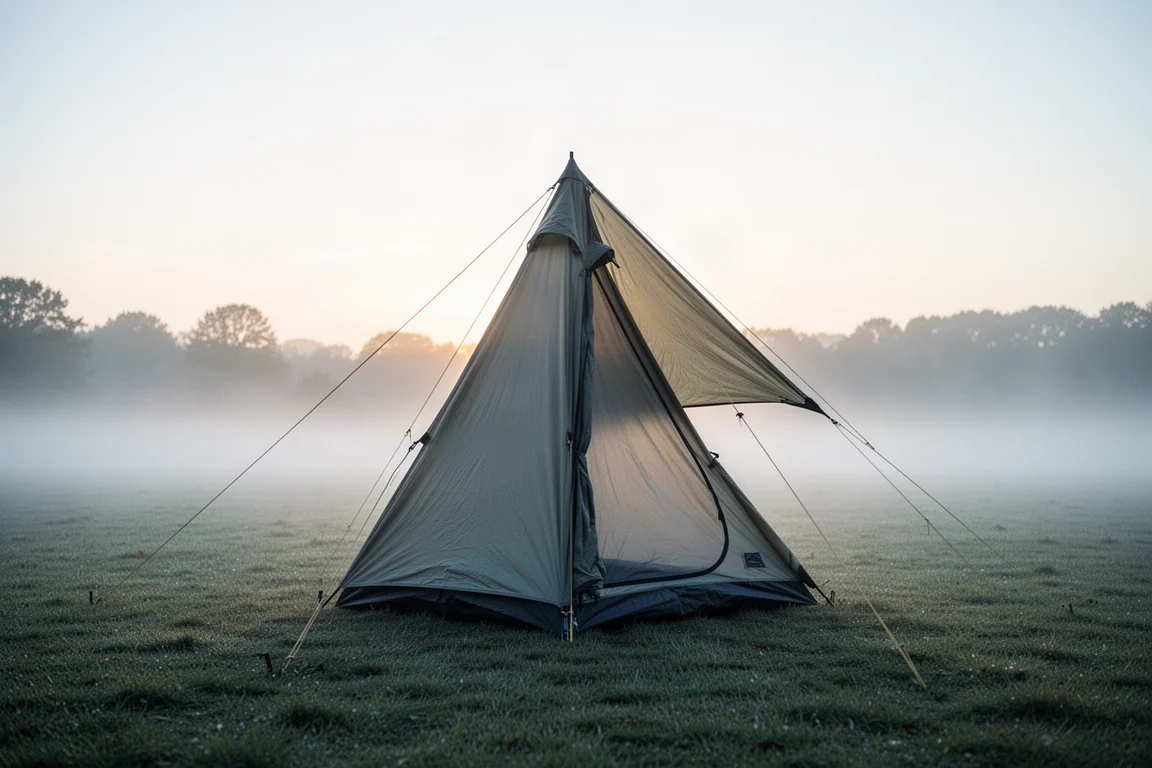
The Alps Mountaineering Ranger is a one-person tent that takes a different route from the usual solo shelter. It is tall, generously sized for a single camper, and built around a freestanding frame that uses several poles of different lengths and diameters. That design gives it a distinctive silhouette and a lot of interior room, and it also makes pitching the tent a genuinely involved process.
There are no printed setup instructions in the box. Instead, a small note inside the storage bag points buyers to an online setup guide, which is a fragile plan for anyone pitching the tent for the first time at a remote campsite without a signal. Getting the sequence wrong is not a minor annoyance either. Certain poles only fit certain hubs, and if the orientation is off, the frame will not go together at all.
That is what this review focuses on: what the Ranger does well, where corners have been cut, and what the setup process actually demands. Campers who learn the sequence at home before a trip will have a far easier time than those who open the bag for the first time on site.
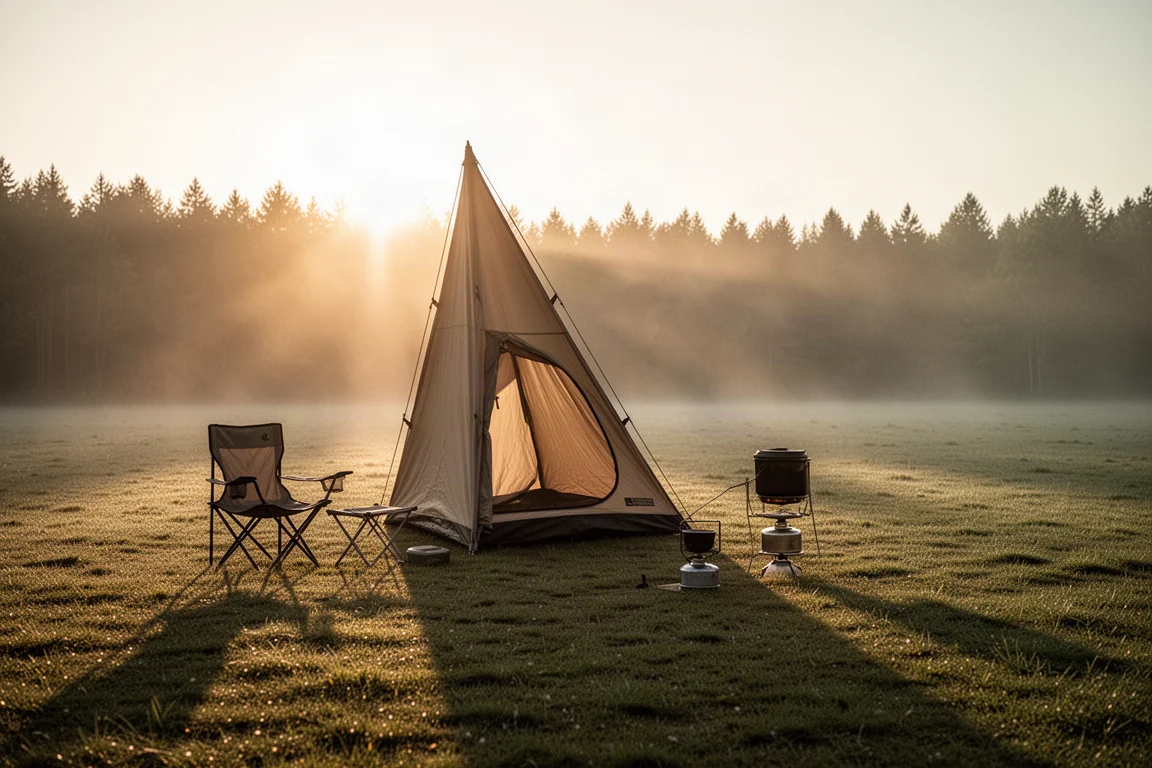
The short version is that this is a capable, roomy tent that rewards preparation and punishes improvisation. The complexity is real, but it is also learnable, and once the order of operations clicks, the Ranger goes up without the same level of struggle.
Who This Product Is For
The Ranger suits campers who value interior space and headroom over a minimal pack. It is a large tent for a solo shelter, with enough room to move around and to keep gear organised rather than piled in a corner. Two mesh caddies inside the body add places to store small items off the floor, and the overall footprint gives campers more options for how they use a pitch.
It also suits buyers who are willing to treat the first setup as a project. Learning the pole order, the hub orientation and the guy line layout at home takes time, but it is time that pays off on every trip afterwards. The tent is freestanding once assembled, which makes repositioning on a site easier than it would be with a purely staked structure.
It is less suited to campers who want a shelter they can throw up in a couple of minutes after a long day, or to anyone who prefers not to think about which pole goes where. This is not a tent that forgives a rushed pitch, and the design gives buyers plenty of reasons to read up before heading out.
Main Strengths
The most obvious strength is space. The Ranger is a tall tent, and that height translates into a living area that feels far less cramped than many one-person shelters. Combined with the mesh caddies, it gives a solo camper room to sit up, change clothes and keep essentials within reach.
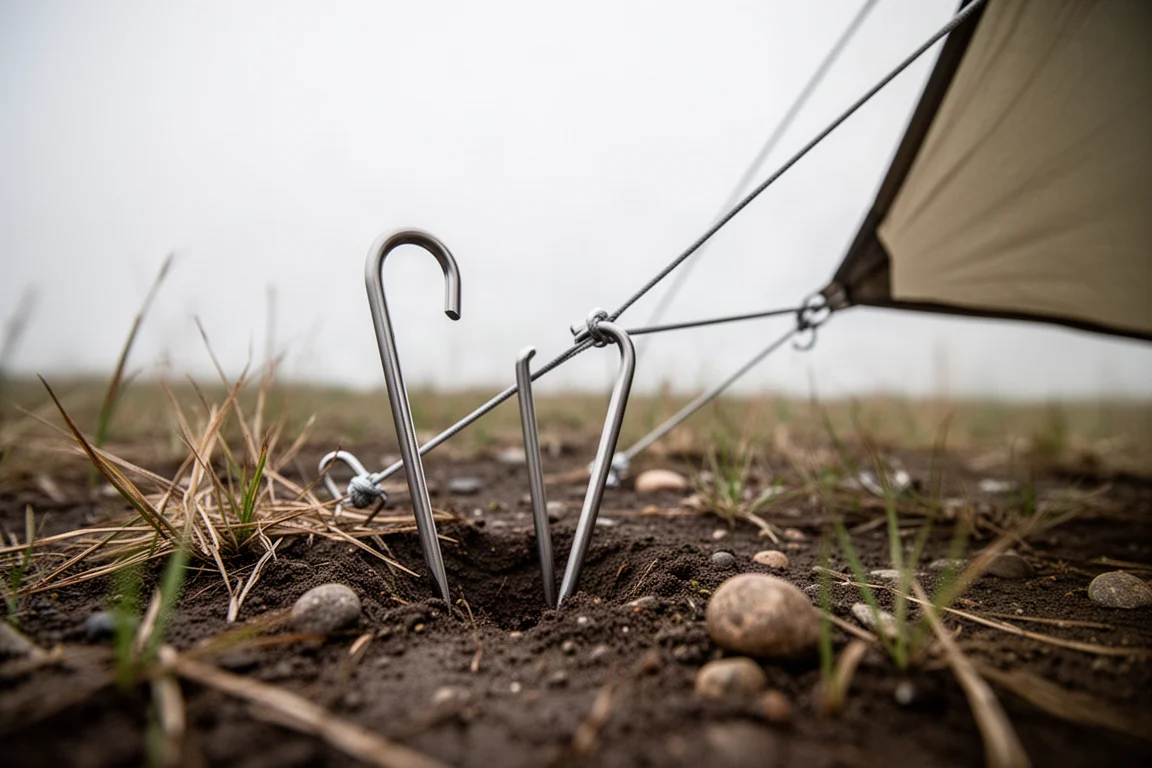
The hardware is substantial. The tent ships with eleven stainless steel shepherd hook stakes, and these are heavy, serious pieces of metal rather than the thin wire pegs common on lightweight shelters. Seven guy lines are included as well, and they attach around the perimeter and along the base of the tent.
The fly is designed to cover the sides and the back while only partially covering the front, and it clips into the corners with buckles. Three additional guy lines run along the bottom of the tent, one on each side and one at the back. These matter more than they might appear to: they pull the fly away from the body, which increases ventilation and reduces condensation build-up overnight.
There is also repair material in the box for field fixes, and the overall design is unusual enough that the tent stands out from a crowded category. For campers who want a large, tall solo tent with room to spare, the Ranger offers something that is not easy to find elsewhere.
Things to Consider Before Buying
The setup process is the main consideration, and it is a demanding one. On a difficulty scale where ten is the hardest, this tent sits firmly in the upper range. Each pole is a different size and diameter, and every component has to go together in a specific order or the frame simply will not assemble.
The absence of printed instructions makes that harder than it needs to be. Relying on an online guide is workable at home, where a connection is available, but it is a poor fallback in the field. Even a simple printed diagram would remove most of the guesswork.
Some of the design choices add unnecessary friction. The front hubs are different sizes, so the cross poles will fit either port but the orange poles will only fit one way, and there is no colour coding on the hubs or poles to indicate the correct orientation. Pole sleeves are used instead of clips, a choice that keeps the price lower but makes threading the poles noticeably more awkward.
The tent is also tall enough to catch a lot of wind, so it should be staked out even in calm summer conditions. It is freestanding, but it is not a shelter that can be left loose. The paperwork in the box also advises against returning the tent to the retailer if an issue comes up, which is worth knowing before purchase.
How the Setup Process Works
A reliable pitch starts with the inner laid out on the ground, paying attention to where the zippers sit so that the front of the tent ends up where it is wanted. A ground sheet underneath is a sensible addition, particularly given the price of the tent and the wear that a floor takes over time.
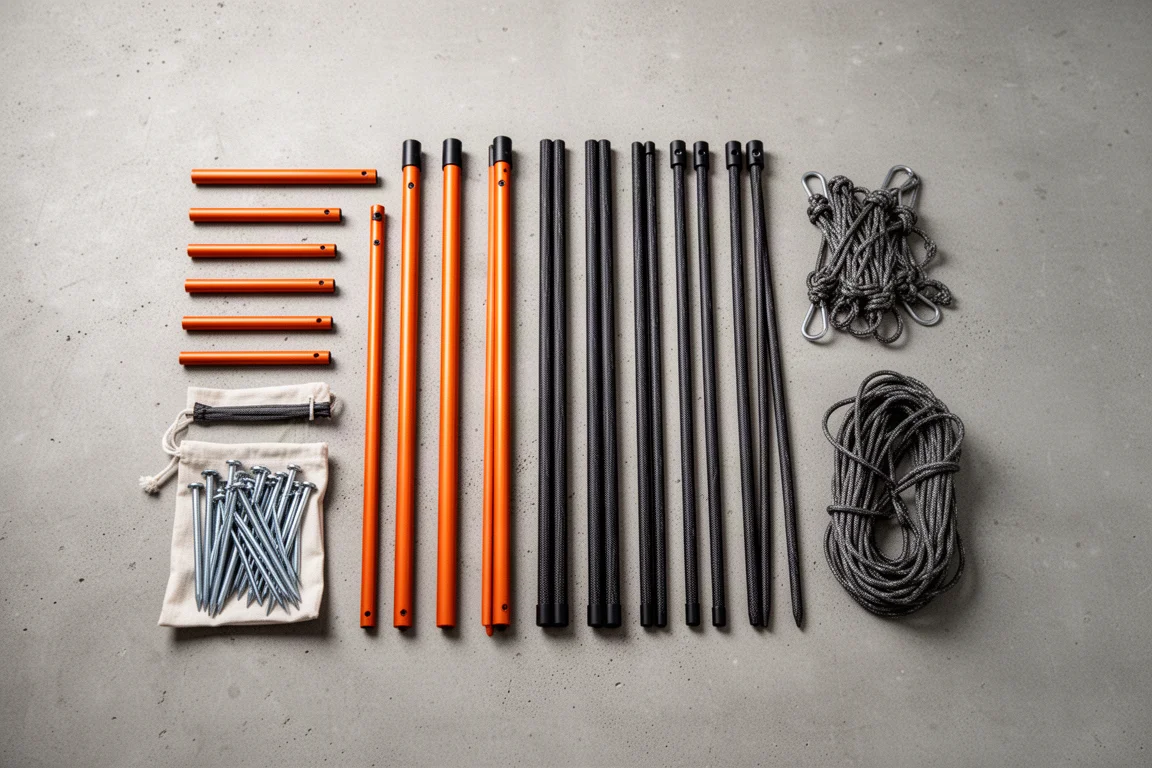
From there, the poles are sorted. Two straight fibre poles run across the top of the tent through sleeves, one further pole of unusual shape is set aside, and the four orange poles are separated into two longer and two shorter pairs. Every orange pole has a black cap with a hole at one end, and those capped ends belong at the bottom corners.
The straight fibre poles go through the sleeves across the top, then seat into the plastic hubs on each side. The shorter orange poles go to the back, with the uncapped end at the top into the hub and the capped end over the pin at the bottom. The longer orange poles go to the front, and the hubs there must be oriented correctly or the pole will not seat. Clips then attach along the body, three per side at the front and one per side at the back.
Once the body is up, it should be staked out. The fly goes on next with its long side to the rear, clipping into the corners. The final pole slides through a sleeve running across the top of the front, and its ends drop into grommets on the first pole clips. The last step is staking the four perimeter guy lines and the three base lines that pull the fly clear of the body.
What Comes in the Box
The package includes the tent body, the fly, the full pole set, eleven stainless steel stakes and seven guy lines, two interior mesh caddies and some repair material. Notably, no adhesive is supplied with the repair material, so a field patch requires something carried separately.
No ground sheet is included, which is worth budgeting for. A footprint protects the floor of a tent in this price bracket and makes packing up on rough ground considerably less stressful.
The storage bag is another detail to plan around. It is too small to comfortably take the tent back once it has been unpacked, and rolling the fabric tightly enough to fit is difficult. Many owners will end up carrying the tent in the bag unzipped or storing it loose, which is worth knowing before the first trip.
Buying Advice
The Ranger makes the most sense for campers who want a big, tall one-person tent and are prepared to learn its setup properly. The sequence is longer than most, but it is not random. Once the pole order and hub orientation are understood, the tent goes together without too much trouble, and the awkward moments during a first pitch become far less frequent afterwards.
Two practical steps make the ownership experience much smoother. First, pitch the tent at home before any trip, ideally more than once, so the order of operations is familiar before it matters. Second, add a ground sheet and always stake the tent out, even on a still day, because the tall profile catches wind quickly.
The cut corners around documentation are a fair criticism, and they are worth weighing honestly. They do not change what the tent offers once it is standing, and the design remains unusual enough to justify a look for campers who value space over simplicity.
Buyers who want a shelter that disappears into a pack and goes up in minutes should look elsewhere. Buyers who want room, height and a distinctive freestanding structure, and who are willing to spend an evening learning the pitch, will find the Ranger a rewarding tent to own.
Conclusion
The Alps Mountaineering Ranger is a spacious, tall one-person tent with sturdy stakes, a well-considered fly and genuine interior comfort for a solo camper. Its weaknesses are concentrated in one place: a complex, order-dependent setup that the missing printed instructions do nothing to soften.
Approached with preparation, that complexity becomes manageable rather than discouraging. Learn the sequence at home, protect the floor with a ground sheet, stake it out every time, and the Ranger delivers the space and flexibility that make it worth considering in the first place.
Product link
View more details for Alps Mountaineering Ranger Tent
This product is mentioned in the review. Check the specifications, options, and compatibility before buying.
View more details for Alps Mountaineering Ranger TentFurther reading
Related Reviews
Camping Tents
3F UL Gear Taiji Two-Person Tent Review: Field Waterproofing Results and Buying Advice
The Taiji pairs an attached fly with a removable inner, but sustained rain exposed untaped vent seams that need sealing before this shelter can be trusted.
Camping Tents
3FUL Gear Lanshan 2 Pro 4-Season Review: A Sub-$200 Single-Wall Trekking Pole Tent
An early look at the 3FUL Gear Lanshan 2 Pro 4-Season, covering its straightforward pitch, generous interior space, and the condensation and seam-sealing questions that come with any single-wall shelter.
Camping Tents
Alps Mountaineering Lynx 1-Person Tent Review: Big Value in a Small Budget Tent
A close look at the Alps Mountaineering Lynx 1-Person Tent, covering real interior dimensions, materials, setup time, ventilation limits, and who should buy it.