Grow Equipment
VivoSun Vgrow Smart Box Review: A Compact All-in-One Grow Cabinet
Hands-on first impressions of the VivoSun Vgrow Smart Box, from assembly and app setup to coco prep, nutrient mixing, and dialing in the seedling environment.
Introduction
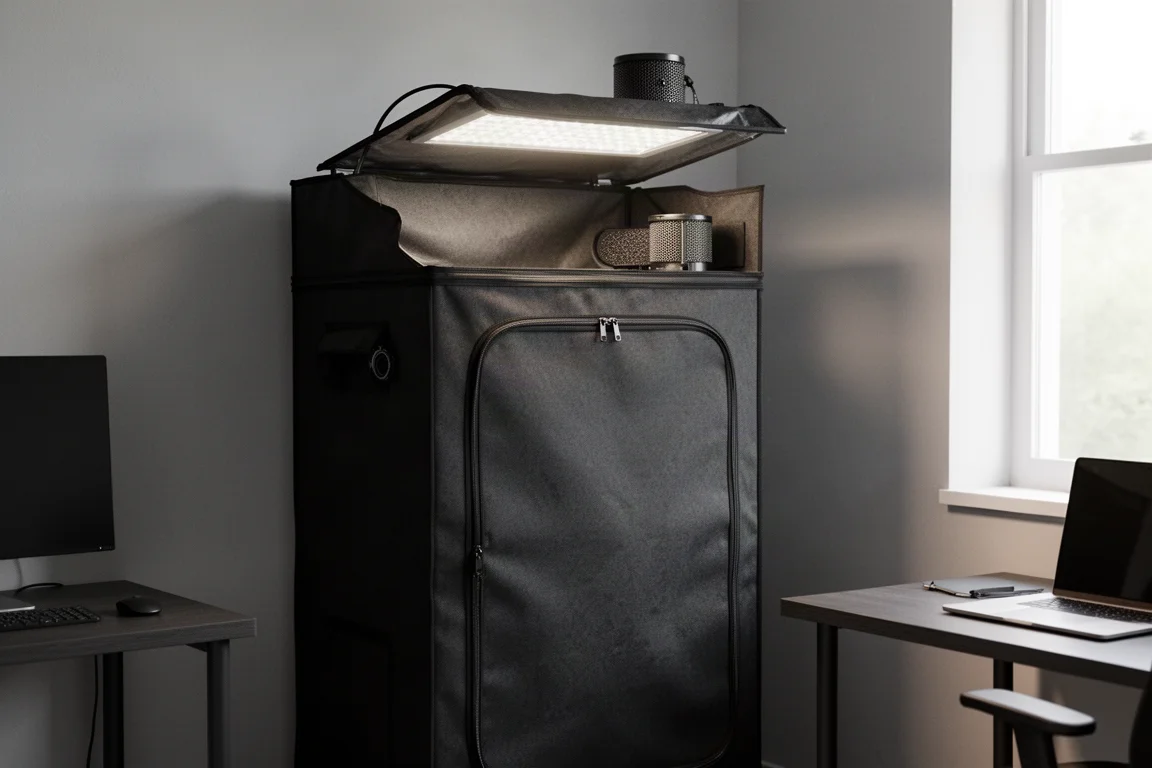
The VivoSun Vgrow Smart Box arrived with a strong reputation already attached. Growers who have run this cabinet for a year or more consistently describe it the same way: it just works. After unboxing it, assembling it, connecting it to the app, and getting a seed planted, that reputation makes sense. This is a self-contained grow cabinet that automates lighting, temperature, and humidity control, all in a footprint small enough to tuck into a corner of an office or studio next to an exercise bike.
To be clear about expectations: automation here does not mean plant-it-and-forget-it. You will still want to check on the plant every day. But the day-to-day workload is genuinely lighter, and for anyone growing in a small space, that matters.
Assembly: Straightforward and Logical
The unit ships as a set of labeled boxes, A through E, and the assembly order follows the labels from the base upward. Box A is the base, which lifts open to reveal the accessories inside: a power cord, a water gauge, and the wicking strings on the floor of the base. Those strings are the heart of the bottom-watering system. Water poured into the reservoir wicks up through the strings and into the fabric pot sitting above it.
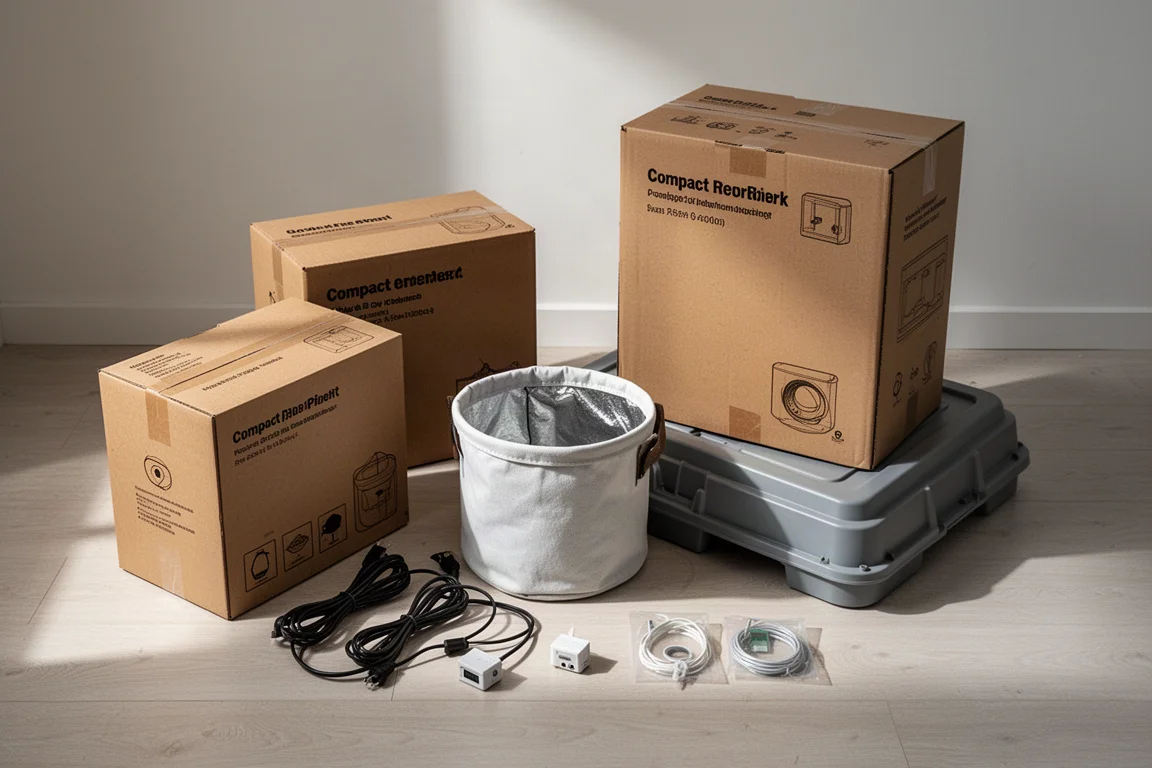
From there, Box B holds the four support poles, each sliding into its labeled hole with an audible click once fully seated. Box C is the smart top cover, which pops onto the poles and brings the unit close to finished. A few details on the top are worth noting: the light sits under a protective cover that shields it from plant growth, water splashes, and vapor, and the carbon filter below it is replaceable, which matters once a few grows have passed and odor control starts to fade. The top also carries input ports for water and the temperature and humidity probe, plus a few extra inserts.
What Comes in the Box
The accessory box includes a temperature and humidity sensor, a water level sensor that runs down into the base, twist ties for low-stress training, a nutrient mixing container, trellis netting for plant support or a scrog, six magnetic hooks, six add-on bases, trimmers, and a wire tie for cable management.
The supply box covers most of what a first grow needs: a brick of coco, a 3-gallon fabric grow pot, base nutrients A and B, gloves, humidity domes, and small planting tools including a shovel, labels, and a syringe. The domes are a nice touch for dry climates, since they hold moisture around the medium and can improve germination rates.
The App: Simple Controls With Real Flexibility
Connecting the box to the app is a matter of tapping the search button, letting it find the device, and pairing. Once connected, each component gets its own control panel. The grow light can be run manually or on a cycle, with adjustable intensity, spectrum presets for seedling, veg, and flower, start time, on and off duration, and a sunrise/sunset feature. There is also a recipes area for automating grow profiles, which is worth exploring further.
The circular fan offers manual and cycle modes with speed, start time, and on/off duration settings. The duct fan is designed for auto mode, triggering on temperature or humidity targets, with a standby status option that keeps a low constant fan speed when neither trigger is active. Two USB ports round things out: USB 1 is free for other accessories, and USB 2 defaults to drip irrigation support, though anyone using the built-in wick system can simply leave that disabled.
Preparing the Medium: Coco, Perlite, and Worm Castings
The included coco brick hydrates well with a single gallon of water. After about twenty minutes of soaking, it broke up completely with no dry chunks left, which is exactly what you want before it goes into the 3-gallon fabric pot. The label notes it is pH balanced and pre-washed, though not pre-buffered, so the included nutrient bottles need to carry the load there.
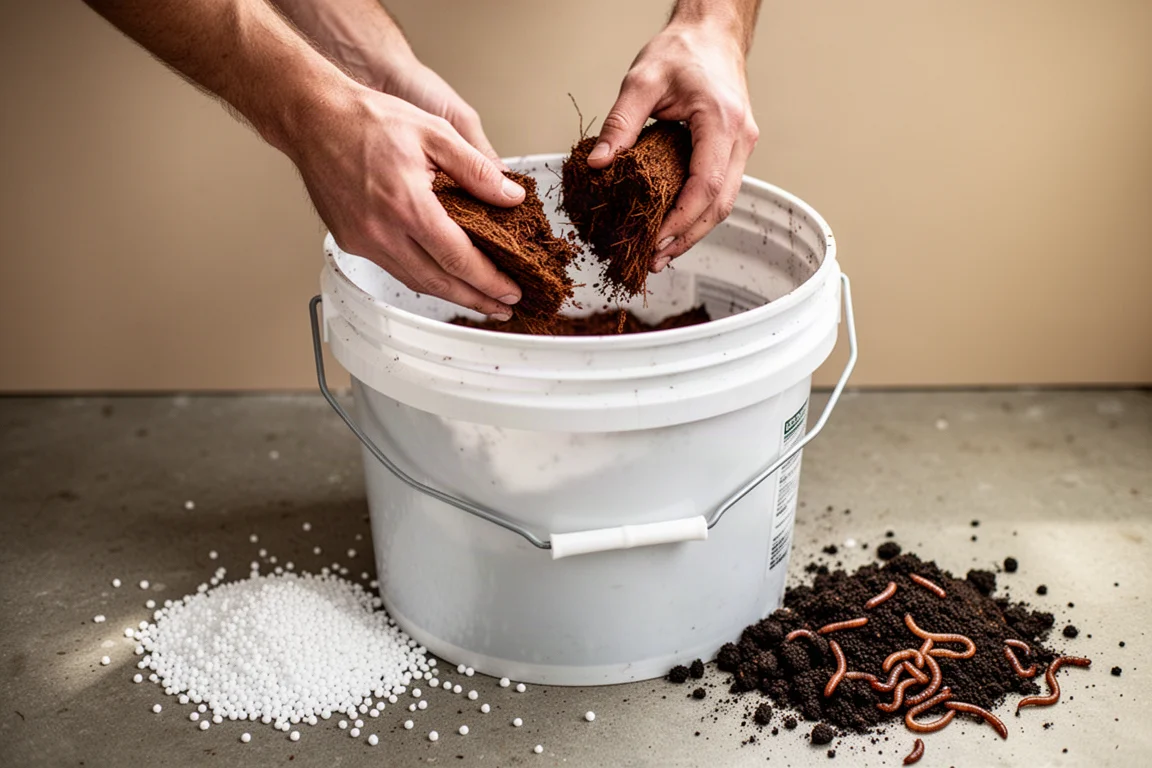
Before filling the pot, two additions are worth considering. Perlite at roughly 10 percent adds aeration, and worm castings contribute both nutrition and beneficial microbes. Neither is required, but both are common, proven amendments for coco. The finished mix fills the pot nearly to the top, leaving about an inch of headroom.
Mixing Nutrients for the Wick System
Because coco is an inert medium with no nutrition of its own, the included base nutrients are essential. The bottles list rates for each growth stage; for seedlings, the guidance is 1 to 3 ml per gallon in equal amounts of A and B. Starting with 1 ml of each in a gallon of reverse osmosis water produced around 139 PPM on the 500 scale. Adding another milliliter of each brought it to 212 PPM, a solid starting point for coco.
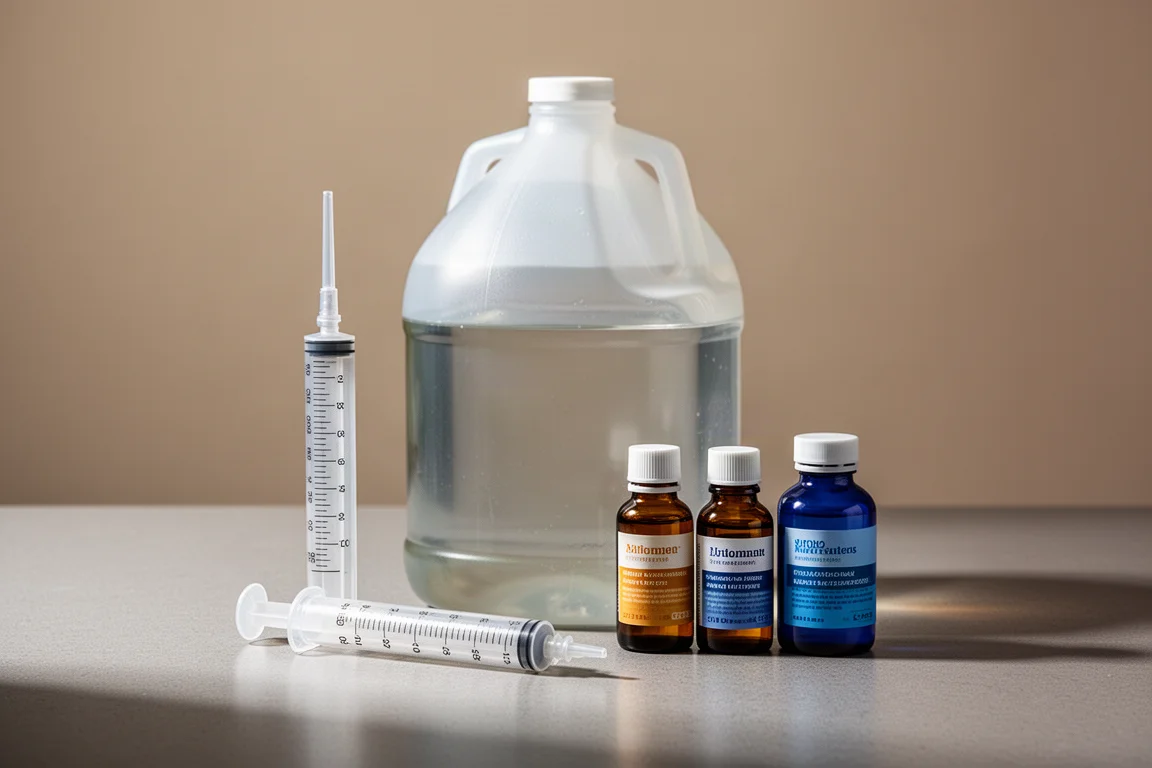
The base reservoir holds about 1.6 gallons, and the nutrient solution gets poured over the top to wet the wicking strings while filling the reservoir below. The water meter on the base rises to show the level and drops gradually as water is consumed, which makes at-a-glance checks easy.
Planting and First Light Settings
The first seed in this unit is Magic Candy Mountain OG, a Purple Frost Giant cross with Chillado OG, chosen because it has been grown successfully before and should behave somewhat predictably. The seed goes about a quarter inch into the center of the medium, gets lightly covered, and the whole top of the medium gets a spray of water. A humidity dome goes on top with the vent closed, and germination is expected within roughly 48 to 72 hours, sometimes up to four or five days.
Initial light settings were 100 percent intensity on a seedling spectrum, running on an 18/6 schedule starting at 6:00 p.m., with the sunrise/sunset feature enabled. The circular fan ran at speed one for constant air movement, and the duct fan also started at speed one.
Dialing In the Environment
By the next day, the cabinet had climbed to 87 degrees Fahrenheit with humidity far too low. Three adjustments brought it back in line: light intensity dropped from 100 percent to 25 percent, the circular fan went up to speed five, and the duct fan switched to auto with a maximum speed of ten, temperature and humidity triggers, and a standby speed of one. At 25 percent, a PAR meter read roughly 137 to 140 PPFD just above the medium, appropriate for a seedling about to emerge. From there, common targets are 200 to 400 PPFD for seedlings, 400 to 600 for veg, and 600 to 900 for flower.
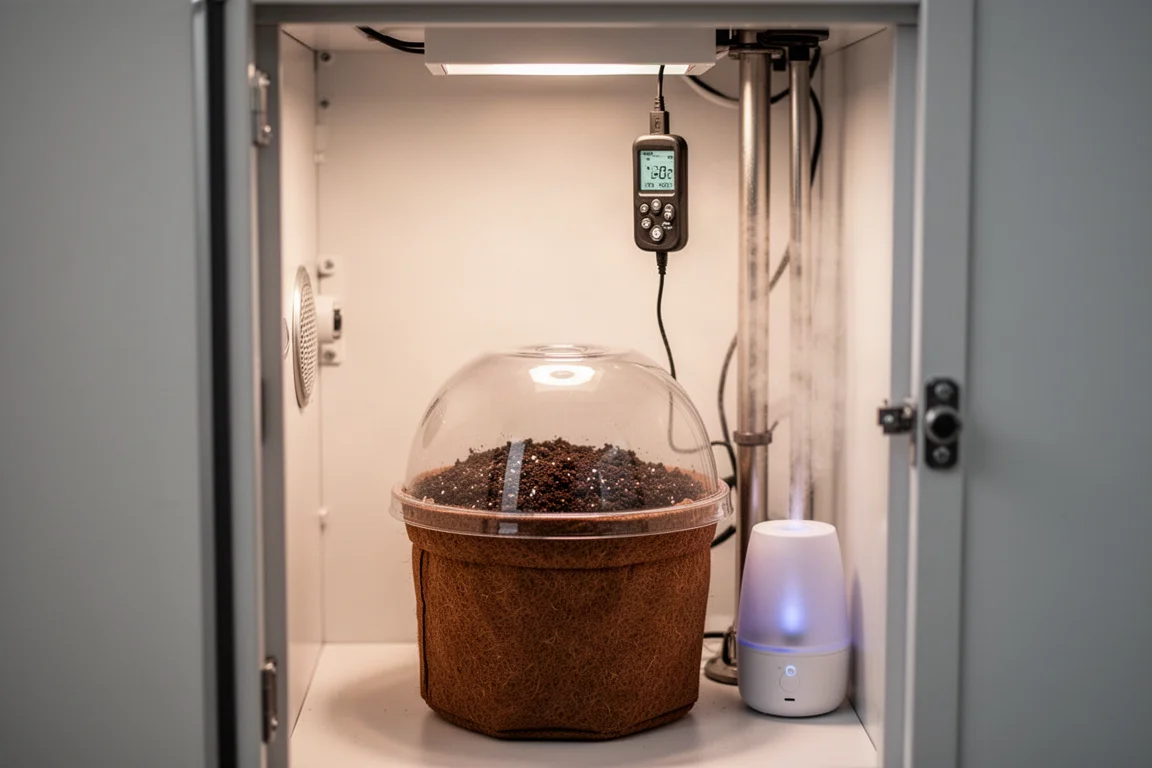
A small USB humidifier was added to the top USB port and set to auto, triggering below 70 percent relative humidity. The goal is a VPD around 0.8 to 0.9 kPa, and the humidity probe hangs from the top of the cabinet, positioned toward the middle, to track conditions where the plant will actually be. Getting the environment dialed in before the seedling emerges means it pops into a space that is already right.
Buying Advice
The Vgrow Smart Box suits growers who want automation and a compact footprint without giving up control. The app is easy to learn, the included supplies cover the first grow from coco to nutrients, and the wick-based bottom watering reduces daily maintenance. Anyone expecting a completely hands-off experience should adjust expectations; daily checks are still worthwhile. But as a contained, automated starter system that experienced growers also respect, it earns its reputation.
Conclusion
From a clean assembly process to a genuinely usable app and a well-thought-out wick watering system, the VivoSun Vgrow Smart Box makes a strong first impression. The real test is the harvest, and a full grow series will follow. For now, the early signs point to a cabinet that delivers on the promise that it just works.
Product link
View more details for VivoSun Vgrow Smart Box
This product is mentioned in the review. Check the specifications, options, and compatibility before buying.
View more details for VivoSun Vgrow Smart BoxFurther reading
Related Reviews
Grow Equipment
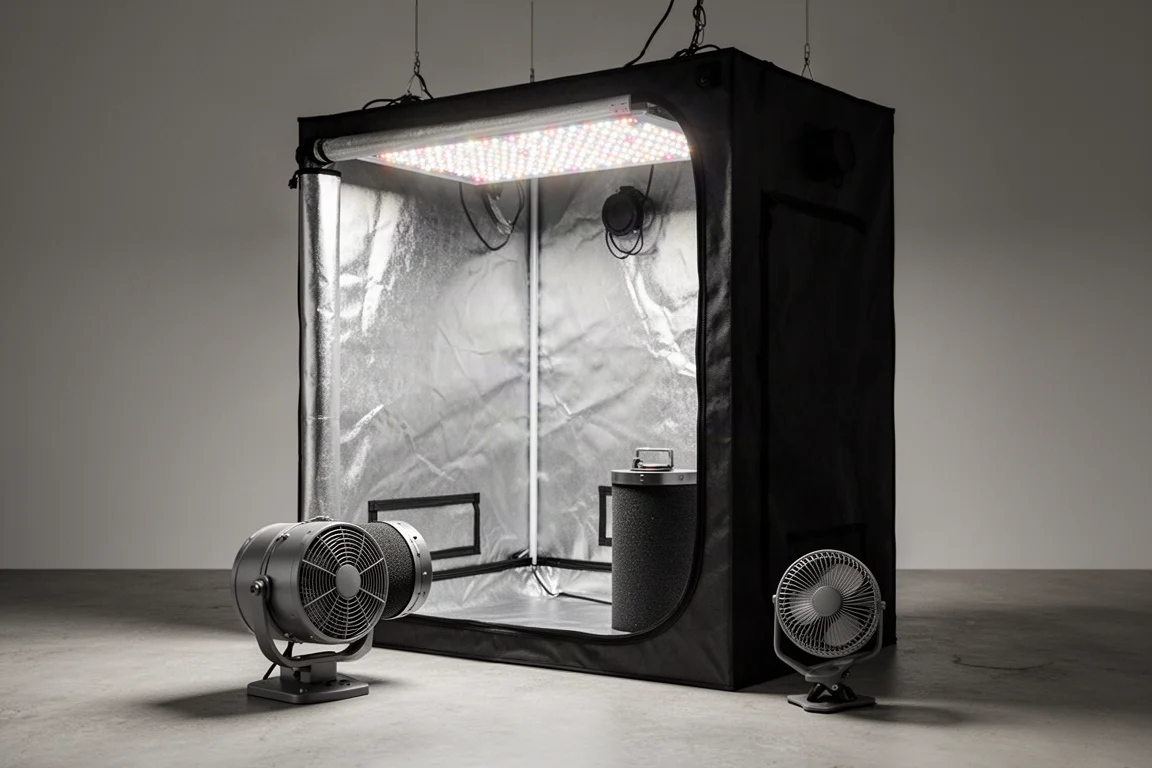
AC Infinity Cultivator Kit Review: A Complete 2x4 Grow Tent Setup
A full starter setup with tent, EVO 3 LED grow light, ventilation, nutrients, medium, and even genetics. Here is what the Cultivator Kit includes and who it suits.
Grow Equipment
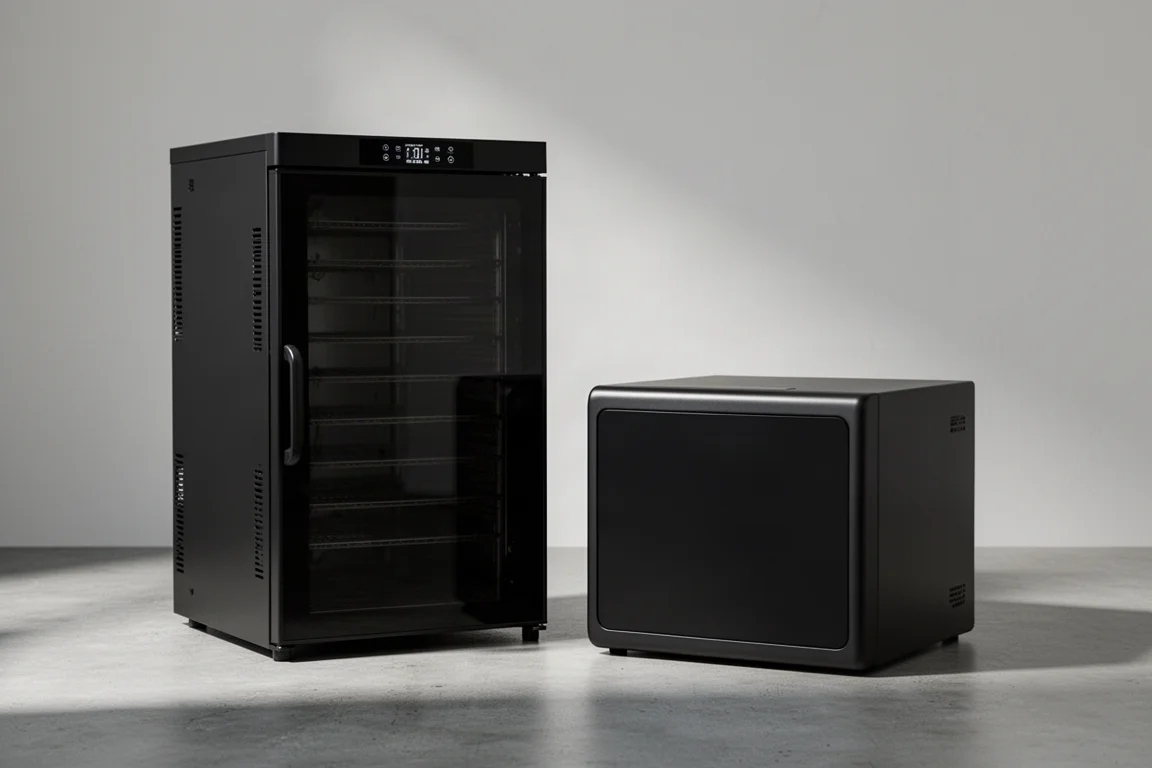
VivoSun V Cure vs Cannatrol Cool Cure: Which Cannabis Drying Machine Is Worth It?
A hands-on comparison of two controlled cannabis drying machines, covering technology, price, stability, capacity, app control, and real test data.
Grow Equipment
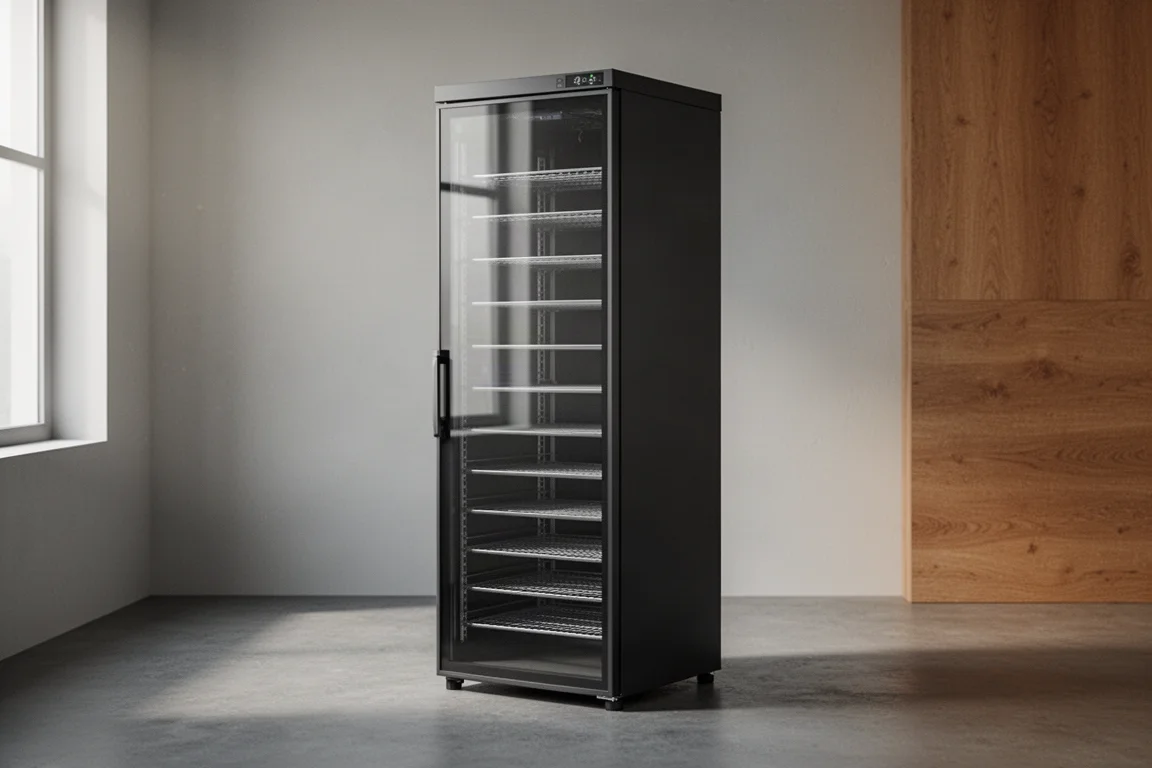
VivoSun VCure Review: A Dedicated Drying and Curing Box With Real Controls
A close look at the VivoSun VCure: capacity, climate control, recipes, airflow design, and the practical details that matter for home growers.