Bikepacking Gear
Ultra-Distance Bikepacking Bike Setup: 8 Components Proven Over 3,000 km
A complete ultra-distance bikepacking build broken down part by part, from the Parlee Taus frame to the Fizik Argo Adaptive saddle.
Introduction
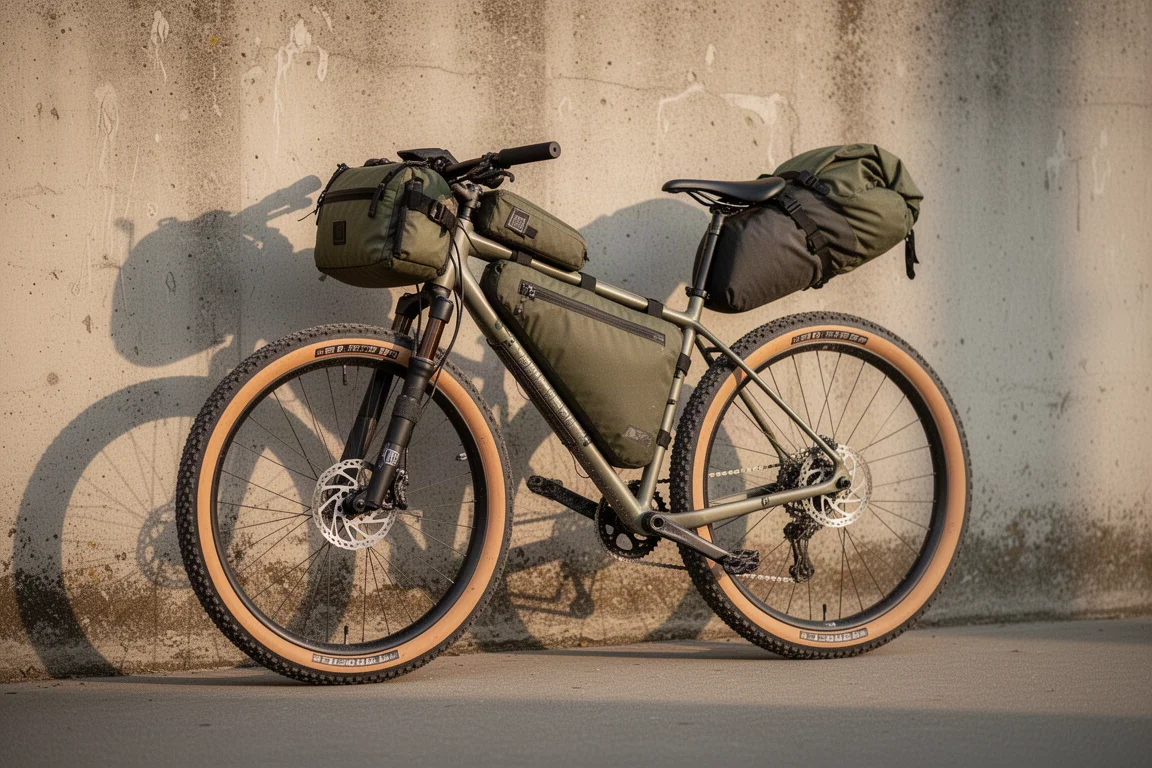
A 3,000 km unsupported bikepacking route through Chile and Argentina, finishing at the southern edge of Patagonia, is the kind of event that strips a bike build down to what actually matters. Fourteen days of riding, often ten to twelve hours at a time, with everything needed for two weeks carried on the bike. There is no support vehicle, no easy resupply, and long stretches with no phone reception.
The build below was assembled with one clear priority: comfort and reliability ahead of speed and aerodynamics. Every part was chosen with that trade-off in mind, and the result was a setup that completed the full distance with a single component failure, a light bracket that was taped back together.
Parlee Taus: A Frame Built for Long Days
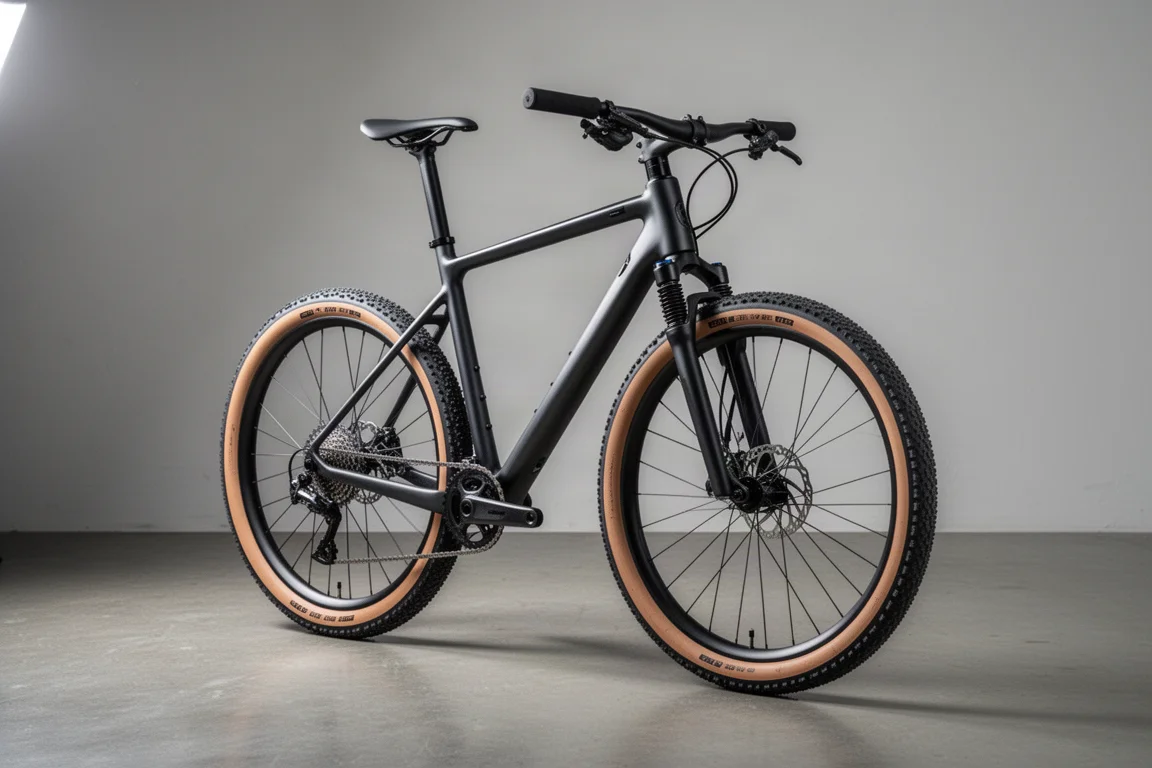
The Parlee Taus is a lightweight carbon frame with the details that matter for loaded, long-distance riding: generous tire clearance, down tube storage, compatibility with the SRAM Explore groupset, and a geometry tuned for comfort over hours rather than head-down gravel racing.
The detail that shaped the entire front end is its suspension-fork geometry. The rigid fork supplied with the frame is the same length as the RockShox Rudy, which keeps the front end higher than a typical gravel rigid fork. That slightly elevated position is exactly what you want when you are riding twelve hours a day for two weeks, and it stops the neck and shoulders from folding over.
Construction details are sensible rather than exotic. A threaded bottom bracket, an external seat clamp and semi-internal routing mean a round handlebar can be fitted, which matters because round bars accept the accessory mounts and bags this kind of event demands.
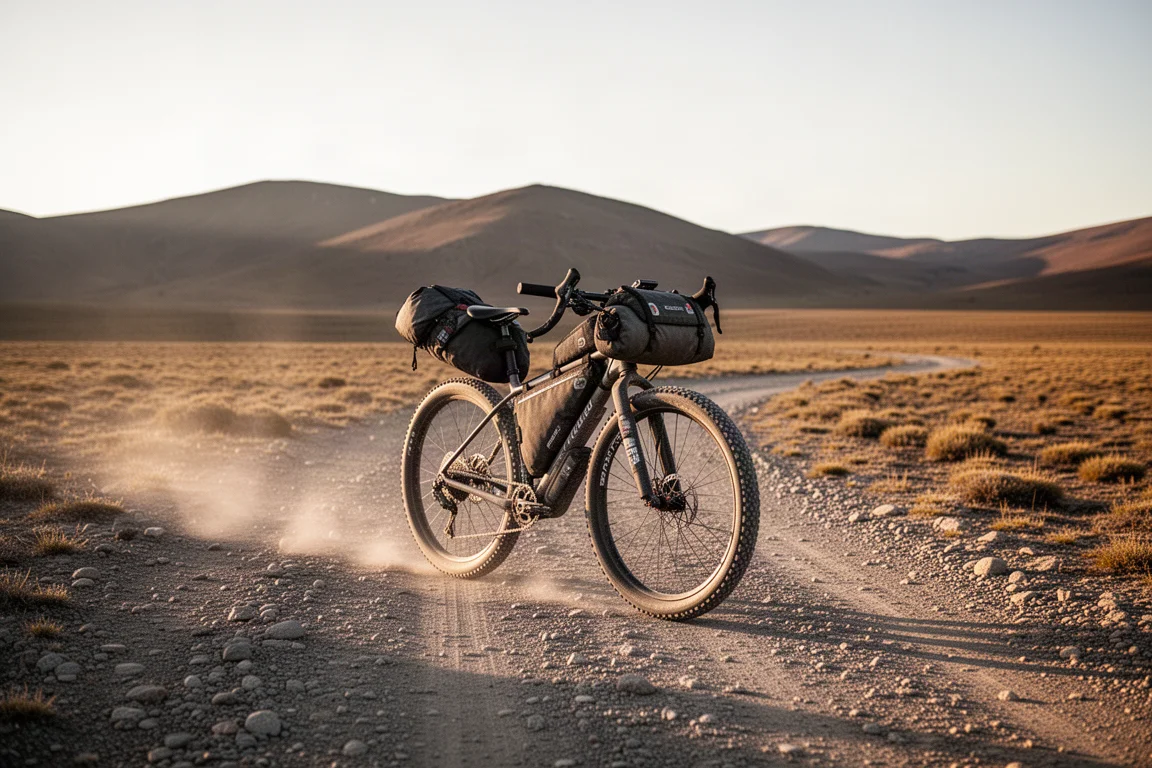
On the road and on gravel the handling held up under fatigue. Stability at high speed was the standout trait, and with plenty of seatpost extension exposed the ride stayed comfortable over long days. Through the whole event the frame performed without a single issue, and it would have been the pick even without any sponsorship arrangement behind it.
RockShox Rudy: Suspension That Earns Its Place
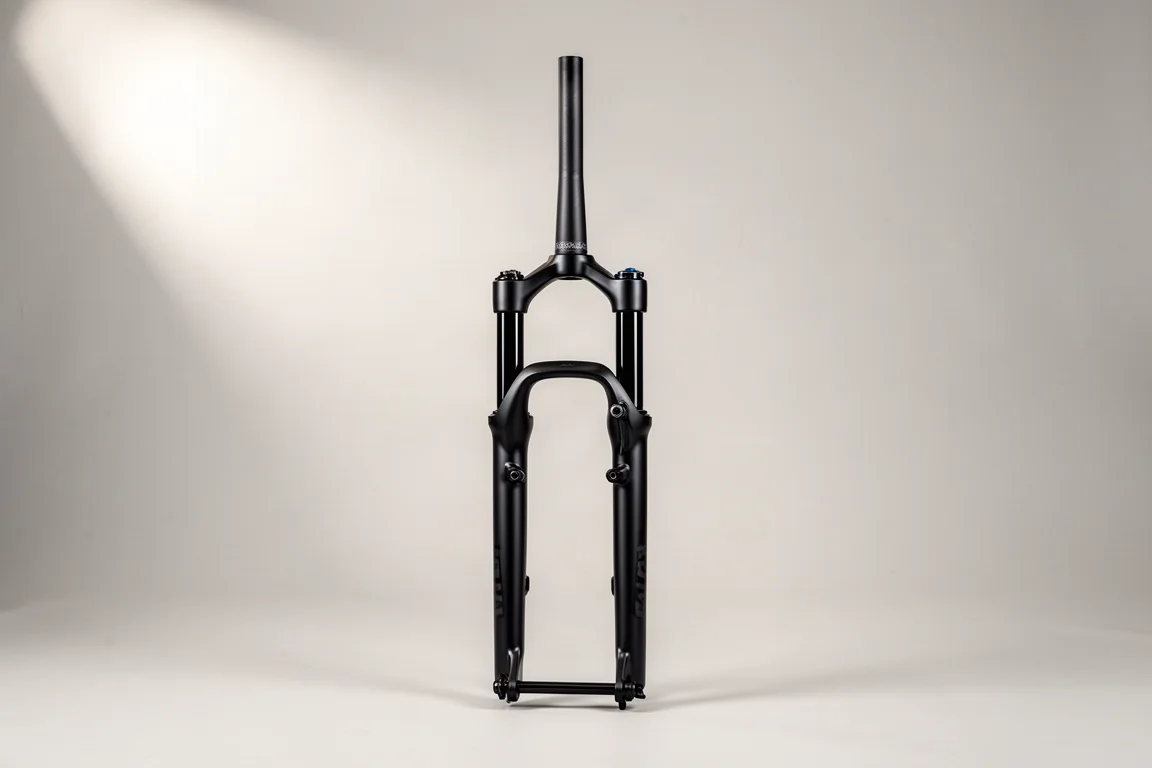
Suspension on a gravel bike still attracts scepticism, with the usual argument being that a hardtail mountain bike makes more sense. Over 3,000 km of mixed surfaces, the RockShox Rudy made its case clearly.
The benefit is comparable to a suspension stem, but it feels far more natural. You barely notice it working at all, apart from the fact that the harshness normally transmitted through the front end simply disappears. On washboard gravel it was outstanding, smoothing out repeated chatter that would otherwise wear you down.
The fork was set up firm to account for the extra weight of a loaded bike, which meant no bobbing and no loss of efficiency on tarmac or when climbing out of the saddle. Left open the whole time, it also made descents noticeably faster on hard-packed gravel. The lockout lever fell out after the second or third day, but since the fork was never locked out, it made no practical difference. The fork was also run well past its stated 50 hour service interval and kept working normally.
Pirelli Cinturato Gravel H: The Tire That Never Flatted
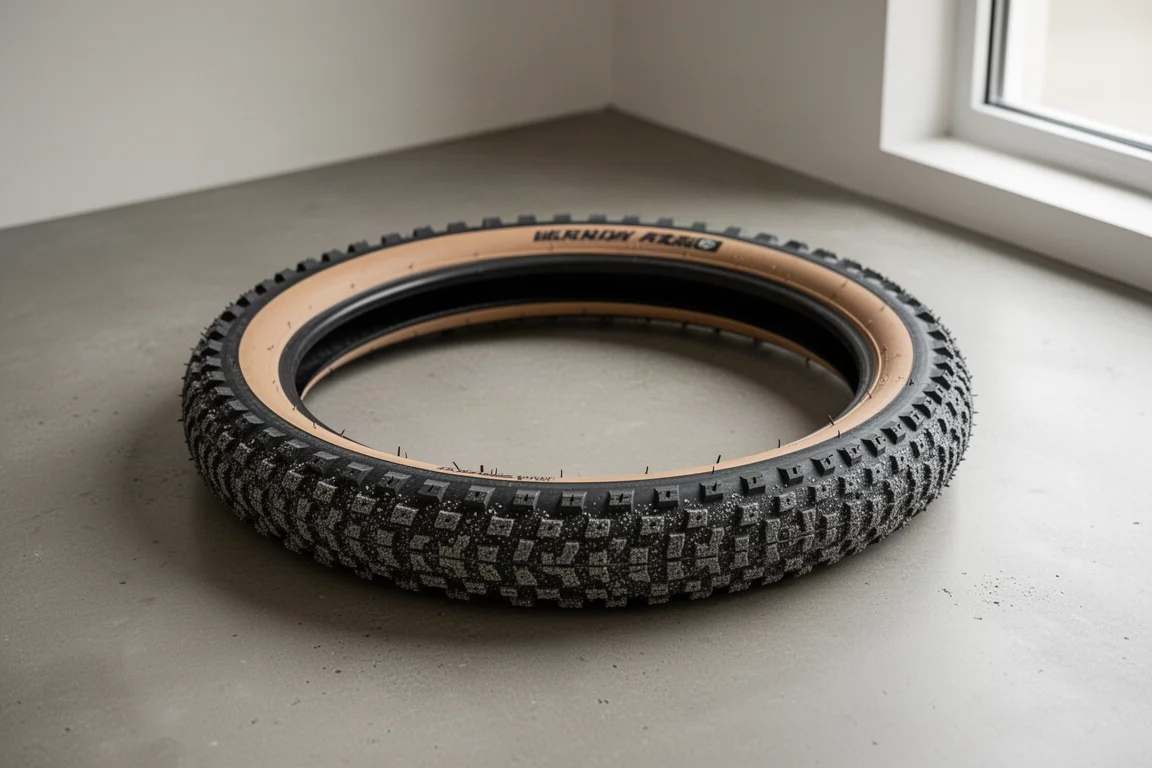
Tire choice was the most stressful decision of the entire build, and the Pirelli Cinturato Gravel H turned out to be the right one. This is the hard-pack compound in the range, updated in the last year, and it suits the mix of dry, dusty, rocky gravel and long pavement stretches that defined the route.
A 50 mm width was chosen deliberately. It gives up very little compared with a 45 mm tire while adding meaningful comfort on rougher ground, which is the better trade on a loaded bike. Riders on 40 mm and 45 mm tires completed the same terrain, so those widths would also have worked, but the wider option was never sluggish and never felt like hard work on tarmac.
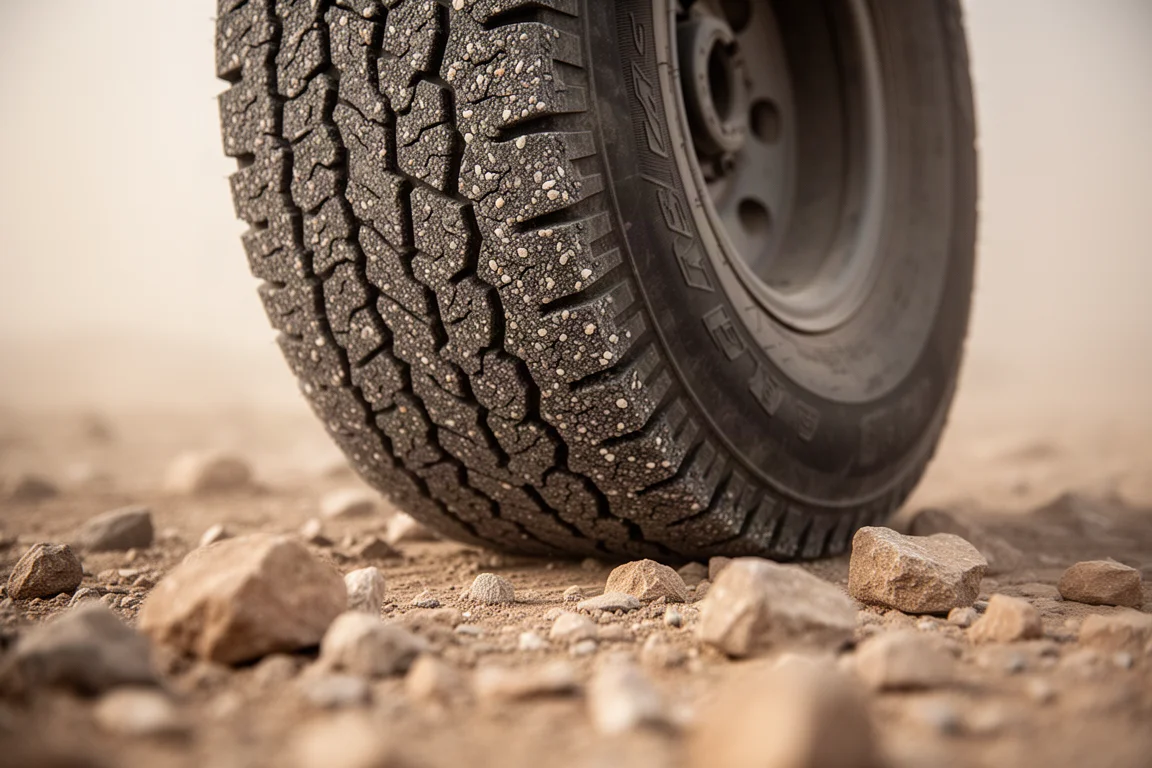
Paired with a liquid sealant, the setup covered the full 3,000 km without a single puncture, which is remarkable over that distance and that surface mix. The rear tire shows noticeable wear after the event, as expected given the distance and the weight carried, but it held its shape and grip to the finish. For a dry, rocky route with plenty of pavement, this is an easy recommendation.
SRAM Force Explore: Electronic Shifting Without Drama
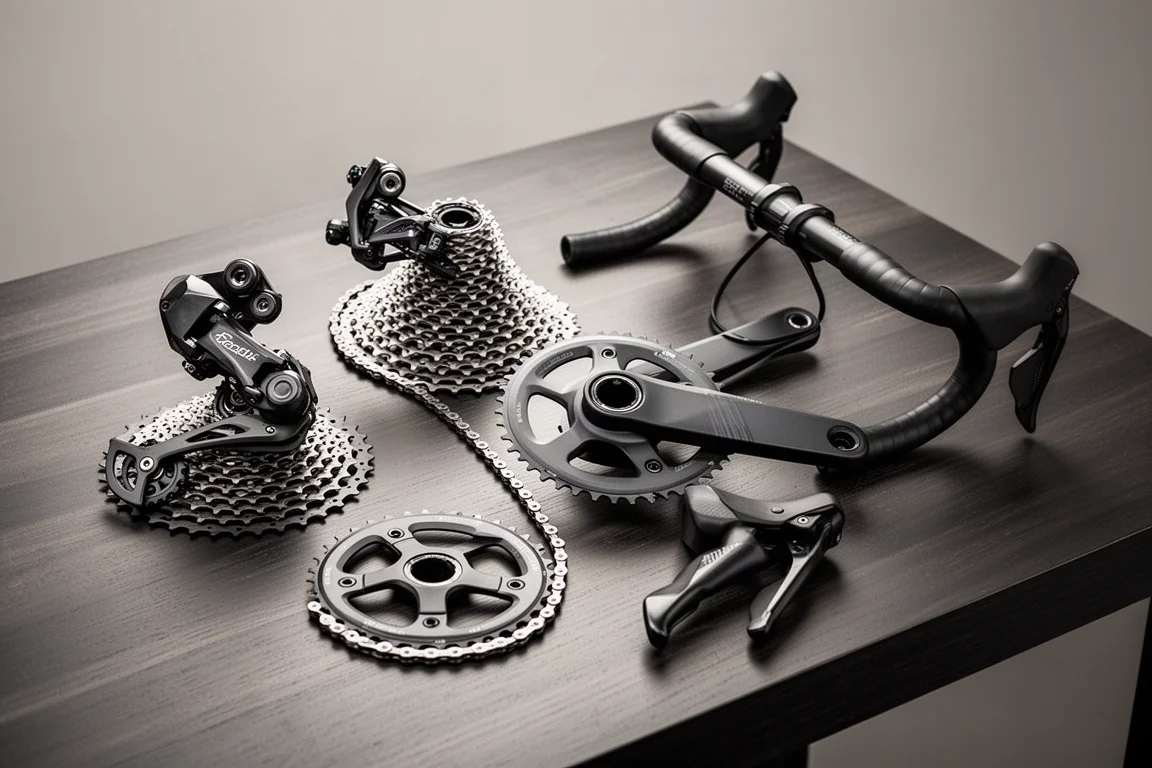
The groupset decision came down to range, reliability and how easy it is to live with. SRAM Force Explore answered all three.
The 10-46 cassette was enough for the vast majority of climbs on the route. On the few genuinely steep, grinding gradients a 10-52 would have been welcome, and several other riders ran the larger cassette, but the smaller option coped in almost every situation. The direct mount interface also proved its worth: after the bike was dropped a few times there was no bent derailleur hanger to straighten.
Electronic shifting removed a whole category of worry. Two batteries were carried, one charged and one as a spare, and swapping them takes seconds, which is far simpler than dealing with charging a wired system. Gear cables snap, and electronic shifting has other failure points, but over 3,000 km this setup was reliable throughout.
The updated hood shape is a genuine comfort upgrade when you are on the bike for ten to twelve hours at a time, and the light brake lever action is a real benefit when you are tired, riding through the night in cold and wind with your concentration fading.
Hunt Limitless: Carbon Wheels With a Dynamo Option
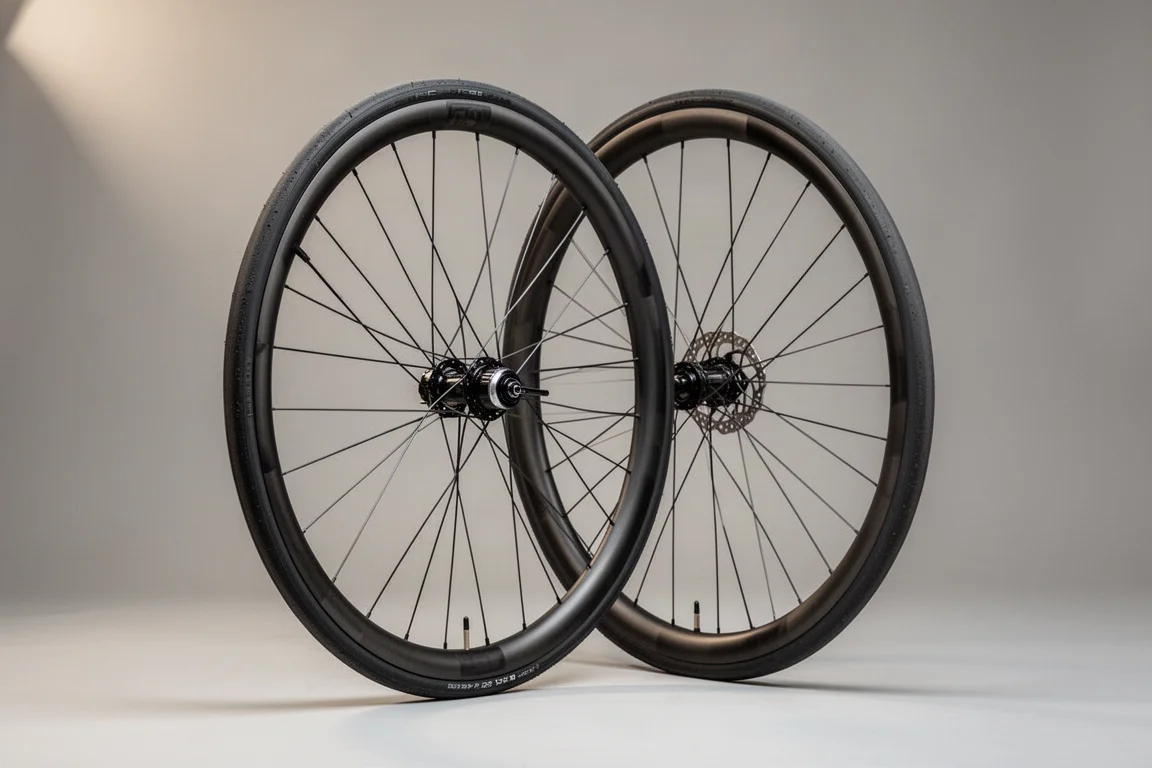
The Hunt Limitless wheels were chosen largely because of what they could carry rather than how they looked on paper. The motivation was a dynamo front hub, and Hunt is one of very few manufacturers offering an off-the-shelf wheelset with a dynamo rather than requiring a custom build.
As wheels, they delivered on the basics: light enough to help a loaded bikepacking setup, reasonably aerodynamic for the faster sections, and a broad rim platform that suits the 50 mm tires used here.
In the end the dynamo mattered less than expected. Two battery banks were carried and most nights were spent in lodgings, so charging was rarely a problem, and there was enough capacity to keep everything running without relying on the hub. With hindsight the wheelset would have worked without it. Still, the added weight is small, the drag is not noticeable on a setup like this, and if a battery bank had failed the dynamo would have become essential rather than optional. Carrying it was the safer decision.
Tailfin Aero Cargo Pack: The Rear Load
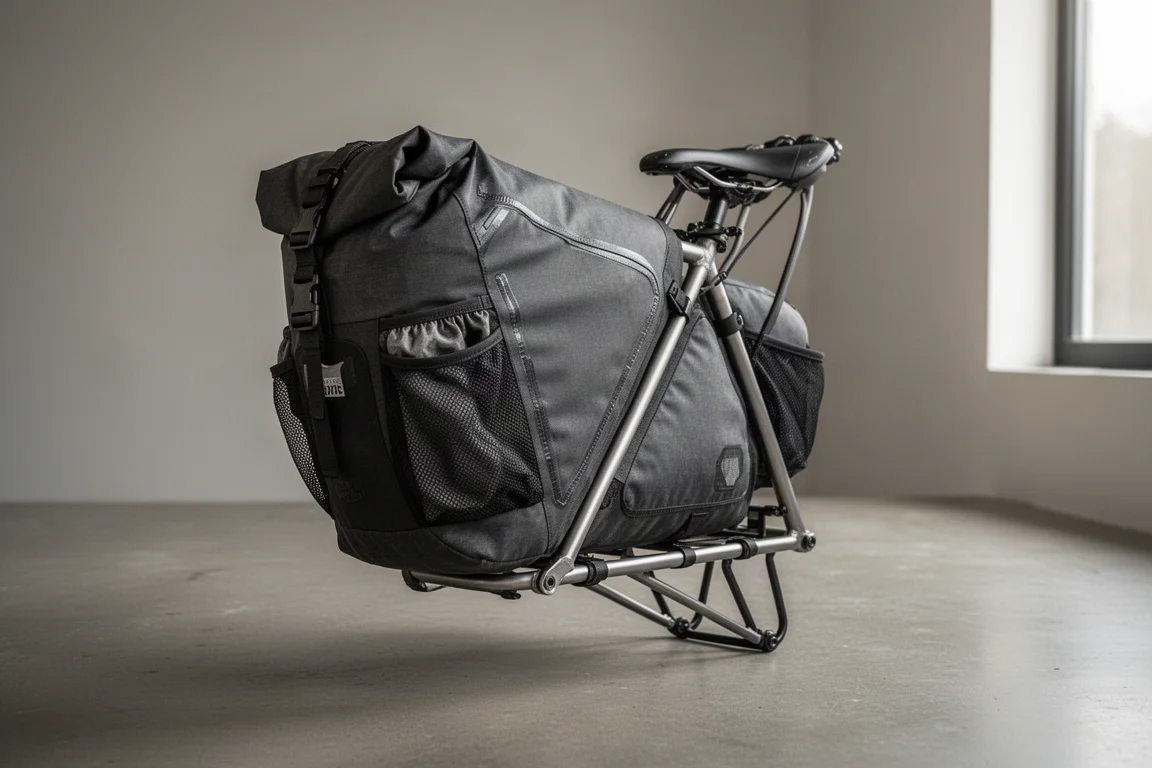
Living on the bike for two weeks teaches you quickly how little you actually need: some clothes, tools, and a great deal of food. The Tailfin system handles that load in a modular way, and the Aero Cargo Pack was the anchor of the rear setup.
The pack carries the bulky sleeping equipment, including tent, sleeping bag and sleeping mat, with room for other items on top. Its best feature is how quickly it detaches, coming off the bike in a second for a hotel or campsite, which makes the daily routine of packing and unpacking far less tedious.
Expandable mesh pockets on the sides are ideal for things you want within reach while riding, such as biscuits, chocolate bars and sunscreen. The bag compresses down neatly when not full and is waterproof, which matters on a route where weather can turn quickly.
Tailfin Handlebar Bag: The Front End System
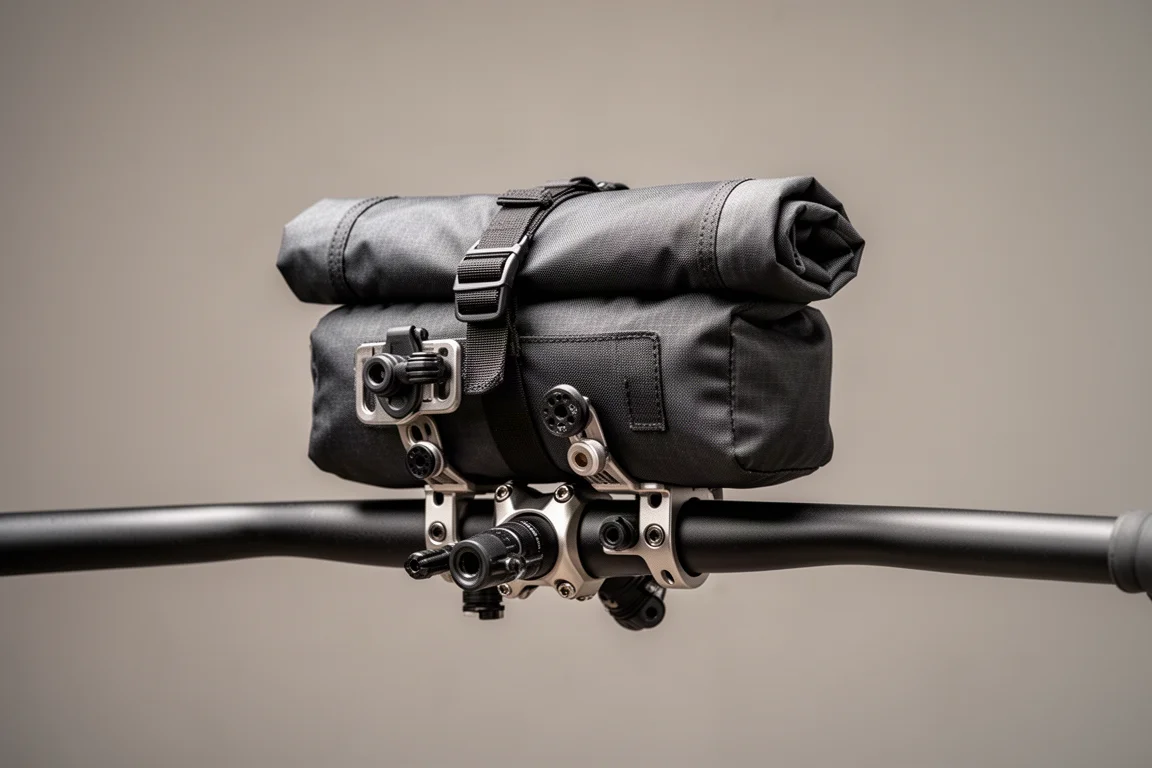
The Tailfin handlebar bag carried most of the clothing for the trip, and the list was deliberately short: two pairs of bib shorts, a jersey, a base layer, three pairs of gloves, leg warmers, two long-sleeved tops, a rain jacket, a puffer coat, lightweight trousers and three pairs of socks. No spare shoes. Keeping the front load light makes a real difference to how the bike handles over long distances.
The bracket assembly is what makes this bag worth the money. It provides three accessory mounting points for lights and a computer, which keeps the cockpit organised without clamping everything onto the bar itself.
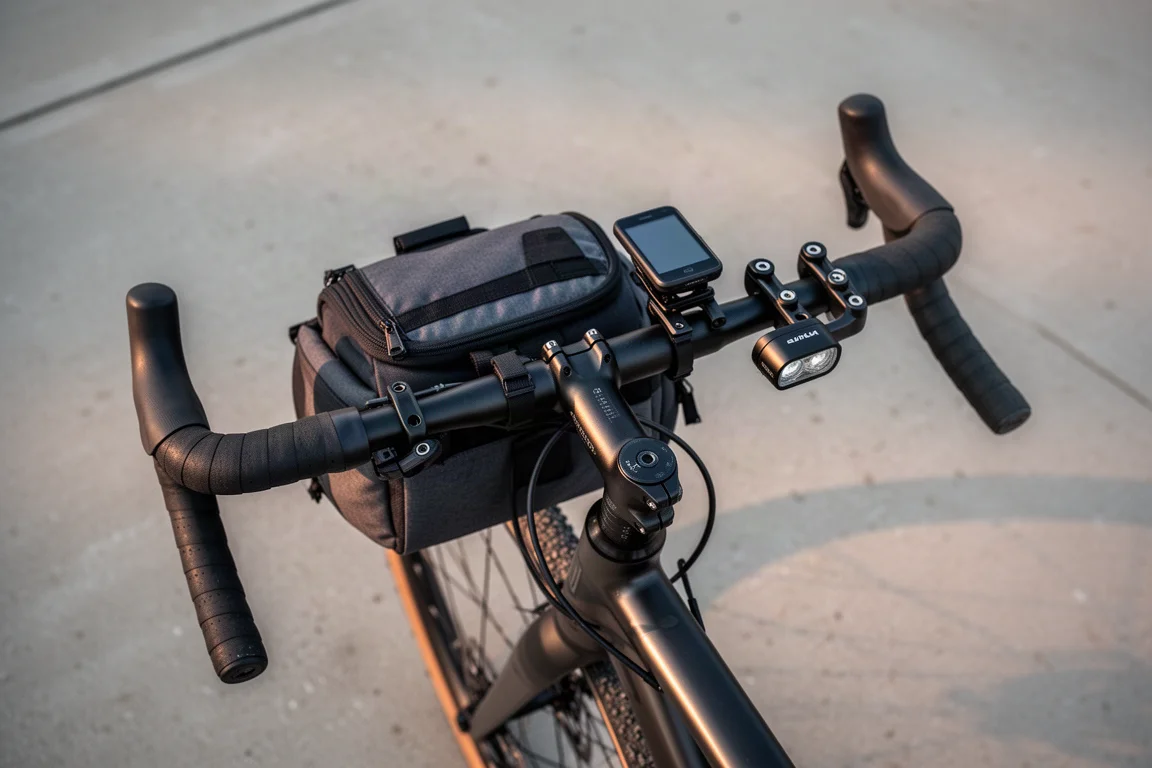
The cockpit ran a swept and flared handlebar for shape, thicker bar tape for cushioning, and bolt-on extension bars with a 40 mm riser stack to raise the front end and keep the neck from sagging. A dynamo toggle switch sat up front, moving power between the front light and USB charging. The only failure of the entire 3,000 km was the light bracket, a 3D printed mount that proved too fragile for rocky terrain and was secured with electrical tape. Everything else in the front end setup worked exactly as intended, and the semi-internal routing on the frame is what made these round-bar accessories possible in the first place.
Fizik Argo Adaptive: Two Weeks of Comfort
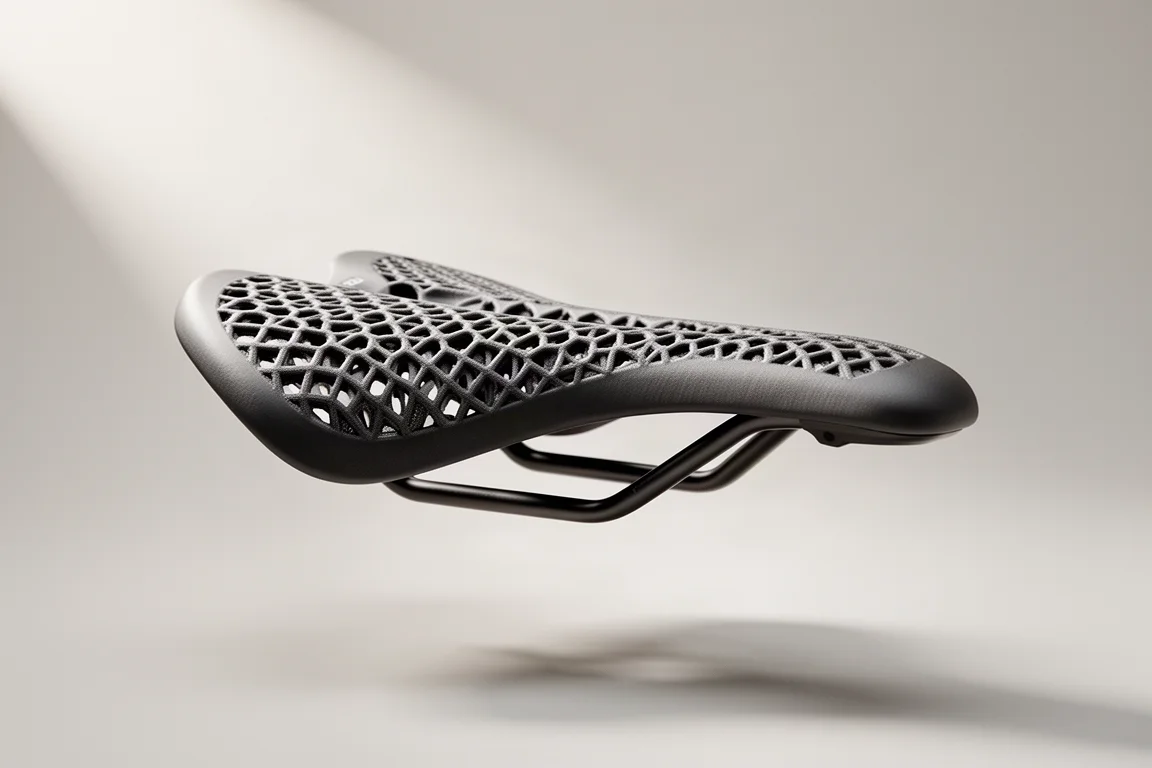
The Fizik Argo Adaptive was the most quietly important part of the build. The Argo shape and width already suit long days in the saddle, and the 3D printed surface makes a noticeable difference over extended hours. It had already proven itself on a week of riding in Spain before this event, which removed the guesswork.
Over two weeks of daily riding it stayed comfortable from start to finish, and it came through the event structurally intact with no signs of the surface breaking down or wearing out. For a component that has to support you for ten to twelve hours a day, that reliability is worth prioritising over weight savings or a trendy profile.
Overall Buying Advice
If there is a single lesson from this build, it is that an ultra-distance bikepacking setup should be chosen for comfort and reliability first, and every other consideration second. A slightly higher front end, wider tires, suspension that removes chatter rather than adding travel, and a saddle you have already tested over hundreds of kilometres will do more for your finish rate than any aerodynamic gain.
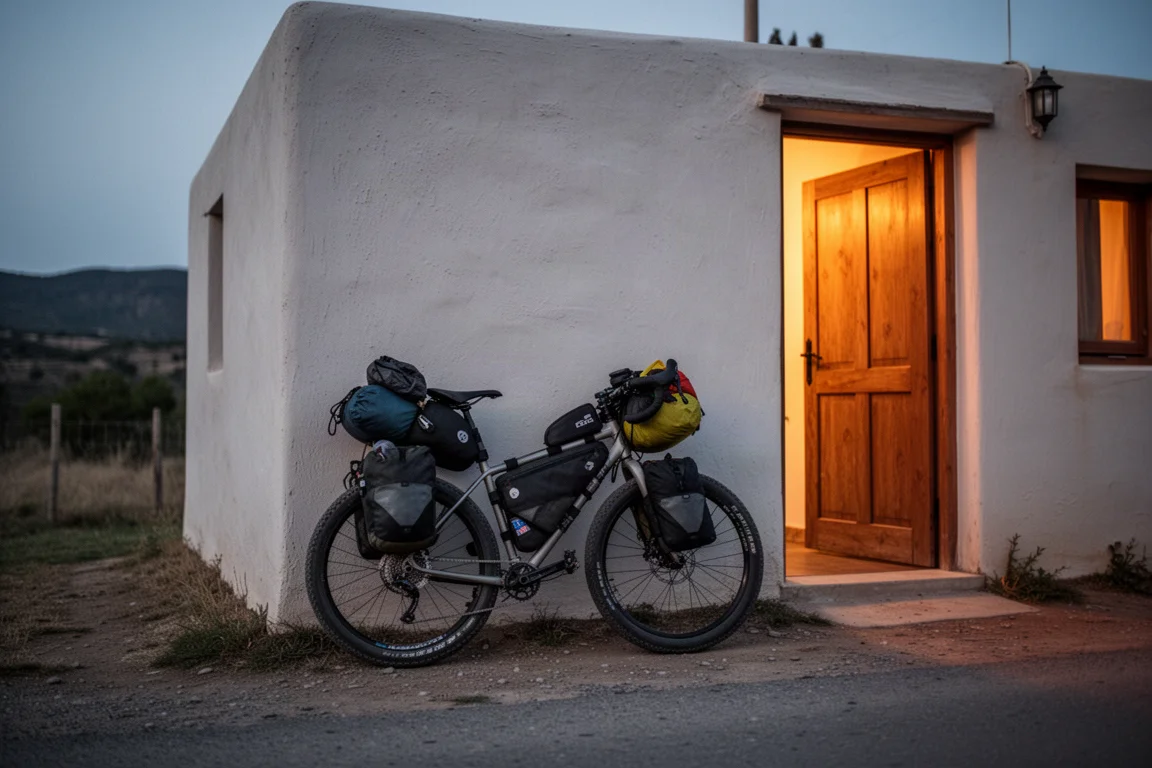
Practical preparation also matters as much as hardware. Packing gets easier after the first day, once you learn where everything actually belongs, and you quickly discover that two weeks of riding requires far less kit than you expect. Two battery banks provided more security than a dynamo hub in practice, but carrying both is a reasonable hedge on a remote route. The only component that failed was a fragile 3D printed light bracket, which is a reminder to inspect small accessories closely before committing to them for a long event.
Conclusion
Nothing on this build was selected to win a race. Each part was chosen to keep the bike comfortable, dependable and easy to live with across 3,000 km of remote terrain, and that approach paid off with a setup that finished the route with a single minor failure. Start with the frame and the contact points, get the tire width right for the surfaces you expect, and then build the rest of the bike around carrying what you actually need.
Further reading
Related Reviews
Bikepacking Gear
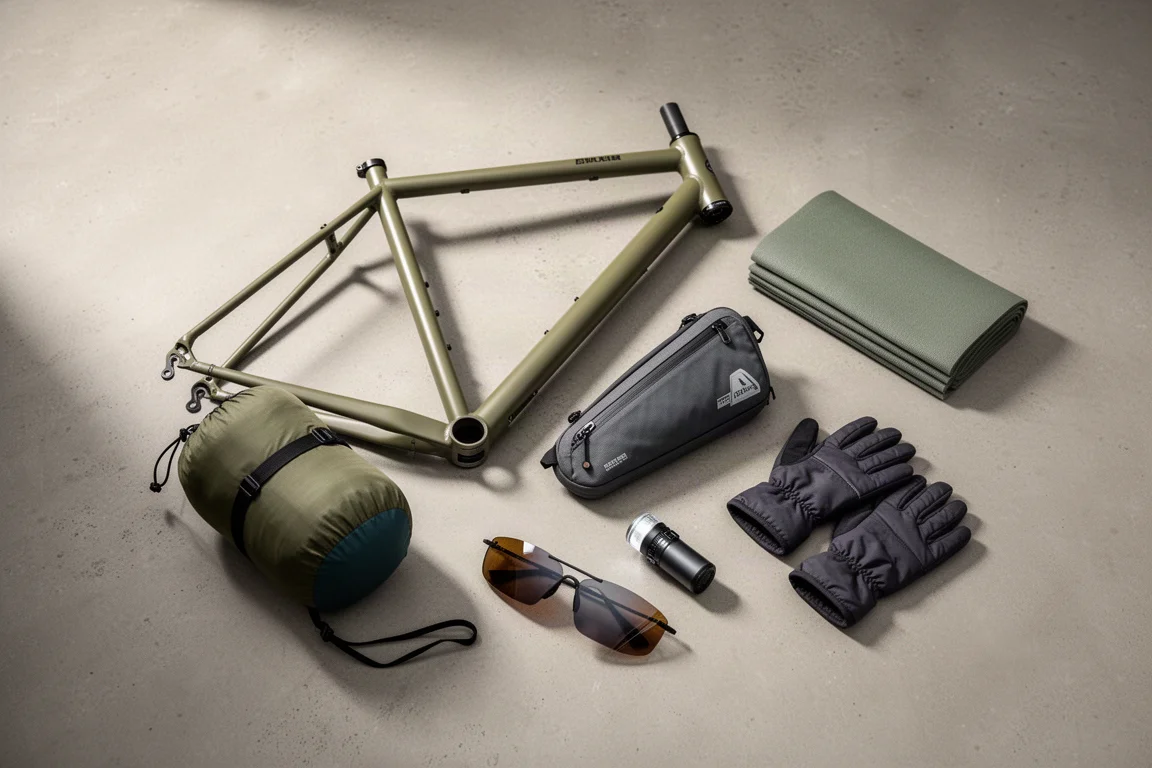
11 Bikepacking Essentials for Long-Distance Cycling
Eleven bikepacking essentials for long-distance cycling, from a steel gravel frame and a two-person tent to helmet lights, packable gloves, and a frame bag that puts weight in the right place.
Bikepacking Gear
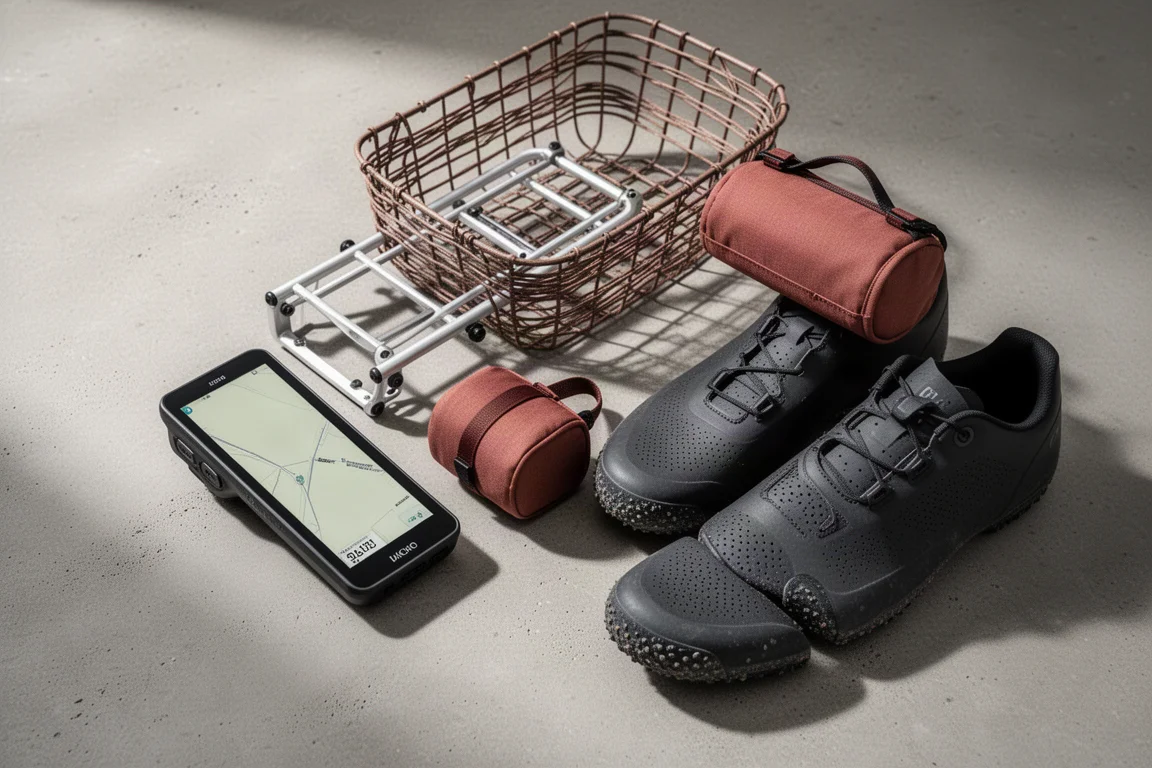
Best Bikepacking Gear 2026: 11 Essentials Worth Carrying
A practical look at bikepacking kit that earned its place on long rides, from a solar bike computer and basket packing to bar bags, bivvies and gravel shoes.
Bikepacking Gear
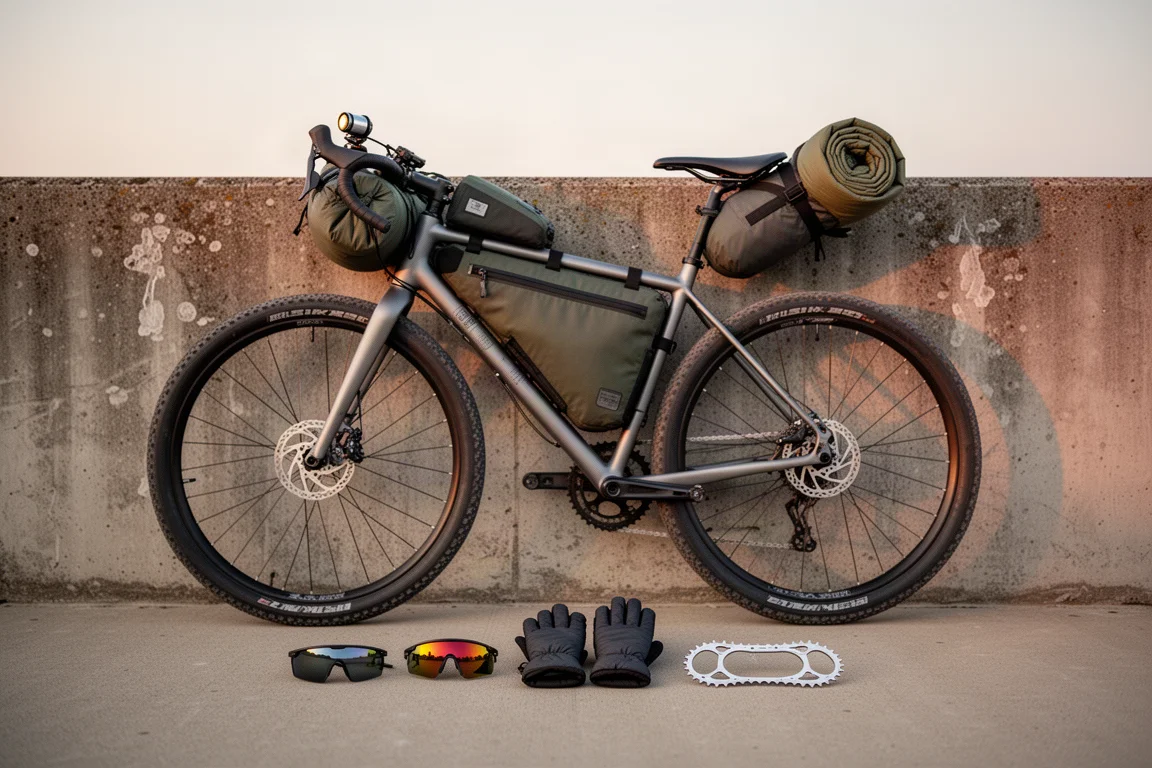
Best Bikepacking Gear: 10 Field-Tested Picks for Long-Distance Rides
Ten bikepacking products that earn their place on long rides, from a steel gravel frame to packable gloves, with the strengths and trade-offs worth knowing.