Astronomy Cameras
SVBONY SV305C Pro Review: An Entry Point Into Real Astrophotography
A beginner-friendly color astronomy camera that plugs into your telescope focus tube and turns a laptop into a planetary and deep-sky imaging rig.
Introduction
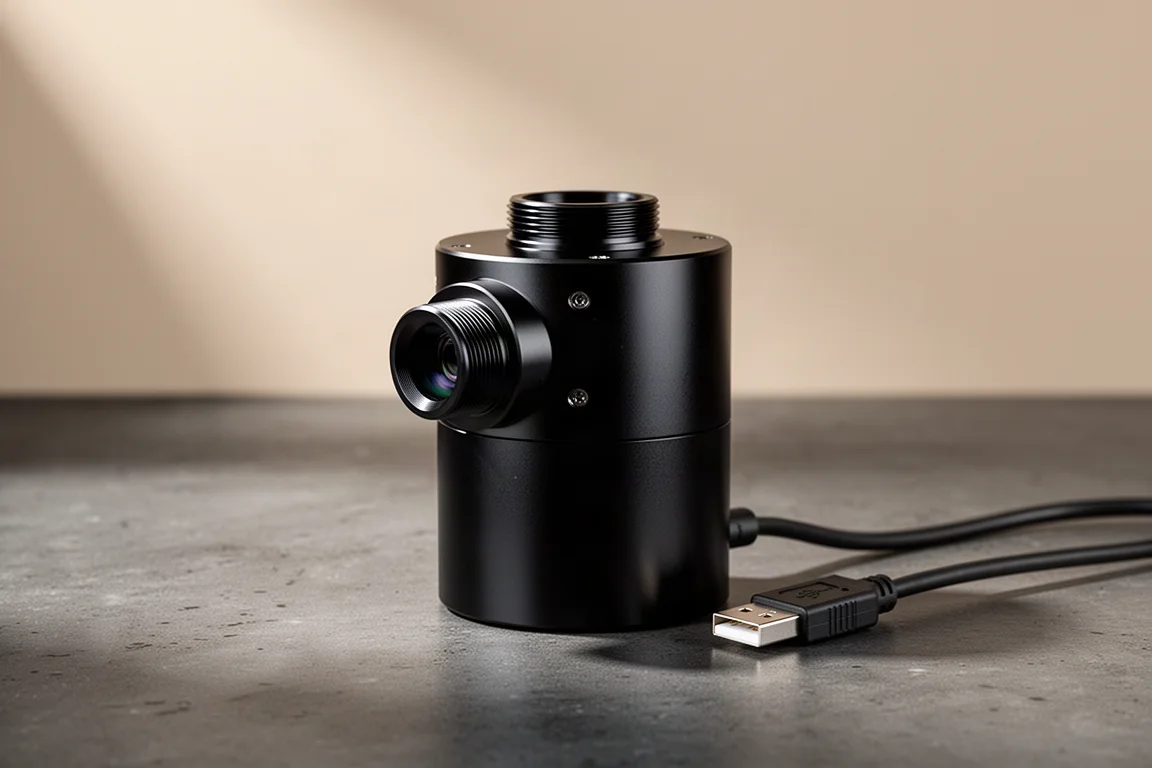
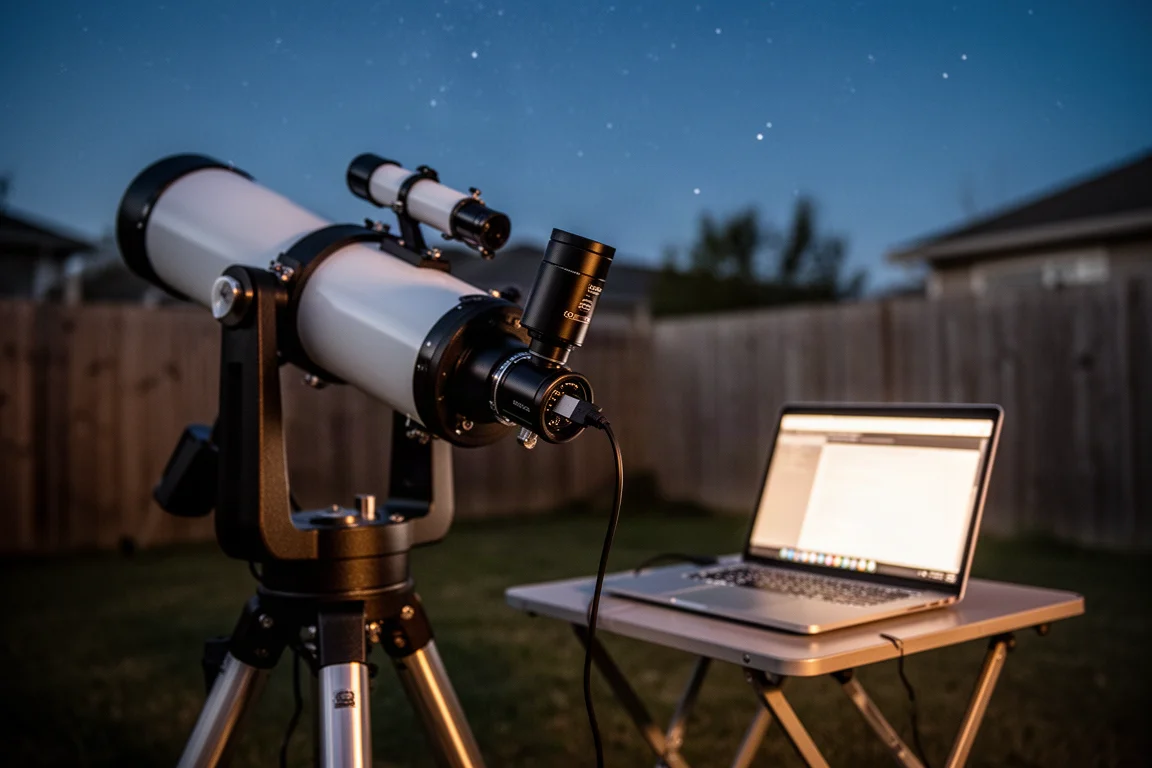
The SVBONY SV305C Pro is a dedicated color astronomy camera that slides straight into a standard 1.25-inch telescope focuser and feeds live video and stills to a laptop. For anyone who has taken smartphone photos by holding a phone up to an eyepiece, this is the natural next step: instead of a compressed snapshot, you get raw sensor data you can process into genuinely detailed images.
The pitch tested here was simple: use the camera to capture three targets that span the full brightness range of the night sky, the Moon, Jupiter, and the dim Great Orion Nebula. The results were surprisingly rewarding for a first-timer with no prior astronomy camera experience.
How a Telescope Camera Differs From a Phone Camera
Both a smartphone and this camera use a sensor plate made of millions of tiny light-sensitive cells, in this case a CMOS sensor. Each individual cell only measures light intensity, not color. Color is inferred afterward through a color filter array and a process called de-mosaicing. The SV305C Pro is a color camera, so it produces color images directly without needing external filters.
It is built around a Sony IMX662 back-illuminated color CMOS sensor with a 1920 x 1080 resolution, standard HD, and roughly 3.2 mm by 5.6 mm in size, plus 128 MB of on-camera memory. Where it truly differs from a phone is in output: smartphones apply heavy onboard processing and produce compressed JPEGs, while astronomy cameras prioritize gathering as much data as fast as possible, saving stills as raw files and video as SER files. Those files are enormous, so make sure your laptop has plenty of storage.
What’s in the Box
The package includes the camera, a USB 3 cable, an ST4 guide port cable for guiding certain motorized telescopes, a rubber boot, a user manual in multiple languages, and a small cleaning tool. Two 1.25-inch adapters screw onto the camera body, and they are genuinely necessary: without one, the short nose on the camera is too small to fit a standard telescope focuser. It would be easier if one came attached by default, but installation takes seconds.
Setting Up and First Light With SharpCap
The camera ships without capture software, which is apparently the norm. Instead you rely on third-party tools. SharpCap, free or paid, is the most commonly recommended option and handles everything from planets to dim objects. FireCapture is another popular choice, considered especially good for planets.
One setup hurdle is worth knowing about in advance: on first connection, SharpCap may not recognize the camera until you download and install the SVBONY drivers from the company website. Installation is straightforward, and after that the SV305C Pro appears in SharpCap’s camera menu and initializes in a few seconds. Two practical tips learned the hard way: set the color space drop-down to RGB 24 before capturing, and configure where SharpCap saves files so you are not hunting for images later.
In use, the interface is initially intimidating, but only two controls really matter for getting started: the exposure slider, which acts as a virtual shutter ranging from under a millisecond to multiple seconds, and the gain slider, which amplifies the sensor signal. Mixing the two until the live view looks right is enough to capture your first images.
Shooting the Moon and Jupiter
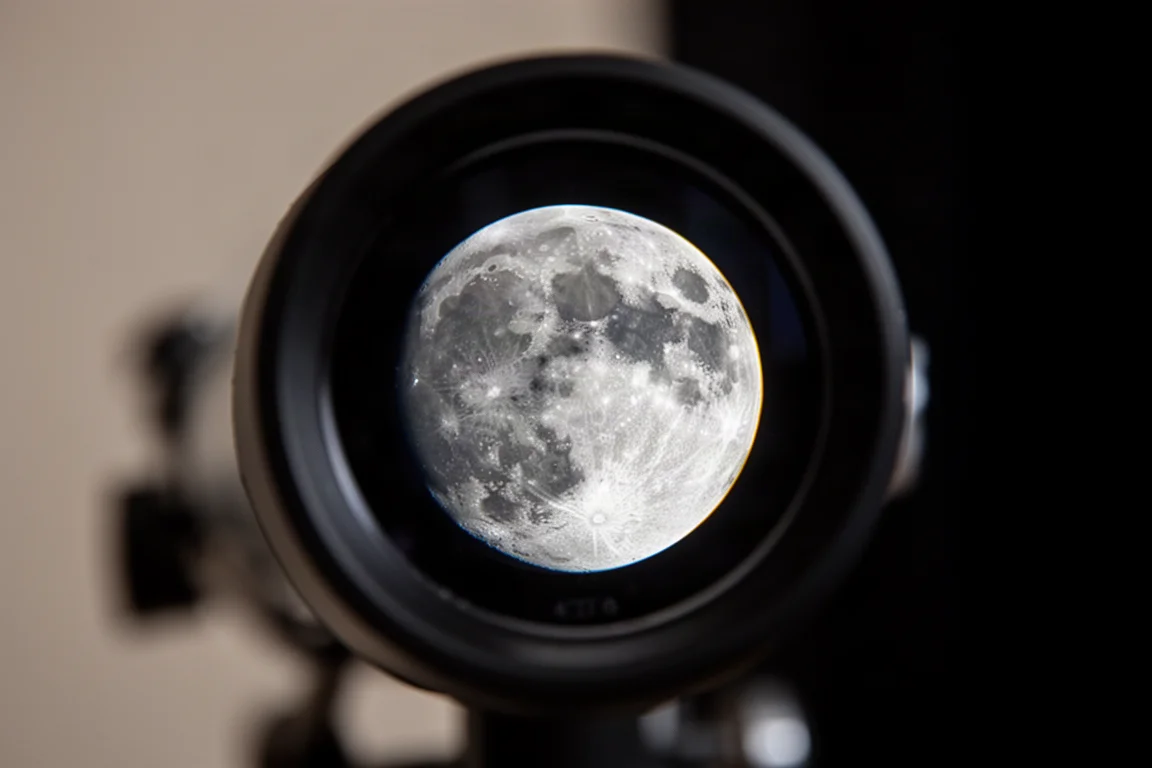
Bright targets are the easy wins. The Moon is so bright that even smartphone afocal photos look decent, and the SV305C Pro handles it comfortably with daytime-like exposure settings. Through the short 450 mm focal length StarBlast, the lunar disc appears small but sharp; on the 8-inch Dobsonian with its 1200 mm focal length, the image fills more of the frame and shows noticeably more surface detail.
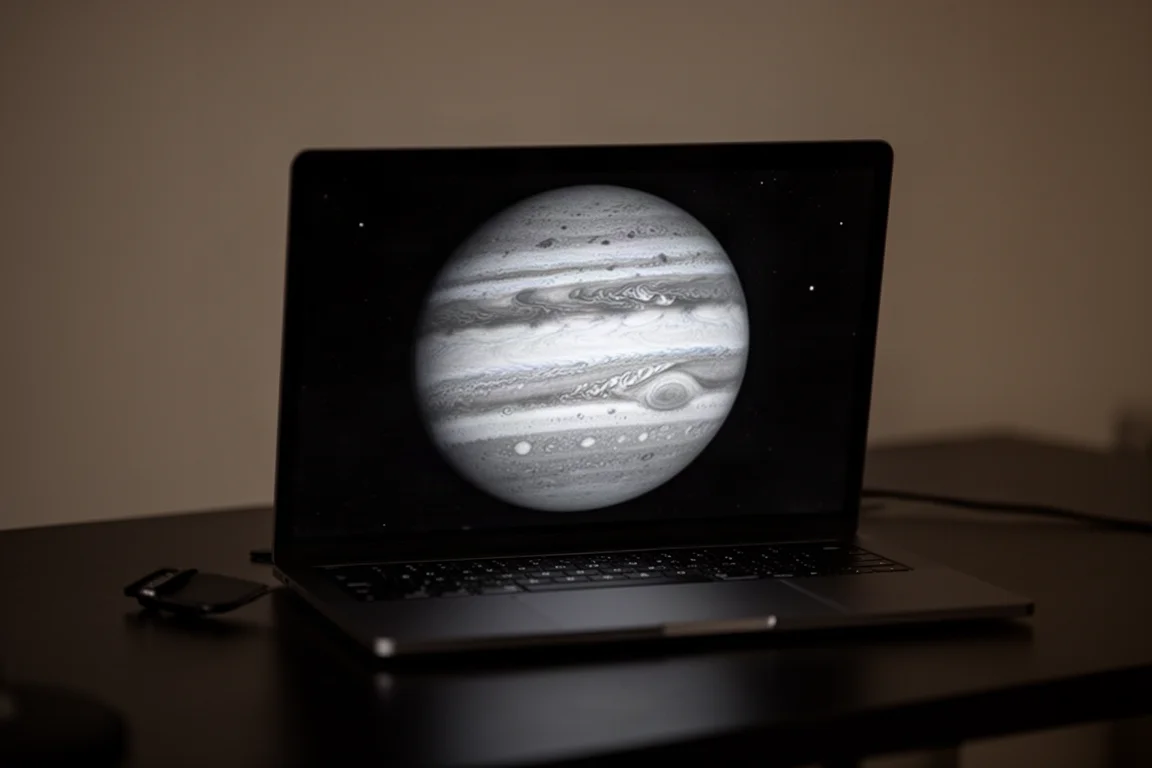
This points to an important principle: the sensor has no lens or magnification of its own, so the longer your telescope’s focal length, the larger the object appears. For planets, focal length matters even more. On the Dobsonian, Jupiter’s cloud bands resolved clearly, and with a 2x Barlow added, the Great Red Spot was visible directly in the live view. Post-processing the captured frames with PIPP and Registax produced a genuinely impressive planetary image.
Capturing the Orion Nebula With Live Stacking
Dim objects are where a dedicated camera earns its keep. The Orion Nebula’s light is extremely faint, especially under city skies, and a long exposure on a non-motorized telescope only produces streaks as objects drift across the field. SharpCap’s live stacking feature solves this: it aligns and combines frames as the target drifts, effectively tracking the image in software.
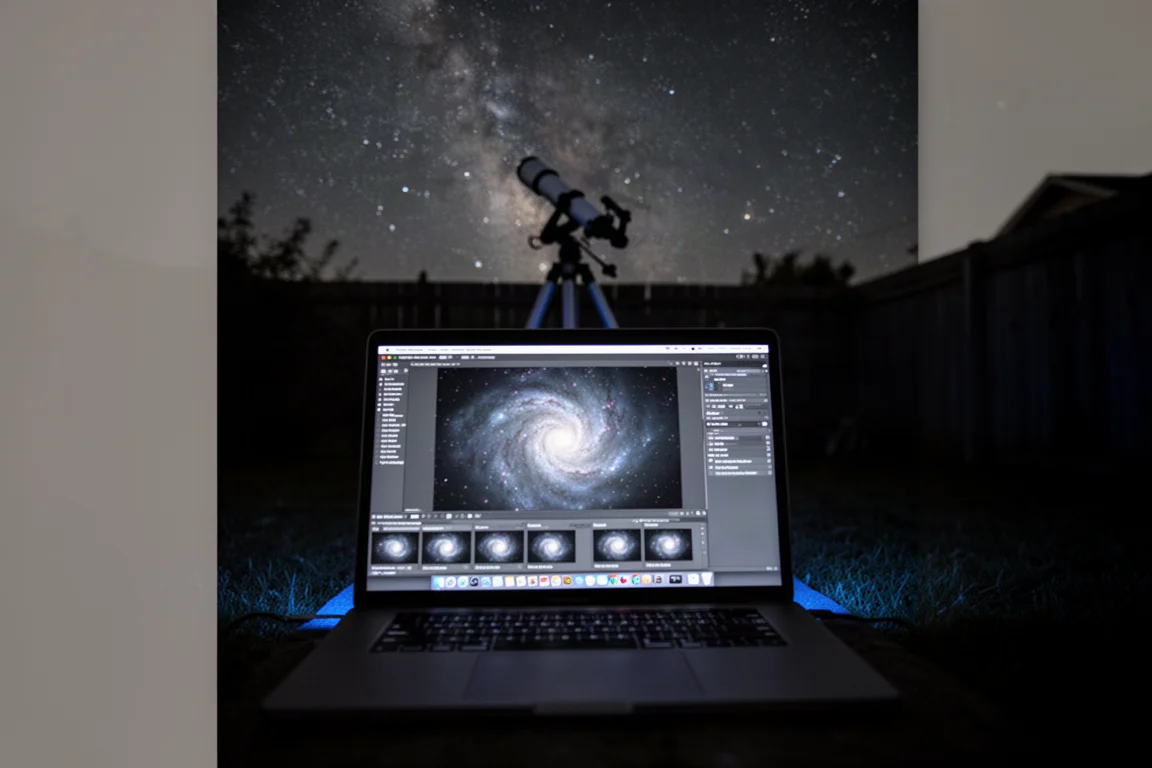
With gain pushed high and exposure set to a few hundred milliseconds, live stacking revealed cloud structure in the nebula that no smartphone through an eyepiece could match. When finished, the stacked result exports as a PNG. One caveat: live stacking for planets requires the paid version of SharpCap, though for dim deep-sky targets the free version works well with this camera.
Lessons Learned and Buying Advice
The biggest surprise was how easy the camera was to use once the drivers were installed: plug in USB, open SharpCap, and it just works. The key takeaways are to use a long focal length telescope, ideally with a Barlow, for planets; expect enormous raw and video files; and lean on exposure and gain sliders plus live stacking for dim targets.
For beginners curious about moving beyond smartphone astrophotography, especially anyone with a manual Dobsonian and no motorized mount, the SV305C Pro is a low-friction way to capture the Moon, planets, and even bright nebulae from home.
Conclusion
The SVBONY SV305C Pro turned a first attempt at serious astrophotography into a genuinely successful one, delivering sharp lunar and planetary detail and usable nebula images through live stacking. If you already own a telescope and a laptop with storage to spare, it is a compelling and approachable entry into the hobby.
Product link
View more details for SVBONY SV305C Pro
This product is mentioned in the review. Check the specifications, options, and compatibility before buying.
View more details for SVBONY SV305C ProFurther reading
Related Reviews
Astronomy Cameras
ZWO ASI585MM Pro Review: An Affordable Cooled Mono Camera for Deep Sky and Planetary Imaging
ZWO's most affordable cooled monochrome astronomy camera punches well above its price, but a small sensor and a mono workflow are things you should weigh before switching from color.
Astrophotography
ASKAR FRA400C Review: A Versatile 400mm Refractor for Astrophotography and More
The ASKAR FRA400C is a compact 72mm refractor that balances reach, versatility, and portability for astrophotographers and visual observers.
Astrophotography
Askar SQA106 Review: A Premium 106mm Astrograph With Exceptional Optics
The Askar SQA106 is a premium 106mm quintuplet astrograph with impressive sharpness across full-frame sensors, though its price and weight demand careful consideration.