Astronomy Gear
Getting Started with H-Alpha Solar Imaging: Sky-Watcher Heliostar 76 and the Gear That Makes It Work
A hands-on look at the Sky-Watcher Heliostar 76 H-alpha solar telescope, the SolarQuest mount, and the cameras that turn the sun's surface into striking images.
Introduction
There are a few ways to safely photograph the sun. The easiest is a white light filter, an inexpensive solar film placed in front of a camera lens or telescope objective. It is enough to capture sunspots and an eclipse, but it only scratches the surface of what our star has to offer.
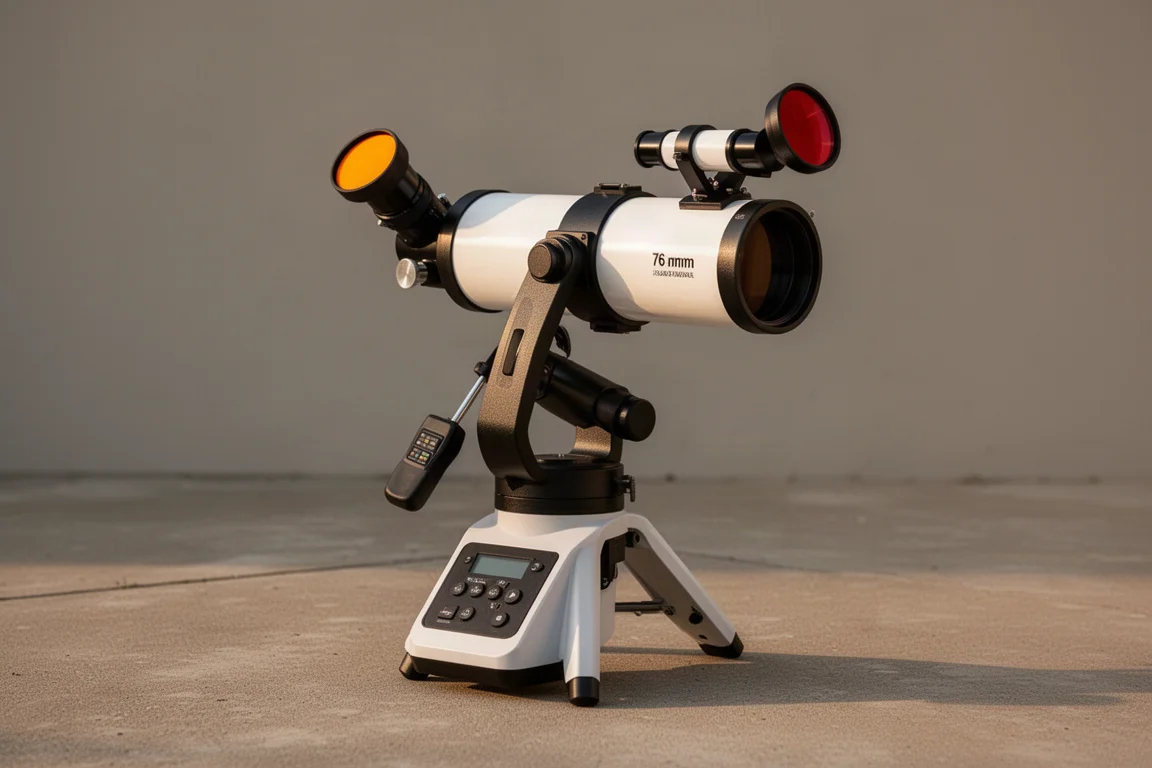
A dedicated H-alpha solar telescope opens up a completely different view: the sun’s surface in fine detail, along with dramatic prominences rising off the limb. That is exactly what the Sky-Watcher Heliostar 76 was built for, and pairing it with the right mount and camera turns solar imaging into a genuinely rewarding daytime pursuit.
Why a Dedicated H-Alpha Solar Telescope
A telescope designed to do one thing might sound limiting, but the sun is never static. Sunspots, filaments, and prominences are all happening in real time, and the view changes from one session to the next. Staring at the sun’s surface up close while feeling its heat is a surreal experience, and it is strange and wonderful to be doing astronomy in broad daylight.
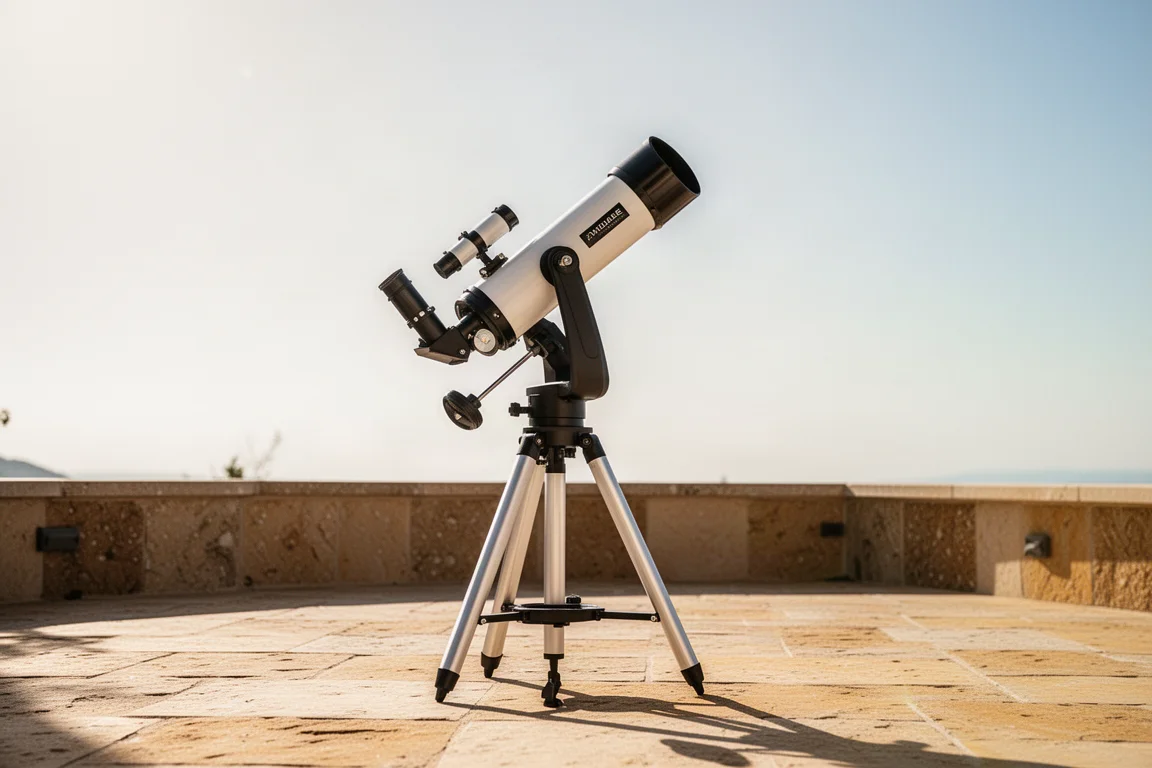
The Heliostar 76 isolates the narrow wavelengths of light needed to reveal these hidden details, and the resulting views are the reason so many observers fall hard for solar viewing.
The Sky-Watcher Heliostar 76
The Heliostar 76 is a dedicated solar telescope that uses an Etalon filter to tune into H-alpha light. One thing worth appreciating immediately is the aperture: 76mm is absolutely huge for a solar scope, where 30mm and 40mm diameters are far more common.
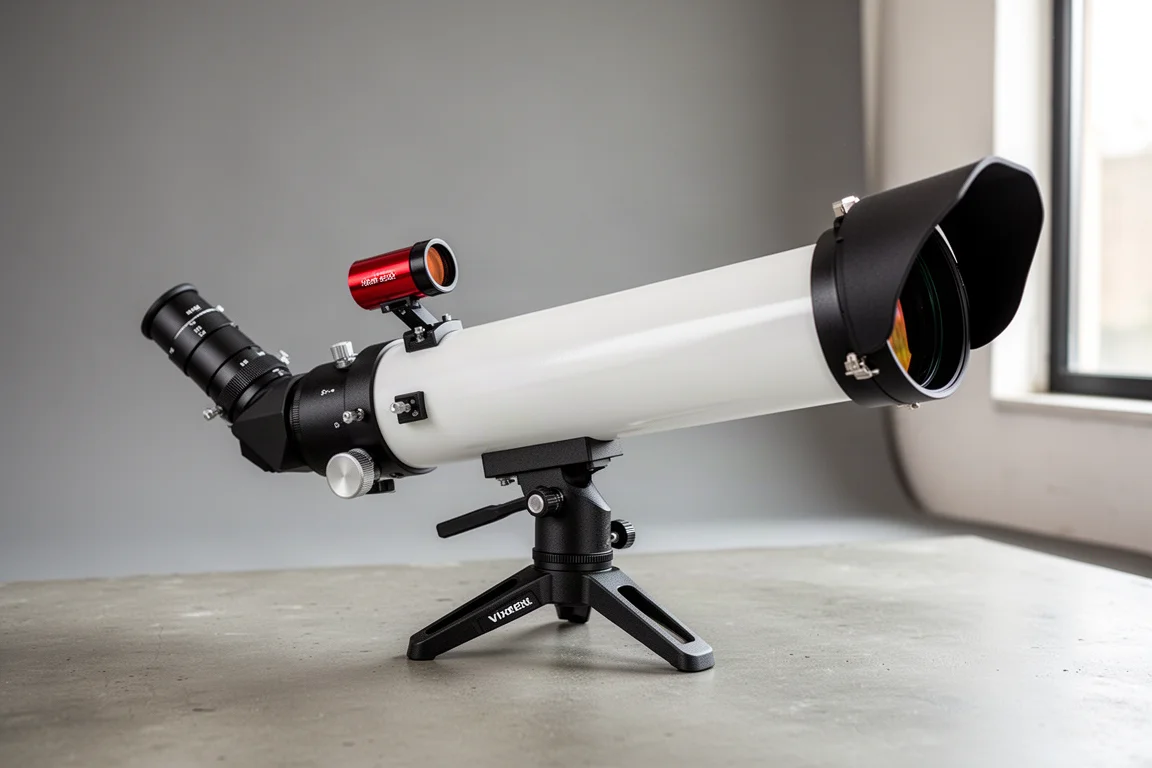
It is a single stack design with one Etalon filter, but experienced solar imagers seem to agree that it delivers double stack performance. One safety note that cannot be overstated: the telescope must be used with the included diagonal for solar viewing and photography to be safe. There is another filter in the optical path, so never use the scope without it.
The Sky-Watcher SolarQuest Mount
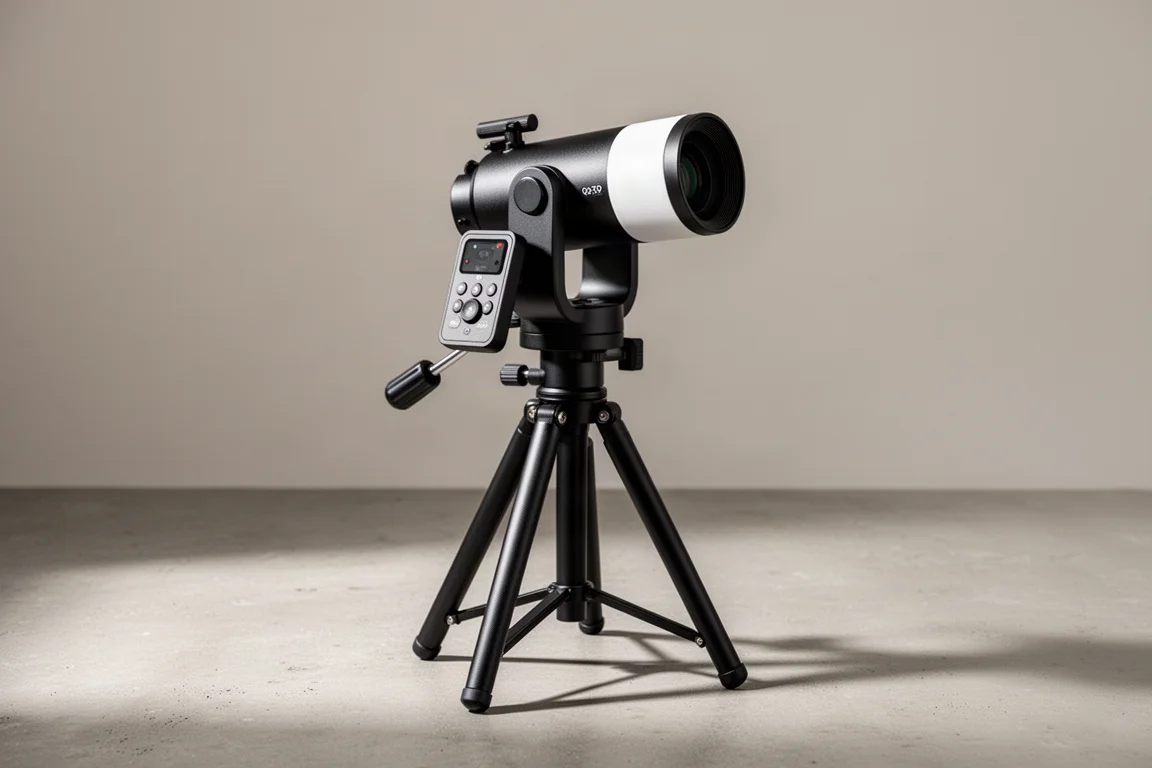
Sky-Watcher pairs the scope with the SolarQuest Sunfinder mount, and the combination makes getting started dramatically easier. With a push of one button, the mount automatically finds and tracks the sun, which removes most of the usual alignment fiddling.
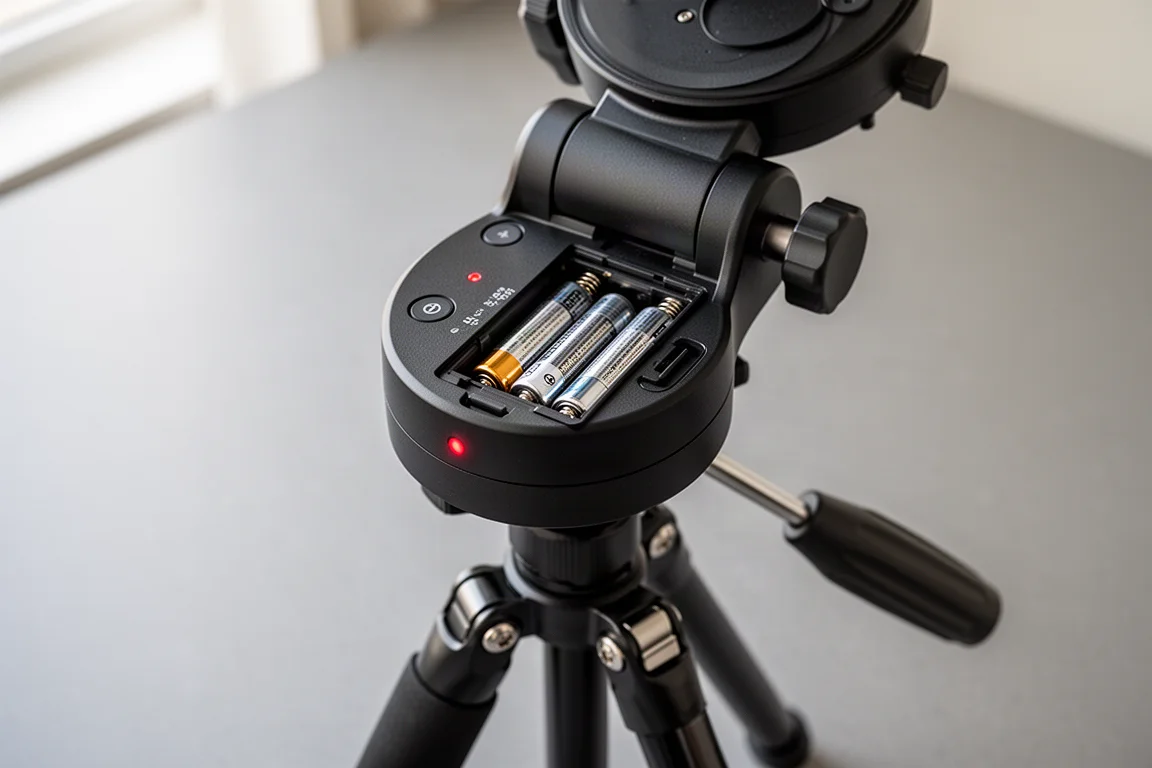
It is portable and battery powered, which suits a scope you will want to carry outside for quick daytime sessions. It does require eight AA batteries, so make sure they are all installed before your first power-on. The learning curve is real, though: one easy mistake is mounting the scope on the wrong side, away from the little camera the mount uses to find the sun. Once oriented correctly, it locks on reliably.
The main caveat is that this is a one-trick pony. It is a perfect match for this scope, but if you already own a solid equatorial mount, it is hard to justify the price purely as an addition.
Choosing the Right Camera
Solar capture works much like planetary imaging: you record short videos of the sun and stack the best frames into a single image. Camera choice matters here, and there are two sensible paths.
A color camera like the ZWO ASI585MC is a friendly starting point because it offers a wider field of view, letting you fit the entire solar disc in a single frame. It is a comfortable way to learn the workflow and get complete-disc portraits.
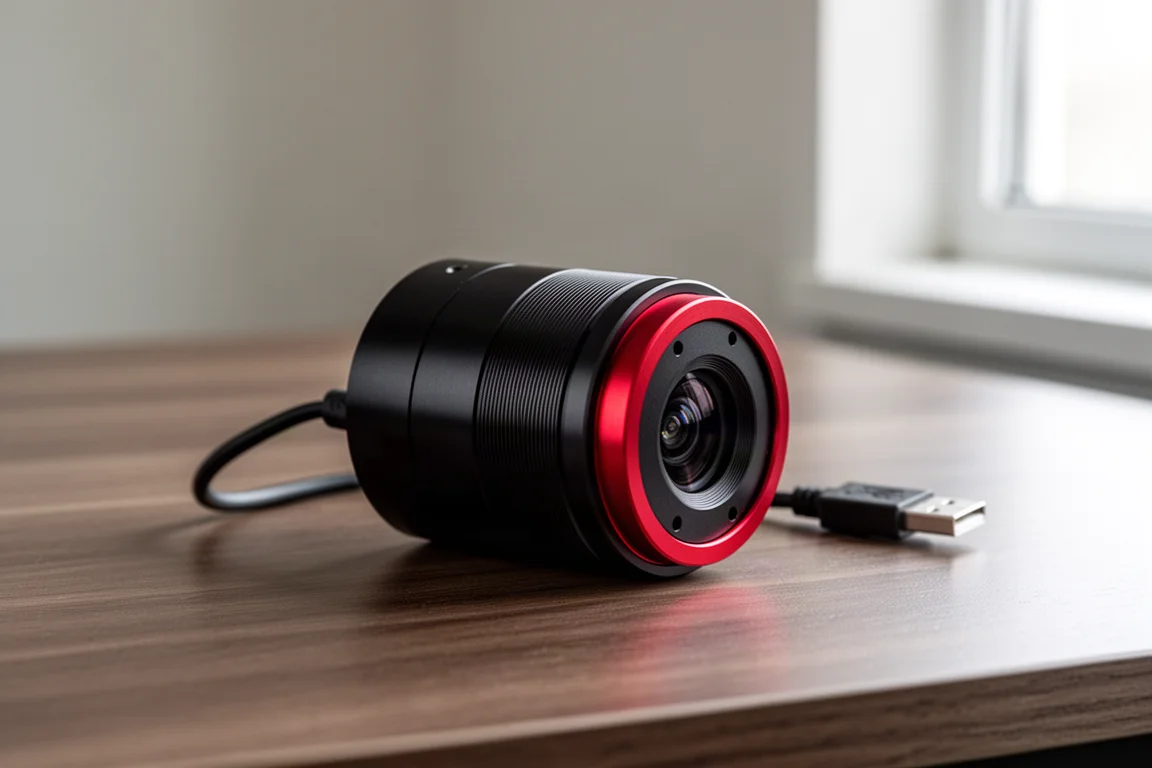
As experience quickly teaches, though, a monochrome camera is best suited for solar photography. Mono sensors record a much better signal, and color is not really a factor in H-alpha imaging anyway. The ZWO ASI290MM Mini fills that role well, capturing higher frame rates on smaller regions of interest.
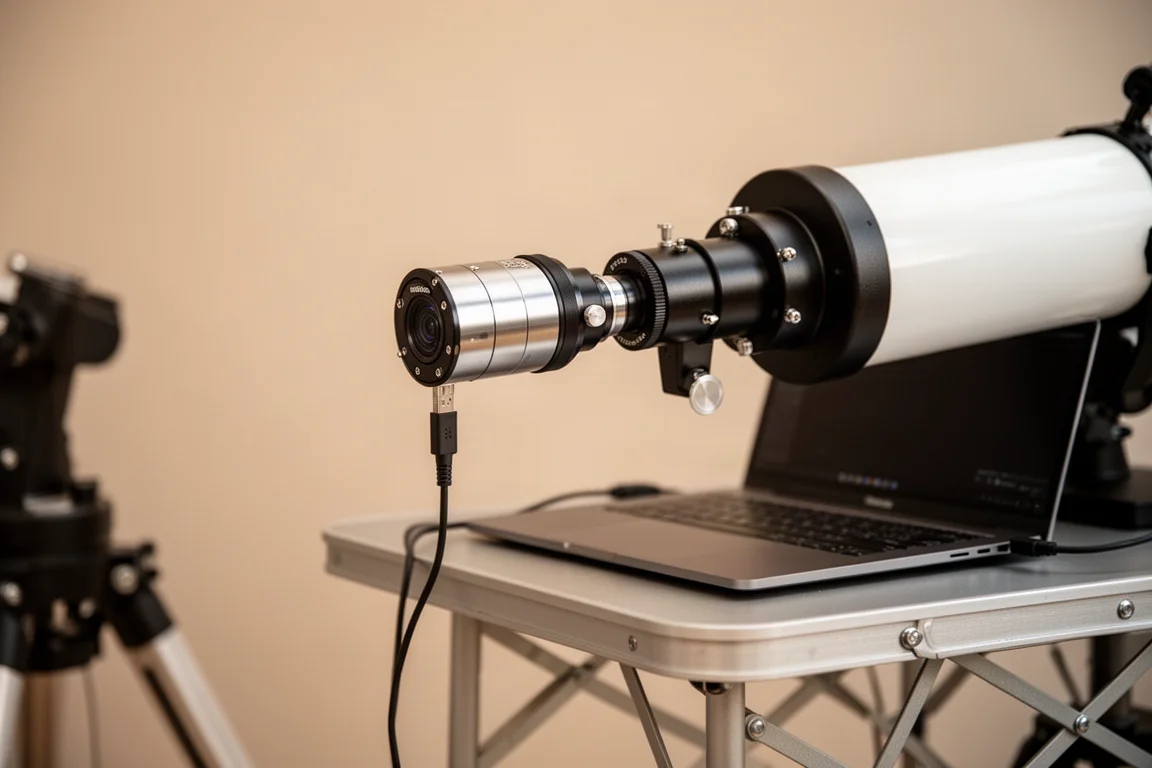
A practical capture tip: a 1920x1080 full-frame video is enormous for this kind of work. Using a smaller region of interest, around 600x600 pixels, makes processing faster and improves your frame rate, at the cost of imaging only a section of the disc at a time.
Processing Workflow: AutoStakkert, Registax, and Solar Toolbox
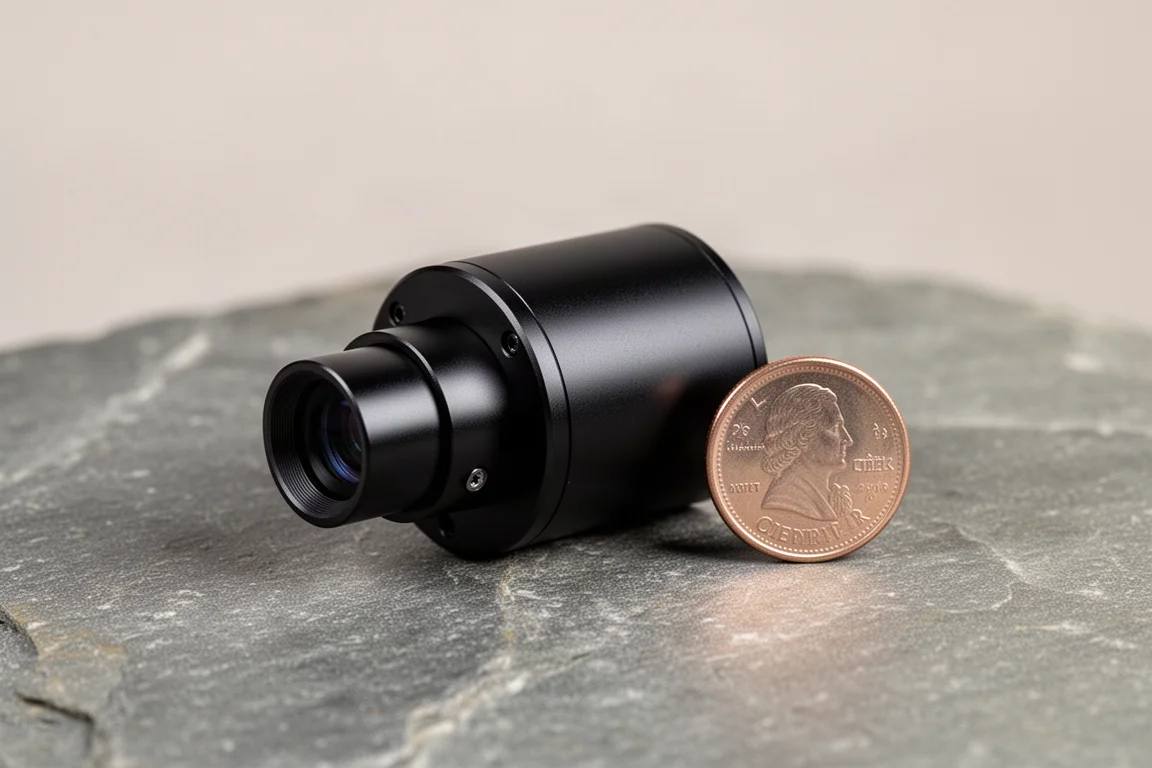
The software side is refreshingly affordable. FireCapture controls the camera and records the video, then free tools handle the rest. AutoStakkert analyzes your frames, builds a quality graph, and stacks the best subset. For a typical 1,000-frame capture where quality dips around the 50 percent mark, stacking around 350 frames is a solid starting point. Place the AP grid on the surface before stacking, and skip drizzling if your resolution is already large.
Registax 6, also free, is where wavelet sharpening happens. Cranking layer one up to around 50 and the second slider to about 20, then applying globally, transforms a soft stack into a noticeably sharper image. Decline the default stretch intensity levels prompt when opening your stack.
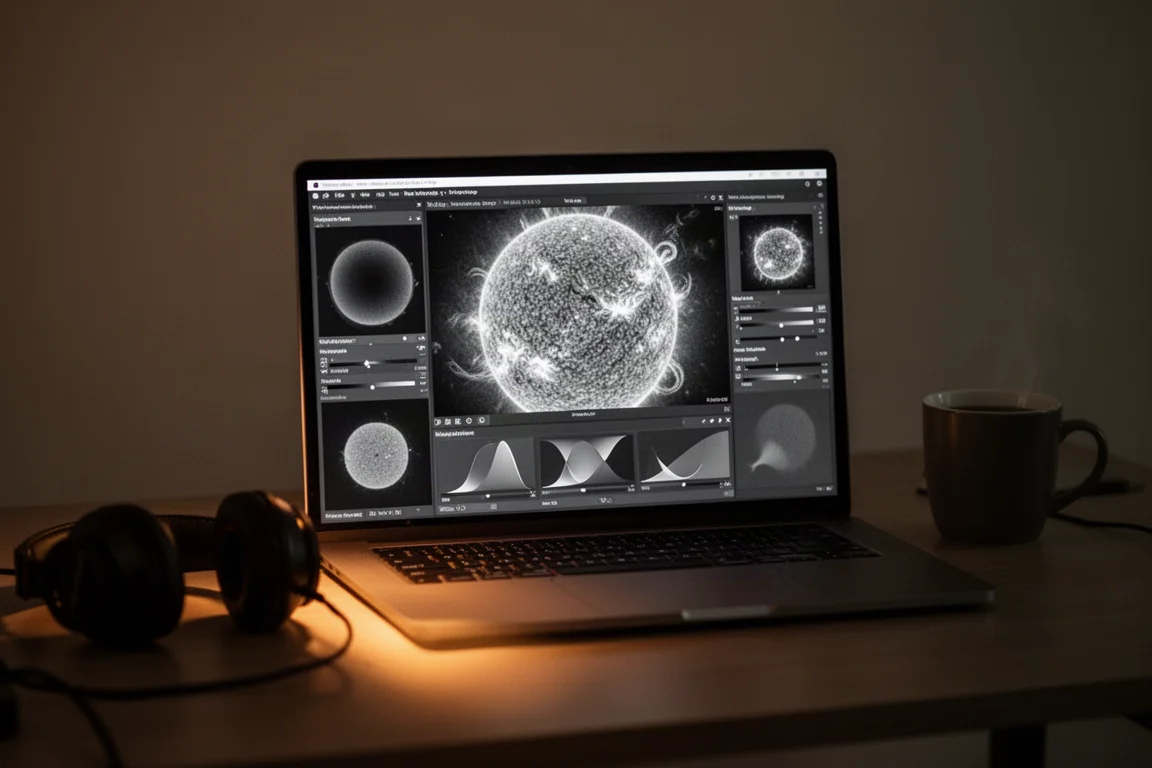
For the final step, PixInsight with the free Solar Toolbox plugin adds colorization and a prominence sharpening slider. The color tool applies an orange-yellow tone to mono images for a more natural-looking, if somewhat artistic, solar rendering, and the contrast enhancement and sharpening options are genuinely fun to explore.
Buying Advice
If the sun’s hidden detail is what you are after, the Heliostar 76 is the centerpiece: its large 76mm aperture and Etalon-based H-alpha filtering put real surface detail and prominences within reach, with double-stack-like performance from a single stack design. The SolarQuest mount is worth it if you are starting from scratch and want one-button solar tracking, but skip it if a capable equatorial mount is already in your kit. Start with a color camera like the ASI585MC for full-disc images, and move to a mono camera like the ASI290MM Mini when you want the best signal and faster frame rates on smaller regions. Budget for the free software stack too, because AutoStakkert, Registax, and FireCapture cover nearly everything you need before adding the optional Solar Toolbox.
Conclusion
Solar imaging turns daytime into observing time, and a dedicated H-alpha scope like the Heliostar 76 makes the sun’s constant activity accessible in a way a white light filter simply cannot. Pair it with automated solar tracking, a sensible camera choice, and the free stacking tools, and the sun becomes a target you can chase any clear day.
Further reading
Related Reviews
Astronomy Gear
Agena Astro Astro Suite Review: Plan, Build, and Share Your Astronomy Gear for Free
Astro Suite brings gear planning, compatibility checks, field of view tools, and community builds into one free platform for astronomers.
Astronomy Gear
Apertura Power Supply Review: A 518Wh Power Station Built for Astrophotography and Beyond
After nearly two years of weekly use, from imaging sessions at the observatory to powering a camper overnight, this lightweight power supply has proven itself in the field.
Astronomy Gear
StarSense Review: Turn Any Dobsonian Into a Push-To Telescope
How StarSense uses your phone and a cleverly placed mirror to guide you to night-sky targets, plus what a head-to-head winter observing challenge revealed about its speed and reliability.