Handheld Gaming
Retroid Pocket Nova Starter Guide: Setting Up Android Emulation the Right Way
A practical walkthrough for configuring the Retroid Pocket Nova, from first boot to emulators, front ends, and audio tweaks.
Introduction
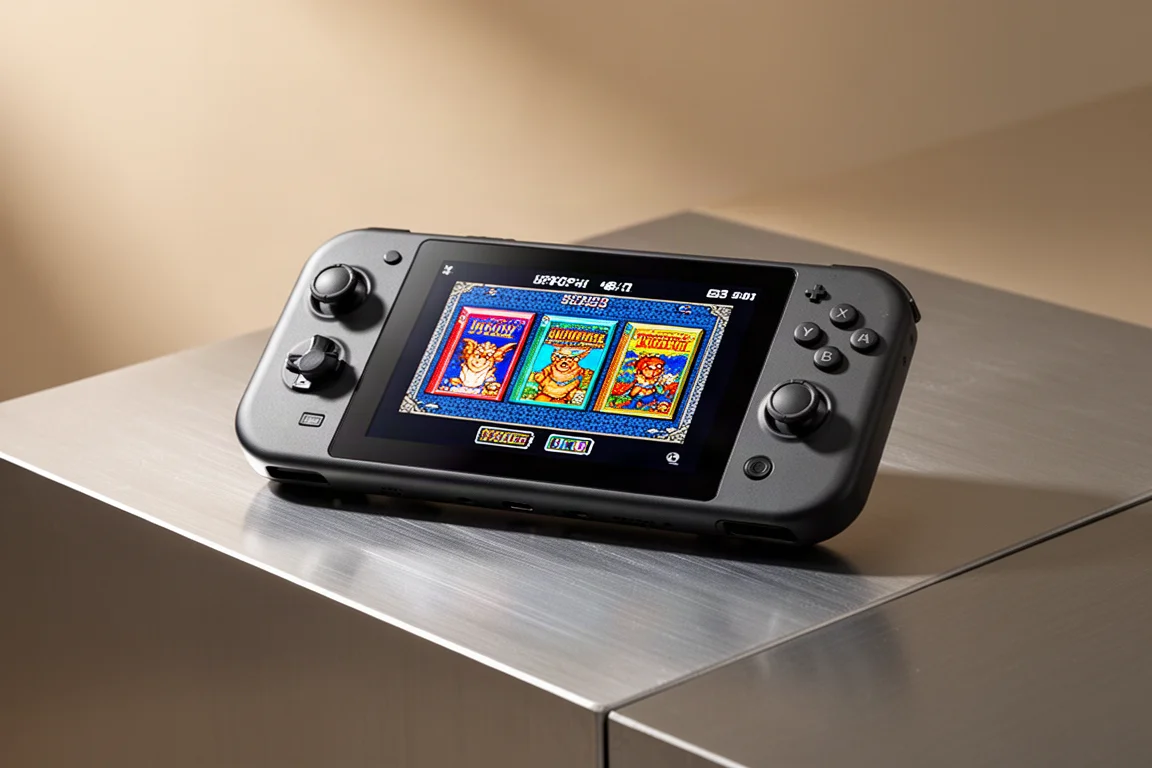
The Retroid Pocket Nova is an Android-based handheld with a unique 4:3 OLED screen, and it is capable of running everything from retro classics to PlayStation 2, GameCube, and even some Nintendo Switch titles. Getting the most out of it does require a proper setup, though. This guide walks through the entire process, from the first boot to configuring emulators, adding games, and finishing with a polished front end that makes the device feel like a dedicated gaming console.
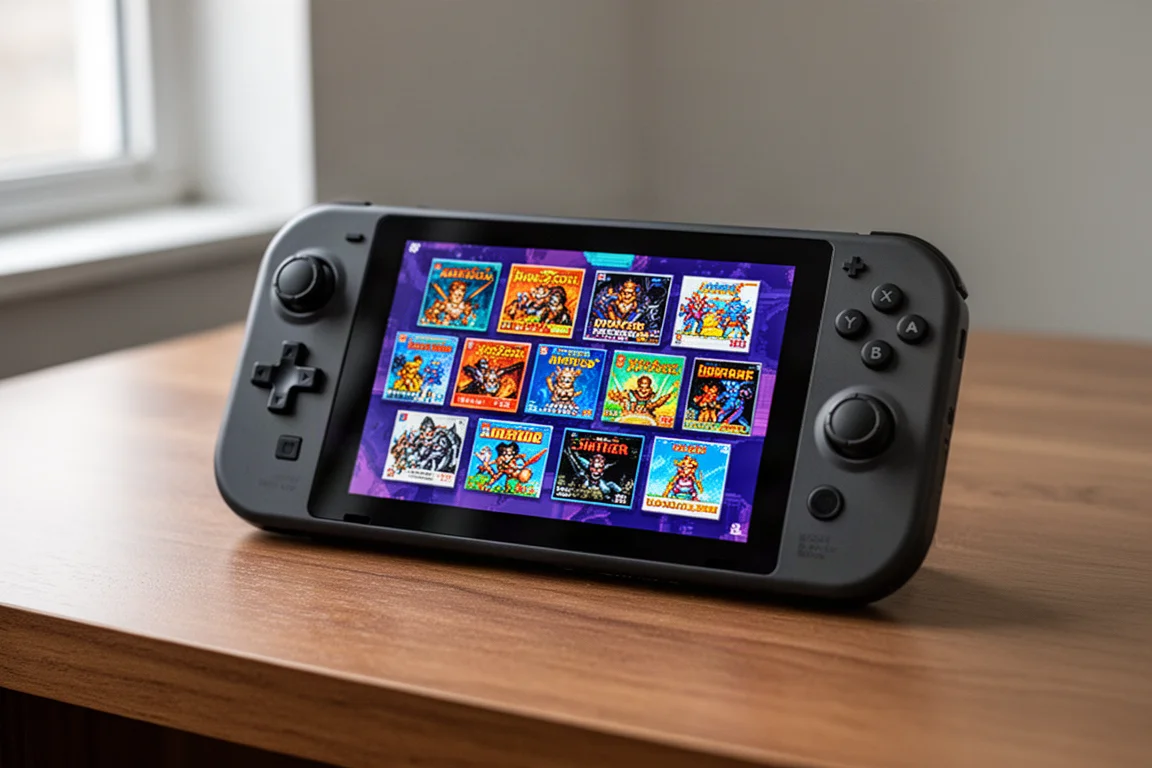
The setup process takes time, so it is best to work through it in stages rather than trying to finish everything in one sitting. The end result is worth the effort: a handheld that boots straight into a game launcher, with box art, themes, and emulators all working together seamlessly.
First Boot and Android Settings
When the device first boots, it walks through a standard Android setup. After selecting a language and connecting to Wi-Fi, the setup asks whether to enable Google Play services. Leaving this on is recommended because certain apps and Android-based games require it. The option to pre-install a bundle of apps can be skipped, since installing apps individually ensures they are up to date.
The launcher choice matters. The Retroid Pocket Nova Launcher is a simple game menu, but the AOSP launcher gives a standard Android interface, which is easier to work with during setup. The AOSP option is the better starting point, and a dedicated front end can be added later.
Once inside Android, a few settings are worth changing. The screen timeout defaults to one minute, which is too short for most people; setting it to 30 minutes avoids the screen going to sleep mid-session. Enabling do not disturb prevents notification sounds from interrupting gameplay. The screen lock can also be disabled so the device wakes directly to the last screen.
The handheld settings menu contains several useful options. The charging limit can be set to 80 percent, which extends battery longevity. Fast charging can be disabled with a 5V 2A limit for the same reason. The rumble motor can be adjusted, and the controller style can be switched from the default Nintendo-style layout to Xbox-style, where the bottom button is confirm. This is especially useful for Android-based games.
The quick settings menu, accessed by swiping down from the top, offers additional controls. Performance profiles can be switched between standard and high performance, though the difference is minimal on this chipset. The fan can be set to quiet, smart, or sport mode. The joystick LED lights can be customized, and the display refresh rate can be changed from 60 Hz to 120 Hz. The floating icon can be hidden by setting its transparency to zero, and force landscape prevents the screen from rotating.
Storage and Game Organization
The Retroid Pocket Nova has 128 GB of internal storage, which works fine for many games. However, high-end systems like PlayStation 2 produce large file sizes, so a micro SD card is recommended for anyone planning a substantial library.
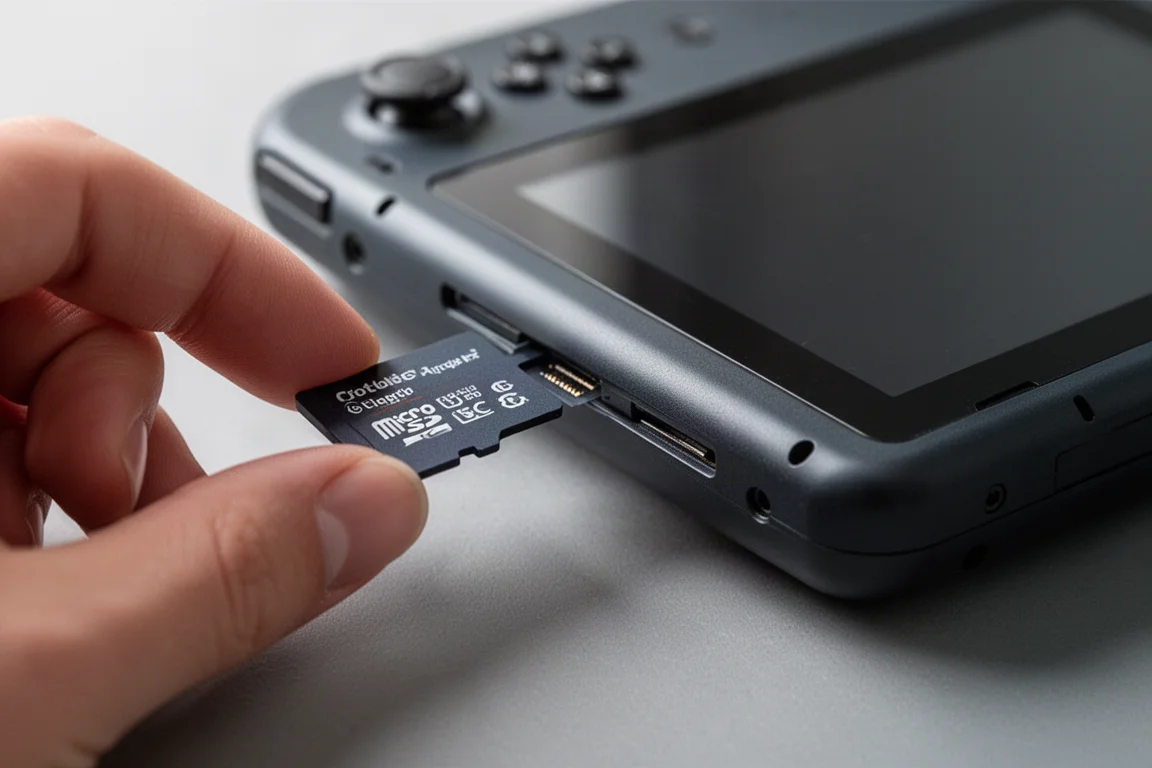
The easiest way to transfer games is to plug the micro SD card into a computer and drag files into the appropriate folders. The device creates a ROMs folder structure with subfolders for each system, such as GB for Game Boy, GBA for Game Boy Advance, and GC for GameCube. Each folder contains a system info text file that lists the accepted file extensions.
ROM files are copyrighted, so finding them is the user’s responsibility. BIOS files are also required for certain systems. Game Boy and Game Boy Color BIOS files are optional since they only add boot screens. Game Boy Advance BIOS is worth grabbing because some emulators require it. Nintendo Switch needs a prod.keys file and a matching firmware zip. Neo Geo uses a Neo.zip file that goes in the same folder as the games. PlayStation and PlayStation 2 support multiple BIOS options. Dreamcast BIOS files go in a subfolder called DC.
A BIOS folder should be created inside the ROMs folder, and all BIOS files should be placed there. The emulators will be pointed to this folder during configuration.
Installing Apps and Emulators
The Optanium app simplifies app installation by fetching emulators and tools from a single interface. An emulation pack for the Retroid Pocket Nova can be downloaded from the RJNY website, which includes a curated list of recommended apps.
The recommended emulators include ARM SX2 for PlayStation 2, Azahar for 3DS, Cemu for Wii U, Dolphin for GameCube and Wii, Eden for Nintendo Switch, XEMU for original Xbox, Melon DS for Nintendo DS, Nether SX2 as a backup PS2 emulator, and PPSSPP for PSP. RetroArch handles everything else, from classic systems up through PlayStation 1, Nintendo 64, and Dreamcast.
A few additional tools are worth installing. O2P Tweaks, designed for the Odin 2 Portal but compatible with the Retroid Pocket Nova, allows audio profile adjustments that improve the built-in speaker sound. Odin Tools can reduce screen saturation for those who find the display too vivid. CHD Droid compresses ISO files to save storage space. Cluster Tune is an underclocking app that can improve battery life on demanding games.
Emulation Station Desktop Edition, or ESDE, is the recommended front end. It costs $5.50 as a one-time purchase and is available through the developer’s Patreon page. The app requires certain permissions that prevent it from being listed on the Google Play Store, so the Patreon route is the official distribution method. After downloading, the subscription can be cancelled, and future updates arrive via email.
Configuring RetroArch
RetroArch is the backbone for classic systems. The first step is changing the menu driver to XMB, which gives it a PlayStation-style interface that is more intuitive to navigate. The scale factor can be increased to make text easier to read.
The core downloader provides access to all the emulator cores. Final Burn Neo handles arcade games. Gambatte is the preferred Game Boy and Game Boy Color core. MGBA covers Game Boy Advance. Nestopia handles NES. Mupen64Plus is used for Nintendo 64. SNES9X is the most user-friendly Super Nintendo option. Flycast handles Dreamcast. Genesis Plus GX covers Genesis, Game Gear, and Sega CD, while Pico Drive is needed for Sega 32X. Beetle Saturn handles Sega Saturn. Beetle PSX HW is the PlayStation 1 core with upscaling support.
After downloading cores, the online updater should be used to update core info files, assets, controller profiles, cheats, and shaders. The video backend needs to be switched from OpenGL to Vulkan to access the Slang shaders used for most systems.
Hotkeys are a key part of the RetroArch experience. The select button serves as the hotkey enable button. Select plus start quits a game. Select plus X toggles the quick menu. Select plus R1 saves a state, and select plus L1 loads one. The M2 button toggles shaders, and M1 toggles run ahead. Select plus Y shows or hides the frame rate counter.
Run ahead can be enabled globally to reduce input latency, with the exception of Sega Saturn, which lacks the processing headroom. Autosave and autoload states should be enabled so games resume exactly where they were left off. Retro achievements can be configured with a free account, though hardcore mode should be disabled if save states and cheats are preferred. The BIOS directory needs to point to the BIOS folder created earlier.
Shader Setup for Retro Systems
The Retroid Pocket Nova’s OLED display looks excellent with the right shaders. For home console systems, the CRT GDV Mini Ultra shader provides a sharp Trinitron-style look. The curvature can be reduced to zero for a cleaner image, and the saturation adjustment can be lowered slightly since the screen is already vivid.
This shader should be saved as a global preset so it applies to every system by default. Handheld systems need a different approach. Game Boy and Game Boy Color games benefit from color correction and an LCD-style shader. The internal colorization option with the TWWB 64 pack 1 palette gives a pleasant green tint. The Simpletex LCD shader provides a bright, clean grid effect that suits the Nova’s display well. This should be saved as a core preset so it applies to both Game Boy and Game Boy Color.
Game Boy Advance games look best with the NSO GBA Color shader, which replicates the Nintendo Switch Online color correction. This can be combined with the LCD 3X shader using the append preset option. Saving this as a content directory preset ensures it applies regardless of which core is used.
Sega Saturn requires special handling. Run ahead should be disabled for this system, and the CRT shader’s glow parameter should be reduced to avoid blown-out highlights. These changes should be saved as content directory overrides.
PlayStation 1 and Nintendo 64 games can be upscaled for crisper visuals. A 3x internal resolution scale works well for PS1, and the PGXP geometry correction reduces wobbly pixel issues. Nintendo 64 requires the polling behavior to be set to early, otherwise controls will not work when launching games through ESDE. The GLSL CRT shader is used for this system since it runs on an OpenGL core.
Configuring Standalone Emulators
Dolphin handles GameCube and Wii games. After adding the game folders, several settings are worth changing. Cheats and save states should be enabled. Panic handlers can be disabled to avoid pop-up error messages. The Wii widescreen toggle should be turned off so games run in 4:3. The aspect ratio should be set to stretch to window to fill the screen. A 2x native internal resolution provides clean upscaling.
GameCube controller mapping follows the original layout, with the A button on the bottom, B on the left, X on the right, and Y on top. The Z button maps to R1. Analog triggers use L2 and R2.
Wii controls are more complex. The Wii remote and nunchuk setup maps the A button to the bottom face button, B to the left, 1 to the top, and 2 to the right. The nunchuk’s C and Z buttons map to L1 and L2. The right analog stick controls the IR pointer. Shake motions map to R1. Profiles should be saved for Wii remote with nunchuk, Wii remote only, and classic controller setups.
ARM SX2 handles PlayStation 2 games. The app data folder, BIOS file, and ROM folder all need to be configured during the initial setup. The renderer should be switched to Vulkan, which allows custom GPU drivers to be installed. A 2x internal resolution provides clean pixel doubling. The display mode should be set to stretch. Some games require higher blending accuracy, which can be adjusted on a per-game basis.
XEMU handles original Xbox games. The BIOS files include the MCPX ROM, the flash ROM BIOS, and a hard disk image. The hard disk image is available as an open-source file. Async shader compilation improves performance, and the custom GPU drivers can be installed from the downloads folder.
Melon DS handles Nintendo DS games. The renderer should be set to OpenGL, with a 5x internal resolution. Hotkeys for fast forward and screen swapping can be mapped to the M2 and M1 buttons. The soft input behavior should be set to always invisible.
Azahar handles 3DS games. The setup wizard configures the user folder and game folder. Auto-mapping simplifies controller setup. Hotkeys follow the same pattern as RetroArch, with select plus start to exit, select plus R1 for quick save, and select plus L1 for quick load. A 4x native internal resolution provides sharp visuals.
Cemu handles Wii U games. The Pro Controller is the preferred input option. Custom GPU drivers improve performance. Graphics packs allow per-game adjustments, including resolution and shadow quality. Breath of the Wild has a 4:3 aspect ratio option that matches the Nova’s display perfectly.
PPSSPP handles PSP games. The game folder needs to be added, and the resolution can be set to 3x to match the display. On-screen touch controls should be disabled. Hotkeys for save states and exiting follow the standard pattern.
Eden handles Nintendo Switch games. The prod.keys file and matching firmware must be installed. Docked mode is disabled by default, which matches the display’s 720p resolution. Async shader compilation improves smoothness. Custom GPU drivers can be installed, with the T26 version recommended. Some games have 4:3 mods available through community forks.
PC Gaming and Streaming
Game Native allows PC games to run directly on Android. The default resolution should be changed to 1280 by 960 to match the Nova’s display. Games with 4:3 support work best. The app handles most configuration automatically on a per-game basis, and games can be exported to ESDE for easy access.
Artemis is recommended for streaming games from a home PC. It automatically scales to the device’s resolution and aspect ratio.
Setting Up Emulation Station Desktop Edition
ESDE serves as the front end that ties everything together. During the initial setup, the ESDE folder and ROMs folder should be placed on the micro SD card. The system directories are created automatically.
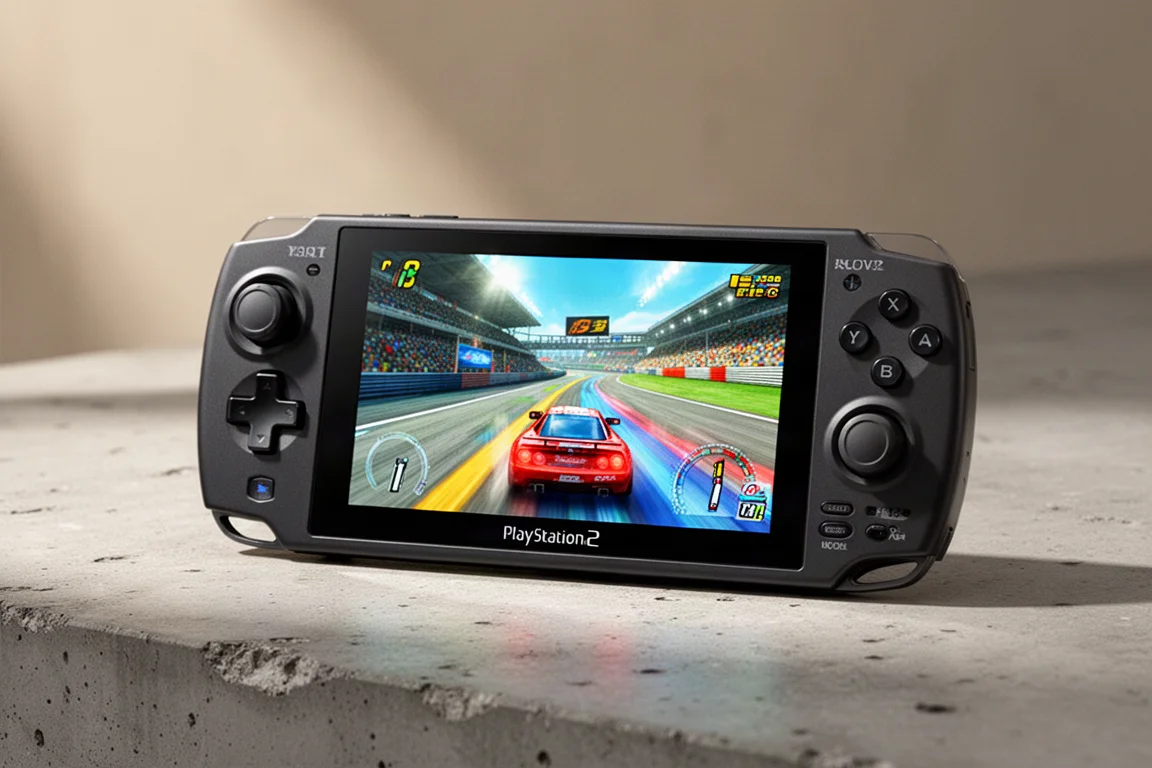
Themes can be downloaded through the UI settings menu. Artbook Next, Canvas, and Iconic are all solid options. Each theme offers color schemes and variants that can be customized. The OLED color schemes look particularly good on the Nova’s display.
Scraping adds box art and videos to the game library. A free ScreenScraper account is required. The region can be set to USA for American box art. Game manuals can be disabled to speed up the process.
Android apps can be added to ESDE through the game importer utility. This allows quick access to apps like Chrome, the file manager, and settings directly from the front end.
Setting ESDE as the default home app makes the device boot straight into the game launcher. This final step transforms the Nova into something that feels like a dedicated retro gaming console.
Audio Improvements
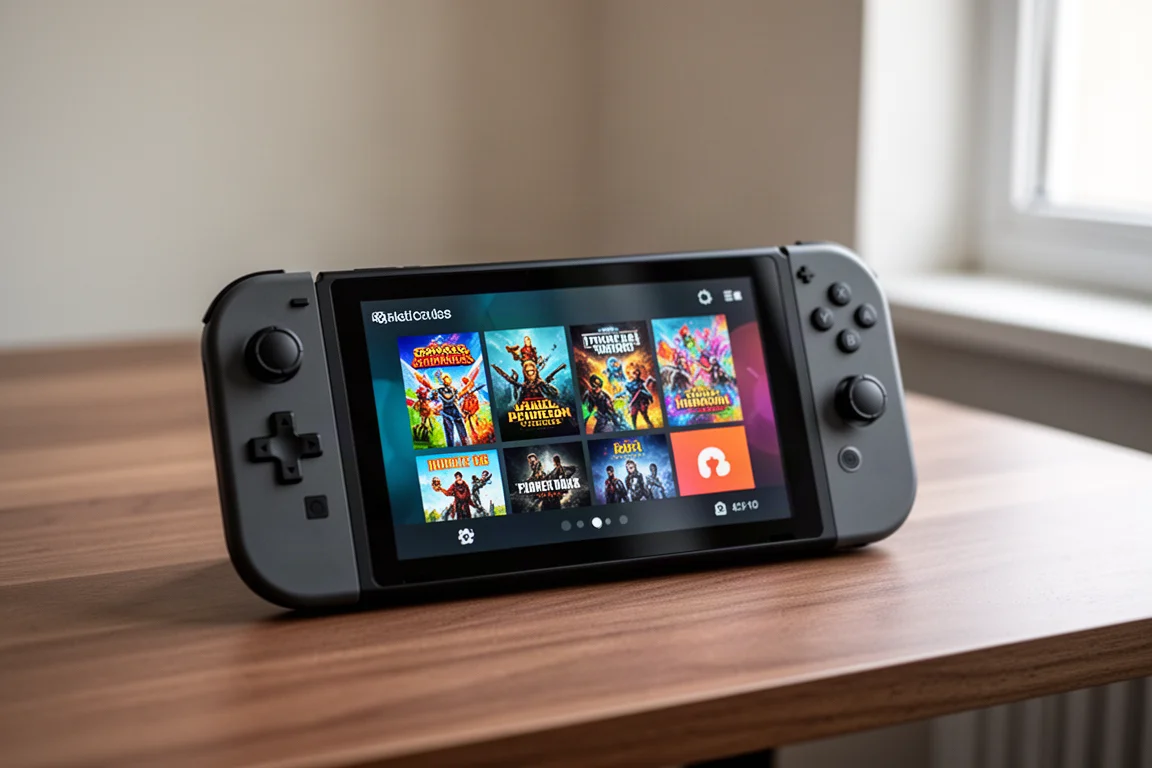
The Retroid Pocket Nova’s built-in speakers sound slightly muffled out of the box. The O2P Tweaks app provides a straightforward way to install JamesDSP, which offers a full audio equalizer.
The limiter release should be set to 500 milliseconds, and the post gain can be increased by about 2 dB. The live programmable DSP section allows a stereo wide effect to be added. The multimodal equalizer can be enabled and adjusted to taste. A slightly crisper sound can be achieved by reducing the high end and moderating the low-end boost.
A JamesDSP tile can be added to the quick settings menu for easy toggling without opening the app.
Buying Advice
The Retroid Pocket Nova is a capable handheld for anyone interested in Android emulation, particularly those who value a 4:3 display for retro systems. The setup process is involved, but the result is a device that handles everything from Game Boy to PlayStation 2 with ease, and even manages some Nintendo Switch and Wii U titles.
The $5.50 cost of ESDE is the only required purchase beyond the device itself. A micro SD card is recommended for anyone planning a large library, especially for PlayStation 2 games. The device’s OLED screen, 120 Hz refresh rate, and powerful chipset make it a strong choice for classic gaming.
Conclusion
Setting up the Retroid Pocket Nova takes time, but the process is well worth it. From the initial Android configuration to the final front end setup, every step contributes to a polished gaming experience. The device handles a remarkable range of systems, and the ability to customize themes, shaders, and controls means it can be tailored to individual preferences.
The Nova is a unique handheld thanks to its 4:3 OLED display, and it excels at the systems that were designed for that aspect ratio. With the right setup, it becomes a versatile retro gaming machine that is a pleasure to use.
Product link
View more details for Retroid Pocket Nova
This product is mentioned in the review. Check the specifications, options, and compatibility before buying.
View more details for Retroid Pocket NovaFurther reading
Related Reviews
Handheld Gaming
Acer Nitro Blaze Link and Predator Atlas 8: Two New Handhelds Compared
Acer's new handheld lineup includes a budget streaming device and a powerful Windows gaming machine. Here is what to expect from both.
Handheld Gaming
Anbernic RG Rotate Review: A Unique and Powerful Pocket Handheld
The Anbernic RG Rotate brings a clever rotating design, a square 720x720 screen, and solid Android performance to a truly pocketable form factor.
Handheld Gaming
Anbernic RGDS: A Fresh Look at the Linux Experience
The Anbernic RGDS gets better with updated Linux firmware. We explore Rocknix improvements, the new official Anbernic Linux OS, and how this dual-screen handheld handles Nintendo DS gaming.