Camping Tents
Night Cat Cot Tent Review: Setup, Strengths, and What to Know Before Buying
A practical look at the Night Cat Cot Tent setup process, how long it really takes, and what to weigh before buying.
Introduction
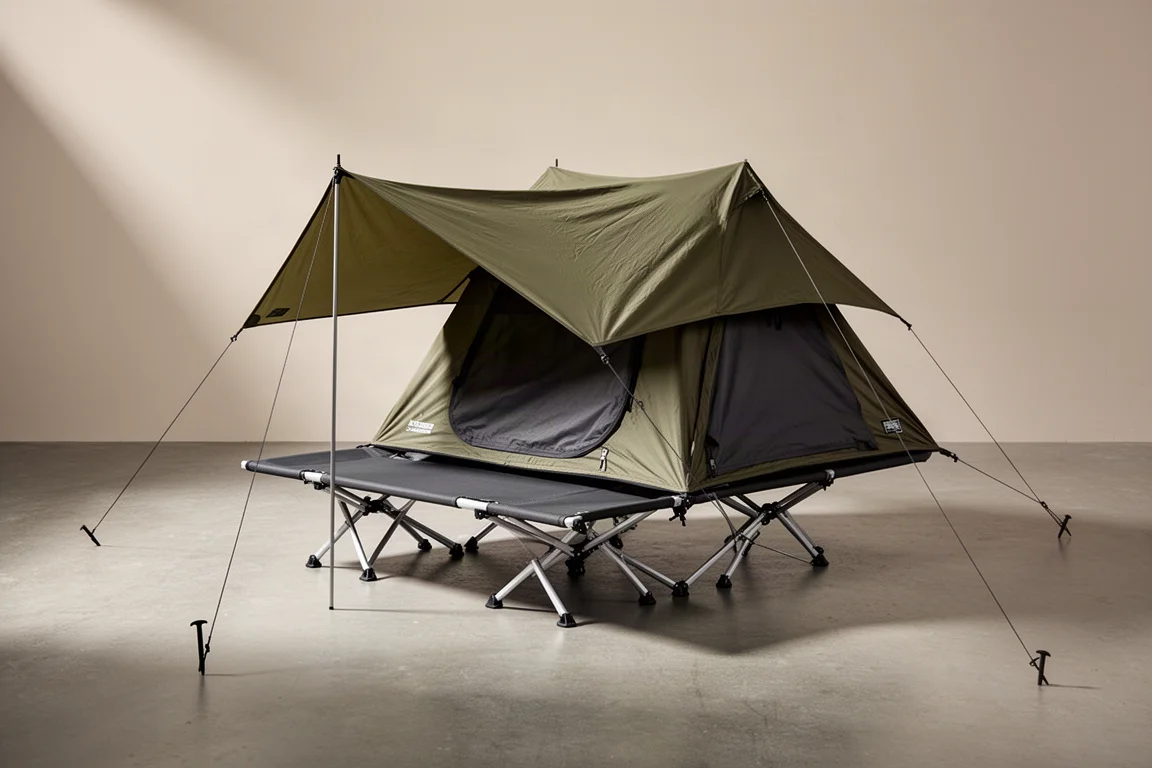
The Night Cat Cot Tent is an integrated sleep system: a folding cot with a tent that mounts directly on top of it. Rather than packing a separate cot and a separate tent, you get one platform that lifts you off the ground and encloses you at the same time.
Structurally, the system is built around two main components. The cot provides the sleeping surface, and the tent body attaches to it. Understanding that split is the key to setting the whole thing up efficiently, because the two halves are assembled separately before they come together.

This article walks through the setup step by step, looks at where the system is genuinely straightforward, and flags the parts that take longer than the headline figure suggests. If setup time is one of the things that decides whether you enjoy a tent, that is worth knowing before you buy.
Who This Product Is For
The Night Cat Cot Tent suits campers who would rather sleep off the ground than directly on a sleeping pad, and who want a single piece of gear doing the job of two.
It also makes sense for anyone who values a defined, taut sleeping platform and a covered interior in one package, and who is not put off by a pitch that takes a bit of patience the first time.
- Campers who prefer a raised sleeping surface
- Buyers who want a cot and a tent in one system
- Anyone willing to do a practice run at home before a trip
That last point matters. If you have never set up a cot like this or a tent like this, assemble it in a living room, a backyard, or on a deck first. Practice means you can pitch it confidently and quickly on site, which is exactly what you want if rain is moving in.
How the Cot Goes Together
Start by separating the components. The cot side of the system consists of the cot fabric, two shock-corded poles, four cross-body support bars, and the legs. The bars ship bundled with hair ties to keep them tidy.
Lay the cot fabric out upside down, with the label facing the ground. At one end you will find two channels in the fabric, one for each pole. Insert the poles into those channels, then work each pole end into the corner and secure it using the tab and loop built into the fabric. Once both poles are seated, the cot frame is ready for the cross-body support bars.
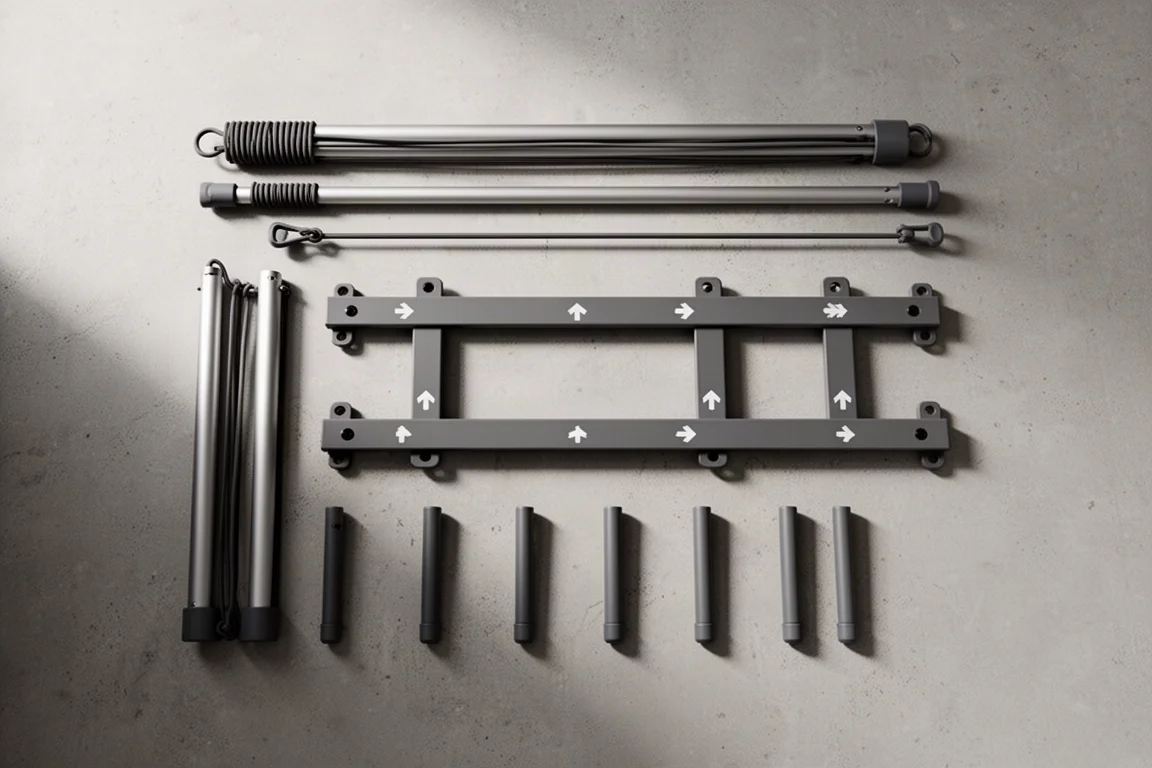
Each cross-body bar carries four white stickers with arrows, and those arrows must line up side by side. The orientation is not cosmetic. Connect the bars incorrectly and the cot will not set up properly. On one side the half cup is fixed; on the other, two small metal pieces release the tensioner when pushed together, letting the cup move. Seat the fixed cup on one bar, seat the cup on the opposite bar, then lock the tensioner to put tension on the frame and spread the cot taut. Repeat for the remaining three bars.
From there, you have two options. The cot can be used in a low mode with no legs, which sits roughly seven inches off the ground, or with the legs fitted. The legs slot into the holes on the cross support bars, two per side, and click into place. Once they are in, flip the cot over. If everything was done correctly, the logo will face up and be readable.
Attaching and Pitching the Tent
The tent side arrives with four main components: the tent stakes, the guy lines, the tent poles, and the fly, along with the tent body.
Lay the body out in the orientation you want. This tent has a single door, so decide which side it faces before going further. Then work around each corner, where you will find straps that secure the tent to the cot. These straps arrive unthreaded, so the first job is to pass each one through its buckle: in through the back hole, up through the top hole closest to you, and down. Once threaded, set each strap over a cot corner and pull the excess to tighten.
Next comes the pole. It is one large pole system rather than several separate poles. Lay it across the tent and seat the pole ends in the grommets at each corner. One detail is worth attention here: the top cross-body bar should sit on top of the long bar, not underneath it, which gives the body its best pitch. After that, attach the clips on the tent body to the pole, then slide the metal pieces at each end over the pole ends to stretch the body out and maximize interior space.
The fly goes on last. Align the fly zipper with the door side. Inside the fly, around the top, there are Velcro pieces that wrap around the poles for extra security in extremely windy conditions, but in ordinary weather the corner buckles are what hold the fly in place. Clip the male buckle on the fly into the female buckle on the inner at each corner, then walk around the tent drawing tension on every one of them so the fly sits taut. Finish with two tent stakes from the stake bag, one at the front and one at the back, attached to the guy lines. Vents at each end can be opened as needed, and the loops at the vents are where additional guidelines attach.
Main Strengths
The setup is logical and low-stress. On a difficulty scale from one to ten, with ten being the most difficult, this lands at about a three. There is not much to it, and it should not give you problems.
- Two configurations: a low mode with no legs, and a raised mode with the legs fitted
- Legs that drop into the cross support bars and click into place quickly
- A single large pole system for the tent, which simplifies the frame
- Corner buckles plus Velcro wraps on the fly for windy conditions
- Vents at both ends, with loops for adding extra guidelines
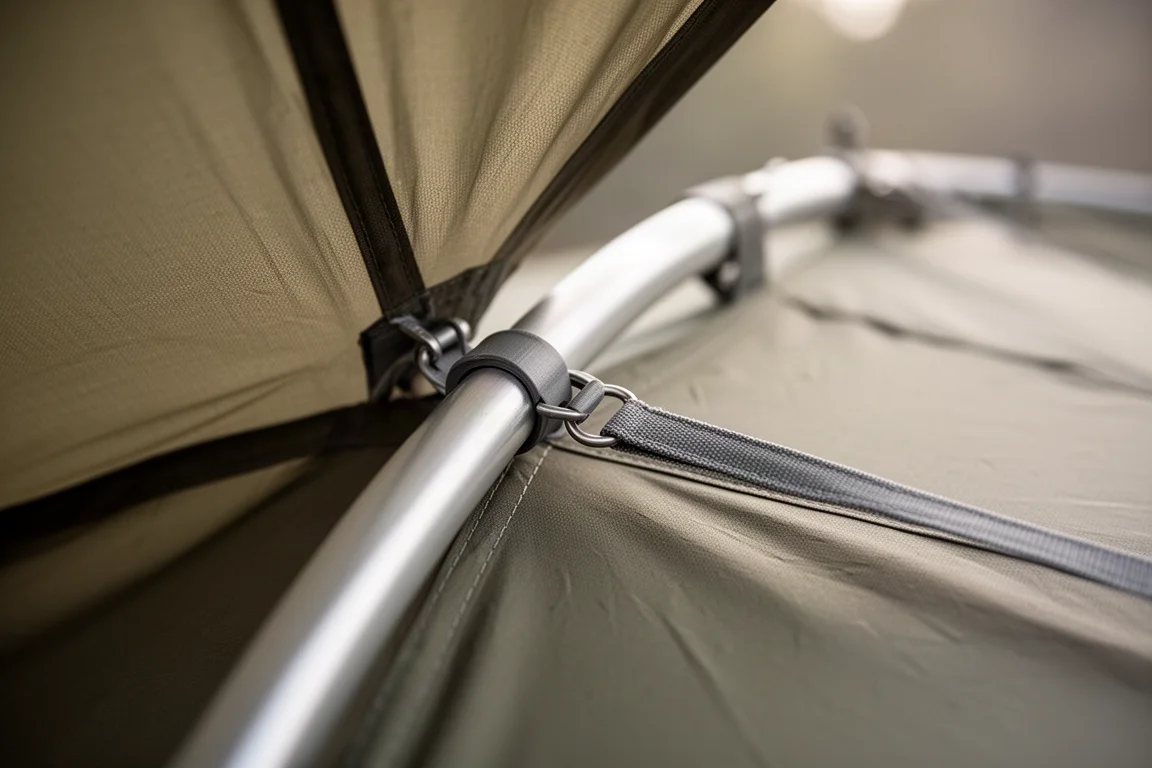
There are no big surprises in the design. The parts do what you expect them to do, and the assembly order is sensible from the first step to the last.
Things To Consider Before Buying
Setup is simple but time-consuming, and that is the main thing to plan around. The manufacturer claims a five-minute setup. In practice, the cot takes roughly five minutes and the tent takes roughly another five, so ten to fifteen minutes is a more realistic expectation for this style of cot tent.
A few other details are worth knowing in advance:
- The corner straps on the tent arrive unthreaded, so you have to thread them through the buckles yourself before the first pitch
- The arrow stickers on the cross-body support bars have to be matched correctly, or the cot will not assemble properly
- The top cross-body bar needs to sit on top of the long bar, not below it, for the best pitch
- First-time setups run longer than repeat ones, so a practice run at home is genuinely useful
None of these are faults so much as characteristics of the format. A cot tent is more involved than a simple dome tent, and the trade-off is the raised, integrated sleeping platform you get in return.
Buying Advice
Buy the Night Cat Cot Tent if you want a raised sleeping surface and an enclosed shelter in one system, and you are comfortable with a pitch that takes ten to fifteen minutes once you know the steps. The assembly itself is straightforward, the difficulty is low, and the parts are easy to handle.
If rapid setup is your top priority, this is probably not the right format for you. A cot tent earns its place through comfort and integration rather than speed, and the honest expectation here is a setup that takes a few minutes longer than the packaging suggests.

The practical advice is to assemble it at home first. Set it up in the living room, the backyard, or on the deck, learn the order of the straps and the orientation of the cross-body bars, and take it down again. After one or two runs the sequence becomes familiar, and pitching it on site becomes a routine rather than a project.
Conclusion
The Night Cat Cot Tent does exactly what a cot tent is supposed to do: it lifts you off the ground and covers you, in one package, with a setup that is easy to understand and hard to get badly wrong. The difficulty is low, the components are well organised, and there are no real surprises.
The honest caveat is time. Ten to fifteen minutes is the realistic figure, split roughly evenly between the cot and the tent, and first-time setups will run longer. If that fits how you camp, the system makes a lot of sense. If you need to be pitched in five minutes flat, look elsewhere.
Product link
View more details for Night Cat Cot Tent
This product is mentioned in the review. Check the specifications, options, and compatibility before buying.
View more details for Night Cat Cot TentFurther reading
Related Reviews
Camping Tents
3F UL Gear Taiji Two-Person Tent Review: Field Waterproofing Results and Buying Advice
The Taiji pairs an attached fly with a removable inner, but sustained rain exposed untaped vent seams that need sealing before this shelter can be trusted.
Camping Tents
3FUL Gear Lanshan 2 Pro 4-Season Review: A Sub-$200 Single-Wall Trekking Pole Tent
An early look at the 3FUL Gear Lanshan 2 Pro 4-Season, covering its straightforward pitch, generous interior space, and the condensation and seam-sealing questions that come with any single-wall shelter.

Camping Tents
Alps Mountaineering Lynx 1-Person Tent Review: Big Value in a Small Budget Tent
A close look at the Alps Mountaineering Lynx 1-Person Tent, covering real interior dimensions, materials, setup time, ventilation limits, and who should buy it.