Astronomy Gear
ML Astro SHG700 Spectroheliograph Review: Narrowband Solar Imaging on a Small Refractor
A solid, well-built spectroheliograph that turns an existing refractor into a high-contrast narrowband solar imaging tool, with some trade-offs to weigh before buying.
Introduction
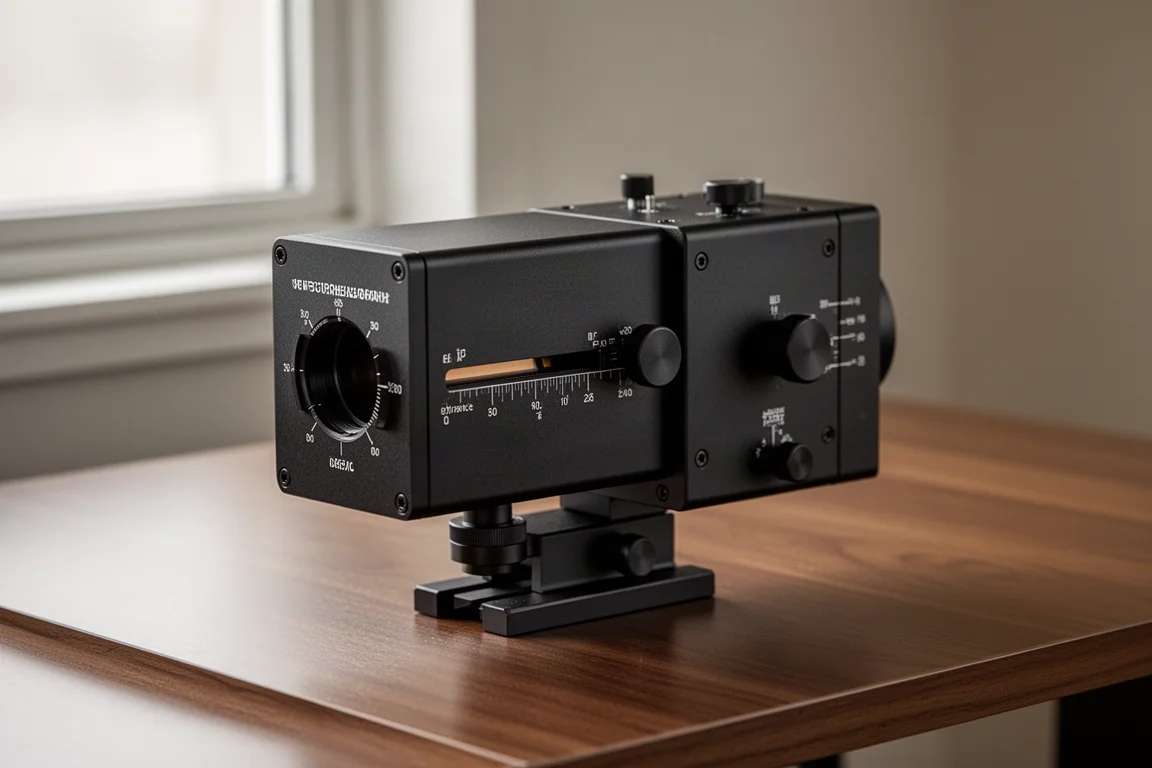
The ML Astro SHG700 is a spectroheliograph that turns a small refractor into a versatile narrowband solar imaging device. If you have ever wanted to capture the chromosphere, filaments and prominences without investing in a dedicated etalon-based solar telescope, this instrument deserves a close look.
It works very differently from a traditional hydrogen alpha telescope, so in this review we cover how it works, what it does well, where it falls short, and how to get good results with it.
How a Spectroheliograph Works
A spectroheliograph captures images of the Sun that are invisible in white light. It isolates a narrow wavelength range corresponding to a specific spectral line, such as hydrogen alpha at 656.28 nanometers, which reveals the chromosphere, or calcium K at 393.4 nanometers, which highlights magnetic activity.
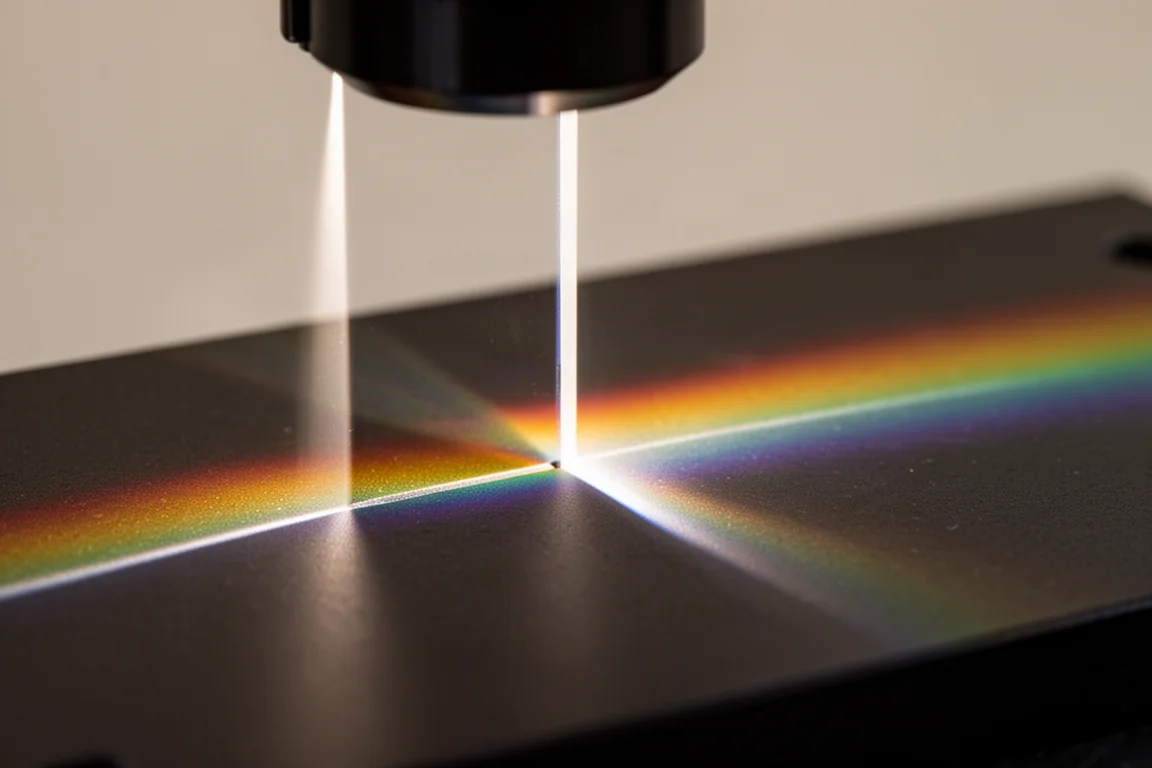
Sunlight enters through an entrance slit that restricts the field of view to a thin slice of the solar image. A collimating lens makes the light rays parallel, and a diffraction grating spreads the light into its constituent wavelengths, like a rainbow. You select the desired wavelength by rotating the grating, and the exit slit filters out everything except the target line. A camera lens then focuses the filtered light onto the sensor of an external camera.
The slit and detector scan across the solar disc, and the final image is built by combining the scanned strips.
Spectroheliograph vs. Etalon Telescope
The biggest advantage is contrast. A typical etalon design works at 0.5 to 0.7 angstroms, while a spectroheliograph can reach 0.18. That difference shows up directly in the image, with crisp filaments and surface detail across the full disc.
Other advantages add up quickly:
- Ultra-high contrast compared with etalon systems
- Lower cost relative to etalon designs
- Negligible unit-to-unit variation, avoiding the “etalon lottery” common with mass-produced etalons, although Lunt’s tilt- and pressure-tuned etalons are noted as having good uniformity
- Immunity to FWHM variation across the field, with no sweet spot to hunt for
- Multiple wavelengths available, including hydrogen alpha, calcium K and helium D3, where an etalon system displays only hydrogen alpha
- Works with your existing refractor
Things to Consider Before Buying
The trade-offs are real. Resolution is relatively modest: a spectroheliograph on a 100mm scope might at best deliver the resolution of a 60mm scope. The technique is also more susceptible to seeing conditions, with individual vertical slices potentially blurred, and more sensitive to mount performance, since poor alignment or tracking produces jagged edges on the limb.
There is no visual capability at all. You need a camera and a PC to see anything. Operation is more involved than an etalon scope, with three separate focus points and a steeper learning curve. Finally, the design is generally limited to small to intermediate focal length telescopes up to about 700mm, so it is optimized for full solar disc imaging rather than high magnification views of sunspots and prominences.
Cameras, Telescopes and Expected Performance
Both an IMX 178 mono and an IMX 678 mono camera have been used with good results, with the 678m slightly preferred. One practical note: a USB 3.0 cable that worked with seven other astronomy cameras did not work with the IMX 678m, and the supplied shorter cable did. If you hit camera connection issues with all the latest drivers installed, check your cable.
For telescopes, focal lengths up to 700mm work best. Larger apertures can be used in excellent seeing provided you also have an ERF to protect everything, then image as a mosaic. This has been done with a 160mm refractor at 1120mm focal length.
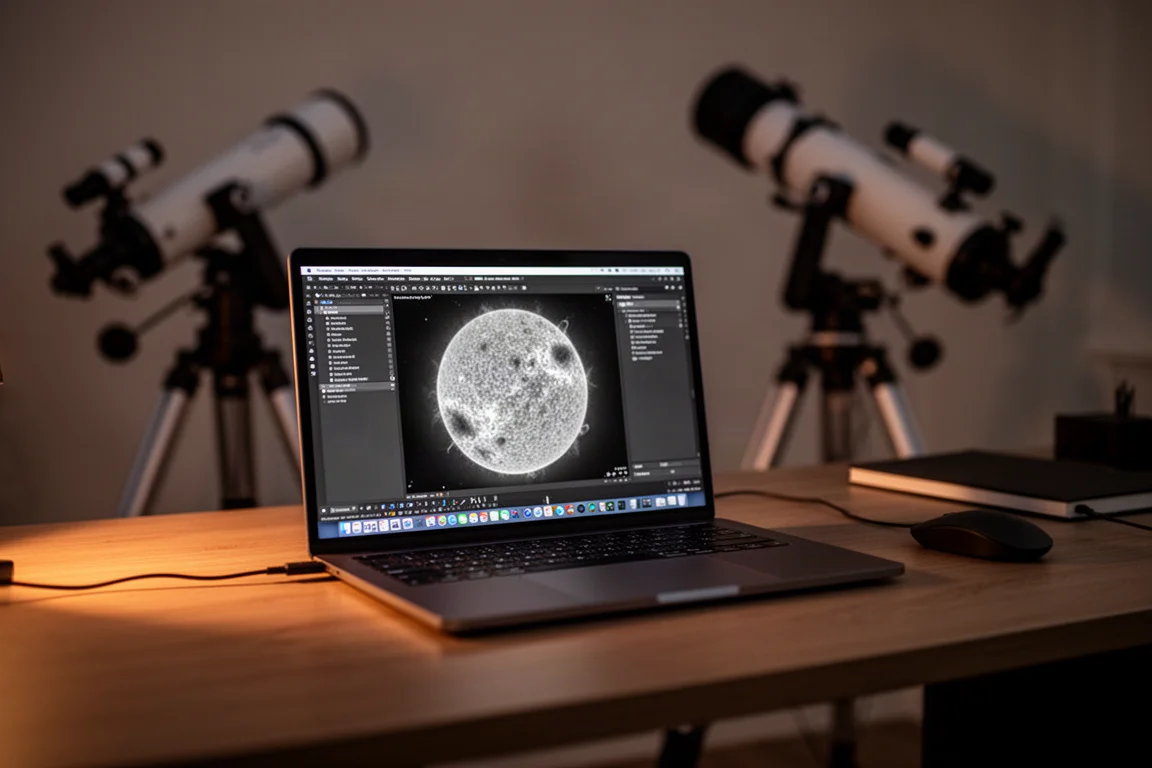
In practice, contrast is where this instrument shines, with excellent results compared to even a double-stacked etalon at 0.4 to 0.7 angstroms. Disc brightness is uniform, though you may see vertical stripes of different image quality caused by mount or seeing variations between consecutive scans; excellent tracking eliminates this. With calcium K, image quality depends on how well your own scope performs at that wavelength.
One important difference: spectroheliographs do not do lucky imaging the way etalon telescopes do, making them less forgiving. Wait for at least average seeing, preferably good. You can mitigate suboptimal seeing by taking multiple consecutive scans in the same direction, at least five and up to twenty. Equatorial mounts are preferred over alt-az for alignment and tracking.
Getting Started: Setup and Alignment
The device itself is solid and well built, with clearly marked controls that operate smoothly and excellent fit and finish. The learning curve is steep compared to other solar imaging techniques, but good results are achievable with a methodical approach.
Attach your camera so the sensor is as close to the unit as possible; an extender may be needed to reach focus. A helical ring design is preferred because it holds the weight of the device securely without introducing the tilt and slop of a single-screw design, and one with an internal brass ring compresses uniformly. Align the bottom of the device parallel to the plane of the dovetail; deviation should be less than one degree, which you can measure after running a scan.
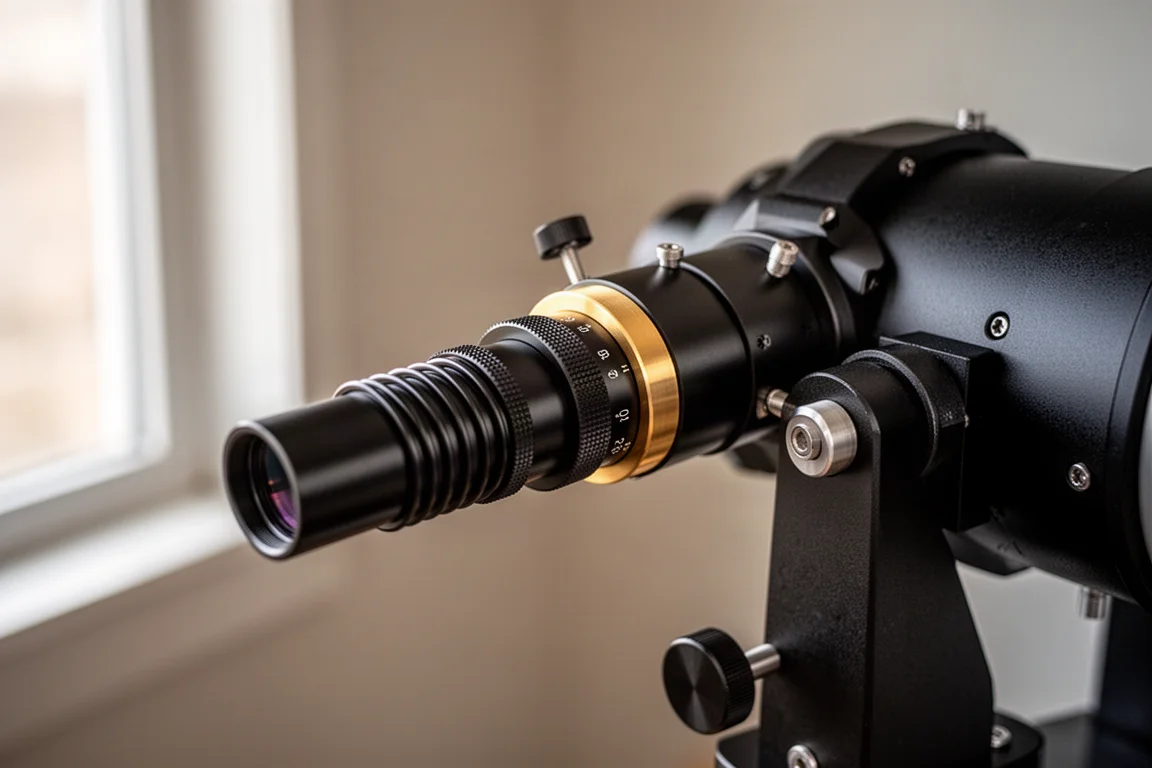
Focusing involves three distinct adjustments, each made on a different part of the image with a different focuser. Camera focus is set on horizontal black lines, collimator focus on the vertical truncated left or right edge, and telescope focus by maximizing the appearance of scintillating vertical lines. With SharpCap Pro, pointing the device about 45 degrees away from the Sun lets you find and sharpen the horizontal lines first, then refine each focus in turn once aligned on the Sun.
After achieving focus, enable the horizontal reticle and ensure the primary dark hydrogen alpha line is not tilted, rotating the camera slightly if needed. Note your focus points for next time. Also note that focusing must be completely redone for calcium K: camera focus carries over, but collimator focus moves at least one division.
Scanning, Stacking and Processing
For scanning, center the Sun on screen and confirm that a slight movement in right ascension moves the whole slice left or right without truncation. Reduce the capture area to just the spectral line to significantly speed up frame rate; with an IMX 178 that meant 3076 by 140 pixels, and with the IMX 678m, 3840 by 200. Check that the line is centered and fully visible, level it by rotating the camera if needed, and use the fine wavelength selector on the device for height adjustments. Recheck your three focuses after any adjustment.
Start each scan well before the limb, while the screen is still black, and continue well past the limb to avoid streaks. If the Sun scans in an odd shape, the plane of the instrument is not aligned with the dovetail; iterate with quick scans, checking results and rotating the unit slightly until deviation is under one percent.
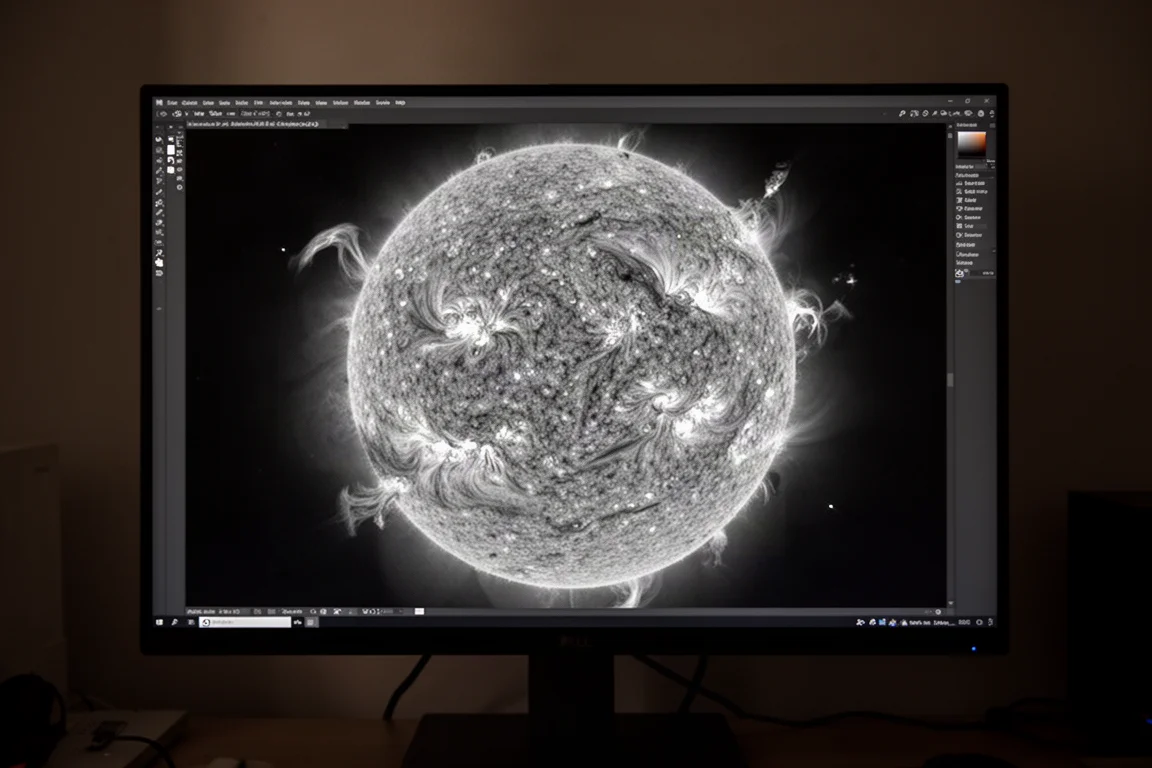
Stacking is optional but averages out poor seeing slices. Take five to twenty consecutive scans in the same direction, always in the same direction, since scanning both ways and flipping half the images creates stacking artifacts. Inspect each disc image, delete bad ones, and stack the remainder. Finish with sharpening, then use Affinity Photo, PixInsight or Photoshop to add color, crop, adjust contrast and denoise, saving the final image.
Buying Advice
This instrument makes sense for two kinds of buyers. If you already own a small refractor and want full disc narrowband solar imaging with the best contrast and uniformity available, it delivers exactly that at a low price relative to etalon systems. It is also the practical entry point if you want to experiment with calcium K or other wavelengths, which etalon systems cannot offer.
If your priority is visual observing, high magnification close-ups of prominences, or imaging in marginal seeing, an etalon-based hydrogen alpha telescope remains the better fit. Treat the SHG700 as a complement to, rather than a replacement for, your existing solar telescope.
Conclusion
The ML Astro SHG700 is a well-built, solid device that puts narrowband solar imaging in the hands of anyone with a small refractor. It provides the best uniformity and contrast of any solar imaging device of its kind, opens the door to multiple wavelengths, and is backed by notably responsive support from the manufacturer, whose representatives patiently answer questions and even walk new owners through operation on video calls. Accept the learning curve and the seeing requirements, and it rewards you with excellent full disc solar images.
Product link
View more details for ML Astro SHG700 Spectroheliograph
This product is mentioned in the review. Check the specifications, options, and compatibility before buying.
View more details for ML Astro SHG700 SpectroheliographFurther reading
Related Reviews
Astronomy Gear
Agena Astro Astro Suite Review: Plan, Build, and Share Your Astronomy Gear for Free
Astro Suite brings gear planning, compatibility checks, field of view tools, and community builds into one free platform for astronomers.
Astronomy Gear
Apertura Power Supply Review: A 518Wh Power Station Built for Astrophotography and Beyond
After nearly two years of weekly use, from imaging sessions at the observatory to powering a camper overnight, this lightweight power supply has proven itself in the field.
Astronomy Gear
Getting Started with H-Alpha Solar Imaging: Sky-Watcher Heliostar 76 and the Gear That Makes It Work
A hands-on look at the Sky-Watcher Heliostar 76 H-alpha solar telescope, the SolarQuest mount, and the cameras that turn the sun's surface into striking images.