Filming Gear
Lightweight Hiking Filming Kit: 7 Essentials for Solo Creators
A packable filming setup for hiking and backpacking content, covering the main camera, action camera, wireless audio, mounting, and trail fuel.
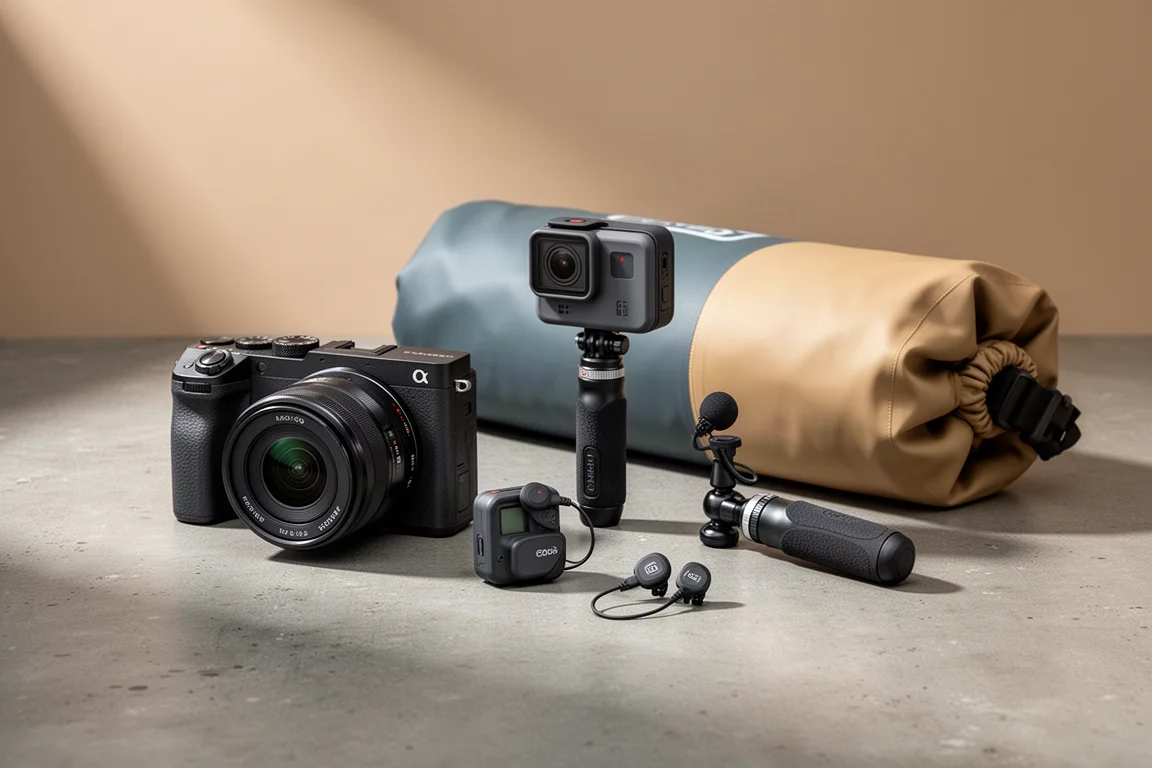
Introduction
Filming hiking and backpacking content on your own is mostly a packing problem. The camera has to be light enough to carry all day, tough enough for weather that changes without warning, and simple enough to operate when your hands are cold and your pack is already heavy.
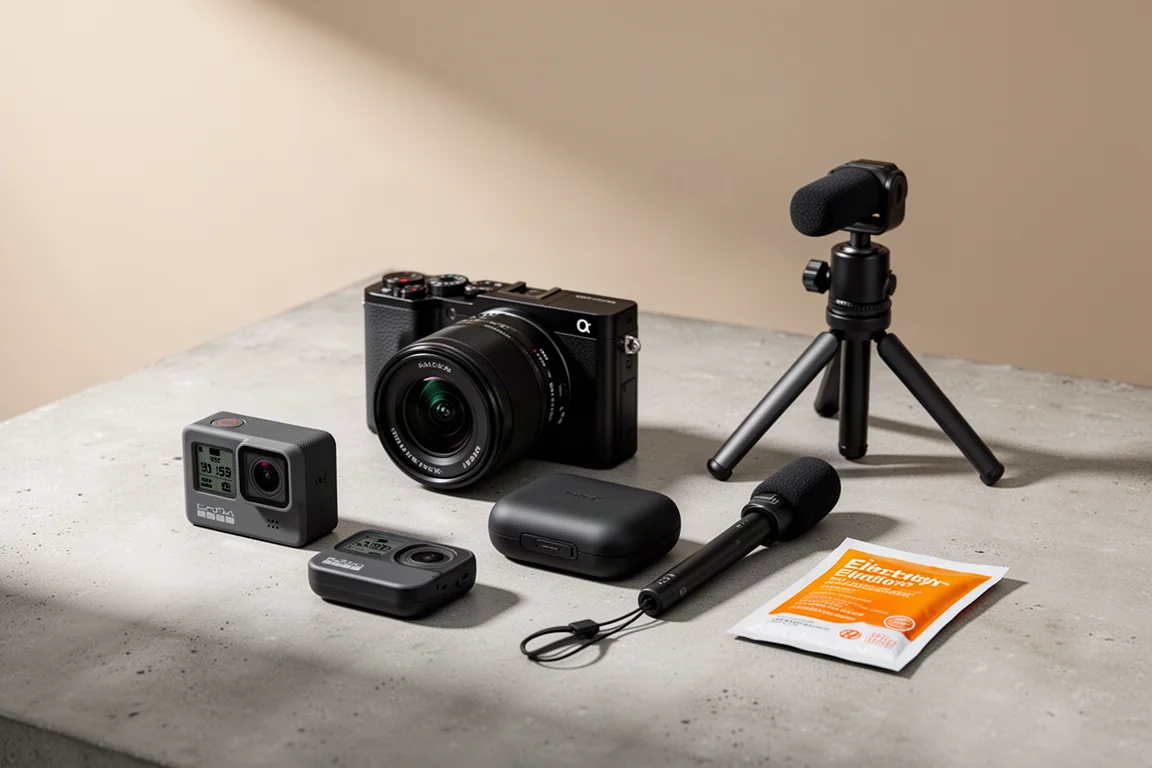
This guide covers seven pieces that solve that problem: a compact main camera, a rugged action camera, a mount that packs down small, a wireless audio system, a flexible tripod, a strap-based camera clip, and an electrolyte mix for long days on trail. Together they handle the shooting, the sound, and the small practical details that decide whether footage actually makes it home.
What Matters in a Solo Filming Kit
Working solo changes what counts as good gear. Weight matters more than specifications, because anything left at the trailhead is a feature you will never use. Setup speed matters too: a camera that takes thirty seconds to deploy is a camera that misses the moment.
The priorities that shape this kit are straightforward. The camera should be light and approachable rather than intimidating. The audio should work without a second person holding a boom. The support should handle uneven ground without adding bulk. And everything should tolerate rain, dust, and cold.
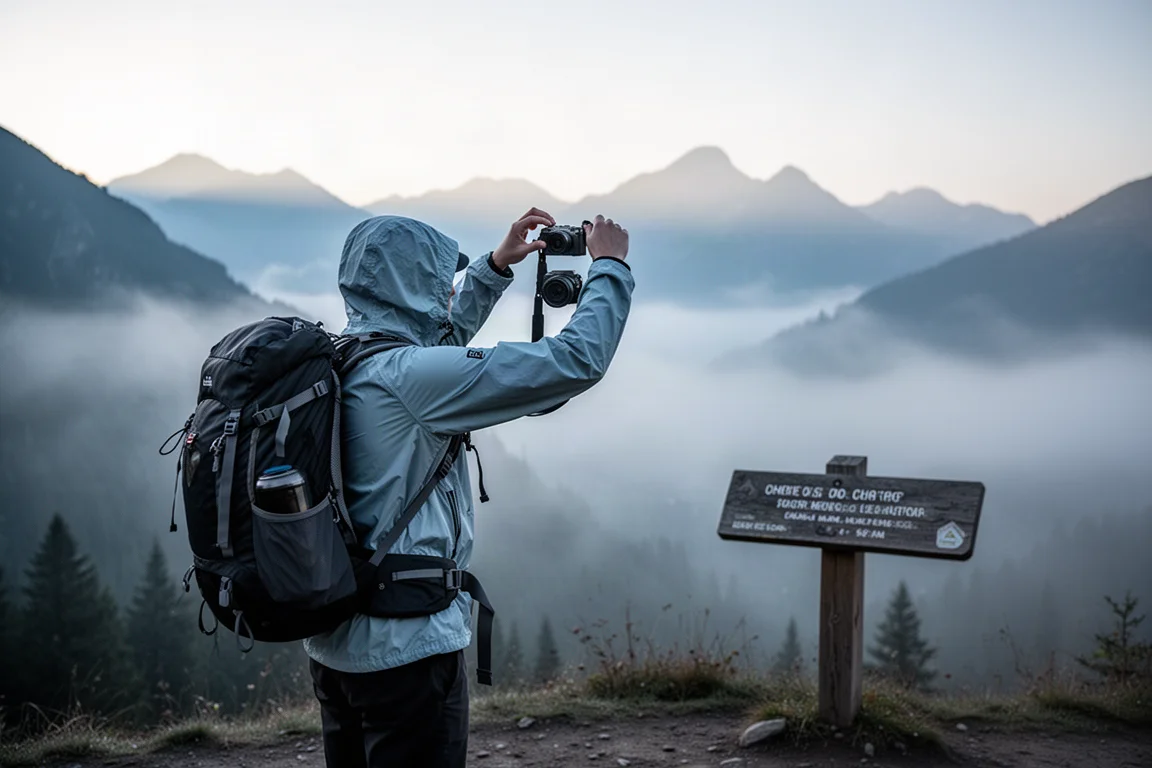
Several of these items are shared between solo shoots and shoots with a second person carrying a camera, which is part of why they earn their place. A setup that only works when someone else is carrying half of it is not much use on a solo trip.
Sony ZV-1: The Main Camera
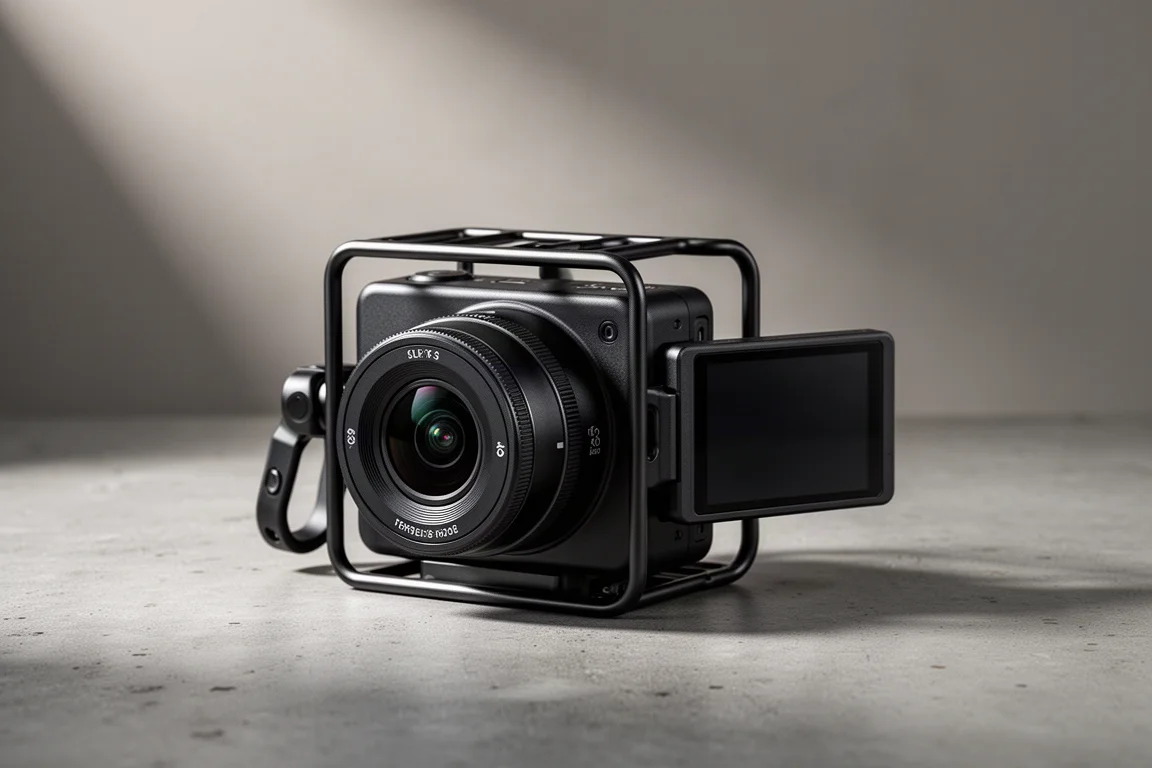
The Sony ZV-1 handles most of the footage. It is lightweight, and the interface is friendly enough that a beginner can pick it up and start shooting without a long setup session. The zoom lens covers a 24-105mm range, which means it can go wide for a landscape shot and then punch in tight without changing glass.
The body is fitted with a metal frame that opens up mounting options, including a side handle that makes handheld work more stable. The strap that ships with the camera is thin and flimsy, so it is worth replacing with a thicker one that stays comfortable over a long day. A few small items travel alongside it: a microfiber cloth and a rocket-style blower for clearing dust, dirt, and water off the front element, and a compact rain cover that pulls over the camera with a clear panel for the controls and a sleeve that tightens down around the lens hood. That cover costs around $15 and is the simplest way to keep shooting when the weather turns.
GoPro: The Rugged Second Camera
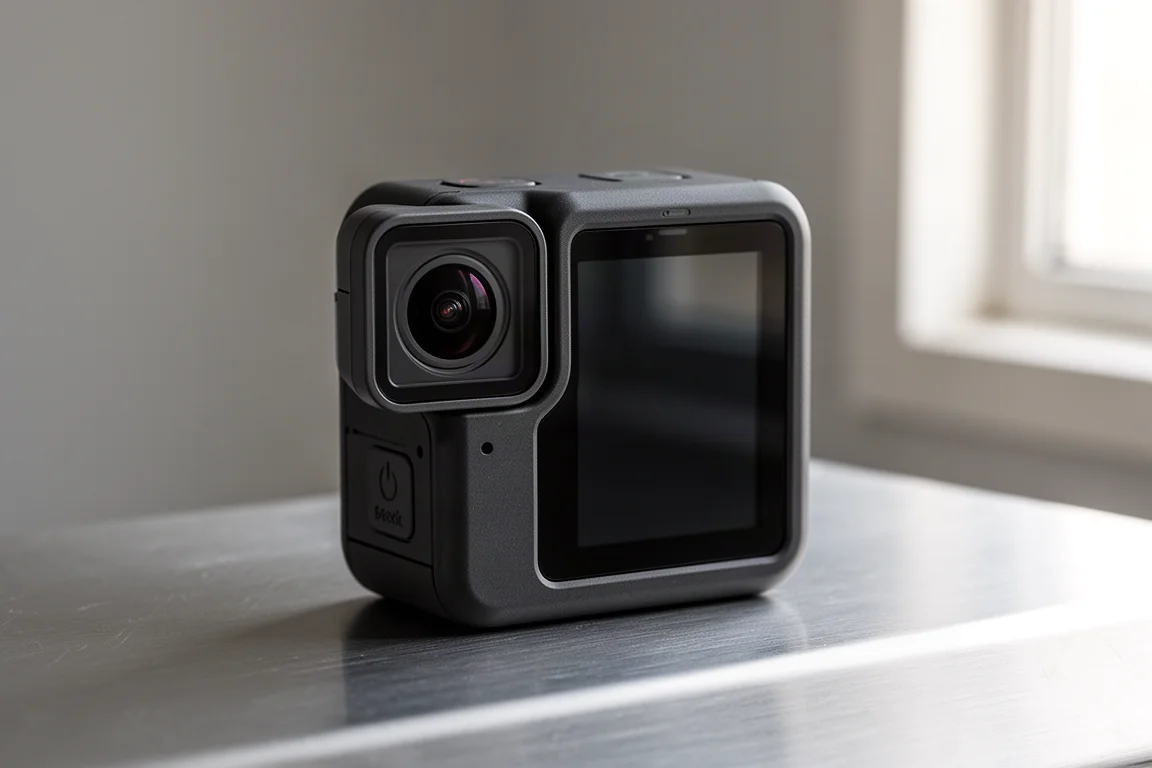
The GoPro fills the role of a second camera. It is the tool for quick pieces to camera, short vlog moments, filming a view, or capturing point-of-view footage while walking. It is also the camera that keeps working when conditions deteriorate, because it is highly weather resistant and can stay out in weather that would send the main camera into a rain cover.
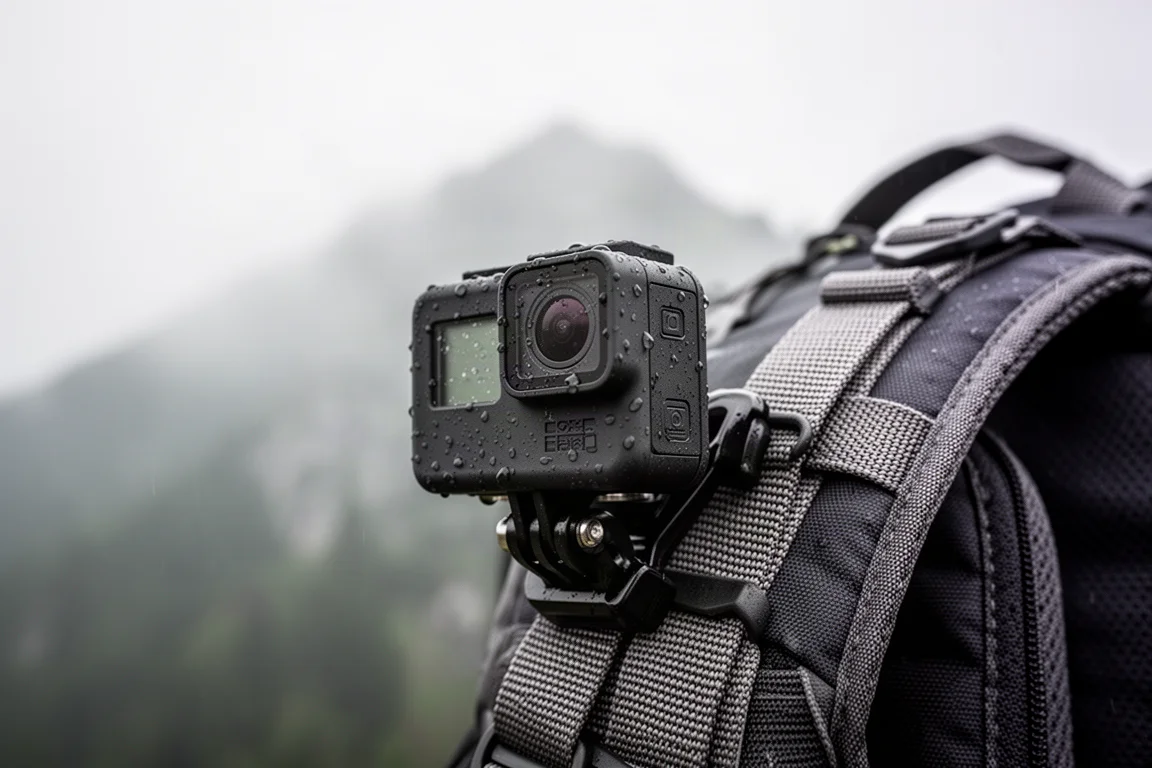
Two limitations are worth knowing before you rely on it. Low light is a genuine weak point: filming in a tent at night only works if a headlamp is pointed directly at your face, because the camera simply cannot handle dim conditions. Cold is the other issue. Batteries can cut out even at around 60 percent charge, sometimes mid-recording, and the only fix is to remove the battery, warm it up, and put it back in.
Neither problem makes the GoPro less useful. It makes it a daytime, quick-access camera, with a spare battery kept somewhere warm against your body.
GoPro Shorty: A Mount That Packs Down
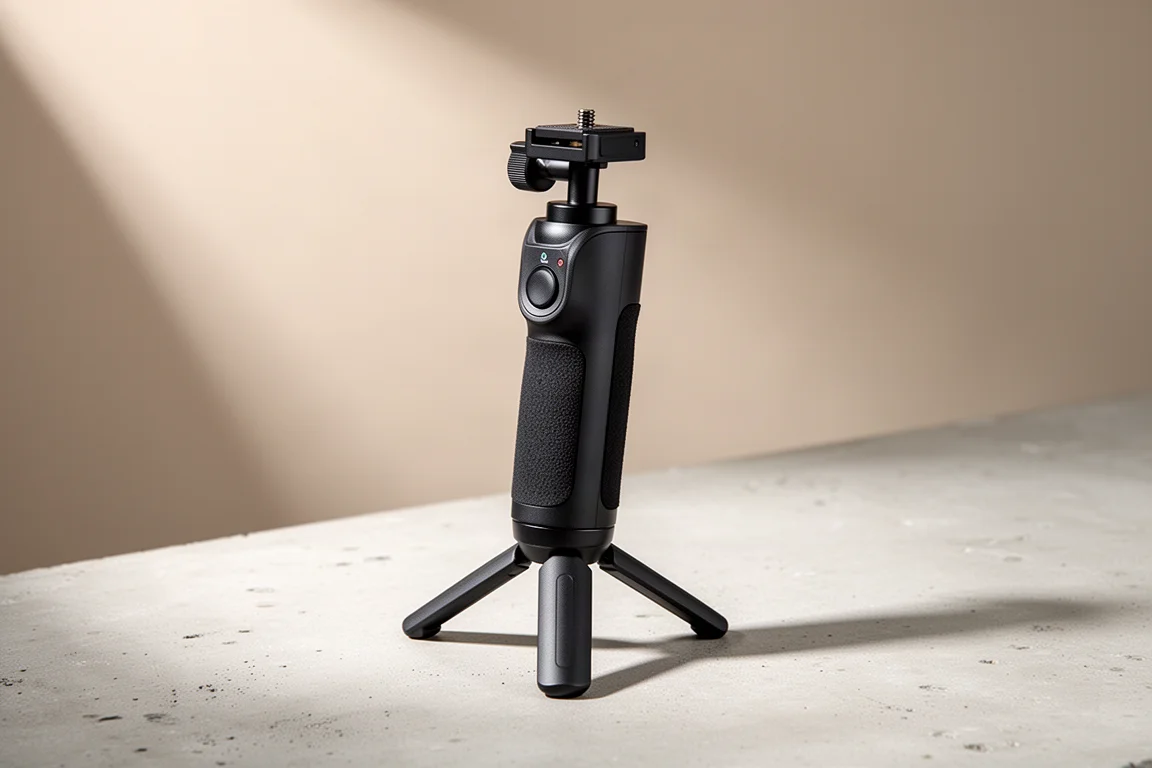
The GoPro Shorty is the mount that makes handheld filming easy. It extends to give extra reach, it is very light, and it packs down small. There is a tripod built into the base, so the same accessory can be held out for a self-filmed shot or stood up on a rock for a static frame. For solo filming, being able to angle the camera back at yourself without asking anyone for help is the whole point.
A simple velcro strap wraps around a pack shoulder strap, and the camera slides into the mount. Once attached, the setup stays out of the way: your arms swing freely, the strap does not gain much bulk, and the camera is available the moment something worth filming appears.
DJI Mic: Reliable Wireless Audio
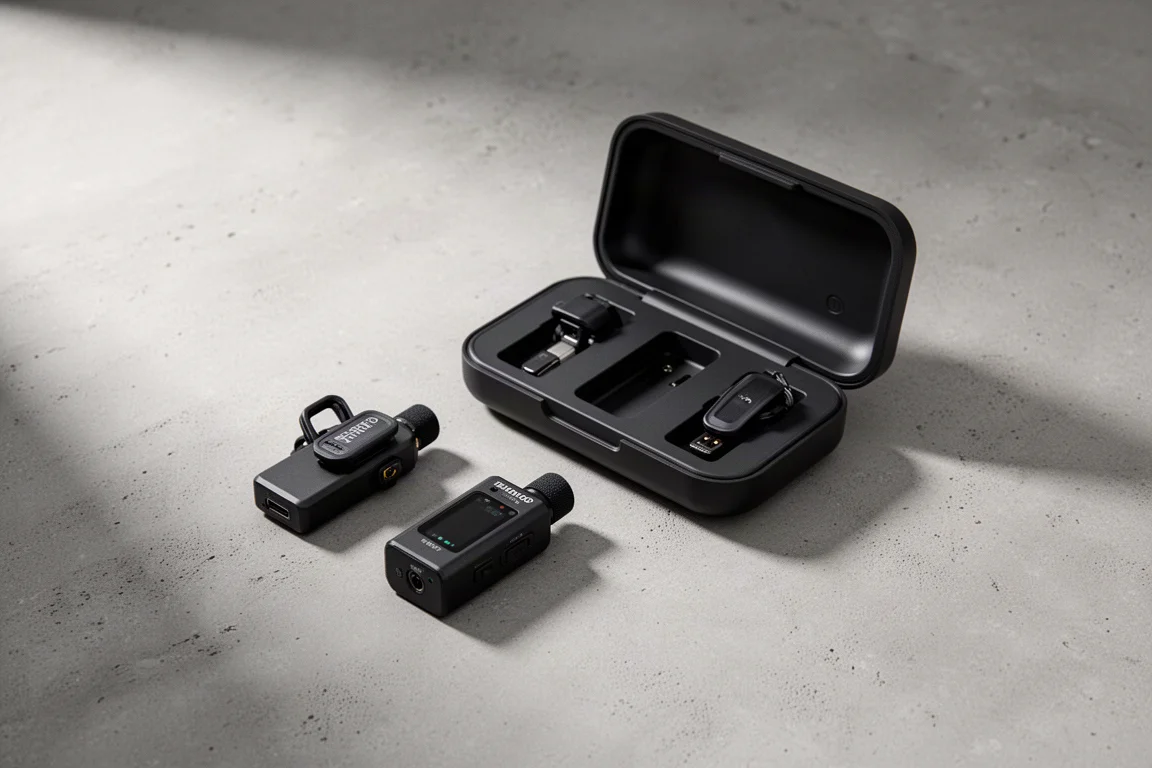
Audio is where solo filming usually falls apart, and the DJI Mic system solves it without a boom operator. The kit includes two transmitters, each with a clip on the back and a magnet for attaching to clothing. The charging case tops the microphones up, and with both mics and a fully charged case you get roughly 15 hours of recording before you need to plug anything in.
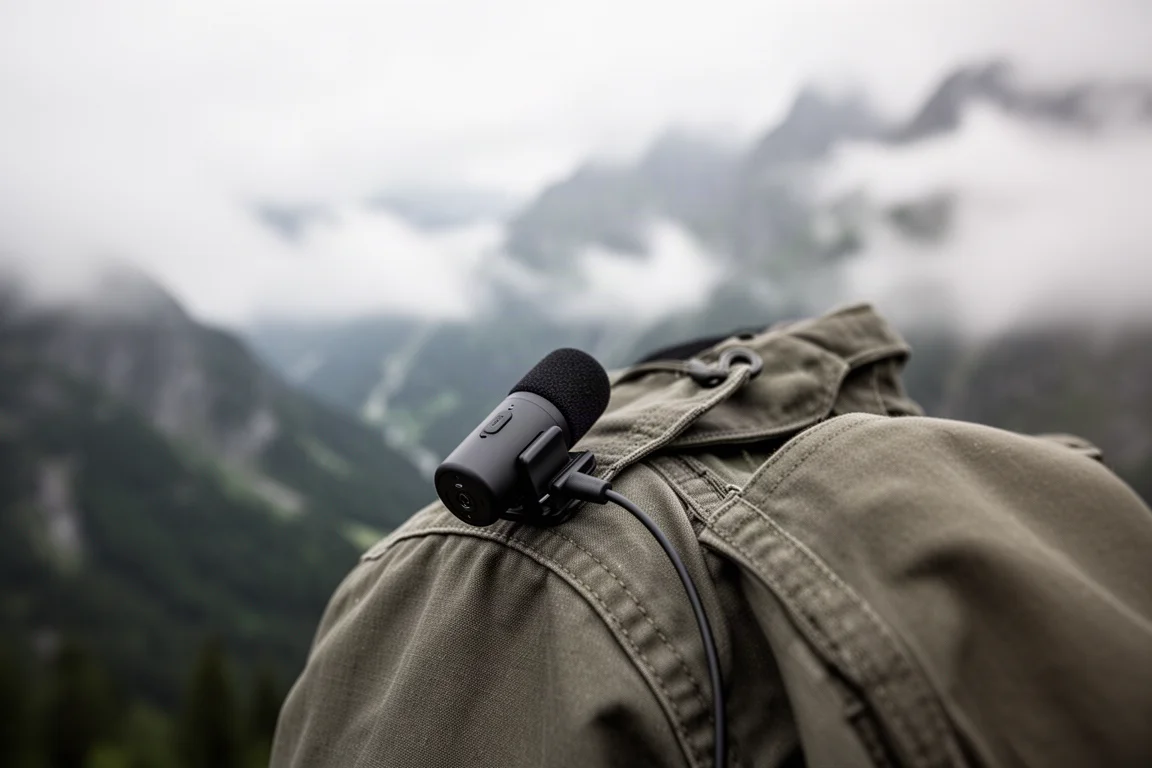
For most one and two day trips that is more than enough. On longer expeditions, a separate recorder running on standard AAA batteries is an option for extended runtime, but for the vast majority of shoots the DJI mics are the ones that get used.
Joby GorillaPod: Flexible Support
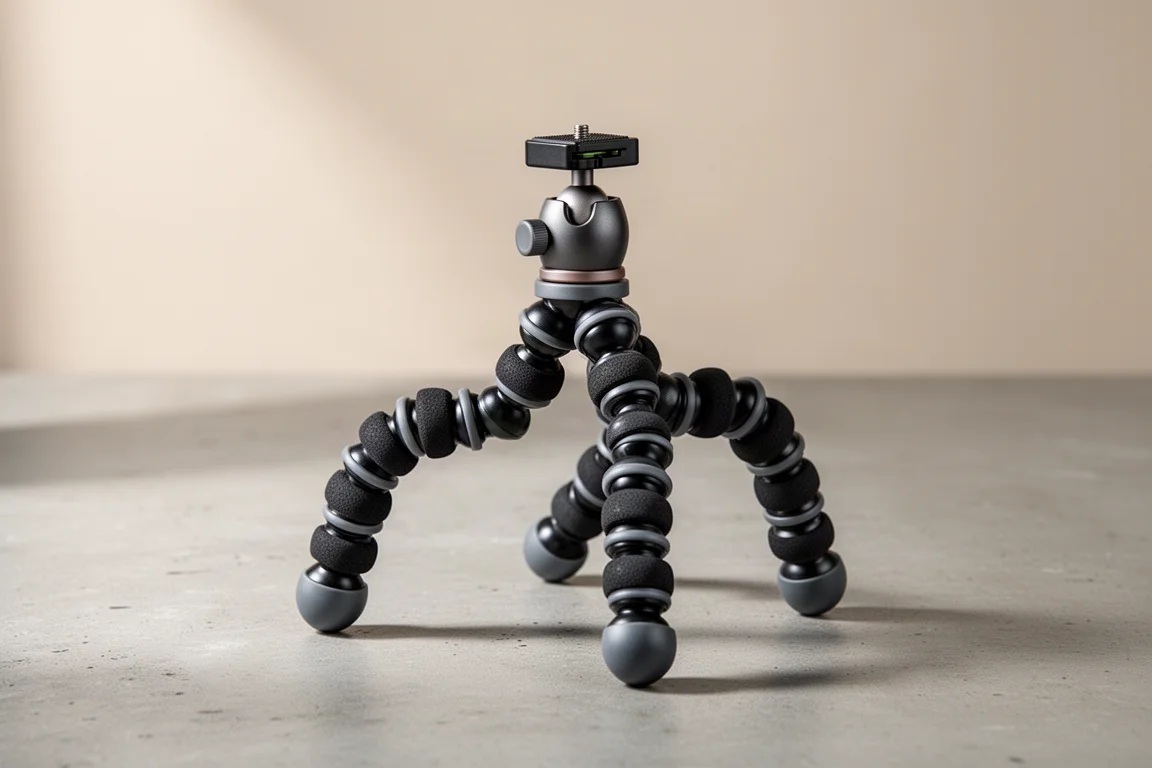
The Joby GorillaPod is the tripod that has been in the kit the longest. Its flexible legs grip uneven ground and can be wrapped around a branch or a rock for angles a conventional tripod cannot hold. Paired with a compact camera it is stable enough for talking-head shots and time-lapses, and it folds down small enough to disappear into a pack.
There is a lighter alternative worth knowing about: an ultralight adapter that turns two trekking poles, plus one extendable leg, into a full-size tripod. It saves weight compared with carrying a dedicated tripod, but it takes longer to assemble, so the GorillaPod remains the faster option when a shot needs to happen quickly.
Peak Design Capture Clip: Keep the Camera Within Reach
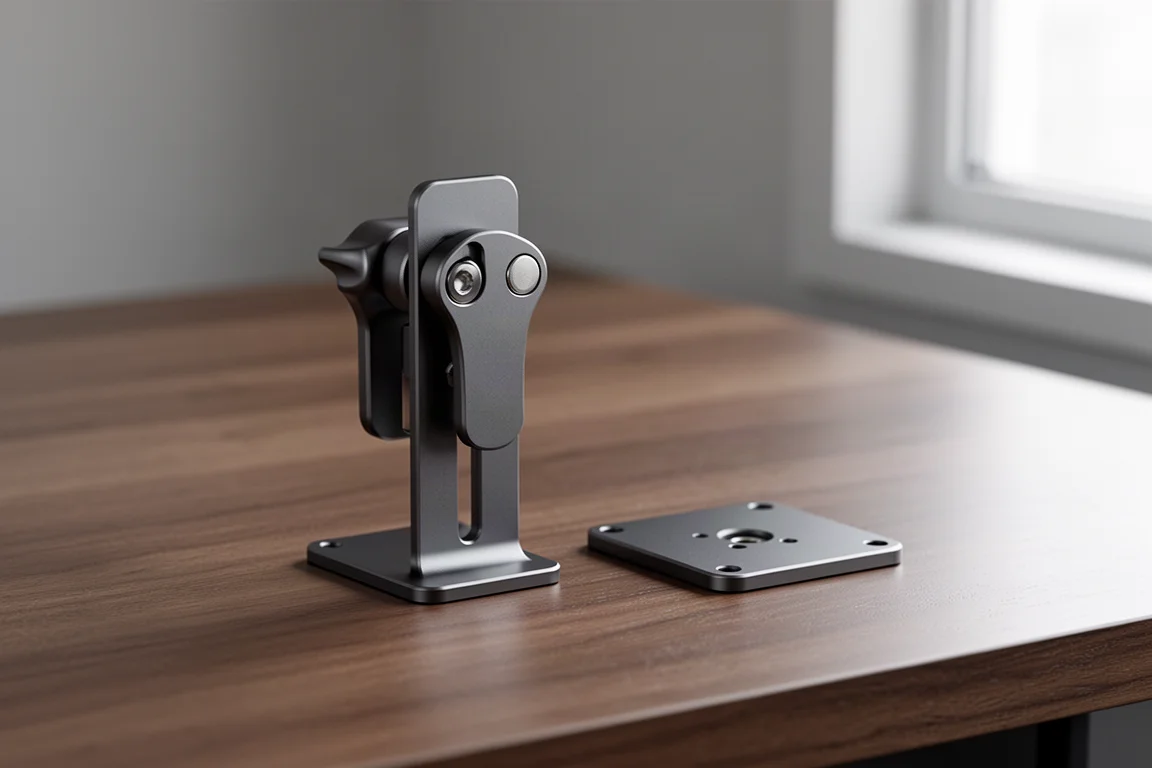
The Peak Design Capture Clip mounts a camera directly to a backpack strap. The camera slides in and locks, then releases just as quickly when you want it back in your hands. That matters most on rough ground: during a rock scramble, when one hand is needed for balance, the camera can be secured in a second instead of being pushed into a pack or left dangling.
It also changes how often you shoot. A camera that lives on a shoulder strap gets used far more often than one buried at the bottom of a pack.
LMNT: Electrolytes for Long Days
Long days on trail are a hydration problem as much as a filming problem, and LMNT is the electrolyte drink mix that travels in this kit. The packets contain no sugar, and the caramel chocolate salt flavor works well as a warm morning drink: two shots of espresso or four ounces of strong coffee, a cup of warmed milk, and one packet. It comes along on hiking trips to help with hydration and cramping.
It earns its place in a filming kit because it takes up almost no space and gives you something to look forward to before an early start.

How to Prioritize Your Kit
If you are building this setup gradually, start with the camera and the audio. A lightweight camera with a friendly interface gets used, and clean audio is the difference between a watchable video and one that people click away from. Mounting and support come next, because they determine how quickly you can start recording when something worth filming appears.
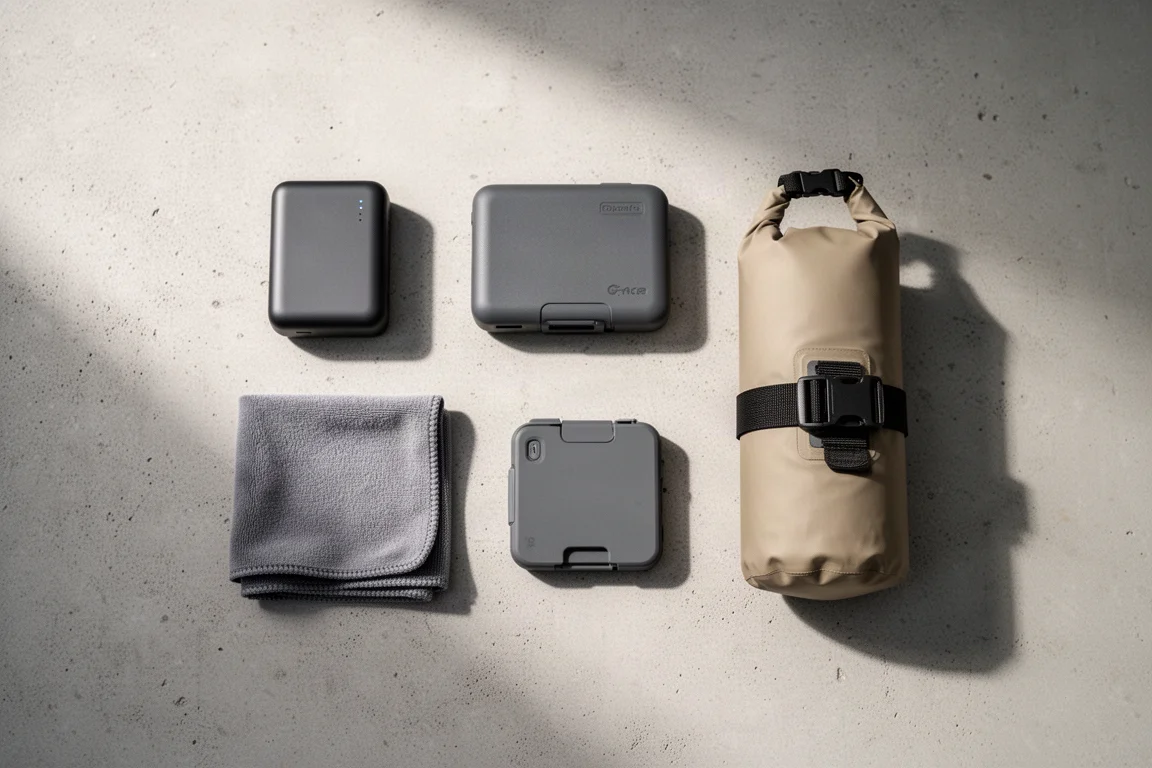
Weather protection and power are the cheapest insurance in the kit. A rain cover, a couple of power banks, and a way to keep spare batteries warm cost far less than replacing a camera, and they are often the difference between a trip that produces footage and one that does not.
Conclusion
None of this gear is exotic. The value is in the combination: one main camera for most of the work, an action camera for weather and quick moments, wireless audio that needs no operator, mounting that keeps everything within reach, and small extras that keep the kit running in rain and cold. Put those pieces together and solo hiking and backpacking footage becomes entirely achievable.
Further reading
Related Reviews
Filming Gear
Cameras and Microphones for YouTube Filming: A Practical Equipment Guide
A working filming kit broken down by role, from the main action camera and low-light phone to timecoded audio recorders and pocket wireless microphones.
Filming Gear
A Lightweight Filming Kit for Hiking and Backpacking: 7 Practical Picks
A compact, field-tested filming kit for hiking and backpacking content, with practical notes on cameras, audio, mounting, and trail-ready accessories.

Backpacking Gear
Building a 10 lb Base Weight: An Ultralight Backpacking Gear List
A practical walkthrough of the ultralight pieces behind a 10 lb base weight, from a 765 g pack and a roomy one-person tent to a full camp chair and a dependable water filter.