3D Printing
9 Must-Have Klipper Upgrades for 3D Printer Owners
A practical guide to essential Klipper plugins and modules that unlock advanced features like adaptive meshing, remote monitoring, and automated timelapses.
Introduction
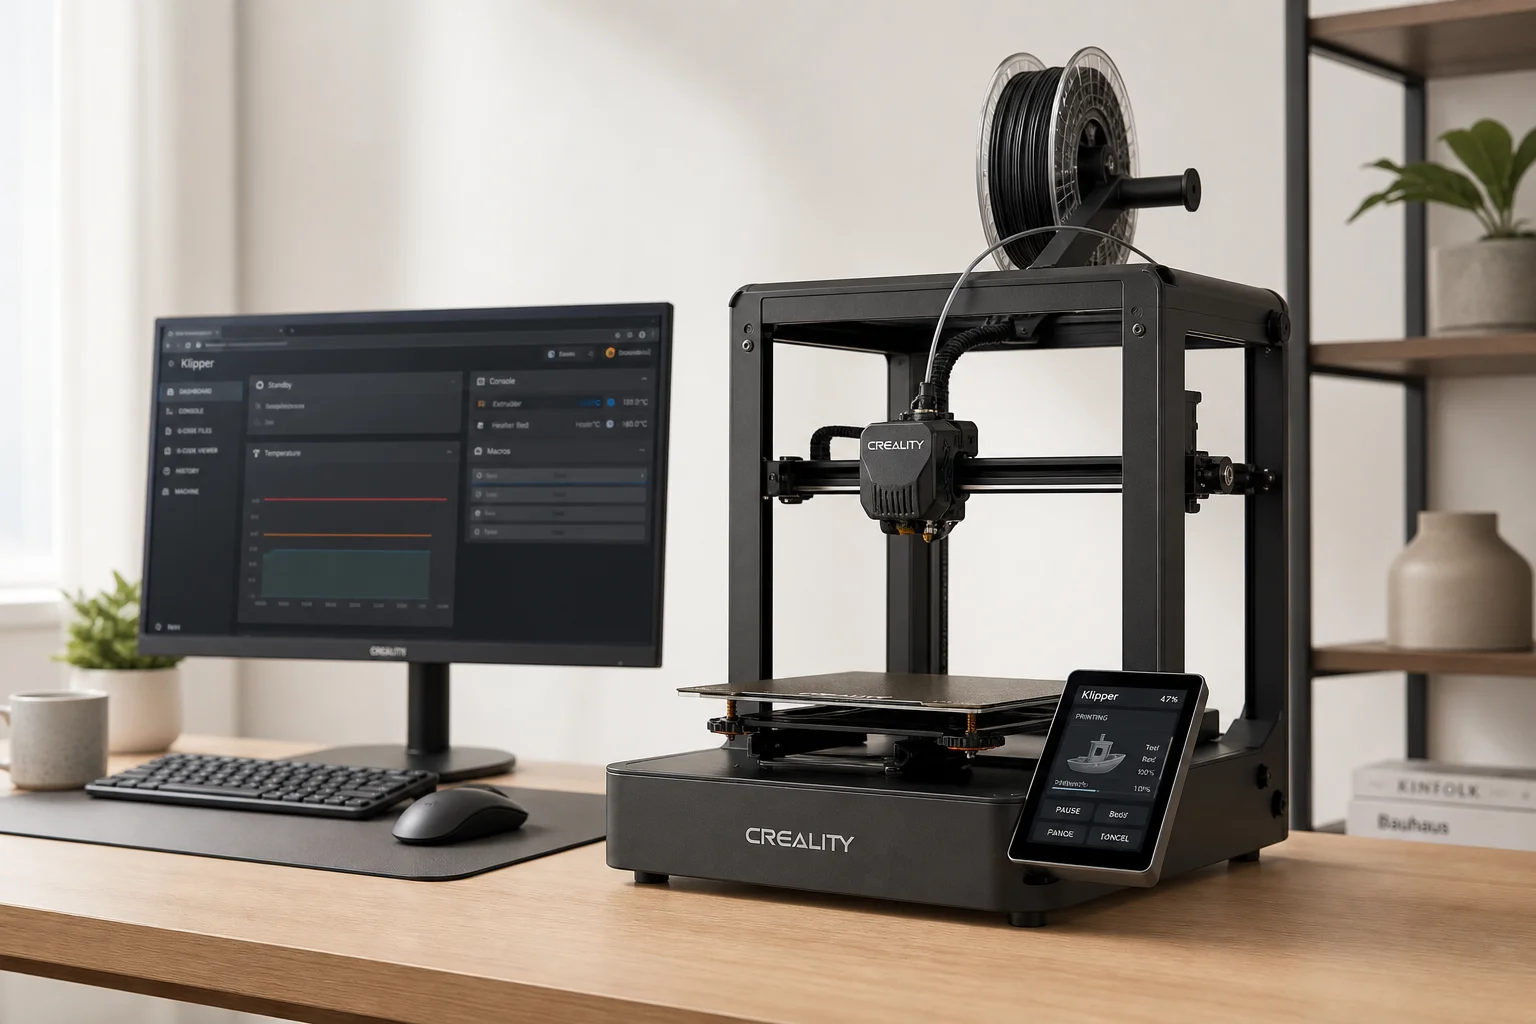
Klipper has transformed 3D printing by offering a cleaner, faster firmware alternative to traditional printer control systems. Its native web interface, superior speed optimization through pressure advance and input shaping, and lighter resource footprint make it an increasingly popular choice. However, the real power of Klipper emerges when you layer on the right upgrades. While OctoPrint benefits from a mature ecosystem of hundreds of plugins, Klipper’s growing collection of modules now delivers comparable functionality with a streamlined approach. This guide walks through nine essential upgrades that unlock advanced features and make Klipper ownership significantly more rewarding.
Before You Begin: Backup Your Configuration
Before installing any upgrades, consider setting up Klipper Backup. This tool backs up your Klipper installation to GitHub, providing version control and redundancy. While setup can be challenging on non-Raspberry Pi boards, having a manual SD card backup is essential insurance against configuration errors during the upgrade process.
Step 1: Install KIAUH (Klipper Installation and Update Helper)
KIAUH is the foundation for most subsequent upgrades. This command-line utility simplifies installing, updating, and managing Klipper tools and plugins. Installation requires SSH access and just two commands to get started, followed by a third to launch the interface. Once installed, KIAUH becomes your gateway to many of the upgrades that follow, making it the logical first step in any Klipper enhancement journey.
Step 2: Choose Your Web Interface (Mainsail or Fluidd)
While not strictly an upgrade, switching to Mainsail offers a refined user experience compared to the default Fluidd interface. KIAUH makes this transition seamless, allowing you to run both interfaces simultaneously on different ports without conflicts. Many Klipper printers ship with Fluidd, but Mainsail’s design and workflow appeal to many users. The choice is personal, but having KIAUH installed makes experimentation risk-free.
Custom Macros for Essential Routines
Macros are small GCode routines that you can trigger from your web interface, touchscreen, or slicer. They transform repetitive tasks into one-click operations. Essential macros to configure include:
- Print Start: Automate bed meshing, nozzle heating, and LED status changes when a print begins.
- Print End: Define cleanup and cooling sequences when printing finishes.
- Load/Unload Filament: Heat the nozzle and automatically extrude or retract filament in one action.
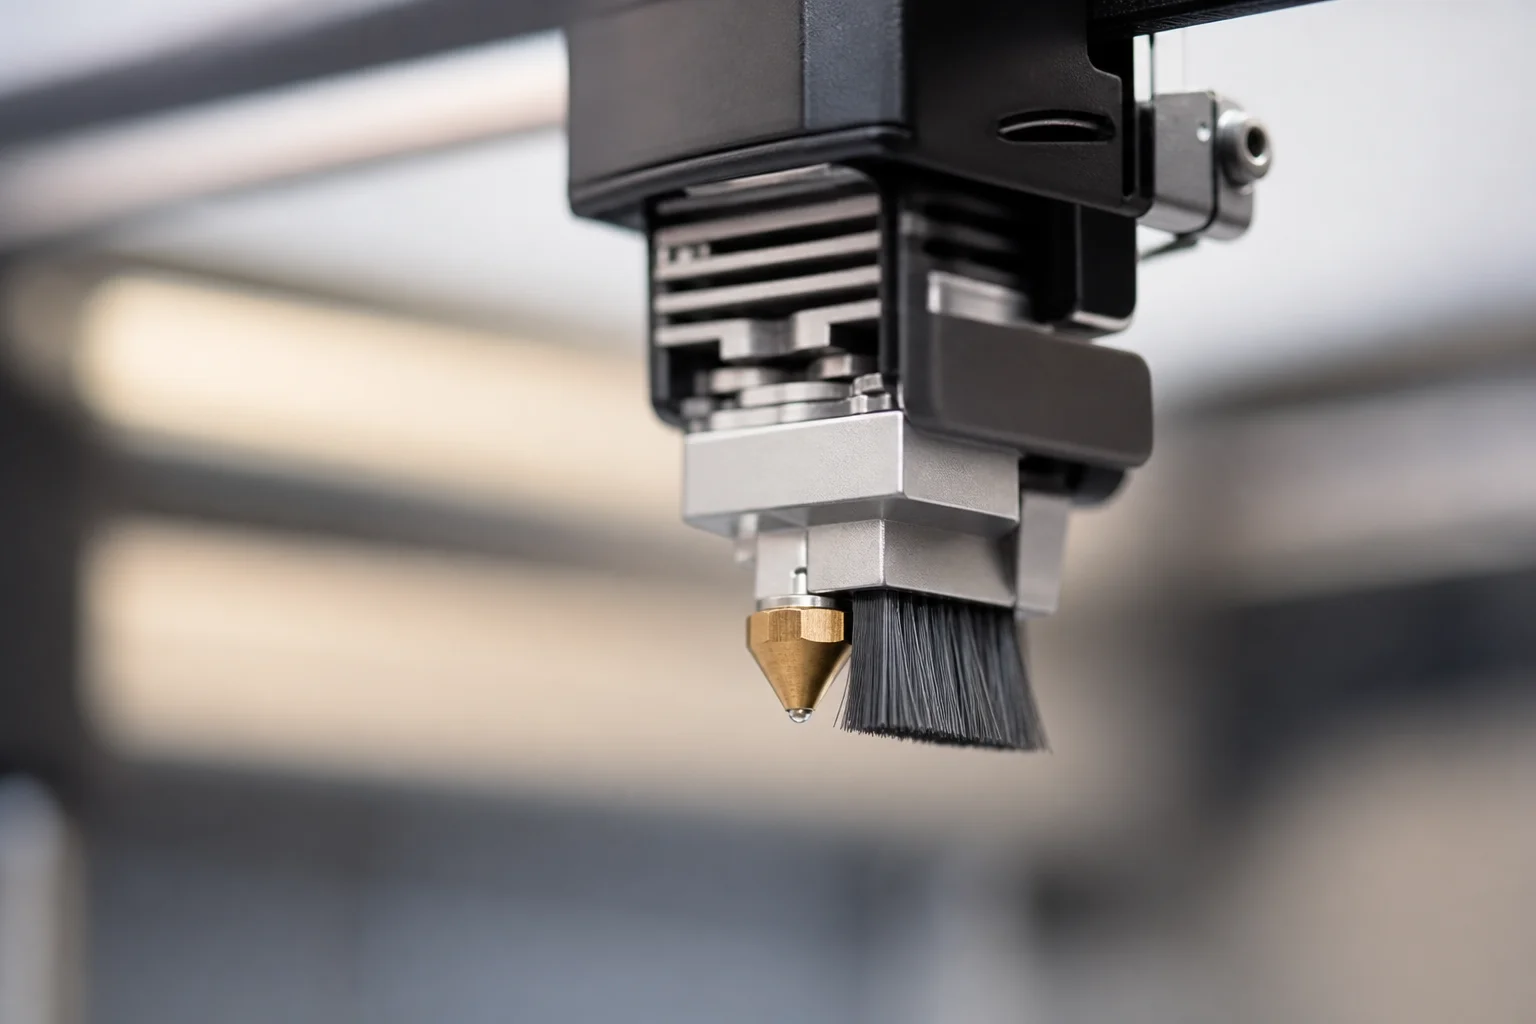
- Clean Nozzle: For printers with a nozzle brush, automate the cleaning routine before critical operations like bed leveling.
- LED Control: Toggle lights on and off or change RGB colors based on printer state.
- Camera Snapshot: Trigger external DSLR or mirrorless cameras via USB for high-quality timelapse photography.
Most printers ship with a basic Print Start macro, but customizing these routines to match your workflow saves time and reduces manual intervention. The syntax is straightforward, and the possibilities are nearly limitless.
Exclude Object: Cancel Individual Prints Mid-Job
Exclude Object is arguably the most impactful Klipper upgrade available. This module identifies each object on your print bed and allows you to cancel individual parts mid-print without losing the entire job. When a single object fails, you can remove it and let the printer continue with the rest of the bed. This capability has saved countless hours of filament and print time, especially when failed parts would otherwise cascade and damage adjacent objects.
Installation involves adding configuration entries and updating your slicer to include the necessary GCode. The payoff is substantial: fewer wasted prints and greater confidence in multi-part jobs.
KAMP: Klipper Adaptive Meshing and Purging
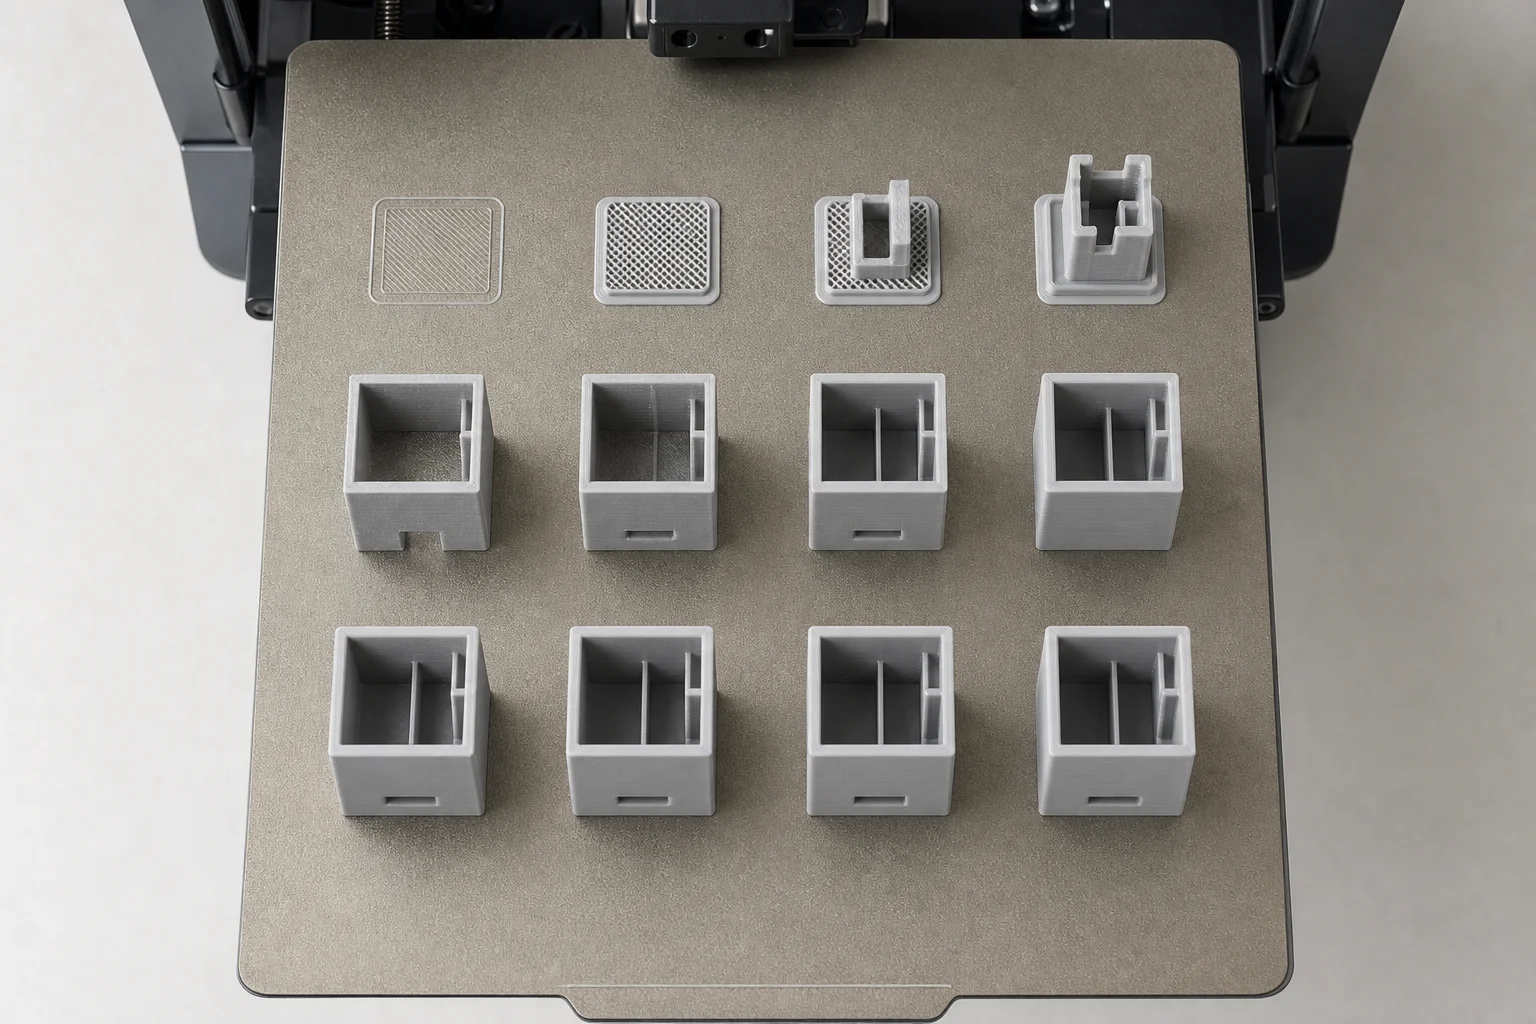
KAMP builds on Exclude Object to deliver focused, efficient bed preparation. Instead of meshing your entire build plate, KAMP analyzes your print and meshes only the areas that will actually be used. This approach increases mesh point density where it matters, reduces meshing time, and improves print reliability. The adaptive purge line also prints only where needed, further streamlining the pre-print sequence.
Remote Monitoring with Obico and OctoEverywhere
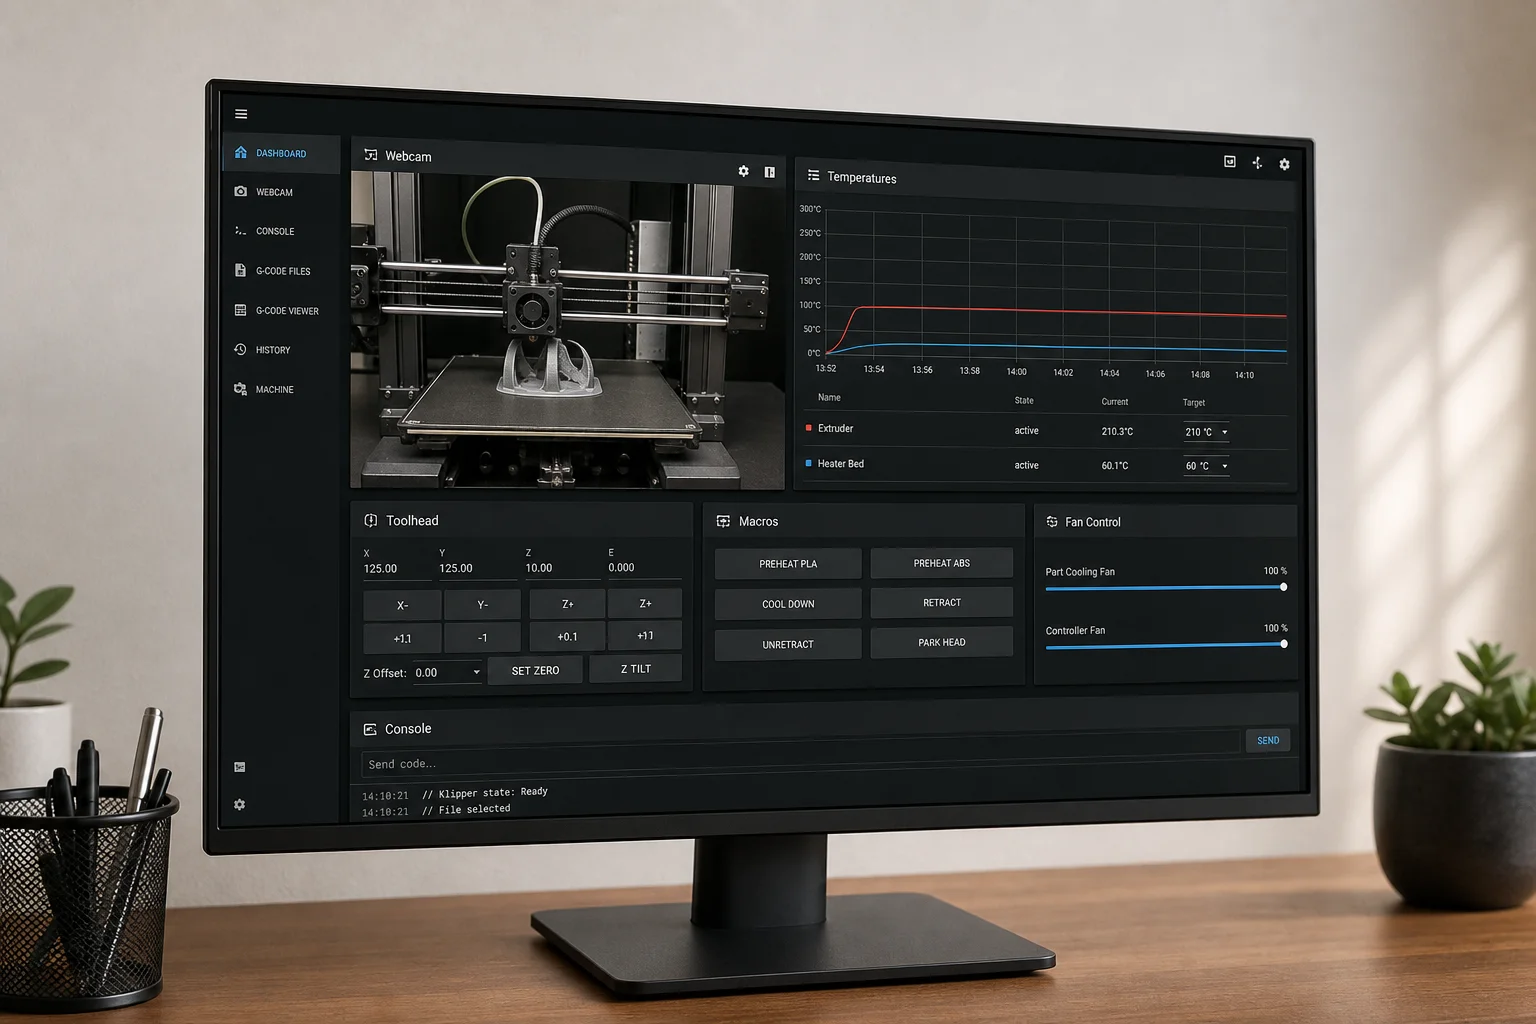
Obico and OctoEverywhere solve a critical problem: monitoring your printer when you are away from home. Both services provide secure remote access via encrypted tunnels, allowing you to view your printer’s webcam feed and start or stop prints from anywhere. More importantly, both include AI-powered spaghetti detection that alerts you or halts the print if the nozzle begins laying down failed material. Setup is straightforward, and both services integrate seamlessly with Klipper.
Timelapse: Automated Print Documentation
Klipper’s timelapse module mirrors OctoPrint’s Octolapse plugin, automatically creating smooth timelapses by parking the print head at the start of each layer. Configuration is simpler than its OctoPrint counterpart, and the module works with onboard webcams or external USB cameras. The result is professional-quality documentation of your prints without manual intervention.
gPhoto2 and GCode Shell Command: External Camera Integration
For content creators and enthusiasts seeking broadcast-quality timelapses, gPhoto2 enables communication between your Raspberry Pi or similar board and a DSLR or mirrorless camera via USB. GCode Shell Command then allows you to trigger camera snapshots through GCode. While installation is more involved than other upgrades and requires camera compatibility, the payoff is stunning high-resolution timelapses. Combining these tools with the timelapse module creates silky-smooth footage with a parked toolhead, ideal for sharing your work online.
Klipper Screen: Touchscreen Control Interface
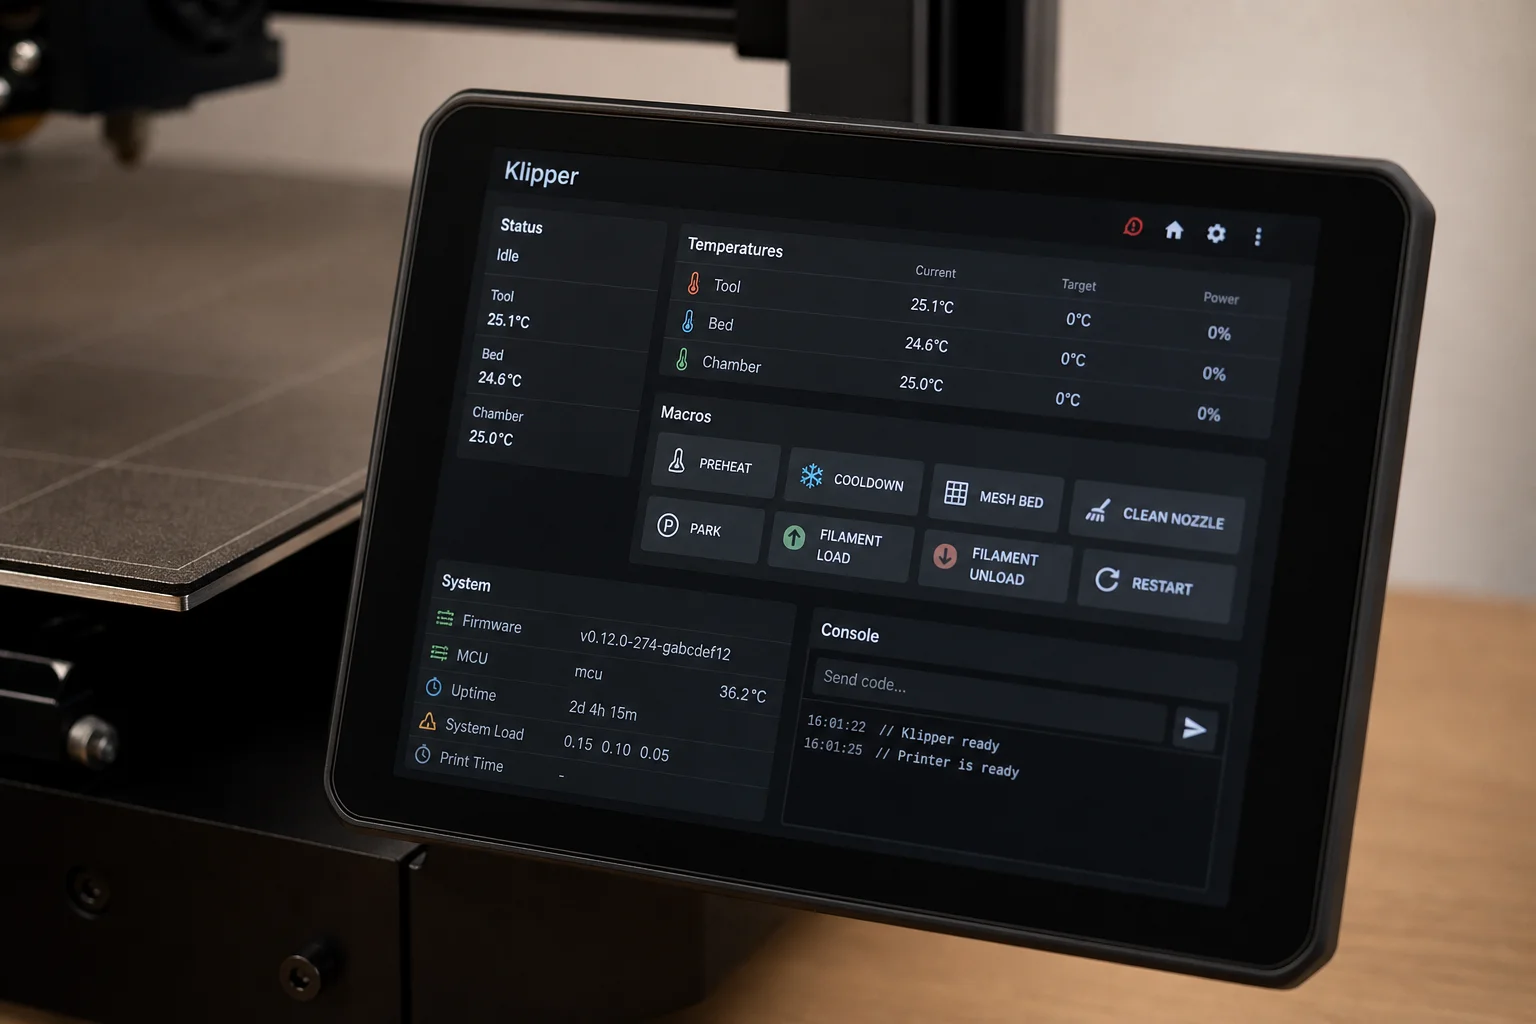
Klipper Screen transforms your printer into a touchscreen-controlled device, eliminating the need to walk back to your computer for routine tasks. You can initiate prints, load and unload filament, trigger custom macros, and adjust settings directly from the printer. For multi-printer setups or printers located away from your desk, this upgrade alone justifies the investment in a compatible screen. BigTreeTech offers a range of screen sizes and form factors compatible with most printer designs.
Conclusion
These nine upgrades represent the core enhancements that transform Klipper from a capable firmware into a truly powerful platform. Start with KIAUH, add the essential modules like Exclude Object and KAMP, then layer on remote monitoring and timelapse capabilities based on your needs. Touchscreen control via Klipper Screen rounds out the experience, delivering convenience and control that rivals or exceeds traditional OctoPrint setups. The modular nature of Klipper means you can adopt these upgrades at your own pace, building a system tailored to your specific printing goals.
Product link
View more details for Voron 2.4
This product is mentioned in the review. Check the specifications, options, and compatibility before buying.
View more details for Voron 2.4Further reading
Related Reviews
3D Printing
3D Printer Wishlist 2026: Industry Hopes and Manufacturer-Specific Improvements
A comprehensive review of what the 3D printing industry needs in 2026, from universal standards to manufacturer-specific feature requests across leading brands.
3D Printing
3D Printing Trends 2026: Multi-Material Systems, Stronger Filaments, and Desktop Metal Casting
FormNext 2025 revealed the direction of 3D printing in 2026: accessible multi-material printers, high-strength filaments, and innovative software solutions that bring industrial capabilities to the desktop.
3D Printing
Bambu Lab 3D Printer Lineup 2025: Which Model Fits Your Needs
A comprehensive breakdown of Bambu Lab's current printer lineup, from mid-range workhorse models to flagship multifunction machines, with honest trade-offs for each.