Action Camera Gear
Insta360 GPS Action Remote Review: Live Ski Stats on Your Footage
A practical look at the Insta360 GPS Action Remote and the Insta360 X3, covering remote recording, live speed and elevation data, mounting options, and what to check before buying.
Introduction
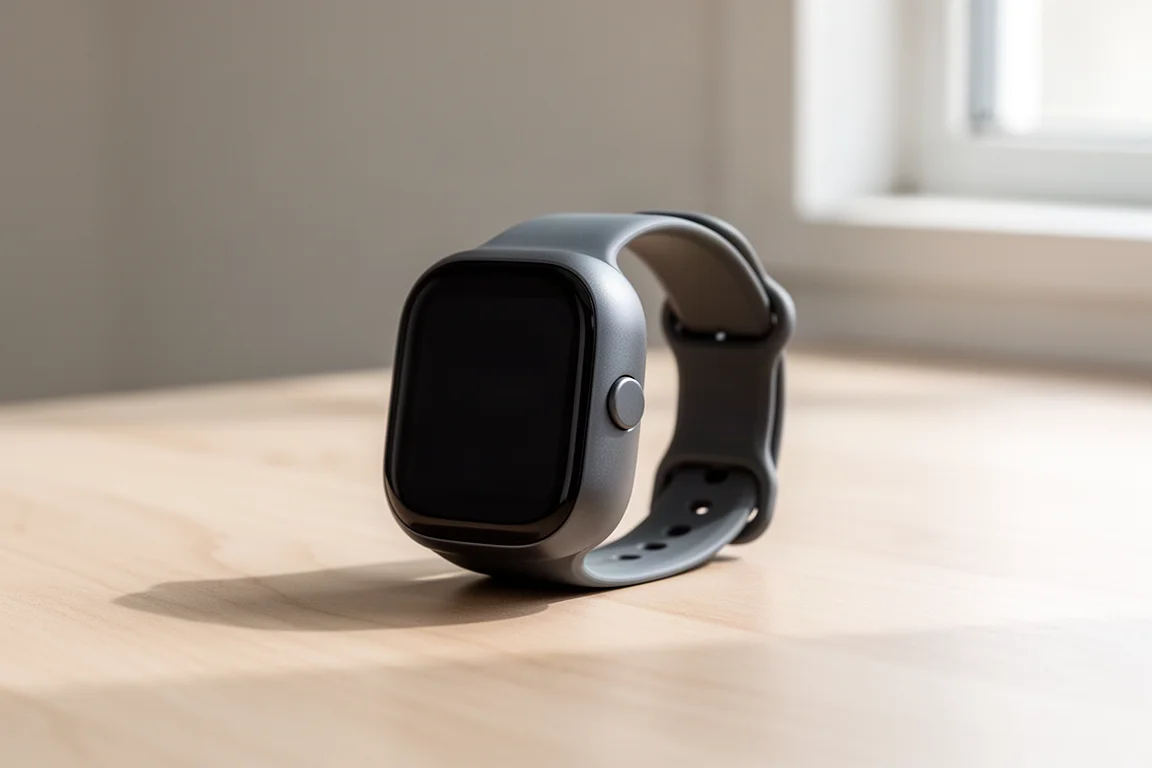
Knowing how fast you were actually skiing used to mean guessing, or spending a long evening in editing software. The Insta360 GPS Action Remote closes that gap. It looks like an ordinary smartwatch, but worn on the wrist it starts and stops recording on a paired Insta360 camera and logs the GPS data that turns a plain run into a clip with live speed, elevation, and slope on screen.
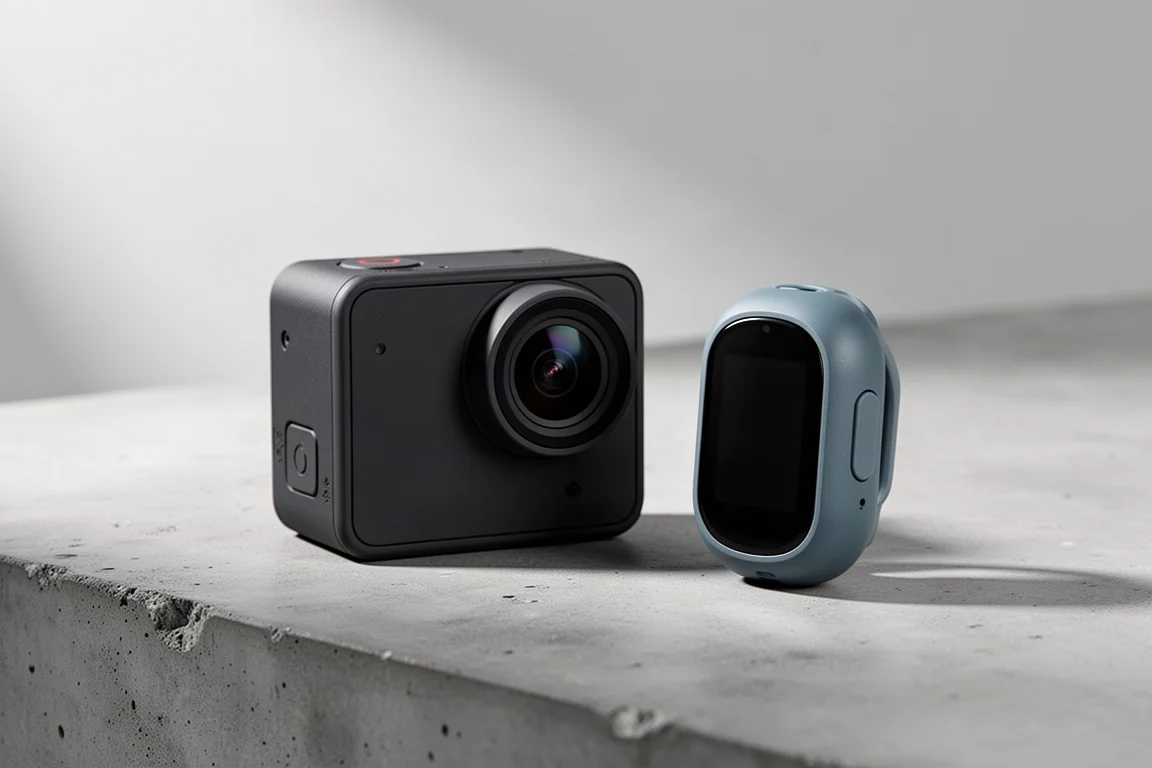
The setup has two halves: the remote on your wrist and the Insta360 X3 camera capturing the footage. Together they cover remote control, GPS tracking, and the stat overlays that make a finished edit look like a race broadcast.
What the Insta360 GPS Action Remote Does
Hold the power button and the remote wakes up, showing battery life and a GPS indicator. An X beside the GPS icon means there is no satellite fix yet. Under open sky, away from buildings, it locks on. Pairing is a short sequence: switch on the X3, open its settings, choose pair new, then confirm on the camera until it reports the remote as connected.
From there, a single button press starts recording. The camera powers on and begins capturing without anyone touching it, which matters when the camera is mounted somewhere awkward such as a ski pole, a boat, a jet ski, or a snowmobile. The wrist display also removes the guesswork about whether recording is actually running, something that is easy to lose track of with a head mount in howling wind.
Beyond remote control, the remote pulls GPS data while you ride. It tracks live speed, live elevation, the slope angle of the runs, the route you take, and a handful of other statistics that can be layered onto your footage.
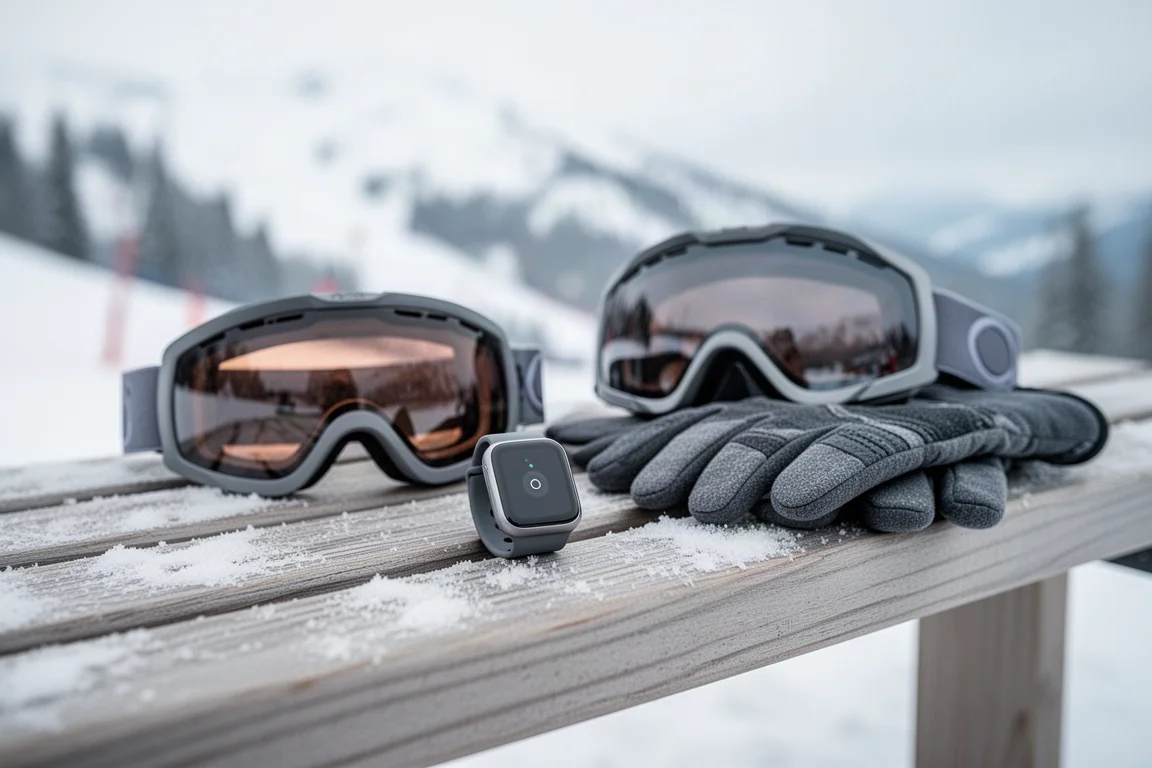
The two halves of the job fit together neatly. Remote start and stop gives you clean clips without reaching for the camera, and the GPS log gives those clips something to show beyond the scenery.
Real-World Speed, Elevation, and Slope Data
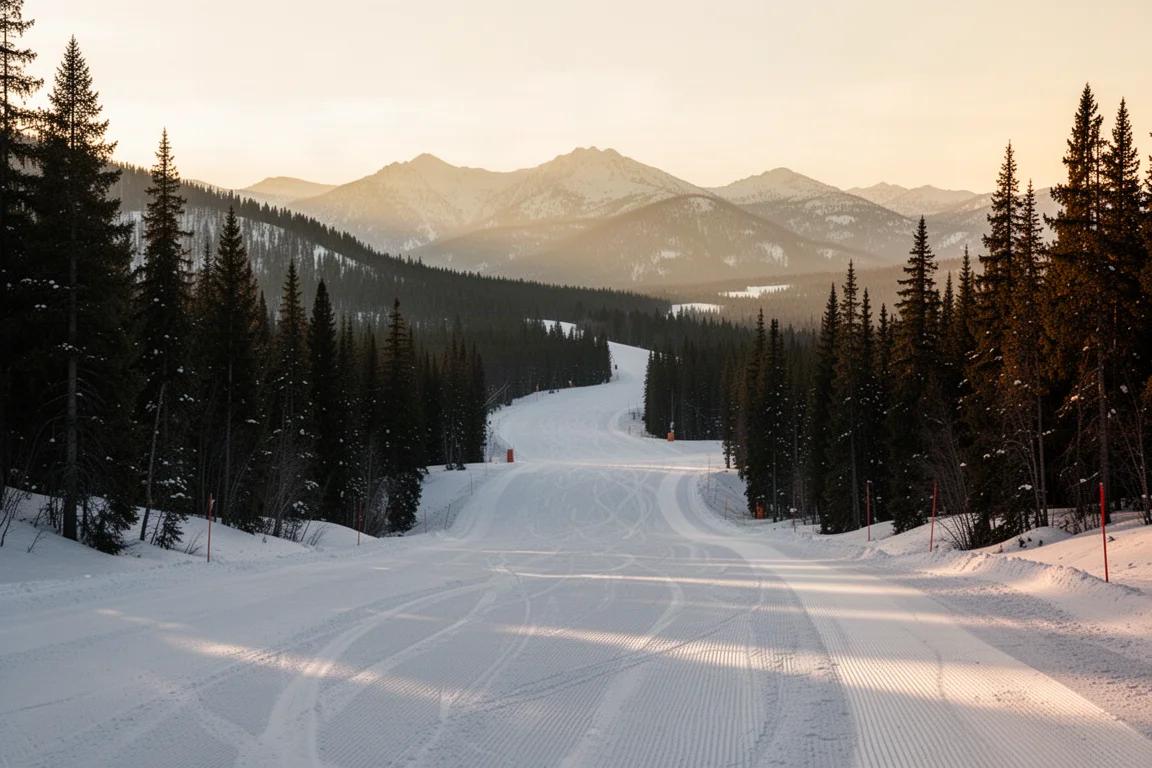
On a day of hard-packed, icy groomers, casual carving sat between 40 and 60 km/h on average. The quickest run reached 85 km/h on a lower stretch of the mountain early in the day, and a later tuck on softer, spring-like snow pushed the number to 93 km/h. That range is realistic for recreational skiing rather than race pace, which is exactly what makes the readout useful: it tells you what your ordinary turns actually add up to.
Elevation tracking was just as steady. The display ran from 1,880 m at the top of the mountain down to roughly 778 m at the base, and the figures matched the terrain closely. When the data lines up with the runs you know well, the overlays stop feeling like a gimmick and start feeling like a second instrument panel for your day.
Mounting Options for Ski Filming
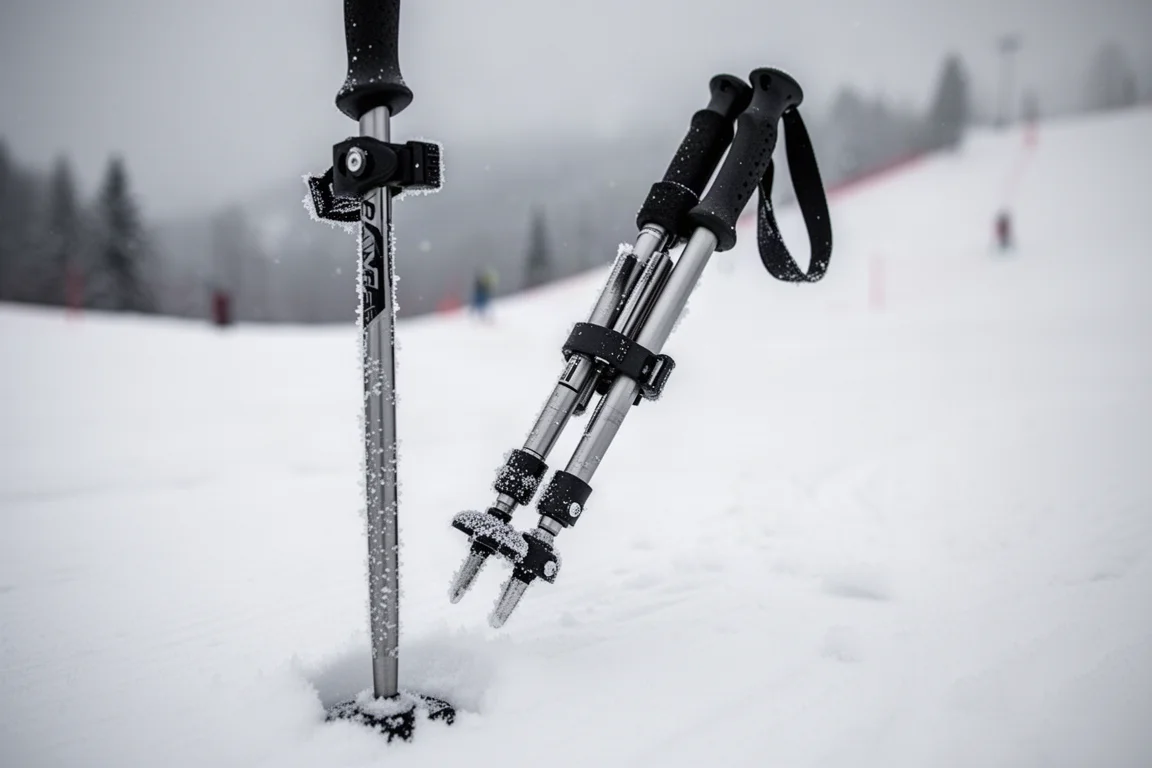
Three mounts cover most of what you would want on a ski day: a selfie stick, a head mount, and a pole mount attachment. The pole mount is the most interesting of the group. It screws onto the ski pole with a small Allen key, holds the selfie stick in place, and adds very little weight, light enough that leaving it on the pole all day is not a nuisance.
The result is a shot that keeps the pole in your hand, so the framing looks natural rather than staged. It suits carving best, since off-piste skiing relies on pole plants that a mounted stick would interfere with.
A head mount remains the simplest option for point-of-view footage, and the wrist display is genuinely helpful there, because you can glance down and confirm the camera is rolling instead of shouting to a friend about the red light. A plain selfie stick still works for handheld shots when you want to frame yourself.
Turning Stats Into Overlays in the App
Adding the numbers to a clip happens in the companion app. Open any clip recorded while skiing, scroll to the stats section, and choose a visual style: classic, cool, racing, or futuristic. From there you select which metrics appear, including acceleration, inclination, date, distance, elevation, route, slope, and speed.
Placement is flexible. Elements can be positioned wherever they suit the shot, and layouts are available for both vertical and horizontal video. In practice, speed, elevation, slope, and inclination carry the most meaning on snow, while acceleration and inclination are less informative for skiing specifically. The app also makes it easy to review your numbers between chairlift rides, which turns a lift ride into a useful part of the day.
Insta360 X3: The Camera Side of the Setup
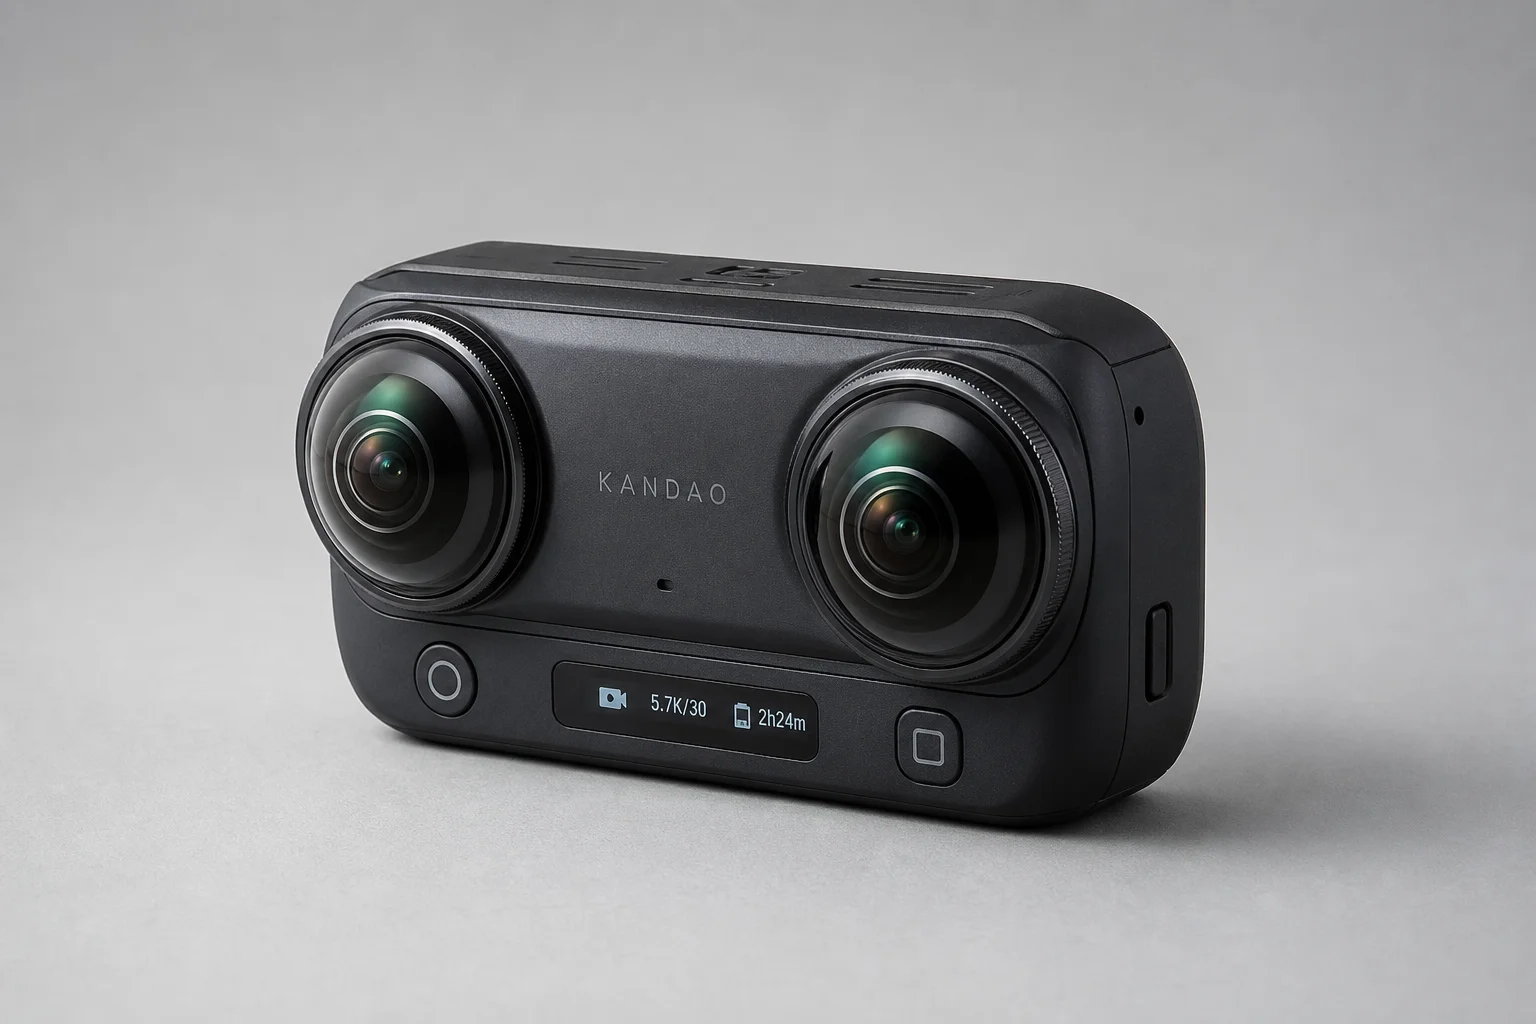
The remote only tells half the story, because the footage comes from the Insta360 X3. It pairs with the remote in a few taps and handles the actual capture, from casual clips to more serious productions. Promotional bundles for the camera have included a snow bundle and an invisible selfie stick, with a limited-time discount of 11 percent off the X3.
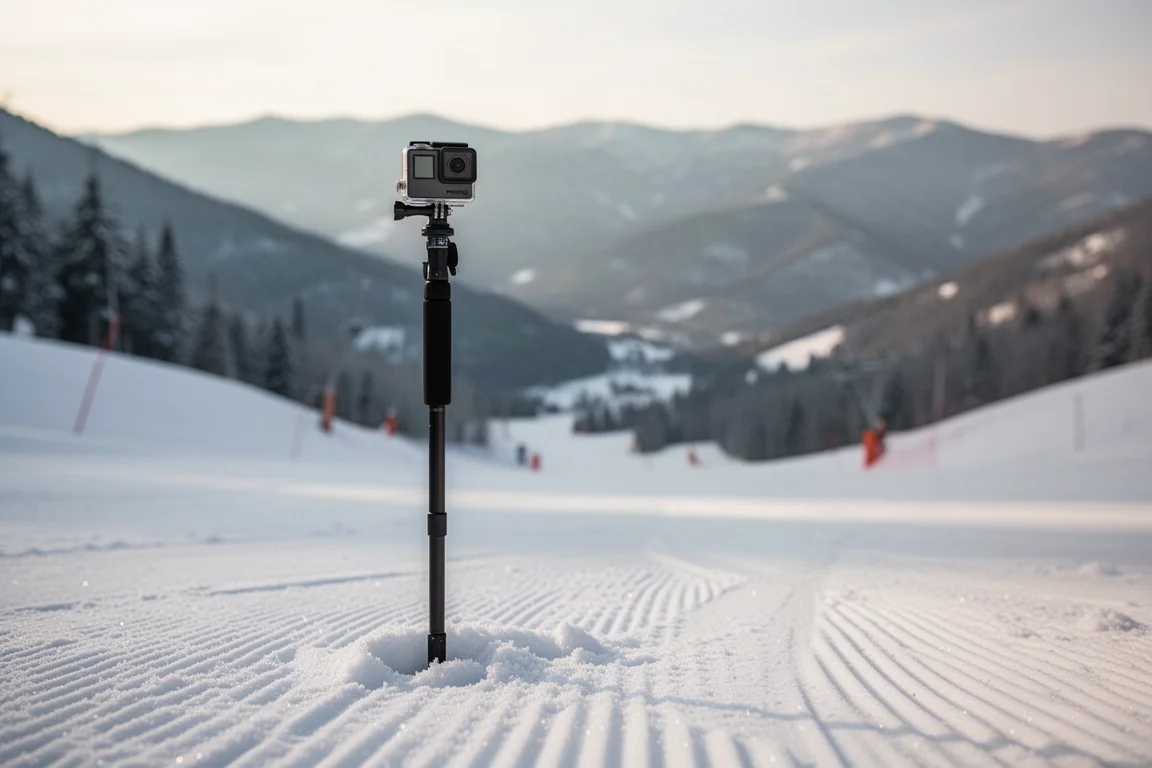
If you already shoot with the X3, the remote is the piece that unlocks the GPS data and the on-screen statistics. If you are starting from nothing, the two work as a pair rather than as separate purchases, so it is worth budgeting for both.
Things to Consider Before Buying
- GPS lock needs open sky. Indoors or under heavy cover, the remote will not get a fix, so the stats simply will not appear.
- Stat quality depends on satellite reception. Speed, elevation, and slope readings are only as good as the signal the remote is holding.
- Overlays are set up after the fact. Choosing styles, metrics, and placement happens in the app on a phone, not on the camera.
- Not every metric is useful for every sport. Acceleration and inclination add less on skis than they might elsewhere.
- It is a two-device system. The remote pairs with a compatible Insta360 camera, and both need charging before a day out.
Buying Advice
The remote makes the most sense for skiers, snowboarders, hikers, and action-sport filmmakers who already shoot with an Insta360 camera and want the numbers visible in the final edit. Speed and elevation are the two overlays that carry the most weight, and they are the two you will probably leave switched on.
If your main frustration is simply not knowing whether the camera is recording, the wrist display solves that on its own, even before the GPS features come into play. If you want the full package of live data and on-screen stats, plan for the remote and the X3 together, since the data only becomes footage through the camera.
Buy the remote for the problem it actually solves: distance control, recording confidence, and data worth showing. If none of those matter for how you film, the money is better spent elsewhere in your kit.
Conclusion
The Insta360 GPS Action Remote is a small accessory with a clear job. It starts and stops recording from a distance, confirms on your wrist that the camera is rolling, and logs the speed, elevation, slope, and route data that turns an ordinary ski clip into something worth watching twice. Paired with the Insta360 X3, it covers both halves of that workflow without adding meaningful weight or complexity to a day on the mountain.
Further reading
Related Reviews
Action Cameras
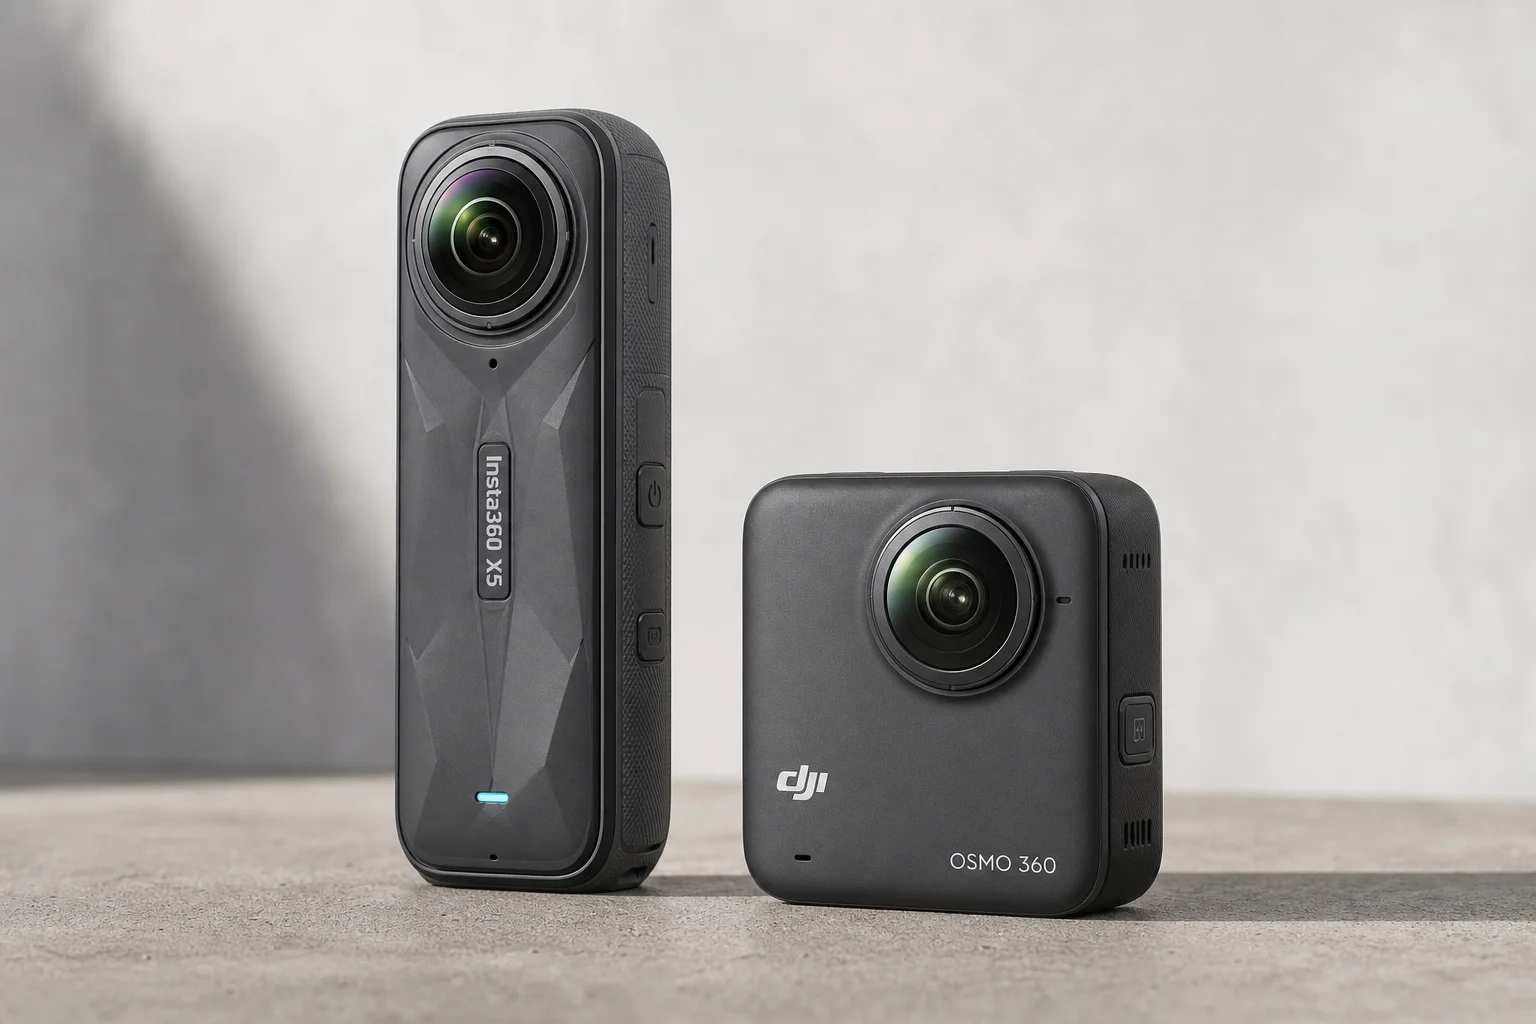
360 Cameras for Adventure Motorcycling: Insta360 X5 vs DJI Osmo 360
Two 360-degree action cameras designed for off-road and adventure riding. A detailed comparison of features, stabilization, and real-world performance for motorcycle touring.
Action Camera Accessories
Action Camera Accessories Guide: 8 Upgrades for the DJI Action 5 Pro
A practical breakdown of eight accessories that expand the DJI Action 5 Pro's capabilities, from stabilization rigs to mounting solutions and audio gear.
Action Cameras
Akaso EK7000 vs GoPro Hero 8 Black: Budget Action Camera Tested
A $50 budget action camera faces off against the GoPro Hero 8 Black. Here's how the Akaso EK7000 really performs in video, audio, and photo quality.