Reef Aquarium Care
Dirty Reef Sand: 10 Fixes for Cyano, Dinos, Algae, and Brown Slime
A practical guide to diagnosing and treating dirty reef tank sand, from livestock turnover and siphoning to bacteria dosing, UV sterilisation, and last-resort treatments.
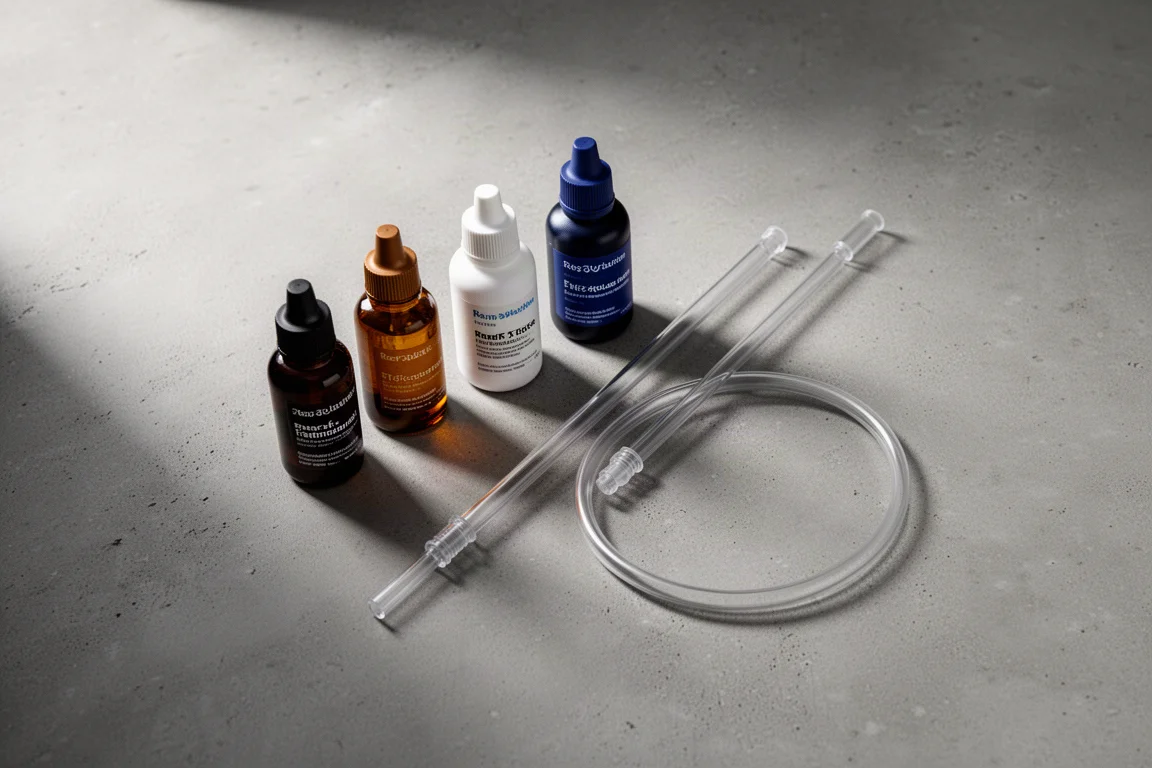
Introduction
A sand bed that will not stay clean is one of the most common frustrations in reef keeping, and it is rarely caused by a single thing. Sometimes the sand simply is not being turned over. Sometimes the tank is receiving more light than its corals need. Sometimes waste is settling out of the water faster than filtration can remove it. And sometimes a photosynthetic organism has taken hold and is now feeding on that light and that waste.
The good news is that the fixes range from completely free to fast acting, and the order in which you try them matters. Start with the simple mechanical and biological solutions, measure before you change anything, and keep the aggressive treatments for the problems that genuinely need them.
What Actually Causes Dirty Reef Sand
Nearly every case of dirty sand comes down to one of four causes: a sand bed that is not being turned over, more light than the tank can use, decaying organic matter that keeps settling out of the water, or a photosynthetic organism that has established itself on the surface.
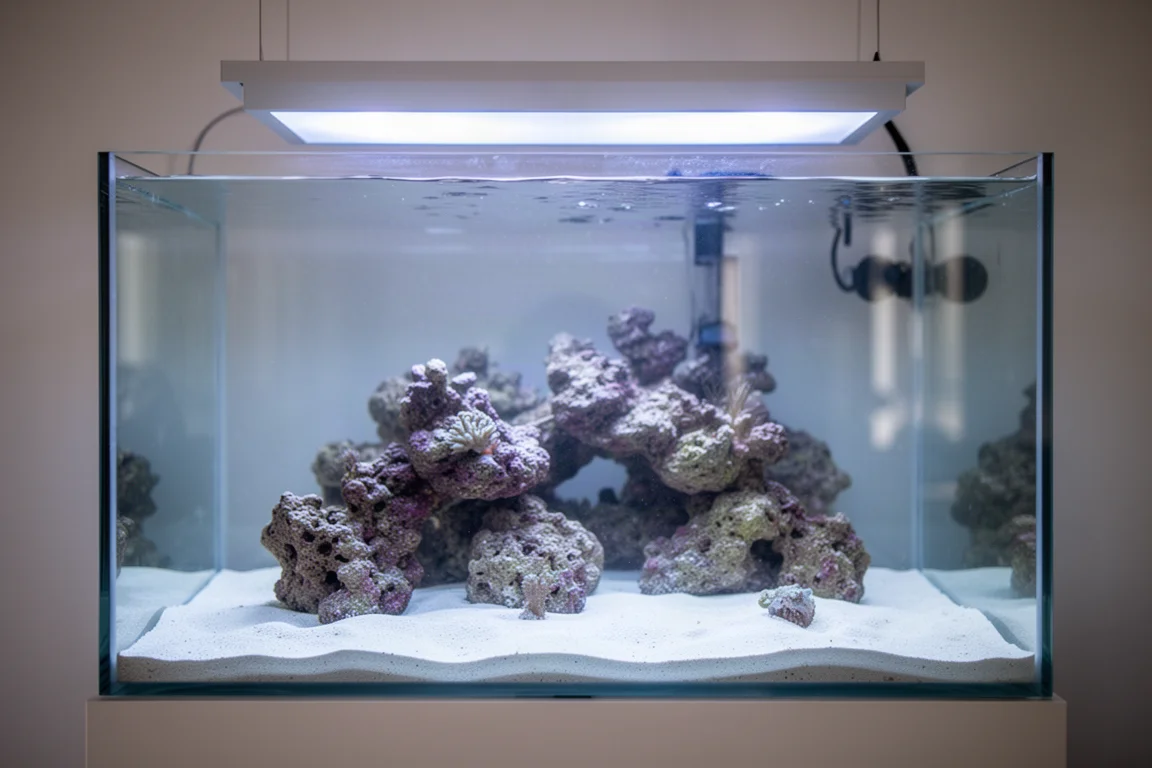
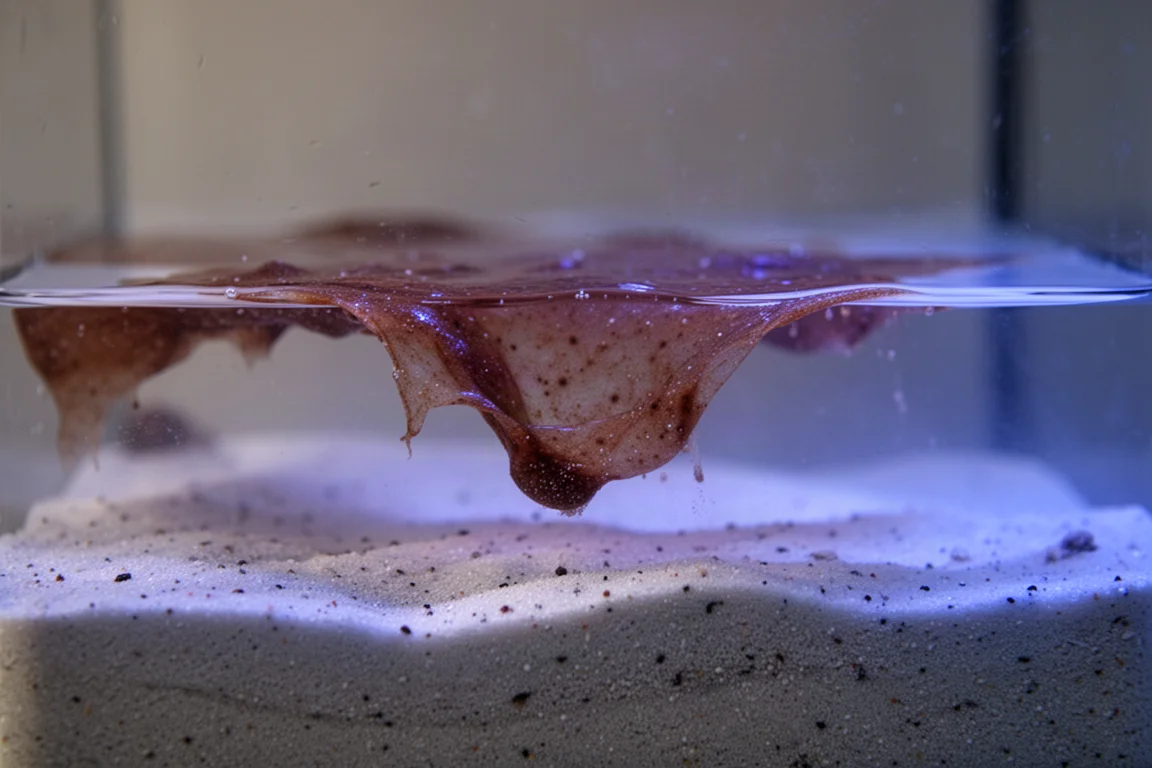
The colour and texture of the problem tell you which one you are dealing with. A light brown dusting in a young tank usually points to diatoms. Green growth that has rooted into the sand points to algae. Red or purple sheets that lift away in layers point to cyanobacteria. A stringy film that disappears overnight and returns once the lights come back on points to dinoflagellates. Brown gunk with nothing actively growing in it is detritus, which is fish waste and uneaten food that has settled into the sand.
1. Let Livestock Turn Over the Sand Bed
Shallow sand beds of roughly an inch or less are the ones that benefit most from livestock, because fish and inverts can work through the whole depth of the bed. If sand is left stagnant, slimes, diatoms, and algae will eventually colonise it, and the surface will stop looking like sand at all.
Sand sifting gobies such as the diamond watch goby are among the most active fish for this job. They pick up mouthfuls of sand, sift food from it, and drop clean sand behind them wherever they work. Tangs will also graze across the sand bed when algae is present, and the invertebrate crew does the rest: sand sifting stars, nassarius snails that move through the bed and surface to feed, plus copepods, amphipods, and hermit crabs constantly picking over the surface.
When this group is established, you often never see a problem develop in the first place, because the bed is being turned over continuously.
2. Siphon the Sand on Water Change Day
If livestock is not going to do the work, you can. Manual siphoning during a water change is the most direct way to remove the gunk that fuels growth in the first place, and it also turns the sand over so that light cannot reach what is buried underneath.
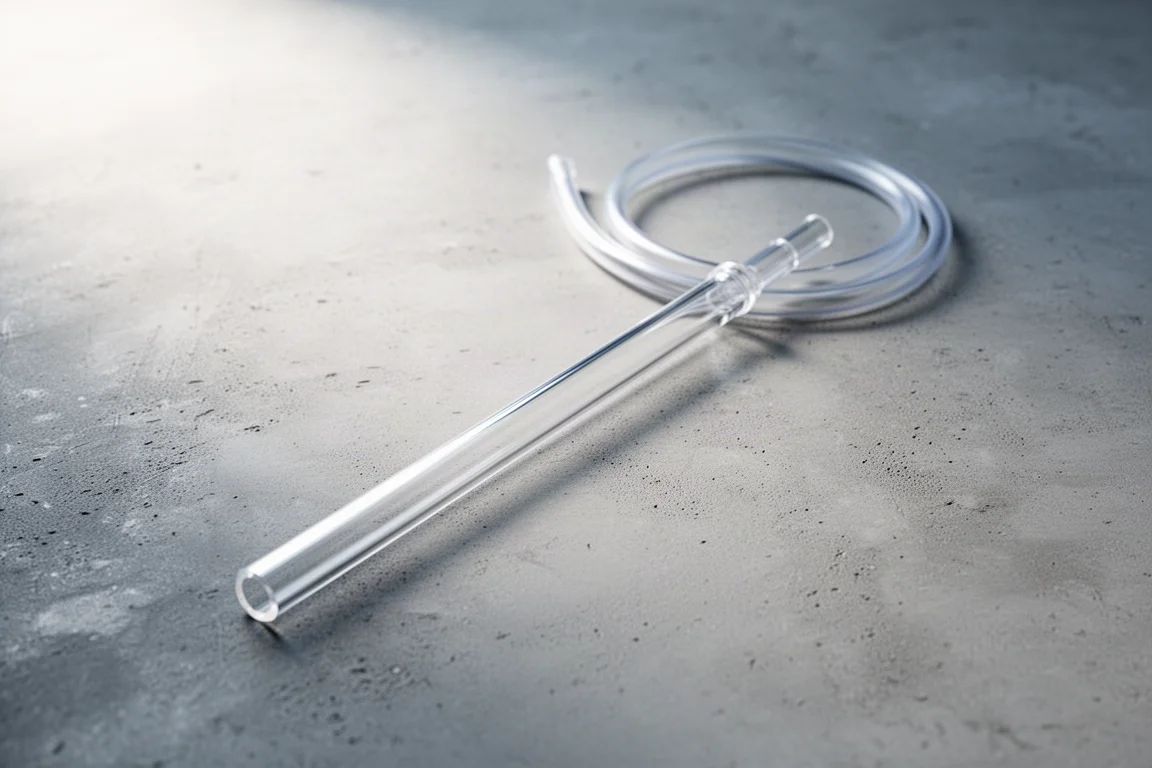
A narrow detail wand such as the Python Detail One is a good tool for this because it removes less water than a large siphon while still letting you reach behind rocks, under arches, and into crevices that a wide tube cannot access.
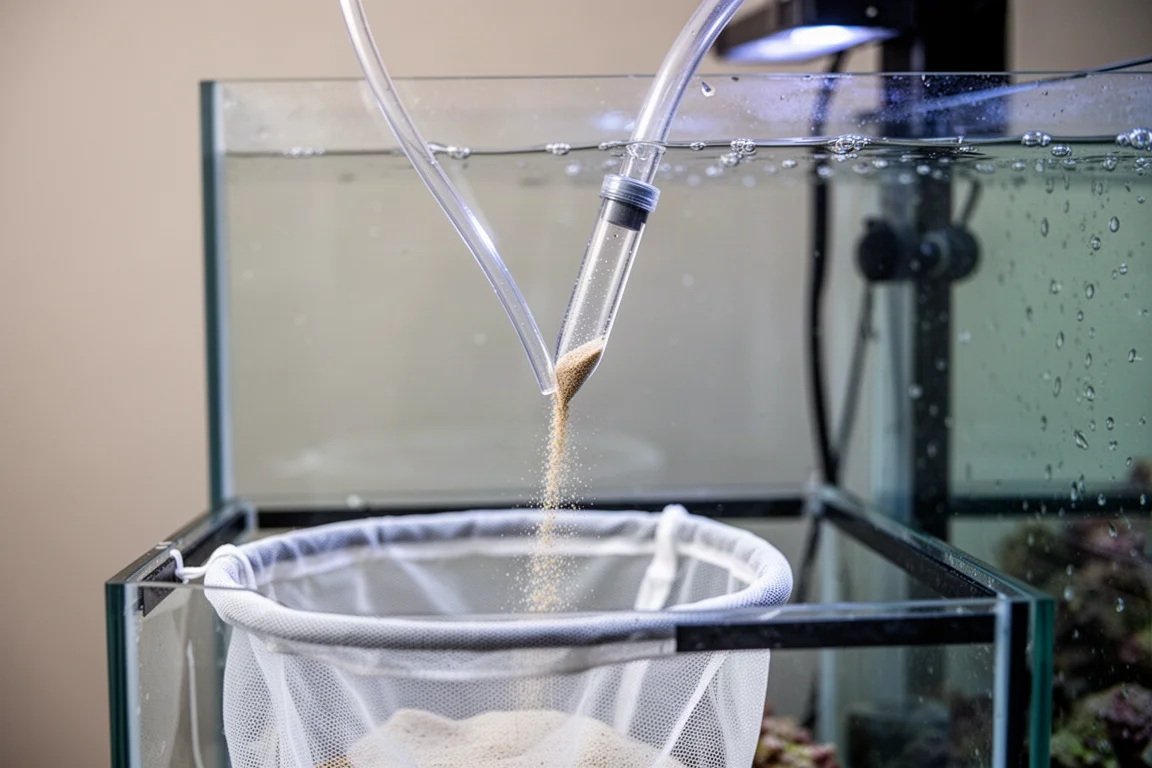
Two techniques make manual cleaning much easier. First, you can place a fresh filter sock in the sump and siphon sand and water back through it, then remove the sock afterwards, which keeps water loss low while still lifting waste out of the bed. Second, with a larger siphon, you do not need a valve to control how much sand tumbles up the tube. Pinching the hose by hand and releasing it gives you fine control over the flow, so you can turn over a section of sand without pulling the whole bed into the tubing.
3. Reduce Light Intensity When Growth Runs Riot
Every organism discussed so far is photosynthetic, which means the lighting above the tank is feeding it directly. Twice the light will generally produce faster growth, not slower growth, so dialling intensity back is one of the most effective moves available in a tank with little coral stock but plenty of brown film.
Measure before you adjust, because you cannot reduce a number you have not recorded. A PAR meter gives you the actual intensity at the sand bed and at the coral. In a soft coral or LPS tank, an average of roughly 75 to 150 PAR across the tank is a sensible target. In an SPS tank, 200 to 350 PAR is workable, with 350 sitting at the high edge, so aiming closer to the 200 range reduces the fuel available to nuisance growth.
4. Give a Brand New Tank Time to Settle
If the tank is new and the sand shows only a light dusting of brown, it is most likely diatoms, and it is a normal part of the early stages of many tanks. Chasing perfectly white sand with every product available usually makes the situation harder to read rather than better.
Leave it alone for a while. It typically runs its course on its own, and the rest of the tank’s biology tends to catch up and out-compete it. Once the tank has settled, the maintenance habits above are what keep the bed clean long term.
5. Beat Green Algae with Flow and Beneficial Bacteria
Green algae or green hair algae on the sand is a reliable signal that the bed is not turning over enough. Slimes can replicate within hours, but algae in most cases has to root into the surface it grows on, and if it has managed that, the sand underneath has been sitting still long enough for organics to accumulate.
Start by turning the bed over, whether with livestock or a siphon, and then address flow. Gentle water movement across the sand bed, with occasional stronger surges, keeps the surface from ever settling long enough to give algae a foothold. Bacterial solutions can support that effort, with products like Vibrant using bacteria that consume algae as a food source rather than treating the tank with an algaecide.
6. Flush Out Brown Detritus with Better Flow
Brown gunk that looks dirty without actually growing anything is detritus, meaning fish waste and uneaten food that has accumulated in the bed. It is not a photosynthetic problem, so lighting changes will not touch it.
Flow is the answer, because it keeps waste suspended in the water column long enough to reach filtration instead of settling into the sand. A turkey baster is a useful diagnostic tool here: blow the surface of the rock and sand and watch where the debris clouds appear. Those spots are where decaying organic matter is collecting, and they will keep feeding nuisance growth until the flow pattern changes. Siphon what you can and then adjust your pumps so those areas stop being dead zones.
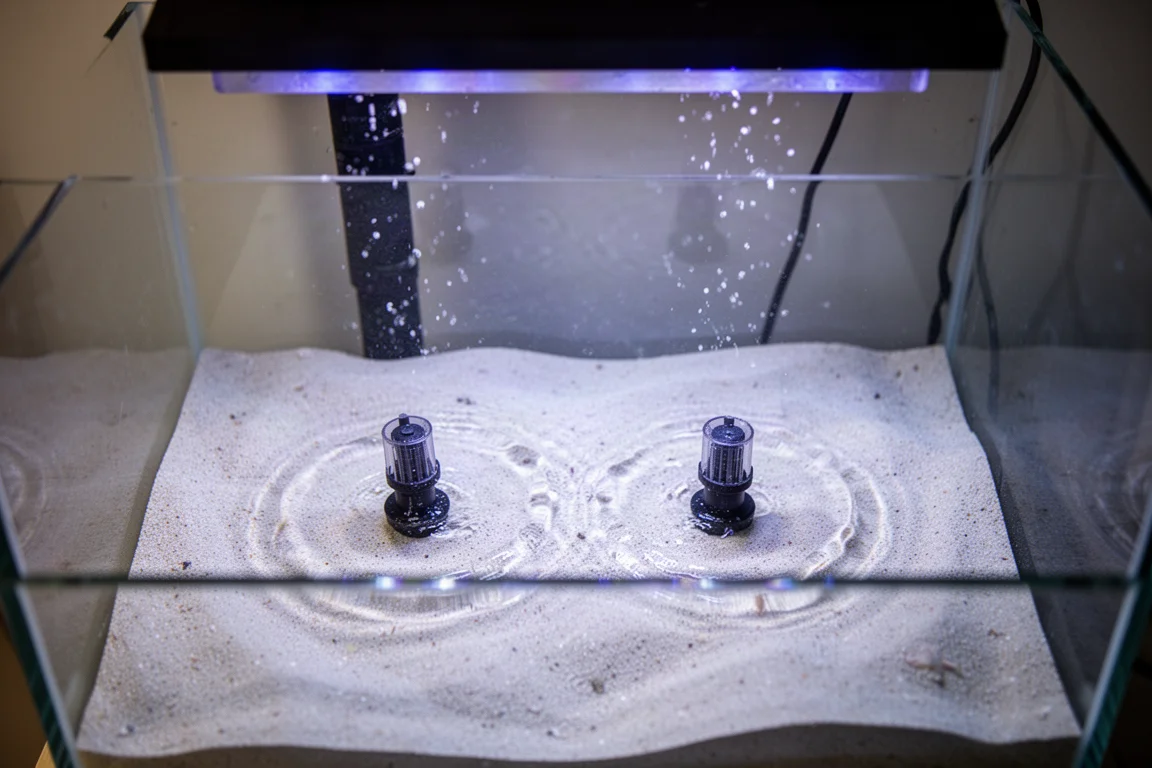
Where flow cannot reach, manual removal during a water change remains the fallback, and repeating it periodically keeps the accumulation from returning to its previous level.
7. Clear Cyanobacteria Before It Spreads
If the problem is not brown sand but red or purple sheets covering the surface, you are looking at cyanobacteria, which is one of the most common issues in the hobby and also one of the easiest to resolve with the right approach.
Cyanobacteria is not driven by nitrate or phosphate levels, so adjusting those numbers rarely solves it. Flow is the first and most important step, because blowing the slime off the surface and keeping enough movement in the tank stops it from collecting anywhere. A few straightforward treatments cover the rest.
KZ CyanoClean
CyanoClean uses natural out-competing bacteria, dosed over a period of a few weeks, after which the cyanobacteria typically dissipates on its own. This is the gentler route: if the problem took weeks to develop, it makes sense for the solution to take weeks as well, rather than shocking the tank with a sudden change.
Chemi-Clean
Chemi-Clean is one of the fast, direct treatments, an antibacterial type of medication dosed into the tank. It works reliably and there is no reason to treat it as a last resort. Do keep an eye on your skimmer during treatment, because it can overflow, and lowering the skimmer setting while you run the course is a sensible precaution.
Red Slime Remover
Red Slime Remover belongs to the same family of fast-acting treatments and has been a well-established option in the hobby for many years. Follow the instructions on the packaging exactly, and again watch the skimmer, which may need to be turned down while the treatment is active.
8. Consider UV Sterilisation for Dinos
If cyanobacteria treatments do not clear the problem, the likely diagnosis is dinoflagellates, which are harder to deal with. One solution works at least half the time and often almost instantly: a UV steriliser.
The dinoflagellate strains that UV solves follow a recognisable pattern. Check the tank late at night or before the lights come on in the morning. If the slime has largely dissipated into the water overnight and then returns as soon as the lights come back on, UV is very likely to clear it. A unit run overnight can remove a visible outbreak, and because the problem tends to return once the steriliser is removed, leaving it installed permanently prevents it from coming back.
Installation can be done inline through the plumbing, as a hang-on unit for this specific purpose, or with a pump feeding water through the steriliser and back into the tank. In all cases, the larger the unit, the better it performs.
9. Pair a Blackout with Out-Competing Bacteria
If the UV steriliser is not enough, a blackout period is the next option. Because these organisms depend on light, removing light removes the growth. Cover the tank and make it as dark as humanly possible, which shortens how long the blackout needs to run. Many keepers extend it up to a week. This can stress corals somewhat, but a heavy coating of dinoflagellates on the corals is also harmful, so the trade-off is usually worth taking.
Bacteria dosing is the natural partner to a blackout. The idea is to out-compete one organism with a more beneficial one: you darken the tank, add non-photosynthetic bacteria that establish on the surfaces, and then turn the lights back on with the territory already occupied. Which specific product performs best is not clearly established, but the approach itself is a meaningful part of the solution.
Brightwell Microbacter Clean
Microbacter Clean is one of the bacterial supplements used for this purpose, added during and after a dark period so that the bacteria can colonise surfaces while the dinoflagellates are suppressed.
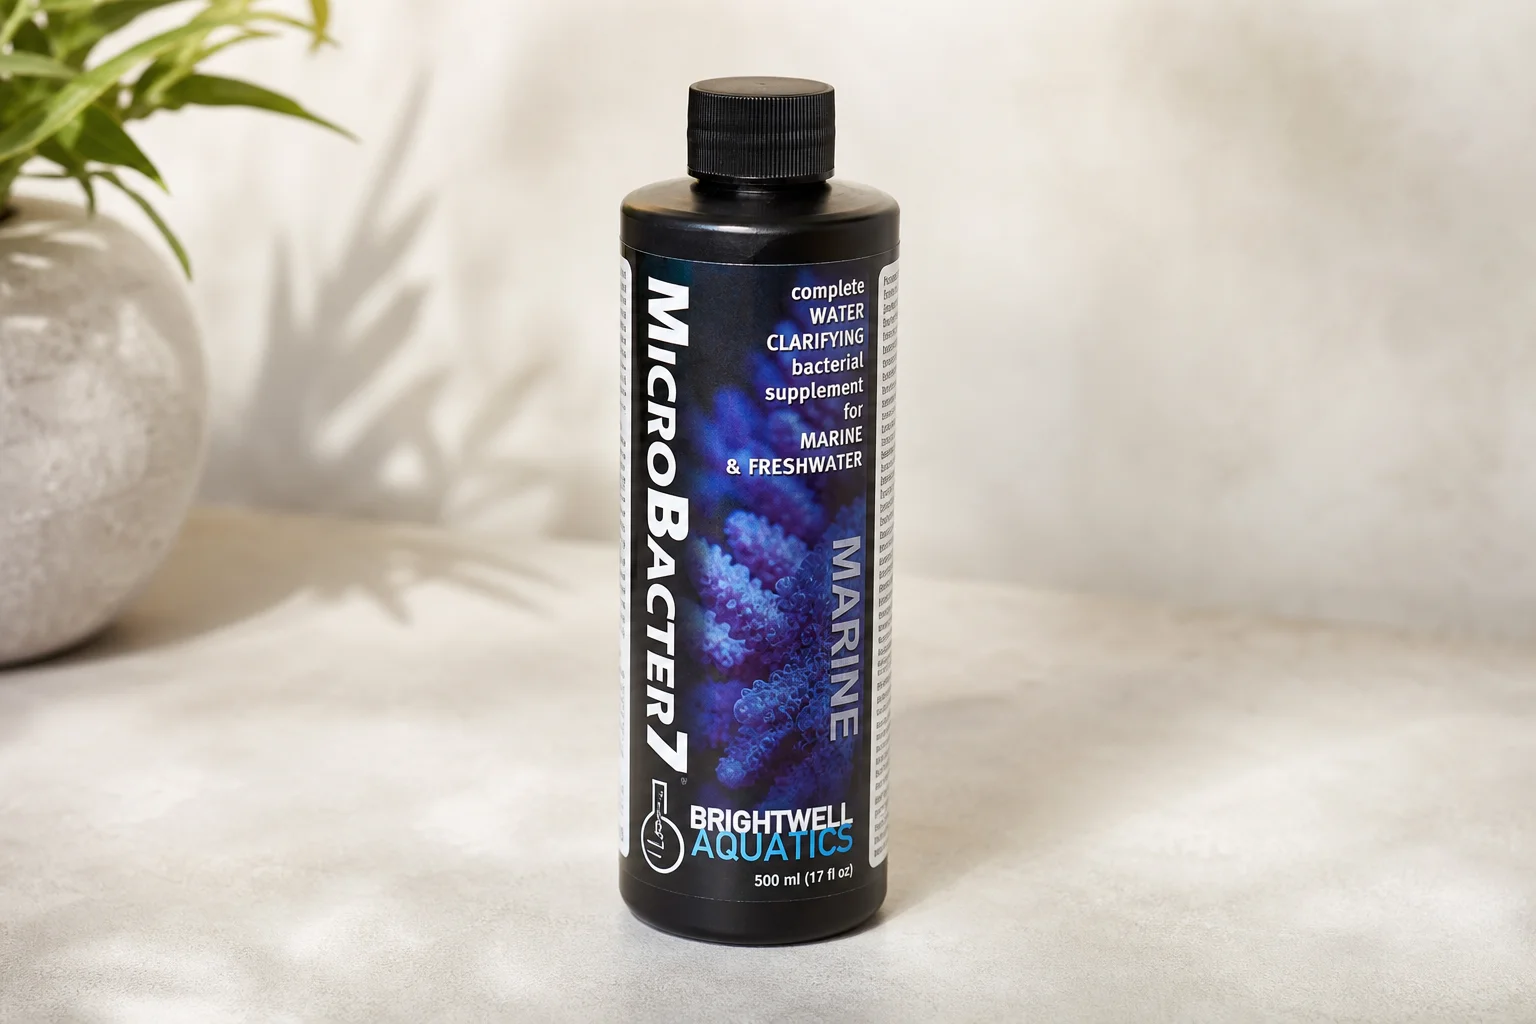
Brightwell Microbacter7
Microbacter7 is among the more commonly used bacterial products for building out the tank’s biome, and it can be run as part of the same blackout routine.
Dr. Tim’s Refresh
Refresh is another bacterial option aimed at the same goal, establishing a more diverse population that competes for space on rock and sand.
Dr. Tim’s Waste Away
Waste Away is a related bacterial product, frequently used alongside the other methods here to keep the tank’s biology working in your favour.
There is one more factor worth checking. Many tanks struggling with dinoflagellates also test at zero nitrate and zero phosphate, meaning nutrients are effectively unavailable. The theory, and it is a theory, is that dinoflagellates function comparatively well in that environment while other bacteria and organisms cannot scavenge nitrogen and phosphorus as easily, which lets the dinoflagellates take over the available surface. Dosing a small amount of nitrate or phosphate, or simply feeding a little more heavily, may resolve the problem in those cases.
10. Use Dino X When Nothing Else Works
For the dinoflagellate strains that do not respond to UV, blackouts, or bacteria, there is a sledgehammer option. Dino X is a liquid algaecide, which means it actively kills rather than out-competes, and that is precisely why it works when other methods have failed.
That same mechanism is the reason for caution. Corals host zooxanthellae, which are algae, so an algaecide can affect corals as well. Some tanks show no reaction at all, while others see corals set back temporarily. In many cases the difference comes down to following the instructions correctly and dosing exactly as directed.
If you are dealing with an aggressive outbreak that has resisted everything else, an aggressive solution can be the right call, provided you read the label carefully first and accept that the outcome varies between tanks.
How to Choose the Right Fix for Your Tank
Work through the problems in order of effort, not in order of desperation. Livestock and siphoning cost you time rather than money, and they address the root cause by keeping the bed turned over and waste removed. Light measurement costs you a single reading and often explains why growth is accelerating.
Identify what is actually on the sand before you buy anything. Green rooted growth responds to flow and bacteria. Red or purple sheets respond to flow plus one of the cyanobacteria treatments. Stringy film that vanishes at night points to dinoflagellates, where UV, blackout, and bacteria are the sequence to follow. Only when those have failed does the algaecide route make sense.
Finally, keep an eye on your skimmer whenever you dose any treatment. Several of these products can cause it to overflow, and turning it down for the duration is a simple precaution that prevents a mess.
Conclusion
Dirty sand is rarely a mystery once you know what you are looking at. Most cases resolve with better turnover, measured lighting, and improved flow, and the remaining cases fall to a small number of targeted treatments that are well understood within the hobby. Diagnose first, start with the low-impact fixes, and keep the aggressive options for the problems that genuinely need them.
Further reading
Related Reviews
Reef Aquarium Care
Top 10 Hardest Corals to Keep: Expert Guide to Challenging Species
A practical guide to the most difficult corals in the hobby, from plate corals and deep-water acros to gonipora and elegance corals, with expert tips for success.

Backpacking Gear
Building a 10 lb Base Weight: An Ultralight Backpacking Gear List
A practical walkthrough of the ultralight pieces behind a 10 lb base weight, from a 765 g pack and a roomy one-person tent to a full camp chair and a dependable water filter.

Road Bikes
10 New Road Bikes Worth Watching: Aero, Titanium, Steel and Endurance Standouts
A practical roundup of 10 new road bikes, from aero flagships chasing single-watt gains to titanium, steel and endurance platforms built for real roads.