Aquarium Filtration
Fiji Cubes DIY Sump Baffle Kit Review: A Simpler Route to a DIY Sump
A practical look at the Fiji Cubes DIY sump baffle kit, which replaces glass cutting and finicky baffle measurements with pre-sized acrylic panels and adjustable baffles.
Introduction
Building a sump from a spare glass tank remains one of the most affordable ways to add water volume, hide equipment, and run proper filtration on a reef aquarium. The difficult part has always been the baffles. Measuring, cutting glass or acrylic, and then silicone each panel into place so that heights and gaps line up is finicky work, and a small error is hard to correct once the silicone has cured.
The Fiji Cubes DIY sump baffle kit exists to remove that step. It is a turnkey solution for an easier DIY sump, letting you skip the glass cutting and the precise baffle measurements and move straight to installing panels that are already sized to fit your tank.
Who This Kit Is For
This kit suits reef keepers who already have a glass aquarium sitting unused, or who can pick one up cheaply, and want to convert it into a working sump rather than buy a finished acrylic unit. It also appeals to anyone who wants features normally associated with prefabricated acrylic sumps, including adjustable baffles, filter media compartments, and filter socks, without paying for a complete sump.
The value case is easy to follow. You end up with a slick DIY sump for around half the cost of a more basic acrylic sump, and you keep control over how the sections are arranged.
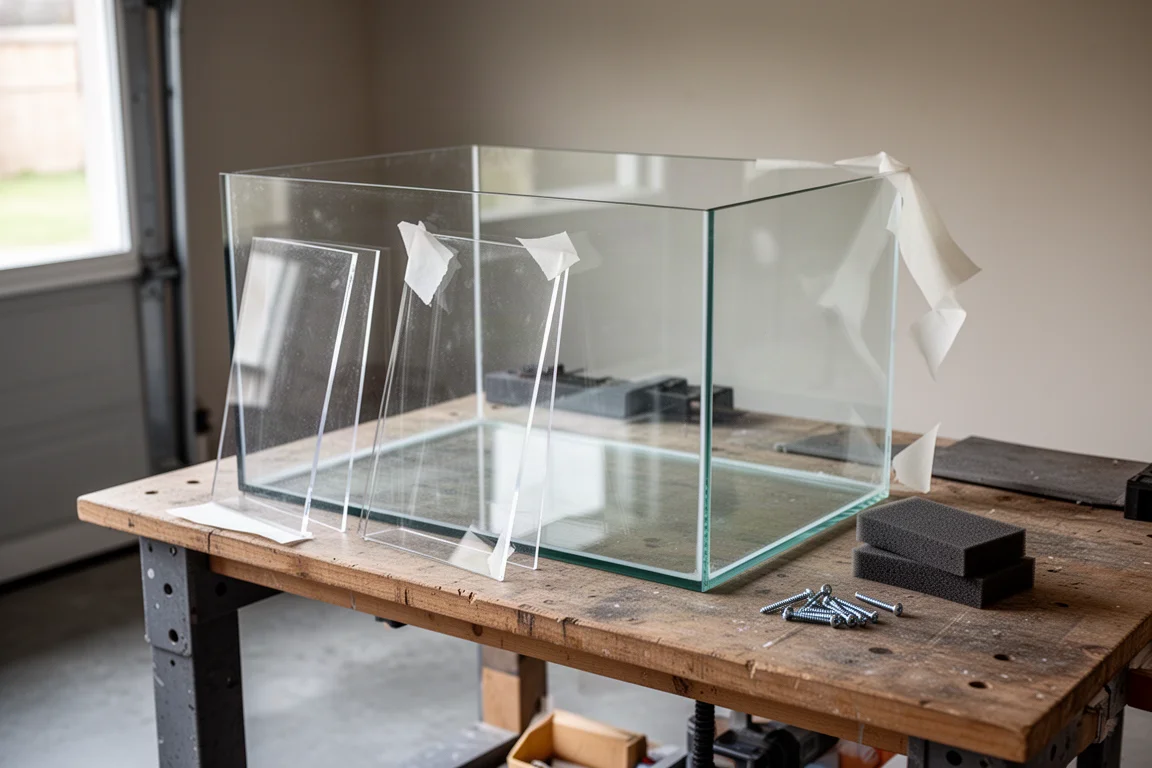
What the kit does not do is finish the job for you. You still supply the tank, the silicone, and the time to fit and cure the panels, so it is best suited to someone who is comfortable with a modest amount of hands-on work.
What Comes in the Box
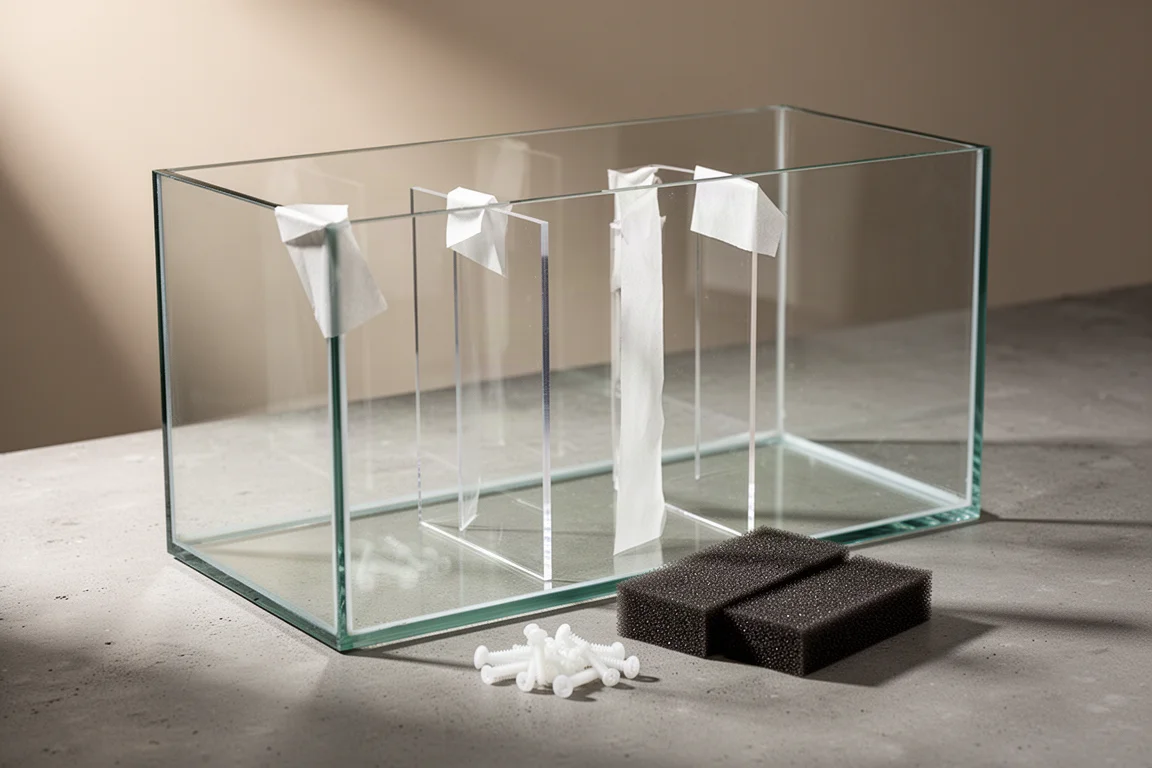
Open the box and you will find the acrylic panels still protected with their adhesive paper, a pair of coarse foam sponges, the nylon screws, and the instructions. Keeping the protective paper on until you are ready to dry fit the panels is worth doing, since it guards the acrylic against scratches during handling.
The larger kits also include the extra panels for the filter sock section, along with the sock silencers and the socks themselves. Those additions are what push the bigger models closer to the feature set of a prefabricated sump.
Main Strengths: Adjustable Baffles and Flexible Section Layout
The adjustable baffles are the centerpiece. Rather than fixing a single water height, they let you control the water level in your sump, and the panels are spaced by you rather than predetermined at the factory. That means you decide how large your skimmer section, refugium section, and return section will be.
The smallest kit in the range, the 10 gallon model, is also the most simplistic. It provides a section for water to enter the sump, a skimmer or refugium section separated by an adjustable baffle, a small filter section with foam pads, and a return section.
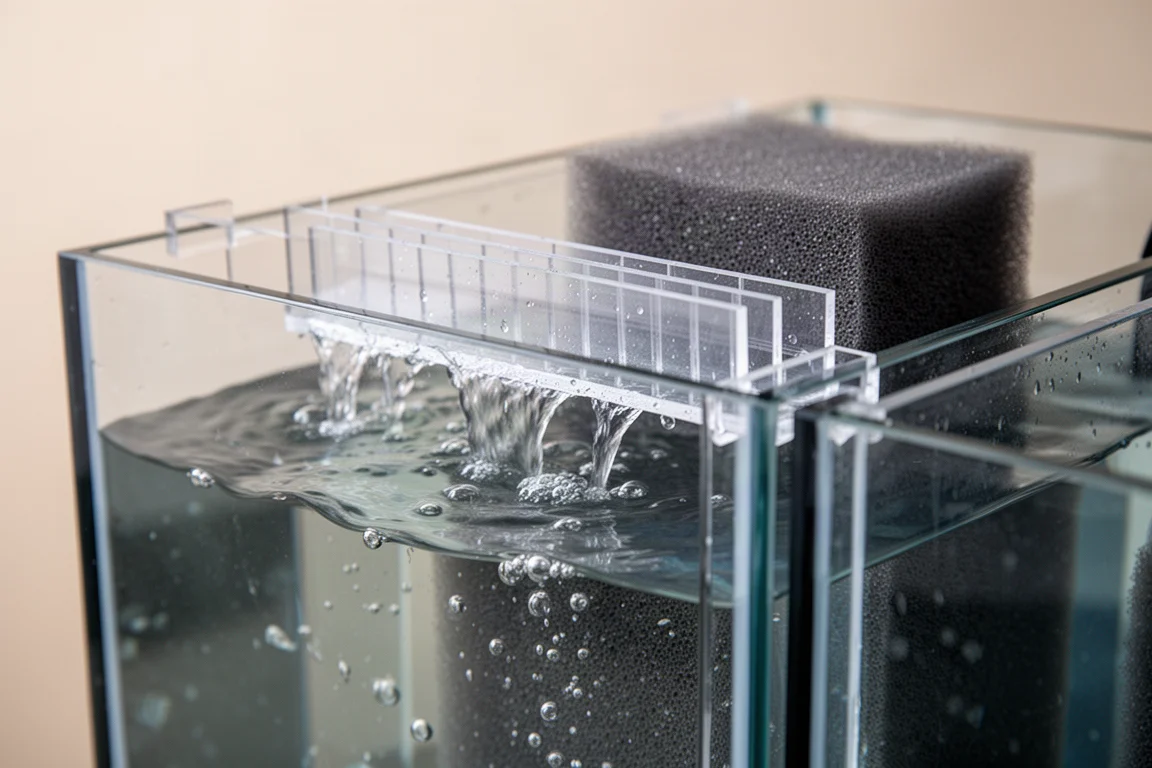
That flexibility is the reason the kit is worth considering over a fixed layout. If you later change protein skimmer or decide you want more refugium volume, the section sizing is something you controlled from the start rather than something you inherited.
Filter Socks, Silencers and Media Compartments
The 20 gallon long, 29 gallon, and 40 breeder models add a filter sock section, and they include silencers for the socks to keep the drain quieter. Beyond the sock section, they provide a skimmer section and a separate refugium section, followed by the same adjustable baffle and media section and finishing with the return section.
The small filter section is more useful than it first appears. The foam pads sit there, and the same compartment can hold other mechanical, biological, or chemical media depending on how you want to run the system. The coarse foam sponges included in the box cover that basic mechanical stage.
The Four Kit Sizes and Tank Compatibility
Four models are available, covering standard 10 gallon, 20 gallon long, 29 gallon, and 40 breeder aquariums, including Aquion tanks and some other standard glass tanks of those sizes.
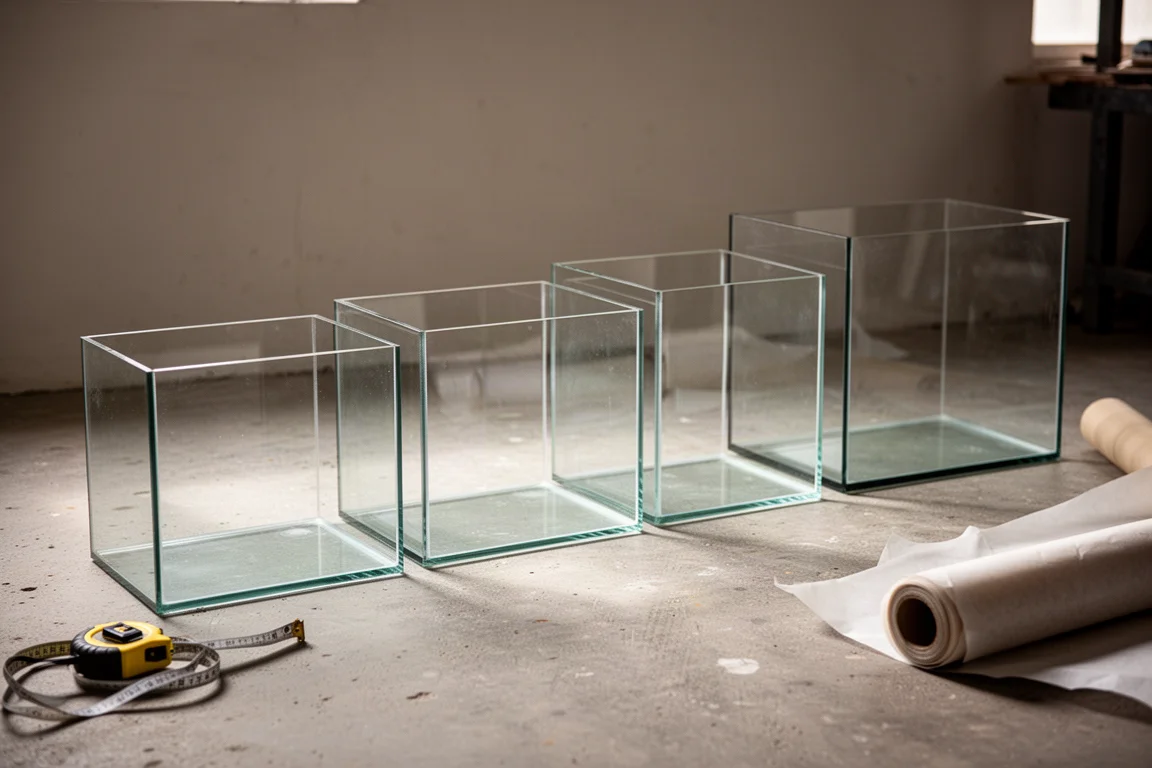
Because each kit is already designed to fit those standard Aquion glass tanks, the dimensional work is largely done for you. The panels are cut to suit the tank rather than to suit a drawing you have to produce yourself, which is the part that normally makes a DIY sump project stall.
Things to Consider Before Buying
The panels fit the tank, but the spacing between them is still your decision, and it depends on the equipment you plan to run. A protein skimmer has a footprint, a refugium needs volume, and a return section needs enough room for the pump you have in mind.
Dry fitting the panels together with the equipment you intend to use is the practical way to check that the spacing will suit your system before any silicone goes on. It costs a few minutes and prevents a layout that technically fits the tank but not the hardware inside it.
Cure time is the other thing to plan around. Aquarium safe silicone needs 24 to 48 hours to dry in the typical case, but you should read the label of the silicone you use, because some types can take up to seven days to fully cure. Planning that window into your build is easier than discovering it after the panels are in.
Buying Advice: Spacing, Silicone and Cure Times
Start by dry fitting the acrylic panels in the tank with your equipment in place, so you can confirm how far apart the baffles should sit. There are no strictly right or wrong answers here, only a layout that fits your skimmer, your refugium goals, and your return pump.
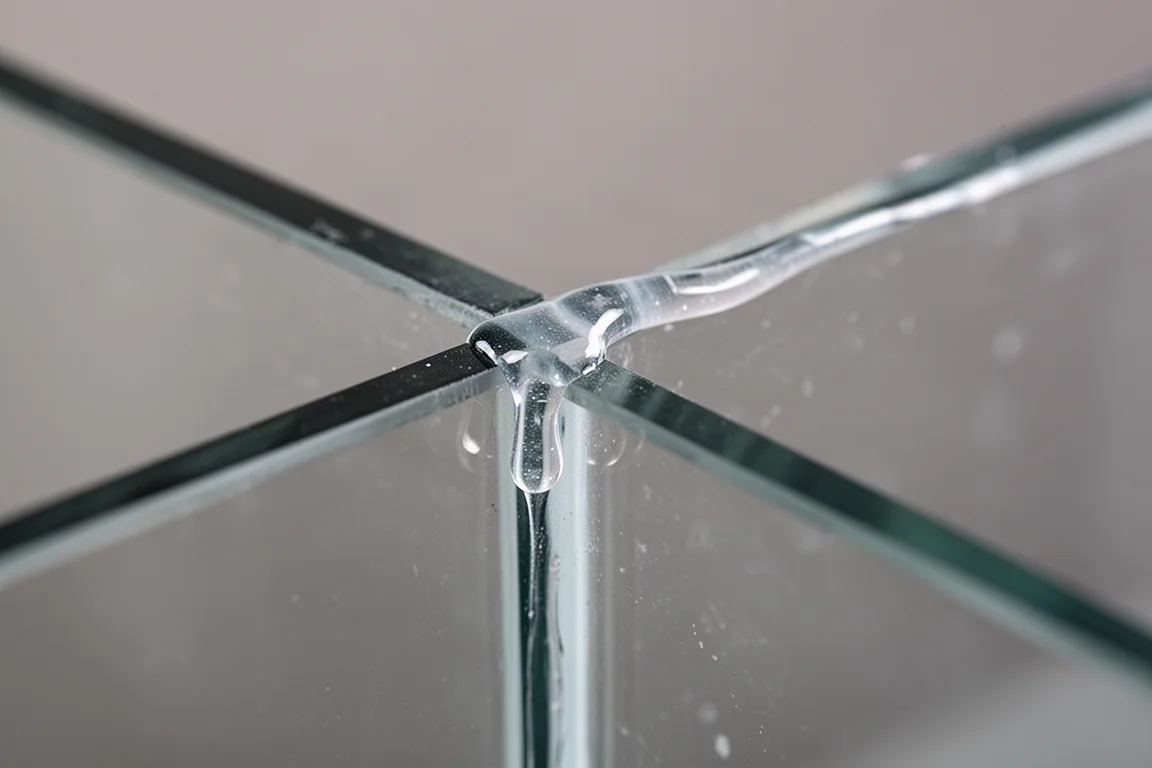
Once the spacing is settled, apply aquarium safe silicone to the edges of each panel where it meets the glass, and then leave it to dry for 24 to 48 hours. When the silicone has cured, give the sump a quick rinse and set it up with your gear so it can start filtering the tank.
The kit is aimed at the budget end of the market, and the saving is real: a DIY sump built this way lands at around half the cost of a more basic acrylic sump. If you already own a suitable tank, most of the remaining cost is the kit plus a tube of aquarium safe silicone.
Conclusion
The Fiji Cubes DIY sump baffle kit takes the two most tedious parts of building a sump, cutting the baffles and getting the measurements exactly right, and removes them from the project. What is left is the interesting part: choosing how much space your skimmer, refugium, and return sections should have.
For a reef keeper with a spare standard glass tank and a reasonable budget, that trade is a good one. You get filter socks, adjustable baffles, and media compartments on the larger models, a layout you control, and a finished sump for considerably less than a basic acrylic alternative.
Product link
View more details for Fiji Cubes DIY Sump Baffle Kit
This product is mentioned in the review. Check the specifications, options, and compatibility before buying.
View more details for Fiji Cubes DIY Sump Baffle KitFurther reading
Related Reviews
Aquarium Filtration
Adaptive Reef Refugium Reactor Review: A Simple Way to Grow Nuisance Algae Outside Your Display
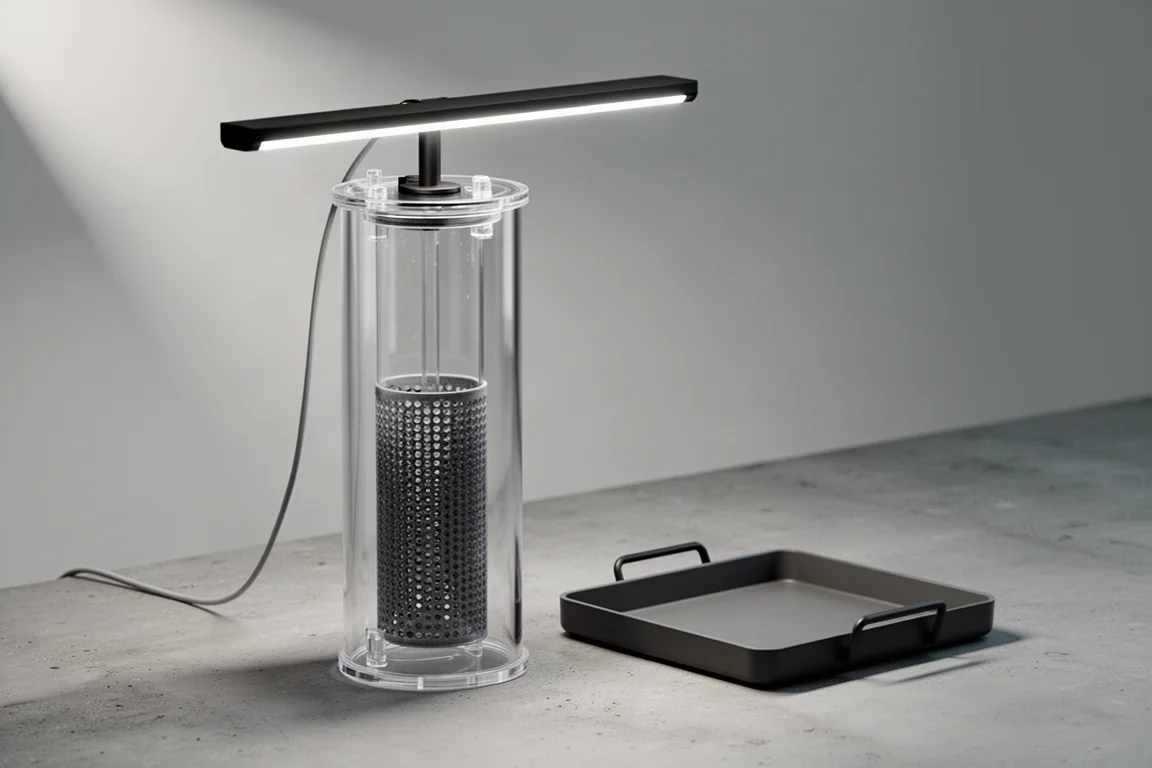
A vessel designed to grow nuisance algae in a controlled space so it stops taking over the display tank, with an adjustable stand, a removable basket, and a single LED light on top.
Aquarium Filtration
Affordable Aquarium Filter Media: Testing Budget Alternatives to Expensive Biomedia
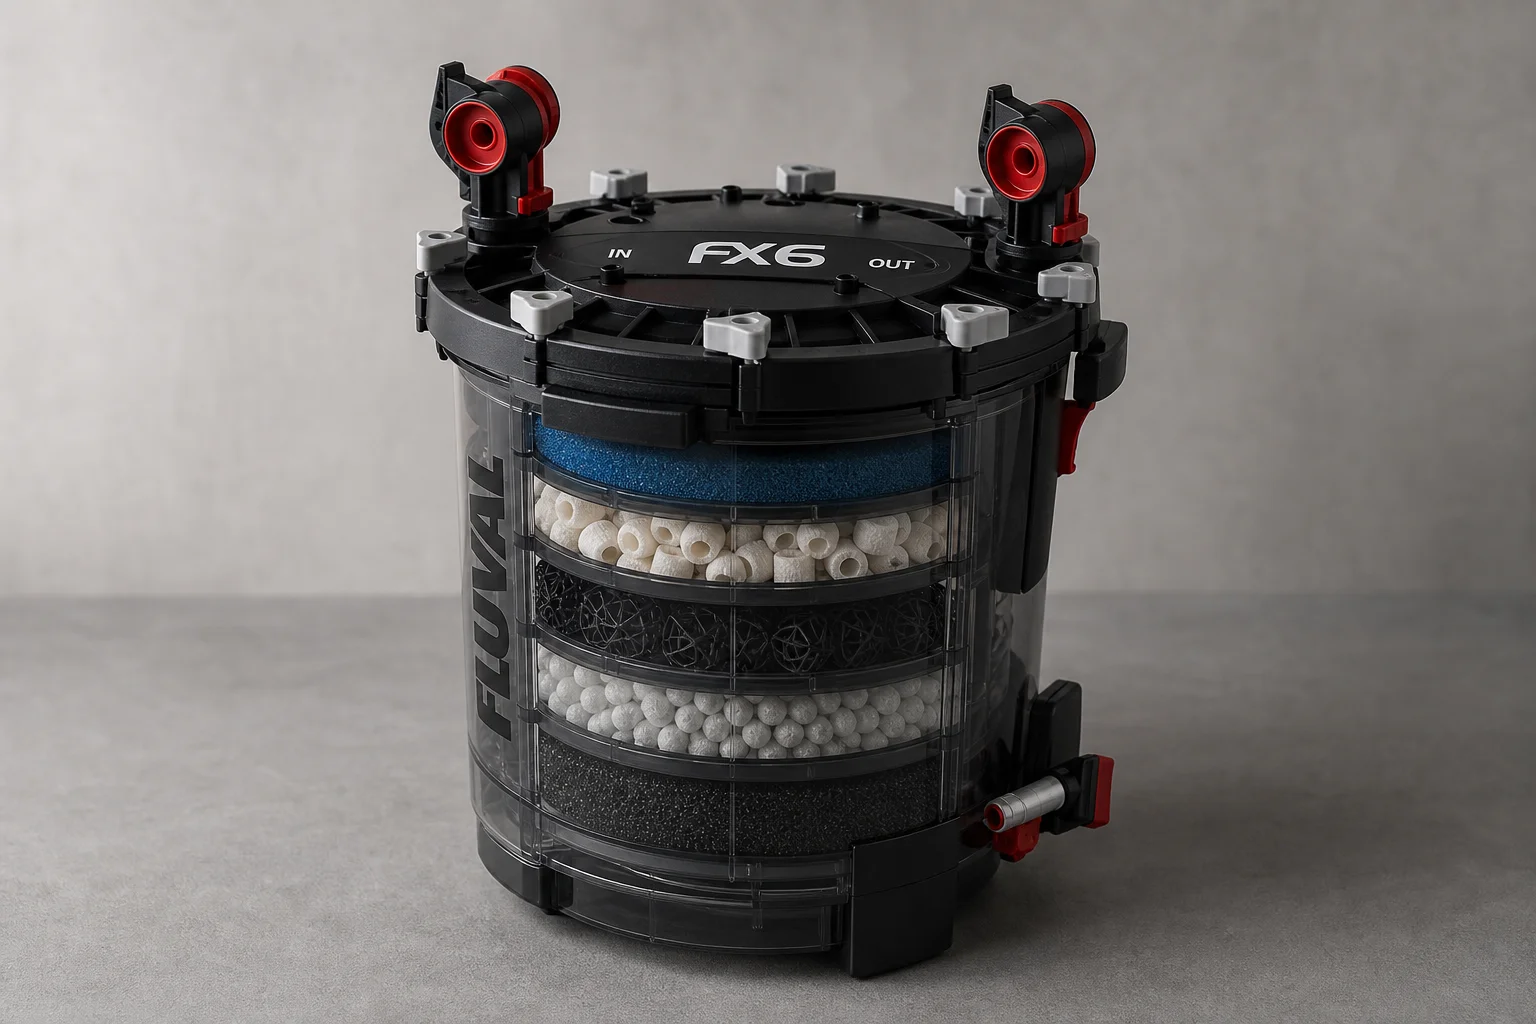
Can cheap pot scrubbers replace expensive ceramic biomedia in a canister filter? One aquarist tests the theory on a heavily stocked 210-gallon tank.
Aquarium Filtration
AquaMaxx Bullet 2 and Bullet 3 Review: Hang-On Protein Skimmers Compared
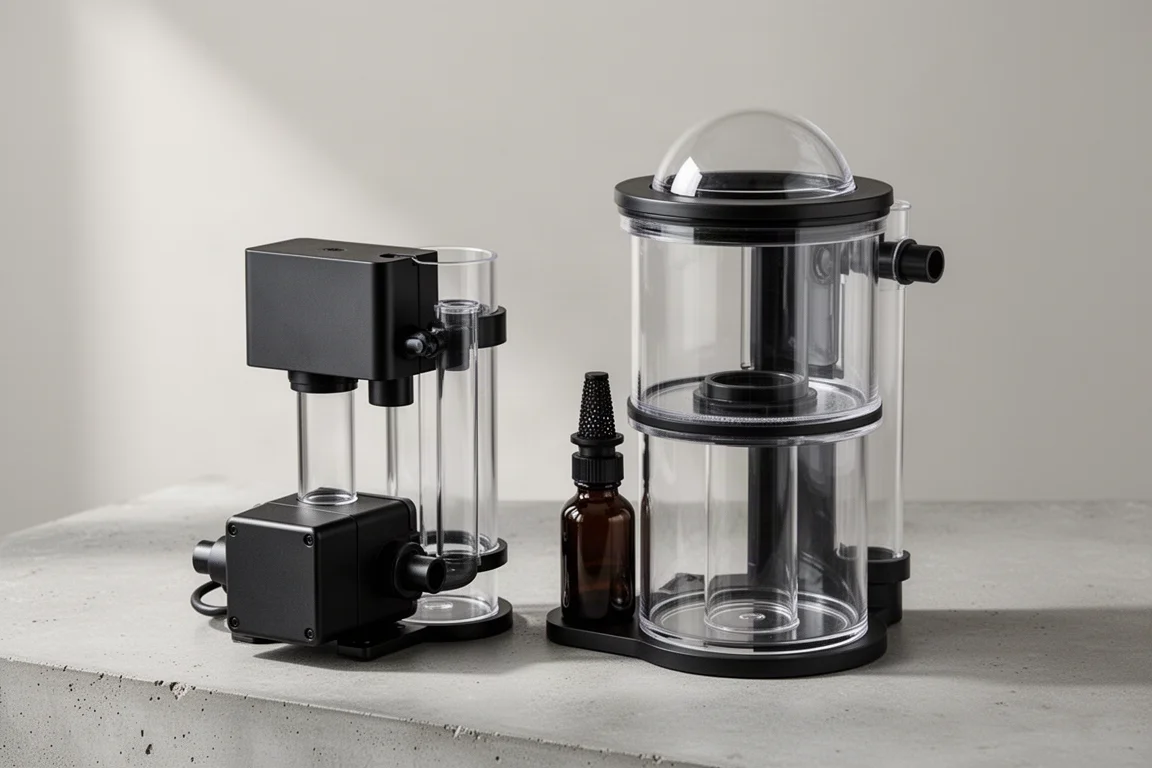
A closer look at two larger AquaMaxx hang-on protein skimmers, covering capacity ratings, clearance needs, and the design details that separate the Bullet 3 from the Bullet 2.