Aquarium Equipment
Eshopps Prodigy Overflow Review: A Slim External Overflow for Reef Tanks
A close look at the Eshopps Prodigy Overflow, including its five eighths of an inch internal weir, M and L sizing, drain methods, and what comes in the box.
Introduction
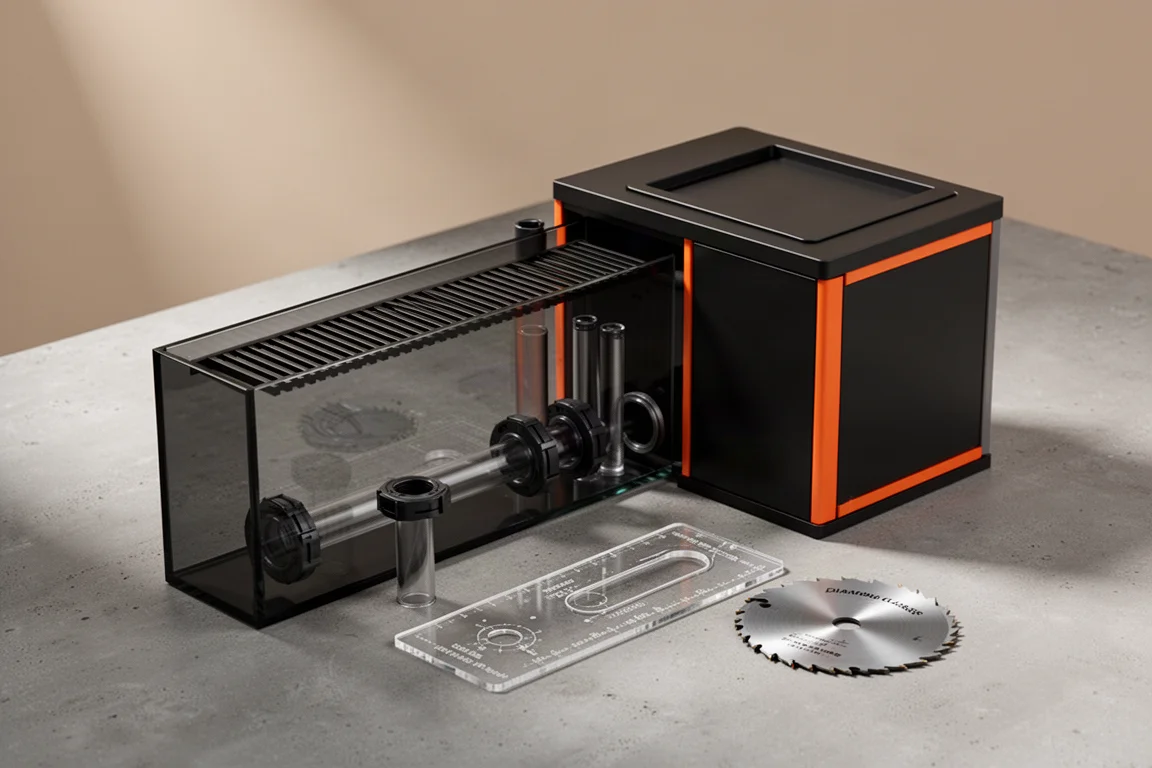
An external overflow box has one job that matters more than anything else: move water down to the sump without eating into the space you want for aquascaping, corals, and fish. The Eshopps Prodigy Overflow takes that idea about as far as it can go. The internal weir measures just five eighths of an inch thick, and Eshopps positions the line as the slimmest overflow box in the world. The Prodigy comes in two sizes, the M rated for 700 gallons per hour and the L rated for 900 gallons per hour, and the box ships with the drilling hardware needed to prepare a tank. The result is a system aimed at reef keepers who want a quiet, tidy drain without a bulky box muddying the view.
Who the Eshopps Prodigy Overflow Is For
The Prodigy makes the most sense for reef keepers who treat display space as the priority. Because almost all of the hardware sits outside the tank, the internal footprint is limited to a thin weir, leaving room for rock work, coral placement, and open swimming space.
It also suits anyone who has grown tired of gurgling and splashing from a drain. The drain design supports a full siphon setup, which is the usual route to a quiet overflow, and the removable grill lets you tune the water line to suit the tank.
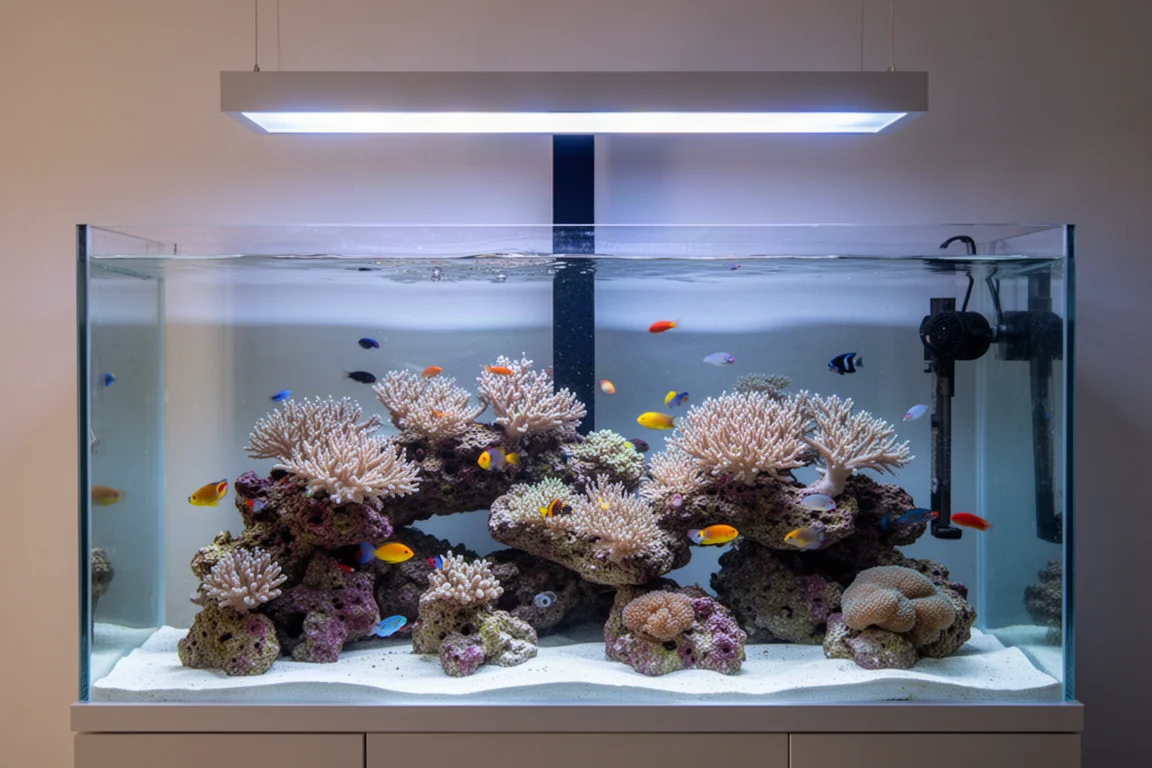
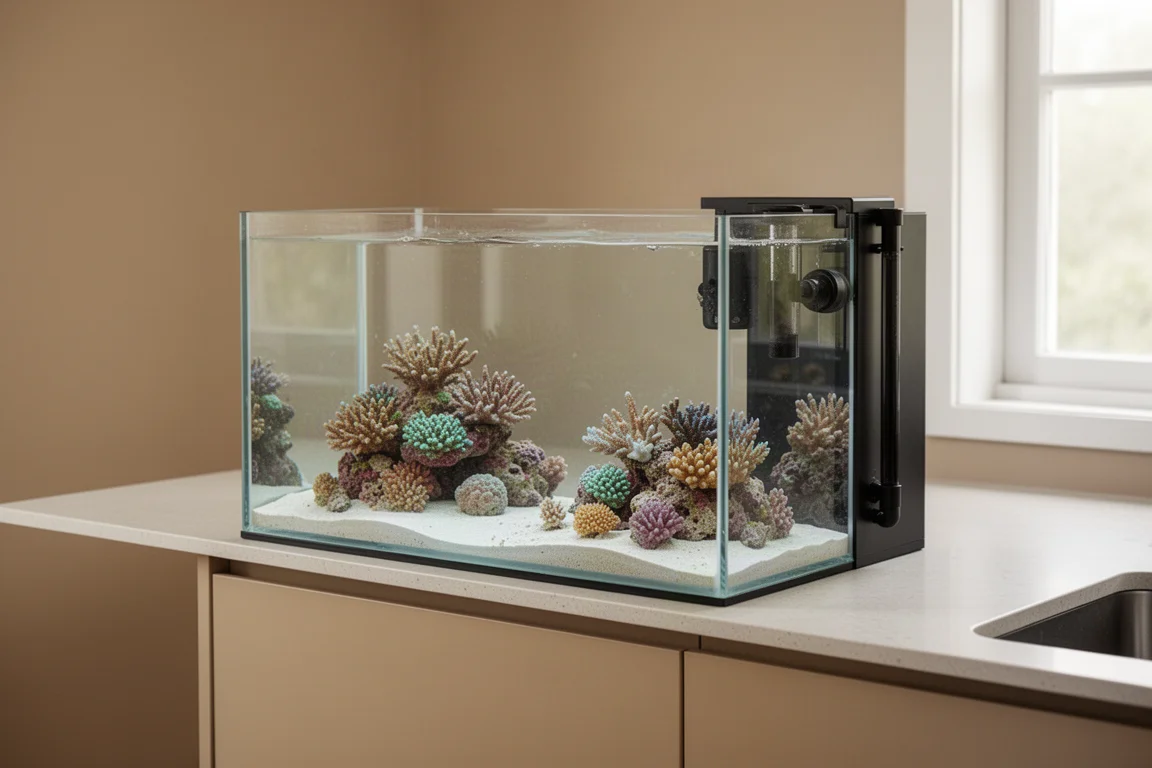
Nano and peninsula builds are a natural fit as well. A ten gallon aquarium with the Prodigy mounted on the end panel turns into a compact peninsula arrangement while keeping nearly all of the interior free, which is the sort of layout that usually disappears once an overflow box goes in.
Rimmed tanks benefit too. If you want the water line hidden behind the trim, the adjustable weir gives you the range to set it where it should be.
Design and Build
The headline number is the weir depth: five eighths of an inch. That internal weir is the thinnest part of the design and the reason the Prodigy can sit against the back or side glass without crowding the view.
The M model pairs an eight inch long, six inch tall internal weir with an outer box of the same length and height and a three inch depth. The L model keeps the same height and depth but stretches both the internal weir and the outer box to twelve inches overall.
Finishing details are clearly considered. The outer box uses a recessed lid to keep spatter and salt creep contained, and the line carries an orange and gray color scheme that stands apart from plain black acrylic. It reads as a considered piece of hardware rather than a plain utility part.
Silent Drainage and Water Level Control
Noise control starts with the drain method. The M provides two one inch drains, a primary and an auxiliary, which allows the Herbie method for a silent full siphon overflow. The L provides three one inch drains for the Bean Animal method, or for two primary drains plus a single auxiliary drain when higher flow rates are needed. In both cases the primary drain carries a gate valve to establish the full siphon, while the auxiliary or emergency drain is piped to the sump without a valve so water can free flow if the primary ever clogs.
Water height adjustment comes from the slotted grill on the weir. It lifts out for cleaning, and it can be inverted, which offsets the teeth by about half an inch. That shift raises or lowers the water level in the tank.
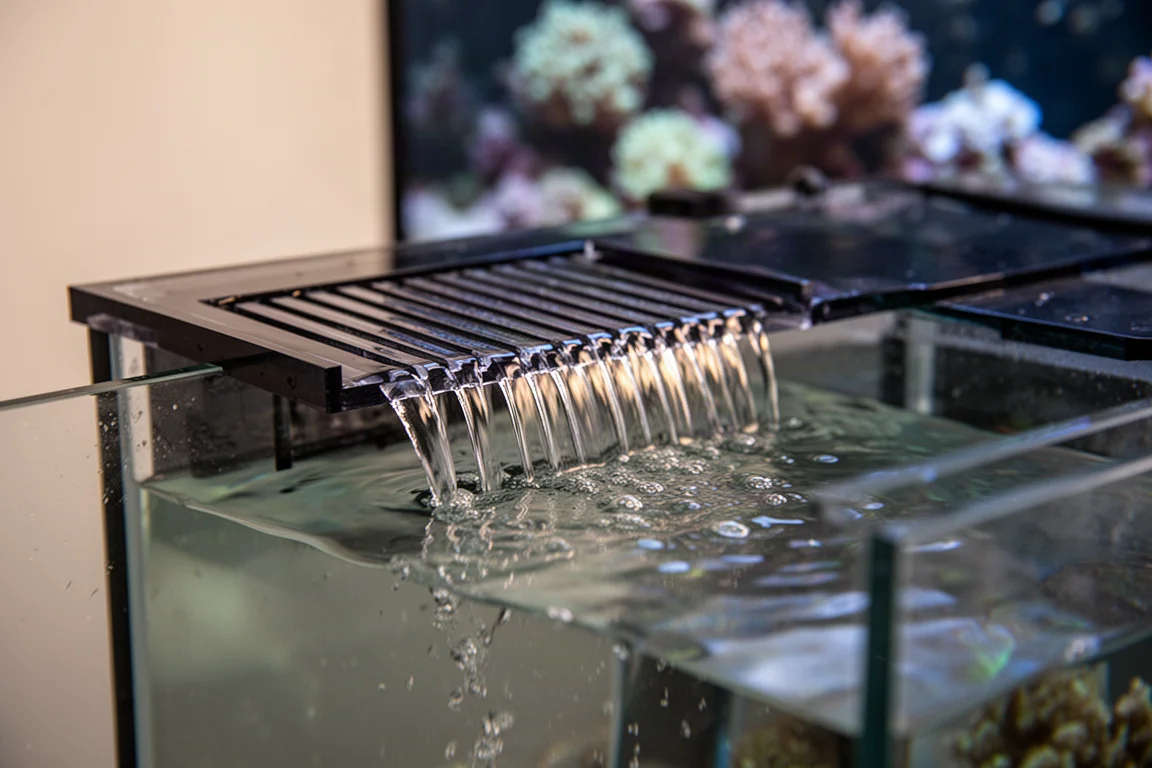
That adjustment has two practical uses. On a tank with trim, it lets you position the water line so the trim hides it. On a tank with strong flow pumps, it gives you more room for water movement and wave action without water climbing over the weir teeth.
Installation: What Comes in the Box
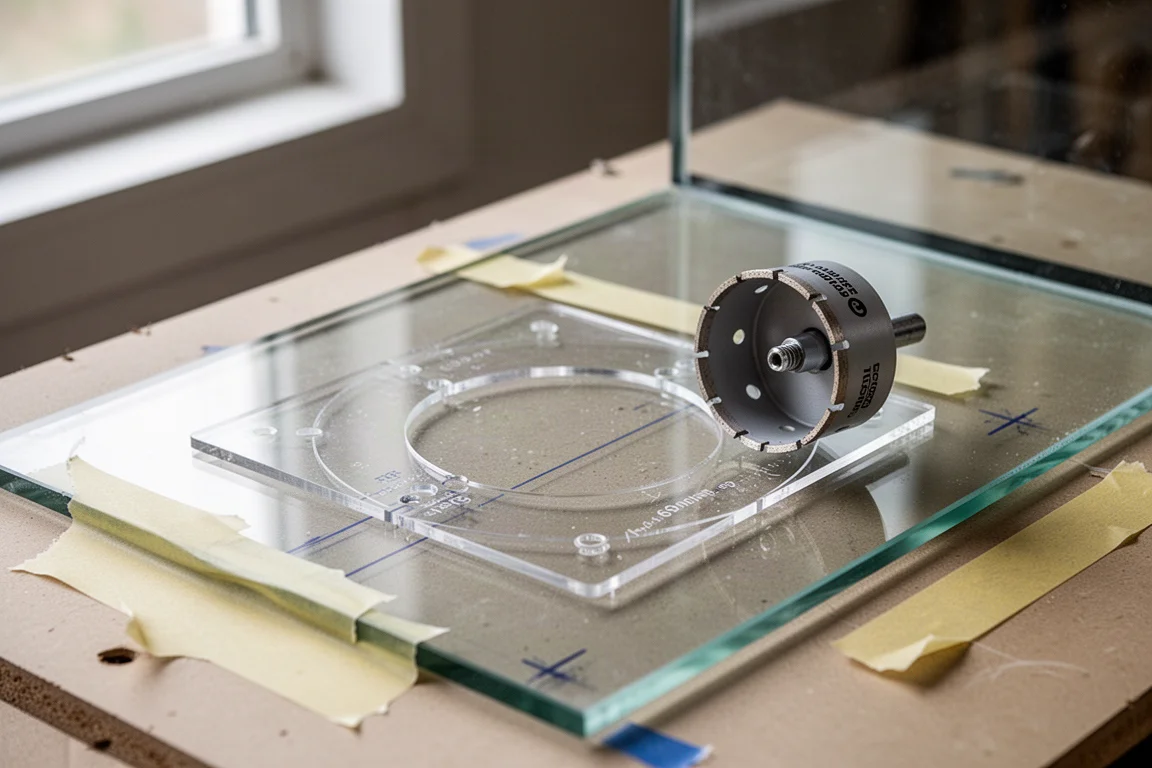
The Prodigy arrives with more than the overflow itself. Inside the box you get the bulkheads, the E-Drain standpipe, the recessed lid and adjustable weir, an acrylic drill guide template, a sixty millimeter diamond glass hole saw, and an installation guide. Having the drill guide and the hole saw included removes two of the more annoying purchases from a tank build.
Installation starts with the center bulkhead, which needs to come out so the two halves of the overflow separate and the drill guide template can be reached. The template lines up with the arrow facing up at the chosen location, and it works either as a stencil for marking the hole or as a clamp-in-place drill guide.
Before any drilling, confirm the glass is not tempered. Tempered glass will shatter if it is drilled, and no template or hole saw changes that.
Once the hole is cut, one of the two included gaskets goes over the bulkhead on the weir, which slides into the hole from inside the tank outward. The second gasket sits over the bulkhead on the outside, the outer box slides over it, and the nut tightens from inside the box. A small level helps keep the box straight while everything is tightened, after which the overflow is ready to plumb into the system.
Sizing: The M and L Models
Choosing between the two sizes comes down to flow rate and drain strategy. The M is rated for 700 gallons per hour and uses a single sixty millimeter hole in the tank. Its two one inch drains are set up for the Herbie method, and its eight inch internal weir keeps the footprint small.
The L is rated for 900 gallons per hour and uses two sixty millimeter holes. Three one inch drains open the door to the Bean Animal method, or to a configuration with two primary drains and a single auxiliary drain for higher flow rates. Its internal weir and outer box both run twelve inches long.
If your return pump sits in the 700 gallon per hour range and you want the smallest possible cutout in the glass, the M covers it. If you plan to push more flow or want a three drain layout, the L is the version that fits.
Things to Consider Before Buying
Drilling a tank is a permanent decision, so the tempered glass check comes before anything else. This applies to any overflow that uses a glass hole saw, and it is worth confirming well ahead of installation day.
The drain configuration also assumes a certain amount of plumbing planning. A gate valve on the primary drain is what makes the quiet full siphon work, and it is not listed among the included components, so it belongs on your parts list.
Sizing deserves a second look as well. The M and L differ in hole count, drain count, and rated flow, and the L takes up more length along the tank wall. Matching the model to the return pump and the drain method you intend to use avoids rework later.
Finally, the adjustable weir changes the water level in the display. That is a benefit, but it does mean giving some thought to the water line you want before the tank is filled.
Buying Advice
Start with the flow rate, then work backward. A return pump in the 700 gallon per hour range with a single sixty millimeter cutout points to the M. A build heading toward 900 gallons per hour, or one that wants the flexibility of three drains and the Bean Animal method, points to the L.
Then decide how much tank wall you can spare. The M keeps its internal weir to eight inches, while the L runs twelve inches for both the weir and the outer box. On a narrow or small tank, that difference matters.
The included drill guide and diamond hole saw are worth factoring into the decision as well, since they turn a two purchase job into a single one. Adding a level and a gate valve for the primary drain rounds out the installation.
For small tanks, the payoff is easy to see. On a ten gallon aquarium the Prodigy leaves virtually all of the interior space free, and mounting it on the end panel produces a neat nano peninsula setup with the equipment tucked outside the display.
Conclusion
The Eshopps Prodigy Overflow targets a specific frustration: overflow boxes that take up room you would rather give to corals and fish. Its five eighths of an inch internal weir, two size options, support for Herbie and Bean Animal drain methods, and adjustable water height make it a strong fit for reef keepers who want a clean display and a quiet drain. Confirm the glass is not tempered, decide between the M and the L based on flow, and the rest of the installation is straightforward.
Product link
View more details for Eshopps Prodigy Overflow
This product is mentioned in the review. Check the specifications, options, and compatibility before buying.
View more details for Eshopps Prodigy OverflowFurther reading
Related Reviews
Aquarium Equipment
Abyzz Professional DC Pumps: A100, A200, and A400 Reviewed
A closer look at three German-made DC return pumps built for large reef systems, with titanium internals, fine flow control, and a 10-year warranty.
Aquarium Equipment
AdaptiveReef Controller Accessories: Three Tactile Upgrades for Your Reef Controller
A practical look at three AdaptiveReef add-ons that put physical switches, at-a-glance status lights, and a loud alarm within arm's reach of your reef tank.
Aquarium Equipment
Adaptive Reef Controller Boards: Basic vs Deluxe for Cleaner Aquarium Gear
A practical look at the Adaptive Reef Basic and Deluxe controller boards, what each one includes, and how to choose the right size for your tank gear.