3D Printing
Ender 3 Pro Ultimate Upgrade Guide: Practical Modifications for Better Prints
A comprehensive look at meaningful upgrades for the Ender 3 Pro, from direct drive and dual Z-axis motors to bed surface improvements and frame stabilization.
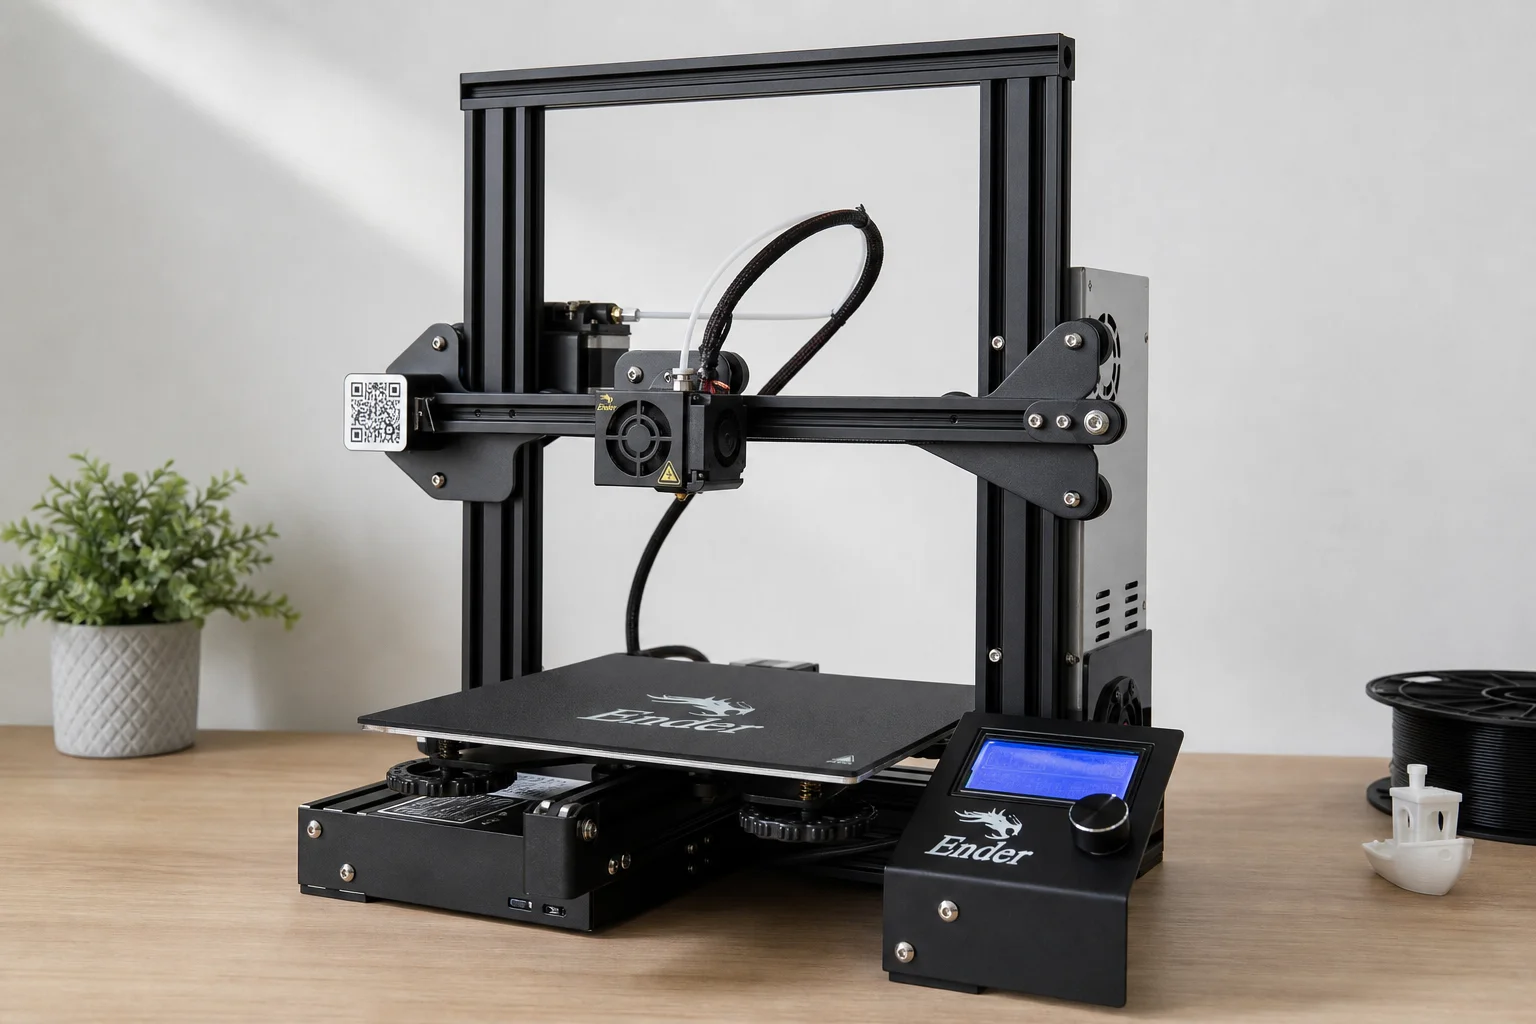
Introduction
The Ender 3 Pro has been a workhorse for makers and hobbyists, but it does have room for improvement. While newer models like the Ender 3 S1 Pro come with many upgrades built in, the original Ender 3 Pro can be significantly enhanced through targeted modifications. This guide covers practical upgrades that address real printing issues: bed adhesion, print quality, and mechanical stability.
Direct Drive and Cooling Upgrades
The stock Bowden extruder setup on the Ender 3 Pro works adequately, but direct drive offers better retraction control and print quality, especially for flexible materials. The trade-off is added weight on the toolhead, which can slow print speeds.
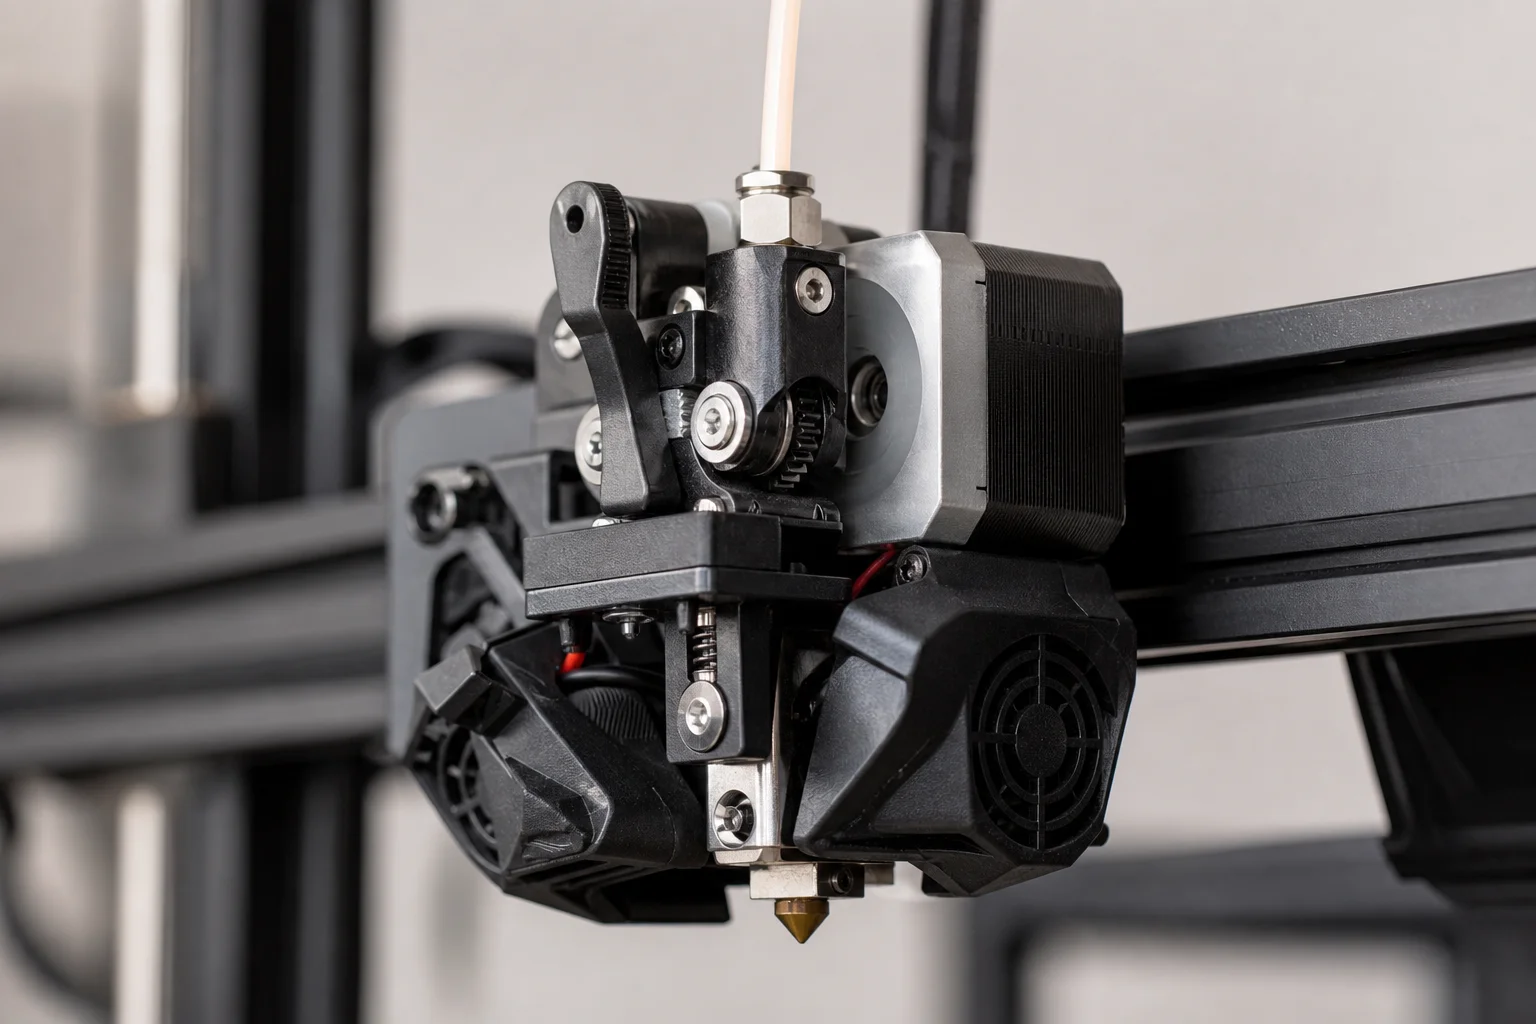
A direct drive conversion typically includes a heavier stepper motor. To counteract this weight penalty, upgrading to a lighter pancake-style stepper motor is worth considering. These motors are roughly half the size and weight of standard motors while maintaining adequate torque for most printing tasks. After installation, recalibrating E-steps is essential. The result is faster print speeds without sacrificing quality.
Cooling is equally important. Upgrading from the stock cooling fan to a higher-quality option like a thicker Noctua fan improves part cooling performance. Better cooling ducts that direct airflow more efficiently around the nozzle also help prevent issues like stringing and improve surface finish on printed parts.
Dual Z-Axis Motor Upgrade
One of the most common issues with the Ender 3 Pro is X-gantry wobble. The frame design supports the X-axis on only one side, leaving the opposite side unsupported and prone to flex. This becomes especially noticeable when printing large parts that span the full bed width, resulting in bed adhesion problems and dimensional inconsistencies.
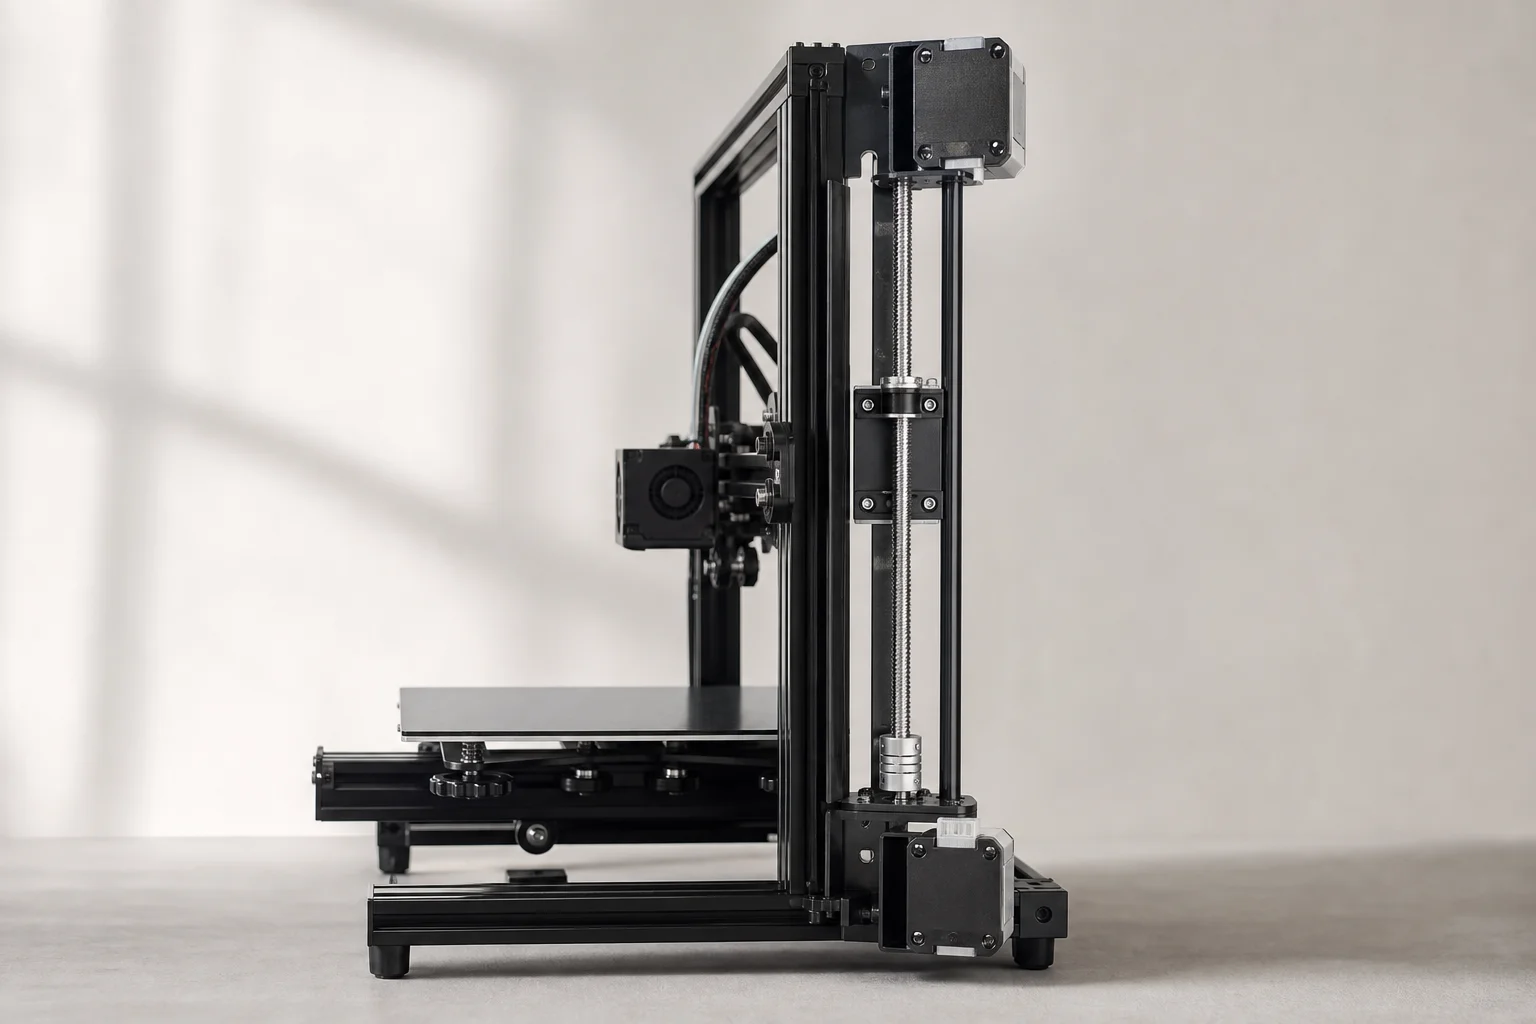
A dual Z-axis motor upgrade kit addresses this by adding a second motor to the unsupported side. The kit typically includes a bracket to shift the power supply unit, a splitter cable to control both motors from the main board, and flexible couplers to accommodate minor misalignments. Installation requires leveling the X-gantry carefully after assembly. Once complete, the gantry remains rigid across the entire print bed, eliminating the wobble and improving print consistency.
Bed Surface and Adhesion Improvements
The stock glass bed on the Ender 3 Pro is durable but offers inconsistent bed adhesion. Garolite (G10) material has become popular among the community for its superior grip and ease of use. These sheets are available pre-cut for the Ender 3 or as stock sheets in various thicknesses and colors.
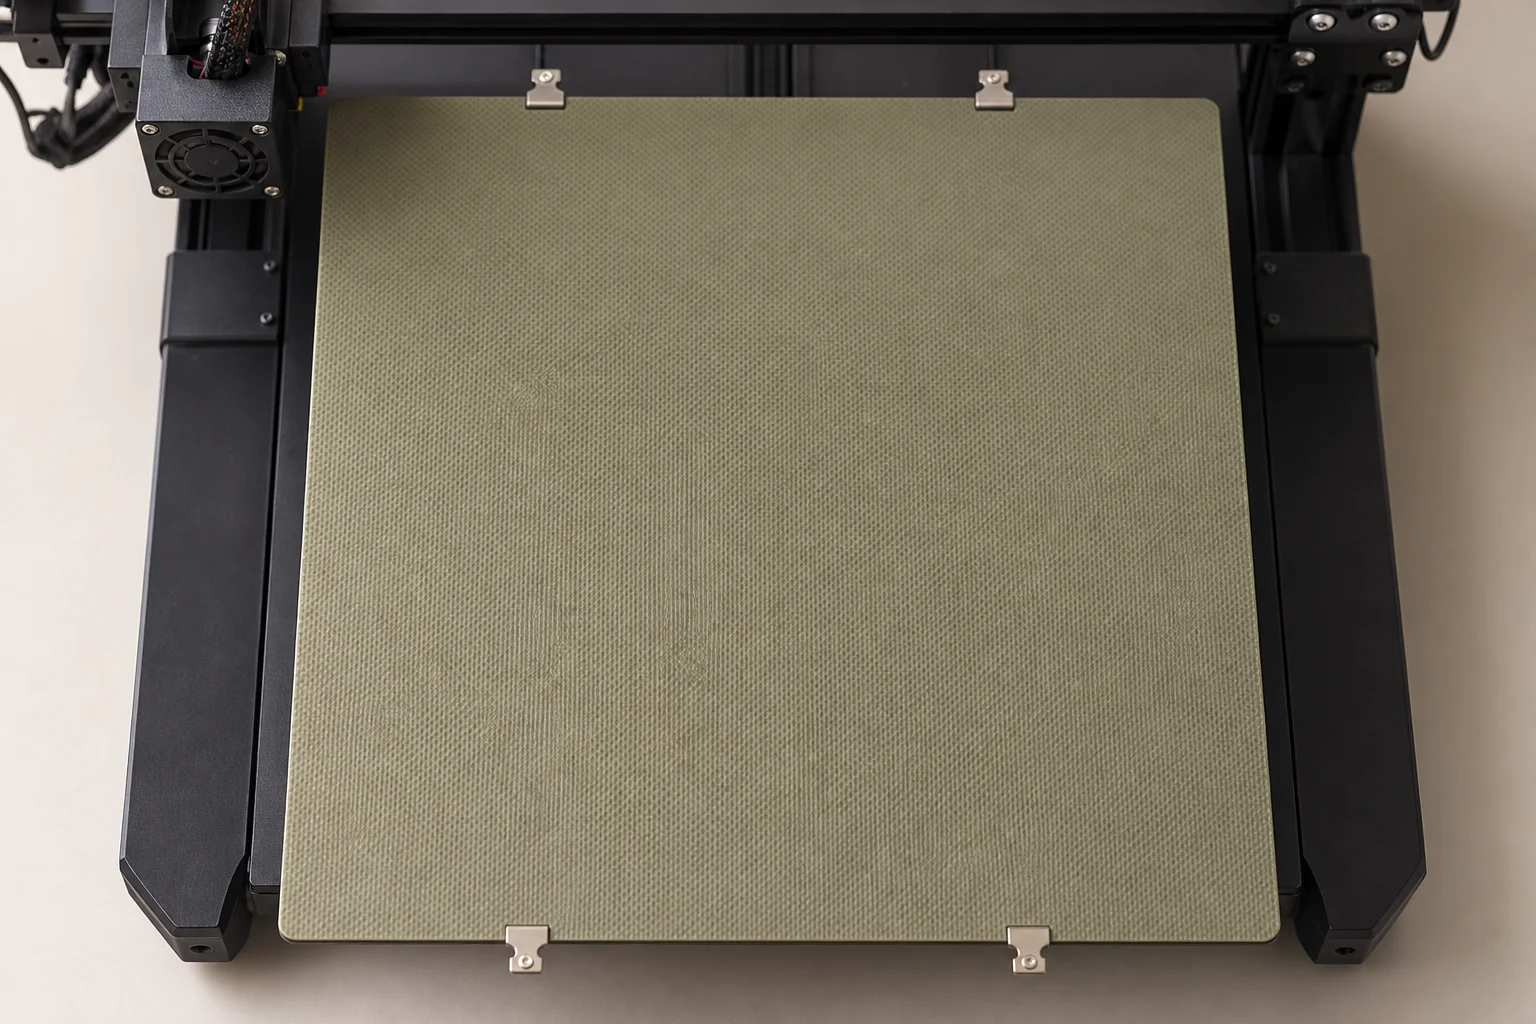
Thin 0.03-inch sheets are easy to cut with a utility knife in a well-ventilated area (wear a mask and eye protection). After cutting, light sanding with water reduces dust. The stock bed clips may be too loose for thin G10 sheets, so picture frame clips or dedicated G10 bed clips work better. A quick adhesion torture test confirms the improvement: prints release cleanly and consistently without the adhesion struggles common with glass.
Vibration Isolation and Frame Stability
Printing directly on carpet or uneven surfaces can cause vibration and affect print quality. Silicone speaker pads, typically used as isolation feet for audio equipment, work well as printer feet. They elevate the printer away from carpet and absorb vibrations that can degrade surface finish and introduce noise.
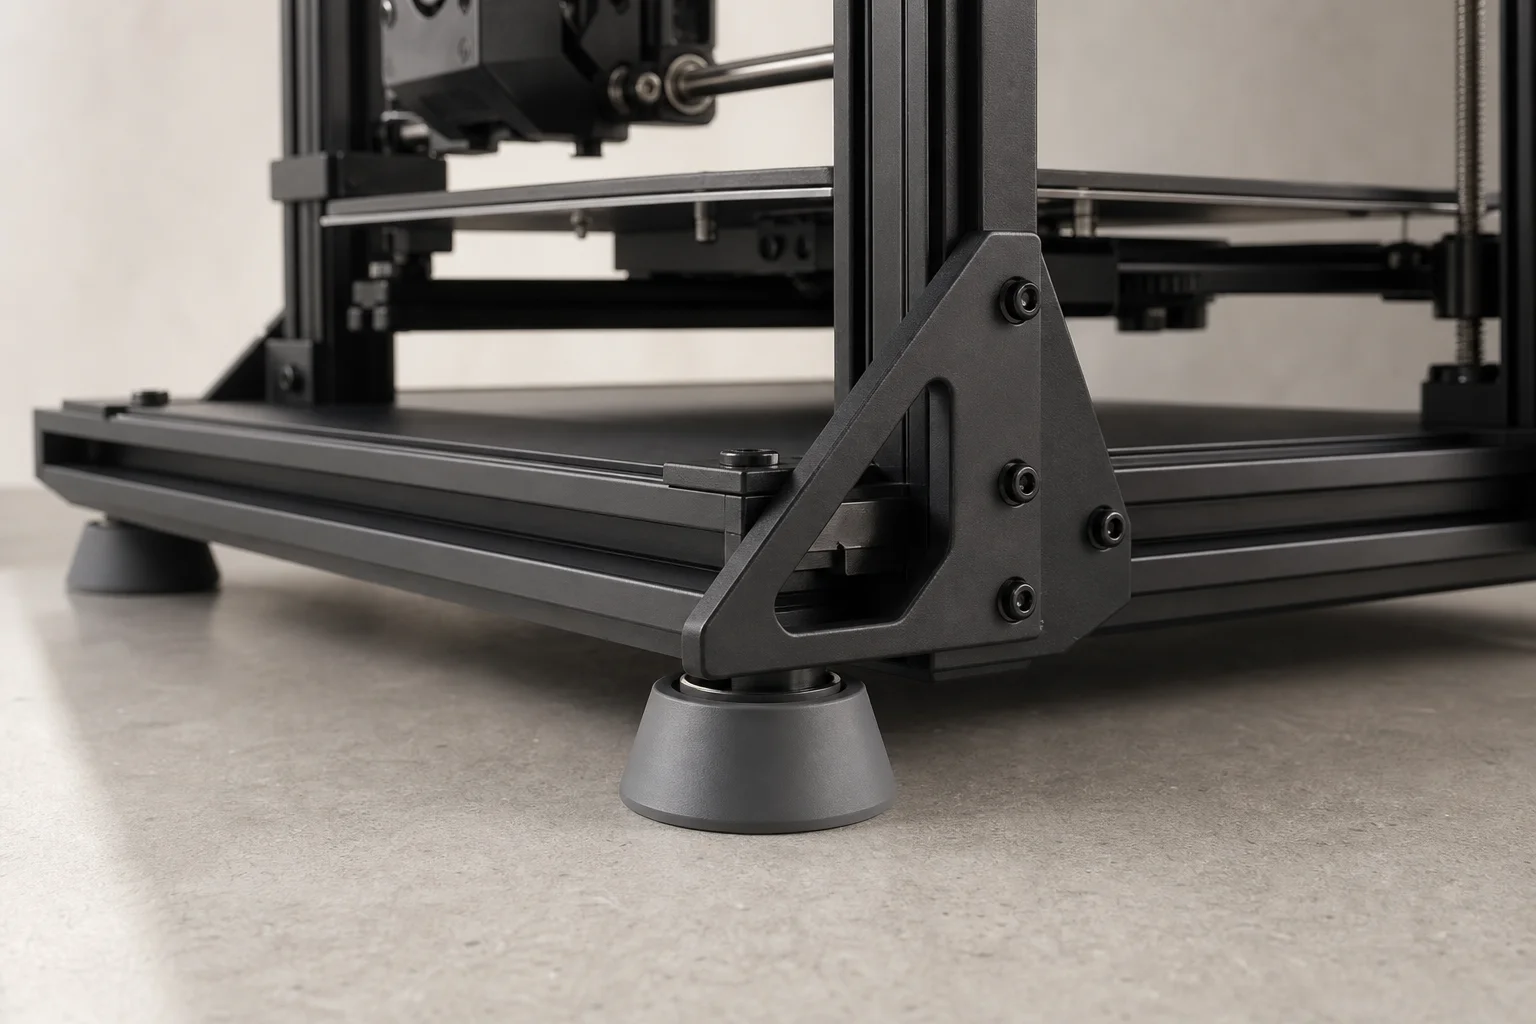
Frame corner braces help prevent the printer frame from becoming skewed during assembly and use. These rigid braces keep the frame square, which is critical for consistent print quality. While their effectiveness depends on careful installation, they provide a visual reminder to maintain frame alignment during maintenance and upgrades.
Practical Considerations
Before undertaking major upgrades, assess which issues affect your specific workflow. Bed adhesion problems point toward a surface upgrade. Dimensional inconsistencies across the bed suggest a dual Z-axis upgrade. Slow print speeds with direct drive indicate a lighter stepper motor. Not every upgrade is necessary for every user, and the Ender 3 Pro remains capable without them.
The newer Ender 3 S1 Pro incorporates many of these upgrades from the factory, including improved cooling, direct drive, and better bed adhesion. However, the original Ender 3 Pro remains a solid platform for learning about 3D printer mechanics and customization through hands-on modification.
Conclusion
The Ender 3 Pro’s modular design makes it well-suited to incremental upgrades. Prioritize changes that address your most pressing printing challenges, and take time to properly calibrate after each modification. Whether you choose to upgrade or stick with the stock configuration, the Ender 3 Pro continues to be a reliable tool for 3D printing projects.
Product link
View more details for Ender 3 Pro
This product is mentioned in the review. Check the specifications, options, and compatibility before buying.
View more details for Ender 3 ProFurther reading
Related Reviews
3D Printing
3D Printer Wishlist 2026: Industry Hopes and Manufacturer-Specific Improvements
A comprehensive review of what the 3D printing industry needs in 2026, from universal standards to manufacturer-specific feature requests across leading brands.
3D Printing
3D Printing Trends 2026: Multi-Material Systems, Stronger Filaments, and Desktop Metal Casting
FormNext 2025 revealed the direction of 3D printing in 2026: accessible multi-material printers, high-strength filaments, and innovative software solutions that bring industrial capabilities to the desktop.
3D Printing
Bambu Lab 3D Printer Lineup 2025: Which Model Fits Your Needs
A comprehensive breakdown of Bambu Lab's current printer lineup, from mid-range workhorse models to flagship multifunction machines, with honest trade-offs for each.