Aquarium Filtration
ClearWater 50 Version 2 Review: A Turf Algae Scrubber That Earns Its Space
A practical look at the ClearWater 50 Version 2 turf algae scrubber: what it removes, how the updated design installs, and who should consider one.
Introduction
Heavily stocked reef tanks tend to drift toward the same problem. Feed the fish and corals generously, and nitrate and phosphate climb. The usual fixes are familiar: granular ferric oxide for phosphate, larger or more frequent water changes, bio pellets, or carbon dosing for nitrate.
A turf algae scrubber approaches the problem from a different angle. Rather than removing nutrients chemically or through dilution, it grows algae deliberately, in a controlled box, and harvests the nutrients out of the system as plant matter. Get the sizing and the light schedule right, and the scrubber becomes the preferred home for algae in your tank.
The ClearWater 50 Version 2 is a refined take on that idea, and it addresses several of the practical annoyances that older scrubbers carried.
What a Turf Algae Scrubber Actually Does
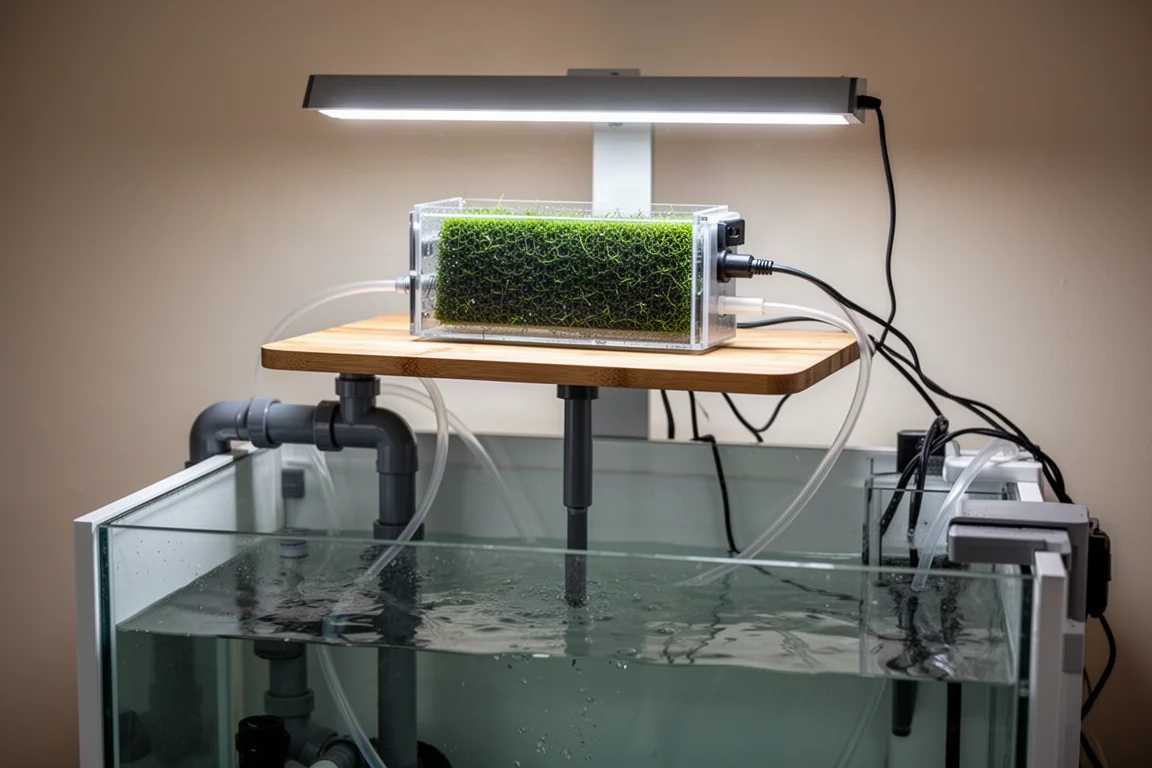
The concept is simpler than it looks. A scrubber is a box with lights on it. Water passes through the box and over a screen, and turf algae grows on that screen using the light and the nutrients already dissolved in the tank water.
On this unit, tank water is pumped in through a 3/8 inch barbed fitting, flows up the side of the housing, and enters the tray. Gravity then pulls the water down through an opening and onto the screen before it exits through the bottom of the unit. Two separate grow lights, one mounted on each side, drive algae growth across the screen.
Because turf algae grows extremely fast in this environment, it out-competes nuisance algae for the available nutrients in the system. The practical result is that most of the algae in your tank ends up confined to the scrubber rather than spreading across the glass and the rockwork.
How much nutrient actually gets removed depends on several variables: the size of the scrubber, how much food goes into the tank, the livestock load, how long the scrubber lights run each day, and how often the algae is harvested.
Who This Scrubber Is For
The ClearWater 50 Version 2 is rated for tanks from 50 to 100 gallons, which covers a wide range of mixed reef and frag systems. The primary reason to install one is nutrient reduction, specifically nitrate and phosphate.
It also makes sense for anyone short on space. A turf algae scrubber takes up less room than a standard macro algae refugium, and depending on the sump layout, it can simply sit on top of the sump itself. If you do not have a dedicated compartment for a refugium, or you are mainly interested in nitrate and phosphate reduction rather than pod production, a scrubber is a reasonable fit.
There is one honest caveat worth stating. A macro algae refugium may still be the better option if your goal is breeding copepods. The scrubber is a nutrient tool first.
Main Strengths
The core argument for a turf algae scrubber is efficiency. Turf algae grows fast, and it is likely more effective at pulling nitrate and phosphate out of the water column than a macro algae reactor or a macro algae refugium of comparable footprint.
In practice, that efficiency can change how a tank is maintained. Running an algae scrubber on a heavily fed frag system for roughly six months can eliminate the need for granular ferric oxide entirely, and in a system with strong uptake, phosphate may need to be dosed back in because the scrubber is removing so much of it. That is a meaningful shift for anyone tired of swapping out GFO every few weeks.
There is a second benefit that is easy to overlook. Algae consumes carbon dioxide and releases oxygen as it grows, which supports pH. Lighting the scrubber on the opposite schedule from the display tank helps hold pH steadier through the night, when display lighting is off and pH would otherwise sag.
Finally, the scrubber oxygenates the water it passes through, and in some setups it can reduce the load placed on a protein skimmer.
A Closer Look at the Version 2 Design
The updated design is where most of the improvement lives. Previous versions of this scrubber asked for several bulkheads and a fair amount of plumbing know-how, required the water flow to be shut off every week during cleaning, used screen clips that were fragile and sometimes broke, and ended up bulky once installed.
Version 2 removes most of those friction points. There is now a single drain on the bottom. That single connection makes it easy to run the scrubber off a manifold or off a small utility pump. The screen is straightforward to remove, and you do not need to shut the water off to do it. A PVC light blocker is included as standard, which keeps stray light from escaping into the sump.
These units are manufactured by Adaptive Reef, and the build quality reflects that. Fit and finish are a genuine part of the value here, not an afterthought.
Installation and Mounting
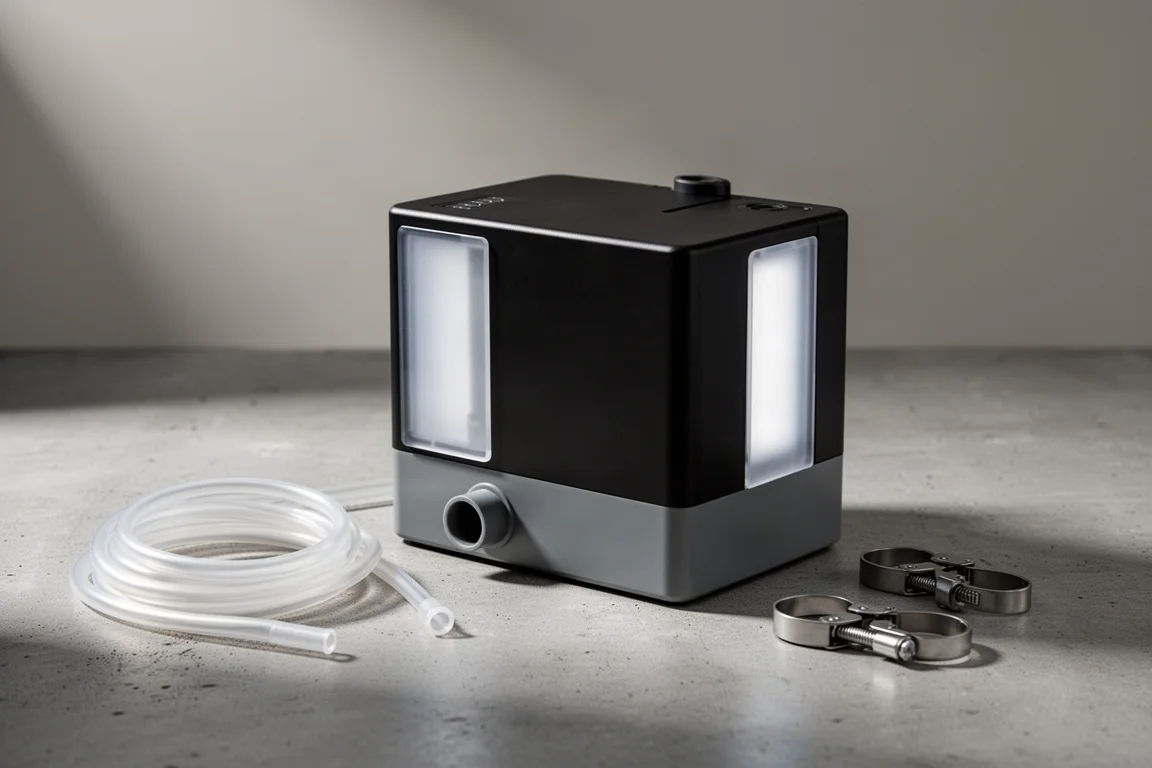
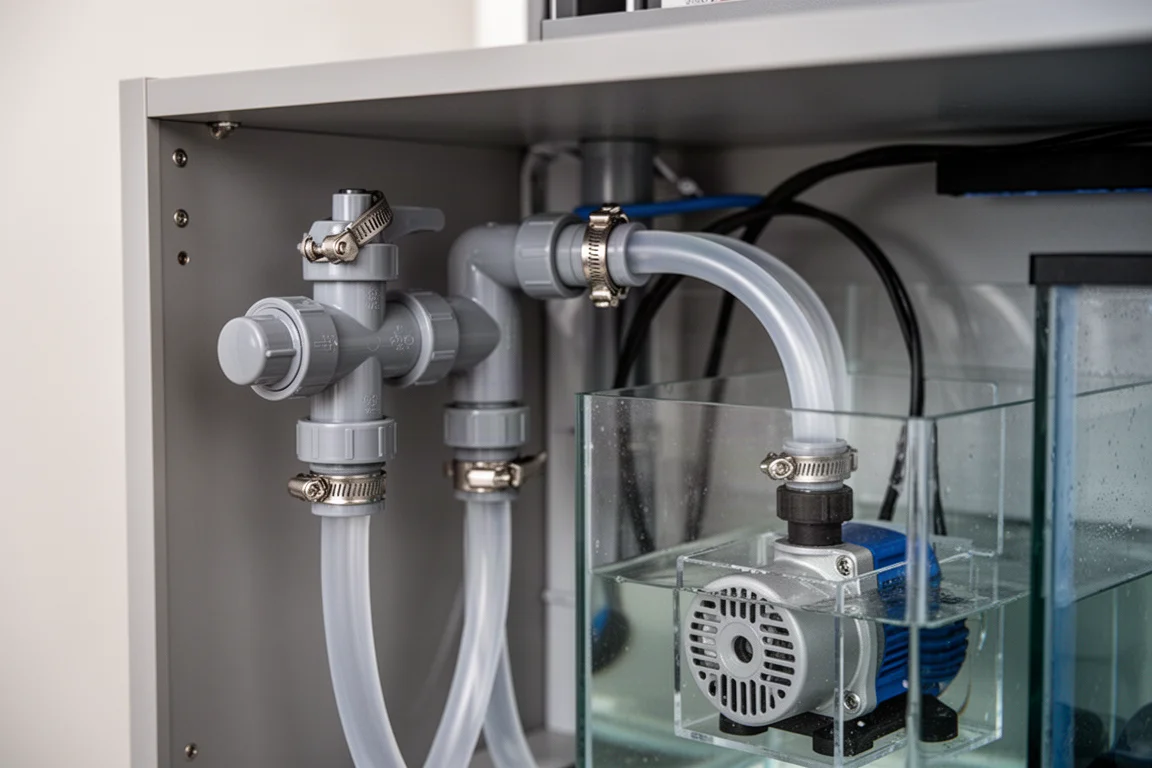
The scrubber ships with everything you need except the pump, the flexible tubing, and the ratchet clamps. If you already run a manifold, no pump is required. If you need a pump, the recommended flow rate for this unit is 150 gallons per hour, which puts a 185 gallon per hour pump right in the sweet spot. For anyone with a larger pump already on hand, a half inch ball valve lets you dial the flow back.
Connection hardware is modest: 3/8 inch inner dimension silicone tubing and half inch ratchet clamps will get the job done for a manifold install. If you are running a utility pump instead, the same tubing and clamps apply, with the ball valve added to control flow.
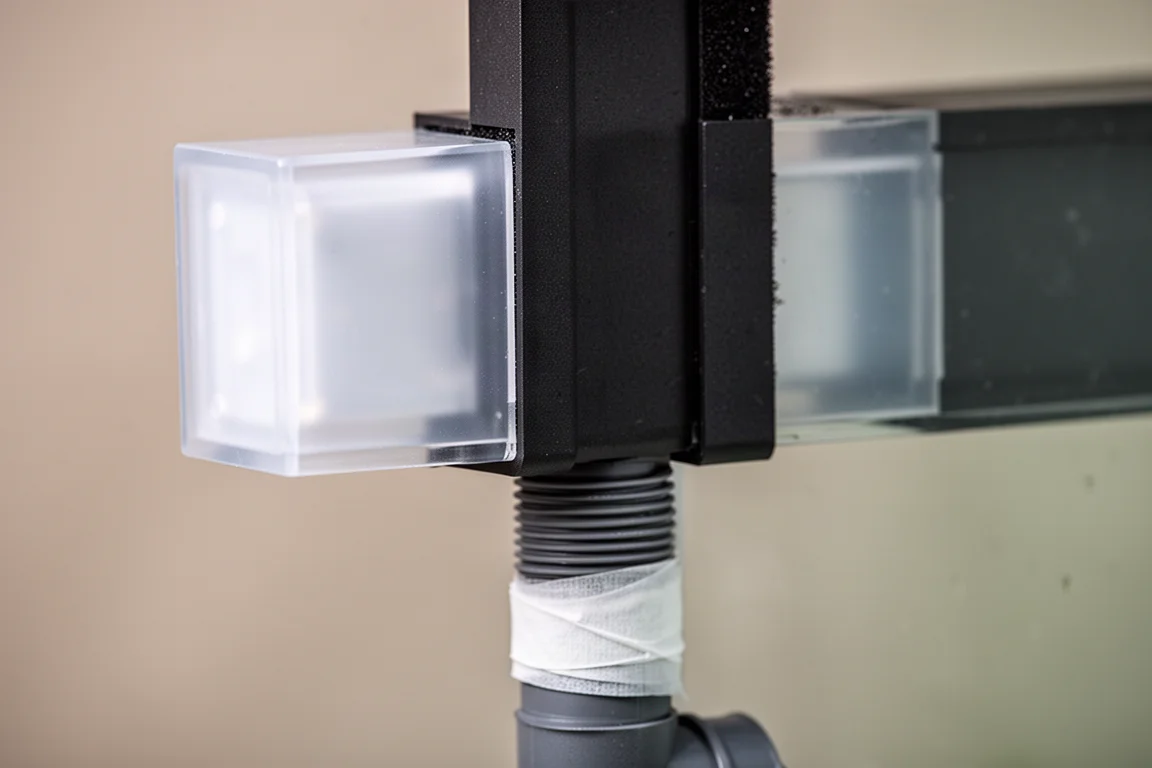
Assembly follows a short sequence. Install the bulkhead by unscrewing the lock nut, placing the manifold body and gasket through the top, and hand tightening the lock nut underneath. Remove the two rods from the tray and thread them through the screen, place the screen through the opening in the tray, and secure the rods. Set the whole assembly into the scrubber body. Wrap the included plumber’s tape several times around the threaded elbow and screw it into the body. Slide both lights into place with the wires facing down, then insert the two blackout frames on each side.
Mounting depends entirely on your setup, but there is one firm requirement: because the Version 2 drains from the bottom, it has to be mounted above the water level. A common approach is to use a cutting board as a base, measure where the drain should sit, drill a two inch hole, and cut a length of one inch PVC to attach to the bulkhead. Keeping the outlet below the water line is what makes operation silent.
One setting matters more than any other during commissioning: you want enough flow to keep the tray full of water without so much that it spills over the sides.
Daily Operation, Harvesting, and Light Schedules
Startup is refreshingly hands-off. Leave the lights on 24 hours a day until lush growth appears. There is no need to seed the scrubber, since turf algae will establish on its own with time. Expect several weeks before algae shows up at all, and then several more weeks before growth becomes genuinely robust.
If other types of algae appear early on, particularly a yellow film, do not worry about it. Scrape it away each week and the turf algae will eventually take over.
Harvest intervals depend on the system, but somewhere between every 7 and 14 days is typical. Lighting can then be tuned to match the nutrient uptake you actually want. If 24 hours a day strips too much out of the water, drop to 16 hours, or down to 12.
A 12 hour photoperiod on the opposite schedule from the display tank is a popular configuration, because it supports pH through the night while still delivering steady nutrient export. Because macro algae consumes a lot of minor and trace elements, daily or weekly dosing of a trace element supplement is strongly recommended. Harvest the algae weekly and the growth volume adds up quickly.
Things to Consider Before Buying
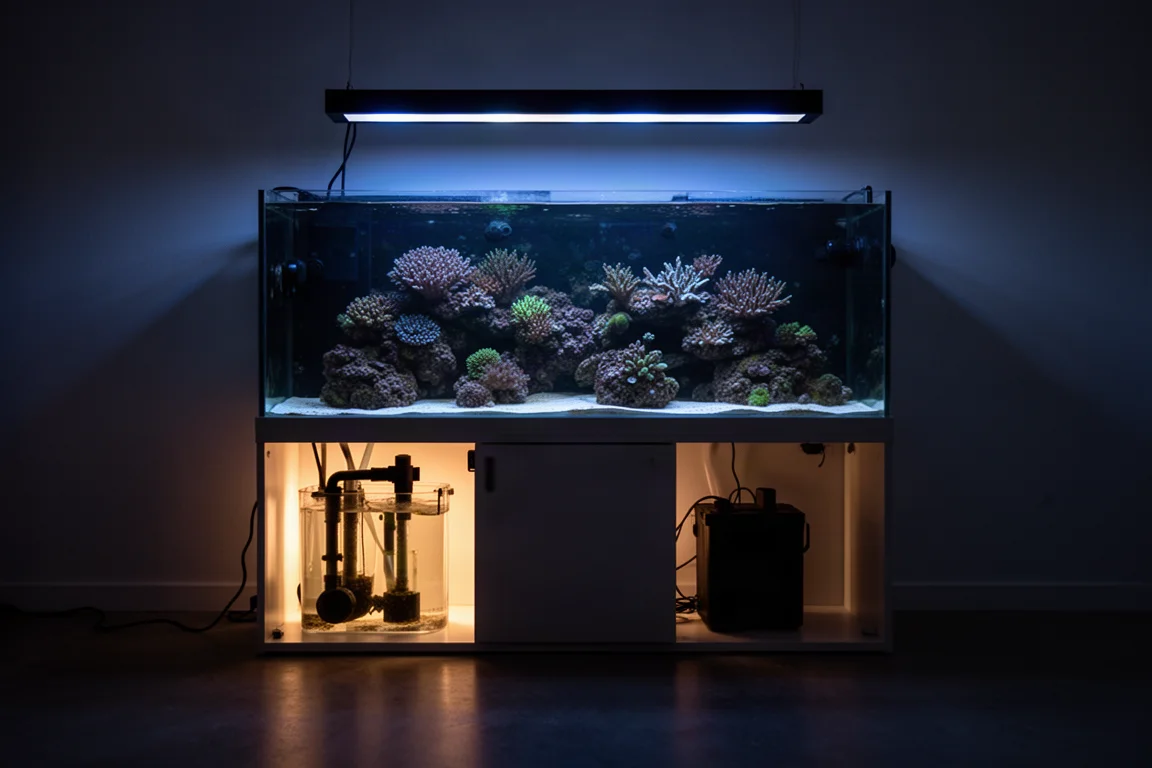
The mounting requirement is the biggest practical constraint. Mounting above the water line means you need vertical clearance inside or above the sump, and a plan for where the drain discharges. Measure before you commit.
Budget for the accessories that are not included. A pump, silicone tubing, and ratchet clamps all need to be sourced separately, along with a ball valve if you are using a pump rather than a manifold.
Temper expectations on timing. Nutrients will not drop overnight. It typically takes several weeks for algae to appear and longer for the scrubber to reach full productivity. This is a slow, steady tool rather than an instant fix.
Plan for maintenance. Harvesting every one to two weeks is part of owning a scrubber, and the interval and light schedule will need adjusting as your tank’s nutrient load changes.
And if copepod production is your main goal, a macro algae refugium remains the better fit.
Buying Advice
Size the unit to your system first. The ClearWater 50 Version 2 is rated for 50 to 100 gallon tanks, so confirm that range matches your water volume before anything else.
Then decide how you will feed it. A manifold connection keeps the install clean if your return plumbing already supports it. A dedicated utility pump is the simpler route for most hobbyists, paired with a ball valve so you can fine-tune flow toward the 150 gallon per hour target.
Next, check your clearances. Because the drain exits the bottom, this scrubber needs to sit above the water line. A base like a cutting board over the return chamber is a workable, low-cost solution, and drilling a two inch hole with a length of one inch PVC gives you a silent discharge.
Finally, order the small parts at the same time as the scrubber so installation is not stalled: 3/8 inch inner dimension silicone tubing, half inch ratchet clamps, and the ball valve if needed.
For reefers who feed heavily, are tired of constant GFO changes, and want nitrate and phosphate control in a compact footprint, this is a well-executed and thoughtfully revised option.
Conclusion
The ClearWater 50 Version 2 does the unglamorous work of nutrient control without asking much of the person running it. The single bottom drain simplifies plumbing, the removable screen removes the weekly shutdown ritual, the included PVC light blocker keeps light where it belongs, and the Adaptive Reef build quality is evident throughout.
It is not a plug-and-play appliance. It needs a pump or manifold, tubing and clamps, space above the water line, and a harvest routine every week or two. It also takes several weeks to show meaningful growth.
Set those expectations up front, and what you get is a compact piece of equipment that handles nitrate and phosphate, keeps nuisance algae off the glass and rockwork, supports pH on an opposite light schedule, and oxygenates the water as it passes through.
Product link
View more details for ClearWater 50 Version 2
This product is mentioned in the review. Check the specifications, options, and compatibility before buying.
View more details for ClearWater 50 Version 2Further reading
Related Reviews
Aquarium Filtration
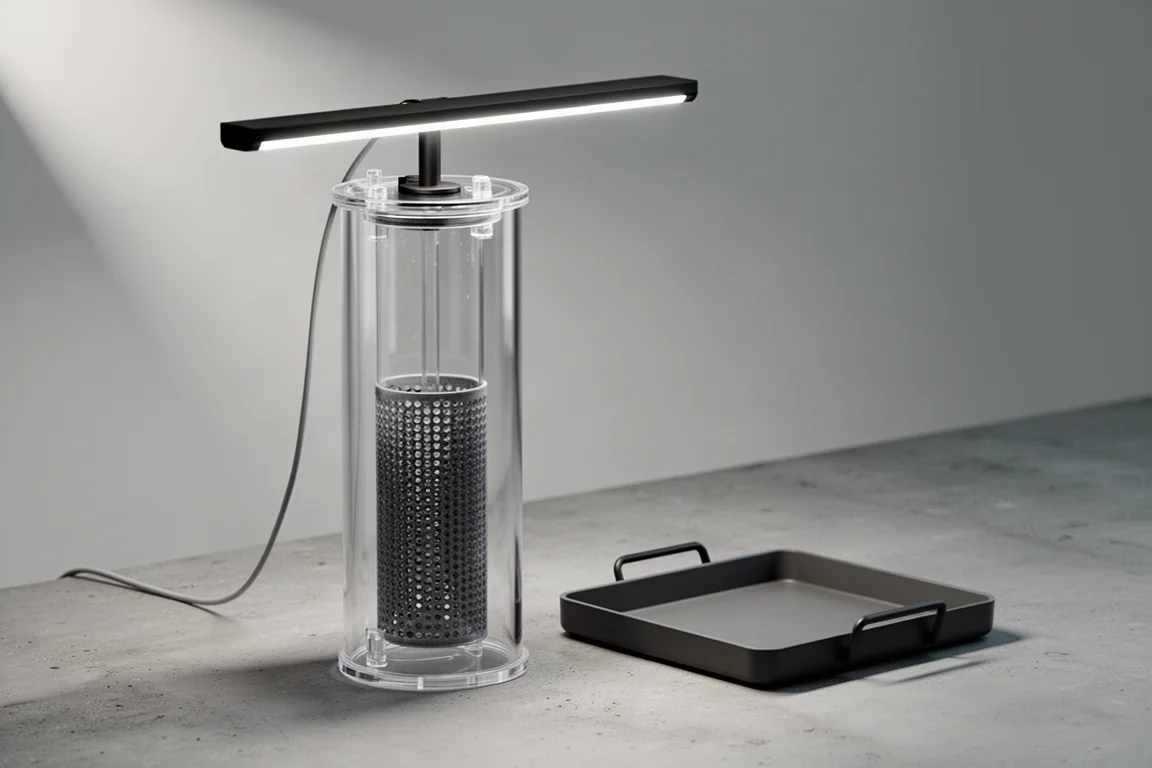
Adaptive Reef Refugium Reactor Review: A Simple Way to Grow Nuisance Algae Outside Your Display
A vessel designed to grow nuisance algae in a controlled space so it stops taking over the display tank, with an adjustable stand, a removable basket, and a single LED light on top.
Aquarium Filtration
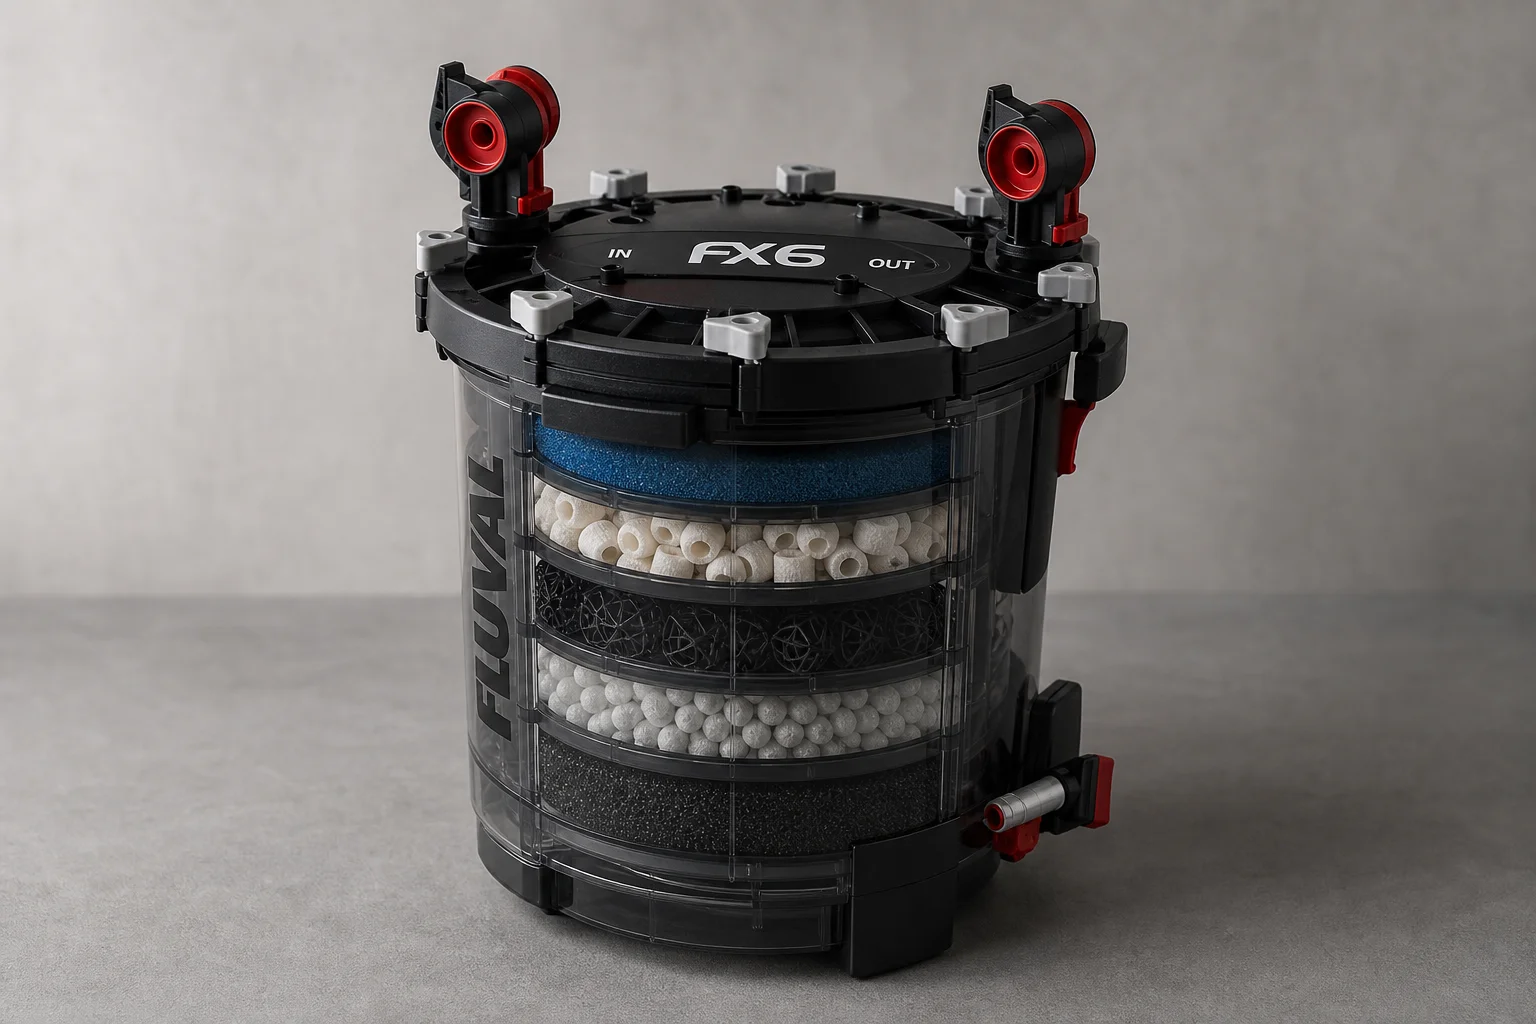
Affordable Aquarium Filter Media: Testing Budget Alternatives to Expensive Biomedia
Can cheap pot scrubbers replace expensive ceramic biomedia in a canister filter? One aquarist tests the theory on a heavily stocked 210-gallon tank.
Aquarium Filtration
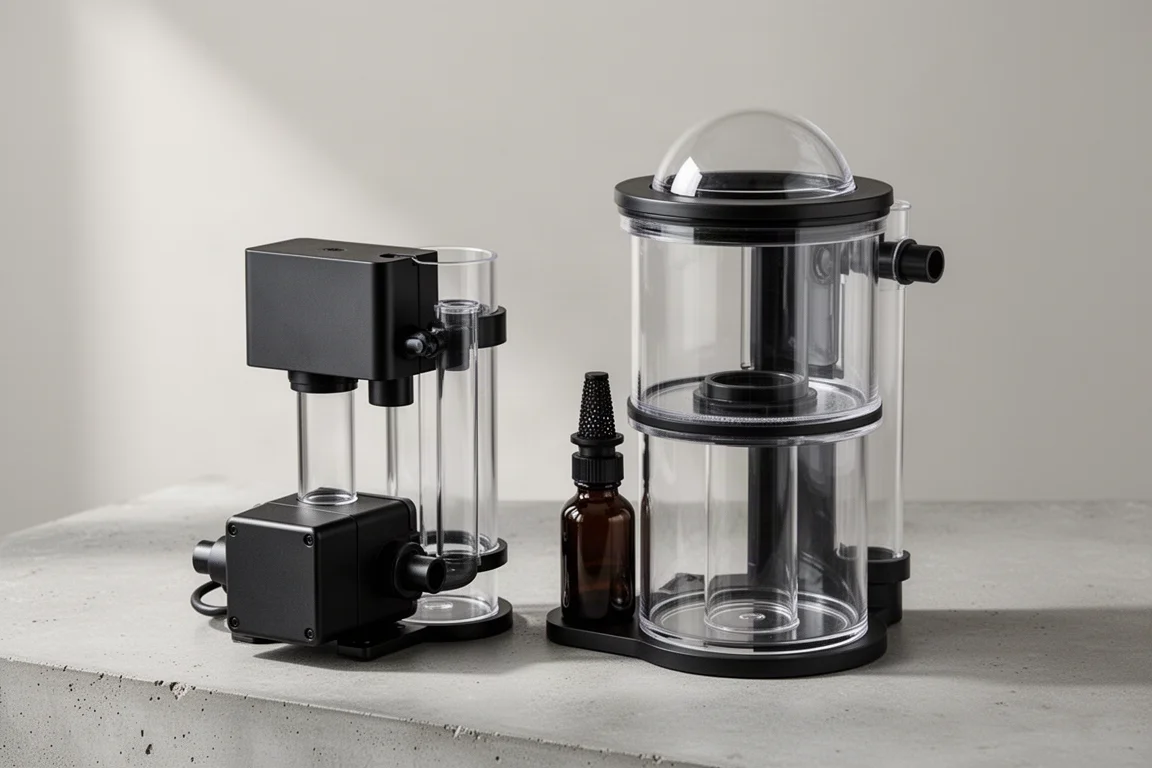
AquaMaxx Bullet 2 and Bullet 3 Review: Hang-On Protein Skimmers Compared
A closer look at two larger AquaMaxx hang-on protein skimmers, covering capacity ratings, clearance needs, and the design details that separate the Bullet 3 from the Bullet 2.