DIY Electronics & Drones
Build and Fly Your Own ESP32 Micro Drone: A Complete Guide
Learn how to design, 3D print, assemble, and program the ESP-FLY, a pocket-sized ESP32-powered quadcopter you can control from your phone.
Introduction
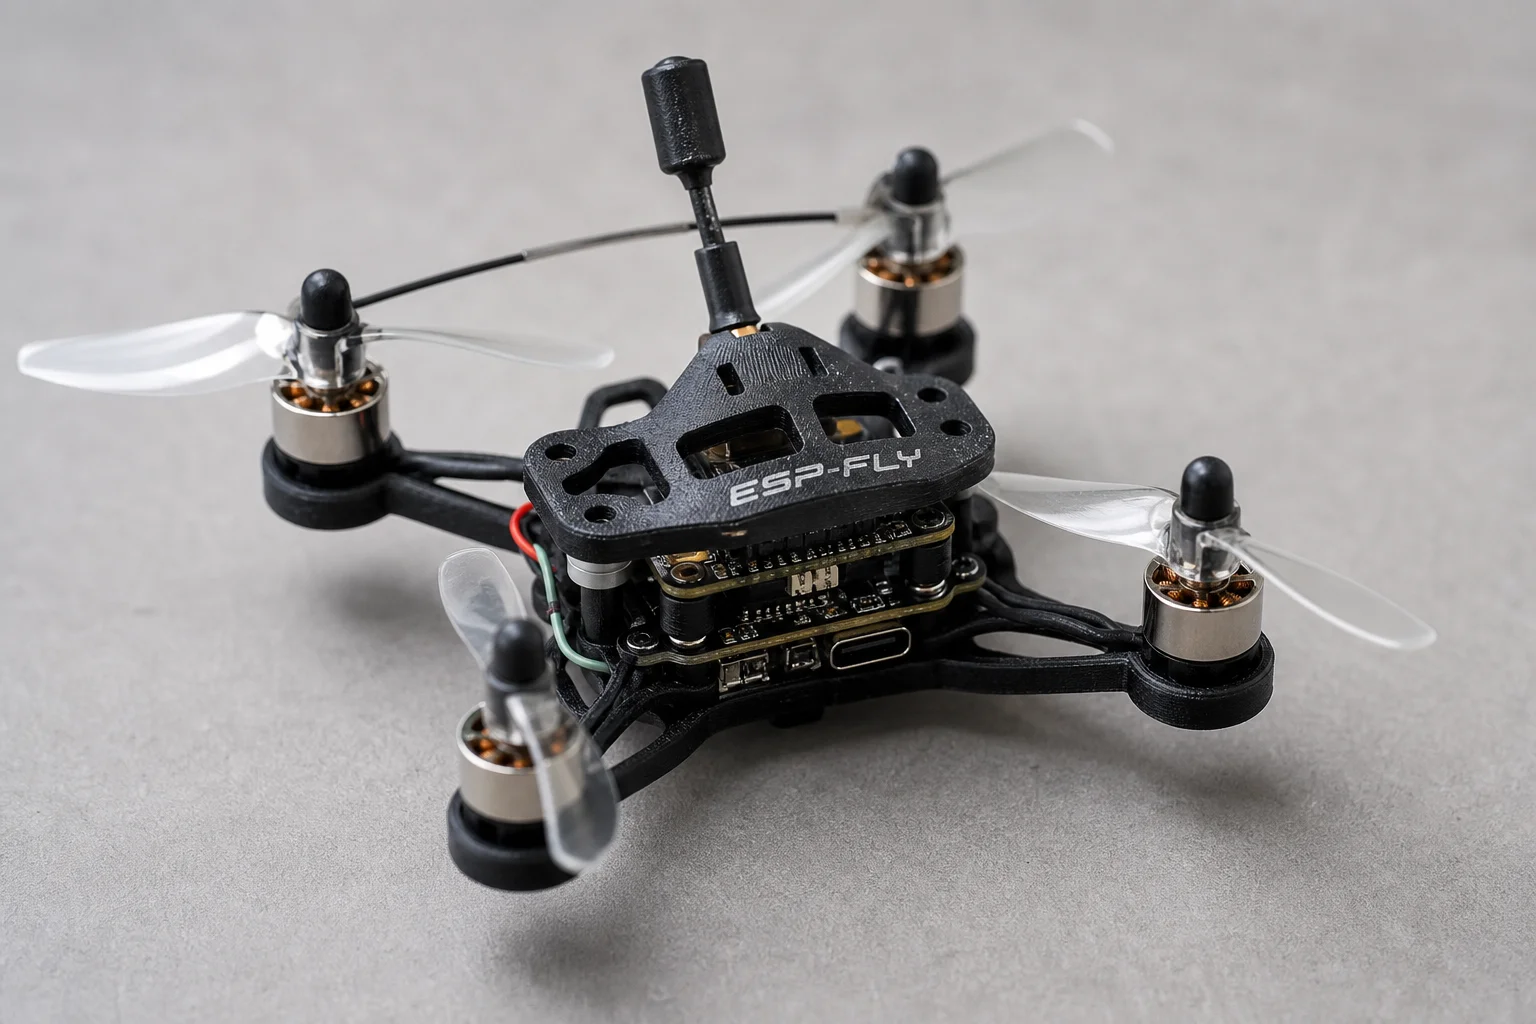
Building a micro drone from scratch might sound intimidating, but the ESP-FLY proves it is entirely achievable. This pocket-sized quadcopter measures just 50mm across, weighs only 18 grams without a battery, and flies using nothing more than your smartphone. The entire project costs around $37 in parts and combines 3D printing, circuit board design, microcontroller programming, and practical flight testing into one rewarding build.
Designing and 3D Printing the Frame
The ESP-FLY frame begins in CAD software. Using Autodesk Fusion, the design incorporates measurements of every component that will eventually fit inside: the flight controller, battery, motors, and sensors. The closed-body design features two-prong style arms to support the motors while maintaining basic aerodynamics. A top cover displays the drone’s name, and an optional secondary cover accommodates a 3-gram FPV camera for those who want a first-person view.
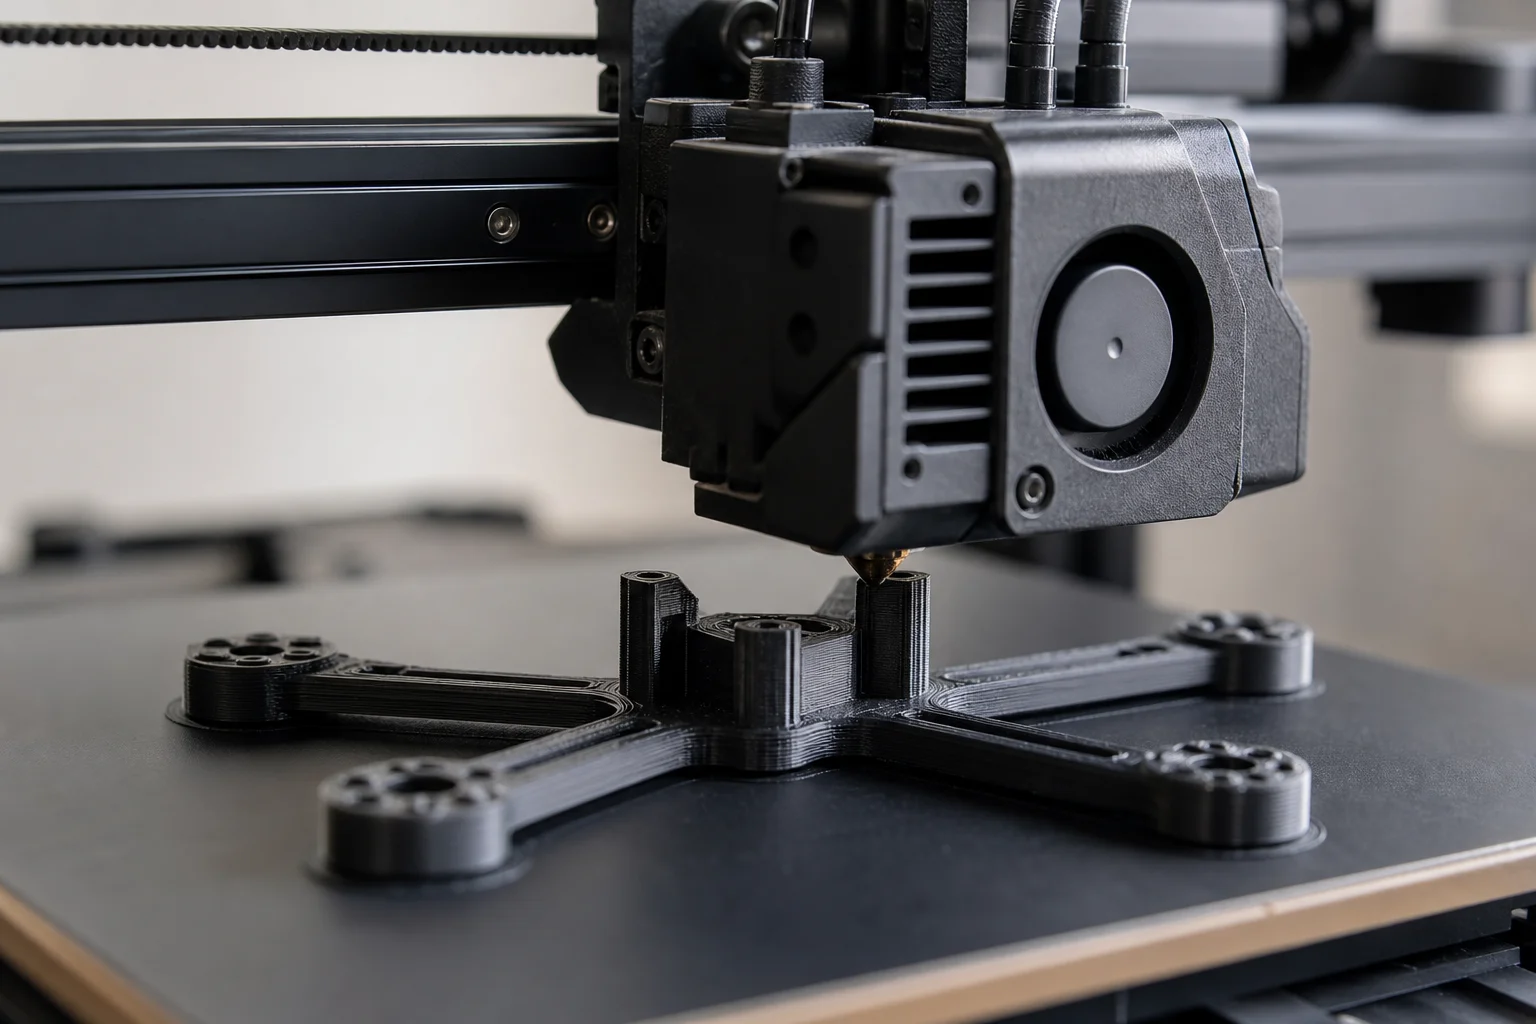
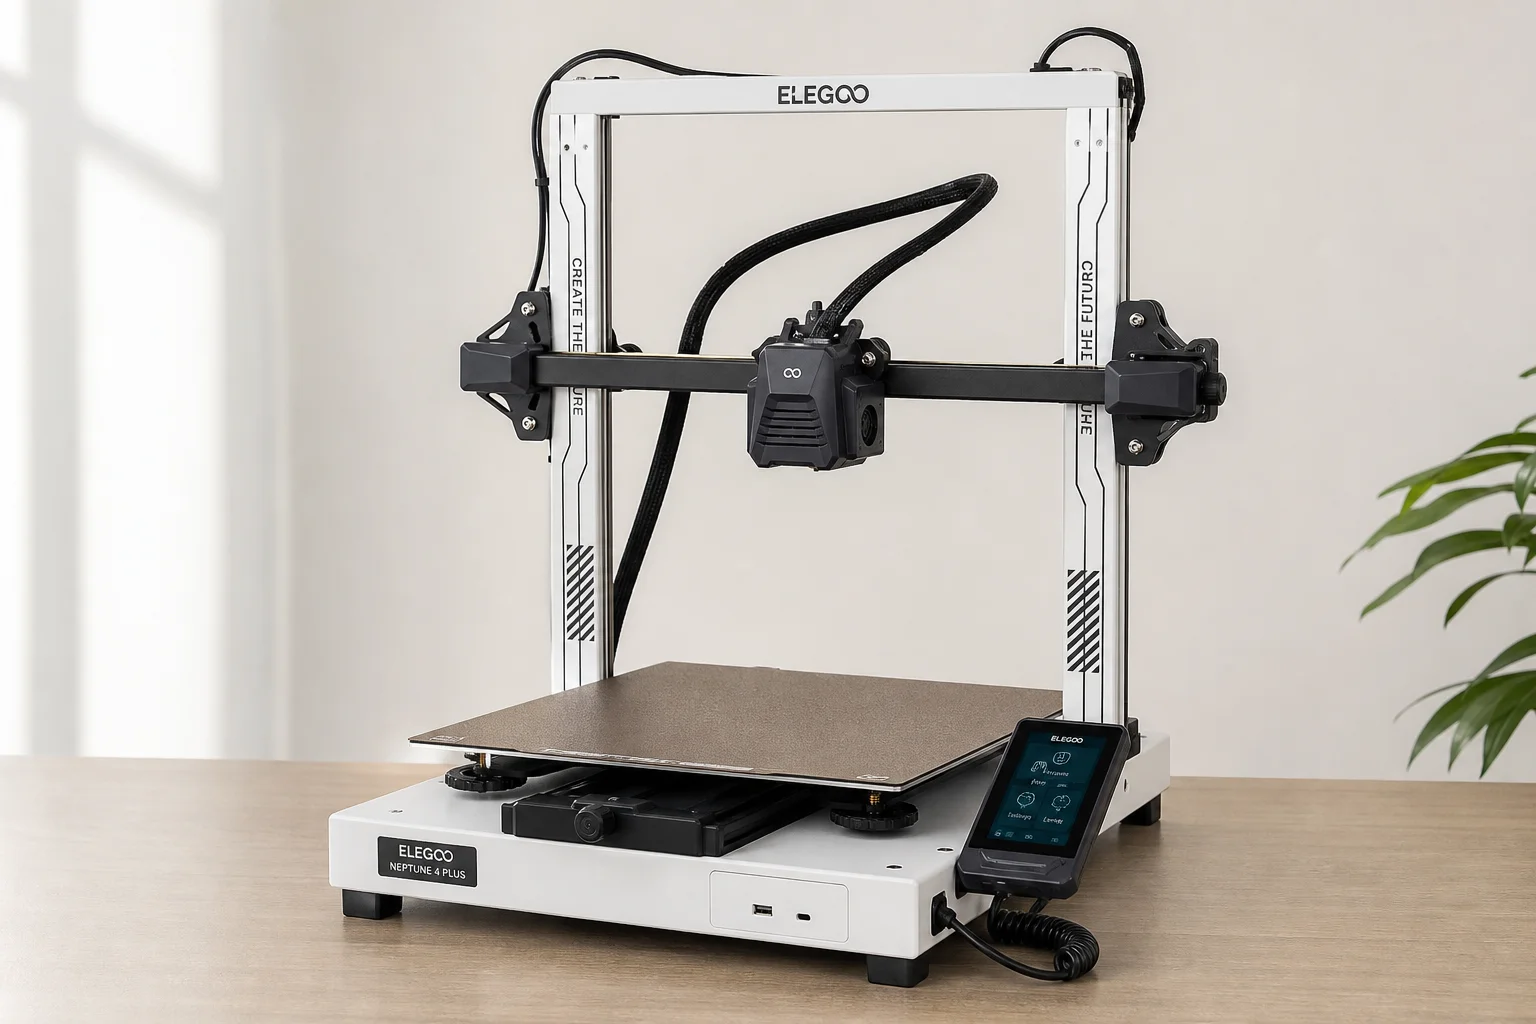
The finished STL files are available for download, complete with recommended 3D printing settings. Once loaded into slicing software and sent to a 3D printer, the parts print remarkably fast. A quality printer can produce all frame components in around 30 minutes, delivering parts with no stringing, warping, or layer shifting. The 3D-printed frame weighs approximately 4 grams.
For those without access to a 3D printer or facing budget constraints, a PVC alternative exists. A 2-inch hardware store PVC pipe can be cut, heated, and flattened into sheets. Using a provided blueprint, you can mark, drill, and cut the frame parts by hand, then bend and glue them together. This DIY PVC approach produces a functional frame weighing around 6 grams, slightly heavier than the 3D-printed version but still flight-capable.
Building the Electronics: PCB Assembly
The heart of the ESP-FLY is a custom four-layer PCB that integrates the motion sensor, motor driver, and power distribution into a single compact module. Designing the board involves placing surface-mount components using PCB design software with AI assistance to streamline the layout. The top layer handles motion tracking while the bottom manages motor control and power.
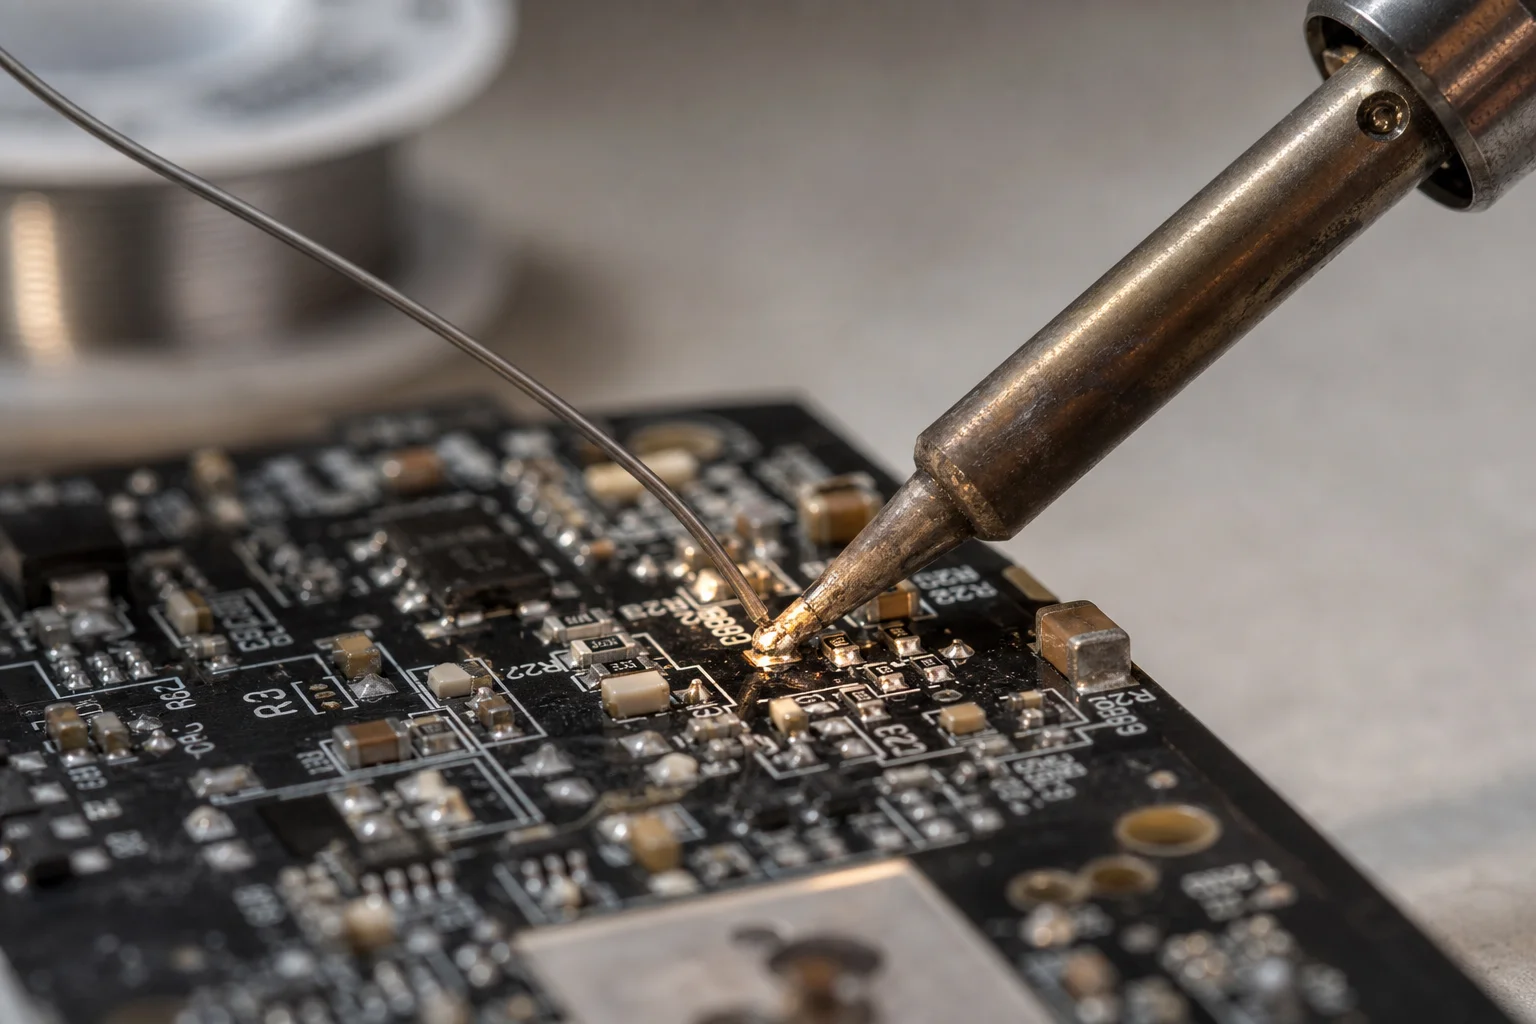
Once the Gerber files are exported, they are uploaded to a PCB manufacturer for production. The resulting boards arrive ready for assembly. Using an SMD stencil and solder paste, components are carefully placed and reflowed on a hot plate. The completed sensor and motor driver module weighs just 1 gram, keeping the overall drone lightweight and efficient.
For those without soldering equipment, PCB assembly services are available. You simply upload your bill of materials and pick-and-place files, and the manufacturer delivers a fully assembled board ready to use.
Installing the Flight Controller and Motors
The Seeed Studio XIAO ESP32S3 serves as the drone’s brain. This thumb-sized microcontroller measures just 21mm by 17mm, making it ideal for a micro drone. Despite its compact size, it runs dual cores with plenty of processing power, includes built-in low-latency Wi-Fi for real-time control, and features a battery management system that allows direct charging via USB-C. Its 100-milliamp power draw helps extend flight time, critical for a lightweight aircraft.
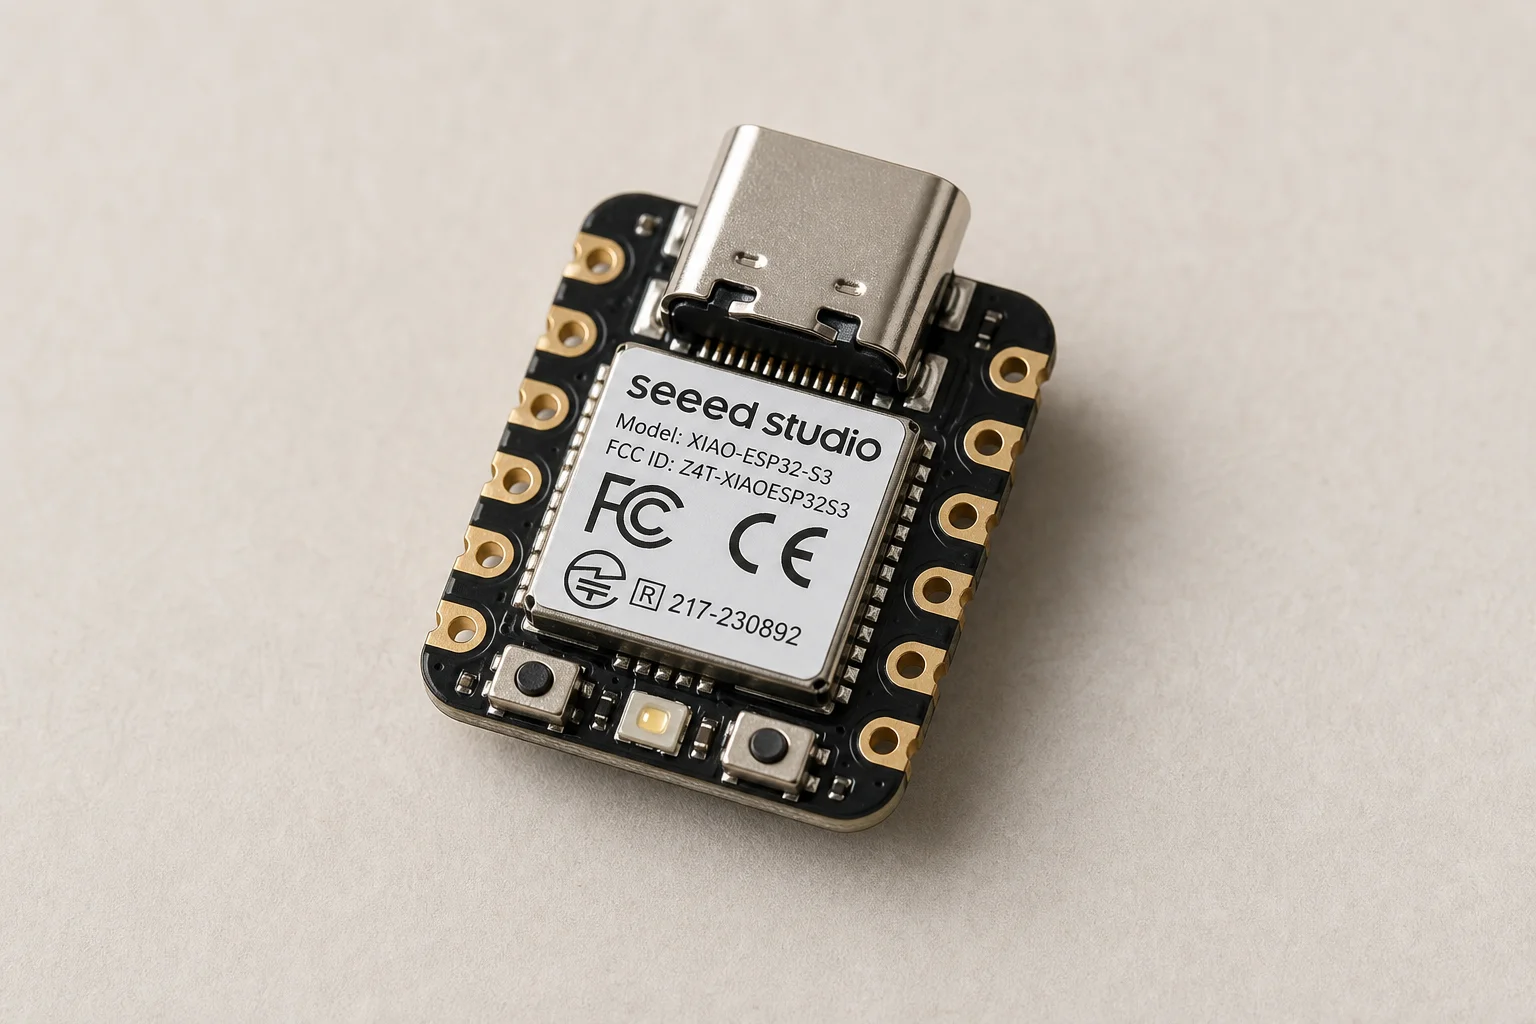
The flight controller stack mounts to the PCB using pin headers. Four 6mm by 15mm coreless motors with 0.8mm shaft diameter connect to the motor driver pads. Two motors spin clockwise and two counterclockwise, distinguishable by wire color. Motor wires thread through holes designed into the frame arms, keeping the interior tidy. A small zip-tie battery strap secures a 150 to 300 milliamp LiPo battery with at least a 25C discharge rate.
Landing gear consists of four 25mm sections of solid-core jumper wire bent into a V-shape and glued into the motor holder regions. Gem Fan tri-bladed propellers attach to the motor shafts, with different colors on the rear motors to aid orientation during flight. The antenna from the XIAO is desoldered, stripped, and routed to the right side of the drone where the top cover slides over it.
Programming and Flying Your Drone
Firmware installation uses the ESP IDF development framework and Powershell command line. The ESP Drone firmware, originally created by Espressif and inspired by the Crazyflie project, is flashed to the microcontroller. Configuration options allow you to specify the chip type, select which sensors and motors are active, and assign their pins. Once flashed successfully, the drone displays a “ready to fly” message.
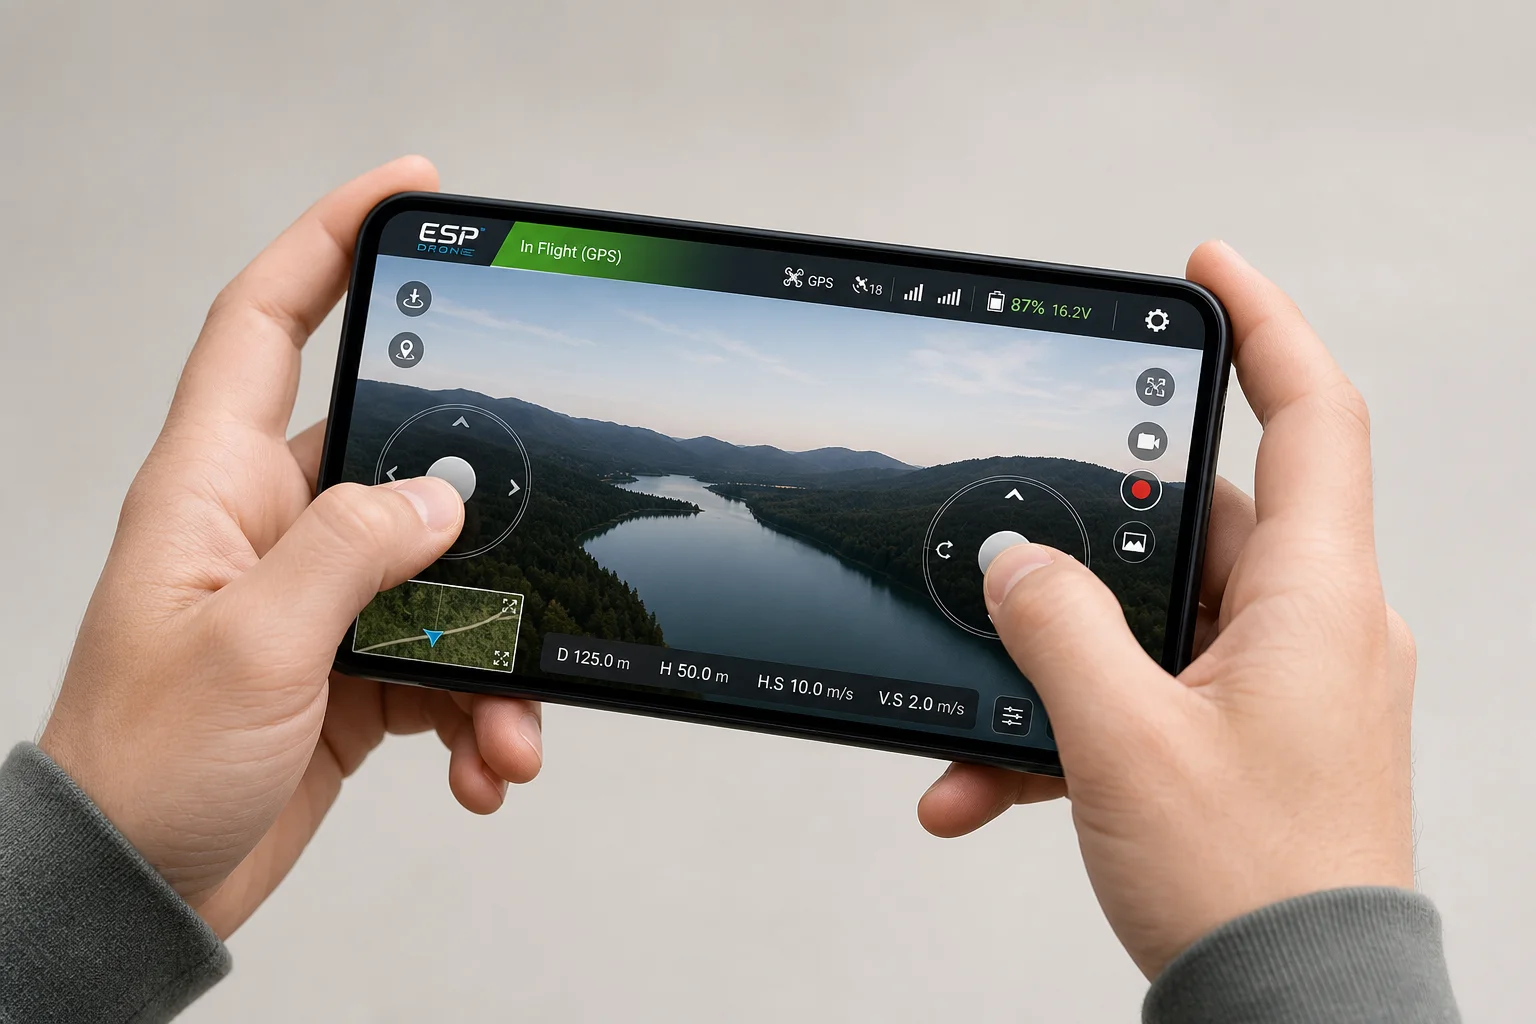
The Crazyflie client software opens an advanced configuration interface where you can adjust flight control settings such as trim rates, thrust thresholds, and flight modes. After calibration on a level surface, the drone connects to your phone via its Wi-Fi access point. The ESP Drone mobile app provides a joystick controller interface. The left joystick controls throttle and yaw, while the right joystick handles pitch and roll. Flight time on a 250-milliamp battery reaches approximately 5.5 minutes, with a range exceeding 50 meters.
View more details for Seeed Studio XIAO ESP32S3
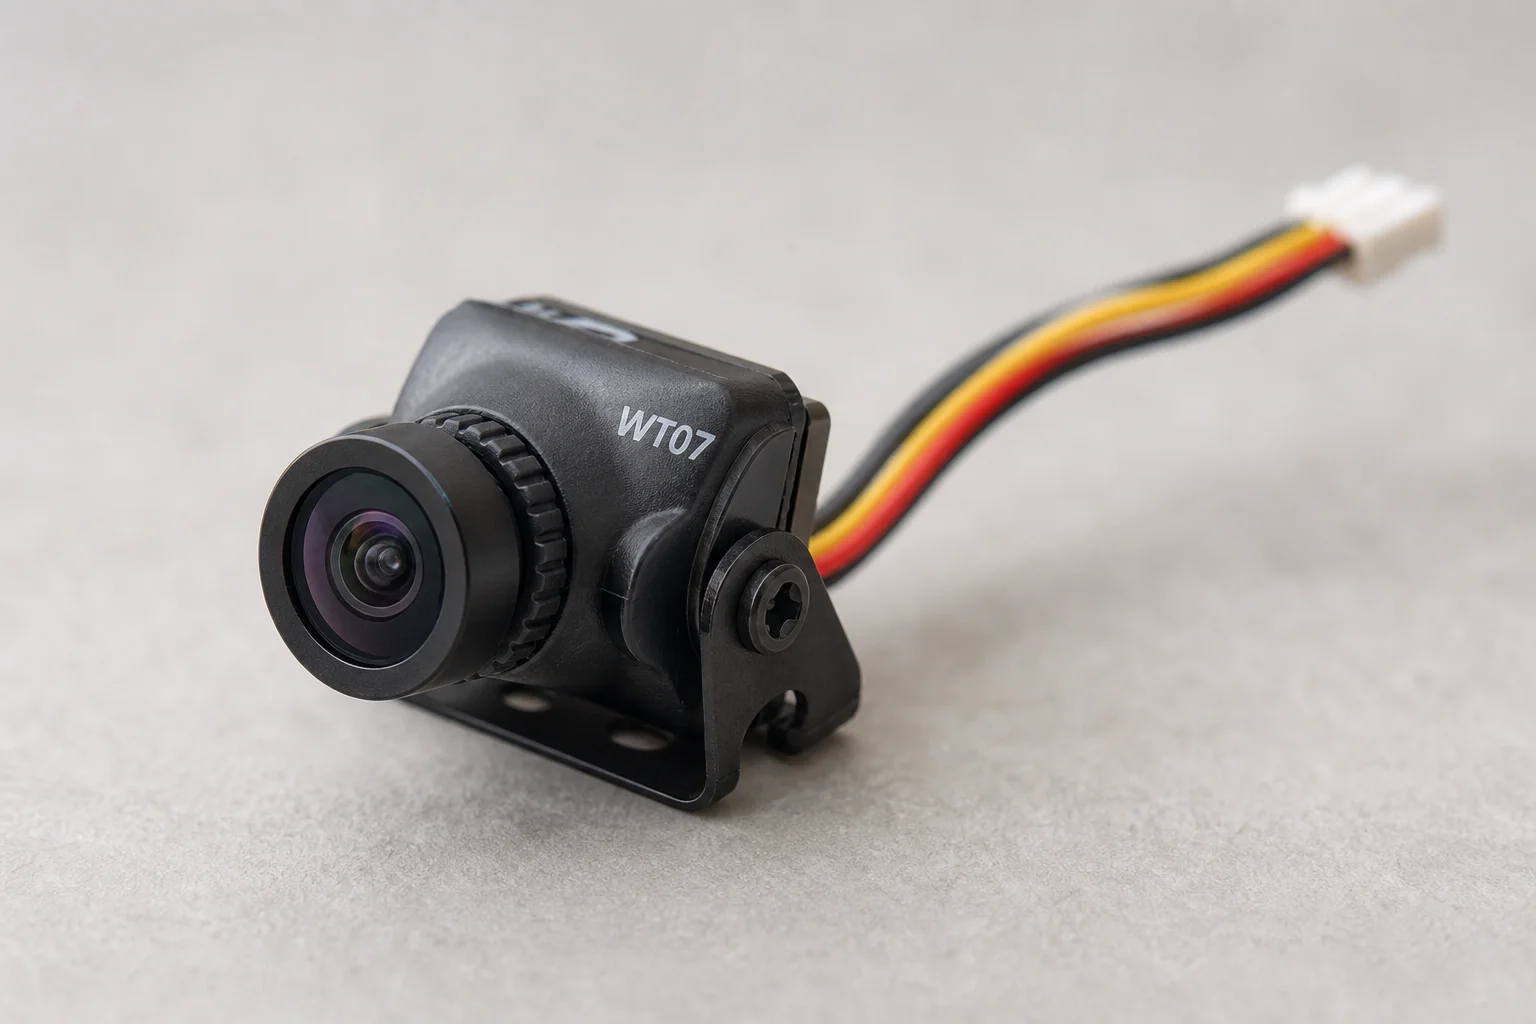
For FPV enthusiasts, the optional WT07 3-gram micro camera mounts in a secondary frame cover. The camera connects to the battery connector and transmits video at 5.8 GHz to compatible FPV goggles, providing a live first-person view with a transmission range over 100 meters. Adding the camera reduces flight time by roughly one minute but opens up immersive flying possibilities.
Conclusion
The ESP-FLY demonstrates that building a functional micro drone is within reach for makers with basic soldering skills and access to a 3D printer or hand tools. The combination of a lightweight frame, efficient flight controller, and smartphone control makes it an engaging project that delivers real flying capability. Whether you choose the 3D-printed or PVC frame, assemble the PCB yourself or use a service, the result is a pocket-sized aircraft that flies smoothly and reliably.
Further reading
Related Reviews
3D Printing
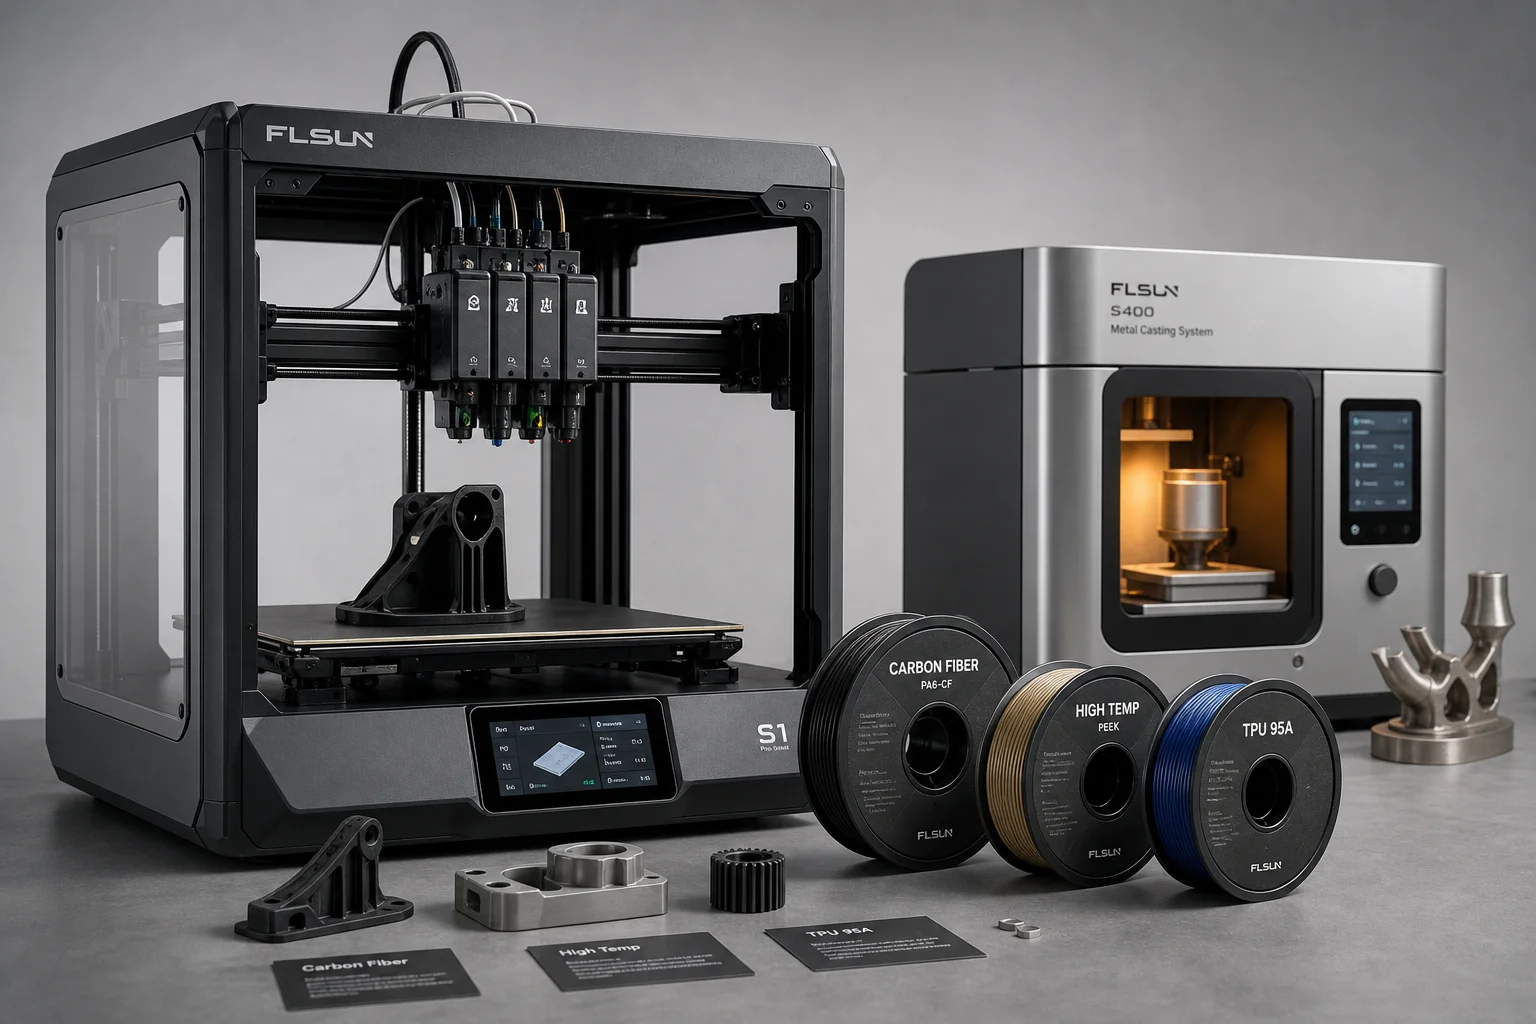
3D Printing Trends 2026: Multi-Material Systems, Stronger Filaments, and Desktop Metal Casting
FormNext 2025 revealed the direction of 3D printing in 2026: accessible multi-material printers, high-strength filaments, and innovative software solutions that bring industrial capabilities to the desktop.
3D Printing Materials
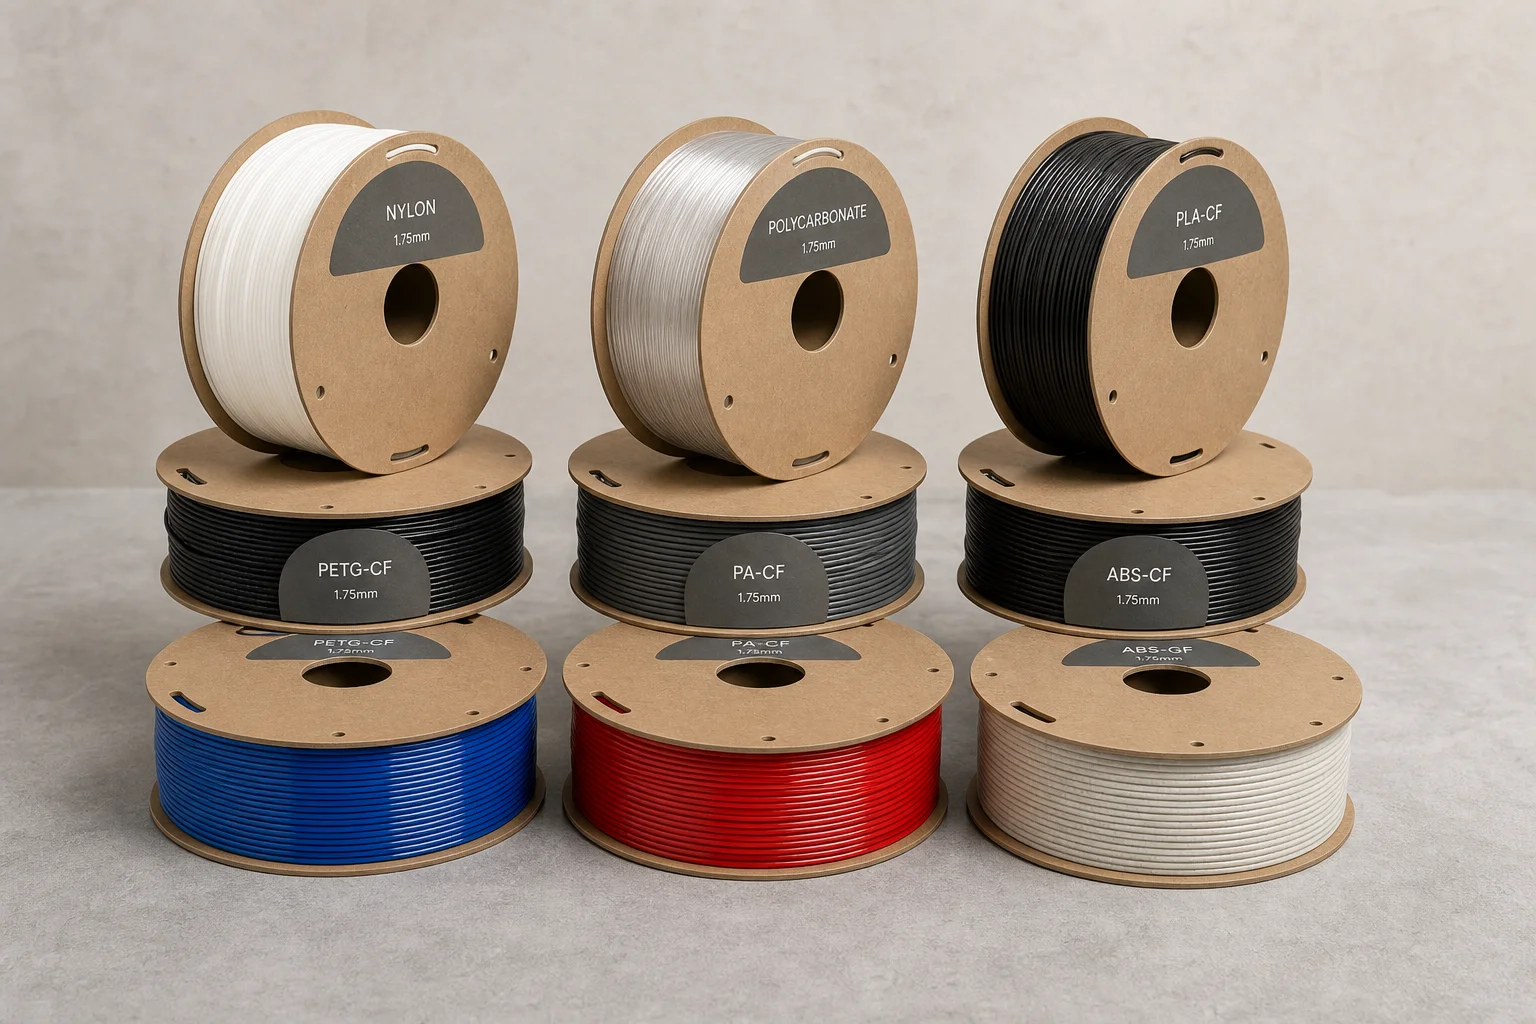
9 Advanced 3D Printer Filaments: A Practical Guide to Engineering-Grade Materials
Explore nine advanced filament types for 3D printing, from Nylon and polycarbonate to carbon fiber composites. Learn their strengths, trade-offs, and best applications.
3D Printing Materials
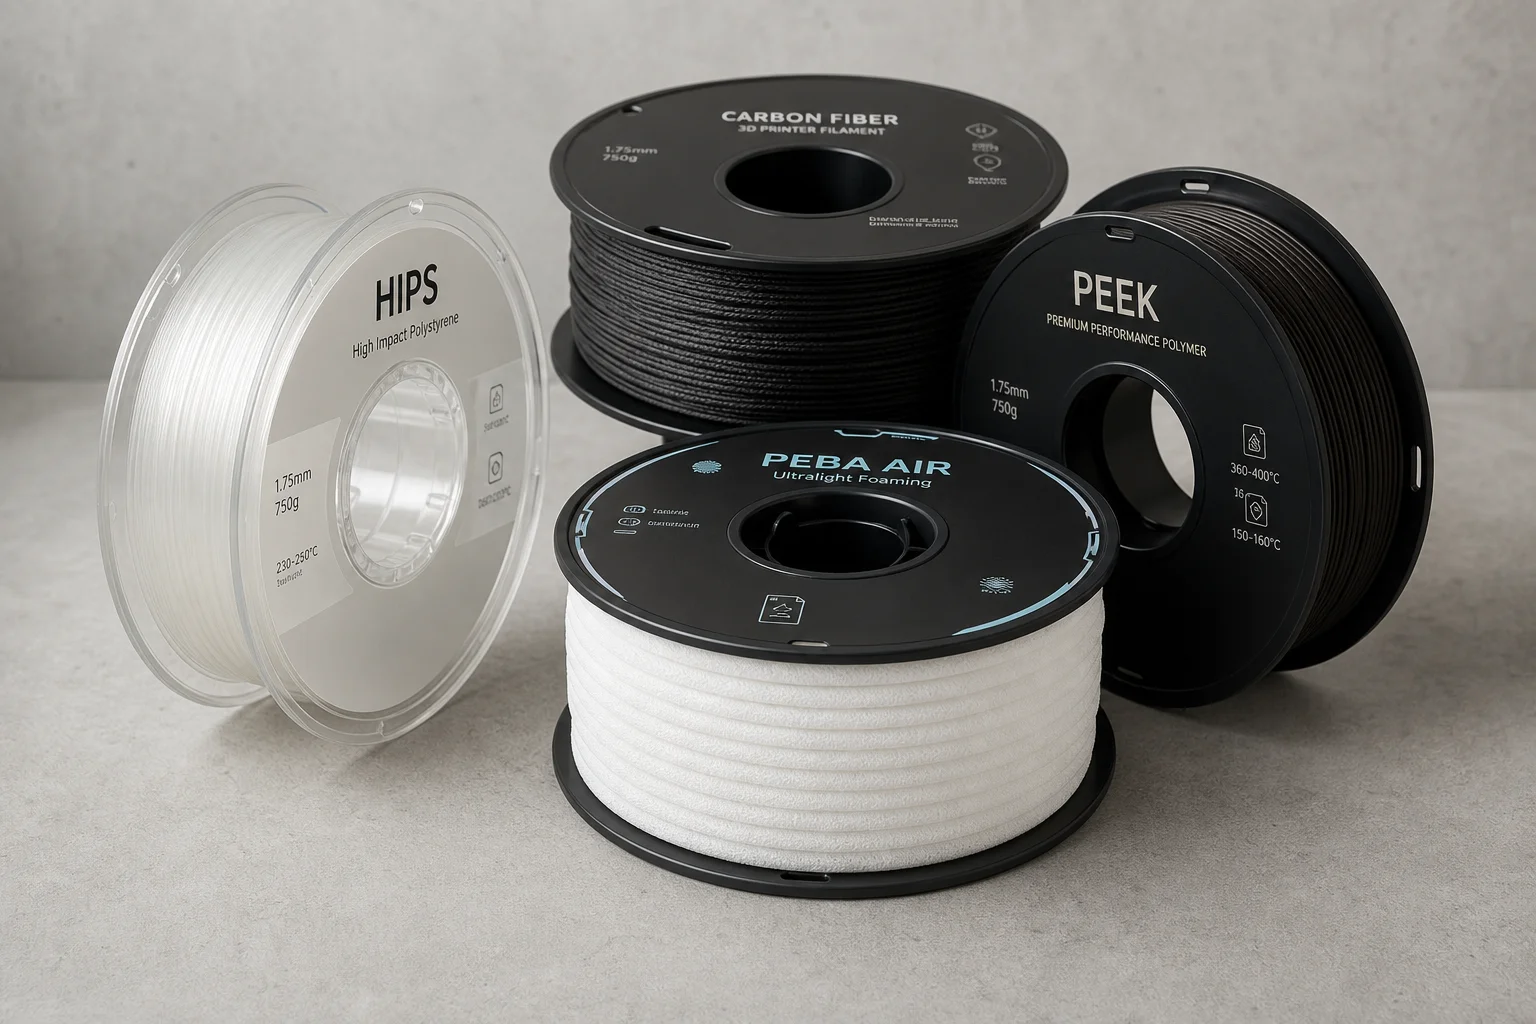
Advanced 3D Printing Filaments: 15 Functional Materials Beyond PLA and PETG
Explore over 15 specialized 3D printing filaments with unique properties, from flexible PEBA Air to extreme-temperature PPS-CF. Learn what each material excels at and how to print it successfully.