Printmaking
Blick 906 Etching Press Review: A Small Studio Press That Earns Its Space
A compact etching press for intaglio, relief, and monotype work, with practical notes on setup, pressure, blankets, and daily care.
Introduction
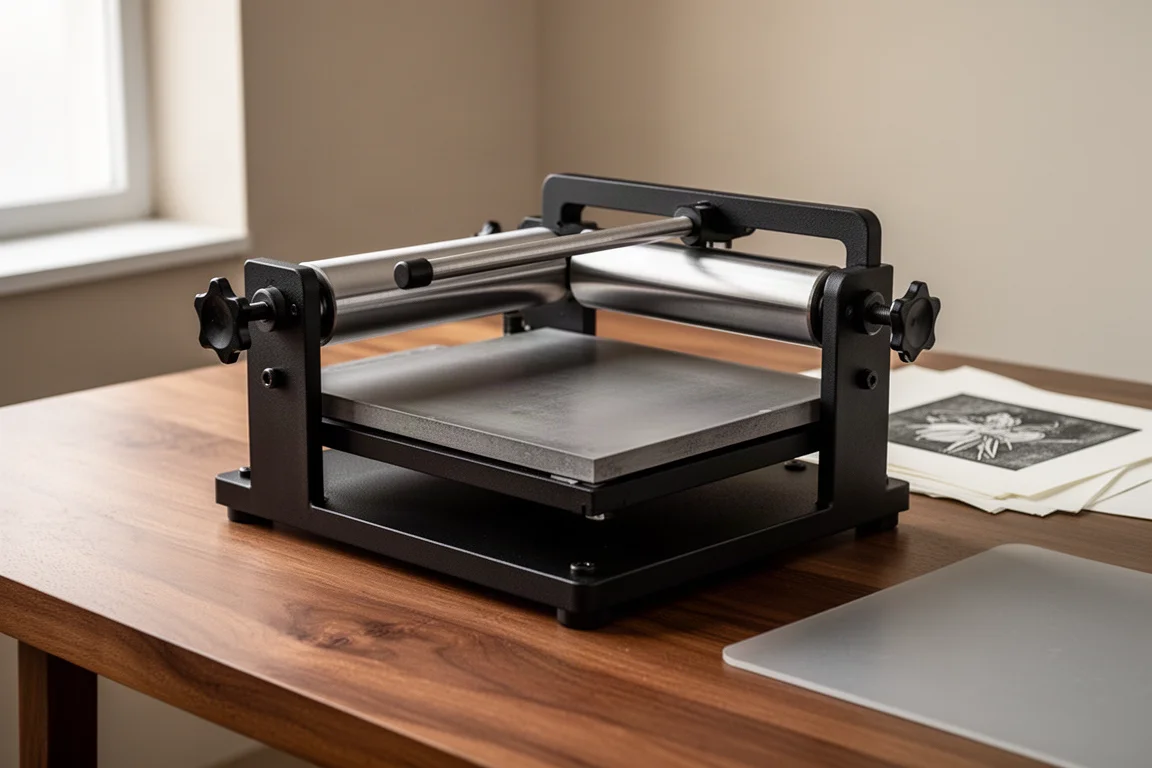
The Blick 906 Etching Press is the kind of studio equipment that quietly changes how much work you get done. It handles intaglio, relief printmaking, and monotypes at home, in a footprint that a full-scale professional press could never justify. It is a small press with a long track record, and for a lot of home printmakers it is the single most practical purchase they can make.
Who This Press Is For
This press suits art students, hobbyists, and serious home printmakers who want to edition prints without renting studio time. Large professional presses are extremely heavy and take up an enormous amount of space, so even if you could afford one for a home studio, it would be difficult to accommodate. If you genuinely need a gigantic press, joining a local print shop remains the better route. For everyone else, a compact press like this one is a genuine game changer.
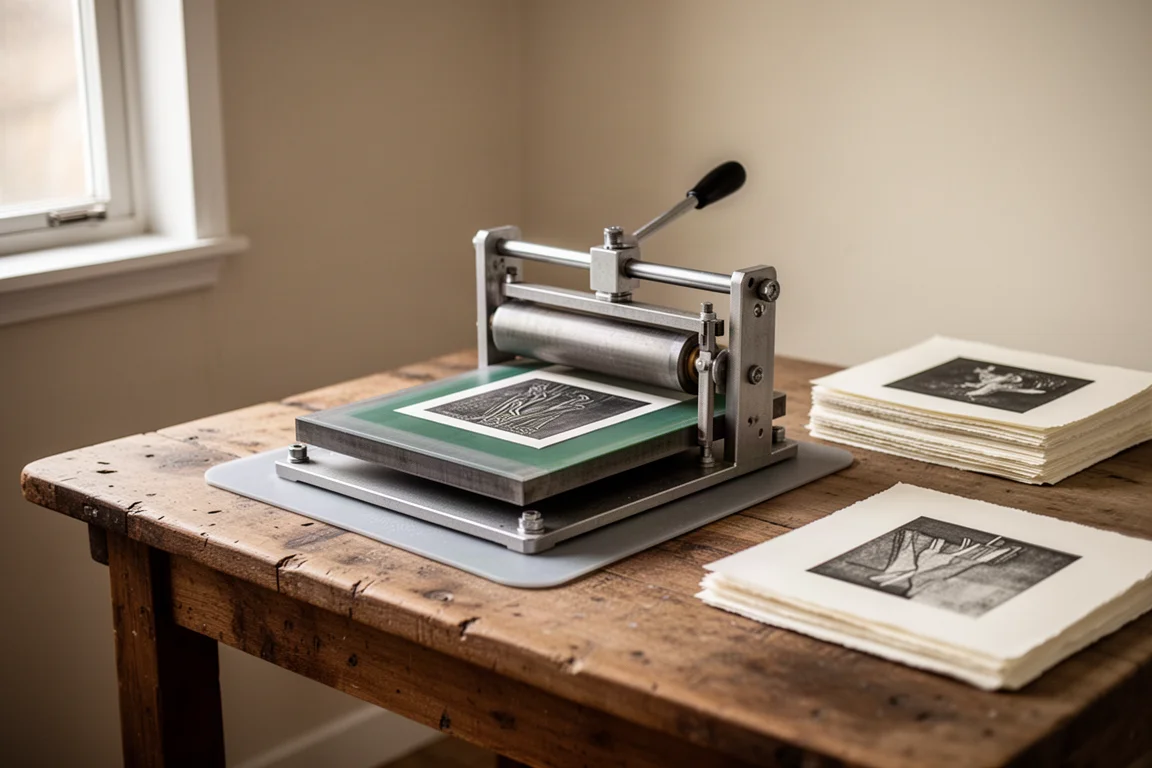
One long-term owner bought this exact press when starting art school and used it at home for 20 years, which says a lot about its durability and staying power. That kind of longevity matters when you are investing in studio equipment rather than consumables.
Setup and Stability
How you mount the press matters as much as the press itself. The ideal setup is a sturdy wooden cart that you can screw the press into. A flimsy plastic table is not a good base; you want a table with serious weight under it.
The press has small holes at the bottom, and if it sits on an ordinary table you should use a silicone mat underneath. The mat holds the press down and keeps it from shifting and moving while you work. This is not an optional nicety: the press can slide on a smooth surface, and an unsecured press on an unstable table is how accidents happen, including a press being bumped off a table entirely.
When ordering, you can choose between a steel or a phenolic press bed. The steel bed is overkill for most users and is significantly heavier. The phenolic press bed is the sensible pick for a home studio.
Press Blankets: Order, Care, and Storage
To use the press you need three press blankets, and each has a distinct role. The top blanket is thick and sturdy. The middle blanket is even thicker. The bottom blanket is quite thin, and it is the only one that makes physical contact with your newsprint and therefore your print.
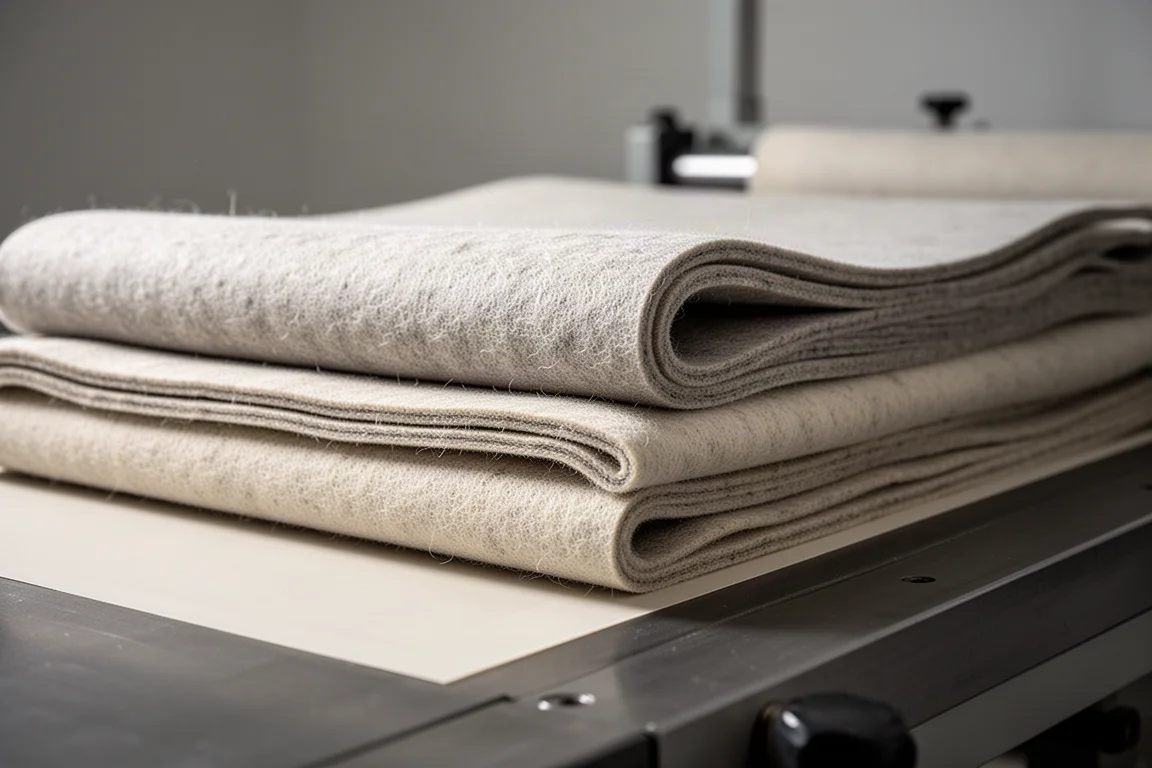
If you print wet, moisture transfers from your damp paper to the newsprint and then to that thin blanket, and it is okay if the blanket shrinks slightly as a result. Blankets can warp a little in odd shapes and still work fine.
Care matters. Avoid getting ink fingerprints on the blankets, and never store them in the press when you are done printing. Leaving the blankets and press bed in the press can leave a permanent impression from the roller. A blanket with a big impression in the middle will not roll evenly, which means replacing it.
Before printing, make sure all three blankets are lined up evenly and centered on the press bed. Misaligned corners or off-center blankets give uneven coverage. Blankets naturally drift as you print, so periodically loosen the press, remove the bed, re-center the blankets, and set everything back up.
Setting Pressure and Registration
The trickiest part of this home press is setting the pressure. There are two adjustment points, and you should always adjust them together rather than tightening one side and leaving the other up. Turn both down until you feel resistance from the press blanket, then check the numbered scales on the side of the press and make sure both sides match.
A practical method: tighten past the point where you can no longer roll the bed through, then loosen incrementally until the resistance feels right. It is much easier to cut back from too-tight than to creep up little by little. Every press is different, and getting the feel right simply takes repetition.
Once you find the setting that works for a given plate, note the numbers. An intaglio copper plate setting will differ from a woodblock setting, so keeping written records saves you from rediscovering the pressure every session.
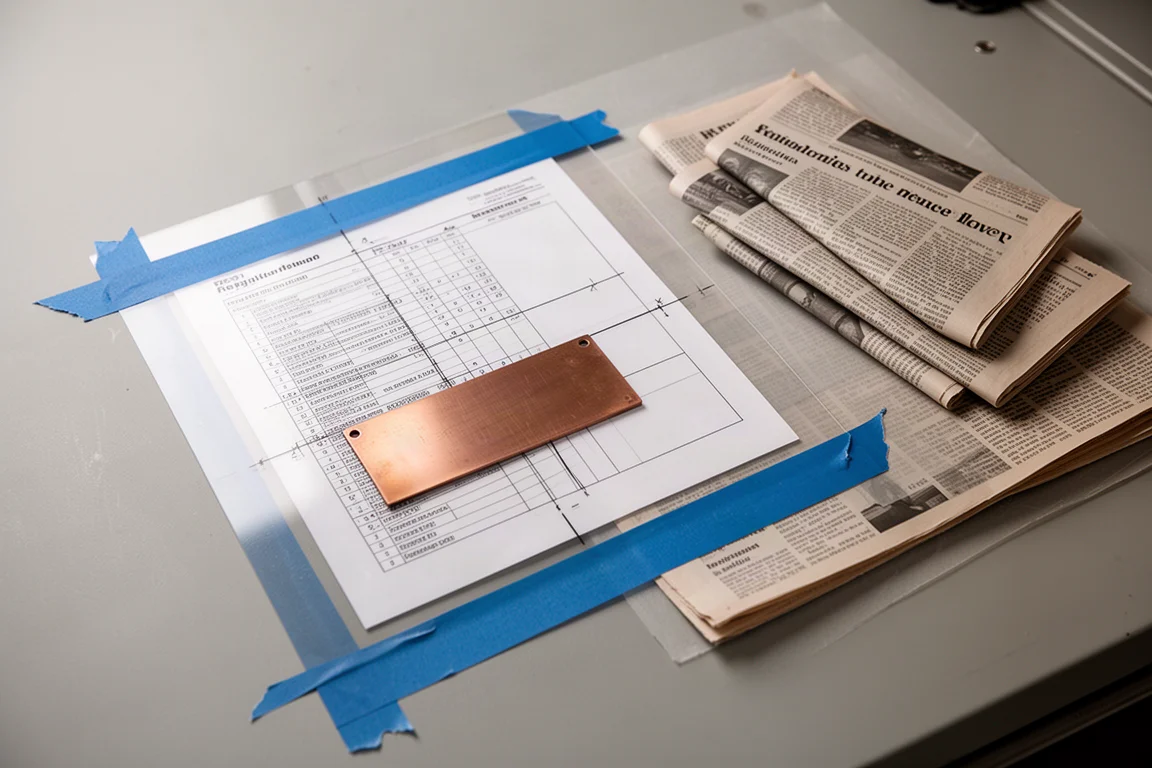
For registration, tape a sheet of acetate to the press bed with blue painters tape. Blue painters tape leaves far less residue than masking tape. Slide your registration sheet underneath the acetate, and keep multiple registration sheets for different plate types. The acetate protects the sheet from ink and wipes clean with a rag.
Line your plate up on the registration sheet by lowering one edge slowly, then nudge it into place with a pencil or pen rather than your fingers, since fingerprints on a plate or paper are a constant risk. When placing paper and blankets, hold everything gently in place as you slide your hands out so nothing shifts.
Printing Tips and Small Quirks
Keep an eye on the press bed as it travels. The bed can occasionally ride over the circular metal pieces near the rollers; you want the bed edge staying right up against the round metallic piece. Small presses need this kind of occasional attention; it comes with the territory.
Depending on the plate, you may feel the plate lurch a little as it passes through the press. It is not a problem; do not panic when it happens.
Cleaning and Maintenance
Clean the press bed between plates. A little baby oil removes ink residue effectively, and a wipe with denatureal alcohol afterwards degreases the surface, since the baby oil itself is oily.
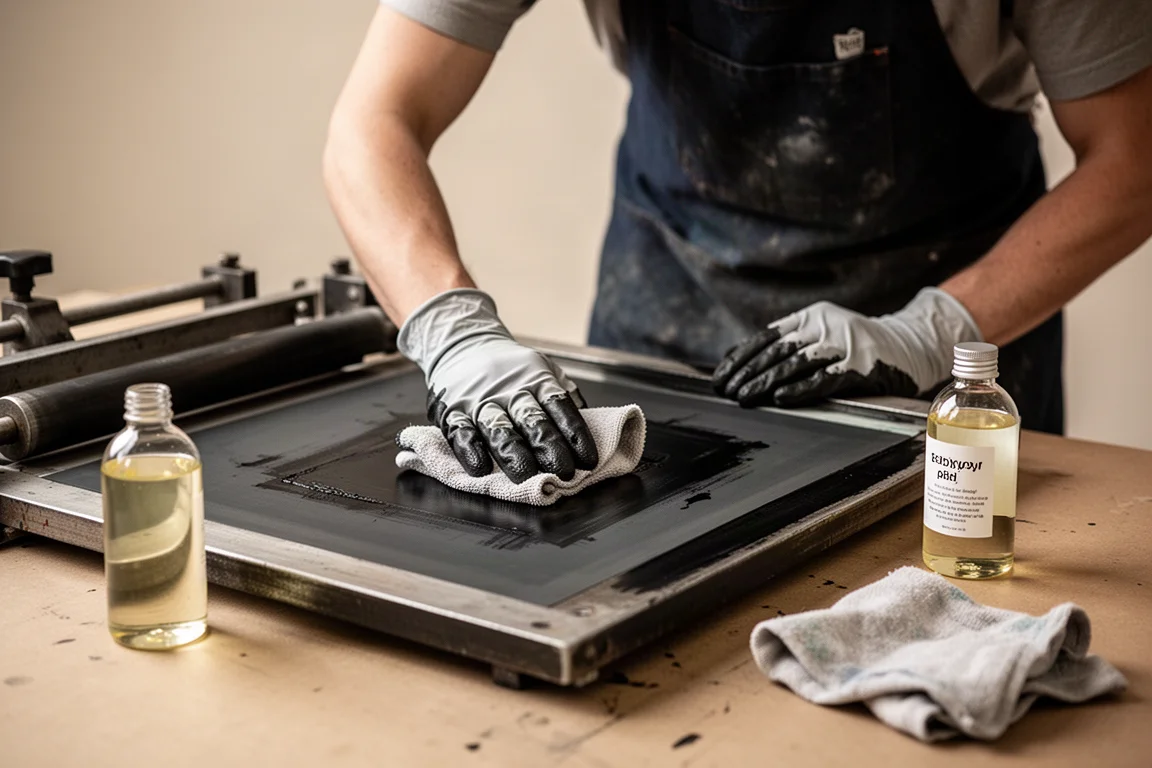
Wipe the bed down before every new plate, and it will stay in good condition through long printing sessions.
Buying Advice
If you are setting up a home studio for intaglio, relief, or monotype work, this press is a strong foundation. Pair it with a heavy table or a screw-mounted wooden cart, a silicone mat, the phenolic press bed, and three press blankets. Budget a little patience for learning the pressure settings, because that is the real learning curve with any small press.
Conclusion
The Blick 906 Etching Press offers professional-style results in a package that genuinely fits a home studio. With careful setup, disciplined blanket care, and consistent pressure notes, it can serve you for decades of printmaking.
Product link
View more details for Blick 906 Etching Press
This product is mentioned in the review. Check the specifications, options, and compatibility before buying.
View more details for Blick 906 Etching PressFurther reading
Related Reviews
Audio Gear
Best Gifts for Audio Engineers and Musicians: 10 Practical Ideas
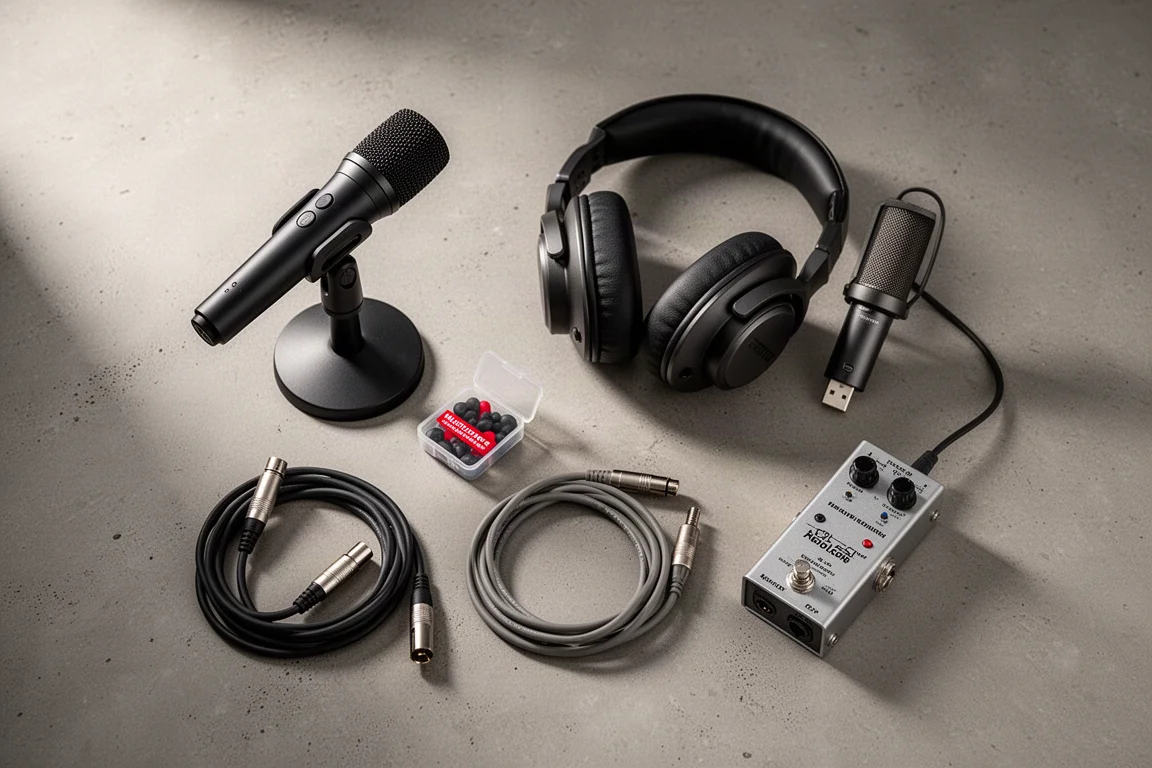
Ten practical gift ideas for audio engineers and musicians, from hearing protection and microphones to headphones, DI boxes, and the small studio accessories that get used every session.

Audio Gear
Gifts for Musicians and Audio Engineers: 10 Practical Ideas
A practical gift guide for musicians, producers, and audio engineers, covering hearing protection, microphones, headphones, direct boxes, and everyday studio staples.