Bikepacking Gear
Bikepacking Gear List: A Practical Three-Bag Setup
A complete bikepacking loadout built around a three-bag system, from a steel adventure frame and a custom frame bag to the shelter, sleep system, and camp electronics.
Introduction
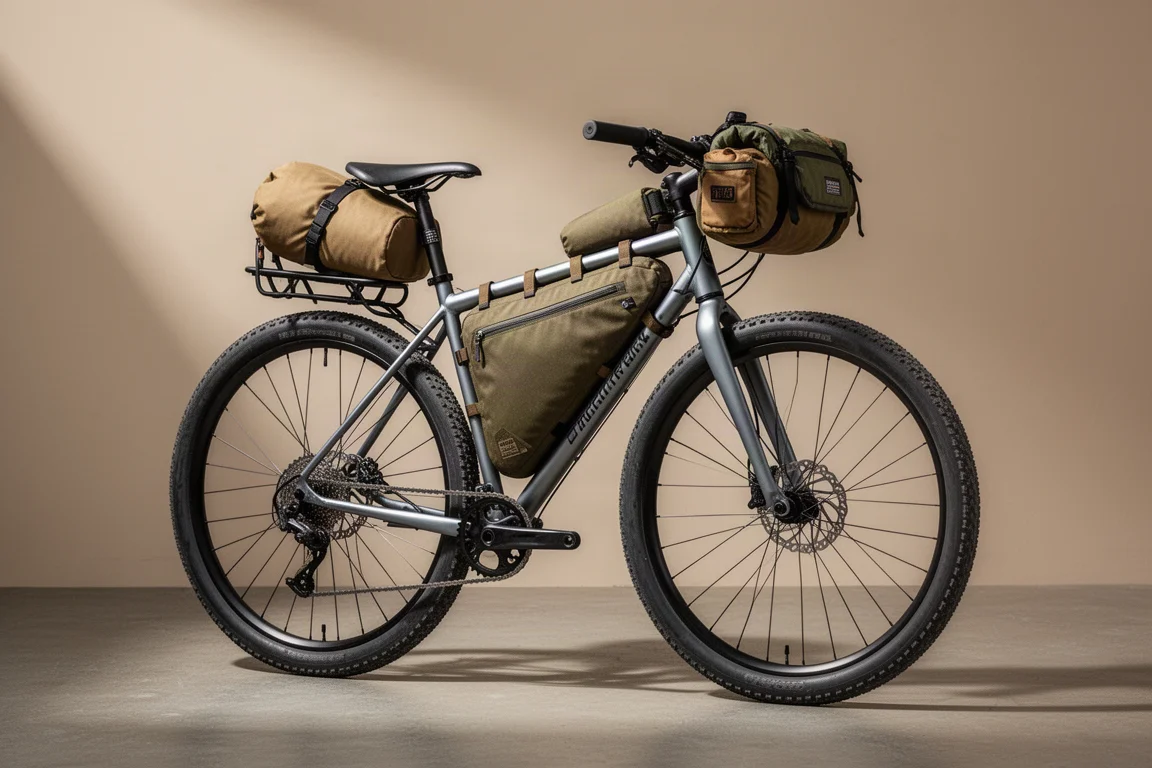
Bikepacking is mostly a packing problem. Everything needed to sleep, eat, and stay warm has to fit on a bicycle that still has to be pleasant to ride, and the load has to stay stable once the surface turns rough.
This loadout solves that problem with a three-bag system: a frame bag that never leaves the bike, plus a seat pack and a handlebar bag that can be swapped depending on the weather expected on a given trip. Almost everything inside those bags is the same equipment used on backpacking trips, which means anyone who already hikes is closer to a first bikepacking overnight than they might expect.
What This Bikepacking Gear List Covers
The packing logic is simple. The frame bag holds the items that never change and that benefit from sitting low and central: the shelter, spare water capacity, and food. The seat pack holds the sleep system and the main thermal layer. The handlebar bag holds the cook kit, electronics, hygiene items, and the camera.
That split is deliberate. Food and water are the two things whose weight changes most during a trip, so they ride in the middle of the bike rather than swinging off the back. The heavier, rarely changing items sit behind the saddle, where a support rack can hold them steady.
It is worth saying plainly that none of this requires a custom bike or custom bags. Any bike already in a garage and any set of bags already in a cupboard will work for a first overnight trip. A list like this is useful because it shows how the pieces fit together, not because the exact combination is mandatory.
The Bike: 2019 Kona Rove ST
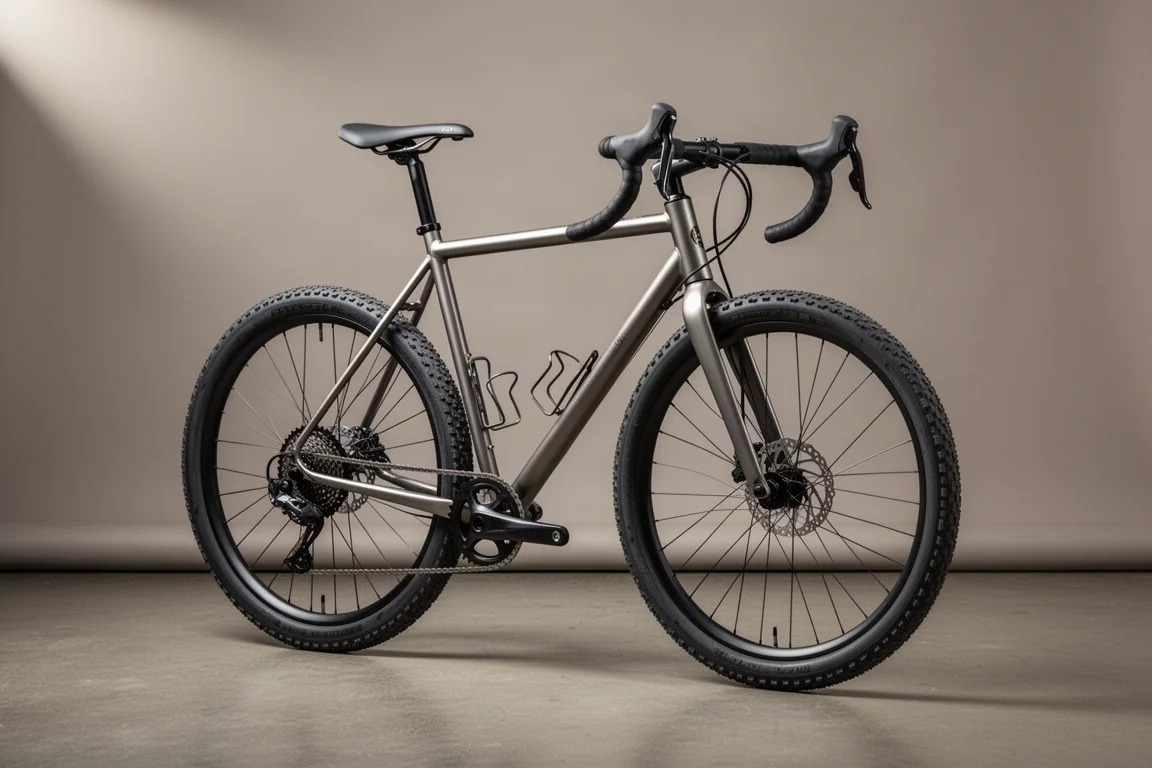
The bike at the centre of the setup is a 2019 Kona Rove ST. It can be bought as a complete bike, but this one was purchased as a frame and built up with parts carried over from a previous bike. The steel frame is the reason it works as a load carrier: it stays composed with weight spread across the frame bag, the seat pack, and the handlebar bag.
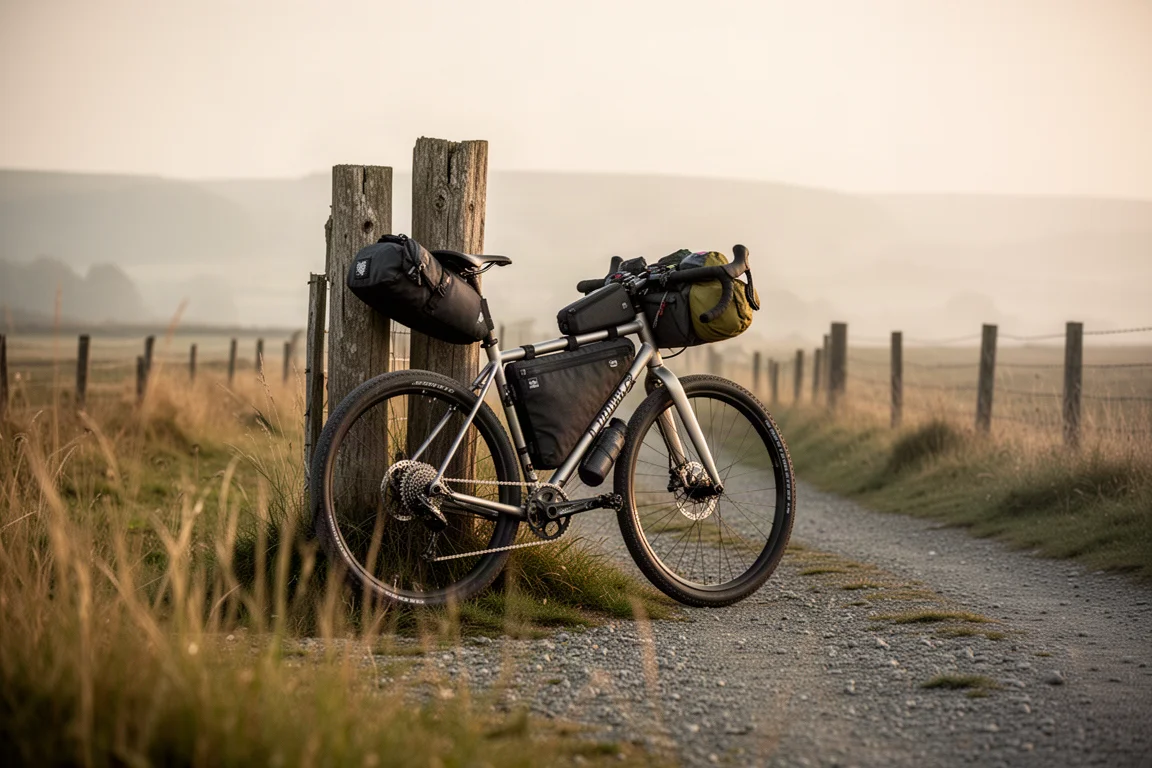
A custom build is not the requirement here. The frame was chosen because the parts were already on hand, and the same trips could be ridden on a stock complete bike of similar geometry. What matters is that the bike is comfortable for long days and offers mounting points where bags can be attached securely.
Frame Bag: Rogue Panda Designs Custom Bag
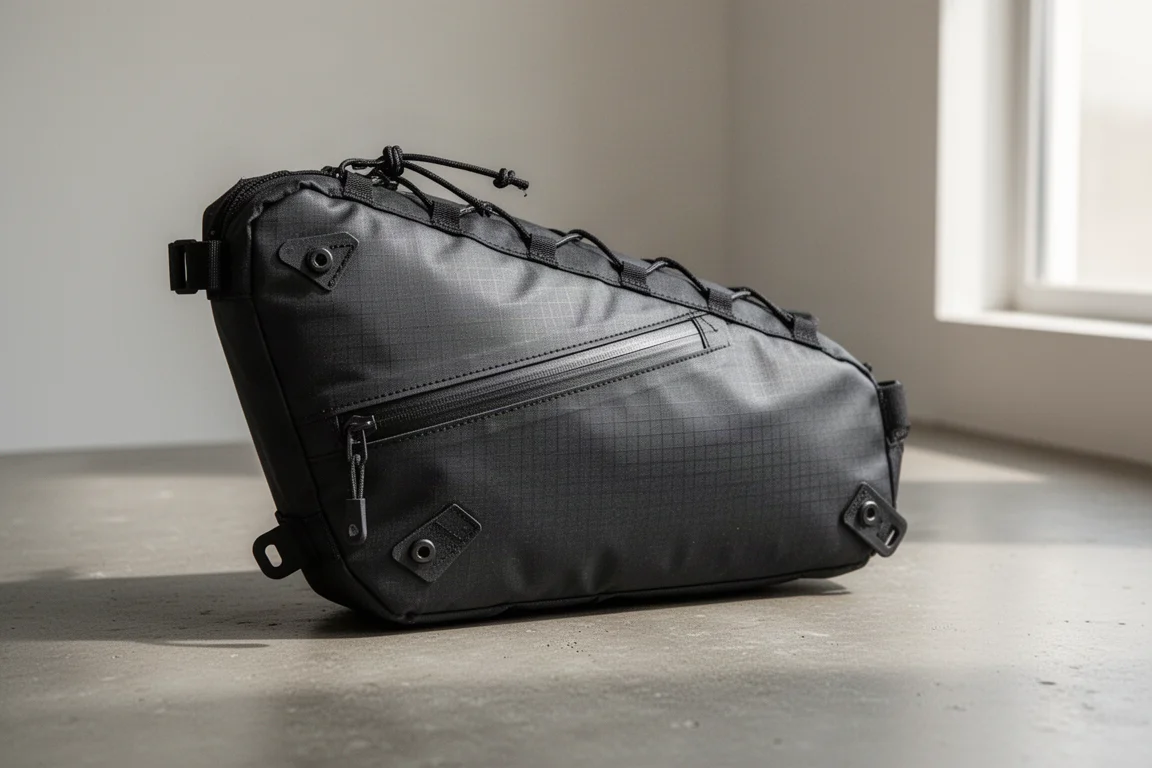
The frame bag is a Rogue Panda Designs custom bag, built to fit this frame exactly and made from X-Pac fabric. It uses a lace-top, bolt-on design: the bag laces along the top tube and bolts to the frame at the bottle cage mounts, which keeps it locked in place without straps wrapped around the tubes. Inside there is a single main compartment behind one zipper.
That compartment holds the shelter, ten Easton Nano aluminum stakes, and a 60-inch carbon fiber pole made specifically for the shelter. It also carries a CNOC Vecto 2-liter water bladder for long dry sections, plus a DCF food bag containing food and a long-handled spoon.
The reasoning behind that placement is weight distribution. Water and food are the two items whose weight swings the most over the course of a trip, and keeping them low and centred means the handling stays predictable even when the bladder is full.
Seat Pack: Swift Industries Zeitgeist
The rear bag is a Swift Industries Zeitgeist in X-Pac, with one large main compartment and two smaller side pockets. The design is intentionally versatile: the same pack can be run as a seat pack or as a handlebar bag, which is exactly how it is used here, with a second Zeitgeist on the front held by different straps.
The side pockets are where the small essentials live. One pocket holds field repair gear: chain lube and a rag, a tubeless tire repair and patch kit, a multi-tool with a chain breaker, and a spare inner tube in case a tubeless tire will not seal. The other pocket holds a water filter and a hygiene kit, including a trowel and a travel bidet.
The main compartment carries the sleep system and the thermal layer, which together make up the heaviest part of the load.
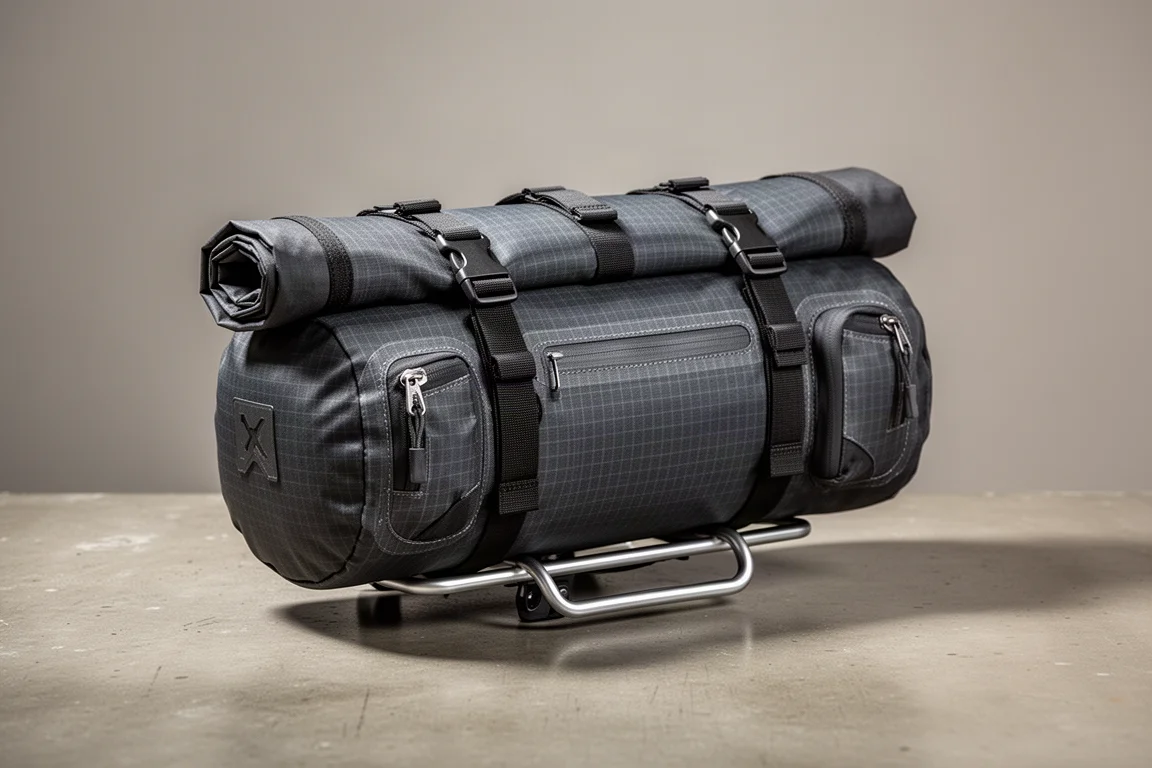
Seat Support: Paradise Bagman Seat Rail Rack
A loaded seat pack has one obvious weakness: it swings. The Paradise Bagman seat rail rack attaches at the saddle rails and supports the bag from underneath, holding it steady instead of letting it bounce from side to side on rough surfaces.
It is a small piece of hardware, and it changes how the whole rear of the bike behaves once the bag is full. Riders who regularly carry a heavy seat pack on broken surfaces will notice the difference most.
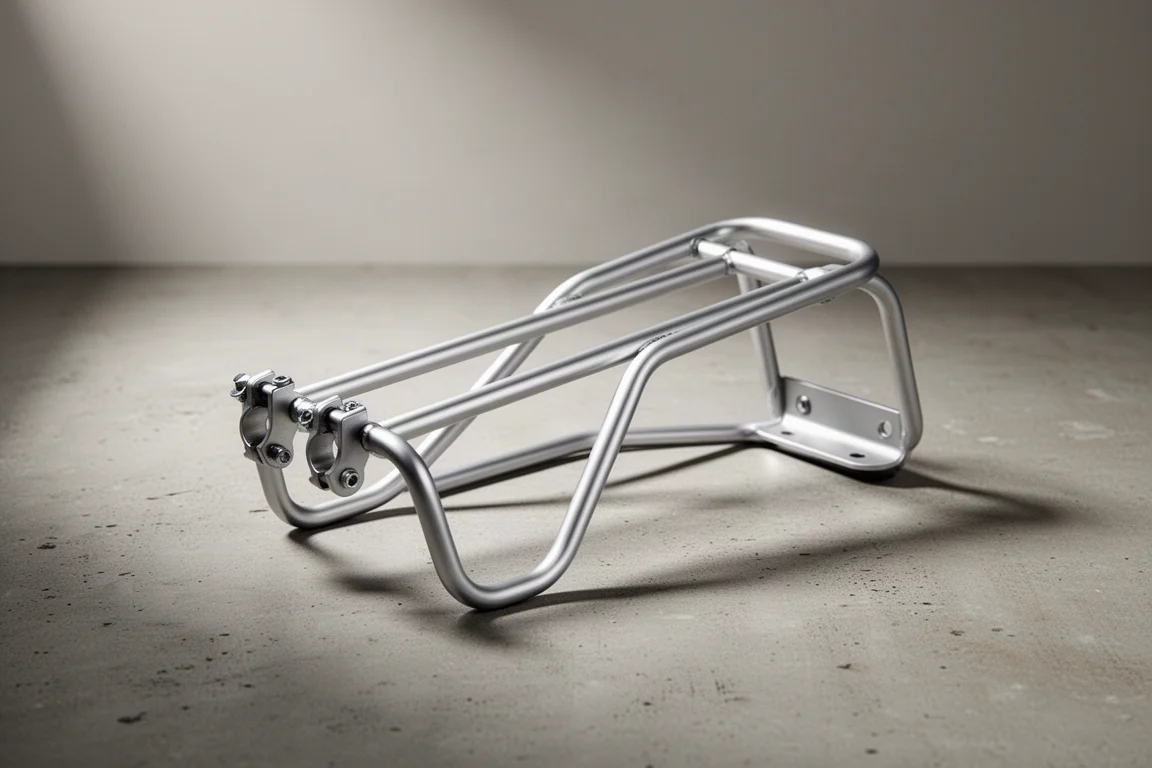
Shelter: Zpacks Ultraplex DCF
The shelter is a Zpacks Ultraplex in DCF, the same one used on backpacking trips. It packs down small enough to live permanently in the frame bag, and it is pitched with ten Easton Nano aluminum stakes and a dedicated 60-inch carbon fiber pole.
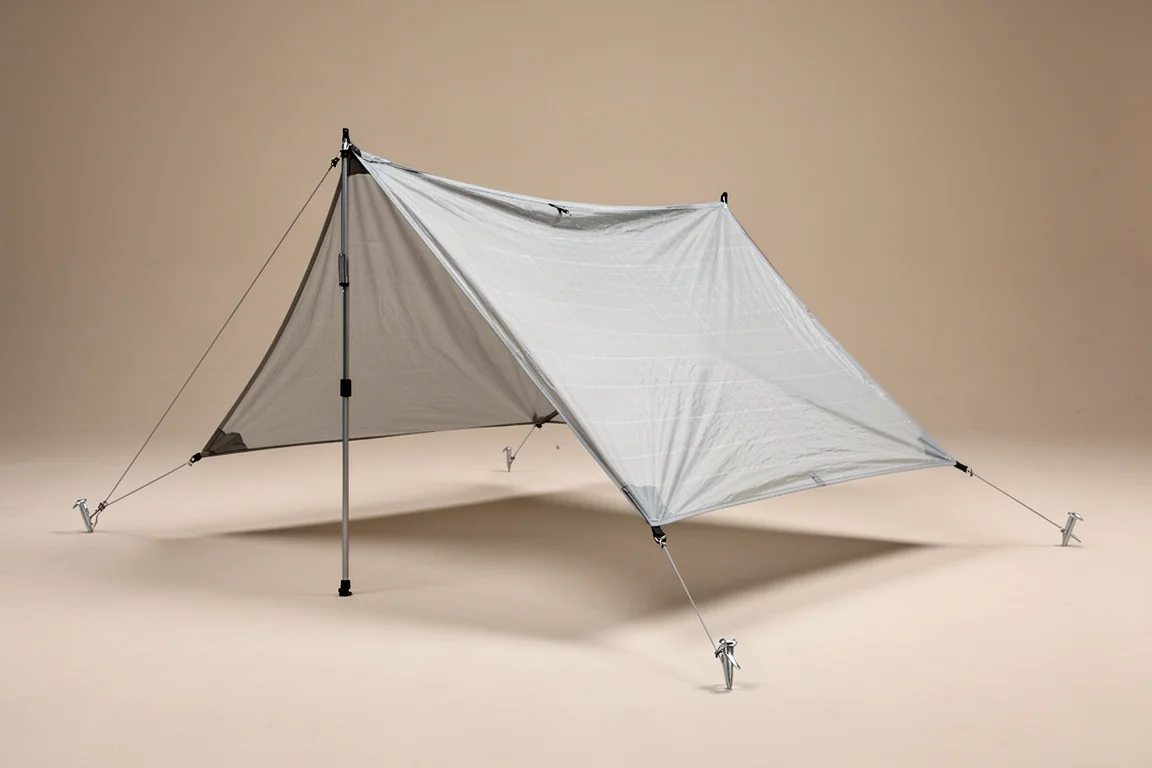
Keeping the shelter in the frame bag rather than the rear bag means it is always on the bike, whether the trip is a short overnighter or a longer route with an uncertain plan. It also means the shelter is the first thing packed and the last thing thought about, which is a useful habit once trips get longer.
Sleep System: UGQ Bandit XL 20 Degree Quilt
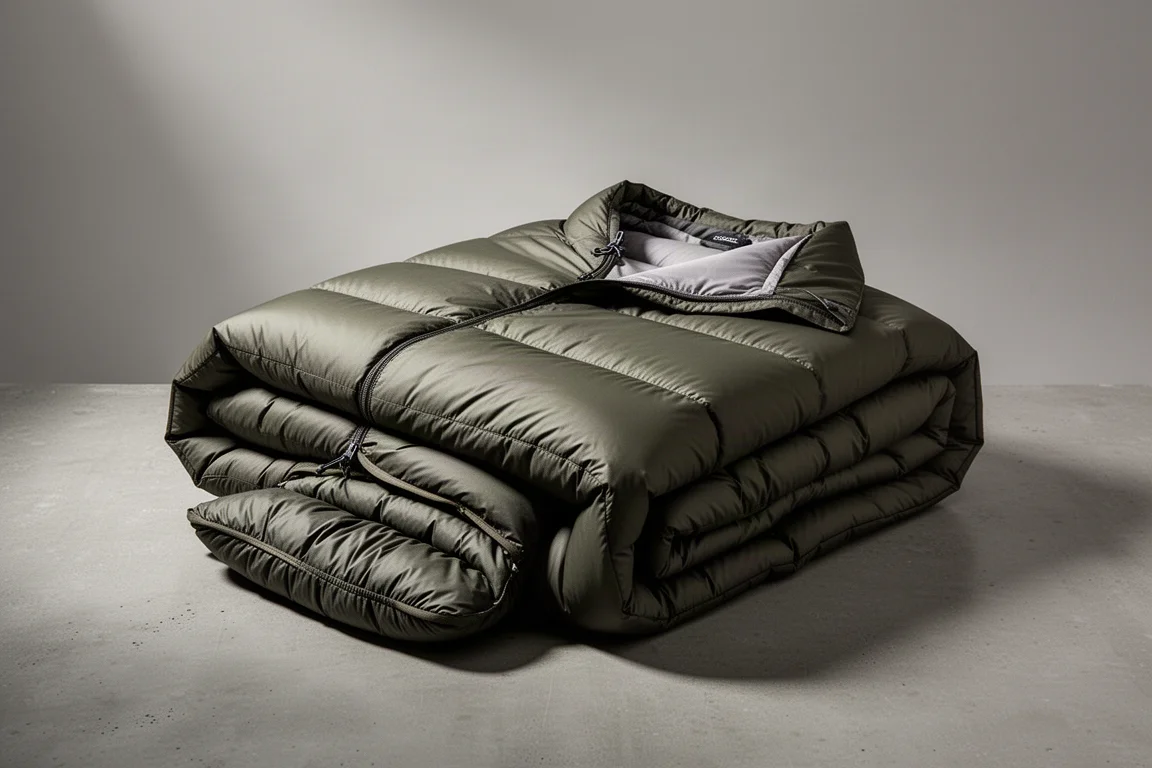
The sleep system lives in the seat pack’s main compartment. At its centre is a UGQ Bandit XL 20 degree quilt, packed inside a DCF roll-top waterproof bag so that moisture in the pack never reaches the insulation.
Alongside it sit a Therm-a-Rest UberLite sleeping pad, a Sea to Summit Aeros pillow, and a pair of Enlightened Equipment Sidekick sleep booties. A set of dry sleeping clothes rounds out the compartment, including lightweight tights, spare socks, and an Appalachian Gear Company alpaca beanie.
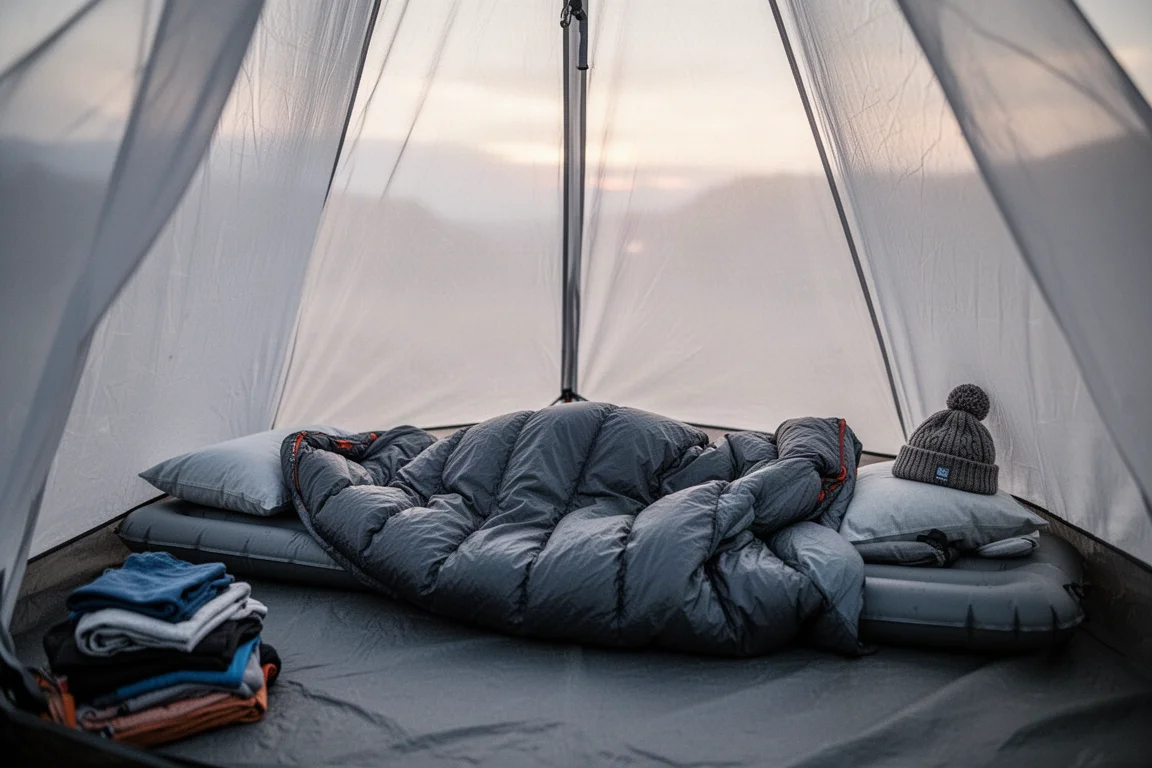
A quilt rather than a full sleeping bag saves space, and the waterproof roll-top sack is the part that matters most. A damp quilt means a cold night, and the seat pack sits directly in the spray zone behind the rear wheel.
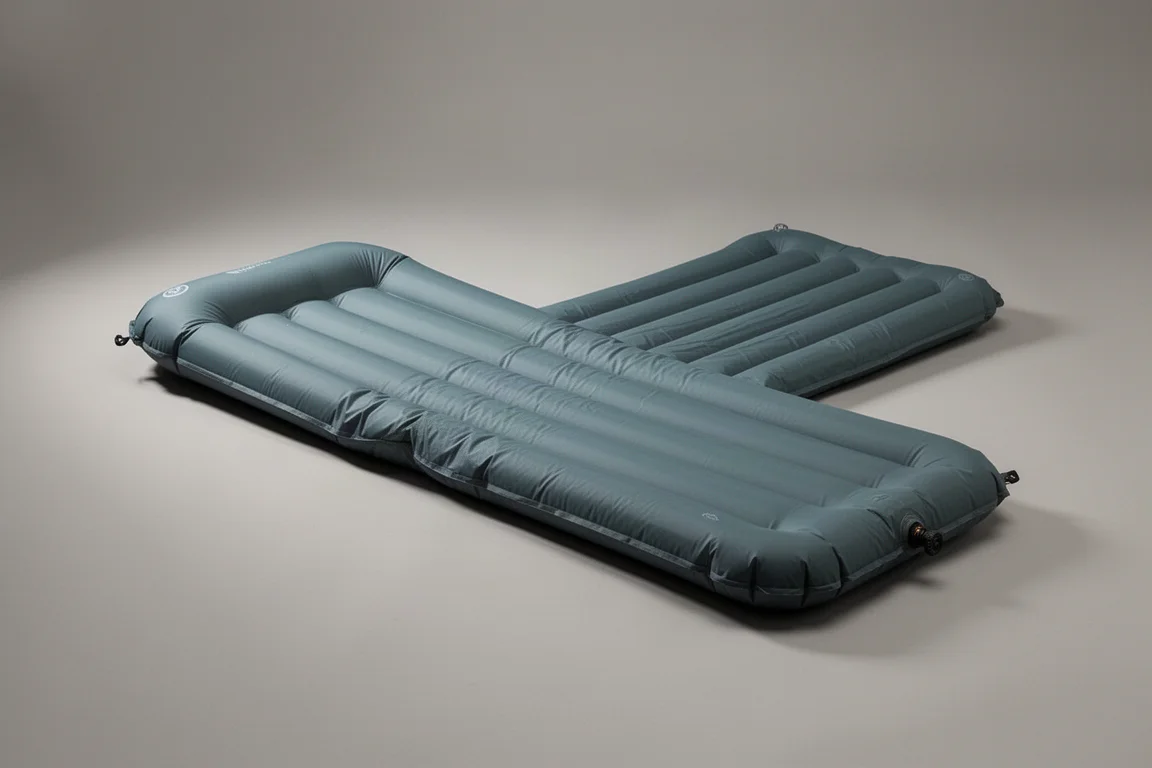
Sleeping Pad: Therm-a-Rest UberLite
The sleeping pad is a Therm-a-Rest UberLite, chosen because it disappears into the seat pack along with the rest of the sleep system. It is used together with a Gossamer Gear 8-inch foam pad, which does double duty: underneath the inflatable pad at night for a little extra warmth and puncture protection, and as something to sit or stretch out on during a mid-ride break.
That pairing is a practical way to protect a light pad without giving up the small packed size that makes it worth carrying in the first place.
Warmth Layer: Enlightened Equipment Torrid Apex Jacket
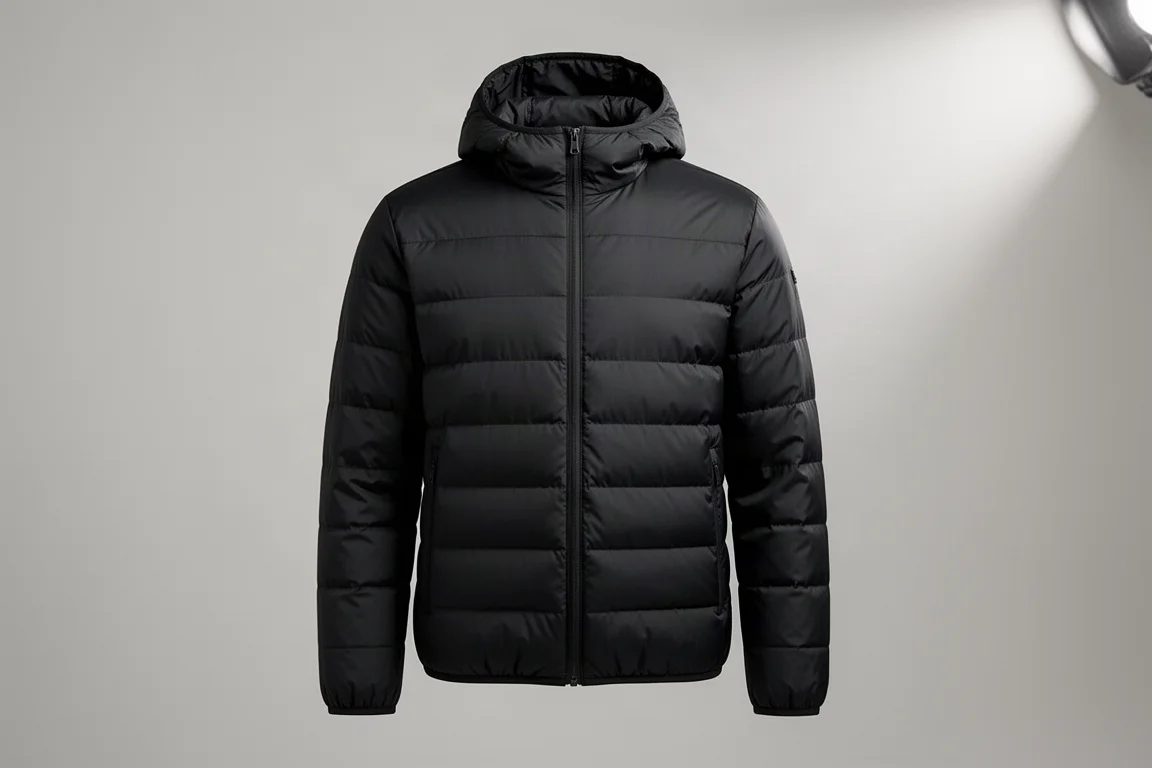
The main thermal layer is an Enlightened Equipment Torrid Apex synthetic jacket, carried at the back of the seat pack. Synthetic insulation is a sensible choice for a bag that lives on a bike, because it keeps working in damp conditions, and the jacket doubles as camp insulation once the riding stops for the day.
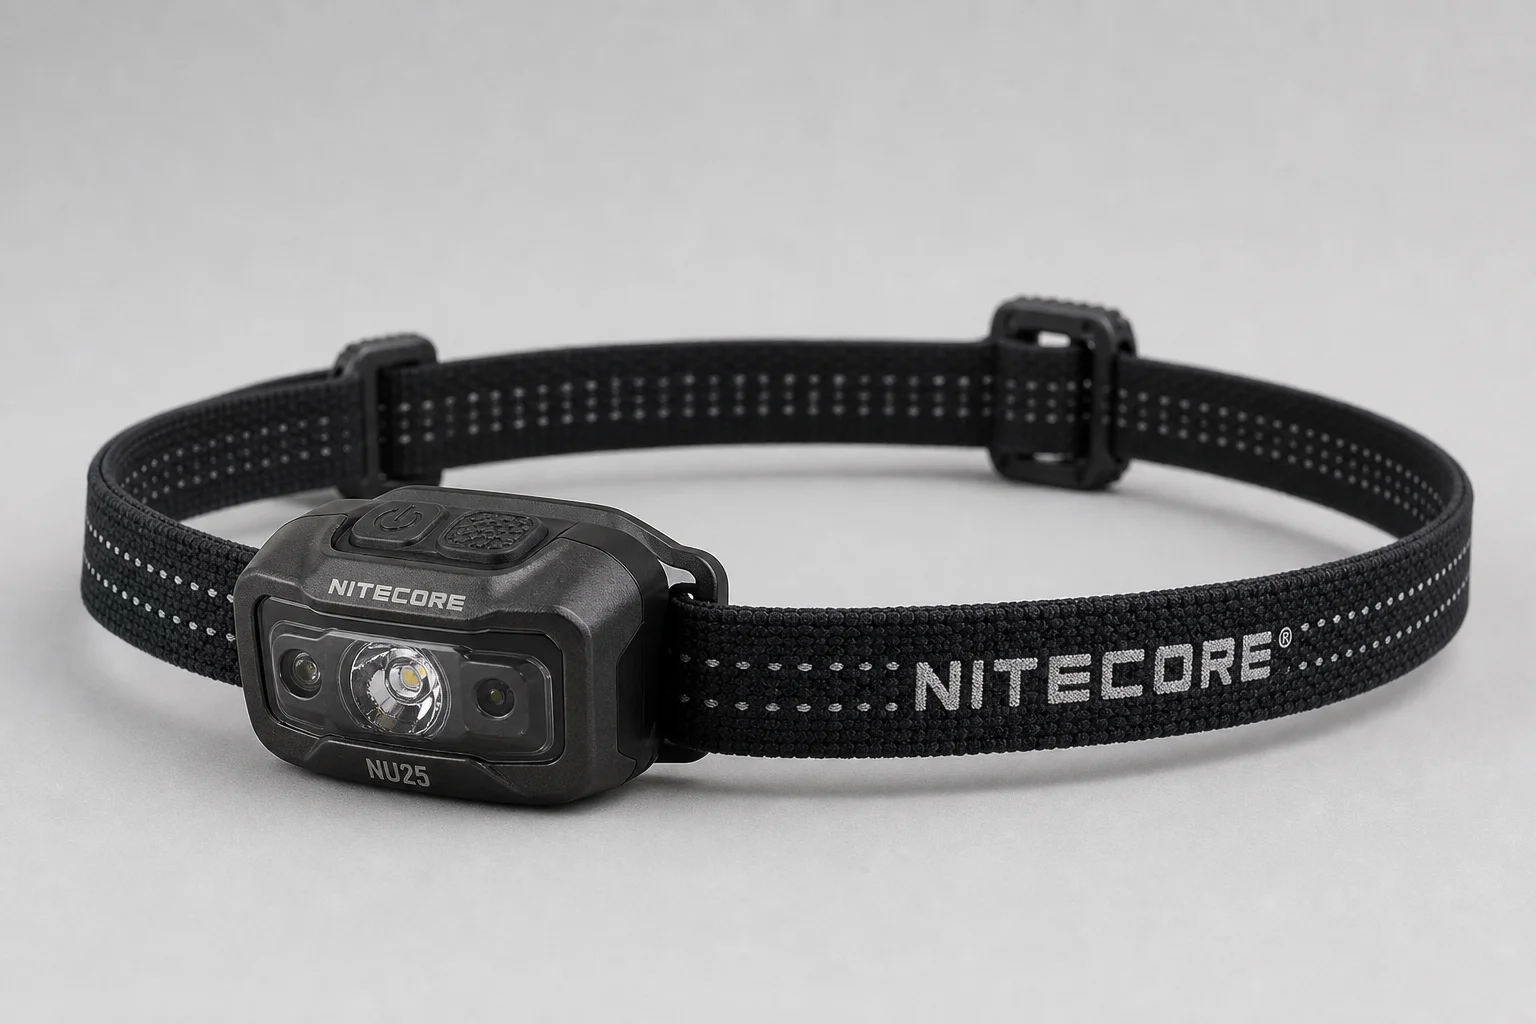
Camp Lighting: Nitecore NU25 Headlamp
Camp lighting is a Nitecore NU25 headlamp, carried in a DCF ditty bag in the handlebar bag along with the rest of the electronics. It has been set up with a bungee cord strap in place of the standard headband.
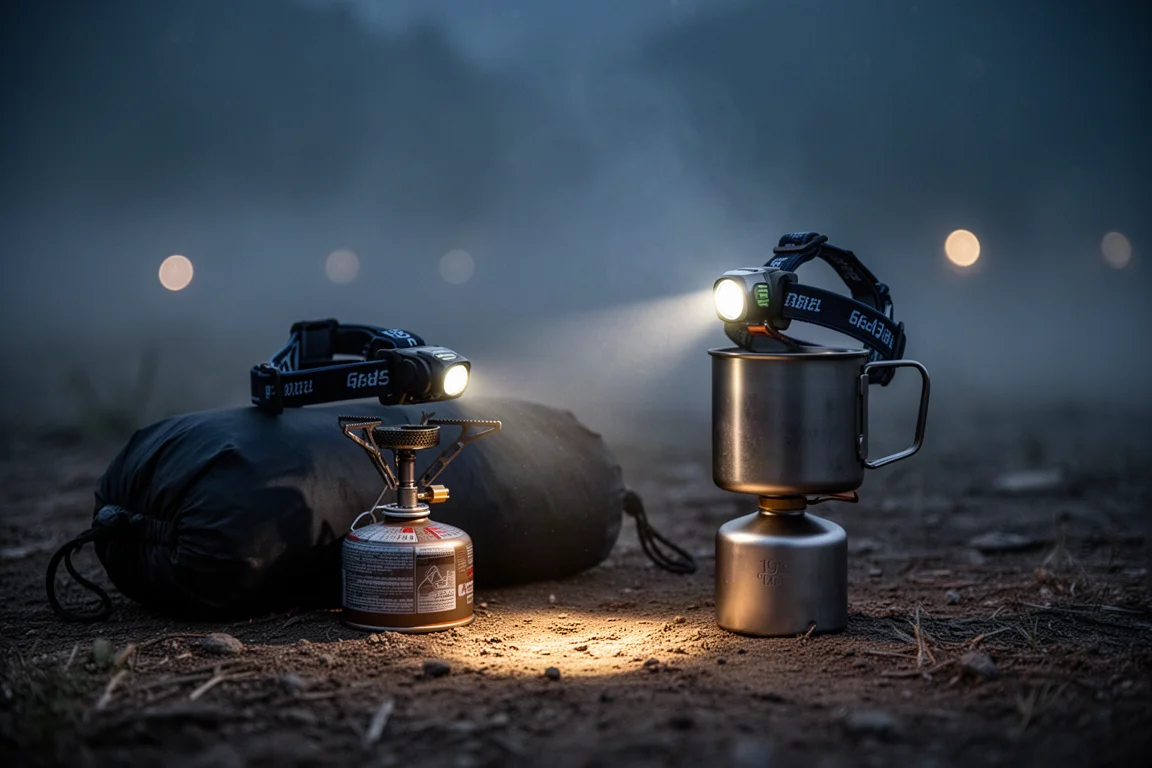
Keeping the headlamp in the same pouch as the power bank and charging cables means one bag covers every lighting and charging need, and nothing has to be hunted for after dark.
Camera Kit: Canon EOS M6 Mark II
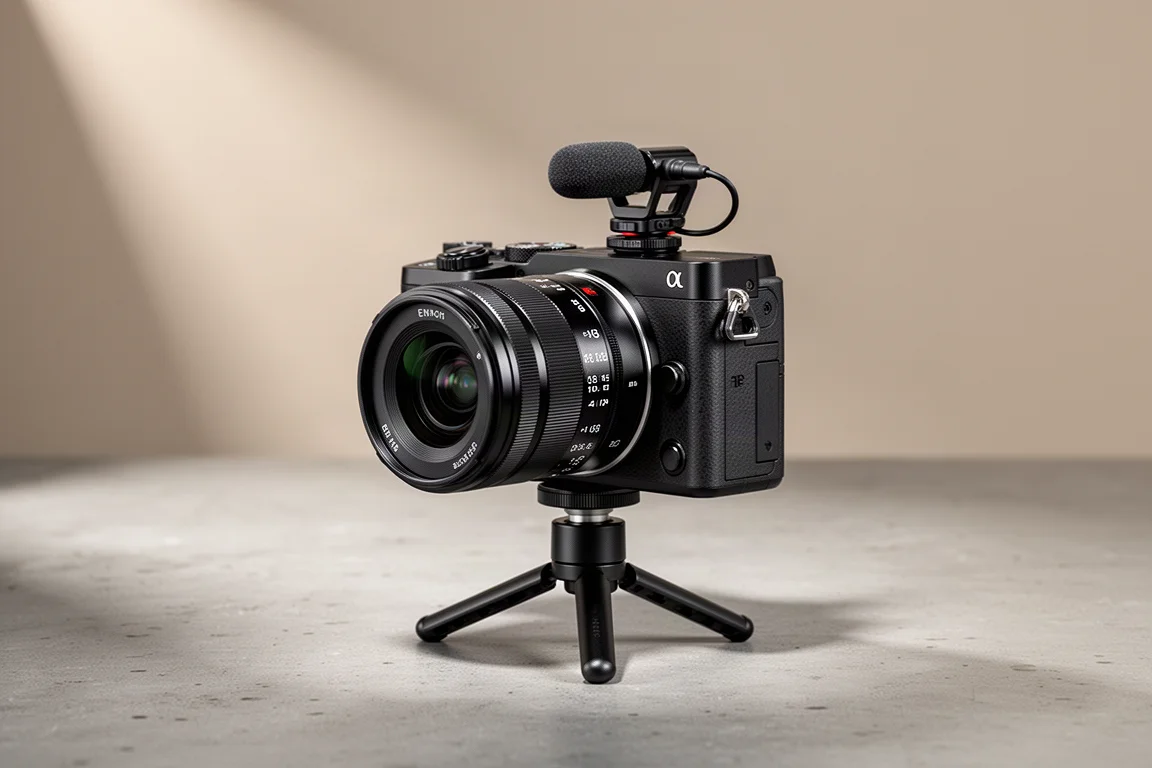
The camera in the handlebar bag is a Canon EOS M6 Mark II, used with a 24-70mm lens and a speed booster, a small microphone, and a Pedco UltraPod II tripod. It is the most optional item in the loadout and also the one that makes a trip worth documenting.
Overall Buying Advice
The most useful lesson from this loadout is that the bags matter less than the packing logic. A three-bag system works because it separates the load into a permanent core, a sleep and warmth section, and a front section for the things used most often during the day.
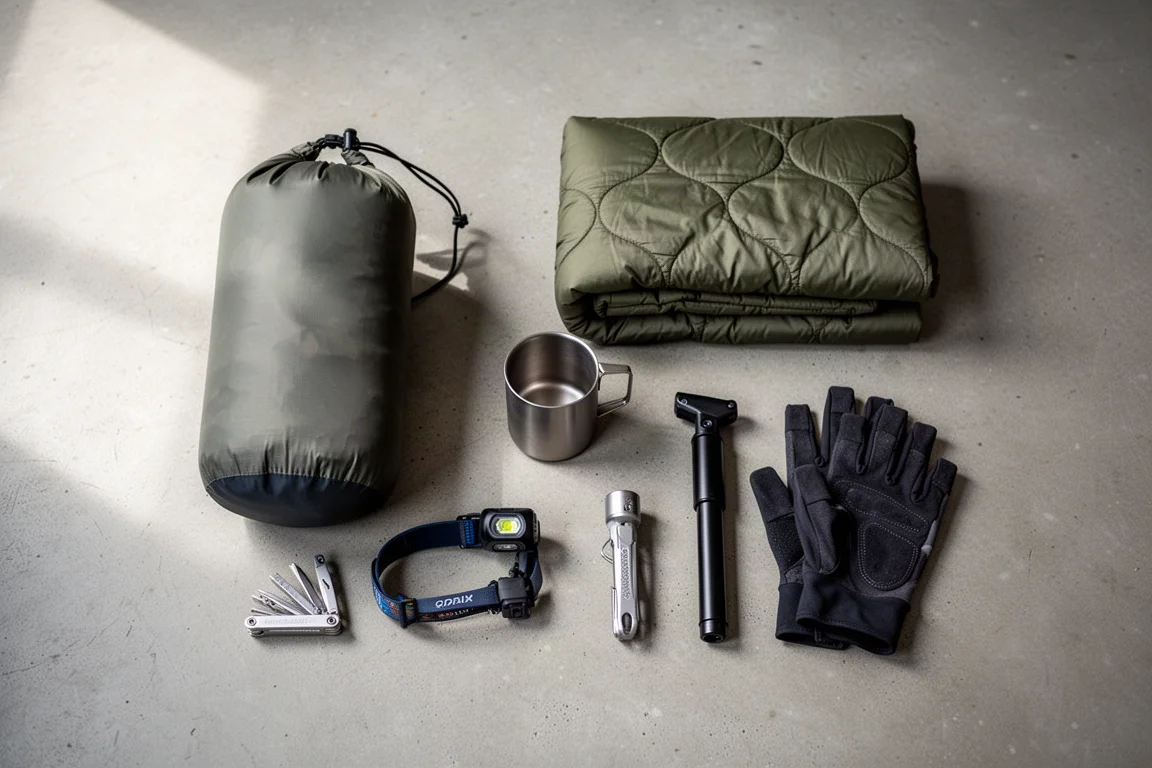
Start with the bike and the bags already available, then upgrade only where a real problem appears. If a seat pack swings, a support rack solves it. If a bag lets water in, a roll-top dry sack solves it. If night riding is part of the plan, lights and a headlamp come before anything else.
Base weight is worth a brief mention too. It matters far less on a bike than on a backpacking trip, because the bike carries the load rather than the rider’s knees. That leaves room for a larger camera, a more comfortable sleep setup, or a small luxury item, as long as the load stays balanced and the bike can still climb.
Conclusion
This is a three-bag bikepacking loadout built on a steel adventure frame: a custom frame bag carrying the shelter, water, and food, a seat pack carrying the sleep system and thermal layer, and a handlebar bag carrying the cook kit, electronics, hygiene items, and camera. Each piece has a reason to be there, and most of the gear is the same equipment used on foot.
For anyone getting started, the takeaway is encouraging. A bike that is already in the garage and a set of bags that already exist are enough for a first overnight trip. Everything else can be refined one trip at a time.
Further reading
Related Reviews
Bikepacking Gear
11 Bikepacking Essentials for Long-Distance Cycling
Eleven bikepacking essentials for long-distance cycling, from a steel gravel frame and a two-person tent to helmet lights, packable gloves, and a frame bag that puts weight in the right place.
Bikepacking Gear
Best Bikepacking Gear 2026: 11 Essentials Worth Carrying
A practical look at bikepacking kit that earned its place on long rides, from a solar bike computer and basket packing to bar bags, bivvies and gravel shoes.
Bikepacking Gear
Best Bikepacking Gear: 10 Field-Tested Picks for Long-Distance Rides
Ten bikepacking products that earn their place on long rides, from a steel gravel frame to packable gloves, with the strengths and trade-offs worth knowing.