Bikepacking Gear
Bikepacking Gear List: Six Essentials From a Three-Bag Loadout
A practical bikepacking gear list built around a three-bag packing system, covering the frame, shelter, luggage, sleep insulation and camp lighting that earn a permanent place on the bike.
Introduction
Bikepacking has a reputation for demanding a custom bike and handmade luggage. It does not. Any bike already sitting in a garage and any bags already sitting in a closet can carry a first overnight trip, and most of the gear that makes a bike trip comfortable is the same gear that makes a backpacking trip comfortable.
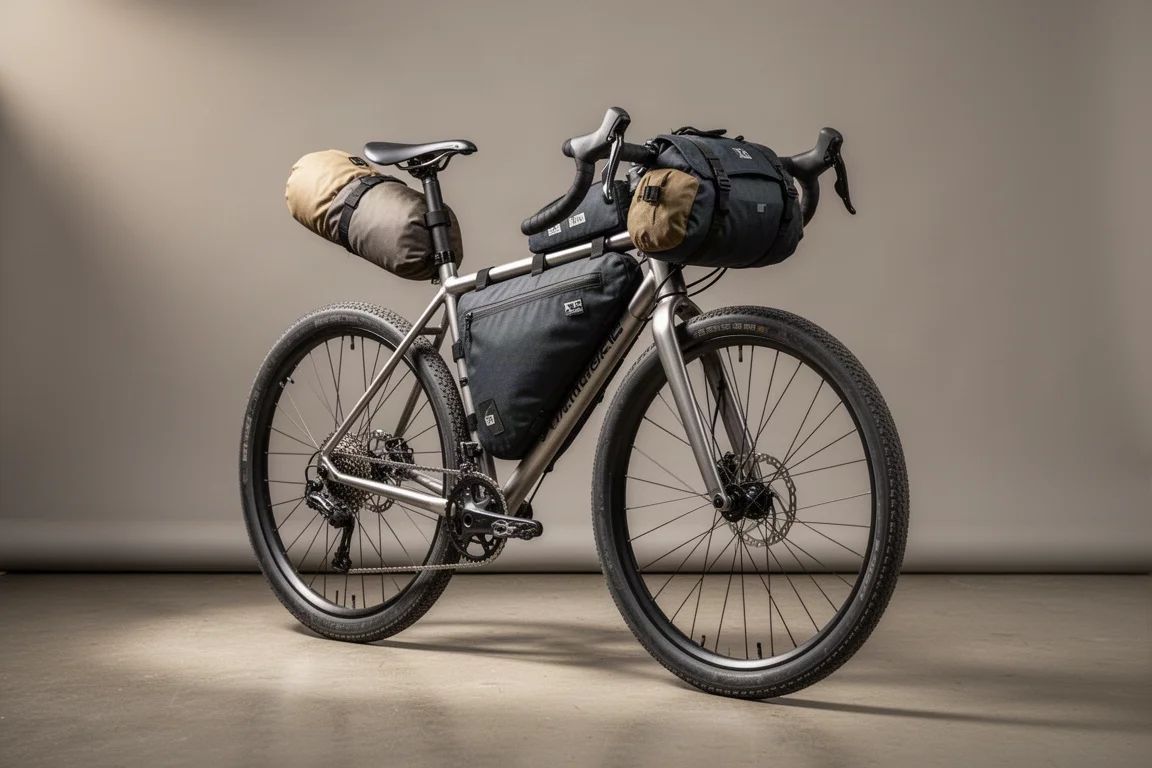
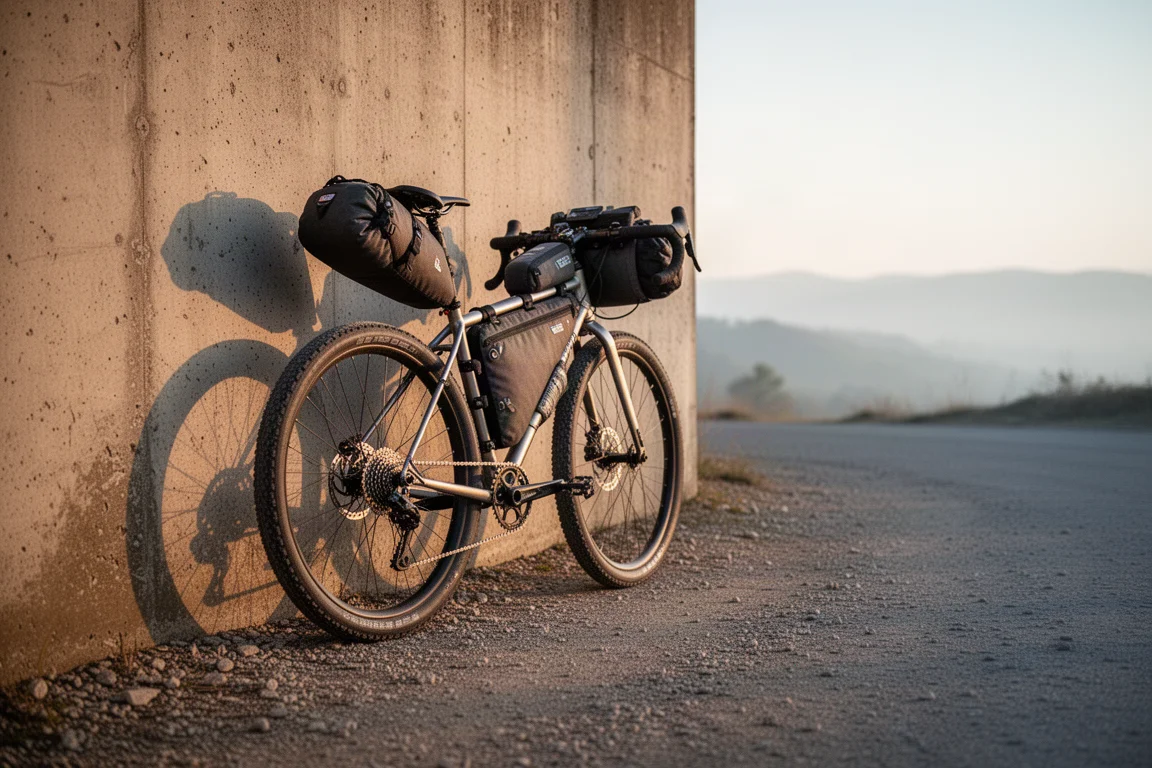
What follows is a loadout that has been refined over several seasons on the bike, organised around a three-bag packing system: a frame bag that stays on the bike, a seat pack, and a handlebar bag. The seat pack and the handlebar bag change with the weather and the length of the trip, while the frame bag stays put.
This list covers six pieces that do the most work in that system, from the frame itself through the shelter, the luggage, the sleep insulation and the light at camp.
How This Kit Was Put Together
The organising principle is straightforward: keep weight low and centred, and keep anything that changes weight during the day in one predictable place. Food and water ride in the frame bag, low in the front triangle, because those are the items that shrink and grow between resupply points. The shelter lives there too, along with a food bag and a long-handled spoon. The sleep system goes into the seat pack, where bulk interferes least with handling. Cookware, electronics and camera gear ride up front in the handlebar bag.
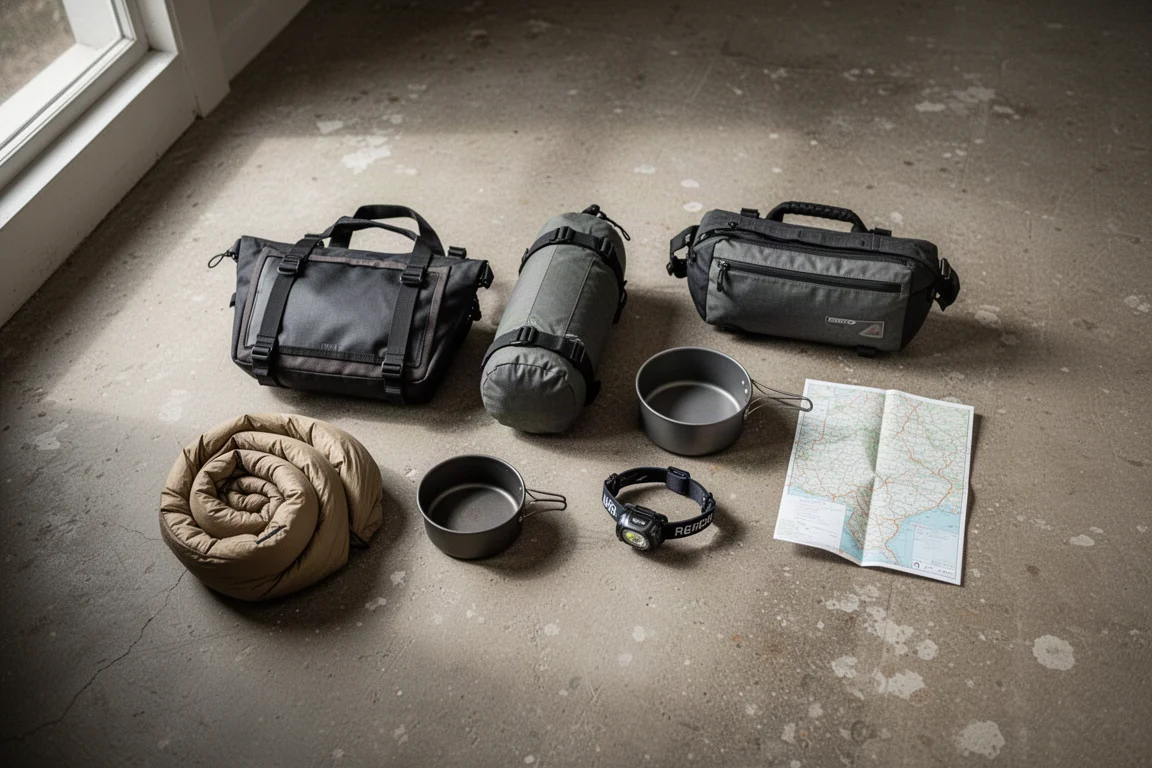
Base weight matters less on a bike than it does on a long hike. The bike carries the load rather than the rider’s knees and shoulders, which means a heavier camera, a bigger lens or an extra comfort item becomes a trade-off instead of a dealbreaker. The real constraint is keeping the total load manageable enough that long climbs stay comfortable, which is why the packing layout matters more than a precise gram count.
Kona Rove ST: The Frame at the Center
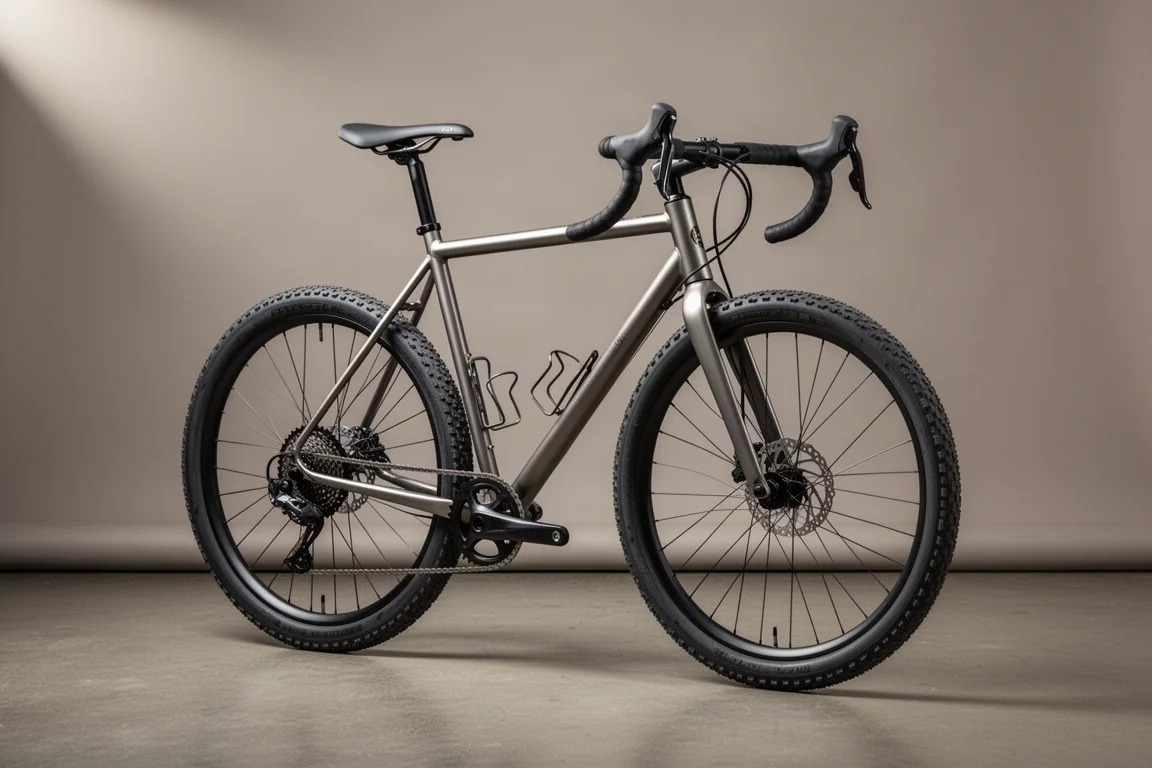
The bike at the centre of this loadout is a Kona Rove ST, a steel frame that has been in continuous use for two seasons. It is available as a complete bike, but this one was bought as a frame and built up with components carried over from a previous build. That route is worth considering when a suitable bike is already in the garage, because the frame is often the only part that genuinely needs to change.
Steel is the reason this frame has stayed. It carries a loaded bike without feeling nervous, and it absorbs the kind of use that bikepacking puts on a machine: rough surfaces, long days in the saddle, and a meaningful amount of weight sitting in the middle of the front triangle.
Zpacks Ultraplex DCF Shelter
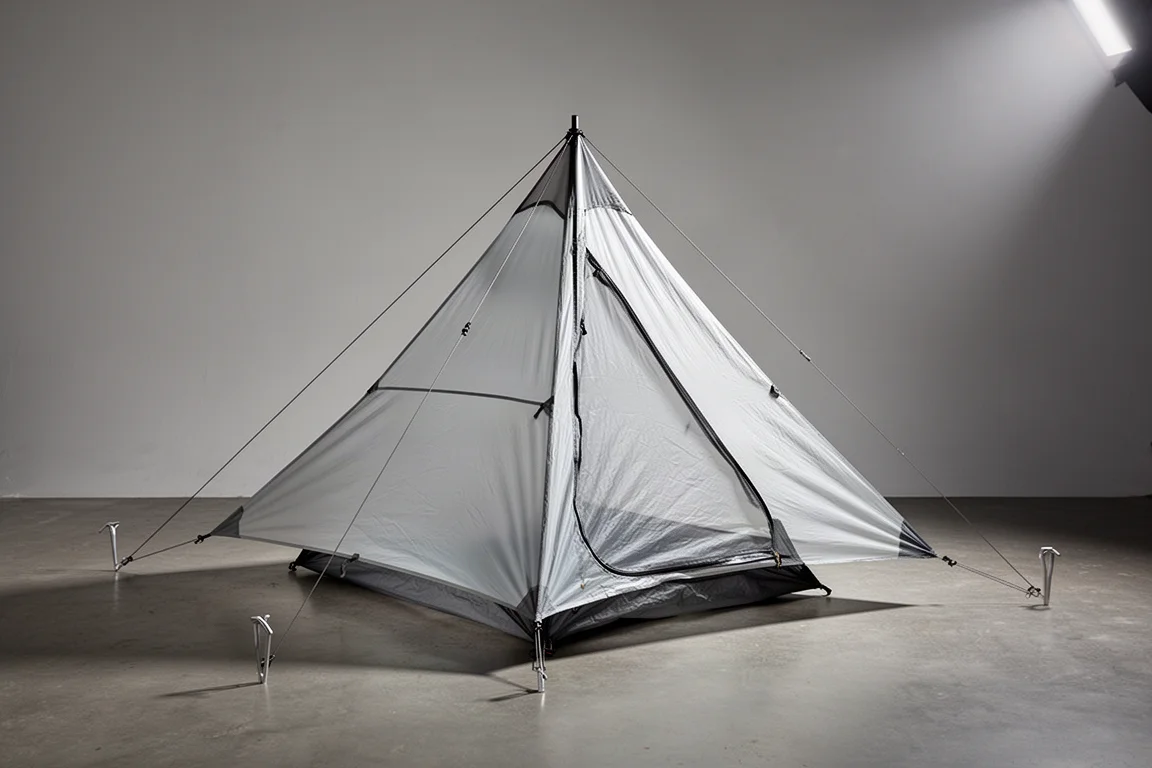
The shelter is a Zpacks Ultraplex in DCF, the same model used for backpacking trips. It packs small enough to sit inside the frame bag, which keeps the single heaviest item in the load low and centred. The kit includes ten Easton Nano aluminum stakes and a 60-inch carbon fiber pole made specifically for the shelter, so the whole system goes into one bag and comes out as one unit when camp is made.
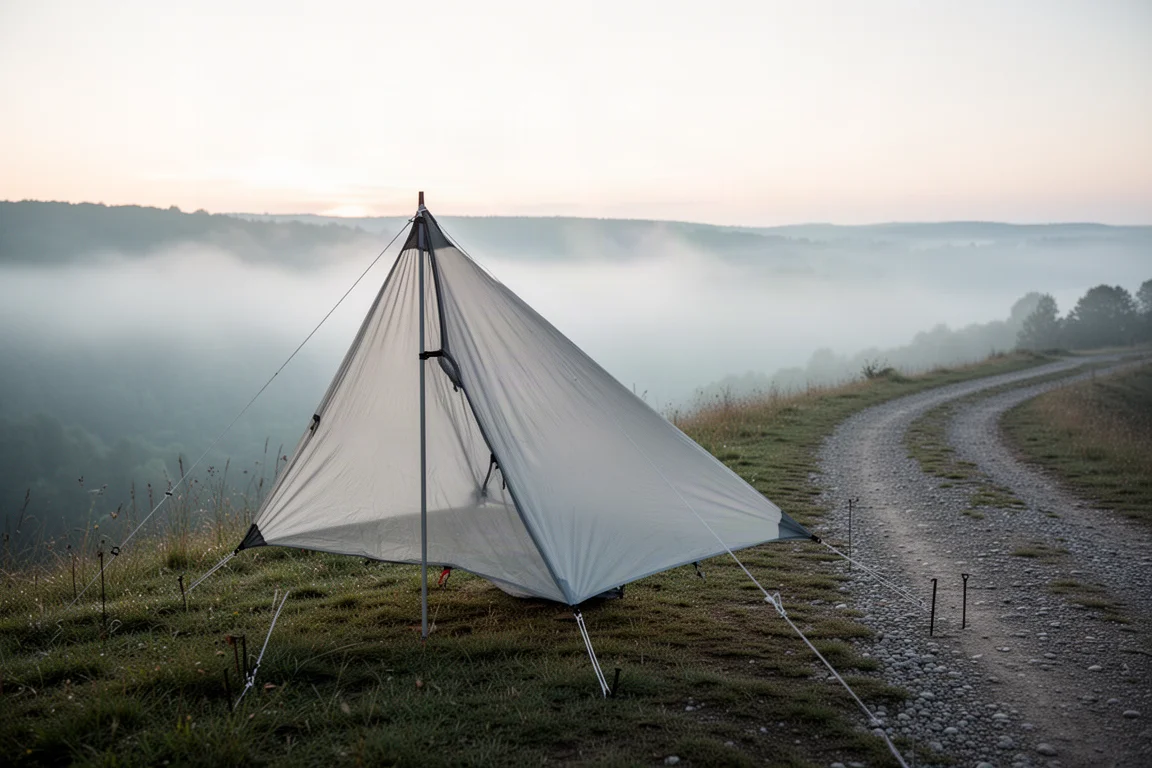
Because the shelter doubles as backpacking equipment, there is no need to own two separate setups. The same shelter, stakes and pole cover both a bike trip and a hike, which keeps the total cost of getting outdoors lower and means the gear behaves predictably every time it is pitched.
Swift Industries Zeitgeist
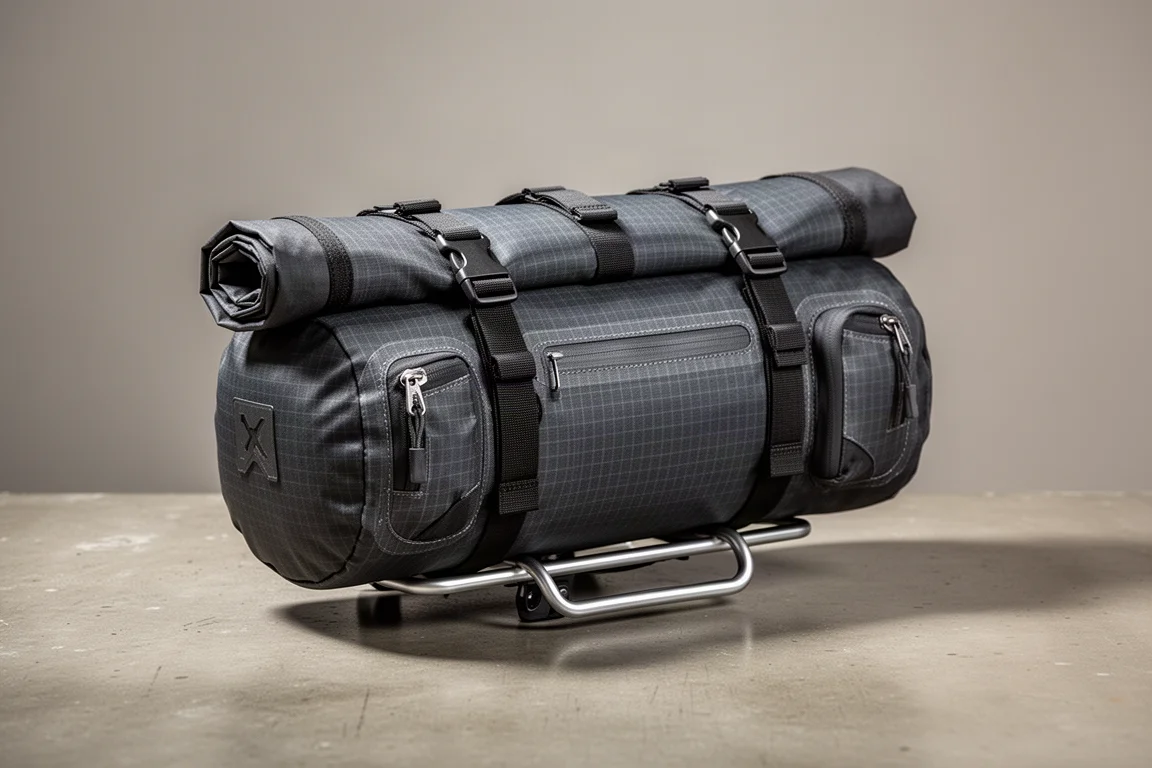
The seat pack is a Swift Industries Zeitgeist in X-Pac, matched to the material used on the frame bag. It has one large main compartment and two side pockets, and it is stabilised with a seat rail rack so it does not swing around on rough descents. The side pockets are where the small essentials live. One holds the repair kit: chain lube, a rag, a tubeless repair and patch kit, a multi-tool with a chain breaker, and a spare inner tube in case a tubeless tyre will not seal. The other holds the water filter and a small hygiene kit.
The same bag is designed to work as either a seat pack or a handlebar bag, and moving it to the front only requires a different set of straps. That flexibility matters on longer trips, where the shape of the load changes depending on how much food is being carried.
UGQ Bandit XL 20 Degree Quilt
The sleep system rides in the main compartment of the seat pack. At its core is a UGQ Bandit XL 20 degree quilt, packed inside a DCF roll-top dry bag so that a wet day on the road does not compromise the insulation. Alongside it go a slim inflatable sleeping pad, a compact camp pillow, a pair of sleep booties, and a small bundle of dry sleeping clothes that includes lightweight tights, spare socks and a warm hat.
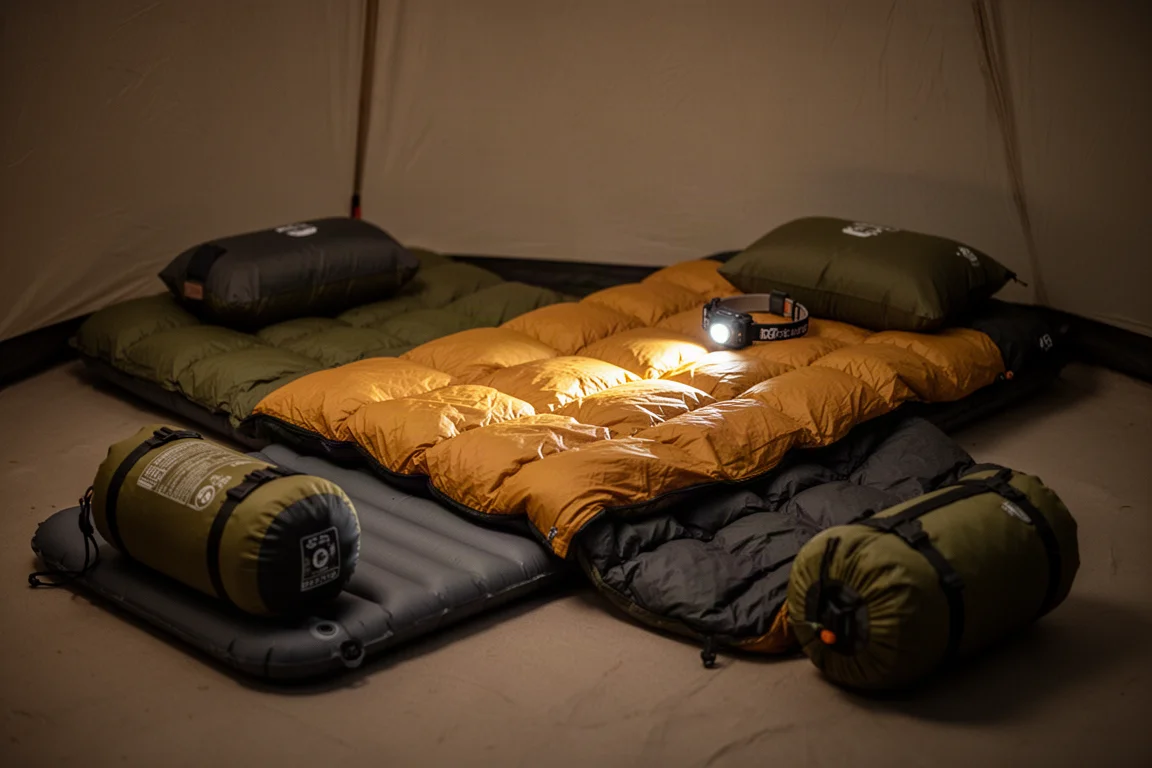
Packing insulation into a roll-top dry bag is one of the habits worth copying. Down and damp conditions do not mix, and a seat pack sits directly in the spray thrown up by the rear wheel, which makes waterproof storage a functional decision rather than an optional one.
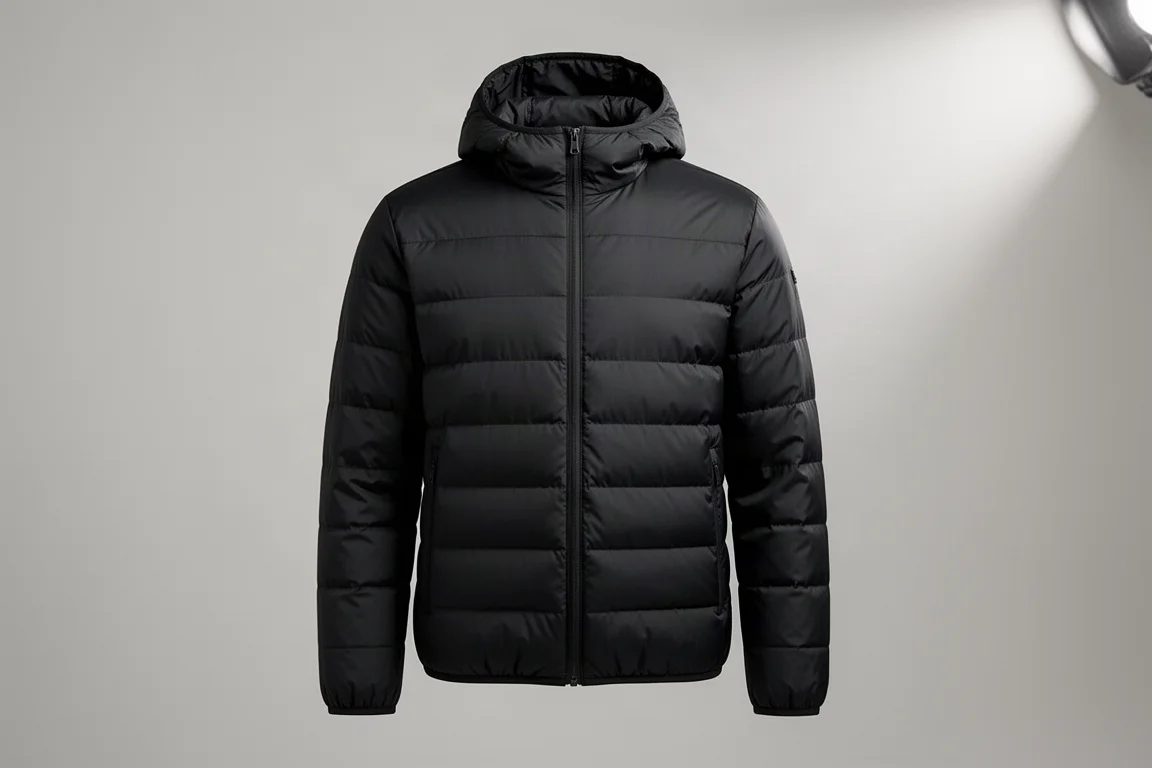
Enlightened Equipment Torrid Apex Jacket
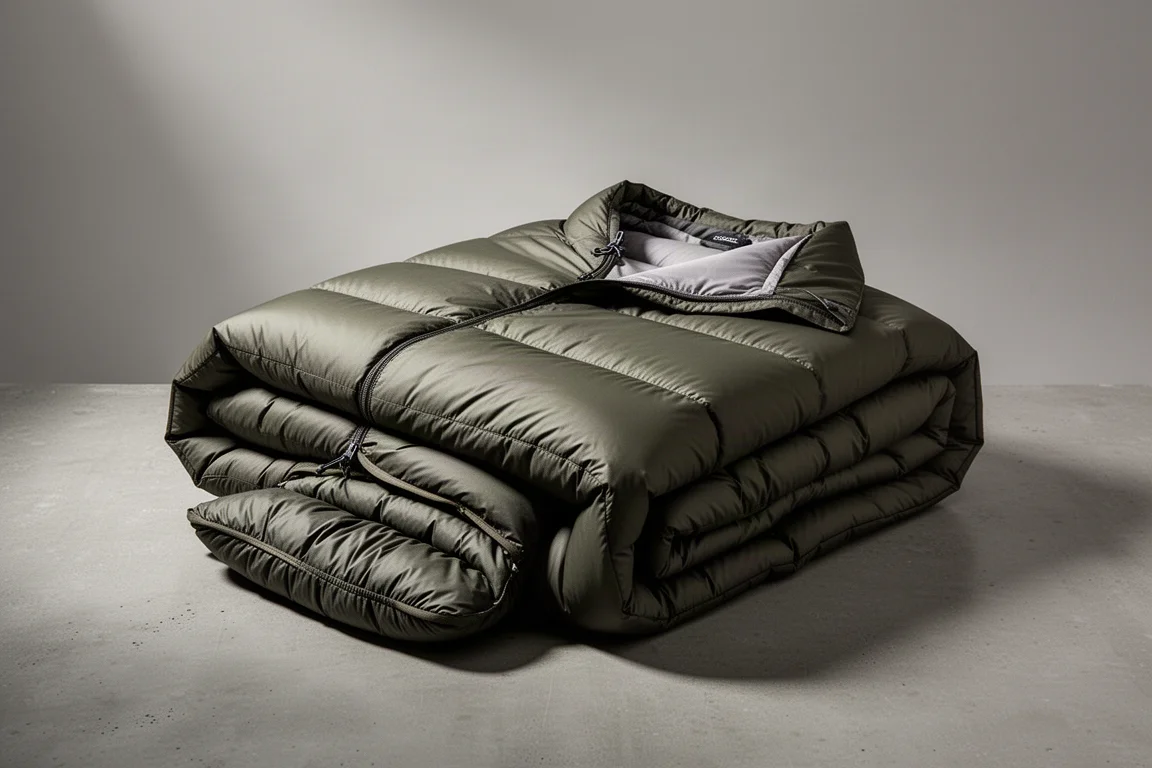
The main thermal layer is an Enlightened Equipment Torrid Apex, a synthetic insulated jacket that lives in the seat pack with the sleep system. It goes on at camp and on cold descents, and because it is packed with the sleeping kit, it is always in the same place when the temperature drops.
Keeping the warm layer with the sleep system is a small piece of organisation that pays off at the end of a long day. There is no unpacking of three bags in the dark to find a jacket. The rear bag opens, and everything needed for a cold evening is in one place.
Nitecore NU25 Headlamp
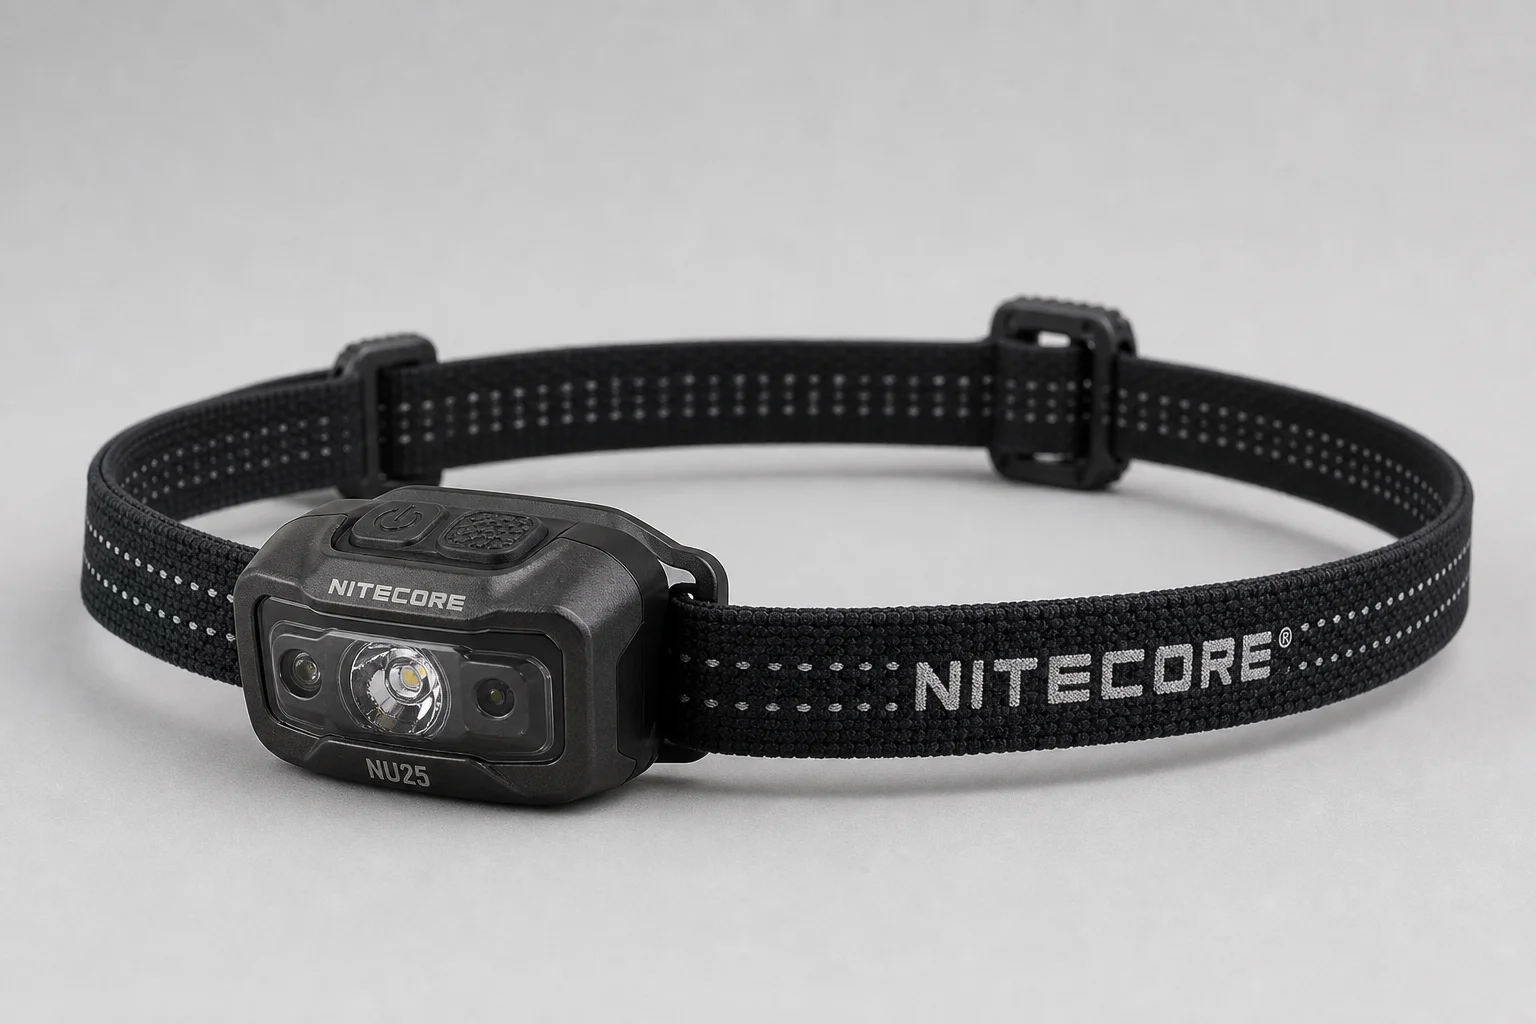
Camp lighting is handled by a Nitecore NU25 headlamp, modified with a bungee strap so it sits comfortably over a hat or a hood. It travels in a DCF ditty bag inside the handlebar bag, together with a power bank, a small charging brick, spare cables and the rest of the trip electronics.
A headlamp stored with the electronics is easy to keep charged, because everything that needs a cable lives in the same bag. That single ditty bag effectively becomes the charging station for the trip, and it is the first thing to check when arriving in a town.
Overall Buying Advice
Start with the bags, not the bike. Any bike already in the garage can carry a first overnight trip, and most riders already own a backpacking shelter and sleep system that will work perfectly well on a bike. The three-bag layout is the part worth getting right early, because it determines how the load feels on a climb and how quickly camp comes together at the end of the day.
From there, spend in order of impact. The shelter and the sleep system come first, since they decide whether a night out is comfortable. Luggage that fits the frame comes next, followed by the smaller items such as camp lighting and repair tools. Buying used gear, or building a frame up with parts already on hand, are both reasonable routes that keep the cost of a first trip low.
What matters more than the equipment list is picking a short route, carrying what is already owned, and treating the first trip as a test of the packing layout rather than a test of the gear.
Conclusion
A bikepacking loadout does not need to be expensive or exotic. The pieces in this list share a common thread: each one has a clear job, packs into a defined spot on the bike, and doubles as backpacking equipment wherever possible. The steel frame carries the weight, the shelter and sleep system handle the nights, the X-Pac luggage keeps everything organised and protected, and a small headlamp makes camp workable after dark. Get the three-bag layout settled first, then upgrade the individual pieces as trips get longer and the priorities become clearer.
Further reading
Related Reviews
Bikepacking Gear
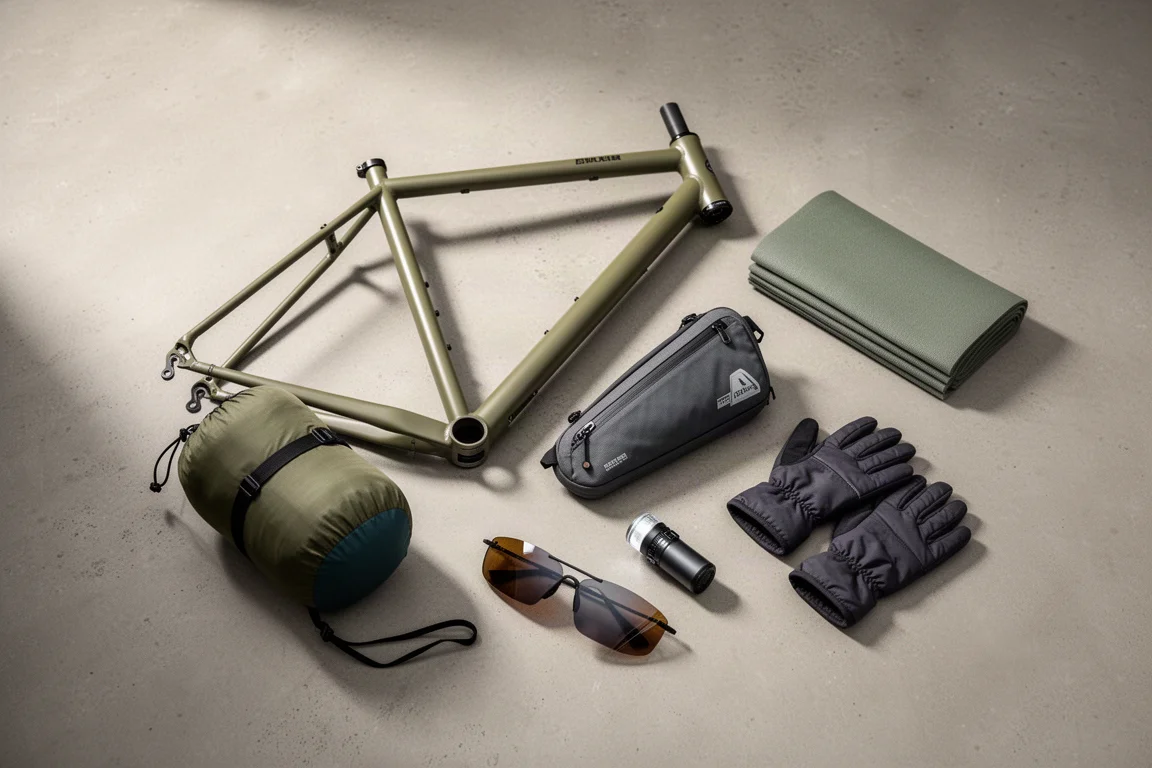
11 Bikepacking Essentials for Long-Distance Cycling
Eleven bikepacking essentials for long-distance cycling, from a steel gravel frame and a two-person tent to helmet lights, packable gloves, and a frame bag that puts weight in the right place.
Bikepacking Gear
Best Bikepacking Gear 2026: 11 Essentials Worth Carrying
A practical look at bikepacking kit that earned its place on long rides, from a solar bike computer and basket packing to bar bags, bivvies and gravel shoes.
Bikepacking Gear
Best Bikepacking Gear: 10 Field-Tested Picks for Long-Distance Rides
Ten bikepacking products that earn their place on long rides, from a steel gravel frame to packable gloves, with the strengths and trade-offs worth knowing.