Aquarium Equipment
Best Dosing Pumps for Reef Tanks: Kamoer X1 and Bulk Reef Supply 2-Part Doser
Two practical dosing pumps for reef aquariums, plus the six factors that decide which one suits your tank and routine.
Introduction
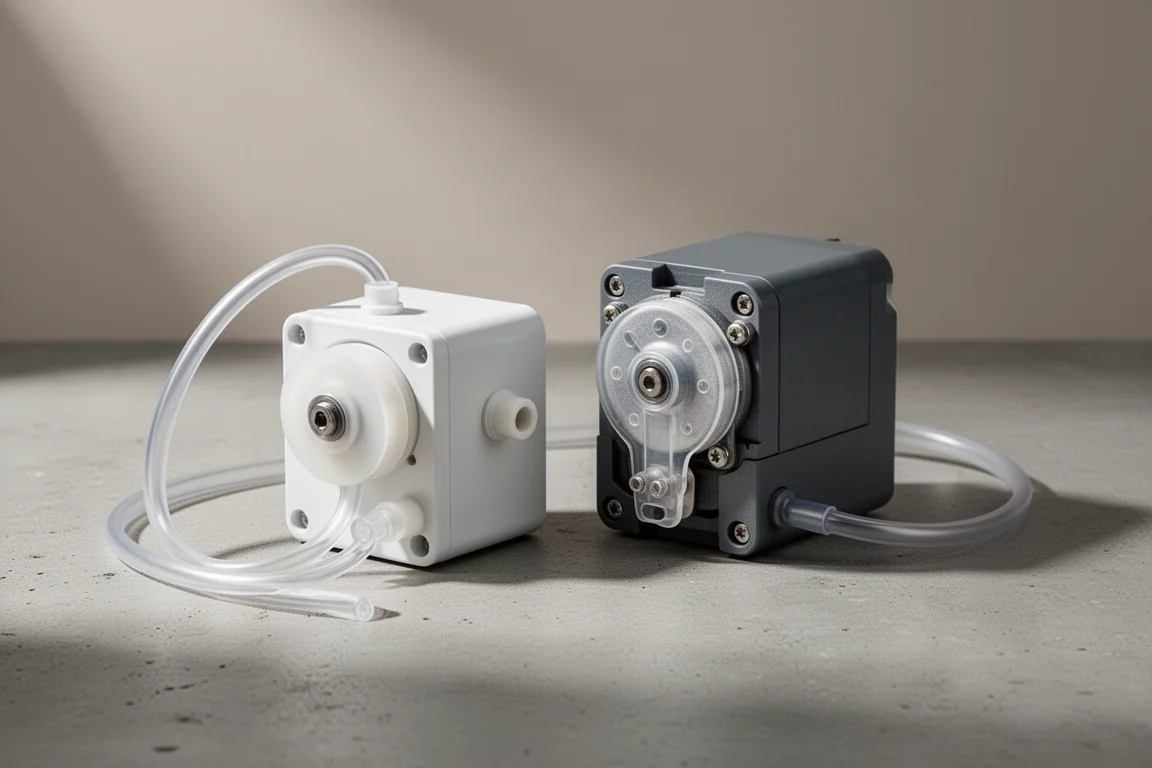
A dosing pump is not like the other pumps on a reef system. Utility pumps, wavemakers and return pumps move large volumes of water. A dosing pump is built to move very small amounts, and to move them with a high degree of accuracy. That combination is what makes it useful for two-part dosing, automatic water changes, and micro-dosing everything from phytoplankton to coral aminos. In most tanks the pump ends up doing one job: two-part dosing, or a one-part equivalent such as Tropic Marin All-For-Reef or Kalkwasser.
This guide covers two of the most sensible options in that category and the practical questions that decide between them.
Why Add a Dosing Pump to a Reef Tank
After a few months, most tanks settle into a pattern. The novelty fades, corals start consuming more calcium and carbonate, and weekly water changes begin to feel like a chore. A dosing pump addresses the last two problems at once by adding small, repeatable amounts of liquid on a schedule rather than by hand.
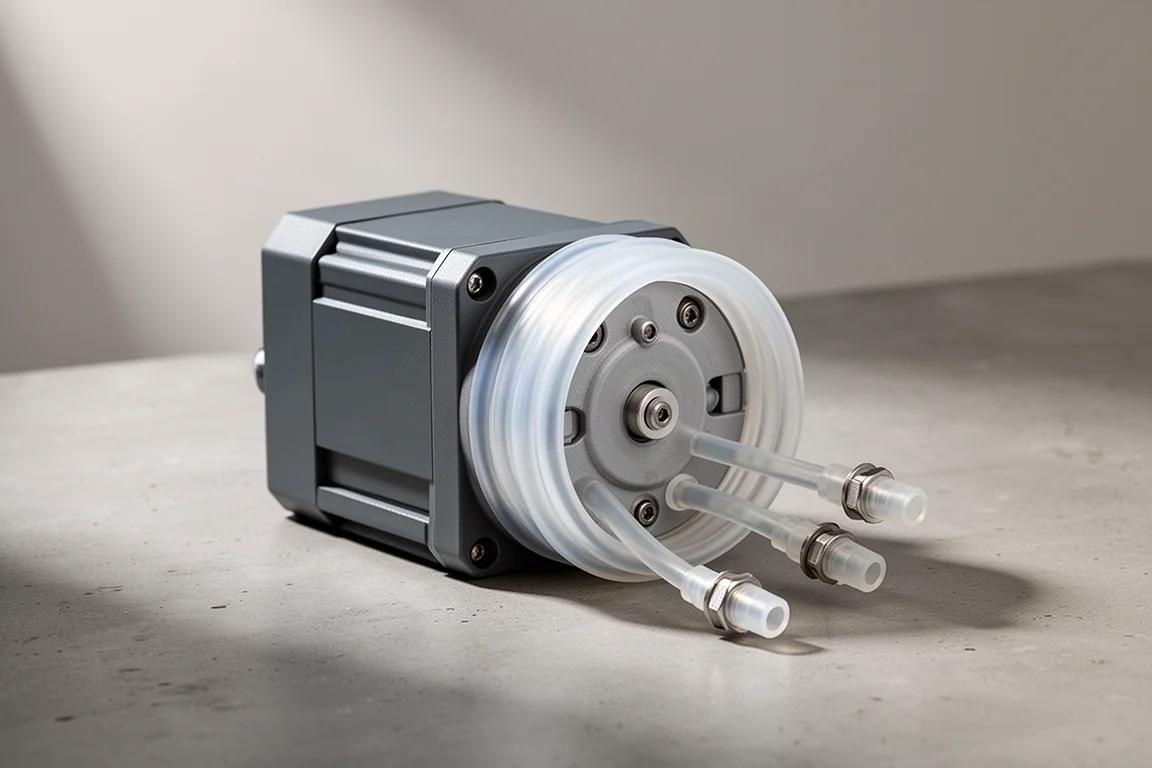
Most dosing pumps are peristaltic. Liquid travels through a soft tube that is squeezed by rollers turning inside the pump head. The compression moves the liquid in a wave toward the outlet, and the tube is the only part that ever touches the solution. Because the volume delivered depends on how long the rollers turn, flow rates across the category range from around 1 mL per minute to well over 100 mL per minute.
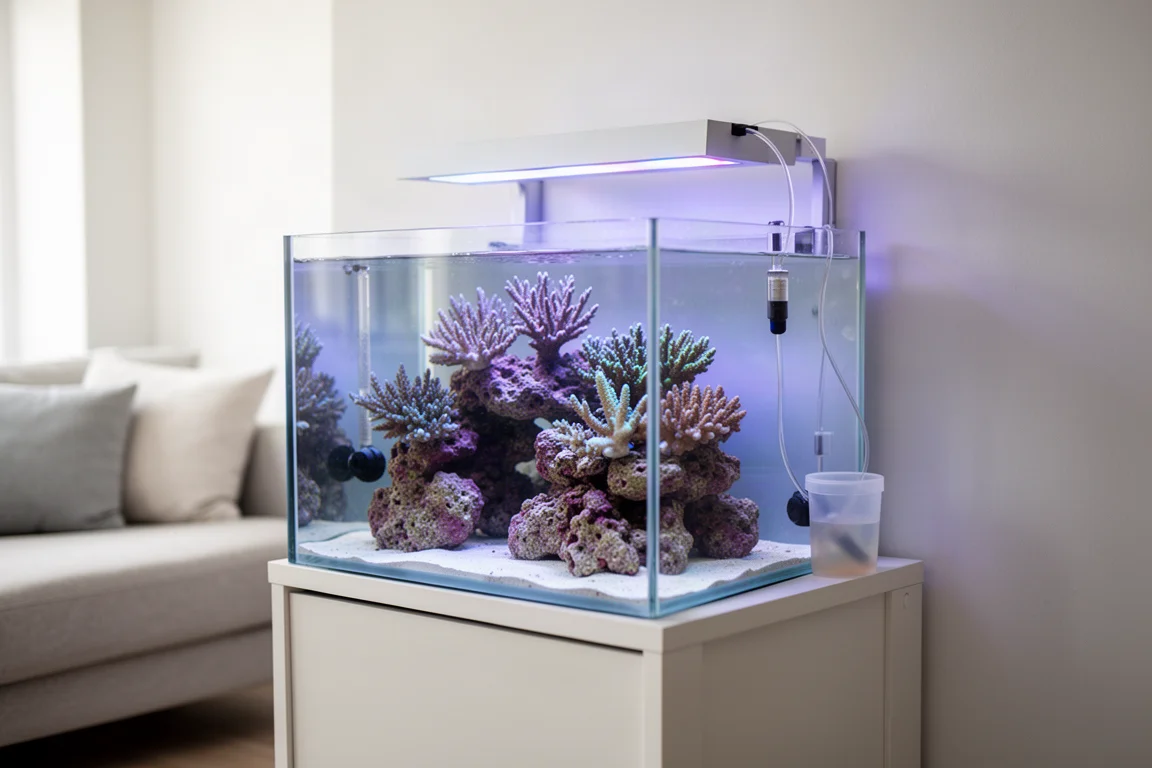
That range matters when you choose a pump, because a unit sized for daily two-part dosing is not the same unit you want running automatic water changes.
How to Choose a Dosing Pump
Six questions cover nearly every decision.
- Number of heads. One liquid, one head. Two liquids, two heads. A single-head pump is enough for a one-part product such as Tropic Marin All-For-Reef or Kalkwasser.
- Size. Most dosing pumps are small, but shapes vary. Decide where the pump will live before you buy.
- Flow rate. Beginners rarely have a feel for daily volumes. As a rough guide, automatic water changes need a higher-flow unit, in the region of 50 mL per minute, while two-part dosing and one-part products are comfortably handled by a 1 mL per minute pump.
- Running life. Less expensive pumps carry shorter continuous running ratings. Work out the daily runtime you need and check that number against the rating.
- Mounting. Some pumps can be fixed to a wall or the inside of a wooden cabinet stand. Others sit on their own feet and need shelf space.
- Control. Options run from pumps with no controls at all, which need an external timer, to units with built-in programming, to wireless pumps with an app for on-the-fly changes.
Best Budget Pick: Kamoer X1
The Kamoer X1 is a compact, app-controlled dosing pump that sits at the more affordable end of the category. Its headline number is a continuous running life of around 2,000 hours, and how that translates into years depends entirely on how much you dose. At a daily dose of 10 mL the rated life works out to roughly 30 years of service. At 100 mL a day it falls to about three years. For a one-part routine, or modest two-part dosing, that is a long runway.
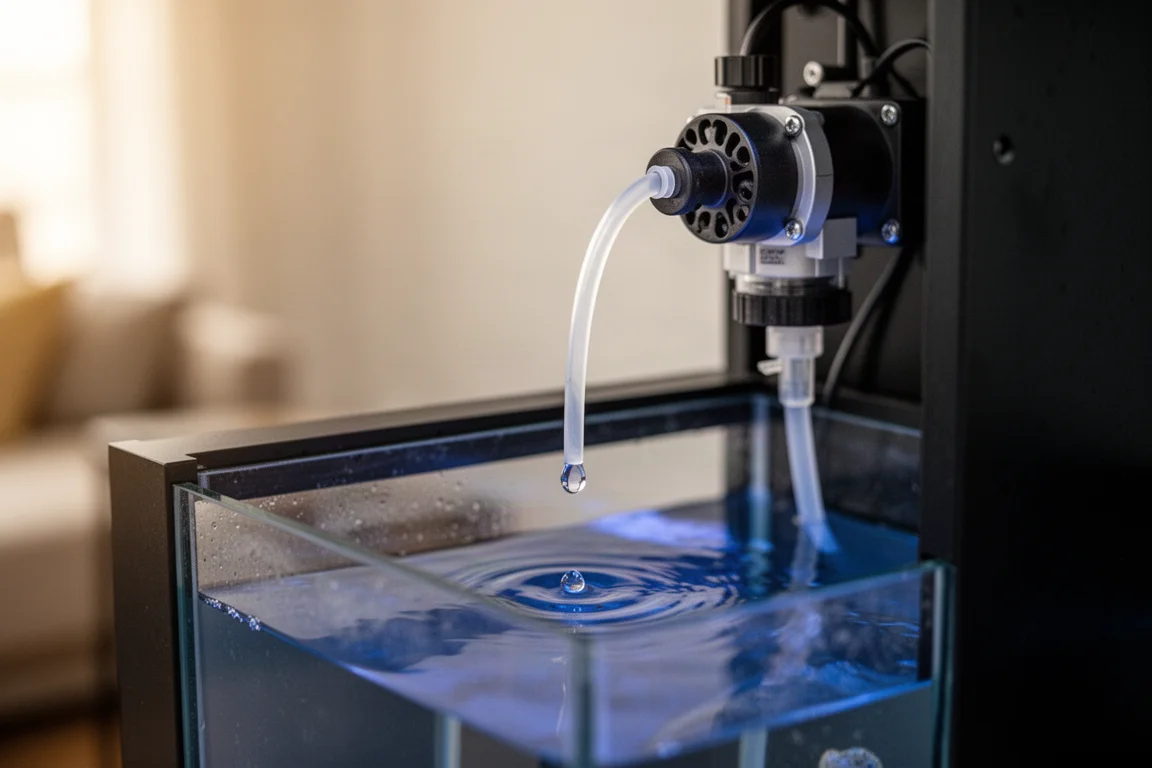
Wireless control is the other reason it makes the shortlist. The pump is programmable through an app, so adjustments happen on the fly rather than through a sequence of button presses on the unit itself.
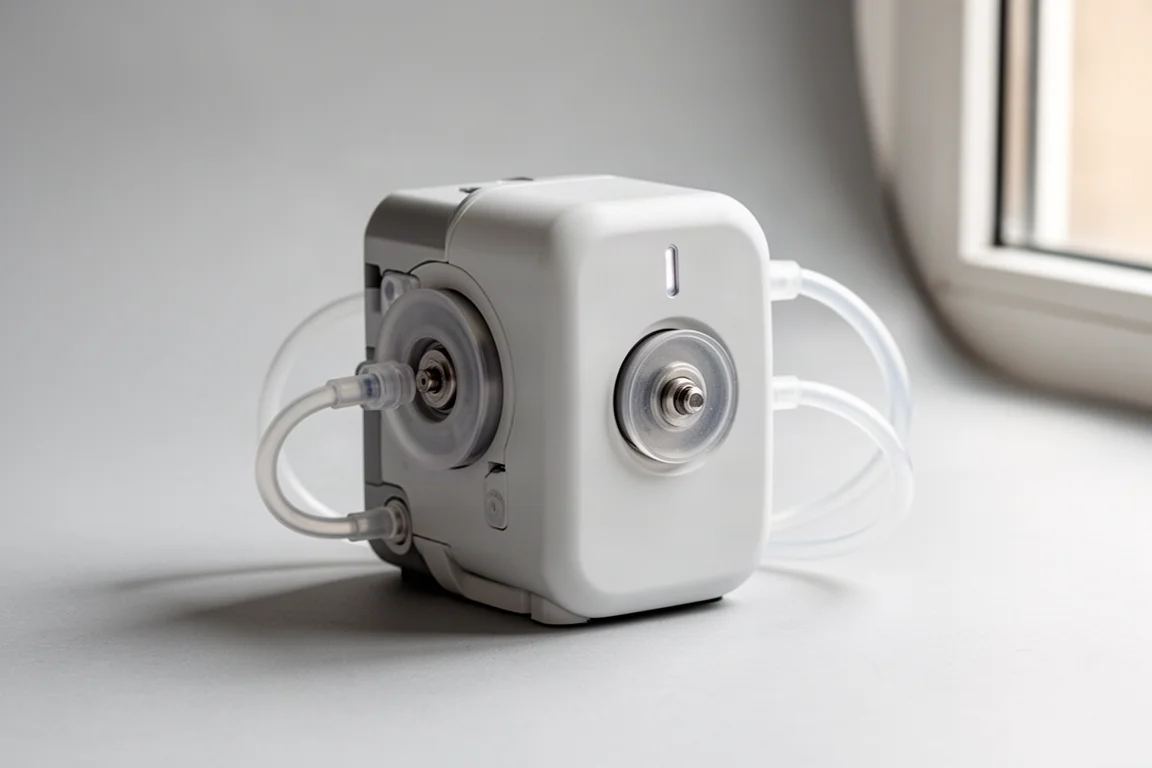
Best for Two-Part Dosing: Bulk Reef Supply 2-Part Doser
The Bulk Reef Supply 2-Part Doser is a straightforward peristaltic pump offered in two flow versions. The 1.1 mL per minute model is the one to choose for two-part dosing, Kalkwasser, a one-part product such as Tropic Marin All-For-Reef, coral aminos or suspended phytoplankton. The 50 mL per minute version is intended for automatic water changes, where the daily volume is much larger.
There are no programming functions inside the pump, so it is paired with a timer, an aquarium controller, or a wifi power strip. The trade-off is simplicity: fewer things to configure, and fewer things to go wrong. The pump can also be mounted to a wall or the inside of a wooden cabinet stand, which keeps it out of the way on a crowded shelf.
Setting Up Your Doser: Four Steps
1. Determine your daily dose. Test alkalinity at the same time each day for several days to see how much is being consumed. Then follow the directions on the container and adjust the daily amount up or down until you land on the right figure.
2. Fit the tubing. Remove both the inlet and outlet nuts and slide them a few inches down each tube, keeping the threads facing the short end. Push the tube onto the inlet side, marked with an arrow pointing toward the pump, until it is fully seated on the nipple, then hand-tighten the compression nut. Repeat on the outlet side, where the arrow points away from the pump.
3. Calibrate. Put the inlet tube in a jug of solution or water and the outlet tube into a 100 mL measuring cup. Run the pump until the tubing is fully purged, unplug it, then run it for exactly 10 minutes. Divide the volume collected by 10 to get the pump’s output in millilitres per minute for your particular setup.
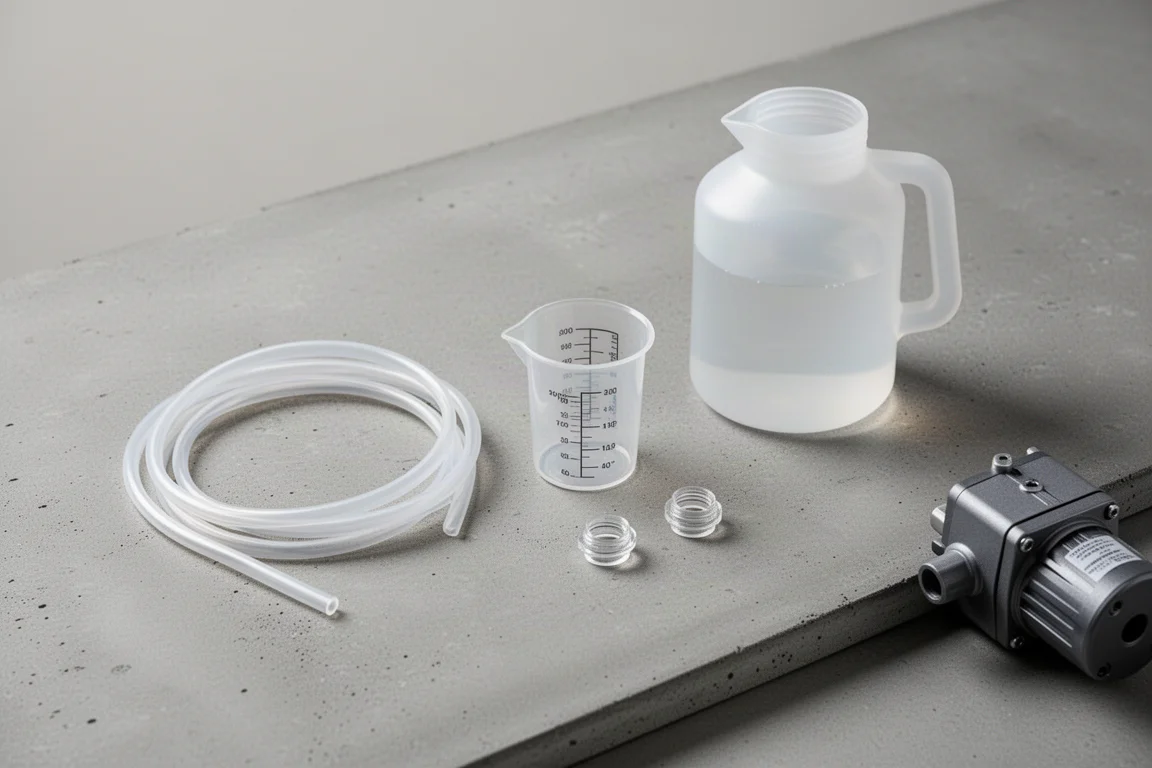
4. Install and schedule. Place the inlet hose in the dosing container and the outlet tube in a high-flow area of the tank. Keep the outlet hose out of the water to reduce the risk of clogging. To find the runtime, divide the daily dose by the pump’s output: 33 mL per day at 1.1 mL per minute works out to 30 minutes of running time. Then set the timer or controller to that duration.
Common Dosing Mistakes to Avoid
The most damaging problems tend to be small errors that compound. Placing outlet lines too close together allows one solution to react with another before it disperses into the tank. Testing too rarely means the dose drifts away from what the tank actually consumes. Back siphoning can pull aquarium water into the dosing container and spoil the solution. Each of these is easy to prevent with a careful installation and a regular testing routine.
Buying Advice: Matching the Pump to Your Routine
Work backwards from the job. If you dose a single one-part product, a single-head pump with modest flow is all you need, and the Kamoer X1’s app control and low annual running cost make it a comfortable fit. If two-part dosing is on the table, the 1.1 mL per minute Bulk Reef Supply 2-Part Doser delivers the accuracy you want, with an external timer handling the schedule. If automatic water changes are the goal, choose the higher-flow version of the same pump instead.
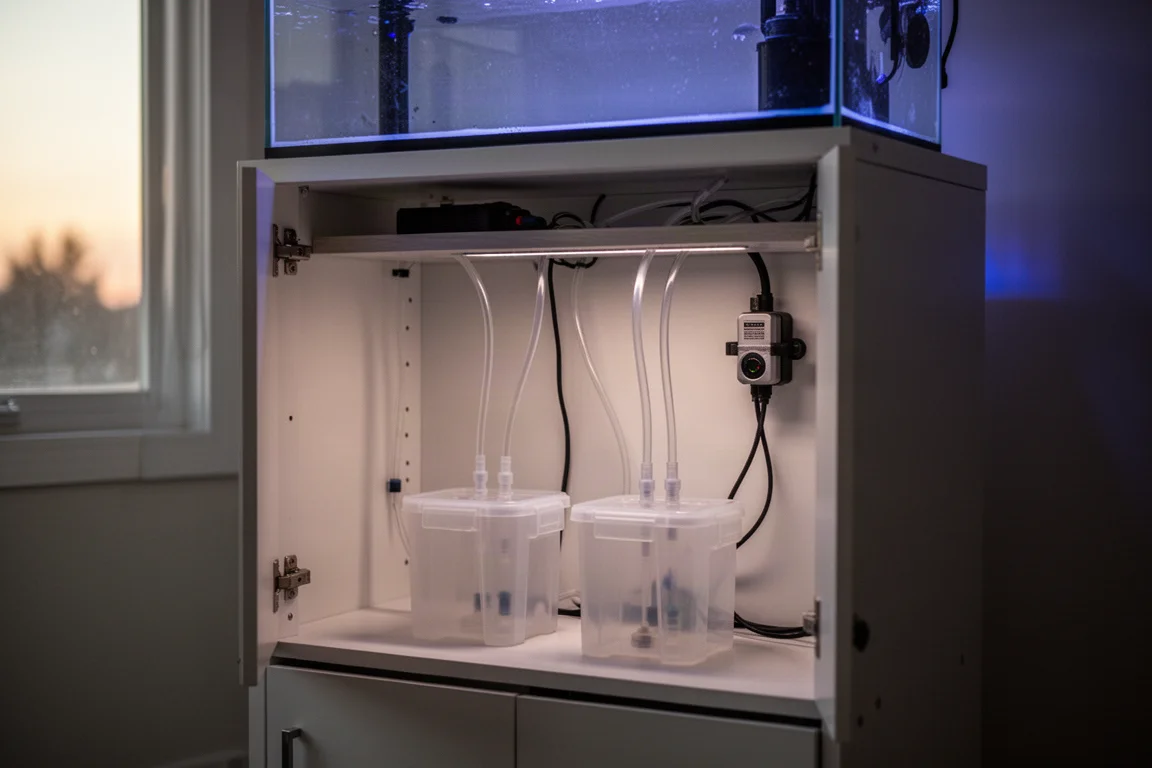
Whichever route you take, budget for the supporting parts as well: a timer or controller, tubing, and a container for each solution. Leave room for a calibration step whenever you move the pump or change tubing, because the output figure changes with the setup.
Conclusion
Both pumps solve the same underlying problem in slightly different ways. The Kamoer X1 leans on app-based control and a low entry point, which suits smaller daily doses and one-part routines. The Bulk Reef Supply 2-Part Doser keeps things simple, offers a flow rate for each job, and mounts cleanly inside a stand. Match the flow rate to the task, decide how you want to control it, and either one will help keep calcium, alkalinity and trace elements steady without weekly guesswork.
Further reading
Related Reviews
Aquarium Equipment
Abyzz Professional DC Pumps: A100, A200, and A400 Reviewed
A closer look at three German-made DC return pumps built for large reef systems, with titanium internals, fine flow control, and a 10-year warranty.
Aquarium Equipment
AdaptiveReef Controller Accessories: Three Tactile Upgrades for Your Reef Controller
A practical look at three AdaptiveReef add-ons that put physical switches, at-a-glance status lights, and a loud alarm within arm's reach of your reef tank.
Aquarium Equipment
Adaptive Reef Controller Boards: Basic vs Deluxe for Cleaner Aquarium Gear
A practical look at the Adaptive Reef Basic and Deluxe controller boards, what each one includes, and how to choose the right size for your tank gear.