Cycling Gear
Aero Helmets and Bottle Setups Tested: Six Options Ranked by Measured Watt Savings
Wind tunnel data on six aero helmets and bottle setups, with real watt savings, practical trade-offs, and guidance on what is worth buying first.
Introduction
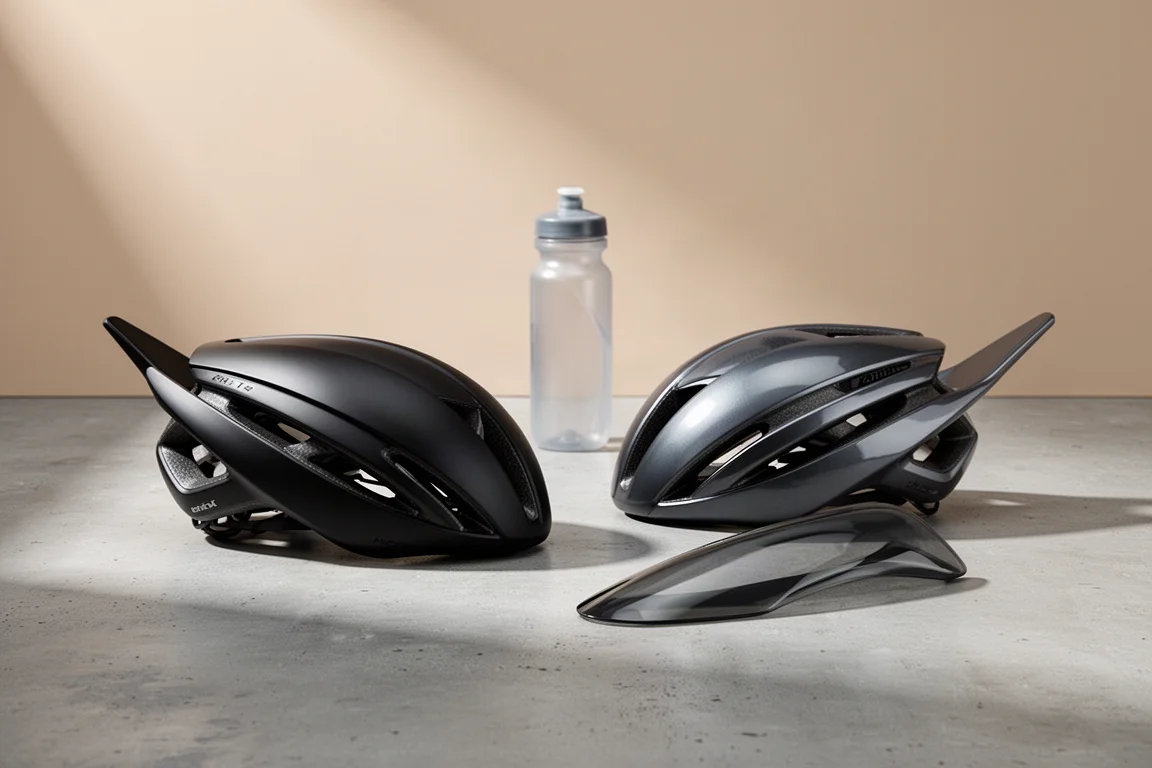
Aero equipment is one of the few areas of cycling where changes can be measured instead of guessed at. In a recent wind tunnel session, an existing race setup was put through a series of controlled runs to find out which changes were genuinely worth making and which ones only looked fast.
The starting setup was already solid, which makes the results more useful for anyone shopping for aero gear. The meaningful gains came from specific, practical swaps rather than a complete rebuild of the bike.
How These Aero Gains Were Measured
The baseline setup used a single 750 ml bottle on the down tube, an empty bottle cage, a 62 mm front wheel, an 80 mm rear wheel, and a short-tail aero helmet. Every run was completed at 40 km/h, which is faster than a typical race average, because a higher test speed makes small differences between setups easier to detect. Testing covered zero and 10 degrees of yaw, and the figures below are averaged across both.
Savings are reported two ways: against the baseline setup and against the fastest setup found during the session. That distinction matters, because a component can be quick in absolute terms while still being slower than the best combination available.

Wind tunnel numbers are most useful when they are read alongside the demands of a specific course. A setup that wins on a flat, fast route is not automatically the right choice for a hilly one, where weight, access to hydration, and practicality also count.
Met Codatronca: The Fast Short-Tail Baseline
The Met Codatronca was the helmet used for the baseline run, and it turned out to be a strong starting point. It is a short-tail aero helmet, so the rider can move their head around without paying too heavy an aero penalty, and it still offers a degree of ventilation.
Only one helmet tested faster, and only by a single watt. For most riders that makes the Codatronca the sensible default: it is quick, it tolerates a less-than-perfect head position, and it stays comfortable when conditions change during a race.
Met Drone: The Long-Tail Option
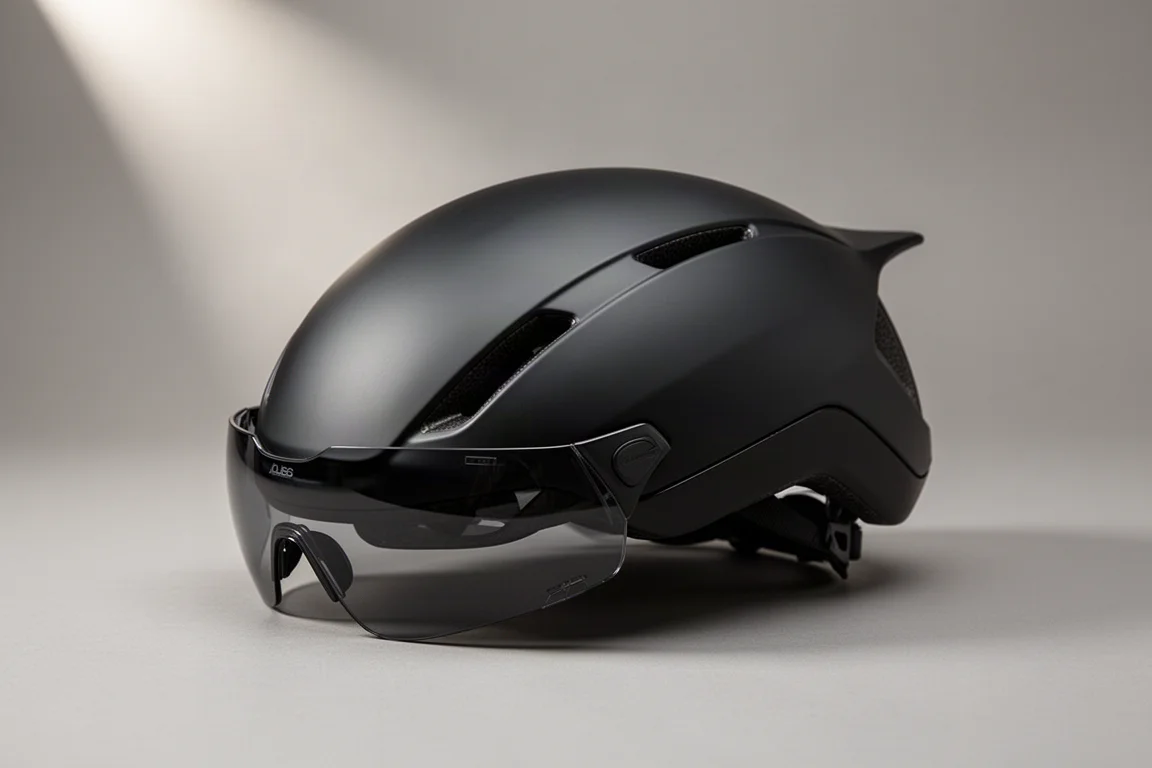
The Met Drone shares the overall shape of the Codatronca but adds a longer tail. It was the fastest helmet in the session, one watt ahead of the short-tail design, and it took the cumulative saving to nine watts over the baseline.
That advantage is conditional. A long tail works best when the head is held low and in line with the body, and as soon as the rider starts moving their head, the tail begins to generate drag. It suits riders who can hold a stable position for the whole bike leg.
Rudy Project Wingdream: Widebody Aero
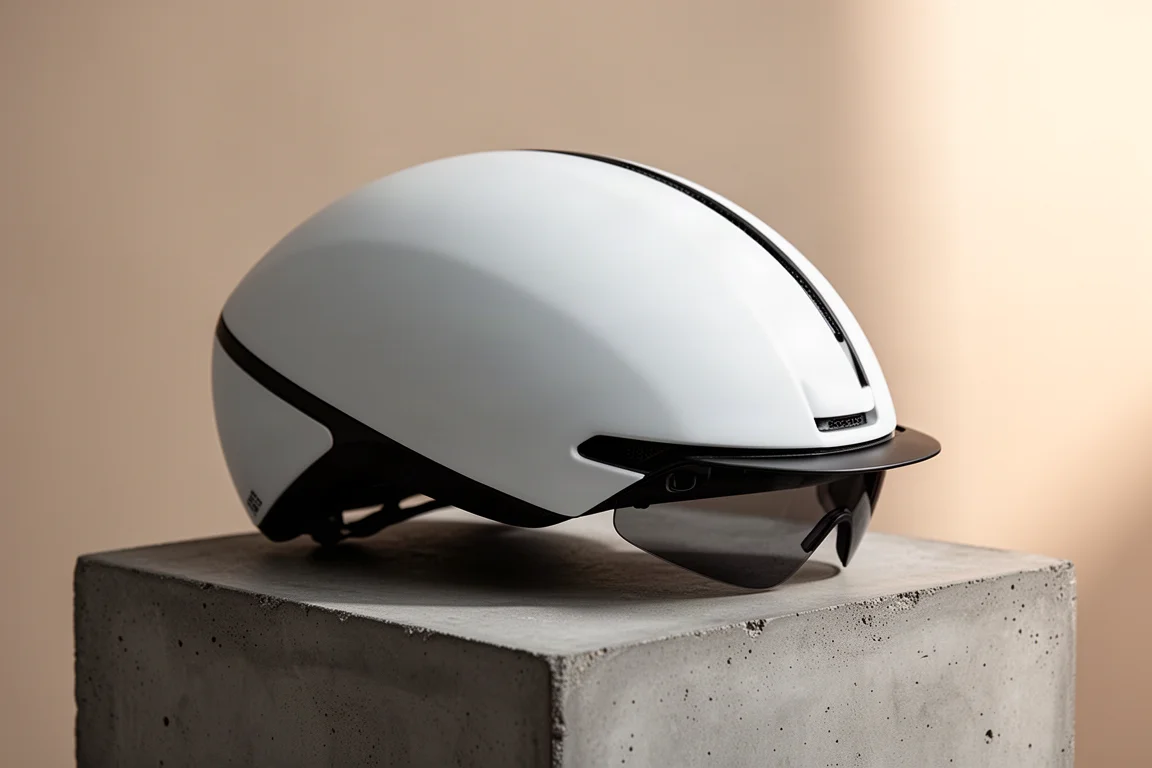
The Rudy Project Wingdream is the widebody style seen on a large number of professional riders. In this session it was four watts slower than the fastest setup, with most of that loss appearing at 10 degrees of yaw, where it gave away seven to eight watts.
The reason comes down to the relationship between helmet shape and head position. Widebody helmets are designed to channel airflow over the shoulders, and they perform at their best when the head sits in line with the body. With a higher head position, the helmet presents a larger frontal area and drag rises accordingly.
Met Manta: Aero Road Helmet With Ventilation
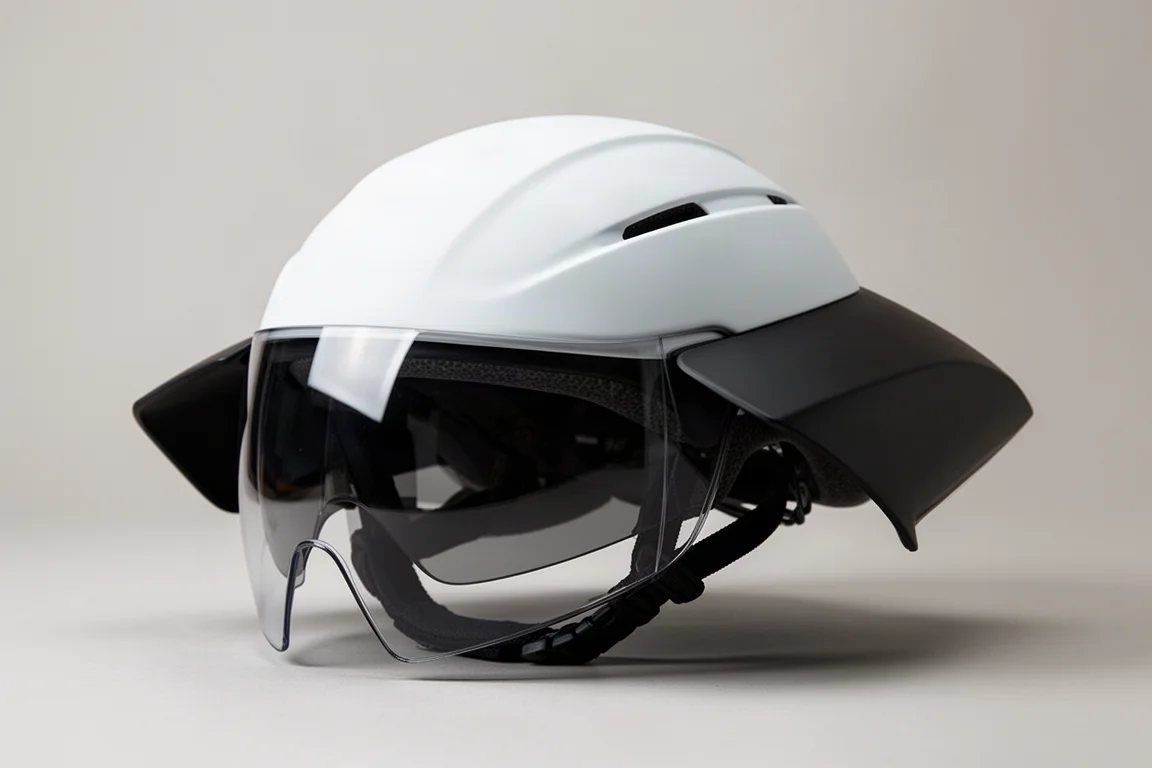
The Met Manta is an aero road helmet rather than a pure time trial design. It was 3.5 watts slower than the fastest setup but still 4.5 watts faster than the baseline, which makes it a reasonable middle ground for riders who want more airflow.
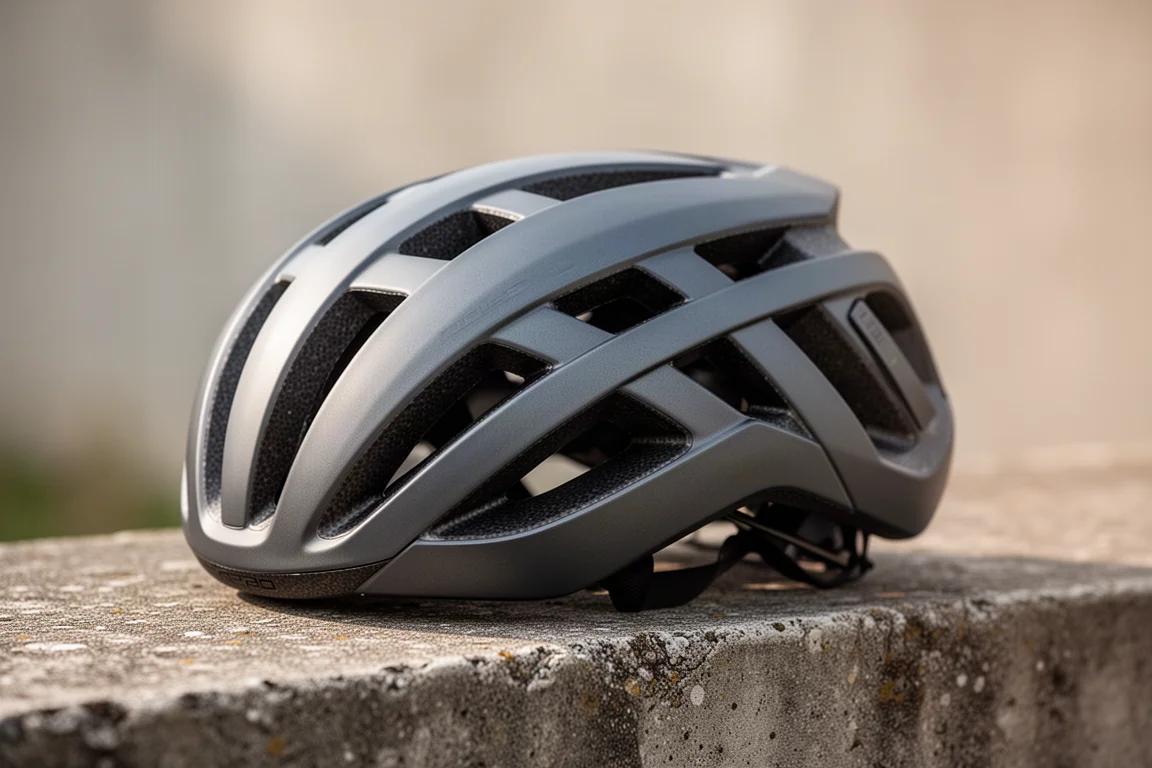
Extra ventilation around the ears and eyes matters in warm conditions, and this option delivers it without giving away the entire aero advantage. It is a compromise, but a measured one that can be planned around rather than discovered on race day.
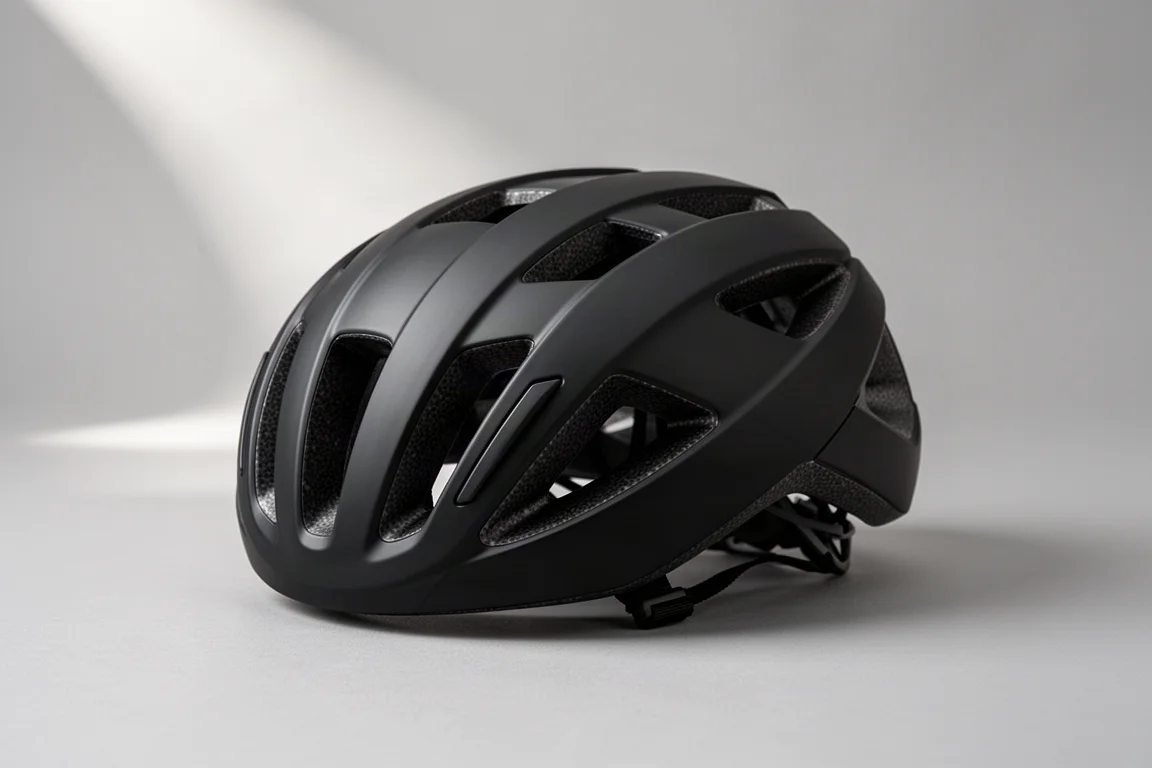
Met Trenta: Maximum Ventilation
The Met Trenta is a heavily vented road helmet built around breathability. It was 7.2 watts slower than the fastest setup and ended up roughly level with the baseline, so the aero benefit largely disappears.
That does not make it a poor helmet. It simply means the choice is a trade. If ventilation is the priority for a hot race, this is the option to take, and the aero cost is now a known number rather than a guess.
Canyon Aerofuel: The Bottle Setup With the Biggest Single Gain
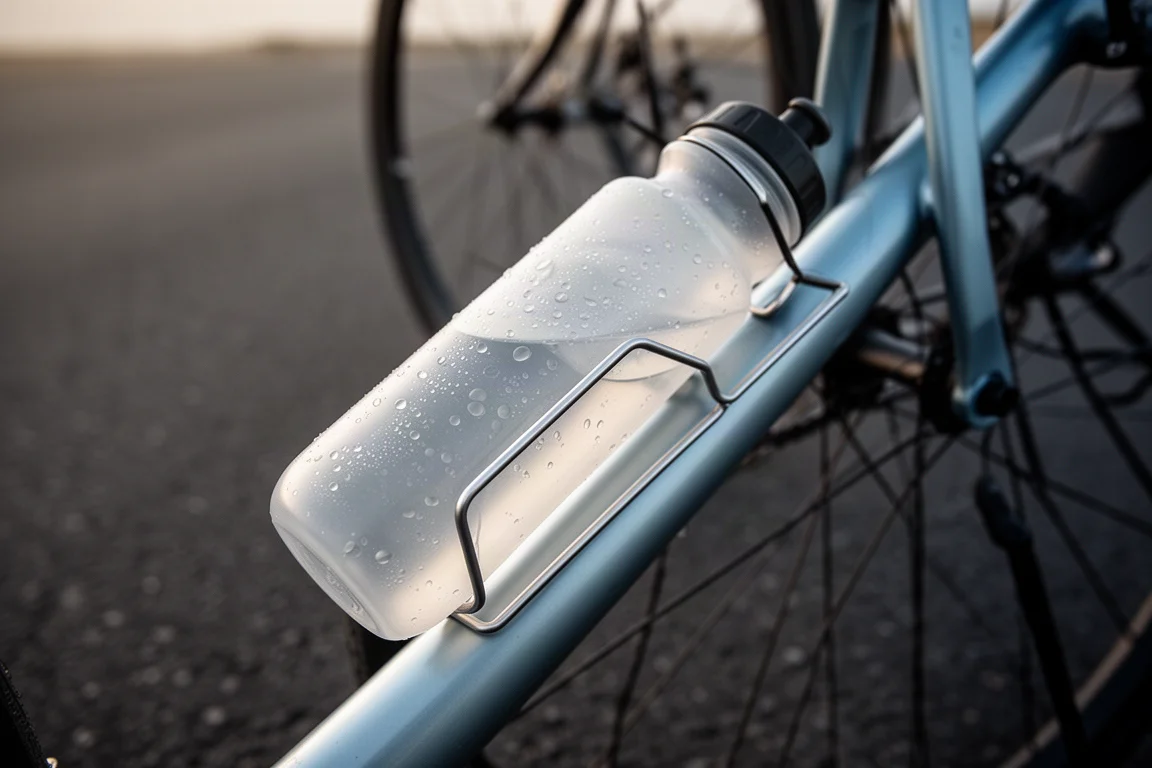
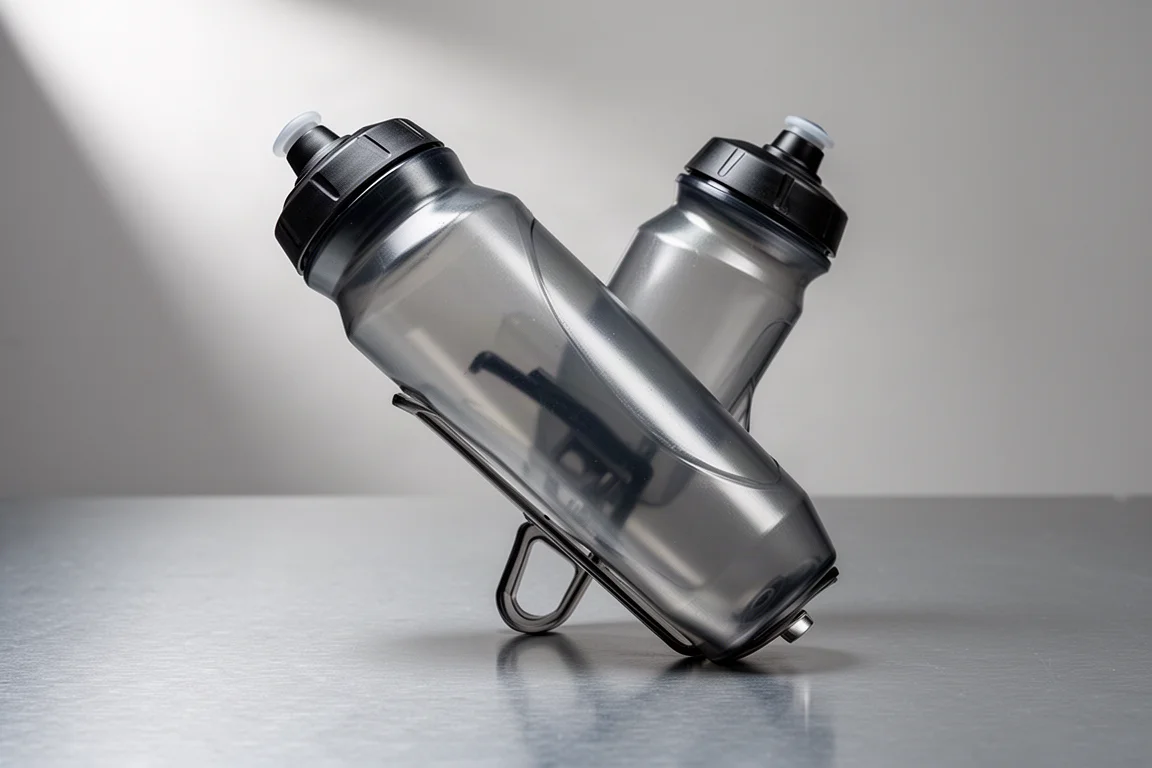
Hydration was the most productive area of the session. Removing the standard bottle cages and fitting a single 650 ml Canyon Aerofuel bottle on the down tube produced a 5.2 watt saving on its own, which is a large return for a change that costs very little.
Adding a behind-the-saddle mount with a 500 ml bottle, for 1,150 ml of total capacity, lifted the saving to eight watts. A larger 750 ml bottle in the same position was six watts faster than baseline, or two watts slower than the smaller bottle, which suggests the shape and position of the rear bottle matter more than its volume.
A front hydration system was also tested, but it was a non-integrated setup rather than the properly matched one, so those numbers should be treated with caution. It saved 5.7 watts against the baseline, was 4.5 watts slower than the fastest setup head-on, and matched the fastest setup at 10 degrees of yaw. Well-integrated front hydration is generally quick, and it keeps fluid within easy reach, which matters over a long bike leg.
Wheel Depth and Total Savings
Wheel changes delivered the largest numbers of the session. A disc wheel added 6.7 watts on top of the fastest setup, for 14.7 watts over the baseline and more than 20 watts at 10 degrees of yaw. A deeper 80 mm front wheel added a further 7.5 watts on the fastest setup, bringing the total to 15.5 watts over the baseline and 23 watts at 10 degrees of yaw.
Over a 90 km bike leg, that deepest combination is worth roughly three to four minutes. Stripping it back to the fastest helmet setup plus the aero bottle arrangement still saves around 90 seconds over the same distance.
The caveat is the course. A disc wheel is a luxury item and it is not a sensible choice for a hilly route, which is exactly why the practical recommendation settled on bottles and helmets instead. One option that was not tested is a bottle mounted between the handlebars, which remains worth exploring for riders who want hydration within easy reach.
Buying Advice
The order of spending is clear from the numbers. Start with hydration: the aero bottle setup produced eight watts for a fraction of the cost of new wheels, and it is the change most riders can make immediately.
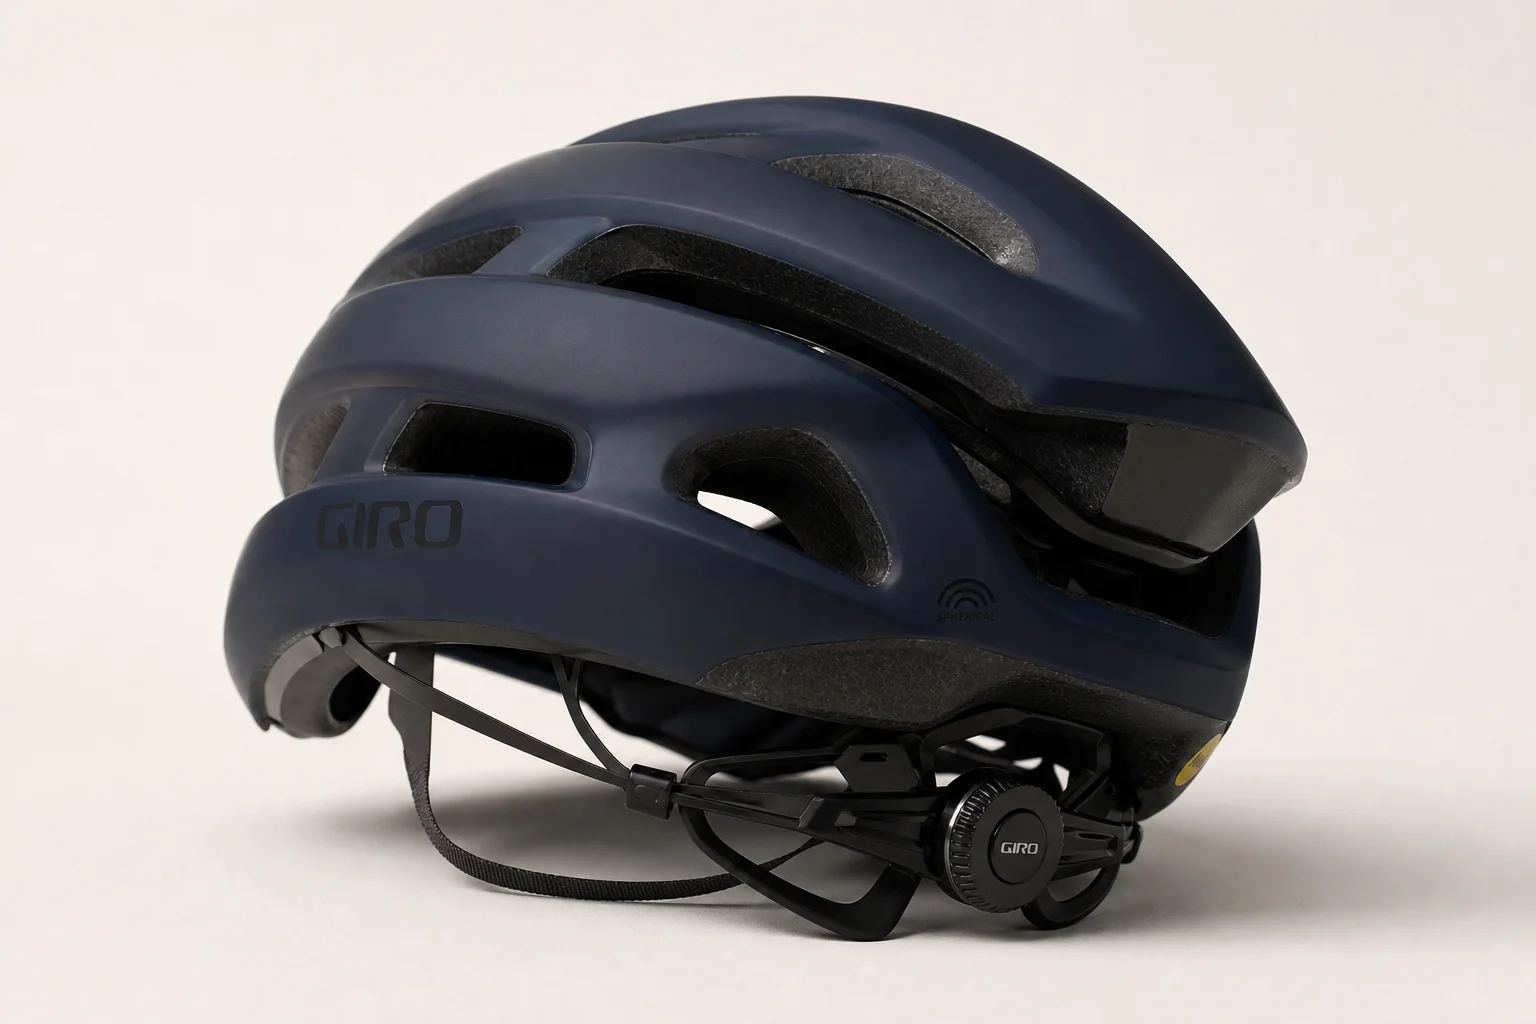
Helmets come next. The short-tail aero helmet was within a watt of the fastest helmet in the session, so there is little reason to chase a longer tail unless the head position is genuinely stable. Riders who want more ventilation can step to an aero road helmet and accept a 3.5 watt cost.
Wheels are the last and most expensive step. Deeper rims and a disc wheel deliver the biggest single gains, but they only make sense on courses that suit them. On a hilly route, that money is better spent elsewhere.
Conclusion
The session shows that aero gains do not require a complete equipment overhaul. A well-chosen bottle setup, a short-tail aero helmet, and a clear understanding of head position account for most of the practical savings, and the more extreme options can wait until the course and the budget justify them.
Further reading
Related Reviews
Cycling Gear
8 Cycling Products Riders Keep Coming Back To
Eight cycling components and accessories with clear strengths, honest trade-offs and long-standing reputations among riders and mechanics.
Cycling Gear
Aero Road Bikes and Fast Tires Worth Watching in 2026
Four aero road bikes and one fast road tire, with the real strengths, the open questions, and what to check before you buy.
Cycling Gear
Aero Upgrades Worth Skipping: Three Cycling Products to Consider Carefully
A practical look at three aero upgrades, what each one actually claims, what it costs, and where the money is better spent.