Knife Sharpening
Work Sharp Precision Adjust: The Clamp-and-Jig Sharpener Worth Building Out
A fixed-angle knife sharpener with a rotating abrasive carriage, plus an upgrade kit that turns it into a genuinely complete sharpening setup.
Introduction
For anyone who carries knives regularly, sharpening is one of those tasks that separates people who bounce between half-solved solutions from people who land on one system and stick with it. The Work Sharp Precision Adjust has become a go-to recommendation for good reason: it takes the guesswork out of sharpening, it is easy to learn, and with the upgrade kit it becomes one of the most complete setups available for the money.
Why a Clamp-and-Jig System Works
The Precision Adjust belongs to the clamp-and-jig family of sharpeners, and the appeal is simple: it removes variables. Clamping the knife eliminates blade movement, and the angle-select mechanism lets you set any angle from 15 to 30 degrees in one-degree increments. If you want even finer control, an angle cube can dial it in further. Together, those two features produce repeatable sharpening, which is what most people are actually chasing.
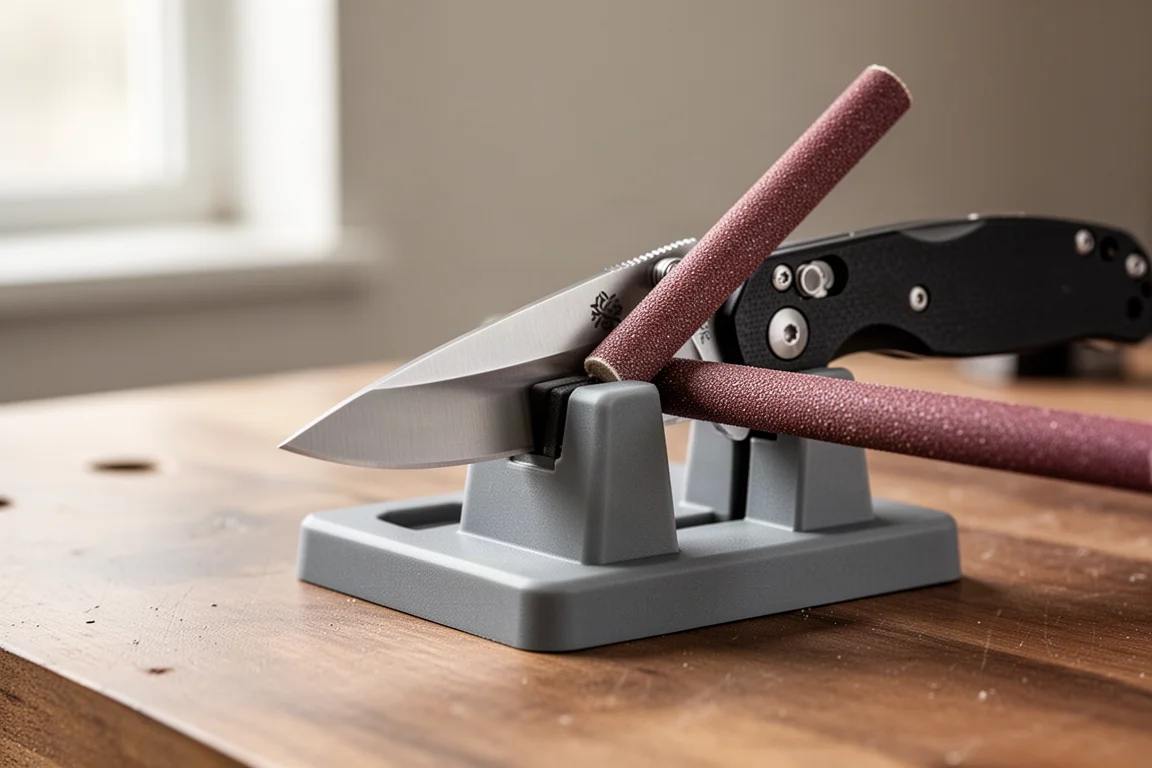
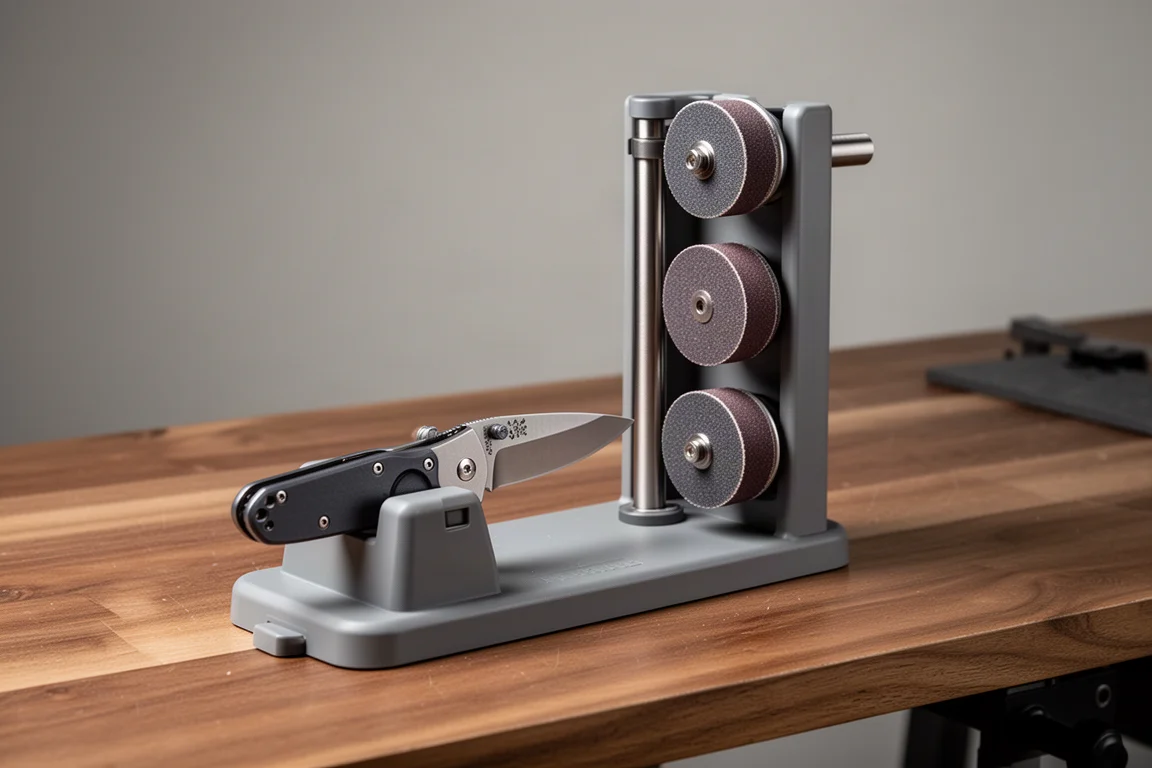
The base unit uses a rotating carriage with three plates: a 320 grit diamond, a 600 grit diamond, and a fine ceramic for honing. You rotate between them instead of swapping rods, which is genuinely convenient in day-to-day use.
The Upgrade Kit: More Abrasives, More Control
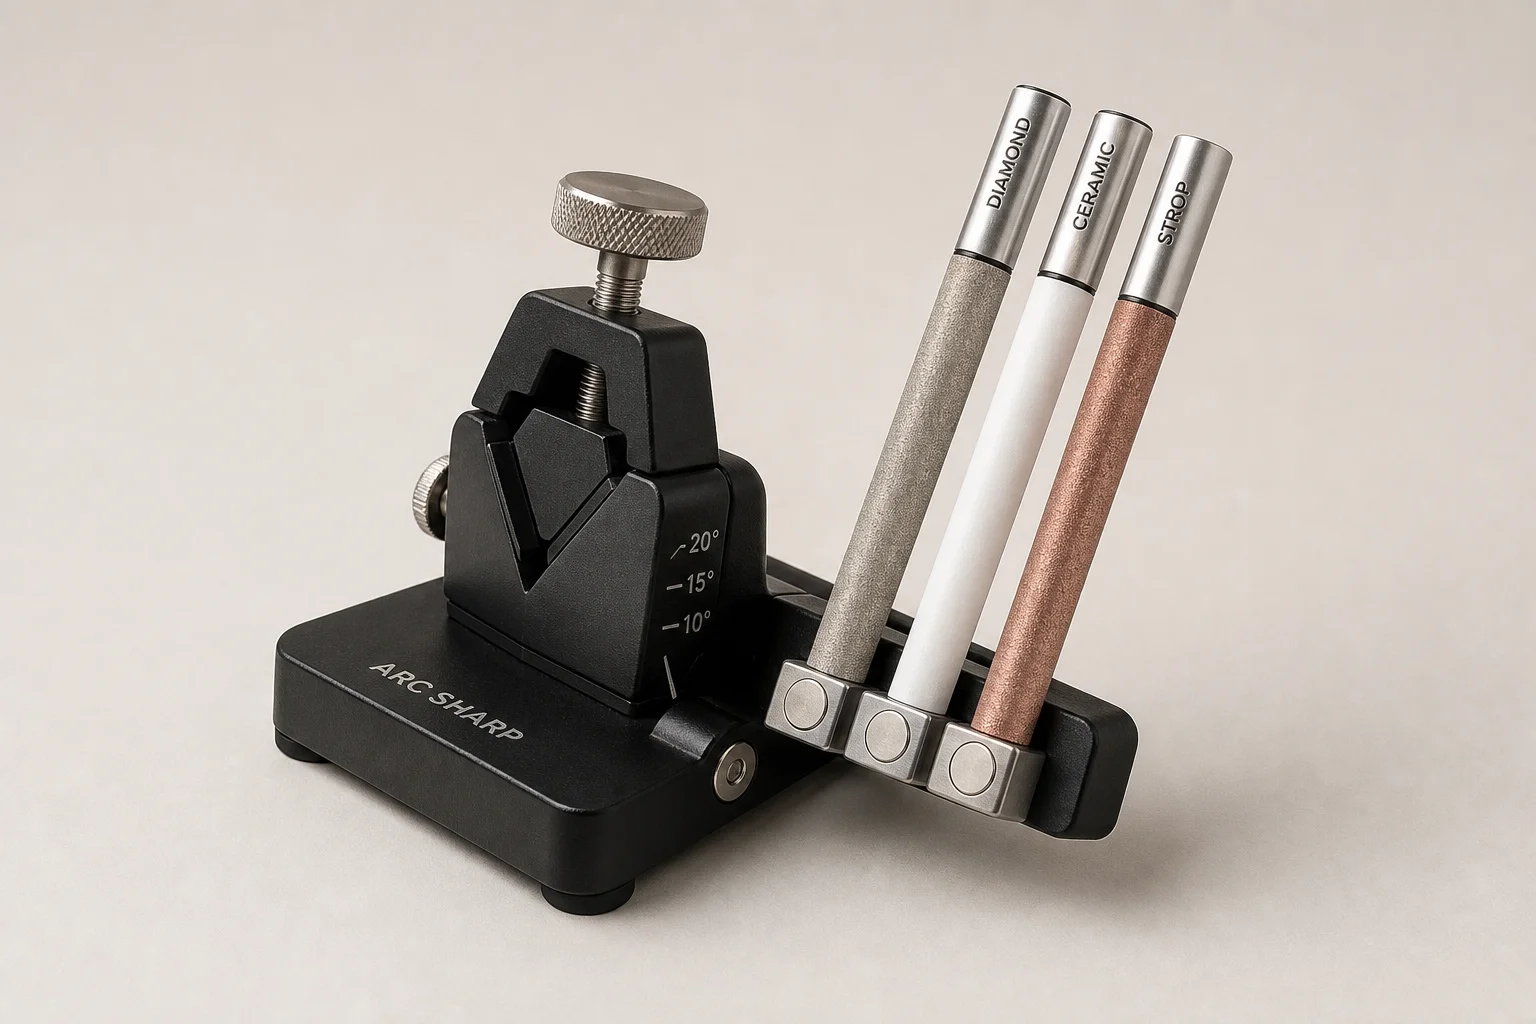
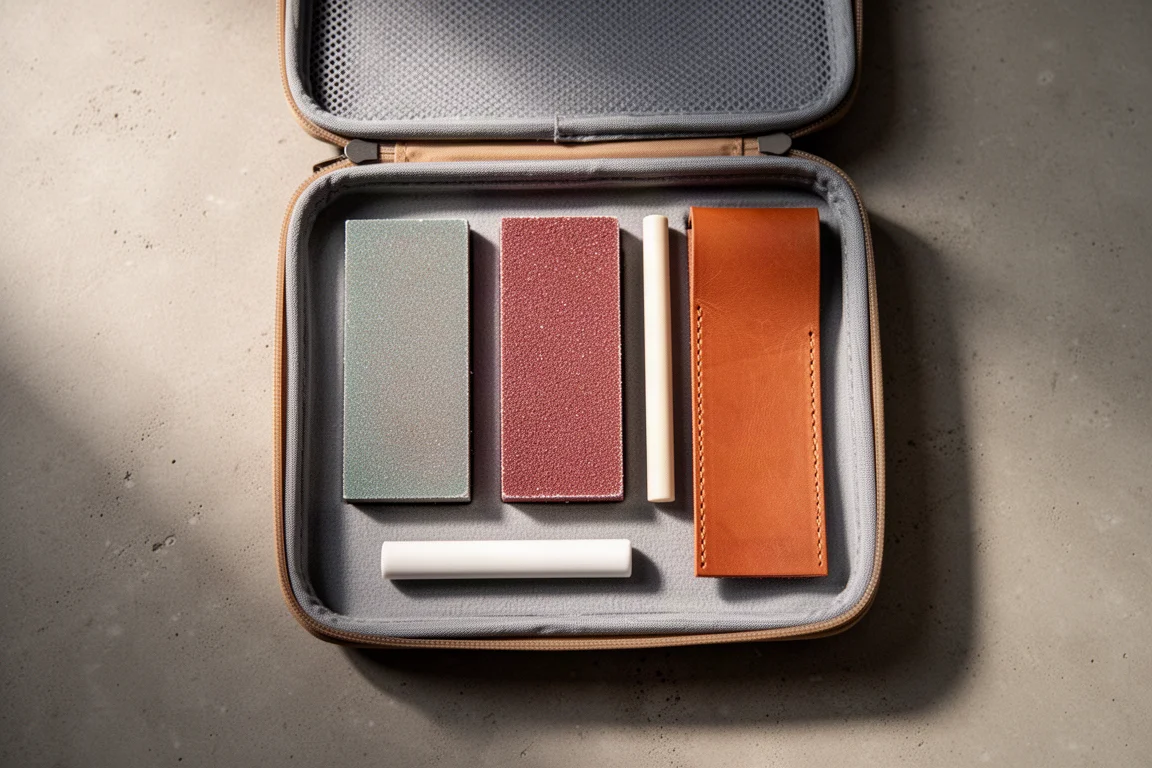
The base unit’s biggest limitation is also its signature feature: the carriage. Originally you were locked into just those three abrasives, with no way to go coarser or finer. The upgrade kit addresses that directly. It includes three new carriages holding seven additional abrasives: a tri-brace with 220, 320, and 400 grit diamond plates; a carriage with 600 and 800 grit diamonds plus ceramic; and a ceramic rod for sharpening serrations with a strop on the underside. A soft-shell case with cutouts for the original sharpener and the original rod rounds it out, so everything travels and stores together.
The 220 grit plate is arguably the standout addition. First-time sharpening on this system usually means reprofiling the edge so the whole bevel sits at one consistent angle, and the 220 makes quick work of it, faster than the stock 320. The 400 grit fills the gap between 320 and 600, letting you choose how toothy your final edge is, and the 800 plus ceramic take you to a very refined finish. The result is not a true mirror edge, but it is blisteringly sharp. The integrated strop is another quietly excellent addition: stropping alone can take a decent edge to a great one, and having it built into the system means no unclamping mid-process.
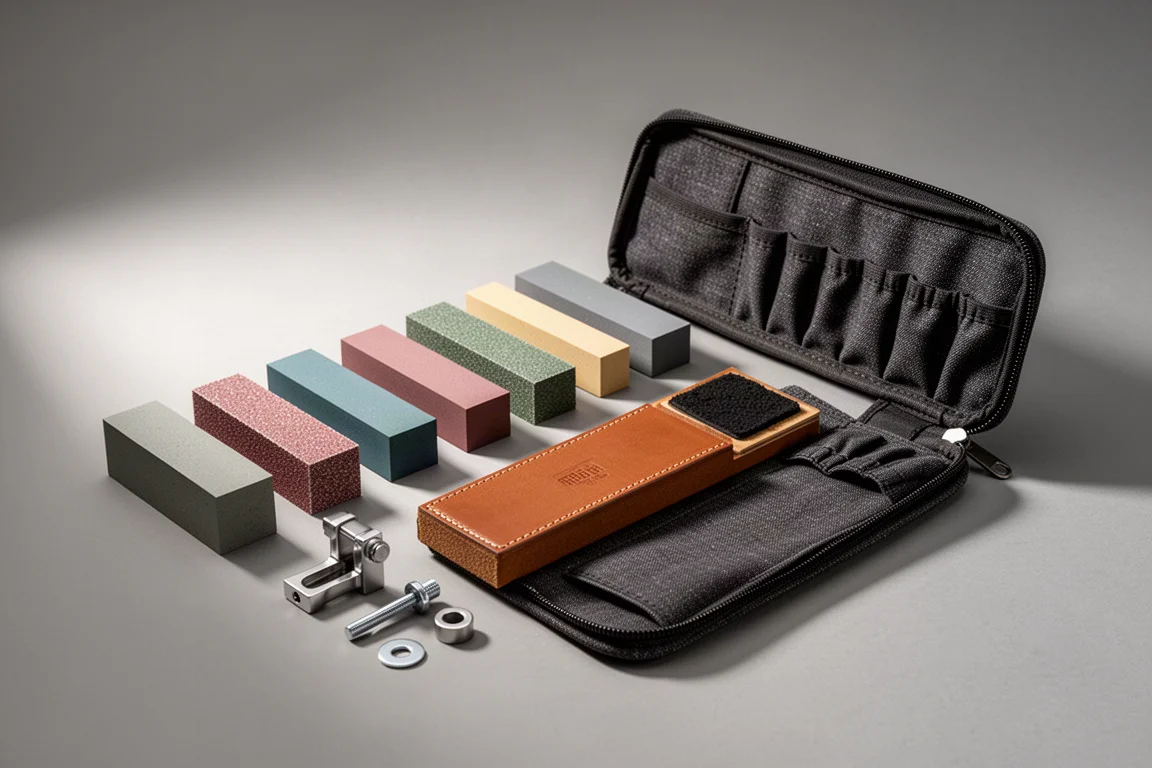
The Complete Setup in One Box
If you do not already own the base unit, the Precision Adjust Elite bundles the sharpener and everything in the upgrade kit together as a single package. It is the exact same hardware, just sold as one item, and it is the simplest way to get the full abrasive range from day one.
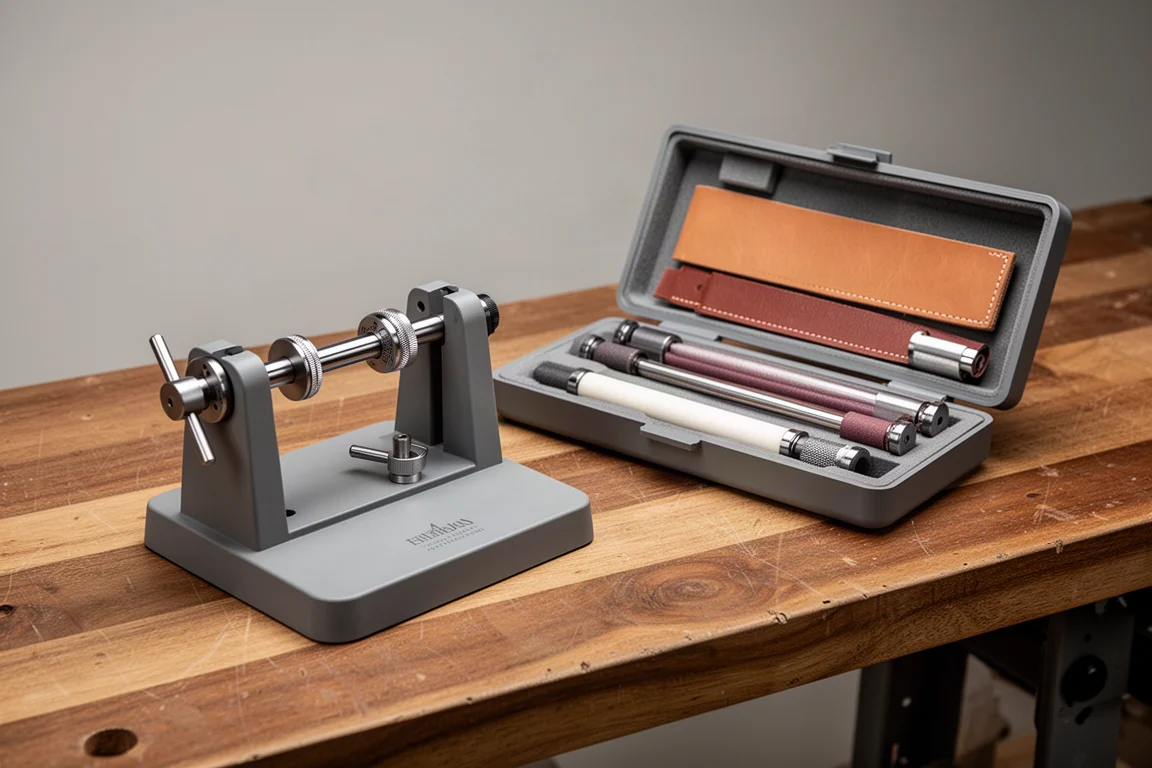
Sharpening Process and Practical Tips
The hardest part of any clamp-and-jig system is clamping the blade. Placement takes trial and error, and the heel and tip are the stubborn spots. Thumb studs can interfere with the heel, and rounded tips are the most common beginner mistake. The single biggest improvement most people can make: use far less pressure than feels natural. Once pressure drops, sharpening gets dramatically easier and tip damage largely disappears.
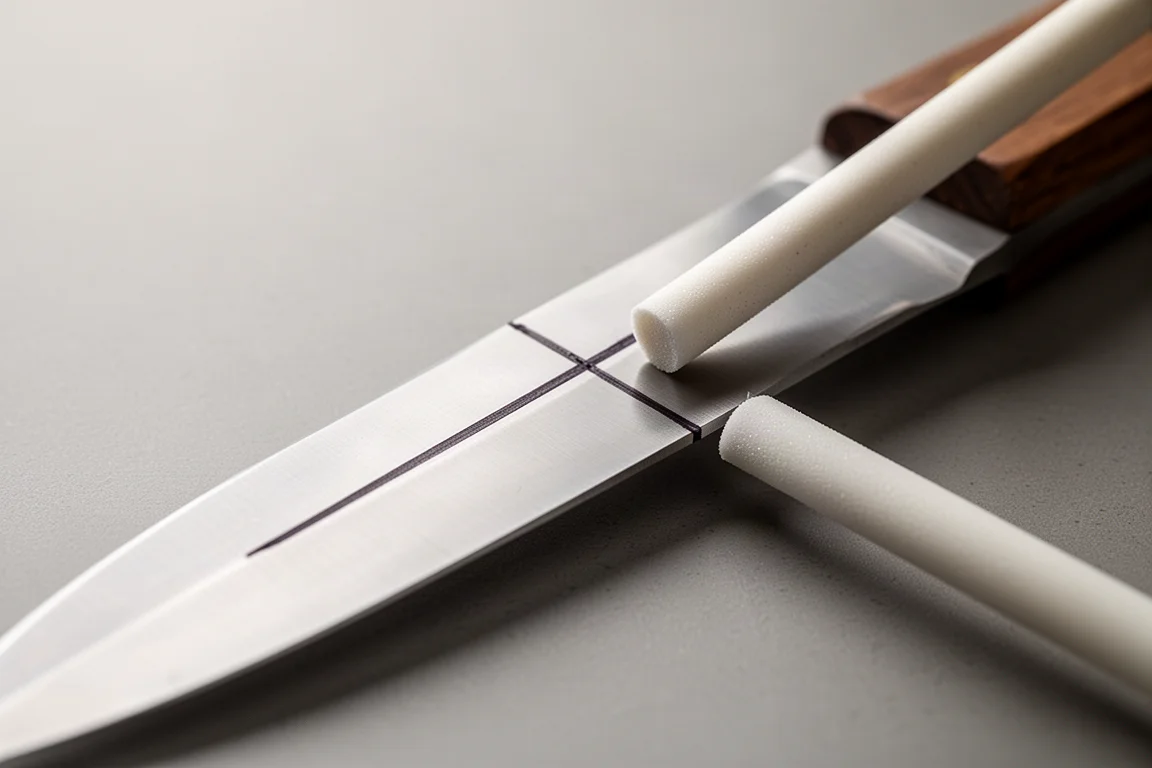
A marker trick makes clamping far easier. Run a chisel-tip marker along the bevel, set a ceramic rod at your guessed angle, and take a light pass. Where the marker is removed shows you exactly where the bevel sits, so you can adjust the angle before touching real abrasives. From there, work each grit with equal passes per side until a burr forms along the entire edge, check by running a fingernail along the underside, then deburr with a few feather-light passes before moving up. A few extras worth keeping in the kit case: honing compound for the strop, an eraser or water for cleaning stones, and alcohol prep pads for removing marker and cleaning disassembled blades.
Buying Advice: Which One to Get
If you already own the base Precision Adjust, the upgrade kit at $80 is the clear move: seven new abrasives, serration sharpening, a strop, and a case, bringing the combined total to $120. If you are starting fresh, the Elite bundles everything for the same $120, and there is little reason to buy the pieces separately at that point. Whichever route you take, the payoff is the same: a repeatable, adjustable system that can take a knife from reprofile to hair-popping sharp, even if you would not call yourself good at sharpening. It takes some practice, but the time investment is absolutely worth it.
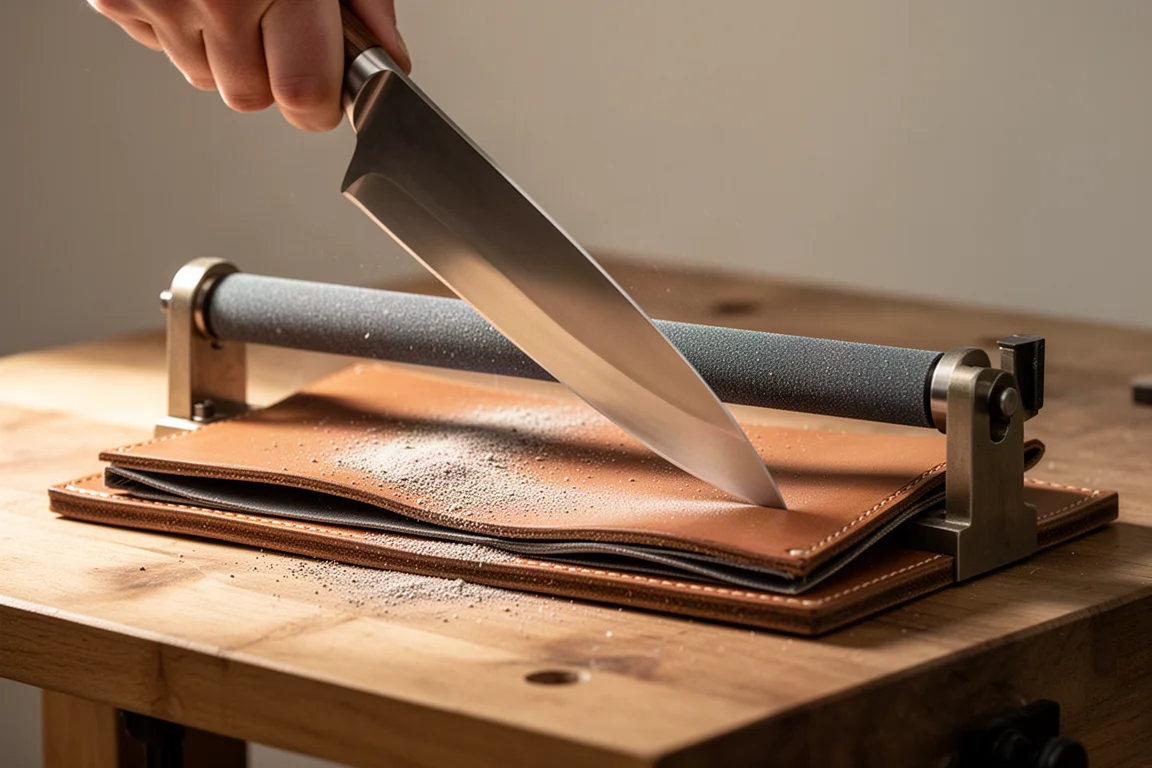
Conclusion
The Work Sharp Precision Adjust earned its reputation by making sharpening almost foolproof, and the upgrade kit removes the one real limitation the original had. Start with the base unit if you want to test the waters, but for most people the Elite or the base-plus-kit combination is the smarter buy.
Further reading
Related Reviews
Knife Sharpening
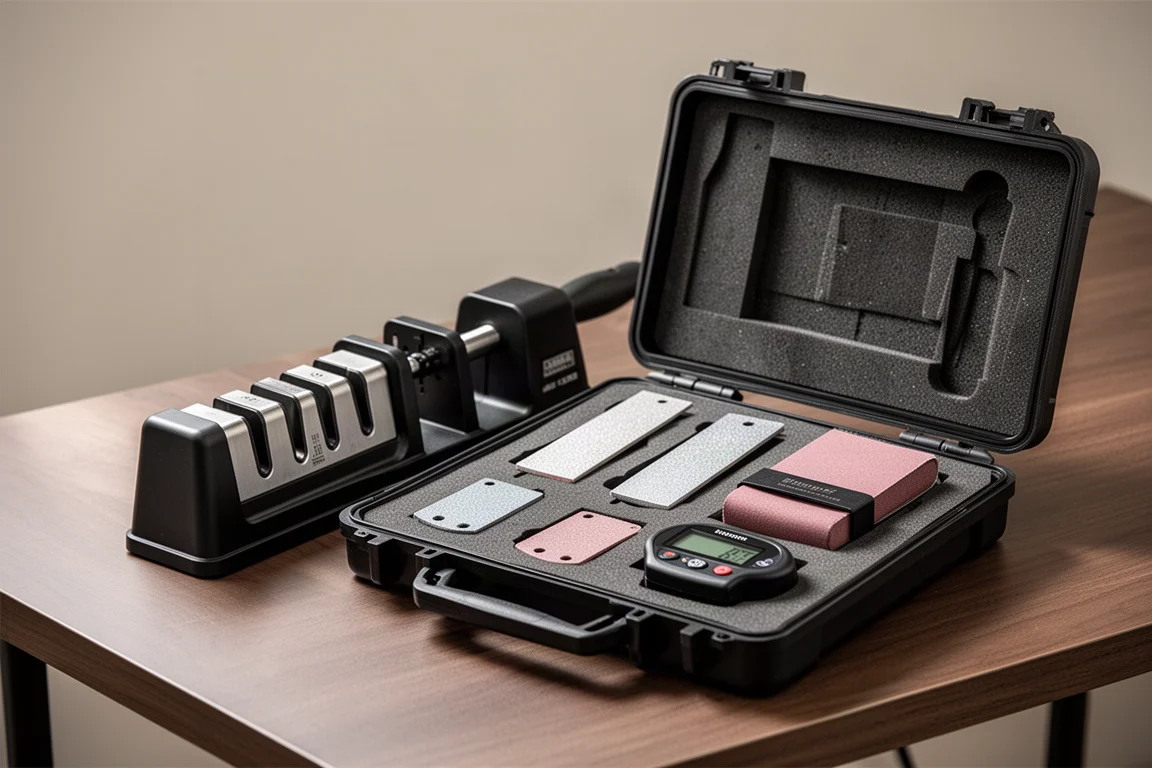
Work Sharp Professional Precision Adjust Elite: A Sharpening System for People Who Care About Edges
The Elite version of the Professional Precision Adjust adds a rugged case, fine resin-bonded diamond plates, and a strop for a true mirror finish.
Knife Sharpening
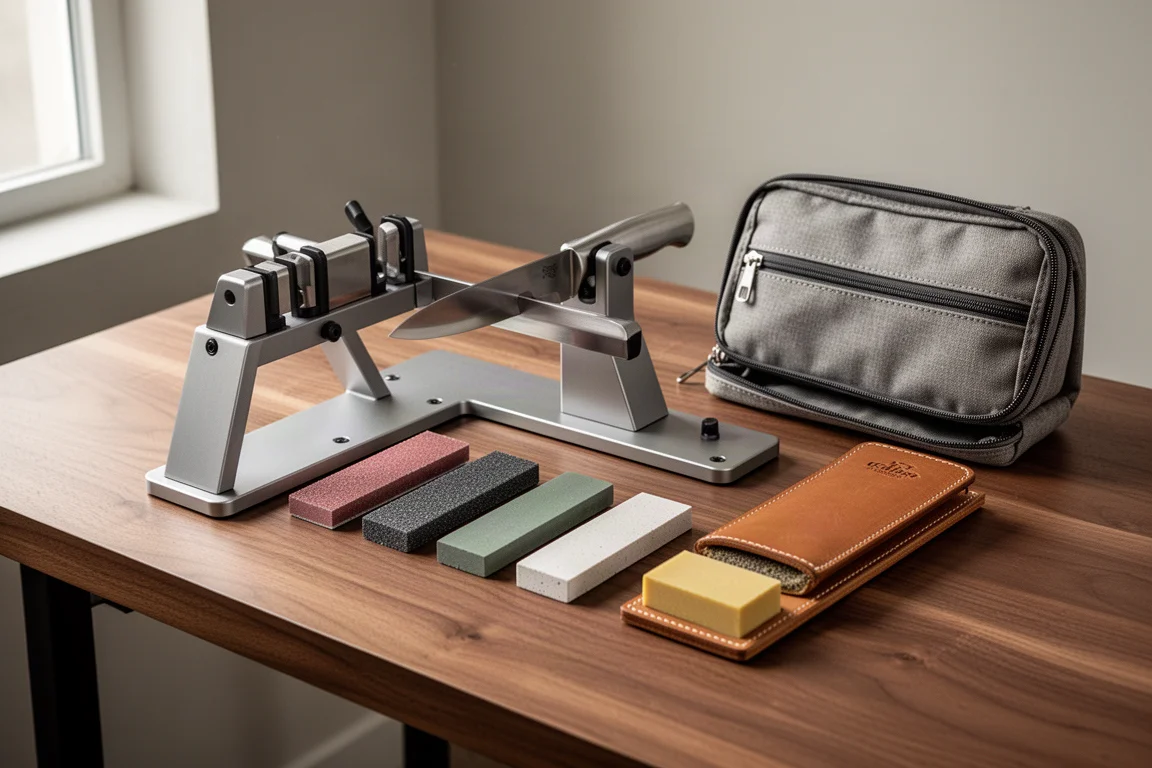
Work Sharp Precision Adjust Upgrade Kit Review: A Wider Grit Range for an Already Great Sharpener
The Upgrade Kit expands the Precision Adjust with extra abrasives, a built-in strop, and a proper carrying case. Here is what changes after months of use.

Backpacking Gear
Building a 10 lb Base Weight: An Ultralight Backpacking Gear List
A practical walkthrough of the ultralight pieces behind a 10 lb base weight, from a 765 g pack and a roomy one-person tent to a full camp chair and a dependable water filter.