Outdoor Gear
Winter Layering Systems: Three Key Layers and Where to Save Money
How a winter layering system manages sweat, three layers worth knowing, and the places where a lower-cost setup does the same job.
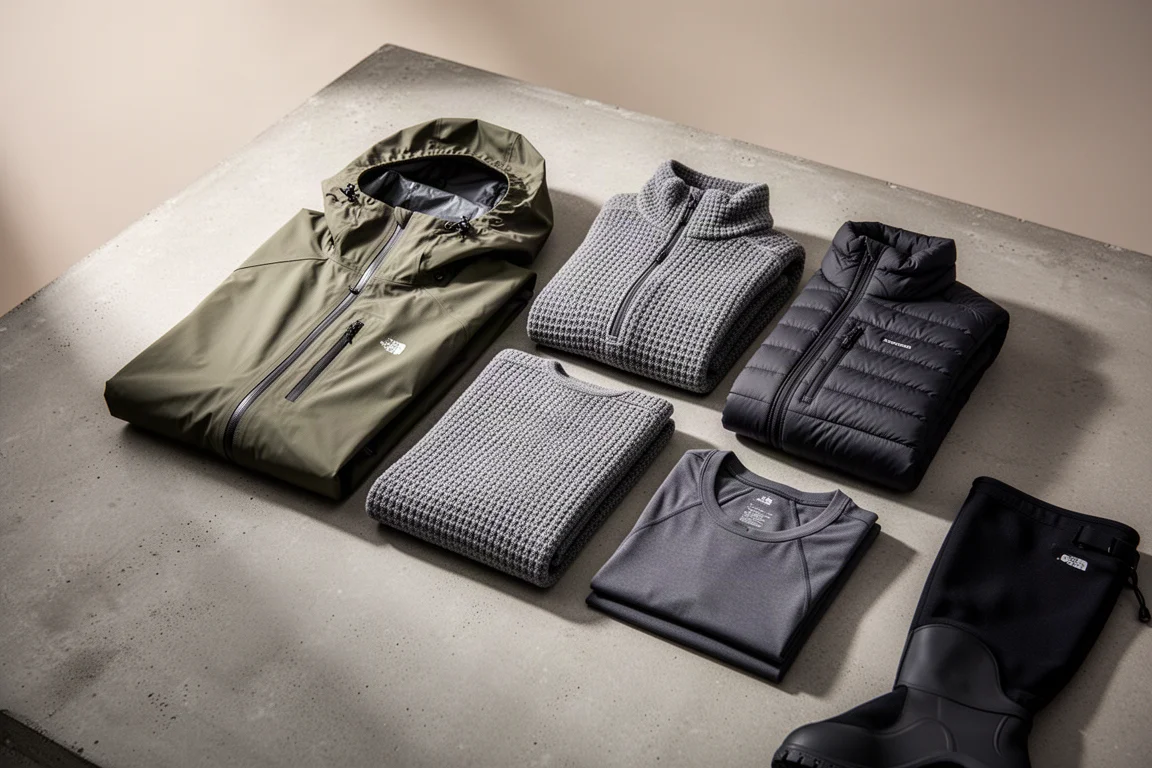
Introduction
Cold-weather layering has a reputation for being expensive, and it is easy to see why: a full set of high-performance layers can add up to well over a thousand dollars before you have bought boots or anything else. It does not have to work that way. The real job of a layering system is not simply to keep you warm. It is to manage sweat. If you get wet when it is cold, you get cold, and pushing uphill in too many layers is one of the fastest ways to soak yourself from the inside.
This guide covers how a three-layer winter system is supposed to work, three layers worth knowing, and the places where a lower-cost alternative does the same job.
How Winter Layering Actually Works
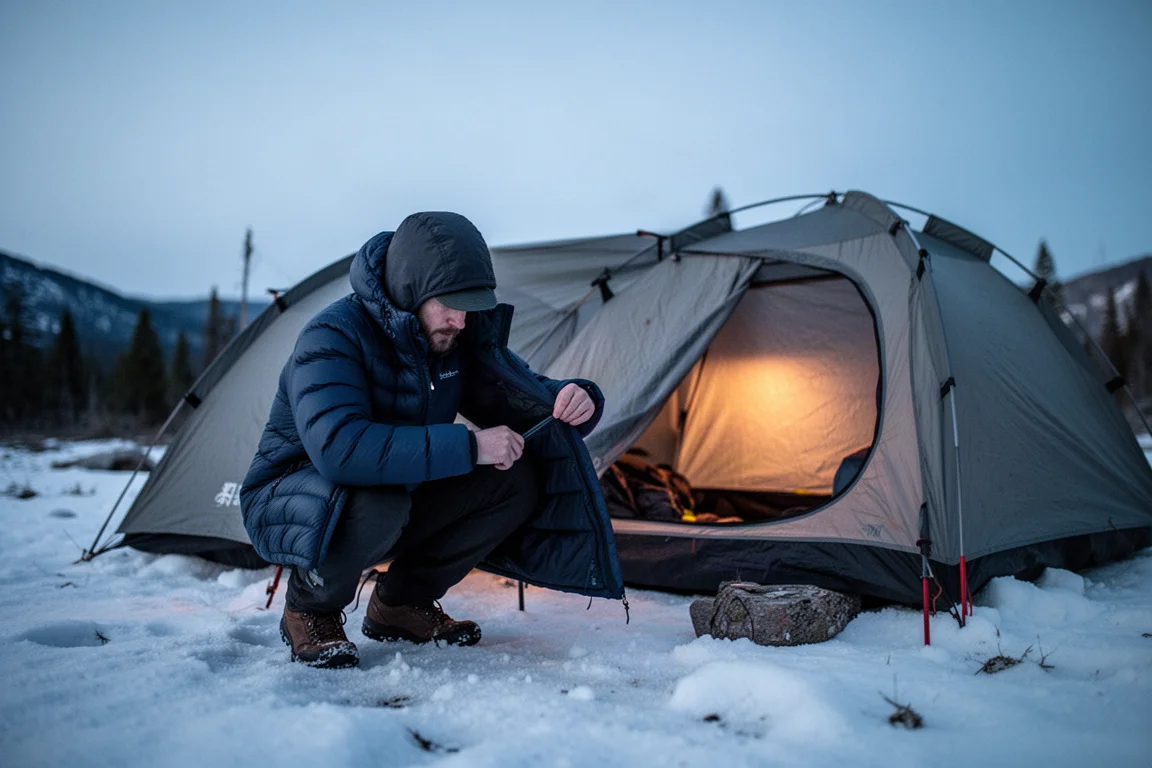
Think of layering as moisture management first and warmth second. When you are working hard, uphill, with a pack, you can sweat even in one or two layers, and activities such as snowshoeing, backpacking, and hiking are exactly where that happens. The routine is simple: put a layer on when you are not moving much, such as at camp or on a long break, and take layers off when you are exerting yourself. Being active keeps you warm on its own.
That is why an insulating layer has one job only: to keep you warm. It cannot move sweat, so it comes off before the climb. A shell has the opposite job. It keeps wind and wet snow out while letting some sweat escape.
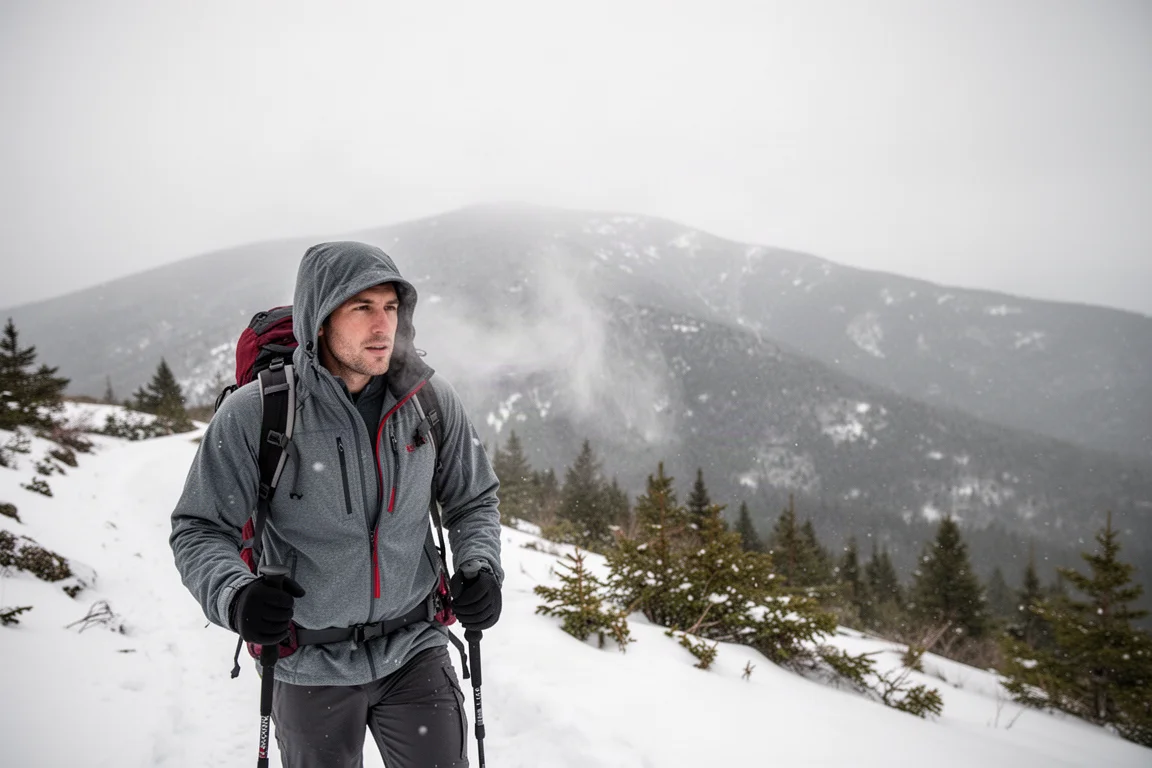
High-tech waterproof fabrics such as Gore-Tex typically run $200 to $400 for a single layer, and in practice the pit zips in a jacket do more to clear sweat than the membrane does. A decent rain jacket blocks wind and wet snow just as effectively, so the feature that matters most is a pair of pit zips.
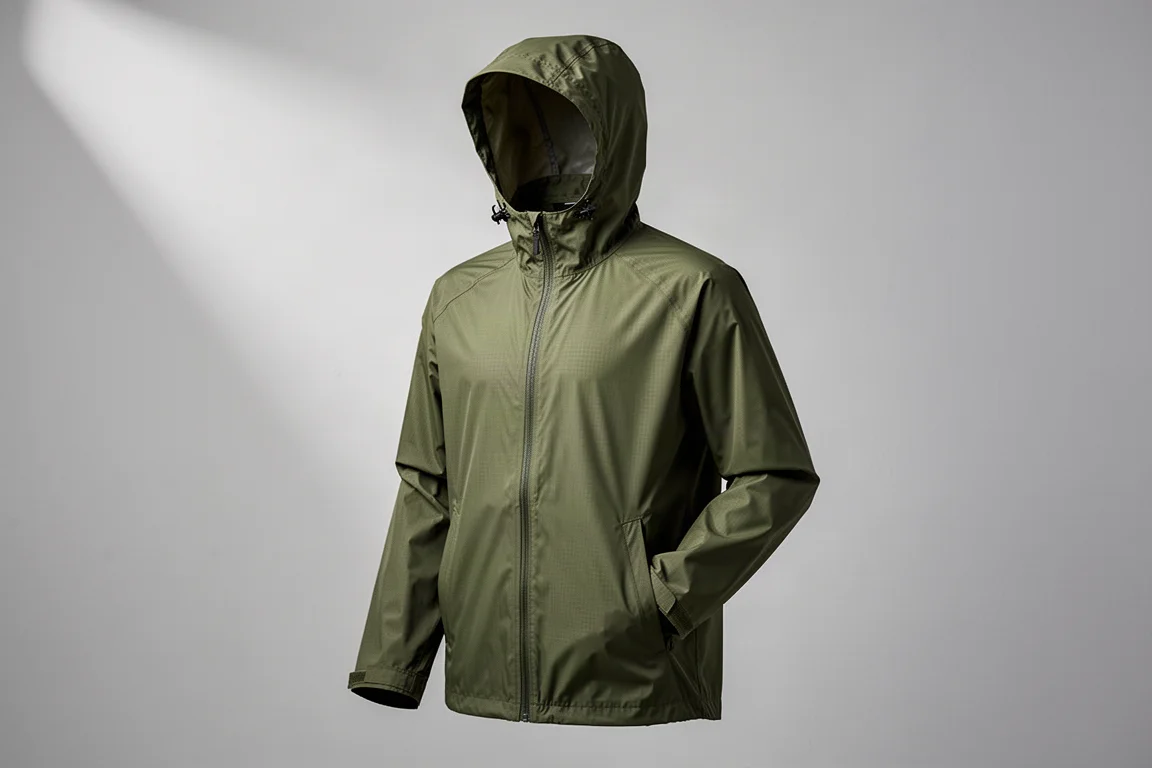
The Shell Layer: Marmot PreCip
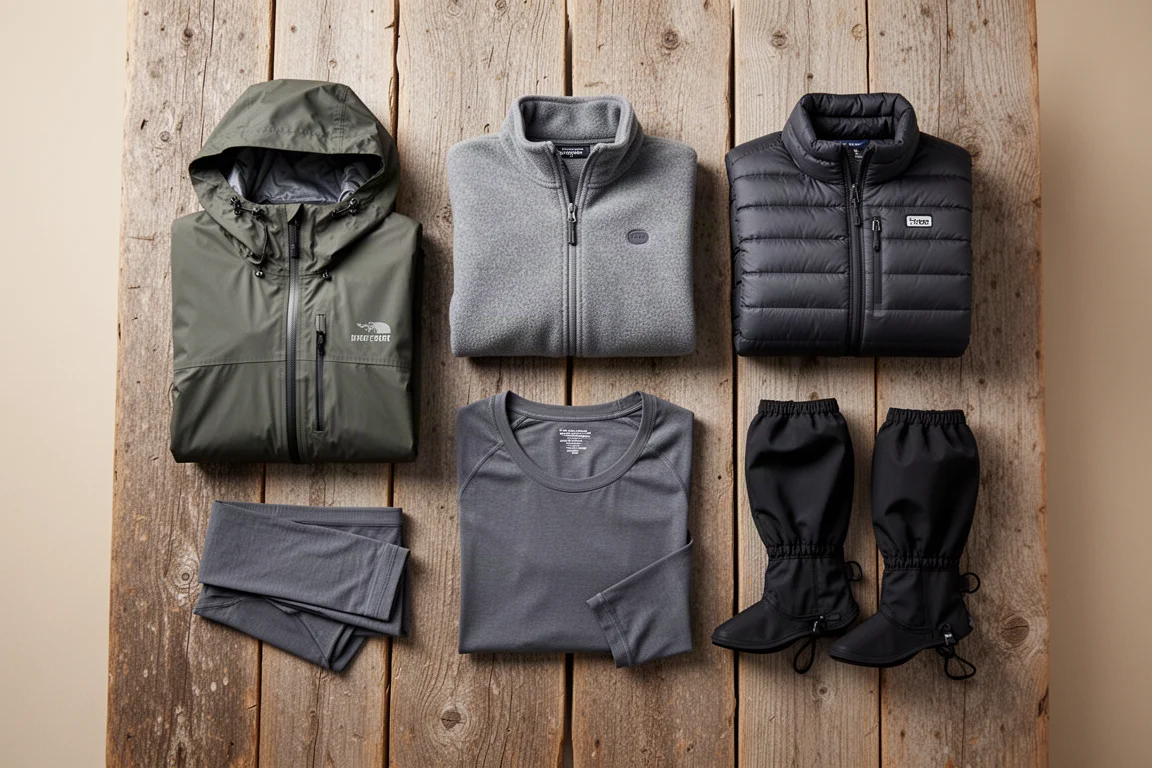
The Marmot PreCip Jacket is the outer layer of this system and, at $90, the single most expensive item in a budget build. It was chosen for one reason: it was the least expensive waterproof jacket that came with pit zips. If you can find a cheaper rain jacket, or add ventilation to one you already own, almost any waterproof rain jacket will serve the same purpose as a winter shell.
The shell is the layer to get right first. It is the piece standing between you and wind-driven snow, and the pit zips give you a way to dump heat without stopping to strip off layers.
The Mid Layer: Skygoat Microgrid Fleece
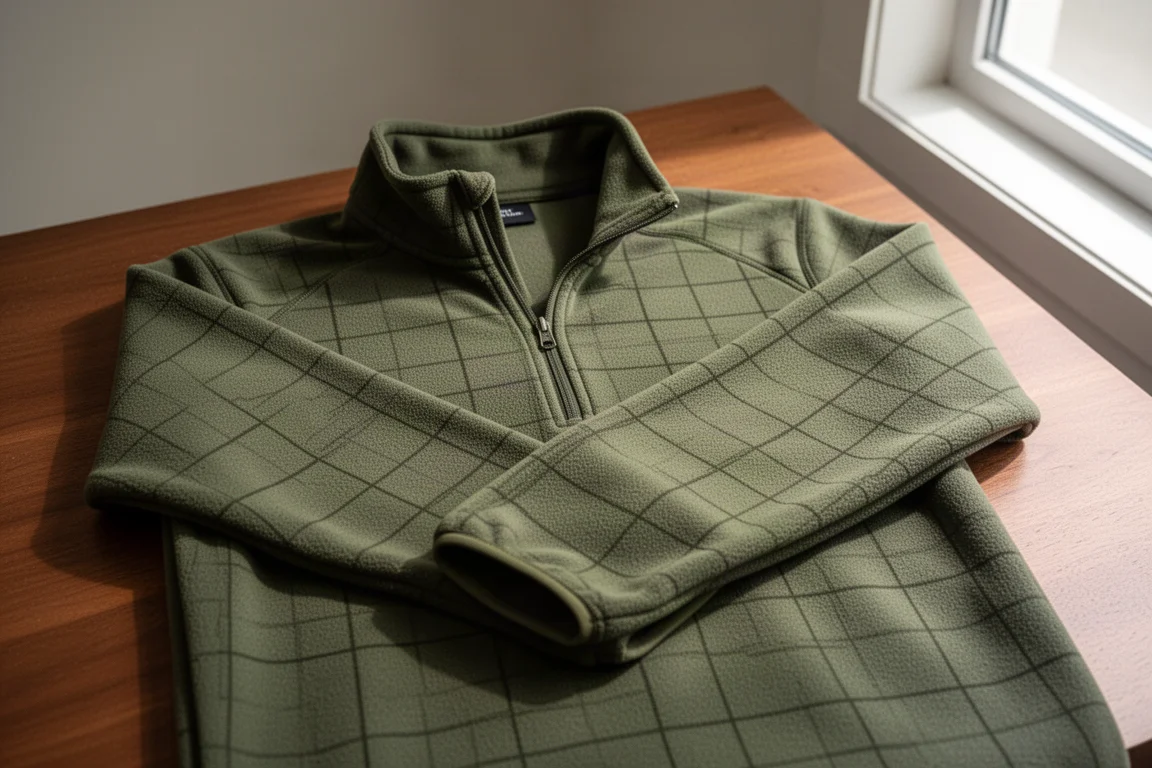
Mid layers are the piece most people get wrong. They add insulation, but they also have to wick moisture, because a mid layer is what you reach for when you are still cold even though you are working hard. That combination points to polyester fleece.

The Skygoat Microgrid Fleece is a $120 example of the type: a polyester fleece that insulates while moving sweat away from the layer underneath. It is a considered purchase rather than a requirement. A basic $15 polyester fleece mid layer does the same job, and many people already own one, so it is worth checking what you have before buying anything new.
The Insulating Layer: Mountain Hardware Ghost Whisperer
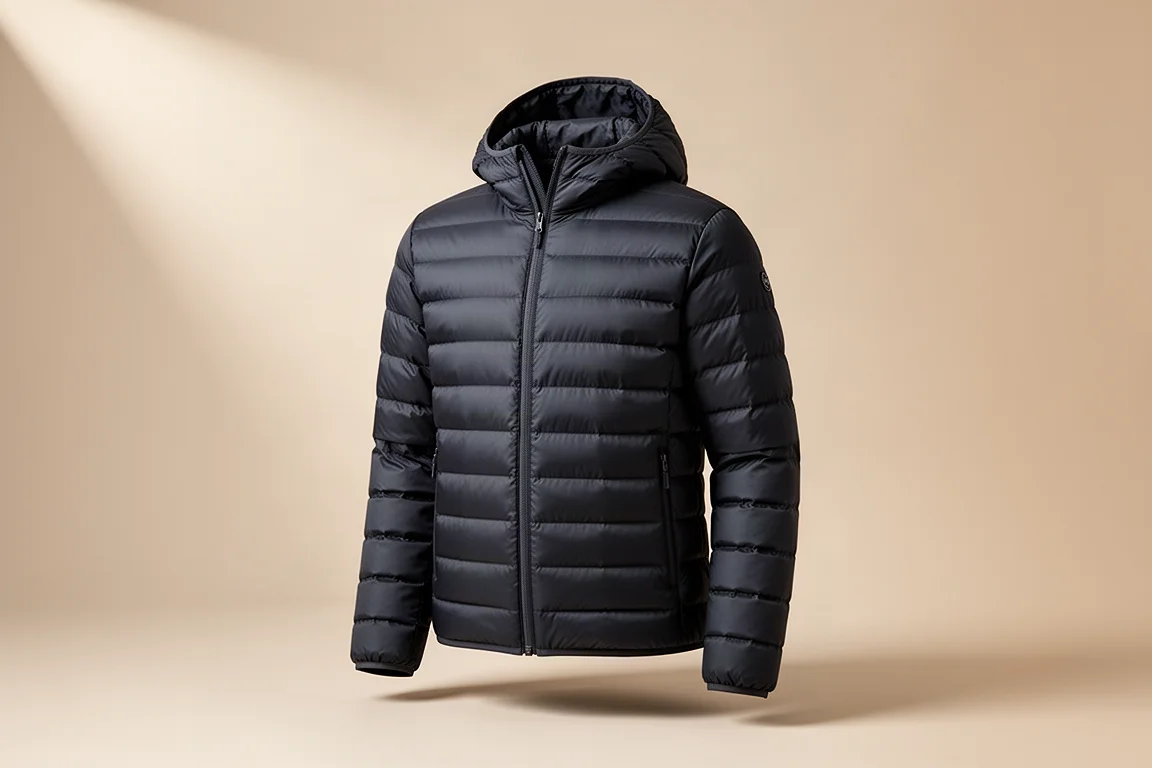
The Mountain Hardware Ghost Whisperer sits in the roughly $300 bracket, alongside down options such as an Outdoor Research puffy. Insulation like this is for the moments when you stop: at camp, on a long break, or when the temperature falls after the sun goes. Because it cannot move sweat, it comes off before you start climbing again.
You do not have to spend $300 to cover that job. A $35 synthetic puffy is not as warm as a down jacket and may not be enough in genuinely cold conditions, but it is a reasonable jacket for the money, and any insulating layer you already own will likely handle moderate cold without trouble.
Where a Budget System Saves Money
The base layer is the most important layer in the system. It sits against your skin and takes the sweat first. Cotton is the wrong choice: it holds moisture against the skin, makes you colder, and takes a long time to dry out. Polyester moves sweat away from your skin and out to the surface of the fabric. Wool and silk do this too, but polyester does it best and costs the least.
The numbers add up quickly. A full polyester base layer set, top and bottom, costs around $27, against roughly $250 for a polyester and wool blend set. A mid layer fleece runs about $15 against $120, and a synthetic puffy about $35 against close to $300. Blended base layers do have a slight edge on performance and odour control, and that is a decision only you can make, but the gap in price is large.
Legs, Gaiters, and Weatherproofing
Legs are a separate problem. When you are snowshoeing or cross-country skiing, your legs generate a lot of heat, so heavy insulation is rarely what you need. A $150 pair of soft shell pants is one option. Another is to wear the hiking pants you already own with a good waterproof gaiter over them, which is what many people do. Basic gaiters run around $35, and they keep snow out of your boots and the bottom of your pants dry.
If snow is falling hard, the top of your pants can still get wet. Treating them with a durable water-repellent finish at home solves that, and products such as Nikwax make it straightforward. A full layering system built this way lands at about $197.30, and a DWR treatment plus the wash that goes with it adds roughly $21. Most people already own several of these pieces, so the real cost is often lower still.
Buying Advice
Start with what you already have. Check your closet for a waterproof jacket with pit zips, a polyester fleece, an insulated jacket, and any polyester base layers before you spend anything. Then fill the gaps in order of importance: base layer first, then shell, then mid layer, then insulation.
If you are weighing the three layers here against each other, the Marmot PreCip is the one to prioritise, because it is the layer doing the most work in bad weather and the one least easy to substitute on the day. The Skygoat Microgrid Fleece and the Mountain Hardware Ghost Whisperer are strong versions of their layers, but both have lower-cost counterparts that cover the same job. That is the point of a layering system: it is a set of functions, not a set of price tags.
Conclusion
Winter layering works when each layer has a clear job: a shell that blocks wind and snow, a mid layer that insulates and moves moisture, and an insulating layer for when you stop moving. Cover those three functions, use what you already own, and the total cost comes in far below the headline numbers.
Further reading
Related Reviews
Outdoor Gear
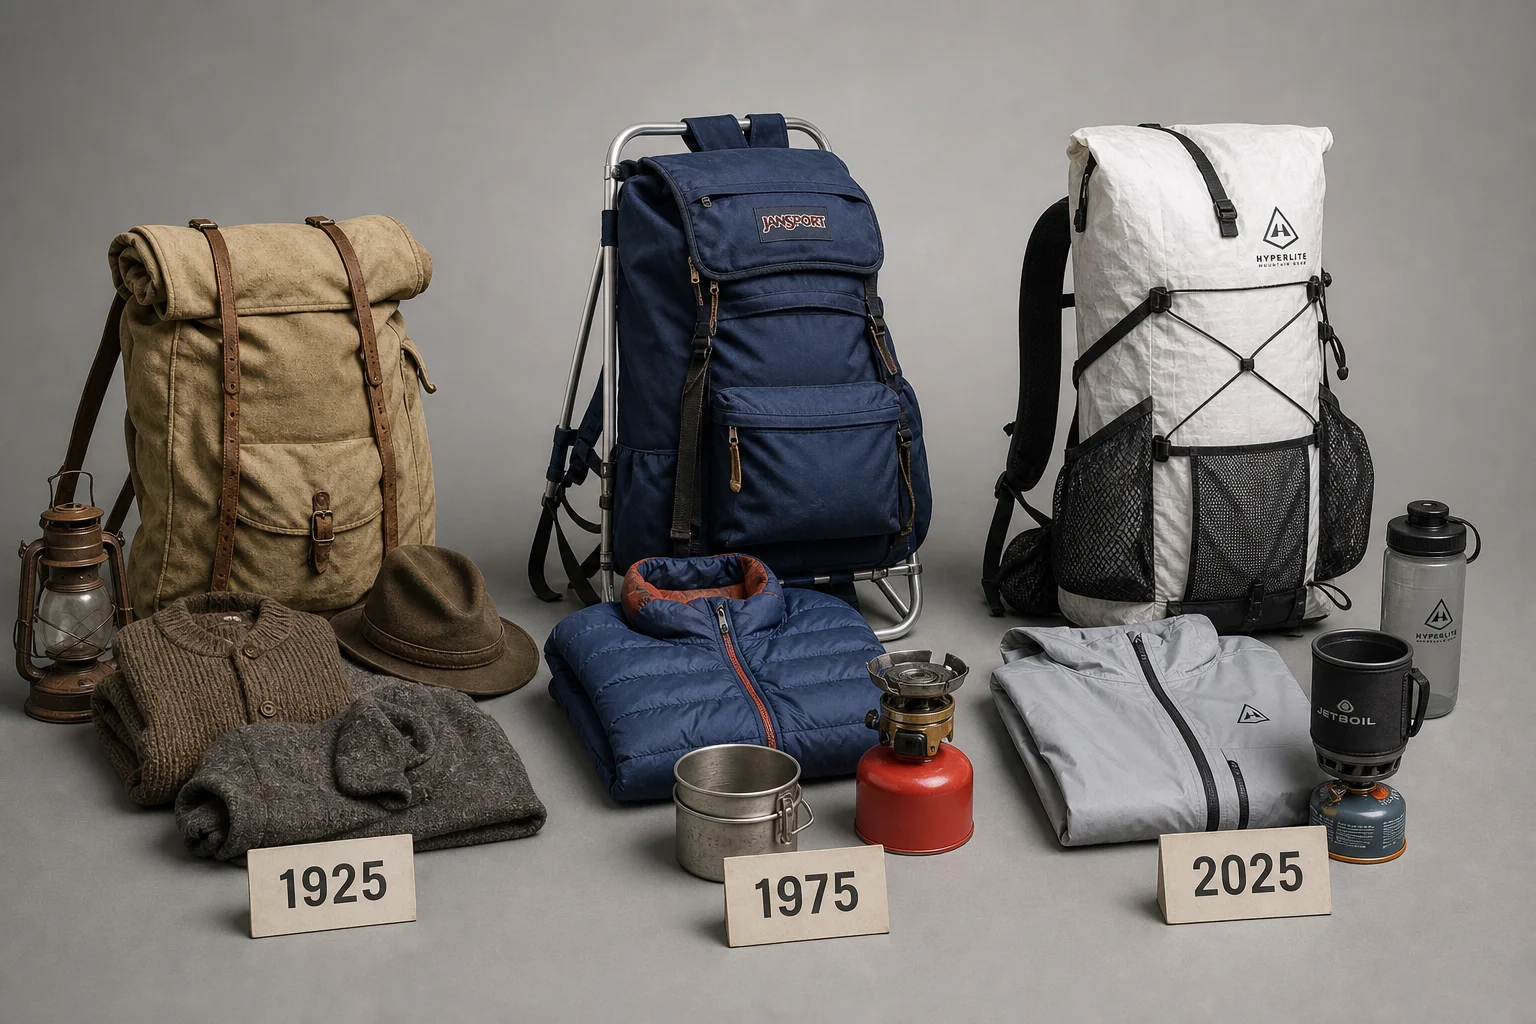
Backpacking Gear Evolution: 100 Years of Technology Compared
We tested backpacking gear from 1925, 1975, and 2025 across a three-day hike in Yosemite. Here's how technology has transformed comfort, weight, and the outdoor experience.
Outdoor Gear
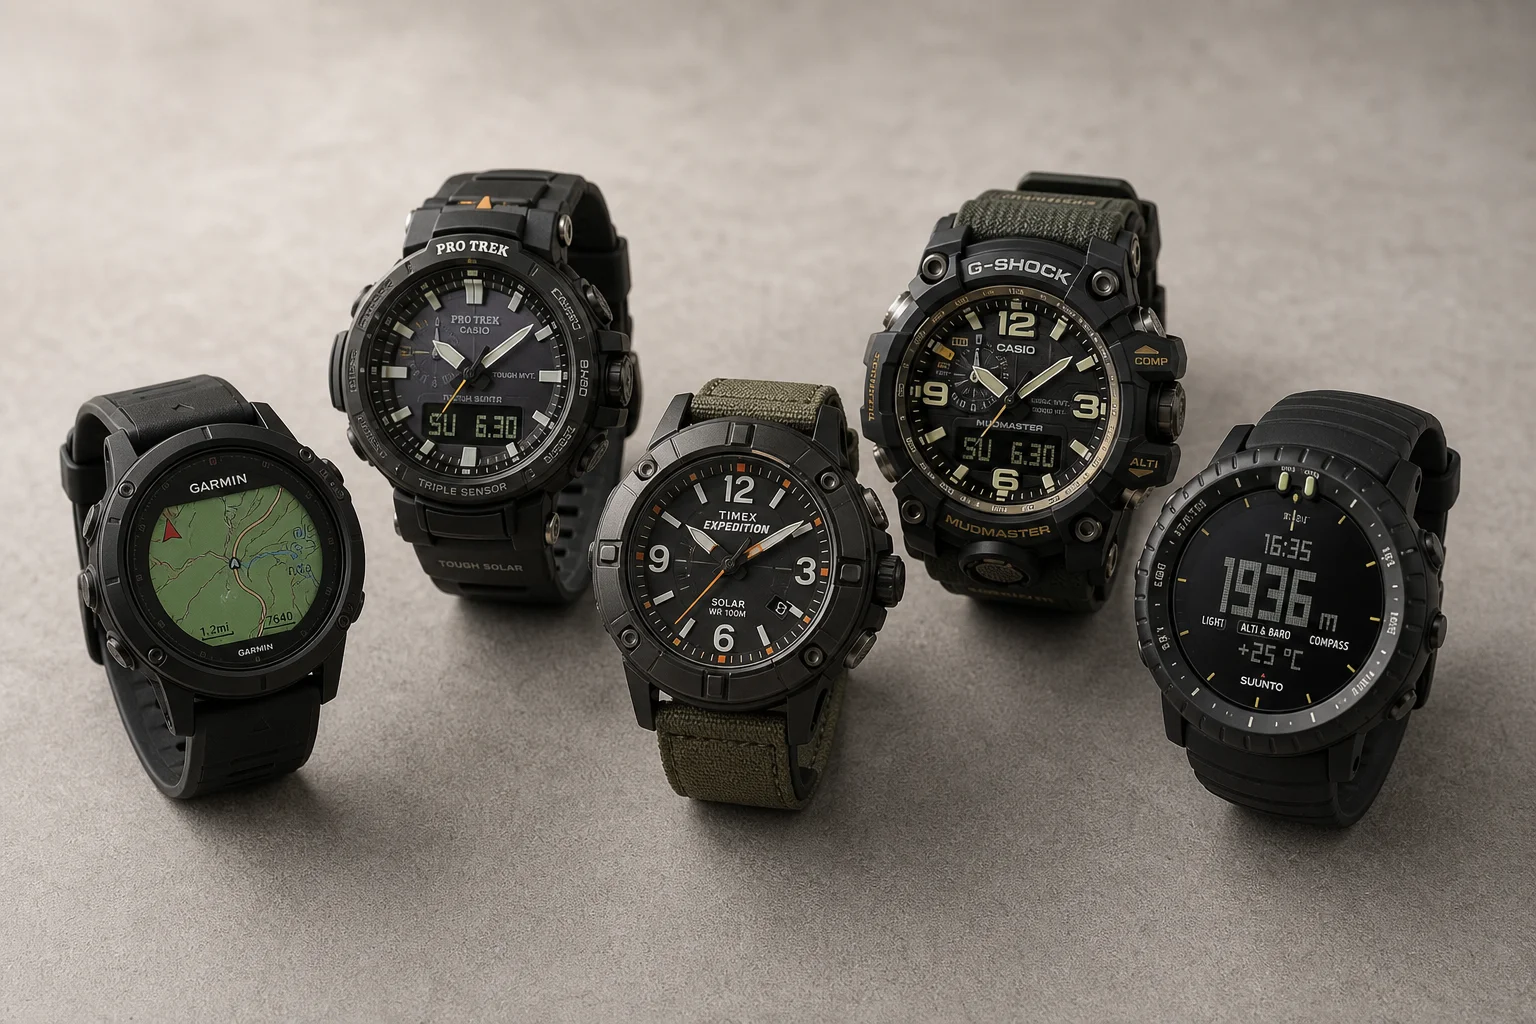
Best Affordable Hiking Watches: Five Rugged Options for Outdoor Adventures
Five durable hiking watches that balance ruggedness, functionality, and value for outdoor enthusiasts who need reliable GPS tracking and weather resistance.
Outdoor Gear
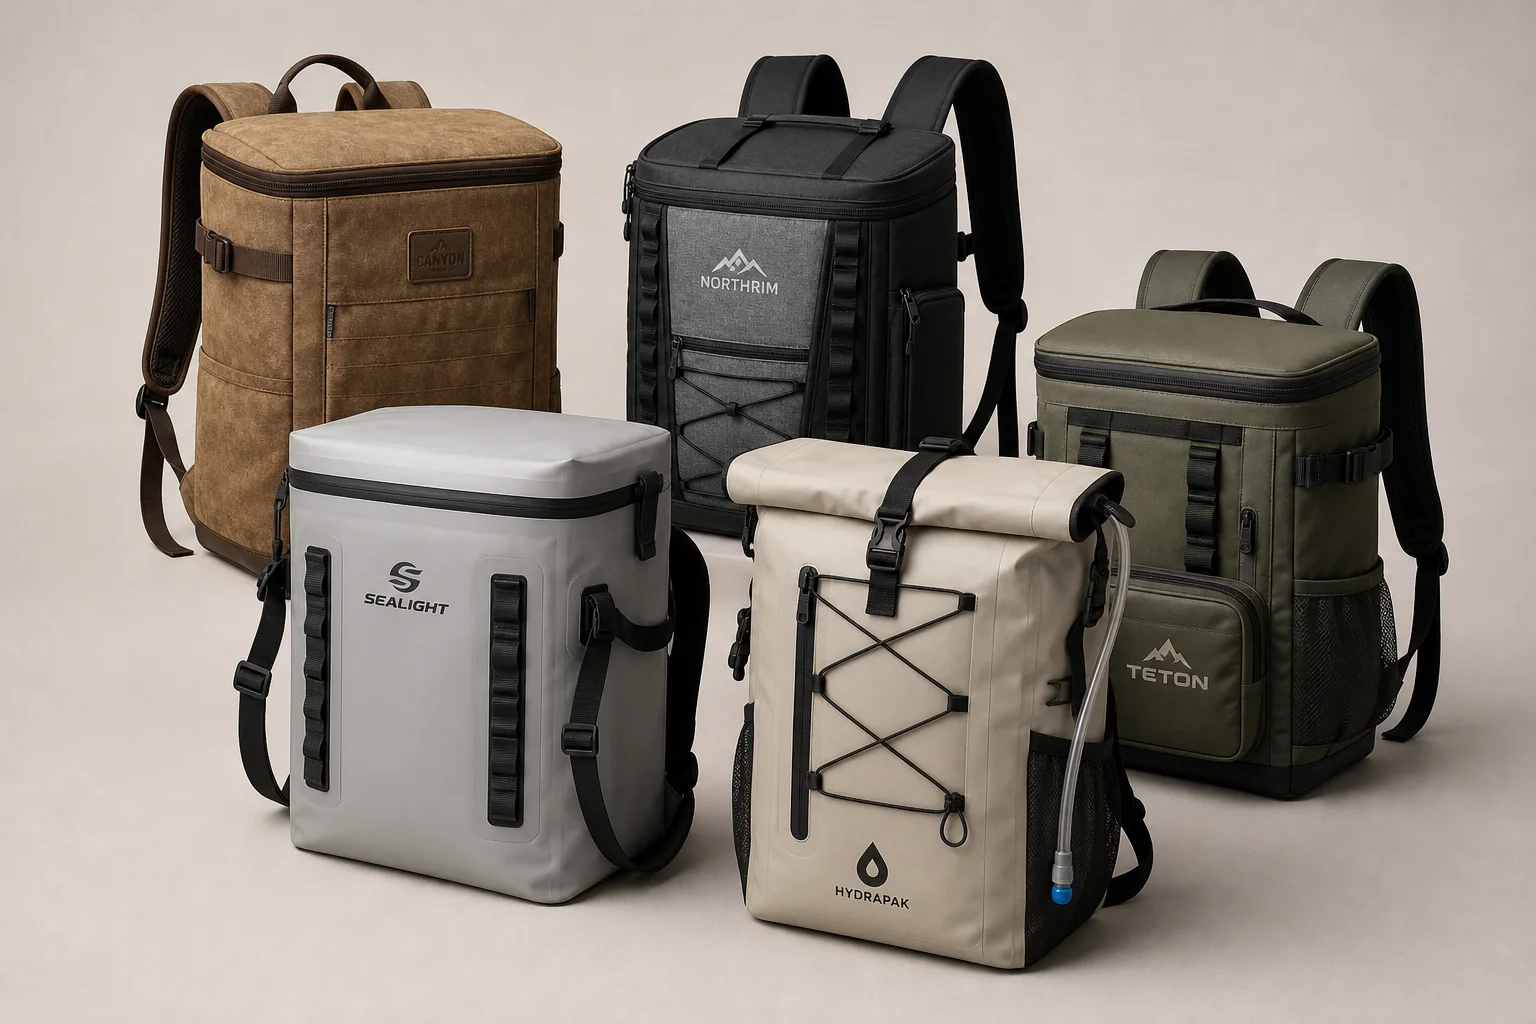
Best Backpack Coolers 2026: Five Practical Options for Outdoor Adventures
Five backpack coolers with distinct cooling capabilities, storage features, and design trade-offs to help you choose the right one for your outdoor needs.