Snowboard Boots
Vans Highstander Pro Review: A Full Day on the Mountain in New Boots
One full day of riding in the Vans Highstander Pro, from first straps to last run, with practical tips on fit, break-in, and avoiding boot pain.
Introduction
Fresh boot day is one of the best feelings in snowboarding, and it also reveals exactly how much a worn-out boot costs you. After roughly eight months of hard riding, the previous pair had become so soft they would flex almost flat with light pressure, and the support was clearly gone on the hill. That is what prompted picking up the Vans Highstander Pro, a mid-range lace-up boot that promised to bring back responsiveness without sacrificing all-day comfort.
This write-up covers a full day of riding in them: how they felt on the walk in, first tracks, deep snow, hiking, and standing around at the end of the day, plus practical tips on avoiding boot pain altogether.
Why the Old Boots Had to Go
The telltale sign was energy transfer. With the old boots, every turn initiation meant the ankle and foot flexing inside the boot with nothing holding anything in place, and the board responded late and vaguely. Pressing hard on the old boot folded it in on itself with barely any effort, which is exactly what you do not want once a boot has packed out.
The new pair, by comparison, took full-body effort to flex at all. That stiffness is the core reason the ride felt so much sharper, and it is worth checking your own boots for the same symptom if your turns have started feeling mushy.
First Day Out: Strapping In and Riding
The morning started with roughly a ten-minute walk to the mountain. Out of the box, the boots felt snug with a little toe pressure, especially on the right foot. First straps in went the same way: feet felt firmly held, similar to a handshake that lasts a beat too long, but with no pain and no pressure points.

By the first lap the pattern was already clear: very responsive, very snug, snug to the point where feeling in the feet dulled slightly, but zero pain anywhere. They also started loosening almost immediately as the liner began to break in, so a re-tighten during the day was on the cards.
How to Lace and Adjust the Boot
Traditional laces take a little longer to do up, but the trade-off is a softer, more comfortable feel inside the boot. The routine that works well: start with the inner Velcro piece and the inner cord, cinching the liner snug around the top of the ankle, then tuck that piece inside. Get the tongue flat and centered, tighten from the bottom up, take your time with each section, and finish with a single-loop butterfly bow. Tuck the laces under the power strap and cinch that strap tight at the top of the ankle.
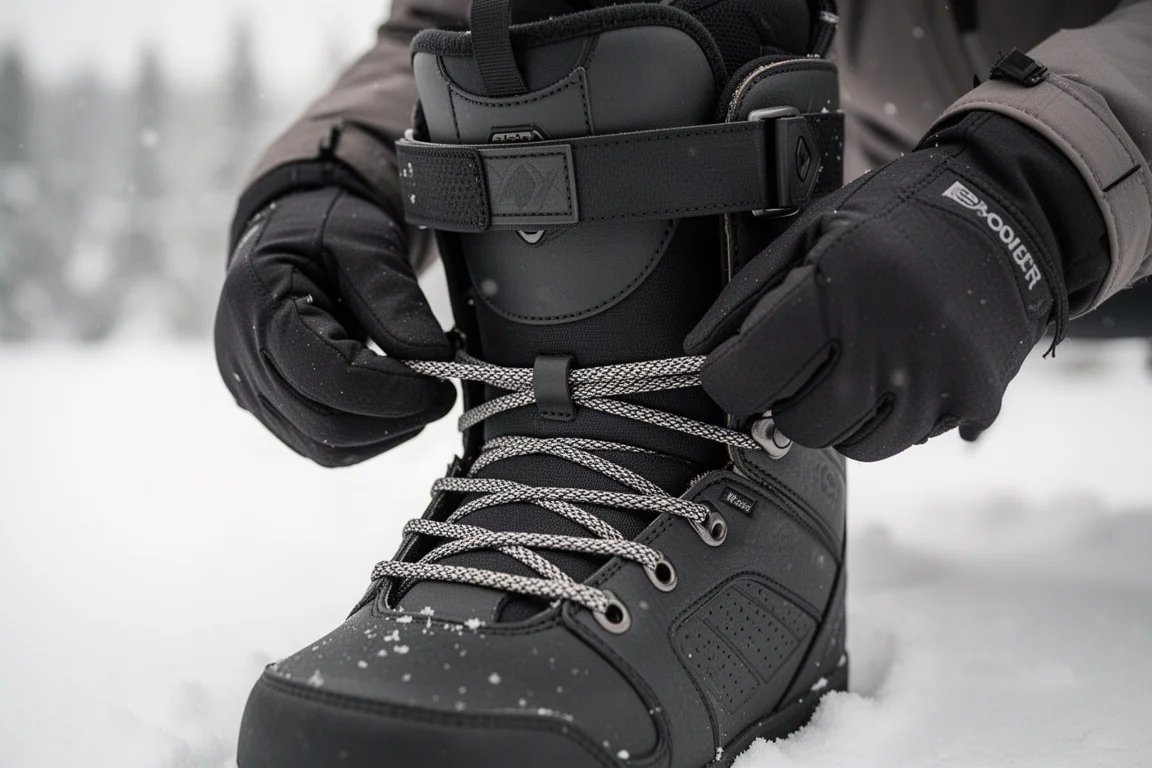
Two comfort tips worth following before your first day: wear the boots around the house to break them in, and keep the laces or BOA slightly looser on the first outing so your foot has a little room to move. Boot pain often comes from the foot being too locked in and trapped.
Build Quality and Comfort Features
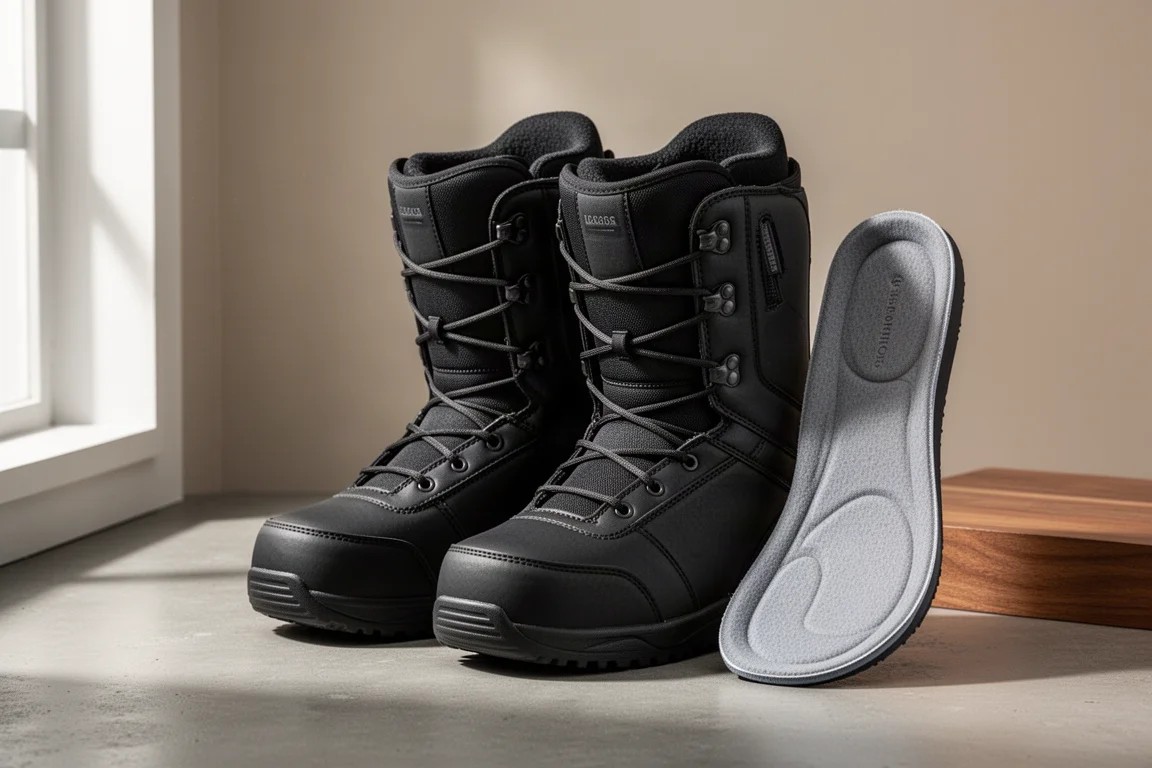
These are not the most expensive boots on the shelf, sitting more in the middle of the line, but the interior construction punches above that. Pulling out the liner reveals a soft, comfortable feel plus a heel cage at the back that holds your heel in place. The stock insole is not a thin afterthought either; it has genuine cushioning.
Choosing a boot with a quality liner and insole, rather than the cheapest option available, makes a real difference to how a full day on the hill feels. That construction, combined with the stiff shell, is a large part of why these boots stayed pain-free all day.
Ride Impressions Through the Day
Lap two dropped into deep, mellow tree runs, and the boots handled everything comfortably. That initial tight squeezing sensation from the first lap faded as the liner packed out slightly, giving feet a little more room to move and breathe. No pain, no hot spots, no little jabs into the ankle or foot anywhere.
A short ten-minute hike to some trees followed, and by then the only complaint was slight pressure on the big toe of the right foot. Overall the boots were feeling better as the day went on, which is exactly what you want from a new pair.
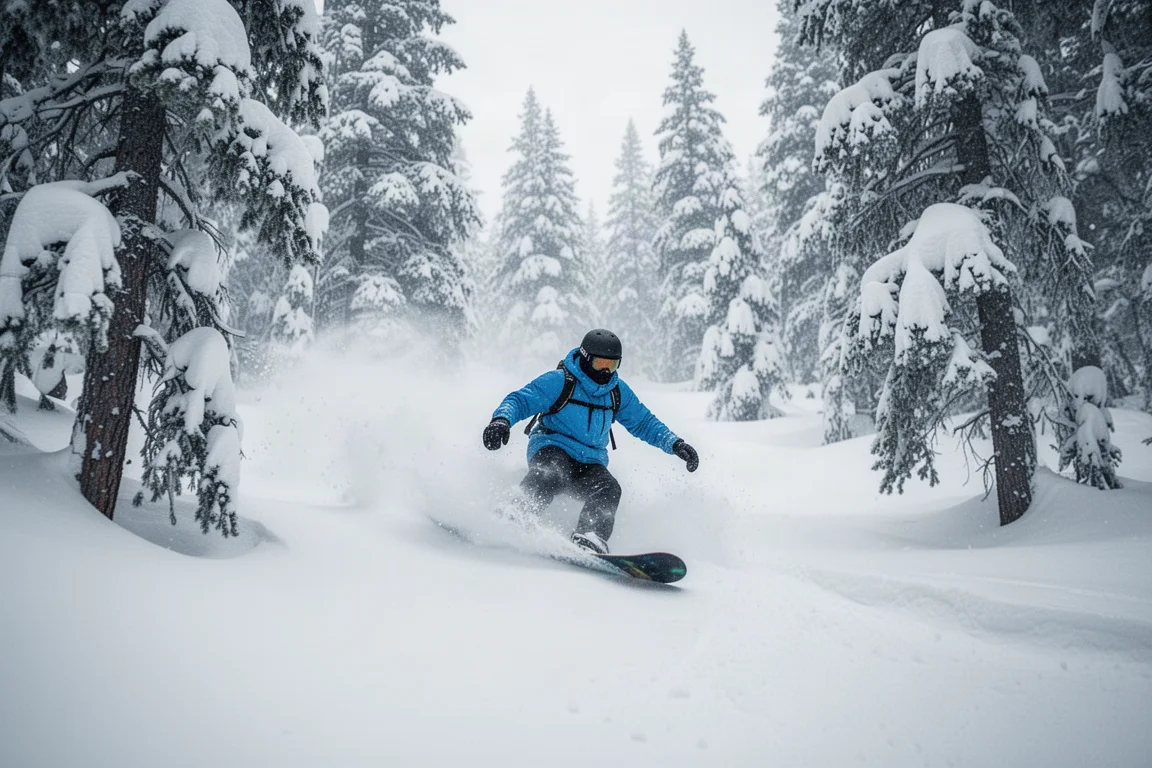
The end-of-day summary was simple: very comfortable all day, far more responsive than the worn-out pair they replaced, and comfortable enough to keep standing in long after the riding stopped.
Sizing and Buying Advice
The sizing approach that worked here is going down one size from shoe size: a 10.5 shoe translates to a 9.5 snowboard boot. In the store, the boot should feel snug with some pressure on the toes, but the toes should never curl, and nothing should hurt.
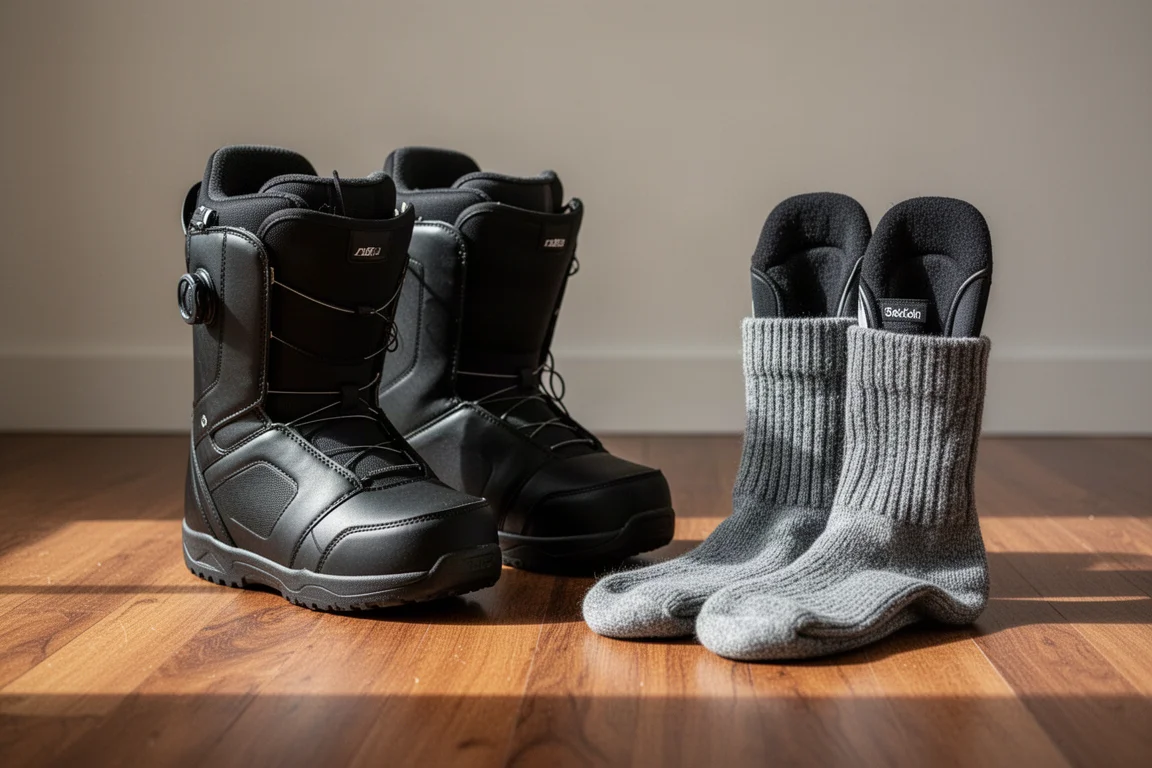
Finding the right model was largely a matter of asking friends how their boots felt, which is how the High Standard Pro came recommended in the first place. Then it was thirty minutes of walking around the store in them to confirm there were no pain points. One final tip: bring your snowboard socks with you when trying boots on, so you get the true fit rather than a false reading from a thin daily sock.
Conclusion
The Vans Highstander Pro delivered exactly what a replacement boot should: restored stiffness and responsiveness, all-day comfort with zero pain or hot spots, and a fit that packed out just enough to feel even better by the end of the day. For riders whose old boots have gone soft and sloppy, this mid-range lace-up option is a very sensible place to land.
Product link
View more details for Vans Highstander Pro
This product is mentioned in the review. Check the specifications, options, and compatibility before buying.
View more details for Vans Highstander ProFurther reading
Related Reviews
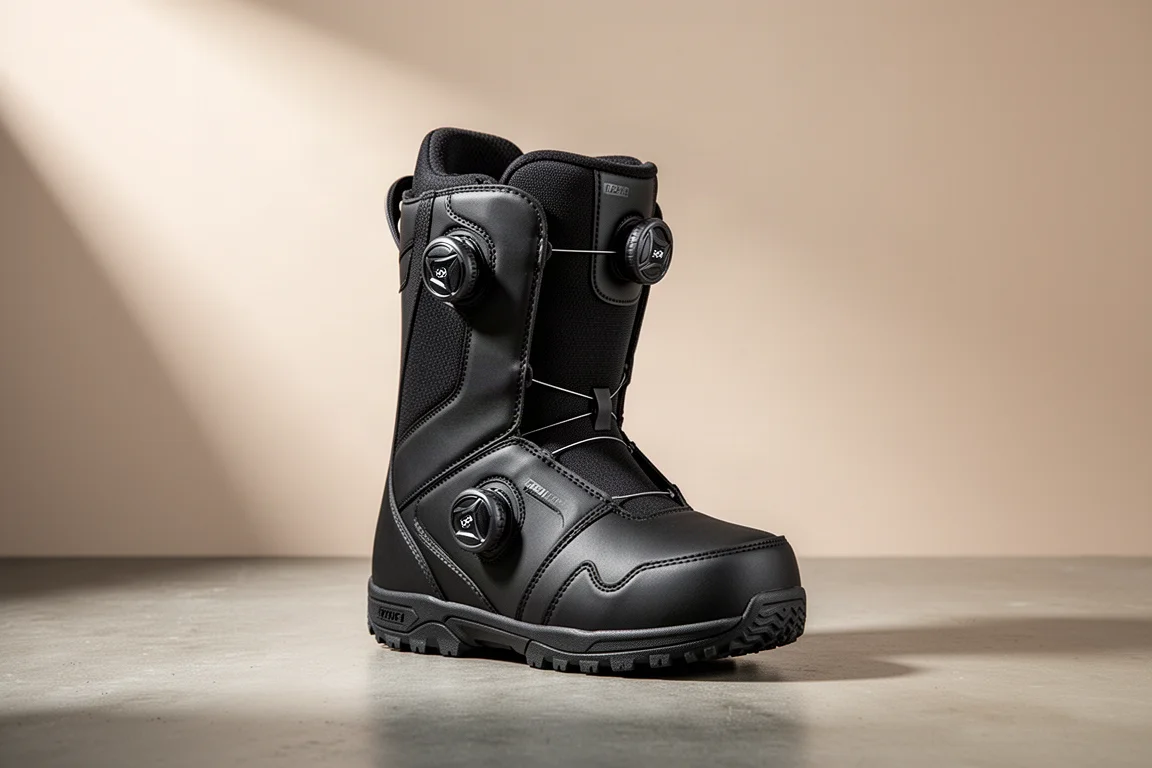
Snowboard Boots
32 Team Two Double Boa Review: 32's Highest-End Women's Snowboard Boot
A closer look at 32's top-tier women's snowboard boot, from the 3D molded toe box and double Boa lacing to the Performance Fit liner and heat-reflective footbed.
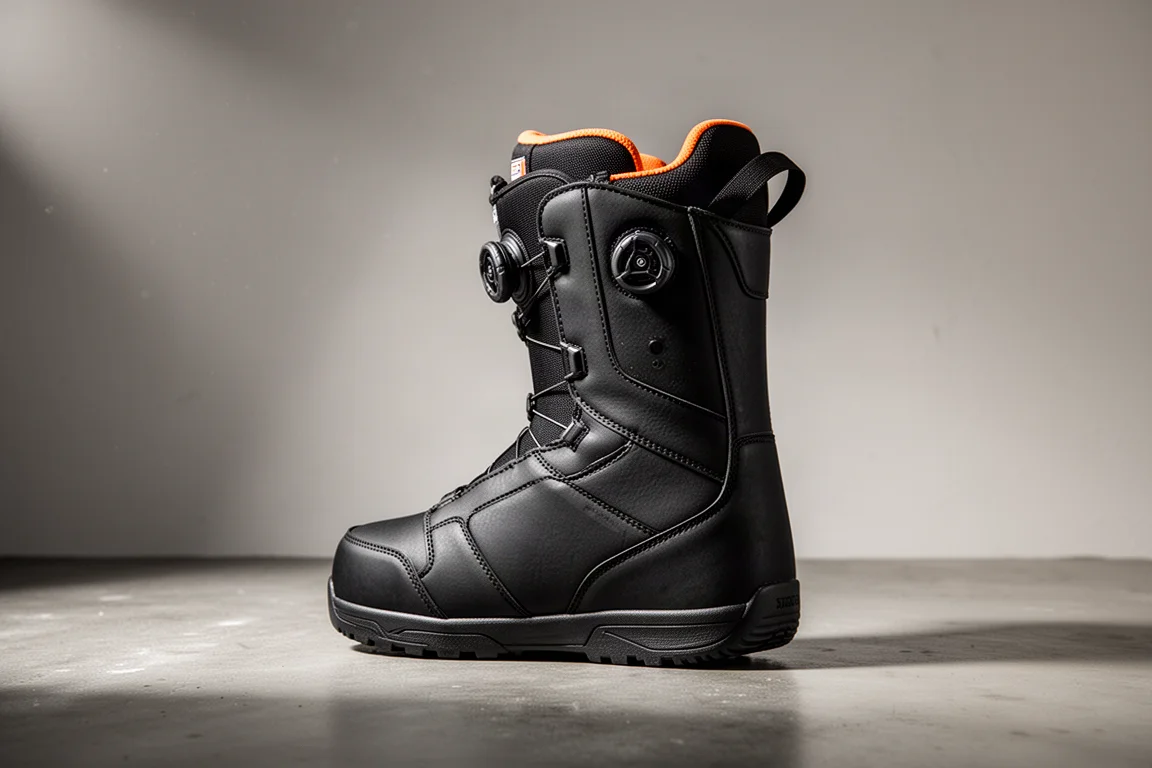
Snowboard Boots
Bataleon Acid BOA Snowboard Boot Review: A Serious First Entry from a Board Brand
Bataleon's first snowboard boot, designed by a former Burton boot designer, brings a stiff flex, dual BOA closure, and a heel hold system worth a closer look.
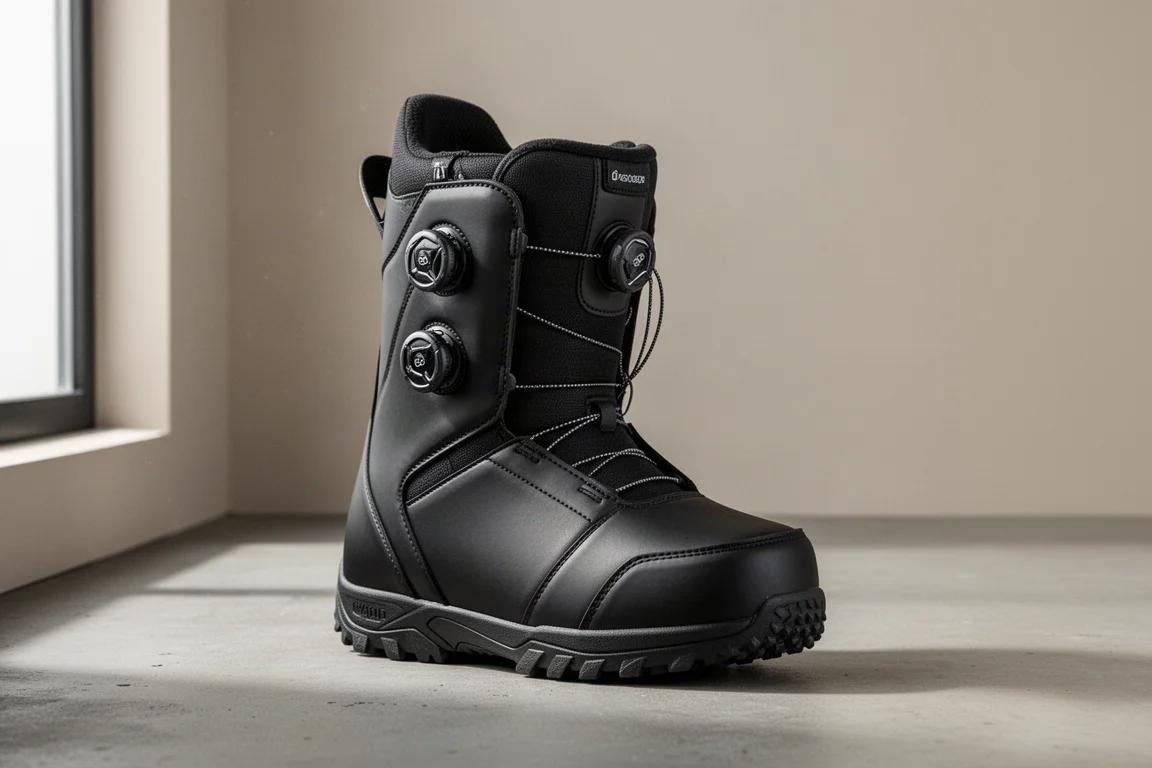
Snowboard Boots
Battalion Acid Boot Review: A Stiff, Aggressive Boot Built to Last
The Battalion Acid Boot is the brand's highest-end offering, built with seamless construction, TPU reinforcement, dual BOA lacing, and a heat-moldable liner. Here is what to know before buying.