DIY Tools
Spyder Diamond Drilling Kit Review: Hole Saws, Cups, and Arbor Tested on Tile and Glass
A real bench test of Spyder's diamond edge hole saw bits, diamond cups, and carbide tipped arbor on ceramic, porcelain, and glass, with clear guidance on what works wet, what works dry, and where the risks sit.
Introduction
Drilling tile, porcelain, or glass is one of those jobs where the material is often worth more than the tool. One cracked corner or chipped edge and the piece you paid for is finished. That is exactly why diamond grit hole saws have become the go-to solution for clean holes in hard, brittle surfaces.
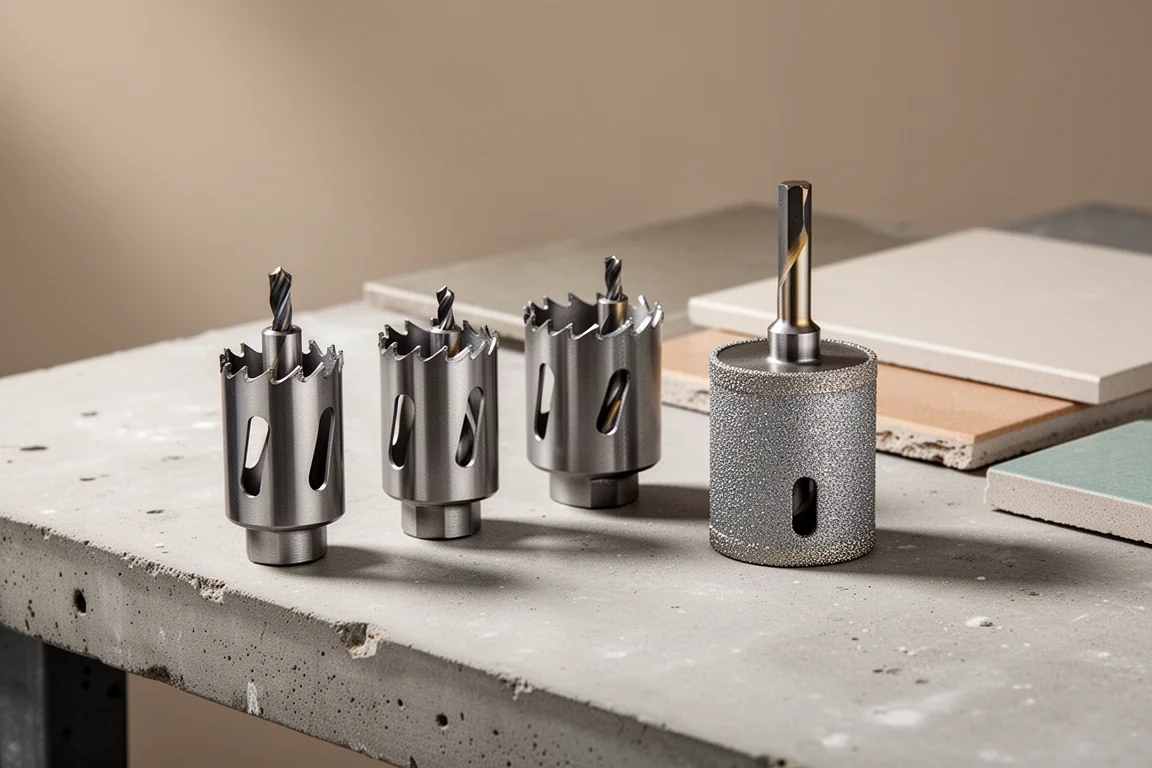
This bench test focused on Spyder’s diamond drilling lineup: the diamond edge hole saw bits, the diamond cups, and the carbide tipped arbor designed to work with the cups. The claims on the packaging are bold, including up to 20 times more life and up to 10 times faster drilling, but the more useful question for anyone holding a treasured tile is simpler: what actually happens when the bit meets the material?
The test covered ceramic, porcelain, and glass in a real bench setup, with both drill press and hand drilling. The results were not flawless, and that is precisely what makes them useful.
The Tools and How to Use Them
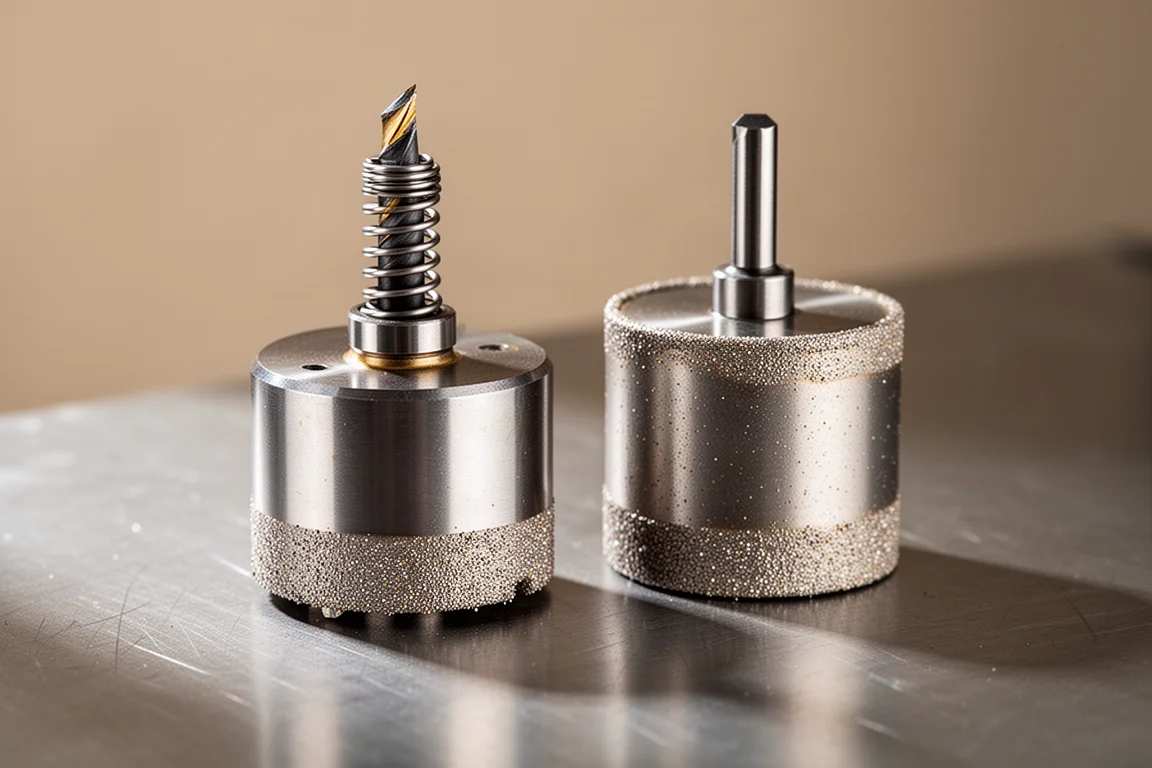
The Spyder diamond edge hole saw bits are rated for tile, granite, marble, and glass, and feature a 1/4 inch hex shank. That shank fits standard chucks, but the technique matters enormously. These bits should never be used with concussive impacts: no impact drivers, no hammer drills in hammer mode. If your drill has a hammer function, keep it switched off.
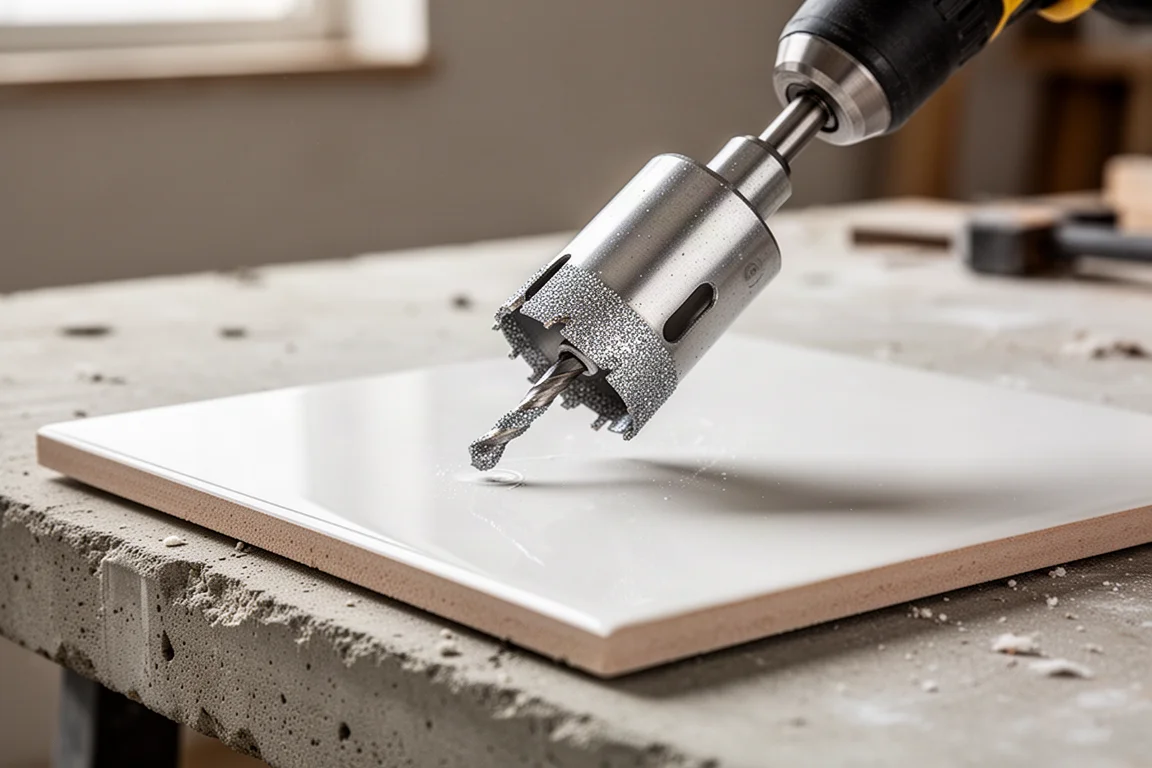
The instructions allow wet or dry use, with fast drilling and careful contact control. For freehand work on tile, the recommended start is at a 45 degree angle, letting the bit freewheel against the surface before bringing it into full contact, then gradually tilting upright as the hole forms. The open side cut in the bit serves two purposes: it helps extract the core after the hole is complete, and it is an ideal channel for spraying cooling water into the centre of the bit with a bottle.
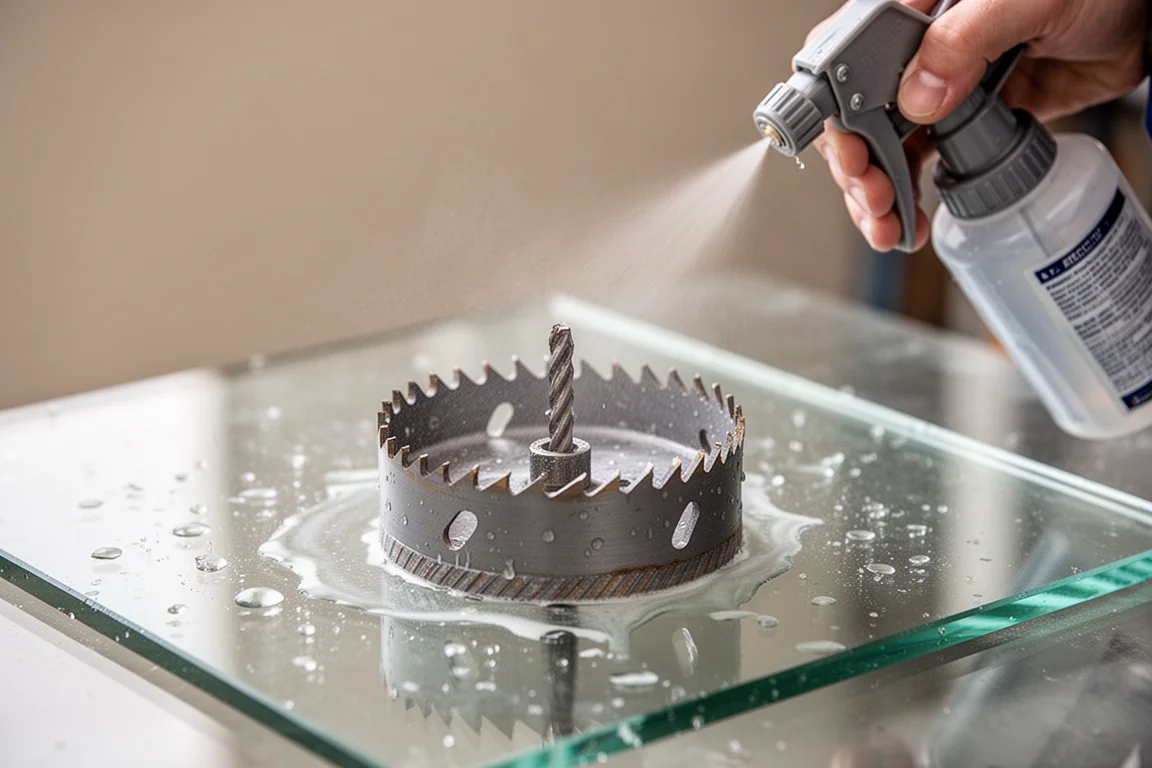
Water is not optional in practice. Drilling creates a slurry of material that builds up inside the hole, and additional water flushes that slurry out so the diamond grit can keep making contact with the surface. While the bits are technically rated for dry use, wet drilling extends the life of the hole saws and produces a noticeably better result. If water is available, use it.
Ceramic: The Confidence Builder
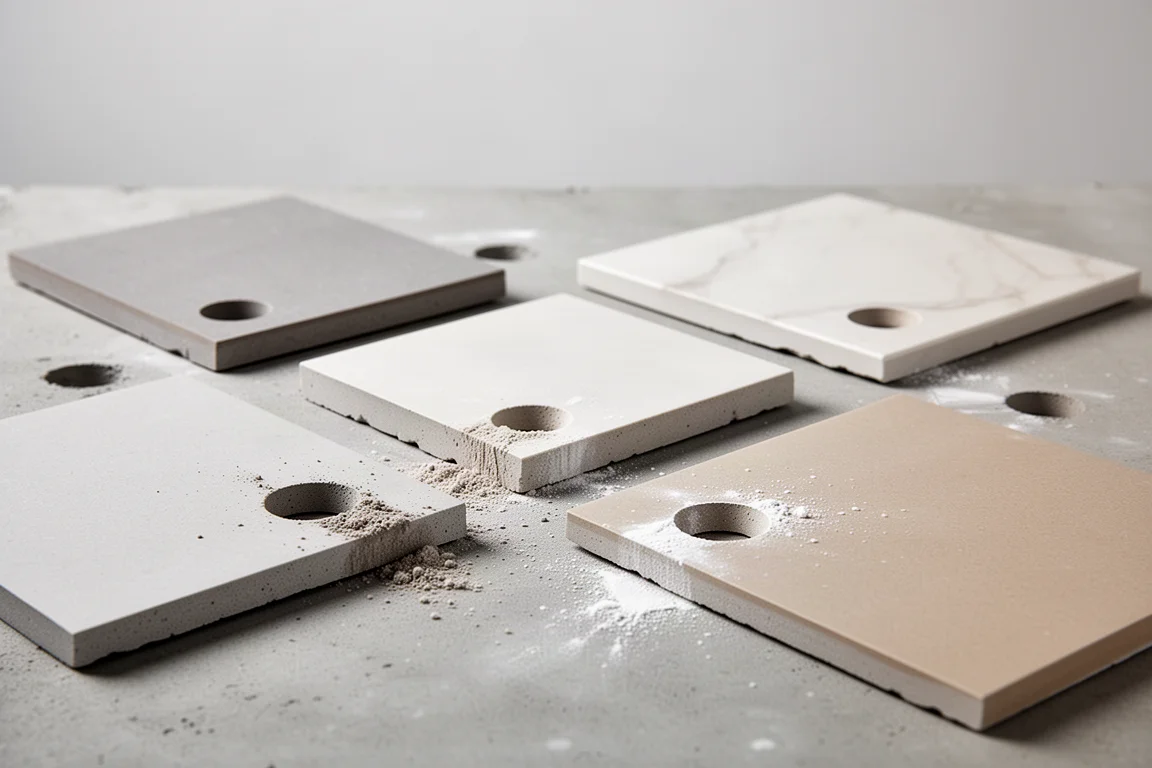
Ceramic turned out to be the friendliest material in the entire test. Out of five ceramic runs, all five completed. That does not mean the work was effortless, but it was the setup where the process looked most forgiving and the results most consistent.
Ceramic is the softest of the three materials, which makes it the natural baseline. It will not hold up in a demanding commercial installation, but for high-traffic home environments it is generally suitable, and it drills noticeably easier. The completed holes looked controlled and clean, and this is the part of the test most likely to put a nervous DIYer at ease. If someone asked which material is the most approachable, ceramic is the answer, not because every run was fast, but because consistency is what matters when you cannot afford to ruin the workpiece.
Glass: A Simple, Visual Rule
Glass produced the clearest lesson of the entire test, and it is one you can actually use on the job. Dry glass broke. Wet glass worked. This was not a subtle difference. When the setup was wet, the glass runs completed cleanly. When it was dry, the piece broke.
The takeaway is that technique matters as much as the tool. On glass especially, the setup can be the difference between a clean hole and a ruined piece. If you take one rule away from this test, make it this one: never attempt glass dry.
Porcelain: Handle With Respect
Porcelain is where the test got serious. Out of five runs, four completed and one broke. This is not a disaster story, but it is also not a material to get casual with.
What stood out about porcelain is that it punishes a bad start. Too much pressure or a setup that is not fully under control showed the greatest risk here. It is expensive, it is visible, and a failed hole can force you to start over, which is exactly why most people hesitate to drill it in the first place. These bits can absolutely work on porcelain, but in this testing it earned the most caution. Water, patience, and controlled pressure all mattered more on this material than anywhere else.
Diamond Cups and the Carbide Tipped Arbor
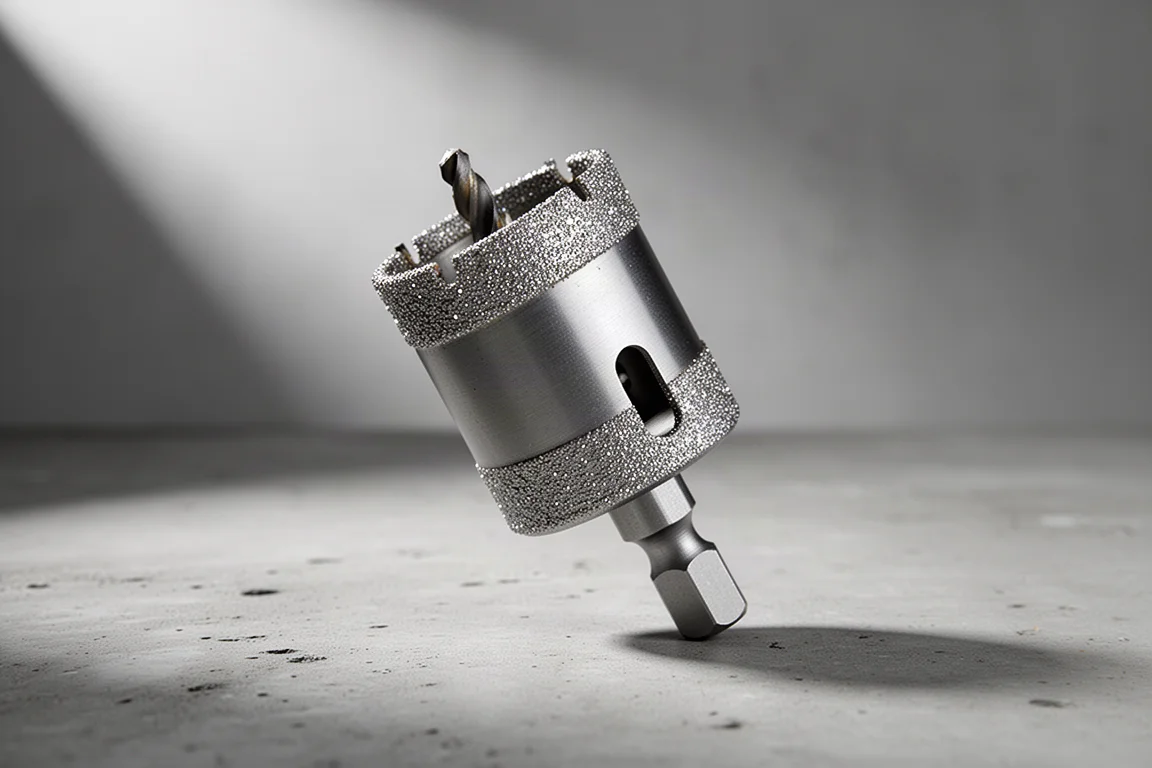
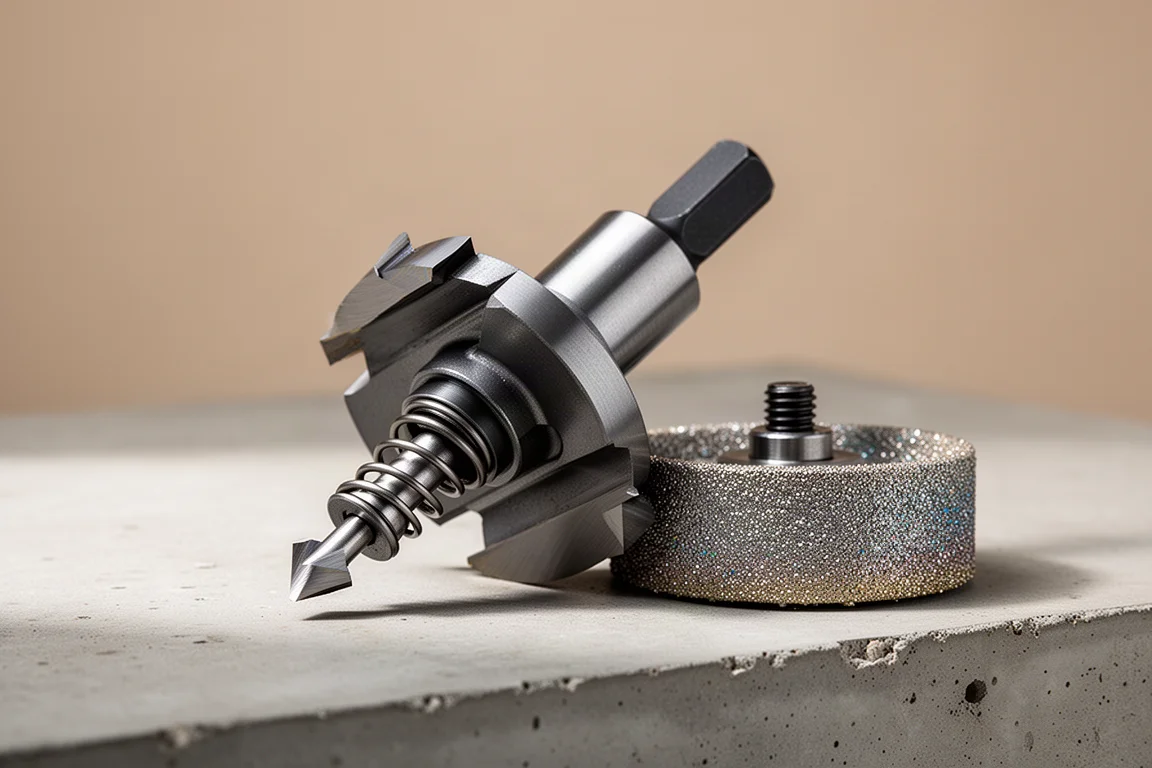
The second part of the lineup is Spyder’s diamond cup system paired with their carbide tipped arbor. The arbor uses an auto-guide carbide tip with a retractable pin, which eliminates the need to drill pilot holes, prevents skating on smooth surfaces, and keeps the hole location accurate. It also allows quick plug removal once the hole is cut.
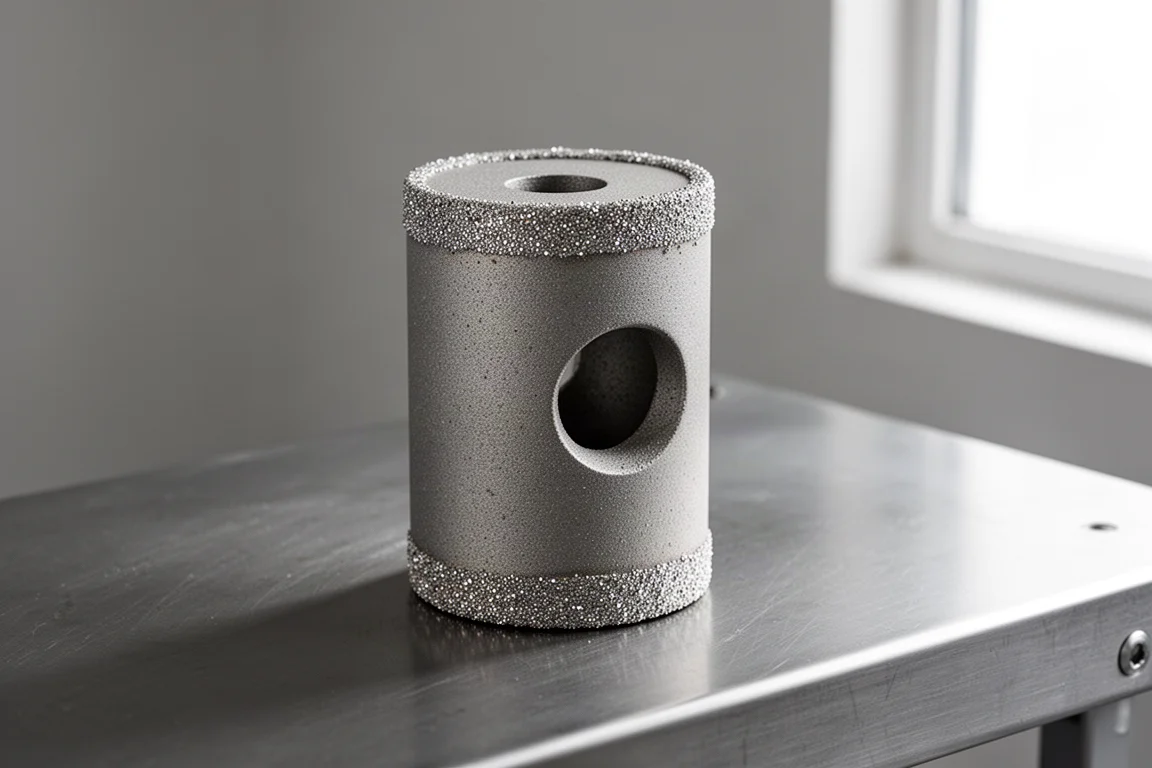
The clever part is that the carbide tip is not stationary. It springs in and out. Once the tip has made contact and scored a witness mark, you push down and the cup reaches the surface without the tip needing to cut all the way through the tile. That spring action is what makes the system feel secure on glossy material where a regular pilot bit would skate.
Drilling Method and Timing
The timing data tells an interesting story, with an honesty clause attached. In this testing, the drill press averaged about 1 minute 17 seconds per hole. Hand drilling with a pilot averaged about 2 minutes 35 seconds. Freehand drilling without a pilot averaged about 3 minutes 7 seconds.
However, this was not a pure apples-to-apples comparison. The drill press work was mostly done with the 1 inch setup, while the hand drilling with a pilot was tied to the larger 2 inch setup. So the numbers should not be turned into a blanket claim that one method is universally better.
What the numbers do show is simpler and more useful: more control generally gave better odds, and less control made the job slower and more stressful. Freehand drilling is a skill to master over time, and the technique matters more than raw speed.
What Actually Mattered Most
Three factors separated the successful runs from the failures. First, the material: ceramic was forgiving, porcelain was the toughest, and glass gave the clearest warning of all. Second, water: the glass result made its importance impossible to ignore. Third, control: the more stable and predictable the setup felt, the better the results looked.
Most people are not drilling tile and glass in a perfect shop environment every day. They are making one or two holes, trying not to ruin the material, and hoping to get through the job cleanly. Seen that way, the real value here is convenience and confidence rather than raw speed. Respect the material, pay attention to the setup, and never assume every surface reacts the same way.
Conclusion
The Spyder diamond drilling lineup handled a demanding bench test with mostly encouraging results: a perfect record on ceramic, four out of five on porcelain, and a clear wet-versus-dry rule on glass. The carbide tipped arbor adds genuine accuracy benefits through its retractable auto-guide pin and skate-free start.
If you are about to drill any of these materials, the priorities are consistent: use water whenever possible, avoid any hammer or impact action, start with control, and treat porcelain with the most caution. Do that, and these tools give you a realistic chance of a clean hole and an intact workpiece.
Further reading
Related Reviews
DIY Tools
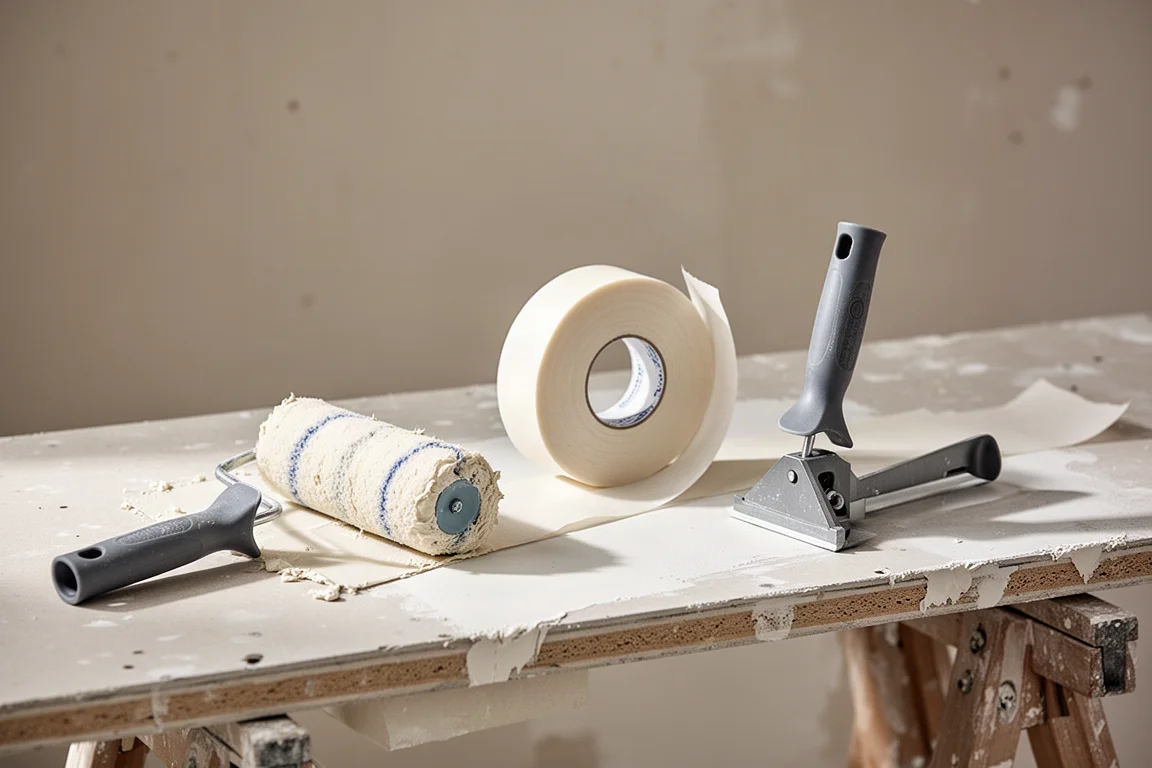
Beginner's Guide to Taping Drywall with Rollers and Corner Tools
A practical walkthrough of drywall taping using rollers and affordable corner tools, designed for first-time DIYers.
DIY Tools
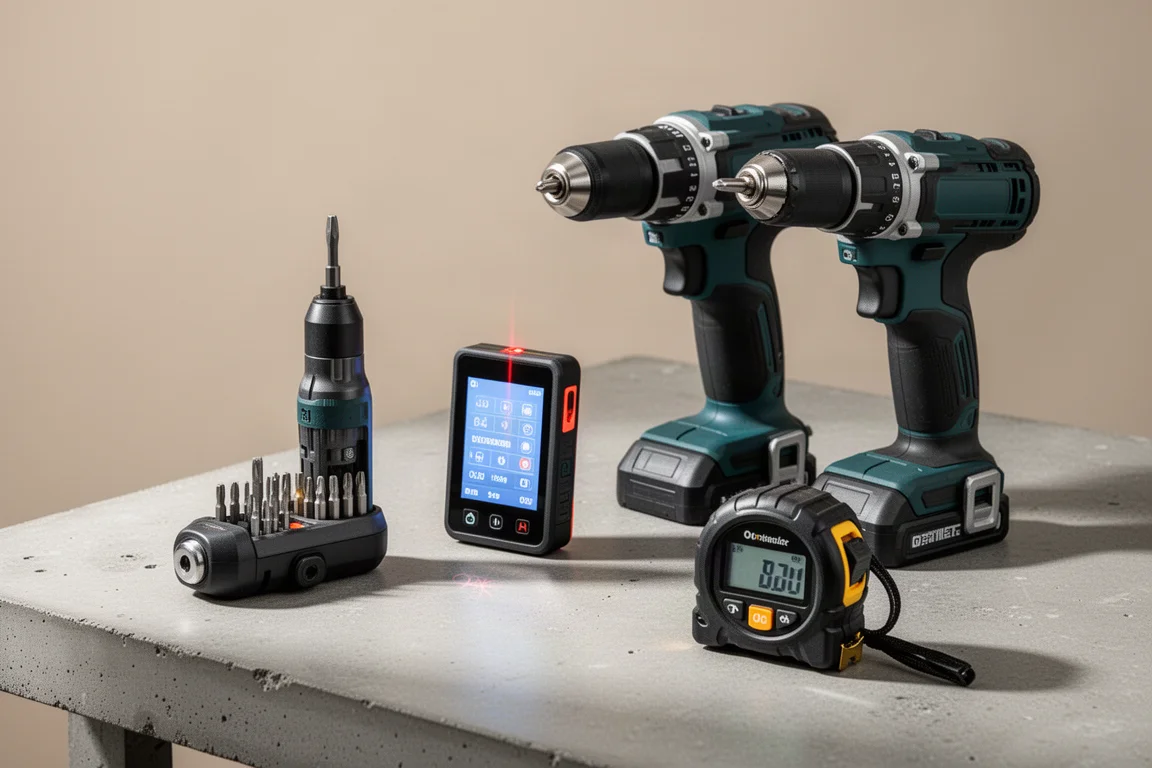
Best DIY Tools Worth Buying: Six Handy Picks From a Curated Haul
A semi-automatic screwdriver, laser measuring tools, a clever drill driver, and two digital tape measures: six tools that earned a closer look, plus the trade-offs to know first.
DIY Tools
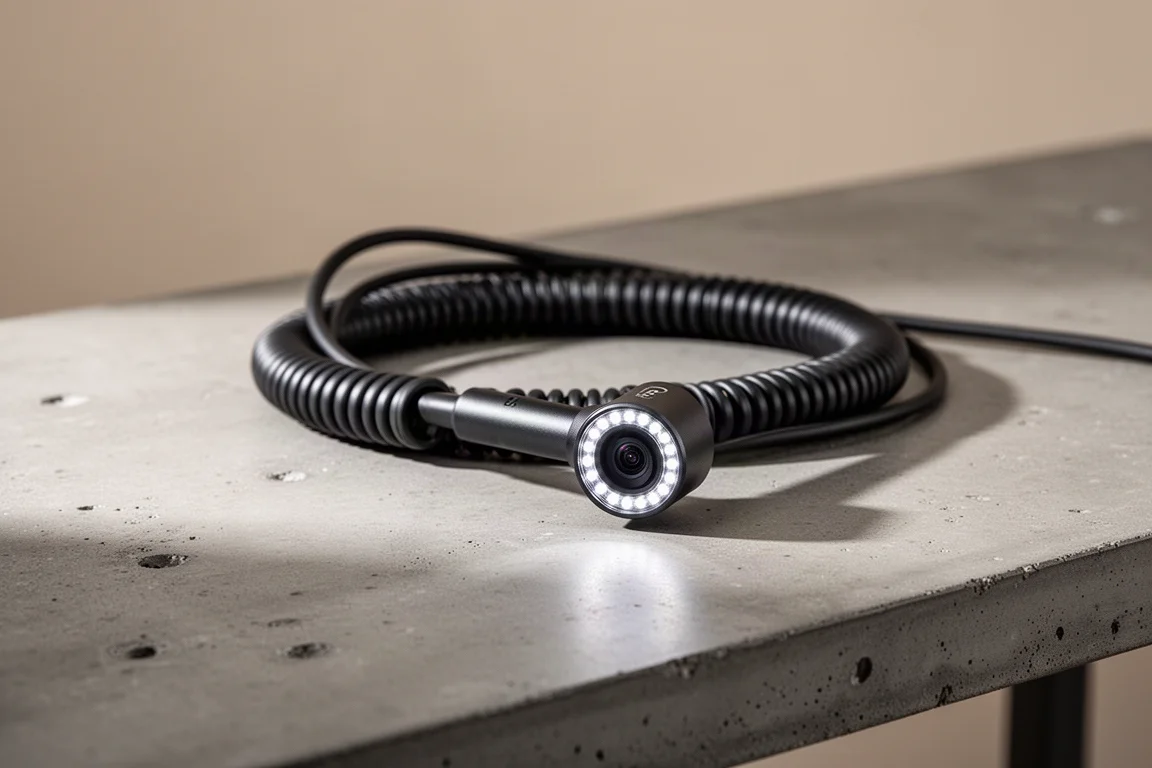
EN NOORE Endoscope Review: A Cheap Tool That Can Save You an Expensive Mistake
A phone-powered inspection camera with LED lighting, useful accessories, and a price low enough to justify keeping it in every toolbox.