Studio Gear
Samson S Patch Review: A 48-Point TRS Patch Bay With Switchable Normaling
A practical look at the Samson S patch, a 48-point 1/4 inch TRS patch bay whose normaling modes can be changed from the front panel.
Introduction
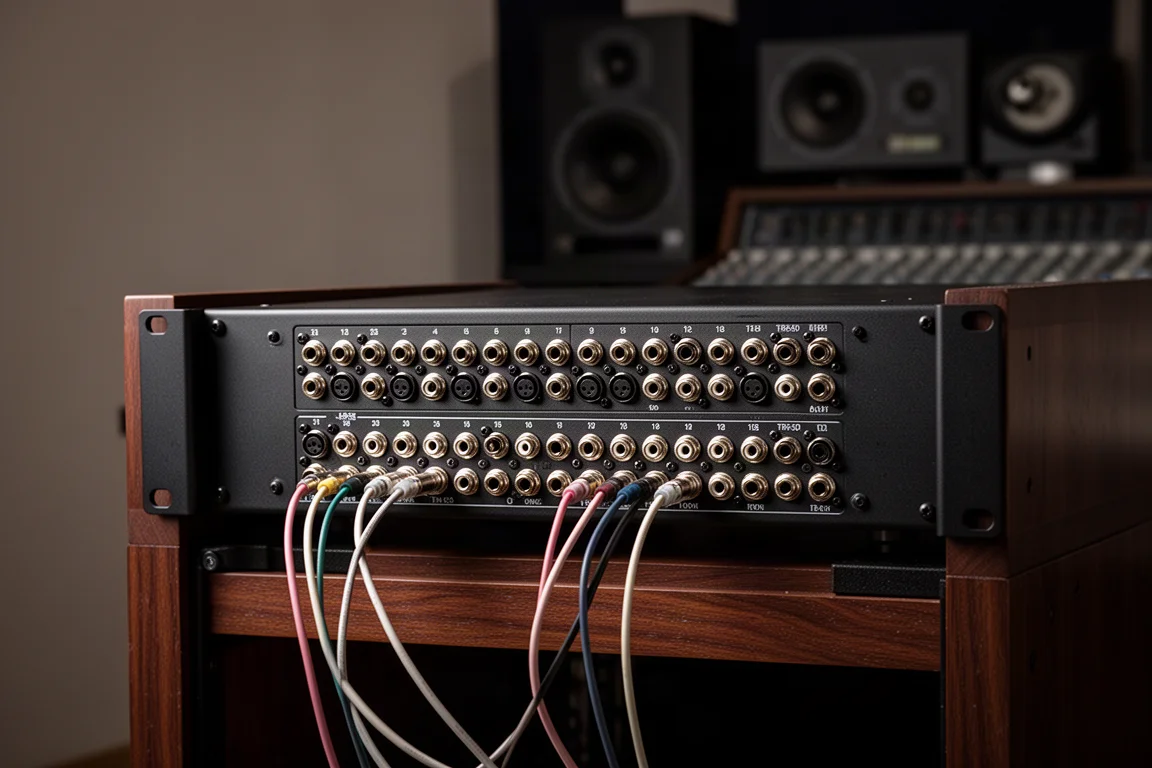
Every piece of studio gear has inputs and outputs, and each of them eventually needs to reach something else. Without a patch bay, that usually means reaching behind the desk to swap cables, which costs setup time and puts wear on connectors that were never designed to be plugged and unplugged every day. A patch bay keeps everything connected at the rear and moves the decision-making to the front panel, where short patch cables create whatever signal path a session needs.
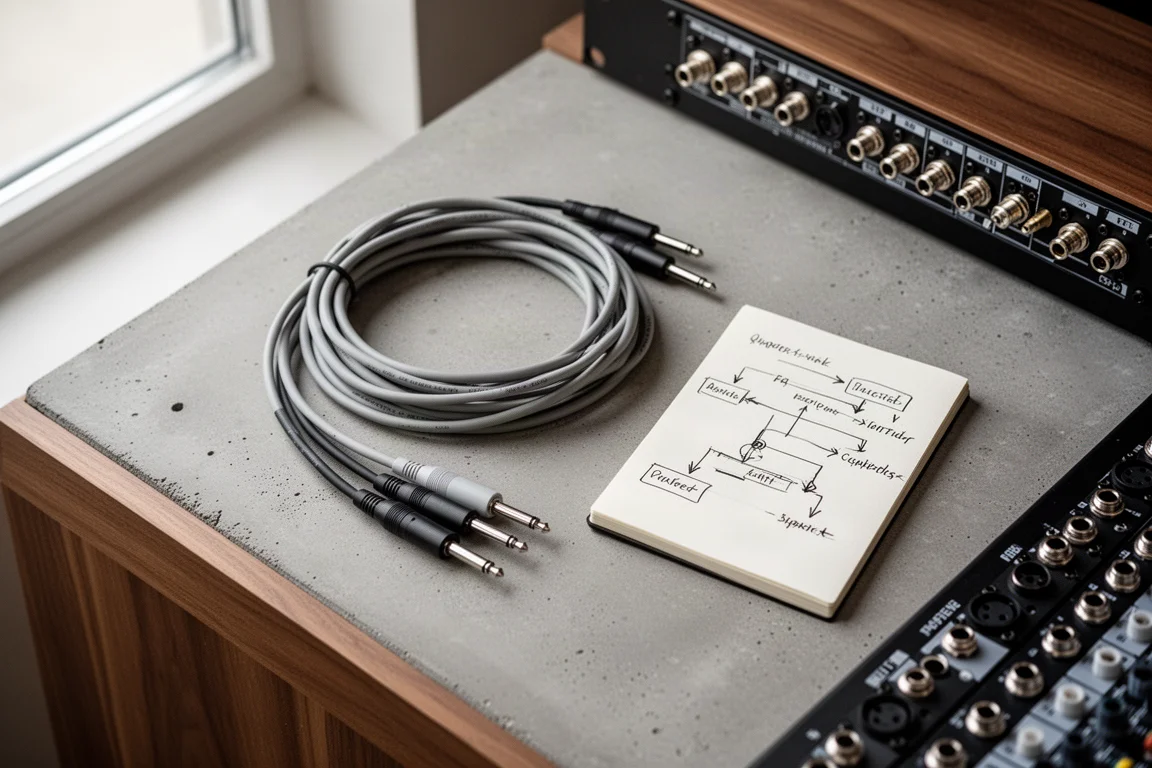
The Samson S patch is a 48-point 1/4 inch TRS patch bay built around that workflow. Its rear panel carries 24 input jacks on the top row and 24 output jacks on the bottom row, and those 48 rear connections map directly to the 48 jacks on the front. What separates it from simpler bays is that each vertical pair of jacks can be switched between normaling modes without opening the unit.
Who This Patch Bay Is For
This bay suits a studio that has outgrown point-to-point cabling. A handful of microphones, an audio interface, a pair of monitors, and one or two outboard processors are usually enough to make a patch bay worth owning. Anyone who regularly reorders gear, auditions a new preamp, or wants to keep an alternative signal path available without rewiring the room will get the most from it.
It is also a sensible option for anyone who has already worked with a fixed-mode patch bay and found reconfiguration frustrating, because the mode change here is a front-panel toggle rather than a disassembly job.
A very small setup, such as a single microphone feeding a single interface input, can operate without one. The value becomes obvious as the number of connections grows and the desk behind the gear becomes harder to reach.
Main Strengths
Start with capacity and format. The Samson S patch offers 48 points of balanced 1/4 inch TRS connectivity in one rack unit, with inputs across the top row and outputs across the bottom, a layout most engineers already read instinctively.
The feature that matters most is the switch sitting between the top and bottom jack of each module. Choosing through, half normal, or full normal for an individual pair takes seconds and requires no tools, which means the bay can be reconfigured as a studio grows instead of being rebuilt around a layout that no longer fits.
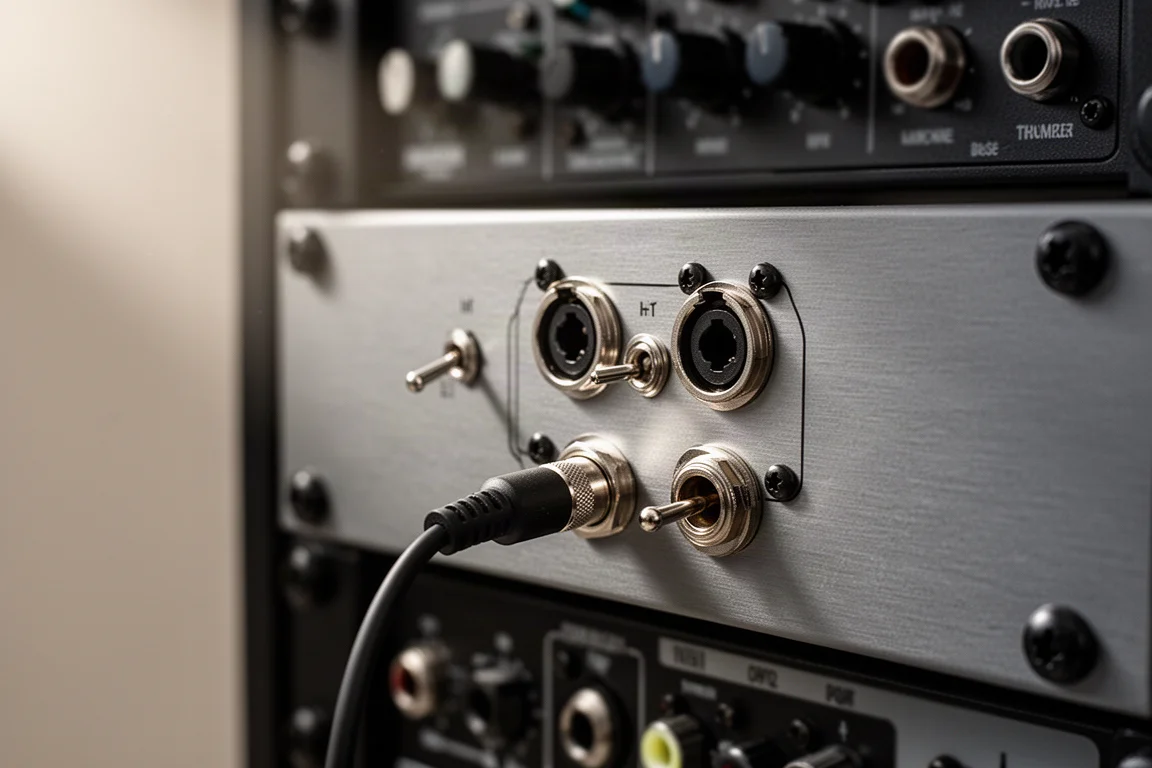
Normaling is what makes a patch bay fast in daily use. Once the default signal paths are set correctly, the most common connections happen automatically with no patch cable at all, and cables are reserved for the exceptions rather than the routine.
Normaling Modes and Practical Setup Examples
Through Mode
In through mode, the top jack on the rear flows to the top jack on the front, and the bottom jack on the front flows to the bottom row on the rear. The two halves remain independent, so nothing is connected until a patch cable is added.
Half Normal Mode
Rear jacks still map to front jacks, but the signal from the top jack automatically flows down to the bottom jack when nothing is plugged in. Inserting a plug into the bottom jack on the front breaks that default connection, which makes half normal a practical way to override a default route or to split a signal.
Full Normal Mode
Full normal keeps the same default top-to-bottom connection, but inserting a plug into either the top or the bottom front jack breaks it. That behaviour is useful wherever an accidental double connection would cause a problem.
Applying the Modes
A common layout sends microphones to interface preamps in full normal mode, so the default path is always live and a patch cable can redirect a microphone to a different preamp when needed. Full normal also prevents a microphone from feeding two preamps at once, which matters when phantom power is involved. Interface outputs to monitor inputs usually sit in half normal mode, so patching a turntable into the monitor inputs overrides the default route, and patching an interface output to a headphone amplifier sends the same signal to both the monitors and the headphones. Outboard compressors and preamps are often best left in through mode, keeping their inputs and outputs independent so a device cannot feed its own input and create a feedback loop.
Switchable Modules vs Fixed-Mode Designs
A 48-point 1/4 inch TRS patch bay is a fairly standard item, and comparable bays sell for around $100, with the Samson positioned a little above that.
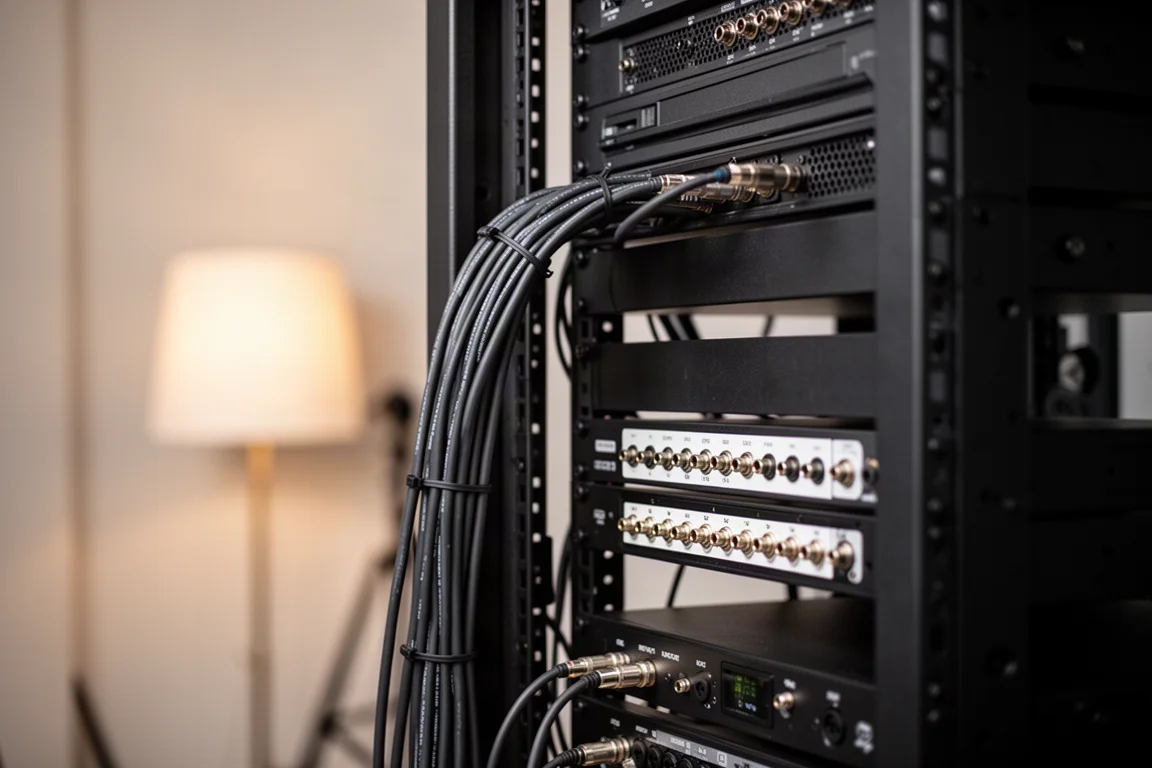
The difference appears when a layout changes. On the Samson, changing the mode of any module means toggling the switch between the top and bottom jack. On fixed-mode designs, the same change requires disconnecting the front and rear jacks, removing the front panel of the entire patch bay, taking the module out, flipping it around, and reassembling everything. In a studio where components are added or shifted every few months, that difference alone can justify the extra cost.
Things to Consider Before Buying
Rack space is the first constraint. Each 48-point bay occupies one rack unit, and two bays consume two units, which adds up quickly in a compact rack.
Connection density is the second. If rack space is tight or the studio holds a large collection of components, a TT patch bay with its smaller connectors offers much greater connection density in the same footprint.
Rear-panel format is worth checking as well. Some patch bays use multi-channel connectors at the rear rather than the same connection type front and back, which can produce a cleaner installation using multi-channel fan-outs instead of individual cables for every rear connection.
Finally, consider how the modes interact with daily work. Modules set to through mode are independent by design, so those devices must be patched manually every time they are used. That is the right trade-off for gear that could otherwise create a feedback loop, but it does mean more patch cables on the panel.
Buying Advice
The Samson S patch makes the most sense for a studio that expects to change. If gear is added, swapped, or re-routed regularly, front-panel mode switching saves a genuine amount of maintenance time, and keeping microphones, monitors, and outboard processors permanently connected without re-cabling the desk is the whole point of owning a patch bay.

Before buying, count the connections you actually need and decide how much rack space you can spare. A 48-point 1/4 inch TRS bay covers a typical home or project studio comfortably, while denser TT formats deserve a look if space is limited. Plan the default signal flow first as well: the more of it that normaling can handle, the fewer patch cables will be needed mid-session.
Conclusion
The Samson S patch does the same core job as any 48-point patch bay, keeping gear permanently connected and moving routing decisions to the front panel. Its advantage is the switch that changes normaling mode per module without opening the unit, a meaningful convenience in a studio that keeps evolving. If a layout is likely to stay fixed for years, a simpler bay will do the job. For anyone planning to grow, the flexibility is easy to justify.
Product link
View more details for Samson S Patch
This product is mentioned in the review. Check the specifications, options, and compatibility before buying.
View more details for Samson S PatchFurther reading
Related Reviews

Headphones
Beyerdynamic DT 990 PRO X Review: A Refined Classic for Studio Work
The DT 990 PRO X keeps the classic open-back sound, adds a detachable cable, and smooths the treble just enough to make it the version most studio users should pick.
Audio Interfaces
RME Audio Interfaces Compared: Babyface Pro FS, Fireface UCX2, and UFX
Three RME audio interfaces compared on the details that decide long term value: connectivity, drivers, latency, TotalMix routing, and onboard DSP.