Backpacking Tents
Mountainsmith Morrison 2 Review: Setup, Strengths, and Buying Advice
A practical look at the Mountainsmith Morrison 2 backpacking tent, covering the color-coded setup process, interior space, weather protection, and the one detail worth planning for before you buy.
Introduction
The Mountainsmith Morrison 2 has become one of the best-selling backpacking tents on Amazon, which makes it a natural candidate for a closer look at the practical side of ownership. Before committing to any shelter, the questions that matter most are simple: how does it go together at camp, what does the design ask of you, and where does a little preparation pay off.
Pitch time and pole routing are not minor details. A tent that goes up quickly and predictably is a tent you will actually take out, and a tent that fights you at camp tends to stay in the closet.
Who This Tent Is For
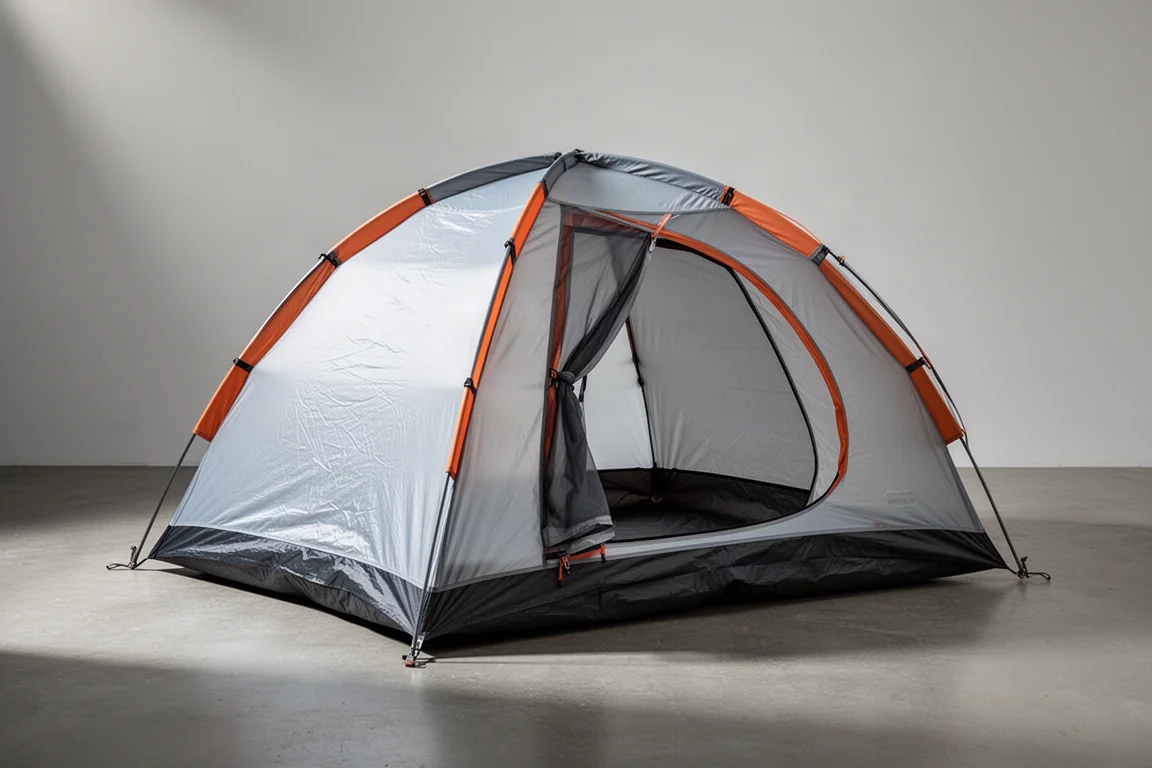
The Morrison 2 is a two-person backpacking tent built around a conventional two-pole dome layout. Anyone who has pitched a tent before will recognize the sequence: unfold the body, run the poles, stake the corners, then add the fly.
That familiarity is the point. The design does not ask you to learn a new system, and the components are labelled in a way that removes most of the guesswork. It suits campers and backpackers who want a straightforward shelter they can pitch without studying instructions on the first night out.
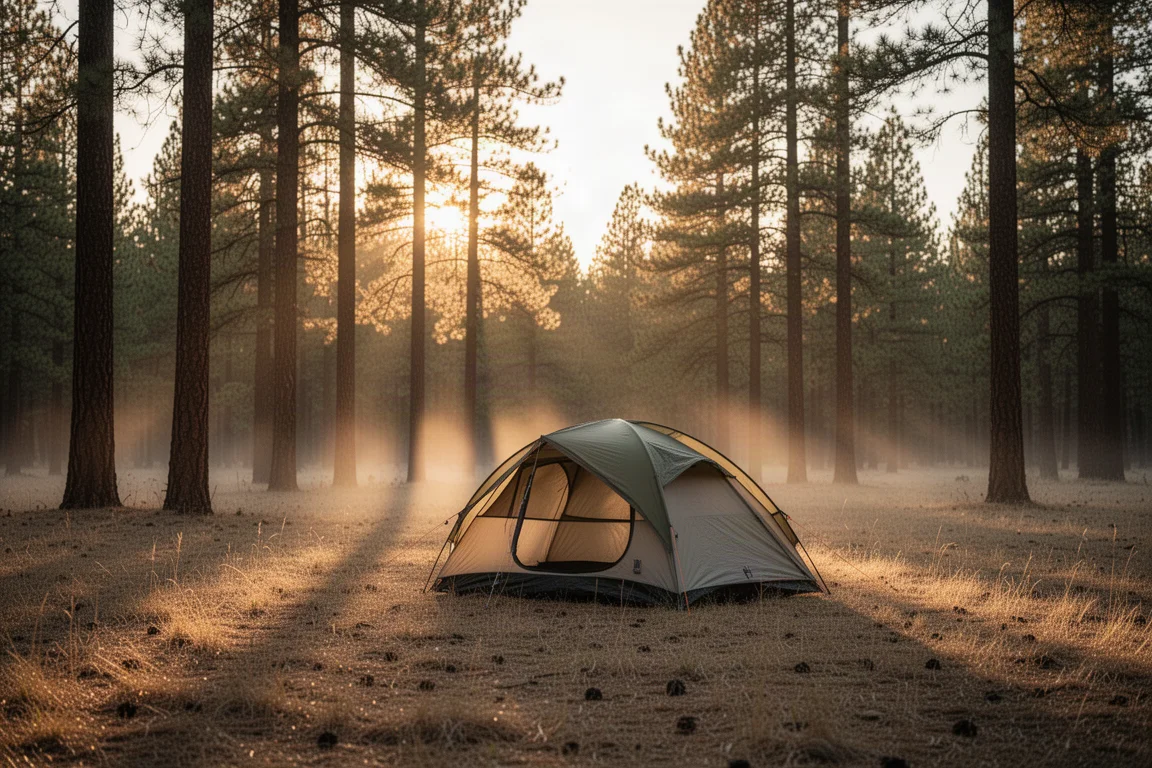
It is also a reasonable step up for someone moving from casual car camping into a dedicated backpacking tent, because the learning curve is close to flat. The main thing the tent asks in return is a willingness to stake it out properly rather than relying on the poles alone.
What Comes in the Box
The package is complete for a standard pitch. You get the tent body, a rain fly, two tent poles, a set of tent stakes, a mesh gear caddy, and a storage bag for the whole kit.
Laying the components out before you start is the first habit worth building into your routine. Separating the fly, poles, stakes, and gear caddy keeps the pitch orderly and makes it obvious if anything is missing before you head out.
Main Strengths
The strengths here are structural rather than flashy. This is a tent that gets out of your way, and the details that make that possible are worth understanding before you buy.
A Straightforward, Color-Coded Setup
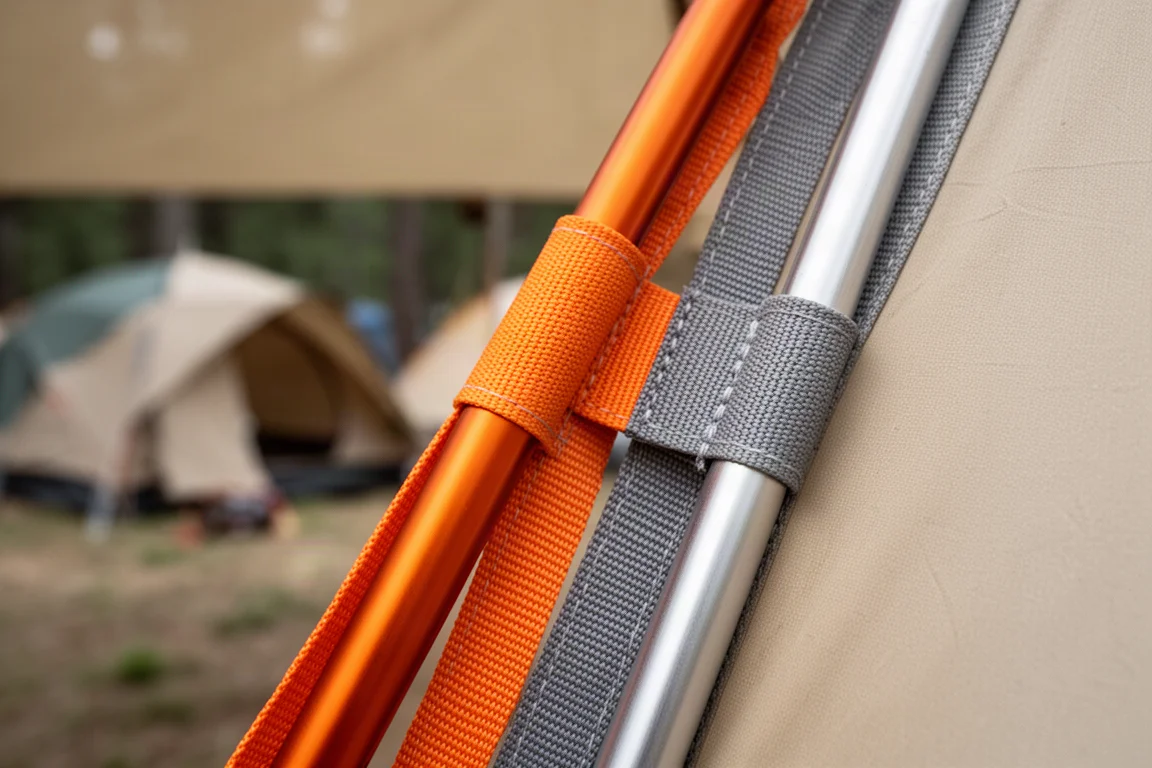
The two poles are colour-coded: one silver, one orange. The tent body follows that logic, with orange straps lining up with the orange pole and grey straps with the silver pole. The rain fly uses the same orange-to-orange, grey-to-grey convention, so there is very little to second-guess.
Assembly runs from the ends inward. You insert the poles into the grommets starting with the grommet furthest from the tent, repeat the process on the opposite side, and finish with a connector that spans both poles. From there you stake the body and pull each corner taut.
The full process takes roughly five to ten minutes, and experience shortens it further. On an ease scale where one is the hardest and ten the easiest, this pitch sits around an eight. Nothing in the sequence is likely to trip you up.
A High-Profile Design That Maximizes Interior Space
The tent sits tall, which translates into usable room inside. That height also means more surface area for wind to catch, and that is the trade-off to understand going in.
Staking out the body is not only a stability measure. Pulling the corners taut also maximizes the interior space, so the effort pays back twice.
Rain Fly, Vents, and Guy Lines
The fly attaches to the poles, and in fair weather you can skip that step. When storms or wind are possible, attaching the fly to the poles is worth the extra minute, and the corner buckles clip in to the corresponding points afterward. Tightening comes last, once the fly is staked at both doors and at the front and back of the tent.
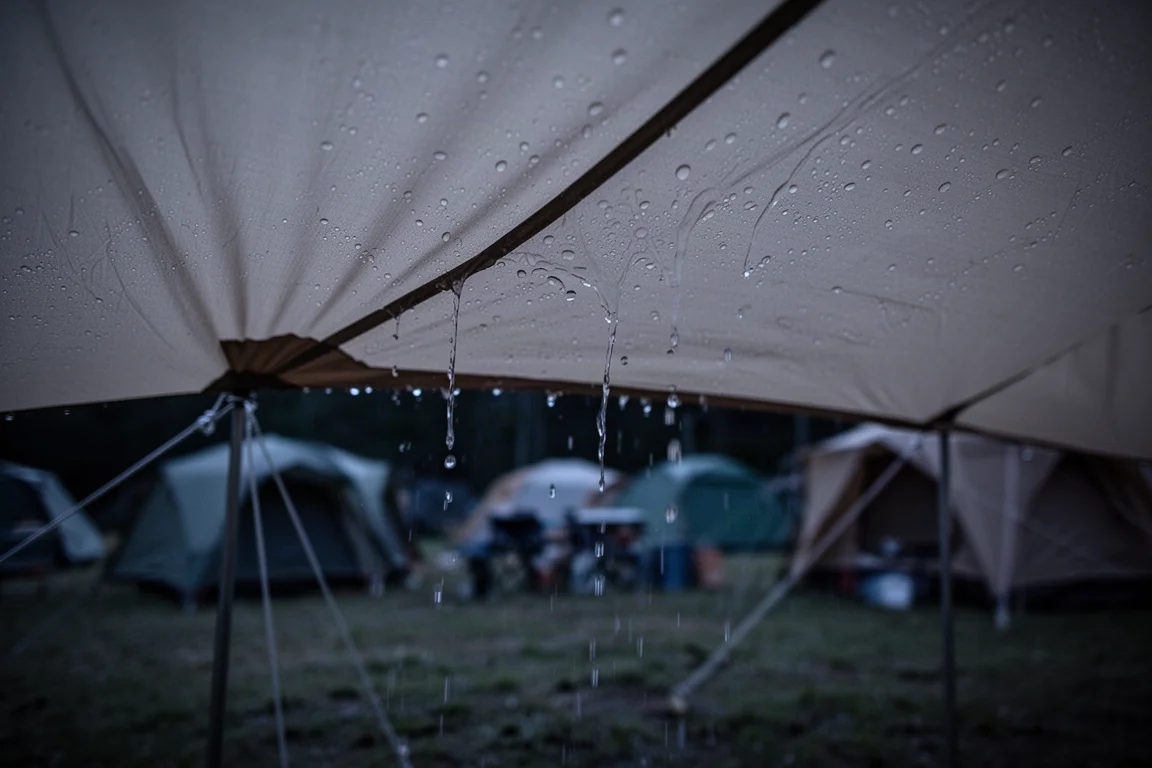
Once the fly is tensioned, the remaining steps are quick: open the vents, tie off the guy lines if conditions call for them, and insert the gear caddy if you want small items off the floor.
Things to Consider Before Buying
The one real caveat concerns the stake-out points, which are non-adjustable. On level ground this is not an issue, and the tent pitches cleanly. On a campsite where the ground is uneven, those fixed points can make it harder to achieve the pitch you want.
The practical fix is to add guy lines to the door stake-out points and especially to the side points. That restores adjustability, improves airflow, and helps you land a better overall setup.
Wind exposure is the second consideration. Because of the higher profile, staking the tent out is recommended rather than optional, particularly in open terrain.
Buying Advice
If you want a two-person backpacking tent that pitches predictably and does not require a new set of skills, this one fits that brief well. The colour-coded poles and fly remove most of the setup friction, and the sequence is short enough that a fast pitch ahead of a storm is realistic.
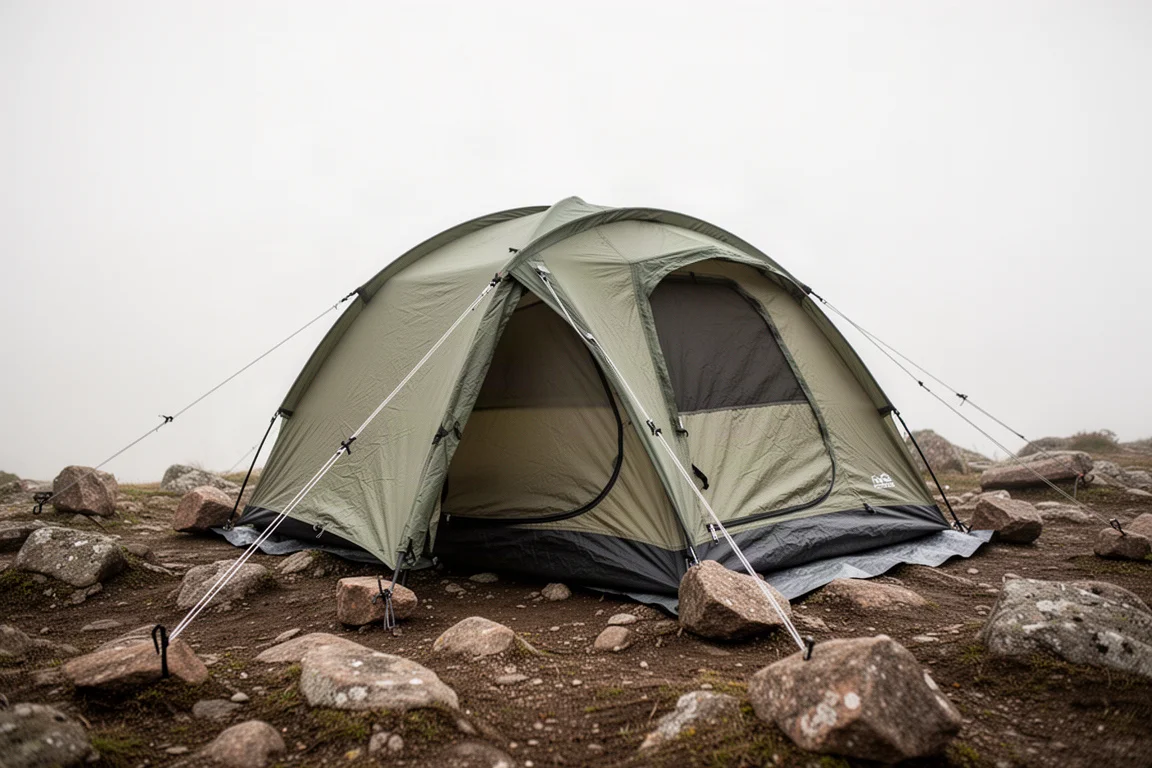
If your camping tends to happen on uneven or rocky ground, plan for a set of guy lines alongside the tent. That single addition addresses the fixed stake-out points and gives you far more control over how the shelter sits. Campers who mostly pitch on level ground can take the tent as it comes and expect a simple, repeatable setup.
Conclusion
The Mountainsmith Morrison 2 earns its popularity by keeping things simple. Colour-coded components, a short pole sequence, and a familiar dome design mean the pitch is rarely the hard part of a trip, and roughly five to ten minutes at camp is a reasonable expectation. Go in knowing that the stake-out points are fixed and that the tall profile wants to be staked, and this is an easy tent to live with.
Product link
View more details for Mountainsmith Morrison 2
This product is mentioned in the review. Check the specifications, options, and compatibility before buying.
View more details for Mountainsmith Morrison 2Further reading
Related Reviews
Backpacking Tents
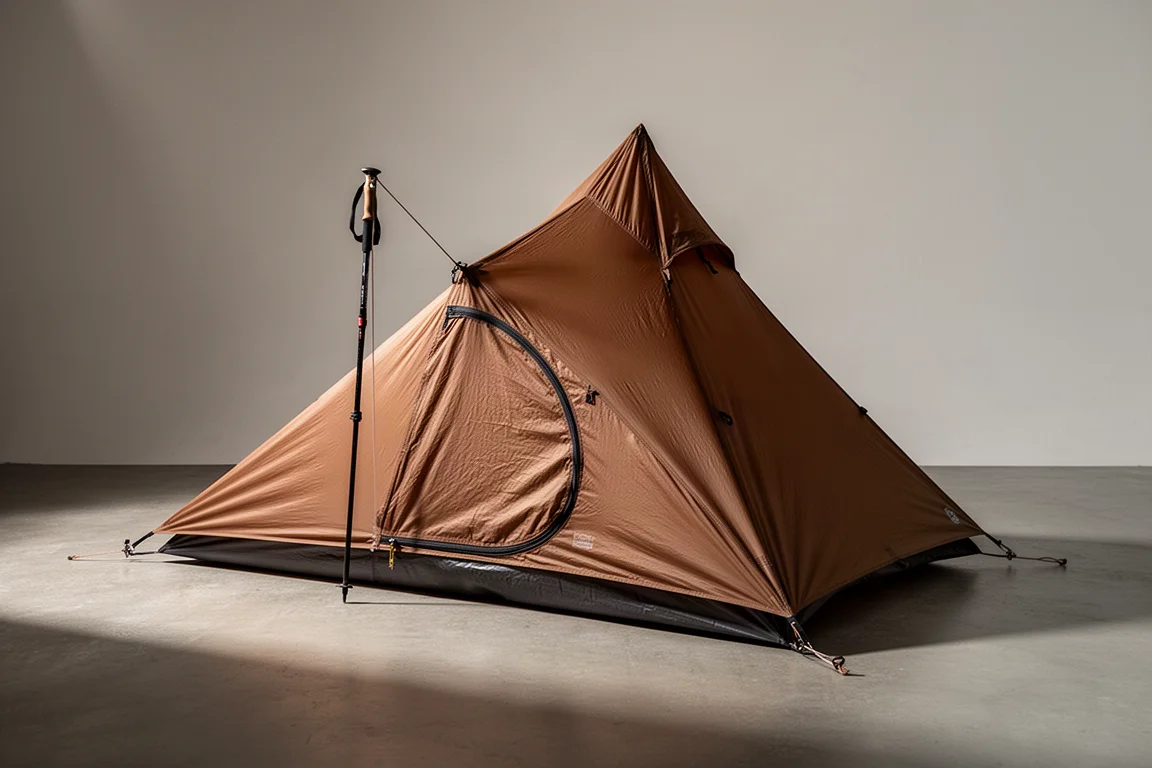
3F UL Lanchan Pro 1 Review: A 1 lb 8 oz Single-Wall Trekking Pole Tent
A practical look at the 3F UL Lanchan Pro 1, a single-wall trekking pole shelter with a 1 lb 8 oz weight, 20D silnylon fabrics, and a roomy 90 x 31 x 49 inch interior.
Backpacking Tents
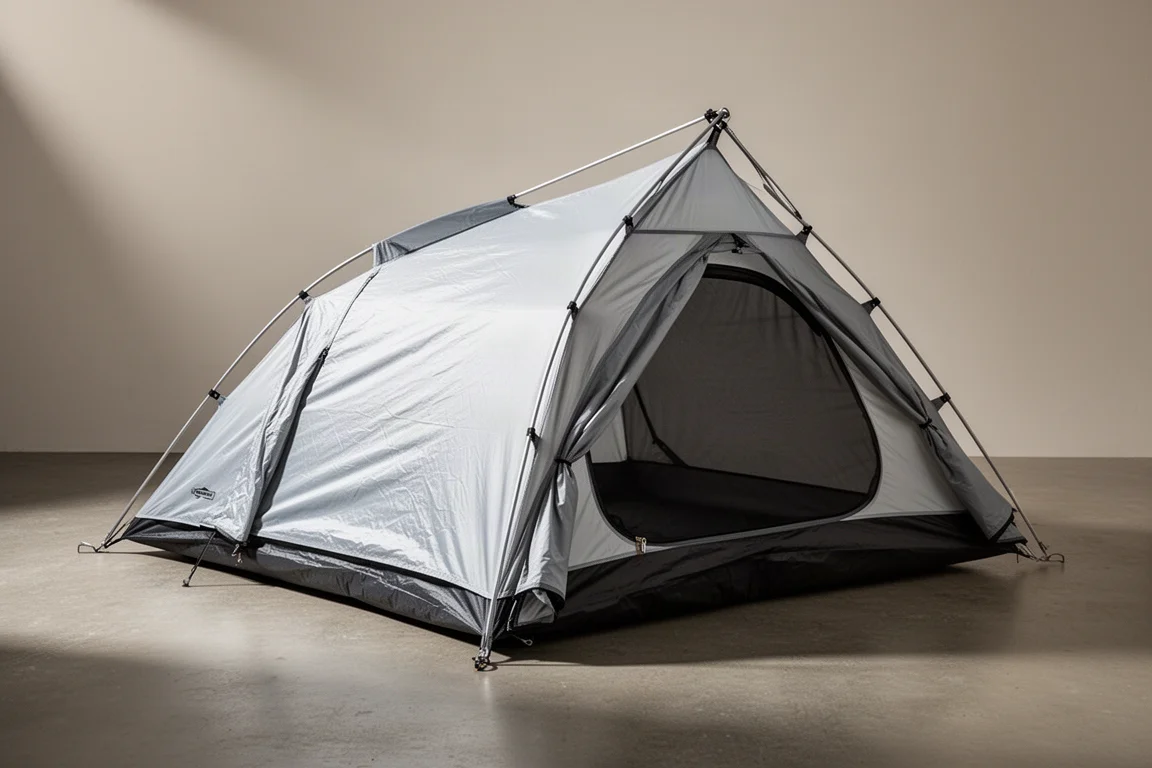
3F UL Taiji 2-Person Tent: A Convertible Backpacking Shelter Worth a Closer Look
A practical look at the 3F UL Taiji two-person tent, covering its materials, true two-person interior, fly-first pitching, and the seasonal inner swap that lets one shelter cover more of the year.
Backpacking Tents
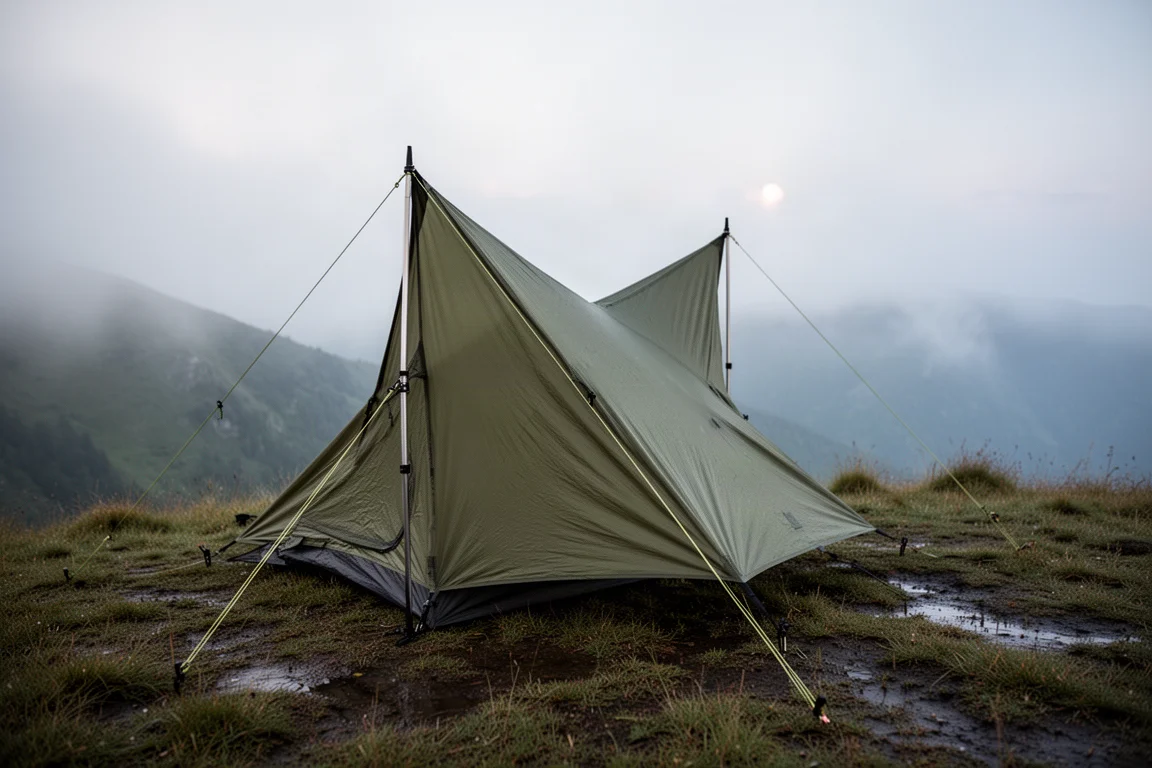
3FUL Lanshan Twoerson Pro Review: A Light Trekking Pole Shelter That Struggled in Rain
A two-person trekking pole shelter with a 2026 redesign, pitched with sticks and put through a night of steady rain. Here is what worked, what did not, and what to check before buying.