Mountain Bike Maintenance
How to Change Mountain Bike Tires Yourself: A Complete Guide
Step-by-step instructions for removing and installing mountain bike tires at home, with tools needed, techniques for breaking the bead, and wheel balancing tips.
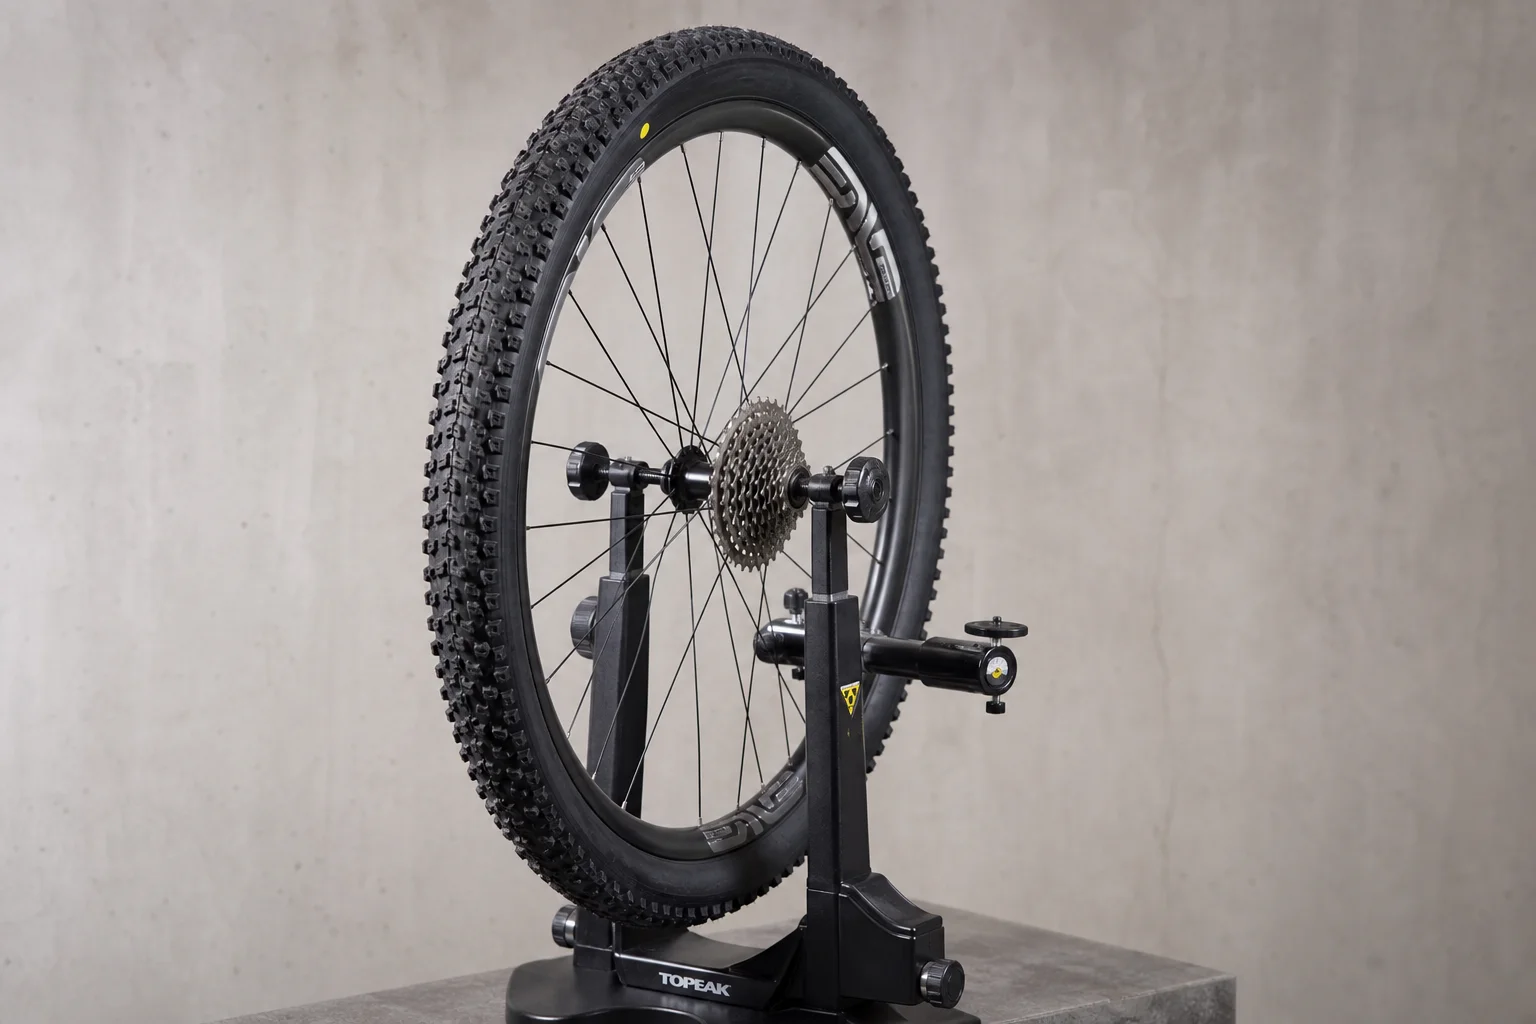
Introduction
Changing mountain bike tires yourself saves significant money over time, especially if you ride multiple bikes or swap tires seasonally. Beyond the cost savings, doing the work yourself builds confidence and proficiency on the trail. With the right tools and technique, the process becomes straightforward and manageable.
Tools You’ll Need
Before starting, gather the essential tools. For wheel removal, you’ll need a torque wrench, hex keys (typically 19 millimeter), sockets (10, 12, and 27 millimeter), and a small socket set. For the actual tire work, keep tire levers, a valve core tool, a 12 millimeter wrench, and soapy water within reach. Wearing gloves makes the job more comfortable, and having a work stand or bucket large enough to support the wheel helps significantly.
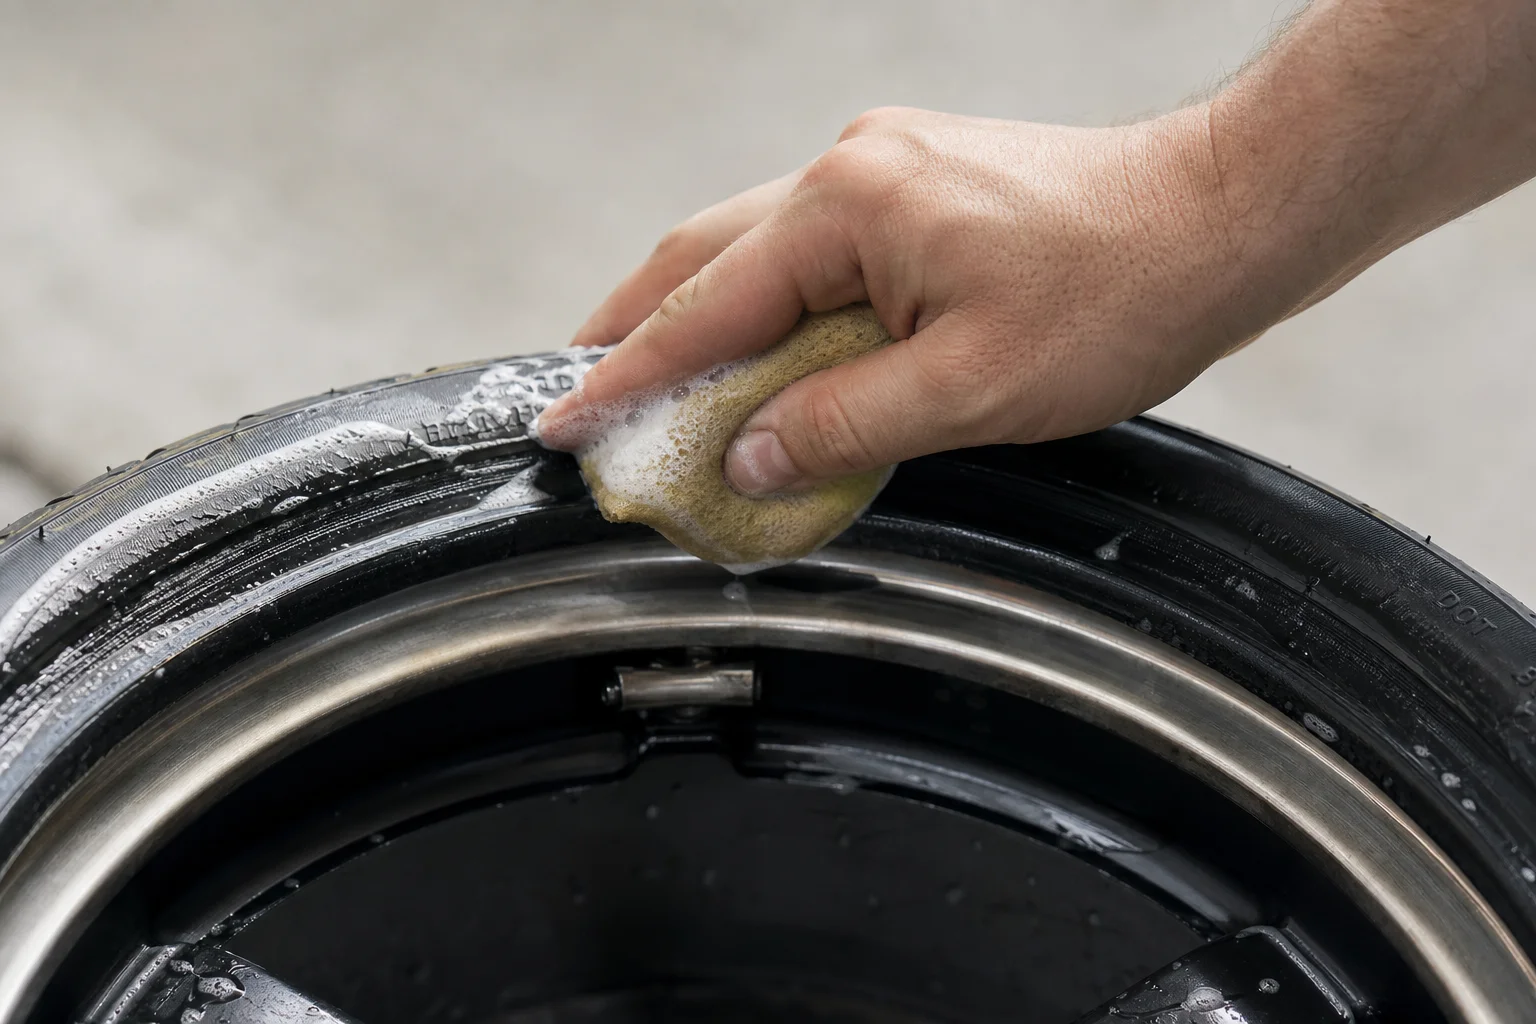
The soapy water serves as a lubricant to help the tire bead slide onto the rim more easily. A small amount goes a long way, and it’s one of the most important aids in the tire-changing process.
Breaking the Bead and Removing the Old Tire
Start by loosening the pinch bolts that grip the axle before removing the wheel. Use a 19 millimeter wrench and keep the tire on the ground to prevent spinning. Once the pinch bolts are loose, remove the wheel from the bike.
With the wheel off, use a valve tool to remove the valve core and its retaining nut. This allows air to escape completely and makes bead breaking easier.
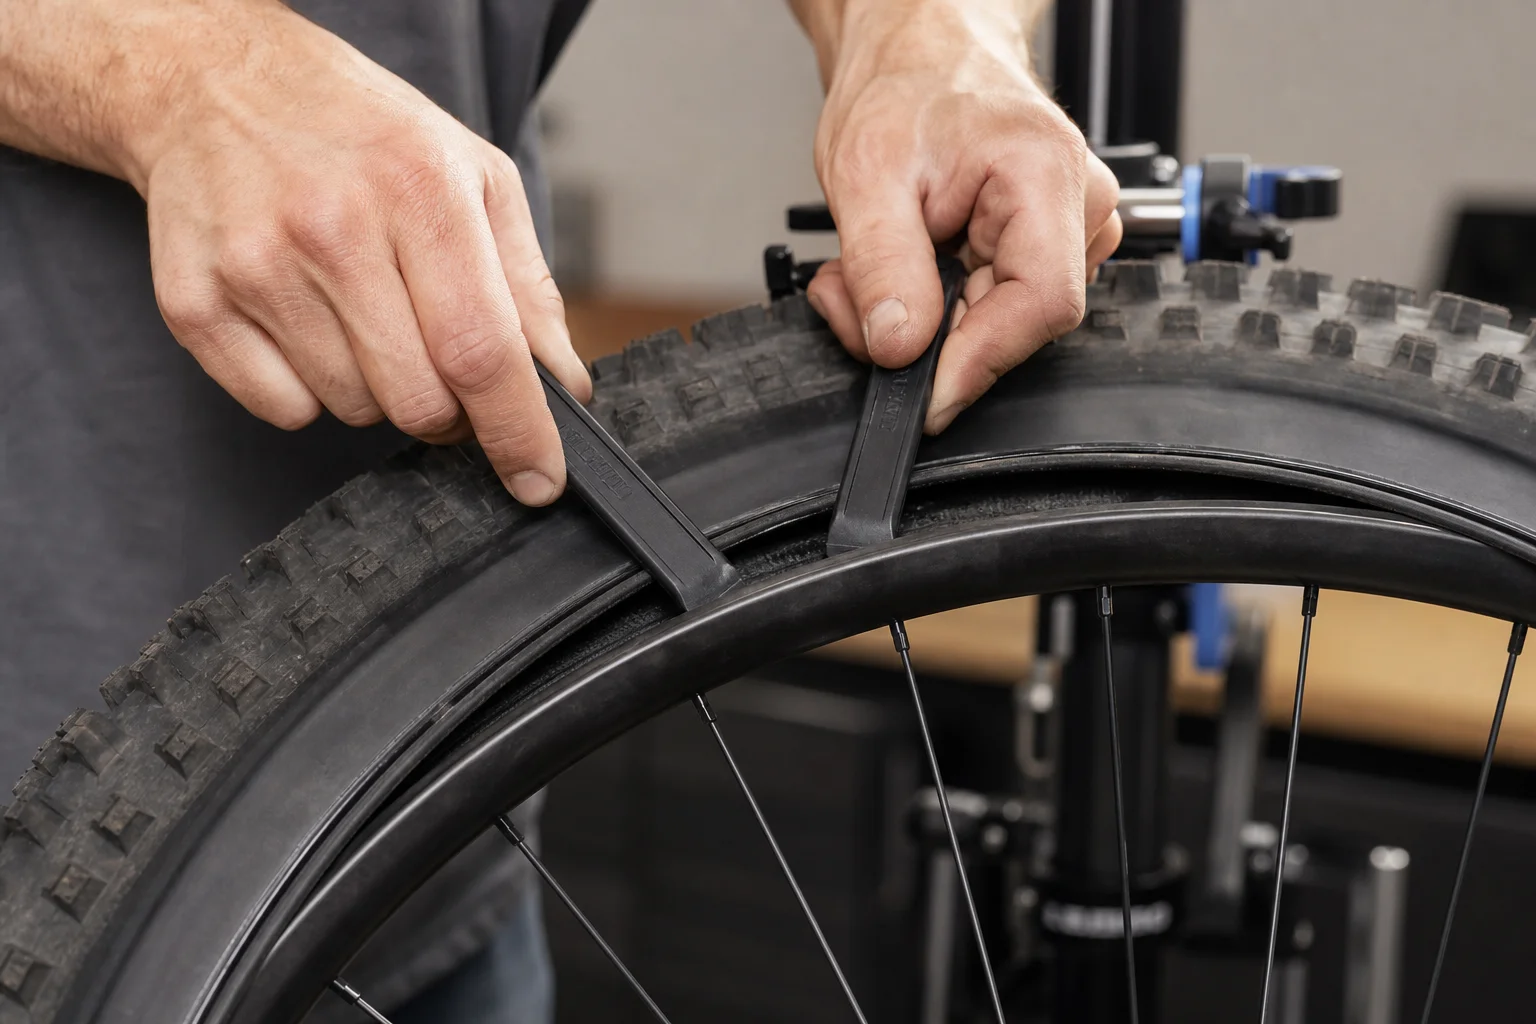
Breaking the bead is the critical first step. Use tire levers to pry the tire bead away from the rim, working slowly with small, deliberate efforts. Point the lever downward, squeeze it in as far as possible, then use a second lever to pry upward. Once you’ve created an initial gap, apply soapy water around the bead to reduce friction.
Continue working the tire off the rim using the levers and soapy water. Once the tire is loose enough, pull it away by hand. Remove the old tube and inspect the rim tape and rim condition before installing the new tire.
Installing the New Tire
Begin by putting a small amount of air into the new tube so it holds its shape. This prevents twisting and pinching during installation. Position the tire on the rim with the directional arrow (if present) pointing in the correct rotation direction, and the yellow dot aligned with the valve hole for balance purposes.
Insert the valve through the rim first, then work the tire bead onto the rim using tire levers and soapy water. Start on the opposite side from the valve and work methodically around the wheel. As you progress, the tire will become easier to seat.
For the final bead, take your time and work slowly. Do not push the lever further up and then straight up, as this risks pinching the tube. Once the tire is fully seated, inflate it to about 3 to 3.5 bar to set the bead properly. Look for a thin line just above the bead that should be visible all around the rim once inflated. This confirms the bead is seated correctly. Deflate to your desired pressure (typically 2.2 bar for trail riding) once the bead is set.
Balancing the Wheel
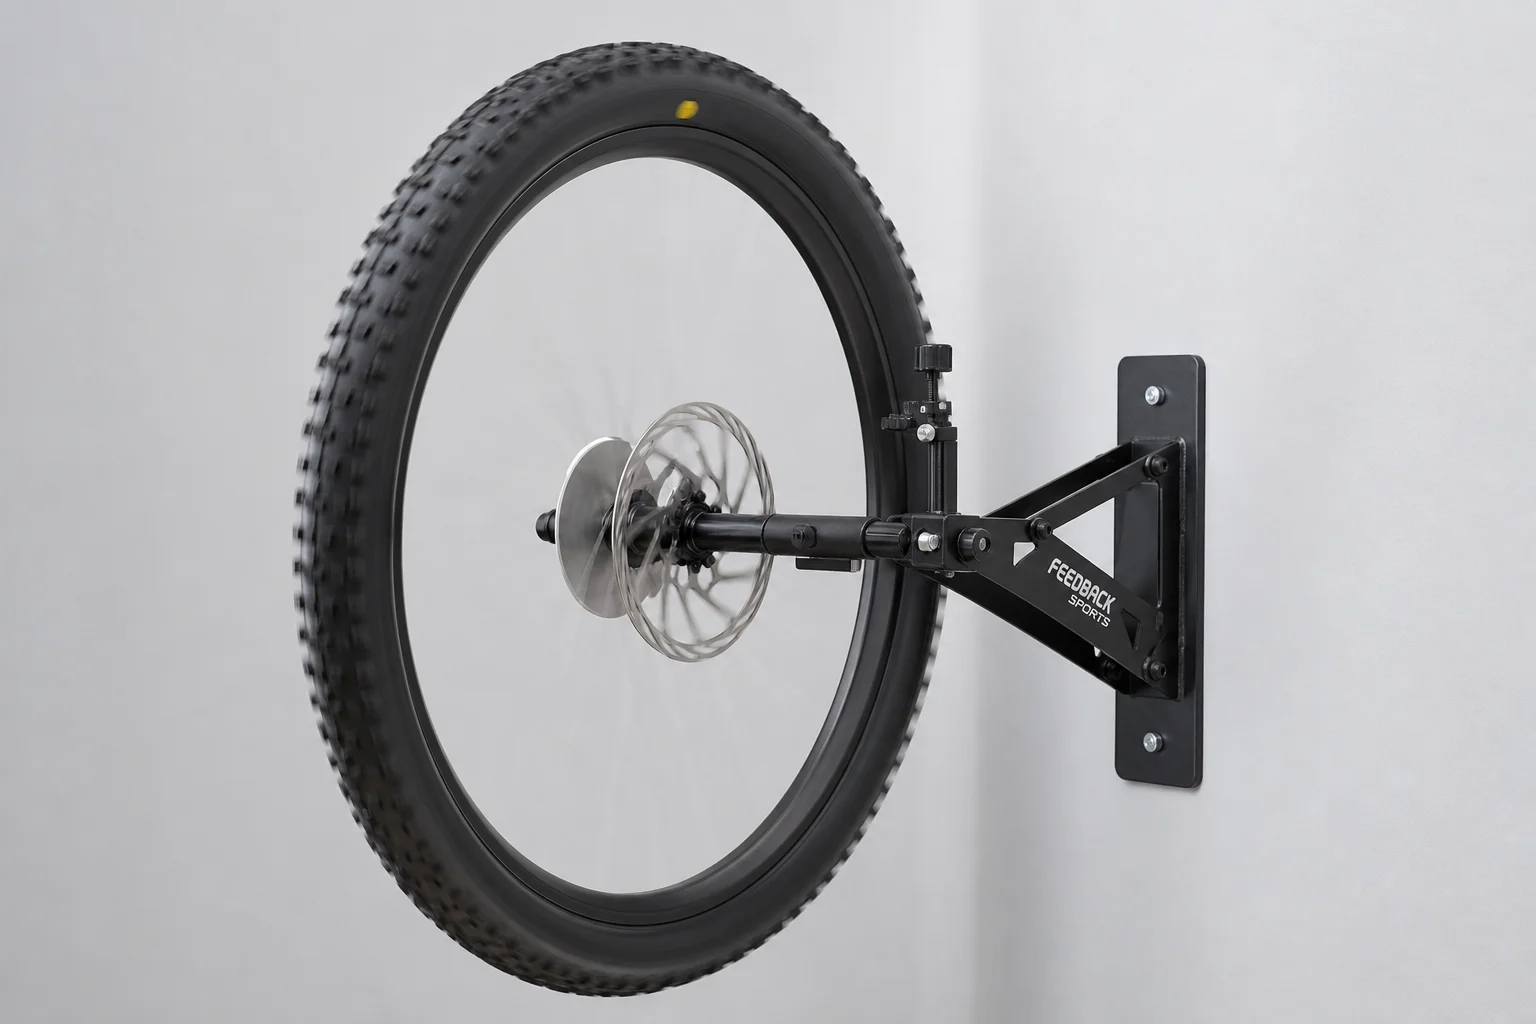
Wheel balancing improves ride quality, particularly at the front wheel where imbalances are felt through the handlebars. A professional wheel balancer makes this task straightforward. Mount the wheel on the balancer, secure it with the axle bolts, and tighten the pressure mechanism to keep it stable.
Release the wheel and let it spin freely. If it rotates unevenly or stops with one side heavier, that’s your heavy point. Add a small lead weight to the opposite side of the rim (typically squeezed onto a spoke) to balance it. For the rear wheel, balancing is less critical due to the wheel’s mass and thickness, so minor imbalances are acceptable.
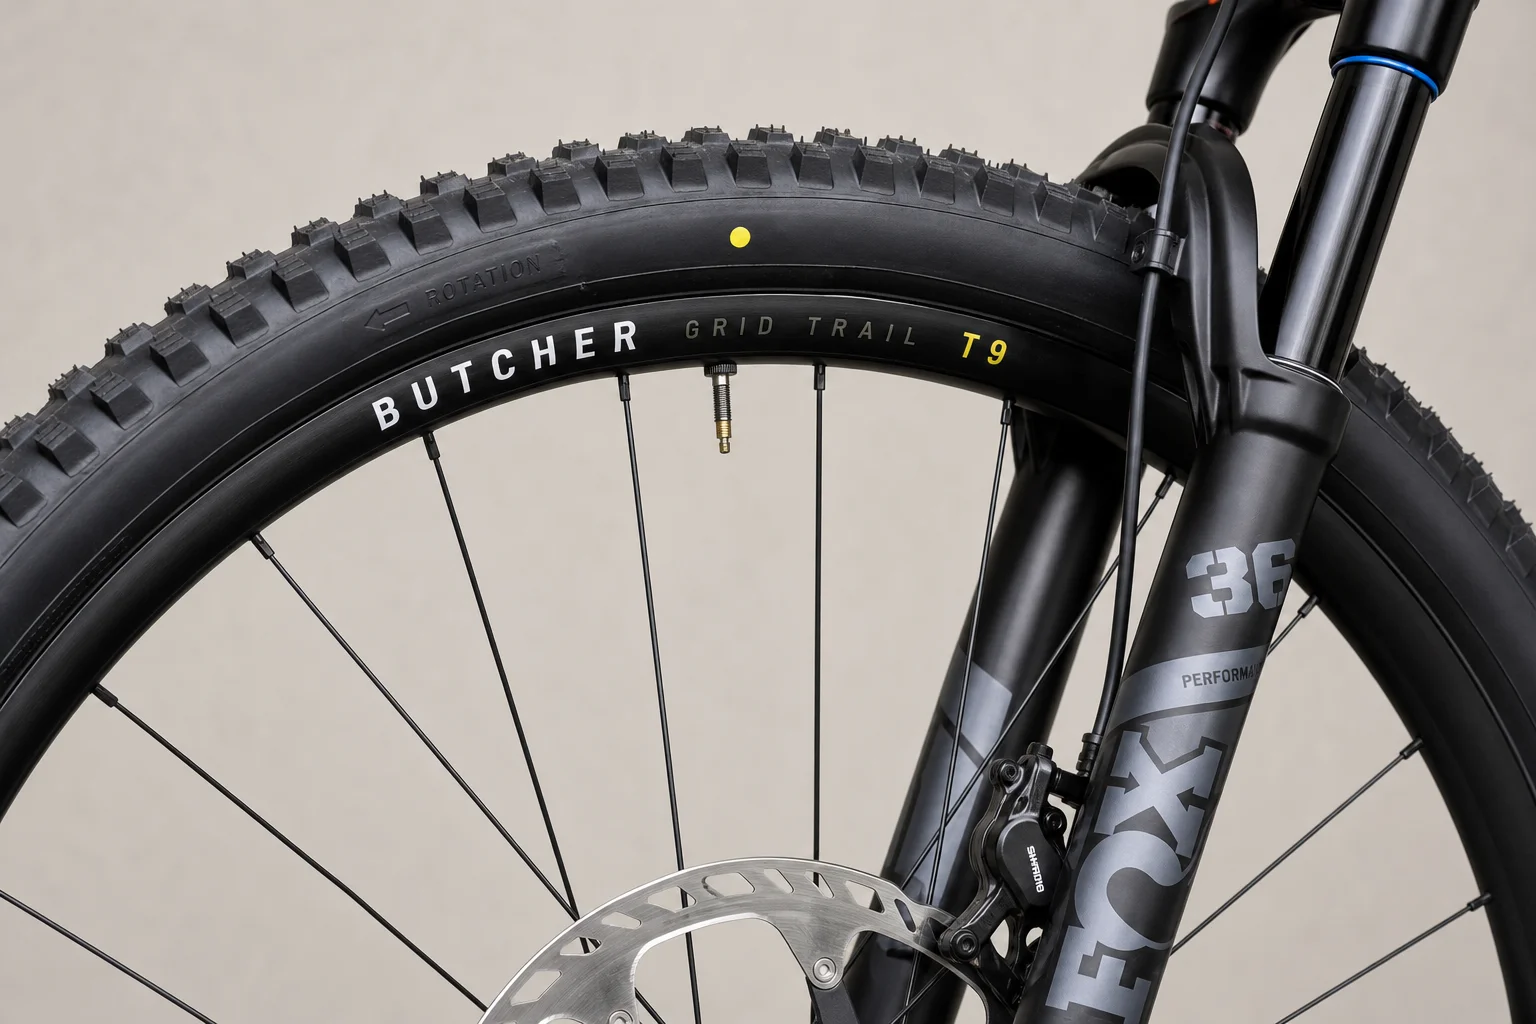
Once balanced, reinstall the wheel on the bike. Ensure the brake caliper is properly aligned and the axle is flush with the dropout. Tighten the axle to the manufacturer’s torque specification (typically 72 newton meters for the main axle bolt), then tighten the pinch bolts to about 20 newton meters or until they provide firm resistance without over-tightening.
Final Assembly and Torque Specifications
After reinstalling the wheel, pump the brake pressure back up and align the brake caliper by gently pushing the bike down on the stand. This ensures the brake is aligned with the rotor without being tightened in a strained position. Tighten the axle bolt to spec, then the pinch bolts, working back and forth to ensure even pressure.
Check that everything is secure and the wheel spins freely without rubbing. The entire process, including balancing, typically takes 1 to 2 hours per wheel, depending on experience.
Conclusion
Changing your own tires saves money and builds valuable skills. With proper technique, the right tools, and patience, the process becomes manageable and even enjoyable. Whether you’re upgrading to a new tread pattern or maintaining your current setup, doing the work yourself gives you confidence in your bike’s condition and a deeper connection to your ride.
Product link
View more details for Mitas Enduro Trail XT+
This product is mentioned in the review. Check the specifications, options, and compatibility before buying.
View more details for Mitas Enduro Trail XT+Further reading
Related Reviews
Automotive Tools
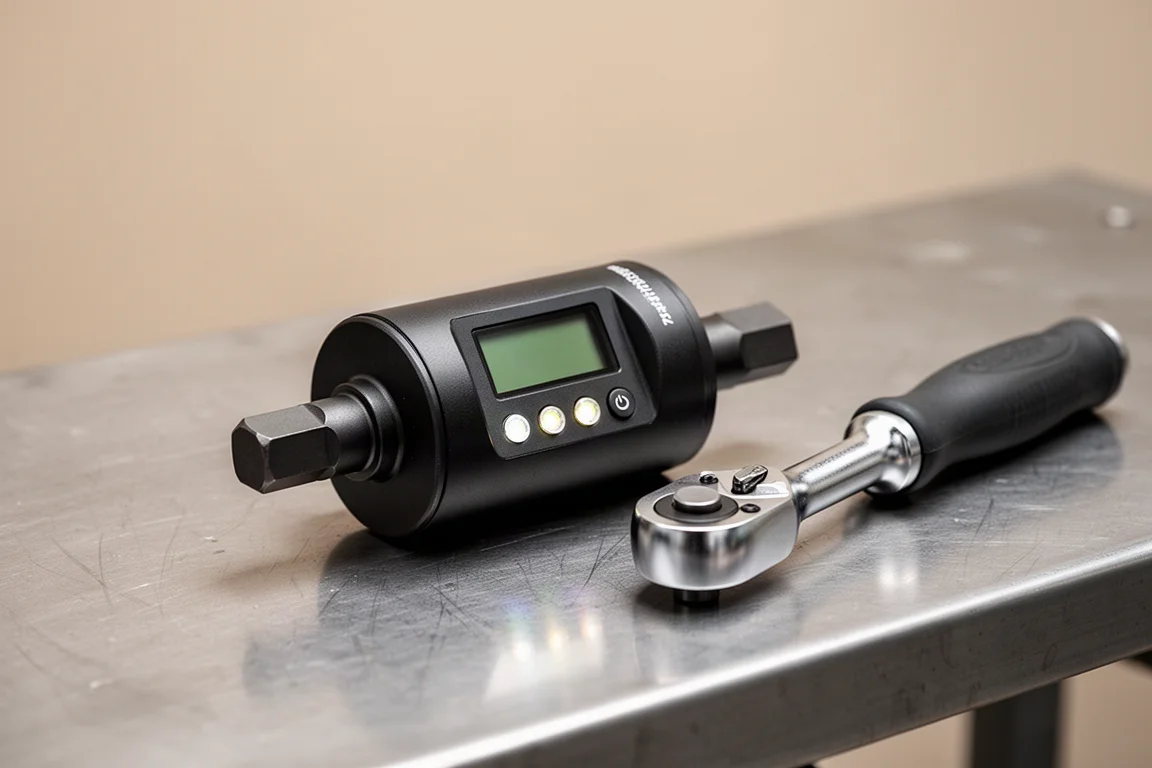
ALAIAL 1/2" Digital Torque Adapter Review: Turn Any Ratchet Into a Precision Tool
A practical look at the ALAIAL 1/2" digital torque adapter, an affordable way to add torque measurement to your existing ratchet.
DIY Tools
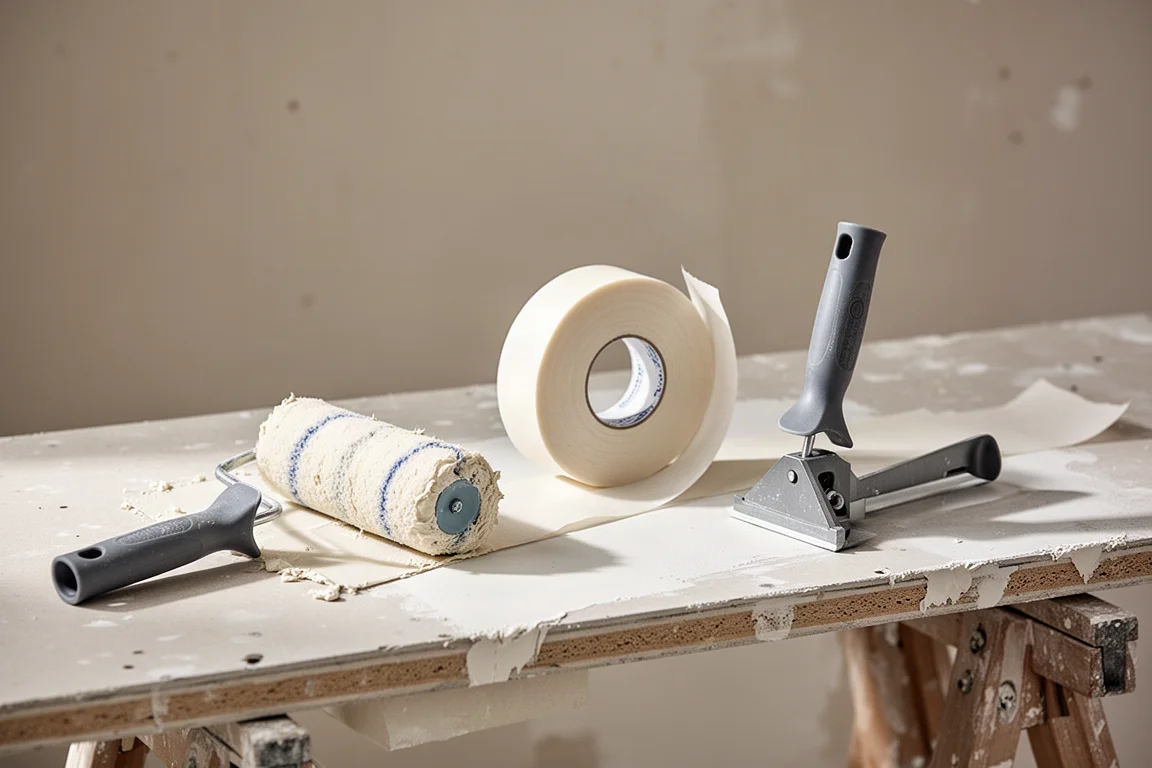
Beginner's Guide to Taping Drywall with Rollers and Corner Tools
A practical walkthrough of drywall taping using rollers and affordable corner tools, designed for first-time DIYers.
FPV Drones
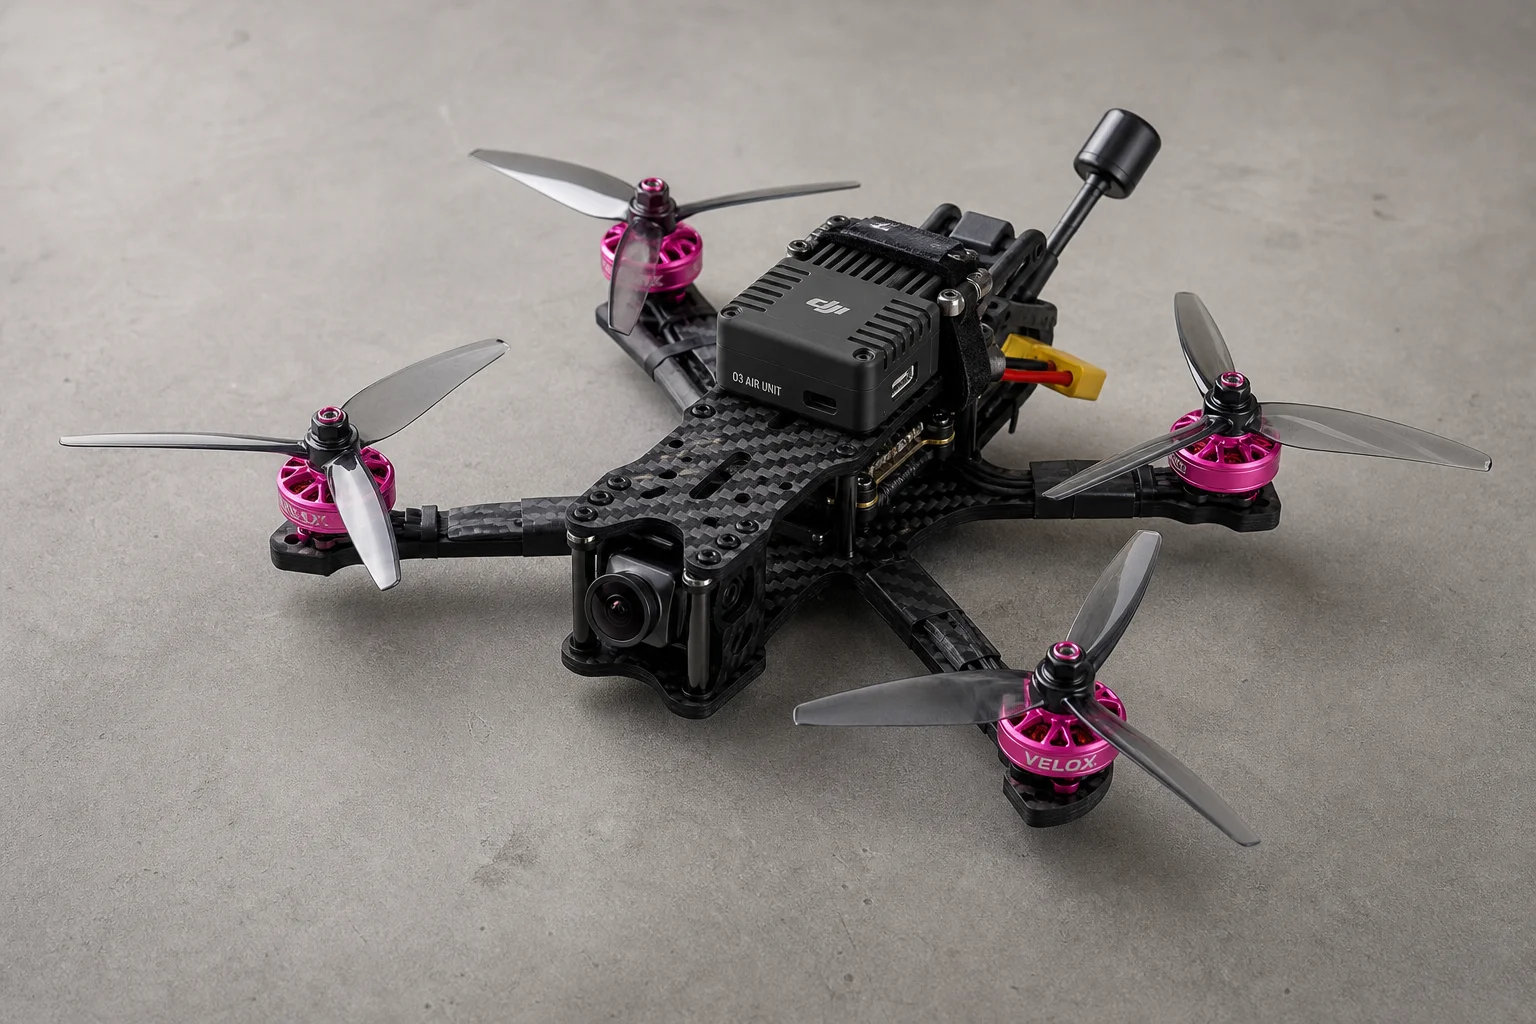
Complete 6S 5-Inch FPV Freestyle Build Guide: Parts, Assembly, and Setup
A step-by-step walkthrough of building a reliable 6S 5-inch FPV freestyle quadcopter with the DJI O3 system, from frame assembly through Betaflight configuration.