Backpacking Water Treatment
Best Backpacking Water Treatment Options: Filters, Drops, UV, and Boiling Compared
A practical look at five trail water treatment options, from squeeze filters and gravity systems to chemical drops and straw filters, plus how to match a method to your hike.
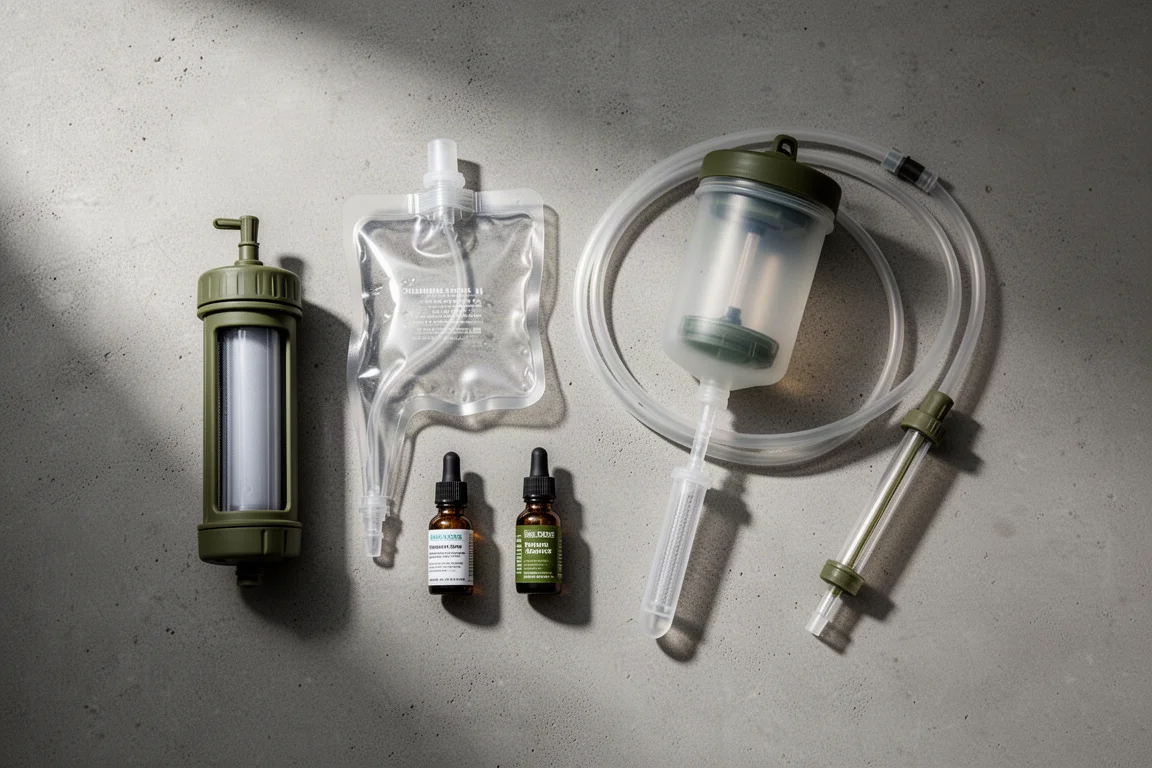
Introduction
Long-distance trails are usually generous with water. On many sections you can expect to pass a source roughly every few miles, and in wetter years the gaps are shorter still. That said, dry stretches happen, and they vary from one season to the next. A ten-mile carry between reliable sources is not unheard of, and when a stretch is unusually dry, word travels fast through shelter logbooks and trail apps.
What is less predictable is water quality. A spring can look clean, flow well, and still carry organisms too small to see with the naked eye. Treating water is ultimately a personal risk decision, but the downside is unpleasant enough that most hikers settle on a method before their first resupply. This guide covers the approaches that show up most often on trail, along with what each one does well and where it falls short.
What to Look For in Trail Water Treatment
Four methods dominate: filtration, chemical treatment, UV light, and boiling. Each one removes or kills different things, and each asks something different of you in weight, time, and maintenance.
Filtration pushes untreated water through a fine porous material that traps bacteria and protozoa. It does not remove viruses, which is rarely a concern on domestic trails but becomes a bigger consideration on international trips. Filters also strip out grit and dirt, leave no chemical aftertaste, and last a long time if you keep them from freezing. The trade-offs are maintenance, since filters need periodic backflushing, and the time a squeeze or pump system can take.
Chemical treatment kills bacteria, protozoa, and viruses, and it packs down to almost nothing. What it cannot do is remove grit, so a silty source stays silty, and many treatments leave a noticeable aftertaste. You also have to wait, typically at least 30 minutes, before the water is ready to drink.
UV light kills all three categories of organisms and is simple to operate, though it works less well in cloudy water, needs batteries, does not remove grit, and treats one bottle at a time. Boiling is the most reliable method of all: a rolling boil for at least five minutes. It is also slow and fuel-hungry, which is why it usually serves as a backup rather than a primary plan.
Sawyer Squeeze: The Squeeze Filter Benchmark
The Sawyer Squeeze is the filter most hikers picture when they picture filtration. It weighs about three ounces and works by forcing water through a fine porous membrane, which captures bacteria and protozoa while leaving grit behind.
It ships with a dirty water bladder, and that bladder is the usual weak point: the bag can eventually split, and the seal can be pushed out if you overtighten the filter onto it. Replacement bags are available, but some hikers simply switch systems instead. One useful detail is that the same filter can be configured to run as a gravity setup, which gets you hands-free filtration without buying a second product.
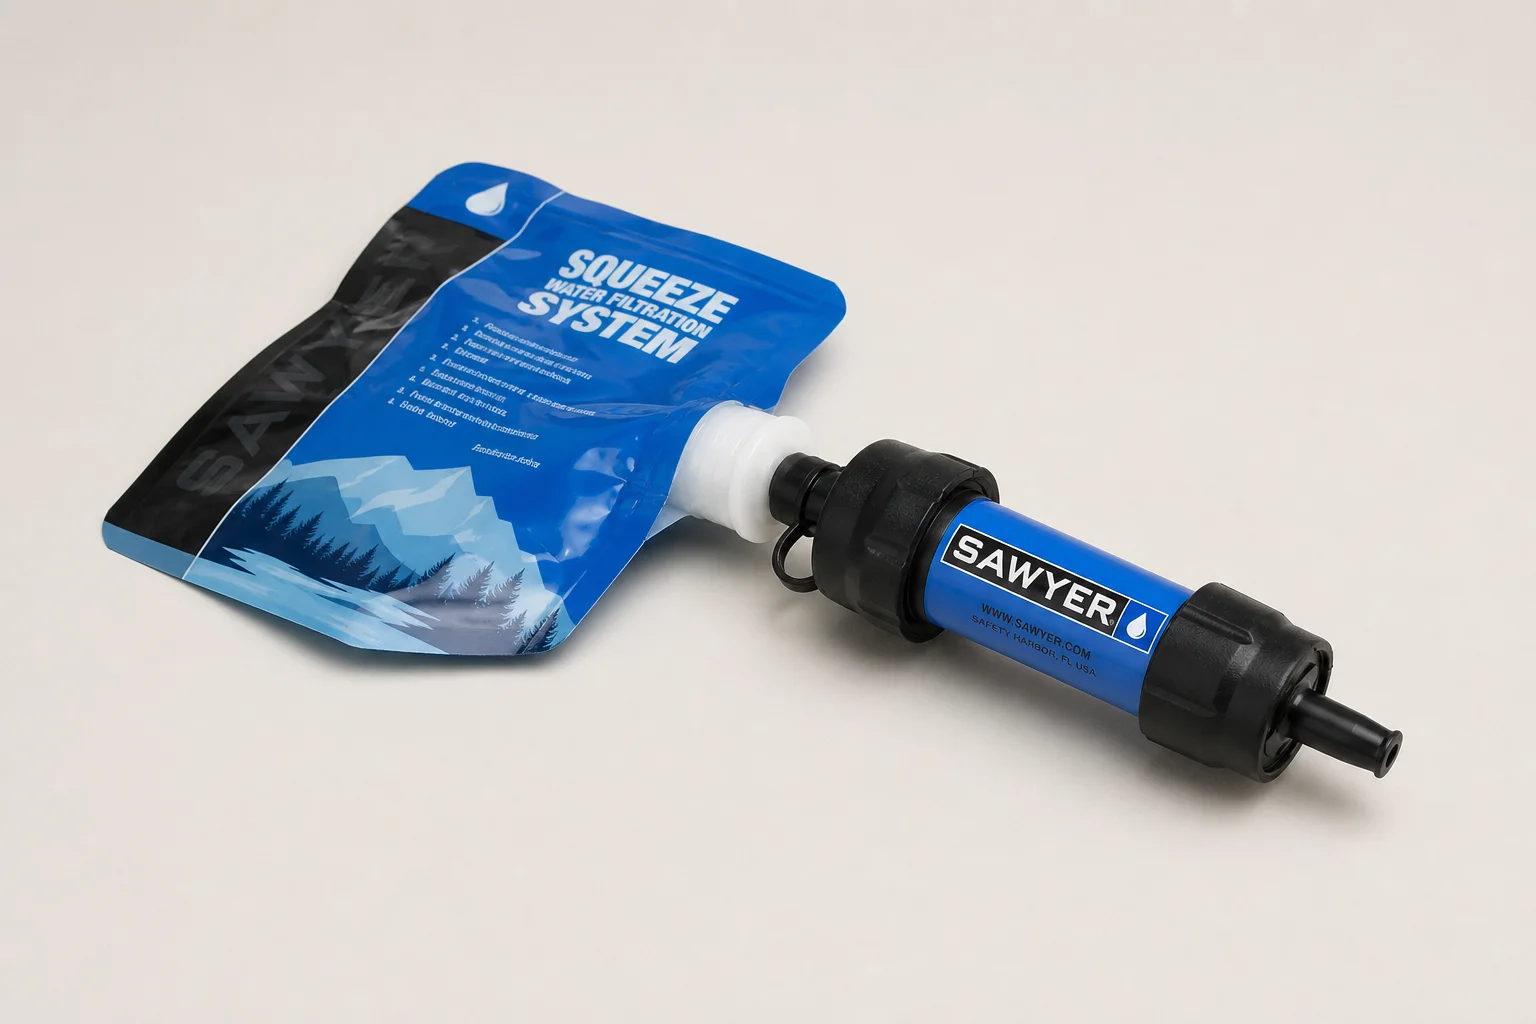
The other reason it stays popular is flexibility. Instead of squeezing batch after batch into a clean bottle, you can screw the filter onto a bottle of untreated water and drink straight through it, filtering as you go. That turns a tedious chore into a single step. Maintenance is a periodic backflush, done with the included syringe or by attaching a sports cap from a clean bottle to the outlet and squeezing. The one hard rule is temperature: a filter that freezes can crack internally and be ruined, so it belongs in your sleeping bag on cold nights.
Platypus GravityWorks: Hands-Free Filtration for Groups
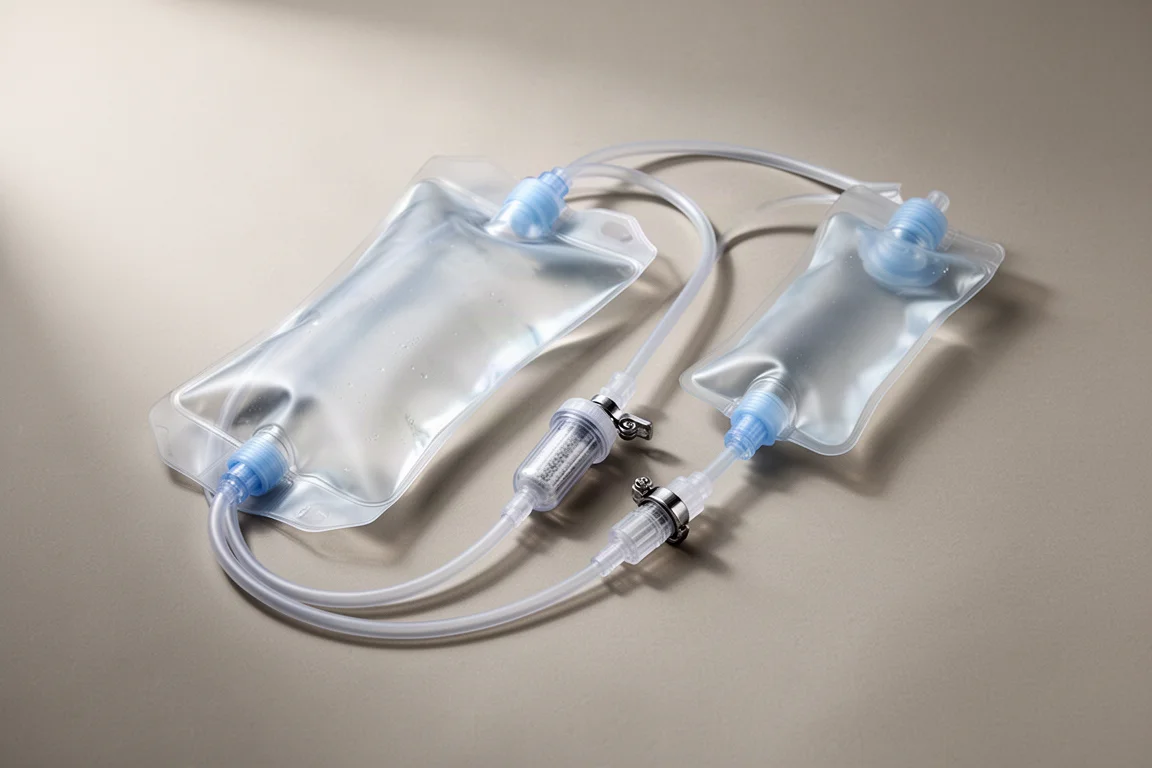
Gravity systems trade weight and money for convenience. The Platypus GravityWorks collects a large volume of untreated water in one bladder and lets gravity push it through the filter into a clean bladder, so nobody has to stand there squeezing.
That makes it a strong choice for larger groups and for families, where a single adult might otherwise end up filtering water for everyone, including children who cannot manage a squeeze filter on their own. The costs are straightforward: it is heavier than a squeeze filter and considerably more expensive, and it takes up more pack space.
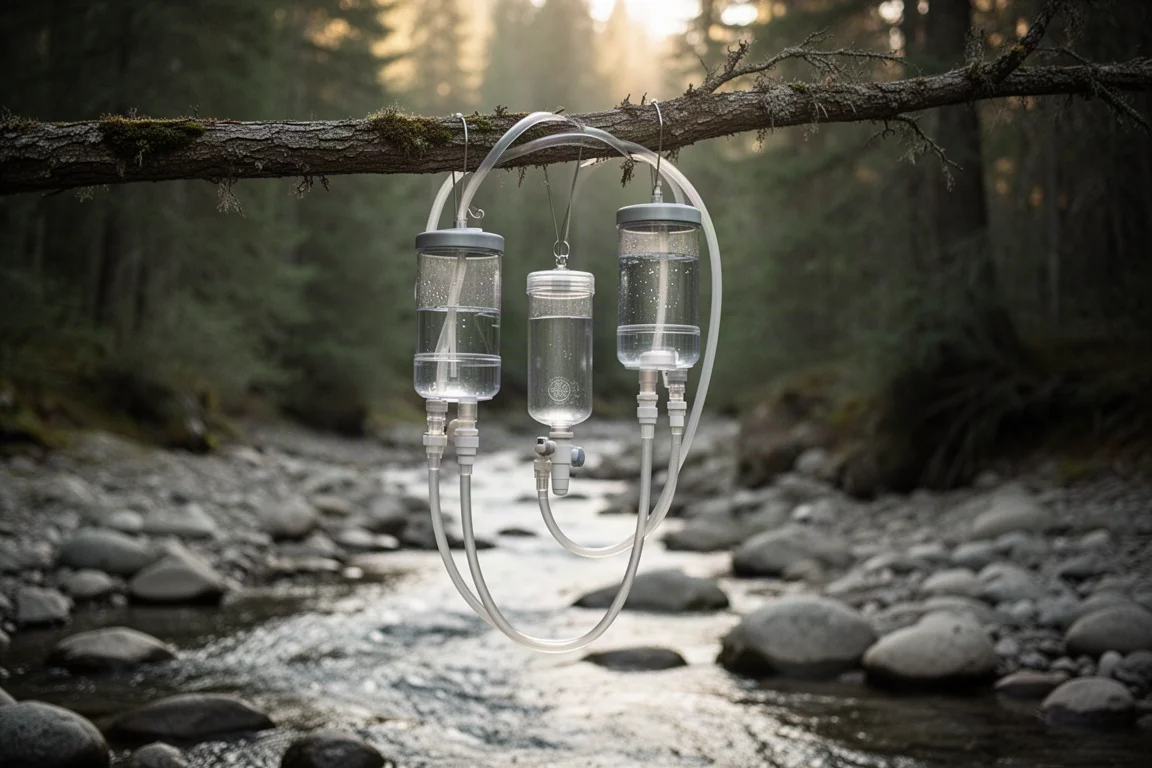
It is worth knowing that a squeeze filter can also be set up as a gravity filter, so if the group is small, that route may cover the same need at a lower weight. Where a dedicated gravity system earns its place is volume and simplicity, especially when several people are filling bottles at the same time.
Aquamira: Compact Chemical Treatment
Chemical drops such as Aquamira are the second most common approach on long trails, and the appeal is obvious: two small bottles take up less space than almost anything else in your pack. Unlike a filter, chemical treatment kills viruses in addition to bacteria and protozoa.
The trade-offs are equally clear. Drops do not remove grit, so a shallow source you stir up while collecting stays gritty unless you pre-filter through a bandana. Many chemical treatments leave a funky aftertaste, and they need time to work, at least 30 minutes before the water is safe to drink. If you arrive at a source already thirsty, that wait is the price of the lighter kit.
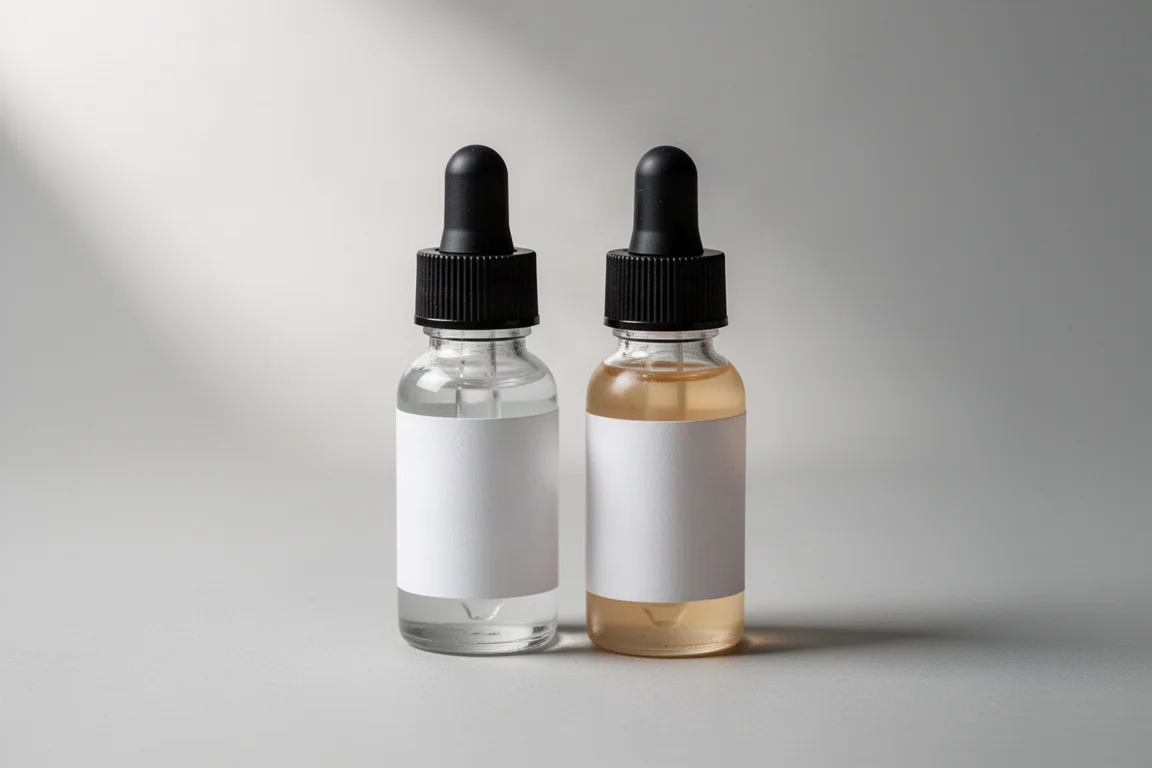
Dosing depends on the product, so follow the instructions on the bottle rather than guessing. Colder water or unusually dirty water may call for a longer wait.
LifeStraw: Personal Filtration for Sipping on the Move
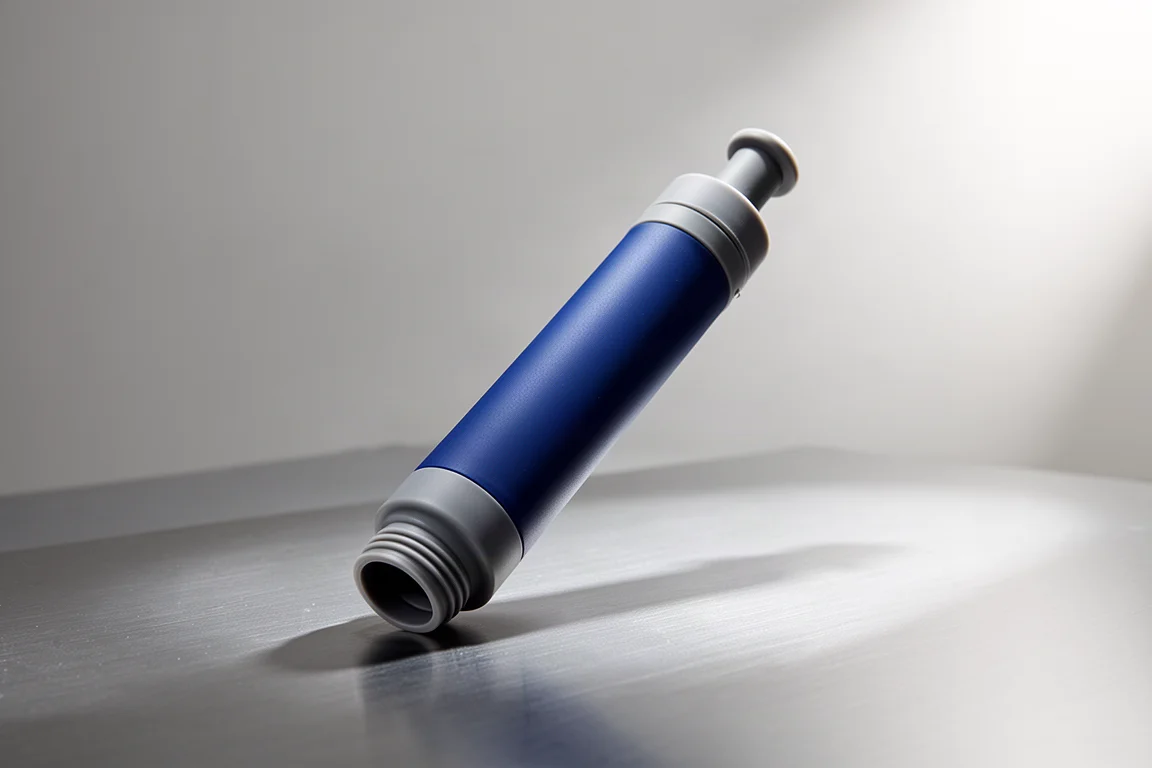
A straw-style filter is a different tool rather than a replacement for a full treatment system. It lets you drink directly from a source as you pass it, which is useful during the hiking day when you want a quick drink without stopping to filter into a bottle.
On its own it will not fill your bottles or cover camp water, so most hikers pair it with a second method. A common pattern is to sip through a straw filter while hiking and then boil water for dinner, which covers both the immediate need and the evening cooking water.
Sawyer Squeeze Mini: Inline Filtration for Hydration Bladders
If you prefer drinking through a hydration tube, the Sawyer Squeeze Mini can be plumbed inline. You cut the hydration hose, attach the bladder side to the dirty side of the filter, and connect the bite valve hose to the clean side. From then on, every sip is filtered as it travels up the tube.
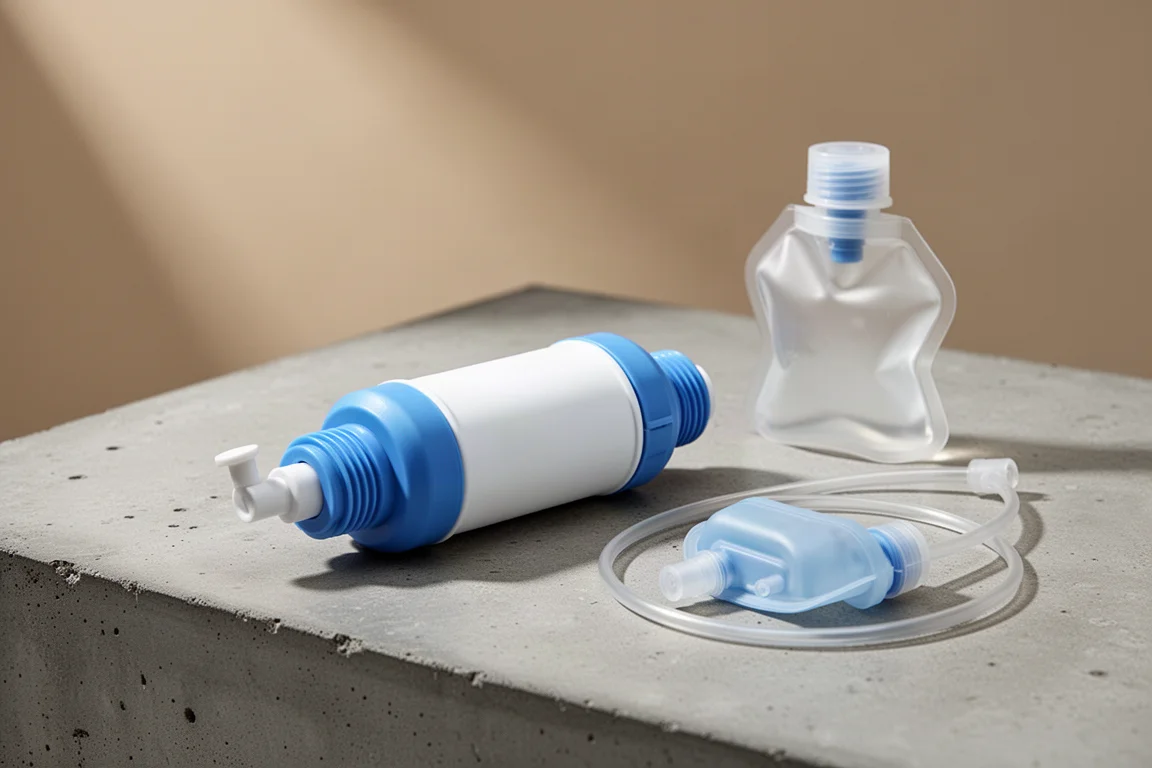
It is an elegant setup for bladder users, with one caveat worth weighing: if the tube works loose from the filter, untreated water can end up inside your pack. The connections generally hold well, but it is the kind of failure that is much worse than a slow filter, so check the fittings when you refill.
Buying Advice: Matching a Method to Your Hike
Start with how you actually hike. A solo hiker covering long days usually lands on a lightweight squeeze filter, either squeezed into a bottle or drunk through directly. Groups, families, and anyone tired of squeezing tend to prefer a gravity system despite the extra weight and cost. Hikers who want the smallest possible kit and do not mind waiting accept chemical drops, and a straw filter works nicely as a supplement for drinking at sources along the way.
Capacity matters as much as the method. One liter of water weighs 2.2 pounds, so carrying four liters adds real weight. A capacity of two to four liters covers most situations, including collecting extra at camp so you do not have to walk back to the source. In practice, most hikers carry around a liter between sources and only load up when a dry stretch is coming.
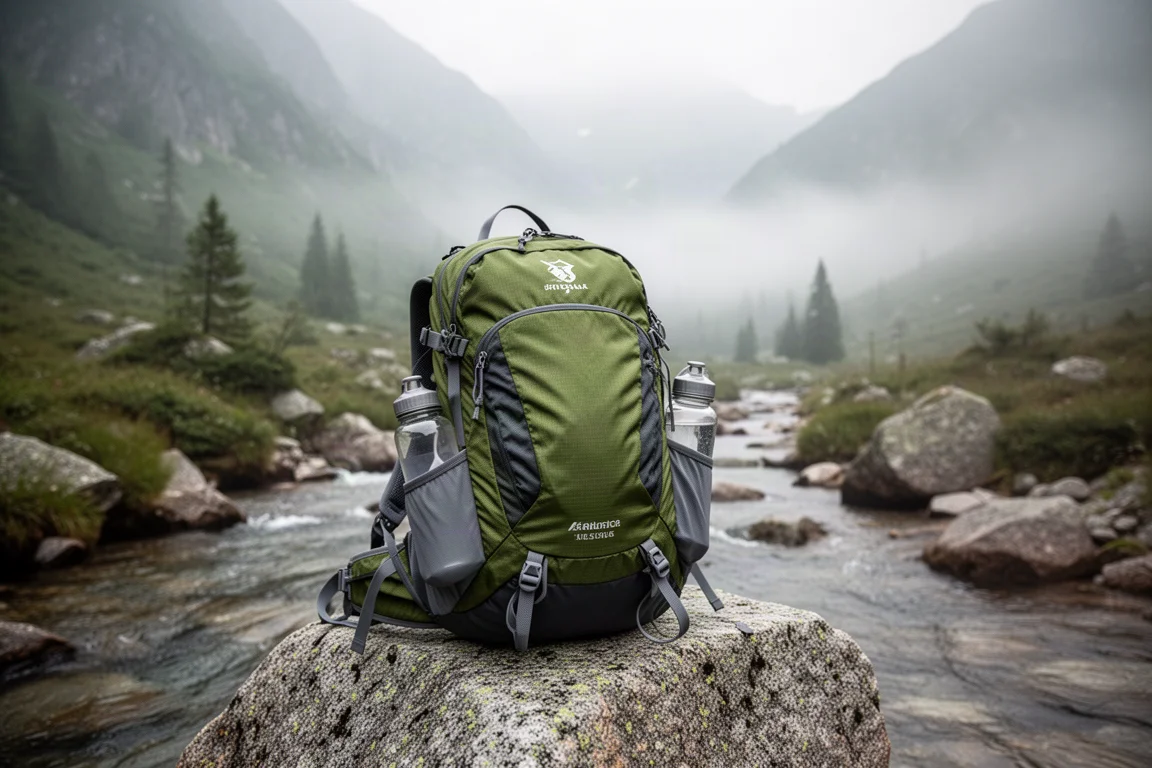
Whatever you choose, keep a backup in mind. Boiling is the fallback that always works, provided you have fuel and time. It also helps to be choosy about sources: running, clear water is a better bet than anything stagnant, and if you spot a dead animal or obvious animal waste nearby, move on to the next option.
One last habit worth building: keep a dedicated clean bottle for drink mixes. Sugary mixes are difficult to clean out of hydration bladders and bite valves, and a bottle that has held untreated water can carry enough contamination to make you sick. Treat first, then mix.
Conclusion
There is no single correct answer here, only the method that fits your hiking style. Filtration covers most hikers with the least fuss, chemical drops cover the lightest possible kit, gravity covers groups, and boiling covers everything as a backup. Pick one primary method, keep a fallback, and treat your water consistently. That is enough to keep a stomach bug from ending a trip early.
Further reading
Related Reviews
Backpacking Water Treatment
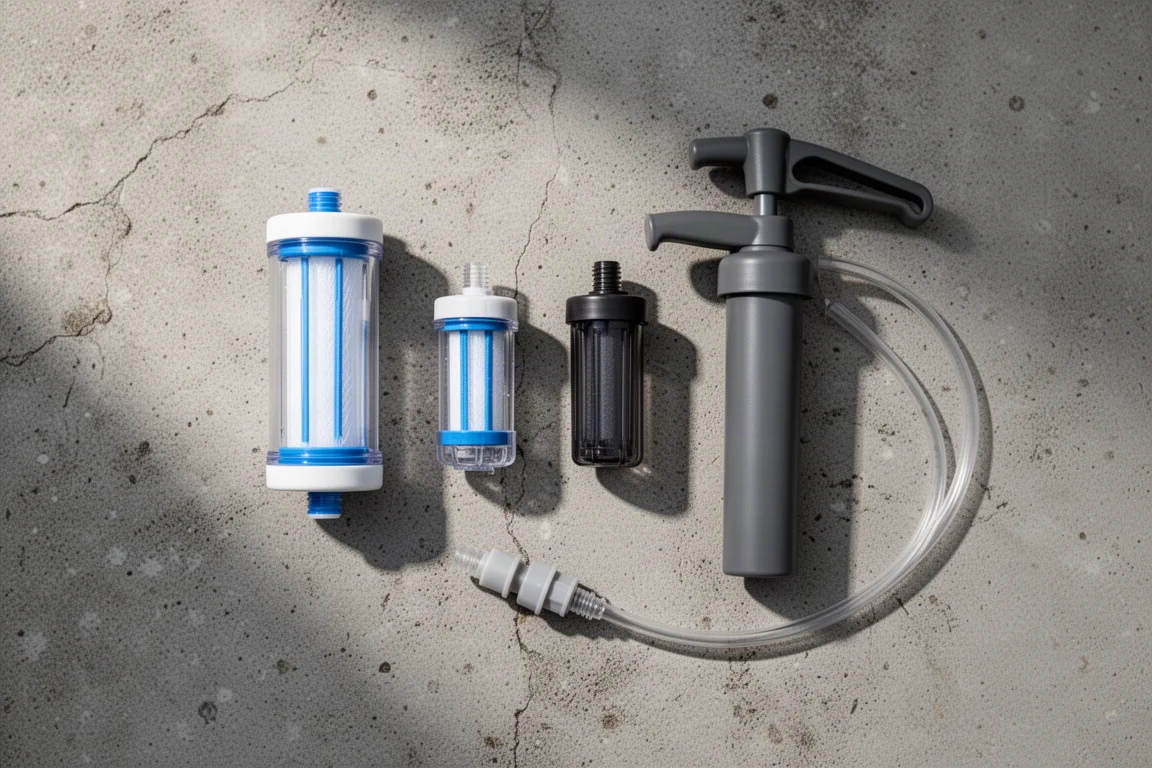
Bladders vs Bottles: Choosing a Backpacking Water Filter That Fits How You Hike
Squeeze or pump, bladder or bottle? A practical look at four water treatment options for backpackers, with real weights, prices, and trade-offs.
Backpacking Water Treatment
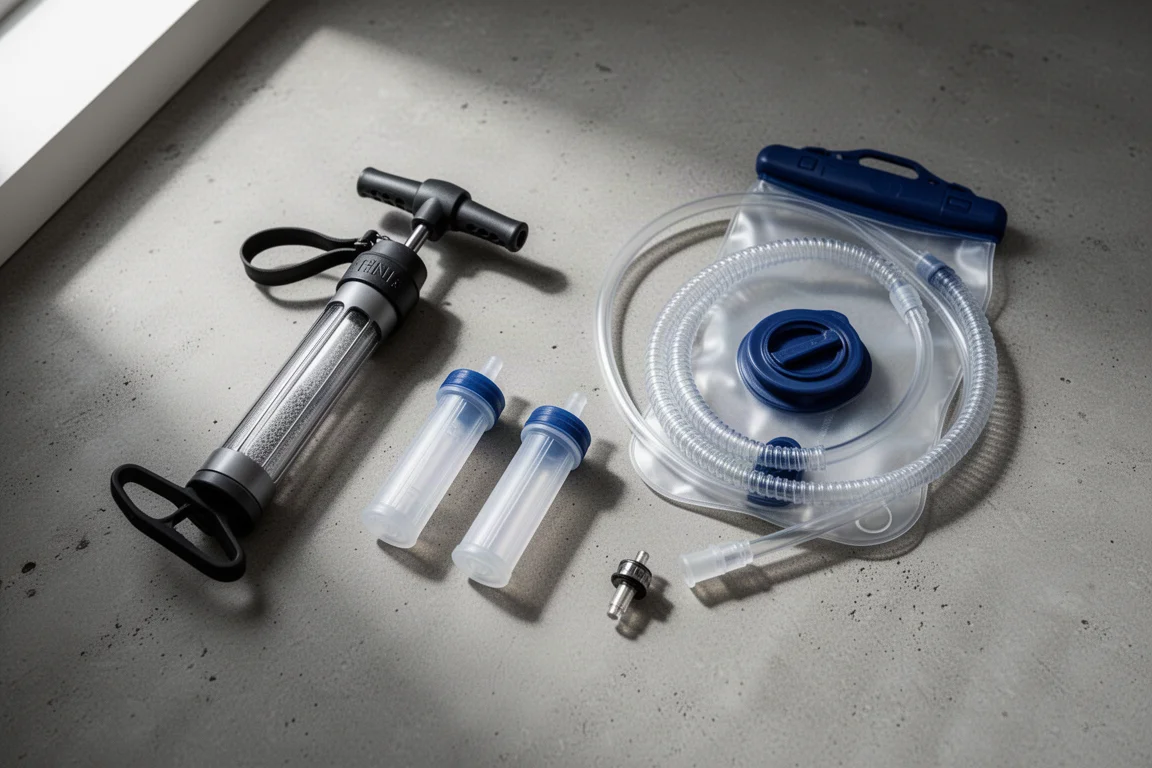
Bladders vs Bottles, Squeeze vs Pump: Choosing a Backpacking Water Filter Setup
A practical comparison of bladder and bottle carry styles, with the Sawyer Squeeze, Sawyer Mini, Katadyn Hiker, and CamelBak Hydrolink.

Backpacking Gear
Building a 10 lb Base Weight: An Ultralight Backpacking Gear List
A practical walkthrough of the ultralight pieces behind a 10 lb base weight, from a 765 g pack and a roomy one-person tent to a full camp chair and a dependable water filter.