Outdoor Gear
Appalachian Trail Gear: 7 Essentials for a Thru-Hike
Seven thru-hiking essentials for the Appalachian Trail, from packs and shelters to water treatment and lighting, with the trade-offs that matter over 2,200 miles.
Introduction
The Appalachian Trail runs roughly 2,200 miles through 14 states, from Springer Mountain in Georgia to Mount Katahdin in Maine. The exact mileage shifts a little each year with reroutes and trail maintenance, but the scale stays the same: months of walking, every day, carrying everything you need.
Because the same gear travels with you the whole way, small decisions add up. A shelter that sags in the rain or a filter that clogs at the wrong moment turns into a daily problem. The seven items below are the ones that most often decide whether a thru-hike feels manageable or miserable, and each one earns its place for a specific reason.
What Matters Most in Thru-Hiking Gear
Weight is the first filter. Base weight, meaning the weight of everything in your pack that does not get consumed, is the number most backpackers use for comparison. Under 20 lb counts as lightweight backpacking, under 10 lb counts as ultralight, and landing somewhere in between is a realistic goal for a first long trail. Nobody has to hit a number to finish, but lighter loads are gentler on joints and easier to carry day after day.
Fit and function come next. A pack should carry its weight on the hips through the hip belt rather than pulling on the shoulders. A shelter should come in at around three pounds or less and be seam sealed before it leaves home. Anything that touches your feet, your sleep, or your water supply deserves more attention than the optional extras.
Durability matters far more than it does on weekend trips. Gear on a thru-hike has to survive 2,000-plus miles of daily use, which is why a well-made item that lasts usually beats a cheaper one that has to be replaced somewhere in Virginia.
Osprey Aether AG 50: A Pack Sized for Long Distances
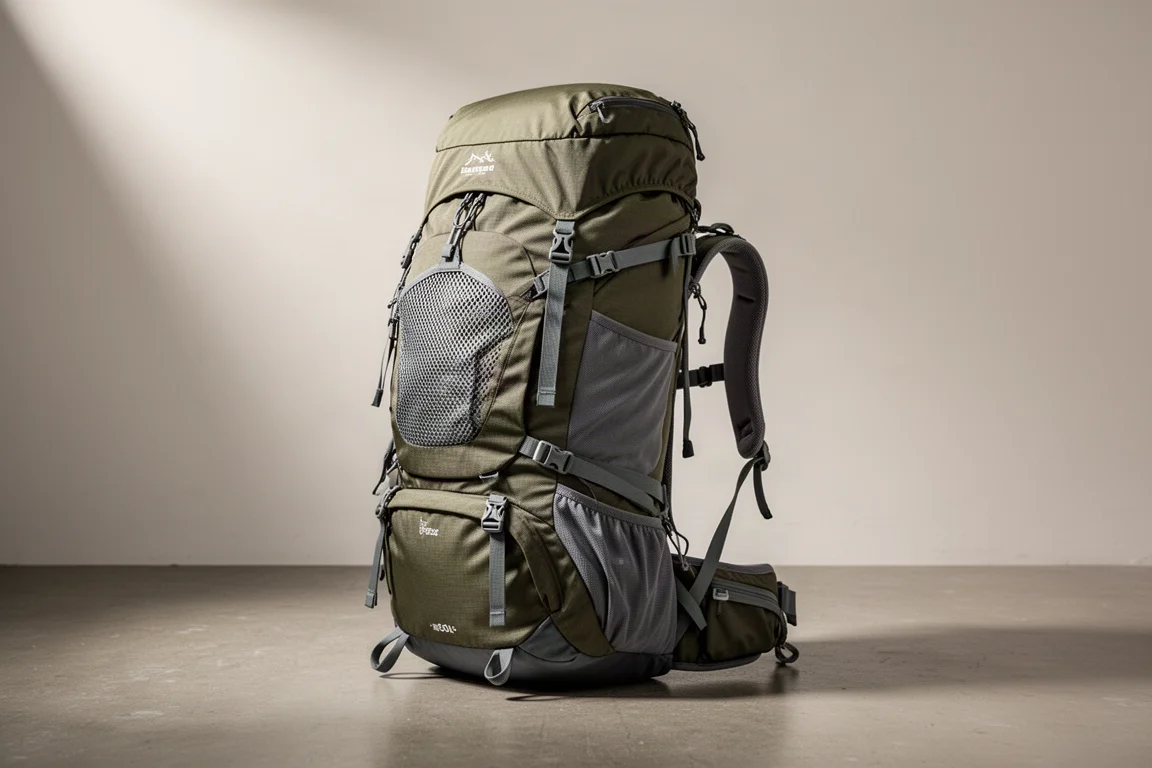
Pack volume is the starting point. Most thru-hikers on the Appalachian Trail carry packs between 50 and 65 liters, and 50 liters is enough when the rest of the kit is dialed in. Extra volume has a way of filling up with gear you never use, and food carries on this trail are usually only three to five days because town stops come often.
Fit is what makes a pack work. The weight should ride on the hips through a wide, sturdy hip belt so the load travels down through the legs instead of hanging off the shoulders. The hip belt should also have room to cinch tighter later, since long-distance hikers often lose inches along the way. A pack that feels uncomfortable in the living room rarely becomes comfortable on a mountain.
The Osprey Aether AG 50 is a 50-liter pack that carried a complete thru-hike kit, with a pack weight in the roughly 3 to 4 lb range. Heavier packs generally carry a load better than the lightest options because they keep more suspension and stability, so that trade-off is worth understanding before you choose.
Zpacks Duplex: A Trekking Pole Shelter That Stays Taut
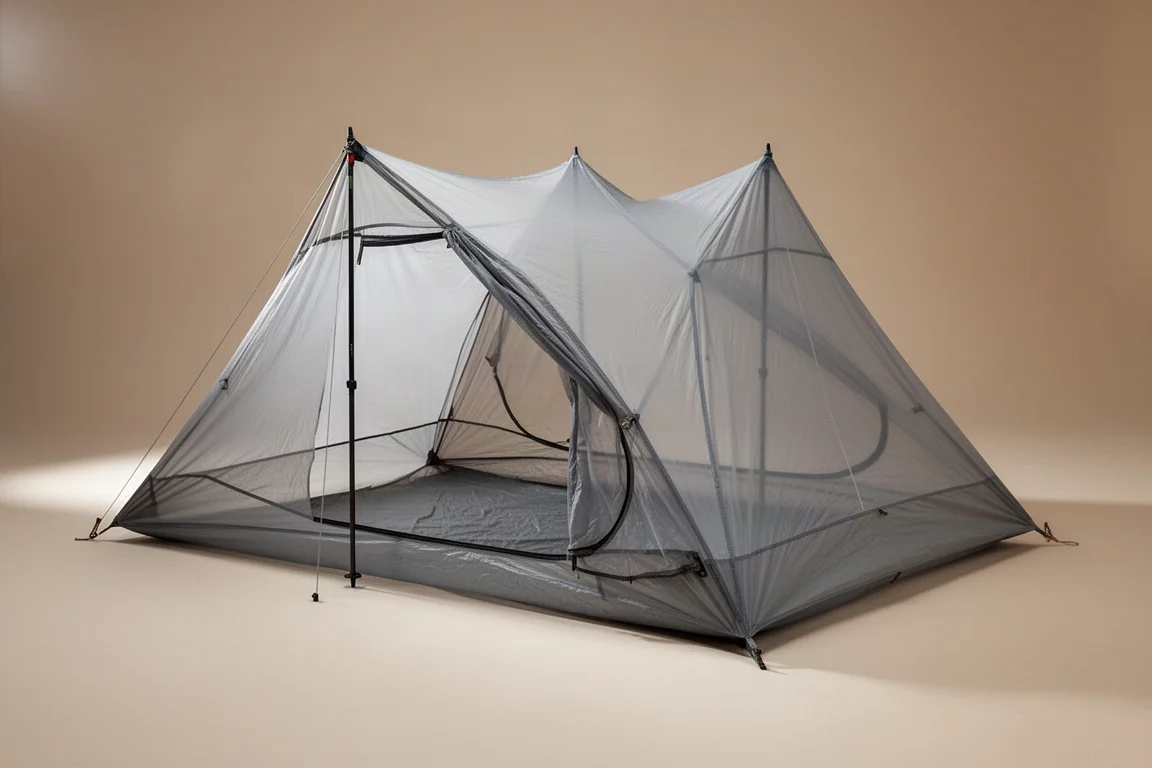
Trekking pole shelters have moved from a niche choice to a common one. They use the poles you already carry instead of a dedicated set of tent poles, which saves weight, and after a few setups the process becomes routine. This is the lightest shelter category, though it asks for a little more skill than a freestanding tent.
Fabric choice shapes how a shelter behaves in wet weather. Nylon is light and durable but stretches and absorbs some water, which is why a tent can look taut at night and saggy by morning. DCF, short for Dyneema Composite Fabrics and formerly known as Cuben Fiber, is lighter, does not sag, and does not soak up rain. It costs more, and that is the main reason nylon shelters still exist.
The Zpacks Duplex has been the most popular shelter model on the Appalachian Trail for several years. It is a single wall trekking pole design at around 19 oz, built from DCF, seam taped at the factory, and made with a floor that does not need an extra ground cloth. Its single wall construction also includes a design that lets condensation drain away rather than pool inside.
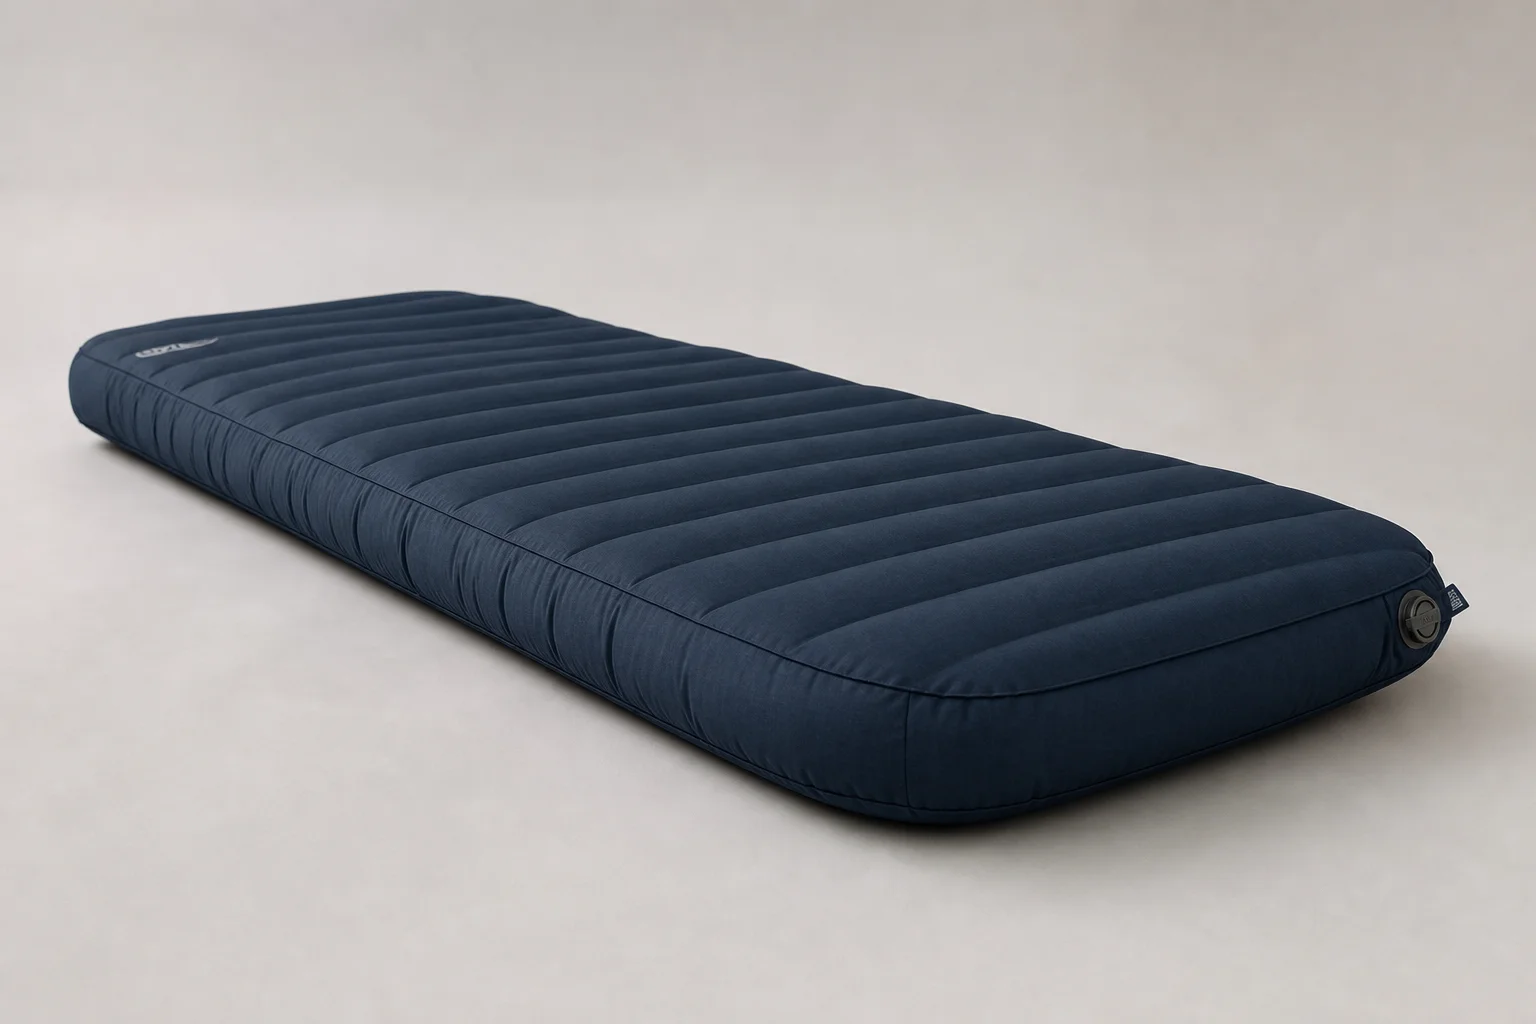
Therm-a-Rest NeoAir XLite: Insulation and Comfort Underneath
A sleeping pad does two jobs: cushioning and insulation from cold ground. Closed cell foam pads are cheap and nearly indestructible, and they double as a seat or a lunch mat, but they are bulky and less comfortable for side sleepers. Inflatable pads cost more and vary widely, from budget options under $50 to high end models over $200, and the cheapest inflatables are often heavier than foam.
R value describes how well a pad resists heat loss. For three season backpacking, an R value of at least 2 is the usual recommendation, while winter use calls for around 5. Thickness matters too, since a thin pad lets hips and shoulders find the ground. Inflatable pads can also sound crinkly when you move, which is a fair trade-off for the comfort they add.
The Therm-a-Rest NeoAir XLite is an inflatable pad that stayed in use for years after a first long trail. It comes with a patch kit, and field repairs on inflatable pads can hold for the rest of a thru-hike when they are done properly.
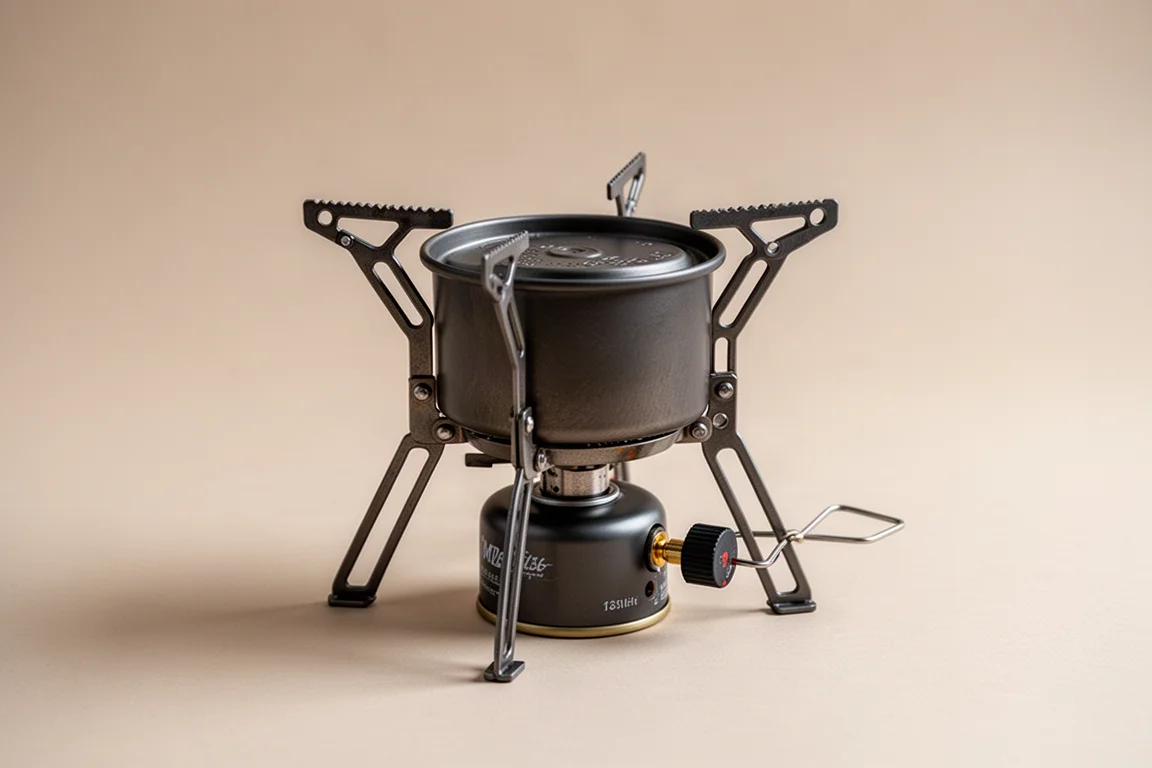
MSR PocketRocket: A Canister Stove With Flame Control
Canister stoves are the most common choice on the Appalachian Trail, and the reason is practical: fuel canisters are easy to find in trail towns for around $5 to $7 each. The stove screws directly onto the top of the canister and pushes a valve inside, so there is nothing to pour and no mess to manage.
The valve also allows flame adjustment, which matters if you want to simmer rather than only boil. The trade-offs are that you cannot see how much fuel remains, so you learn to judge by weight and by shaking the canister, and the stacked stove and canister setup can be top heavy under a full pot. A small canister is enough for roughly a week of morning coffee and evening dinners.
The MSR PocketRocket is the canister stove used on a full thru-hike, and current versions are lighter and more compact than the model it replaced.
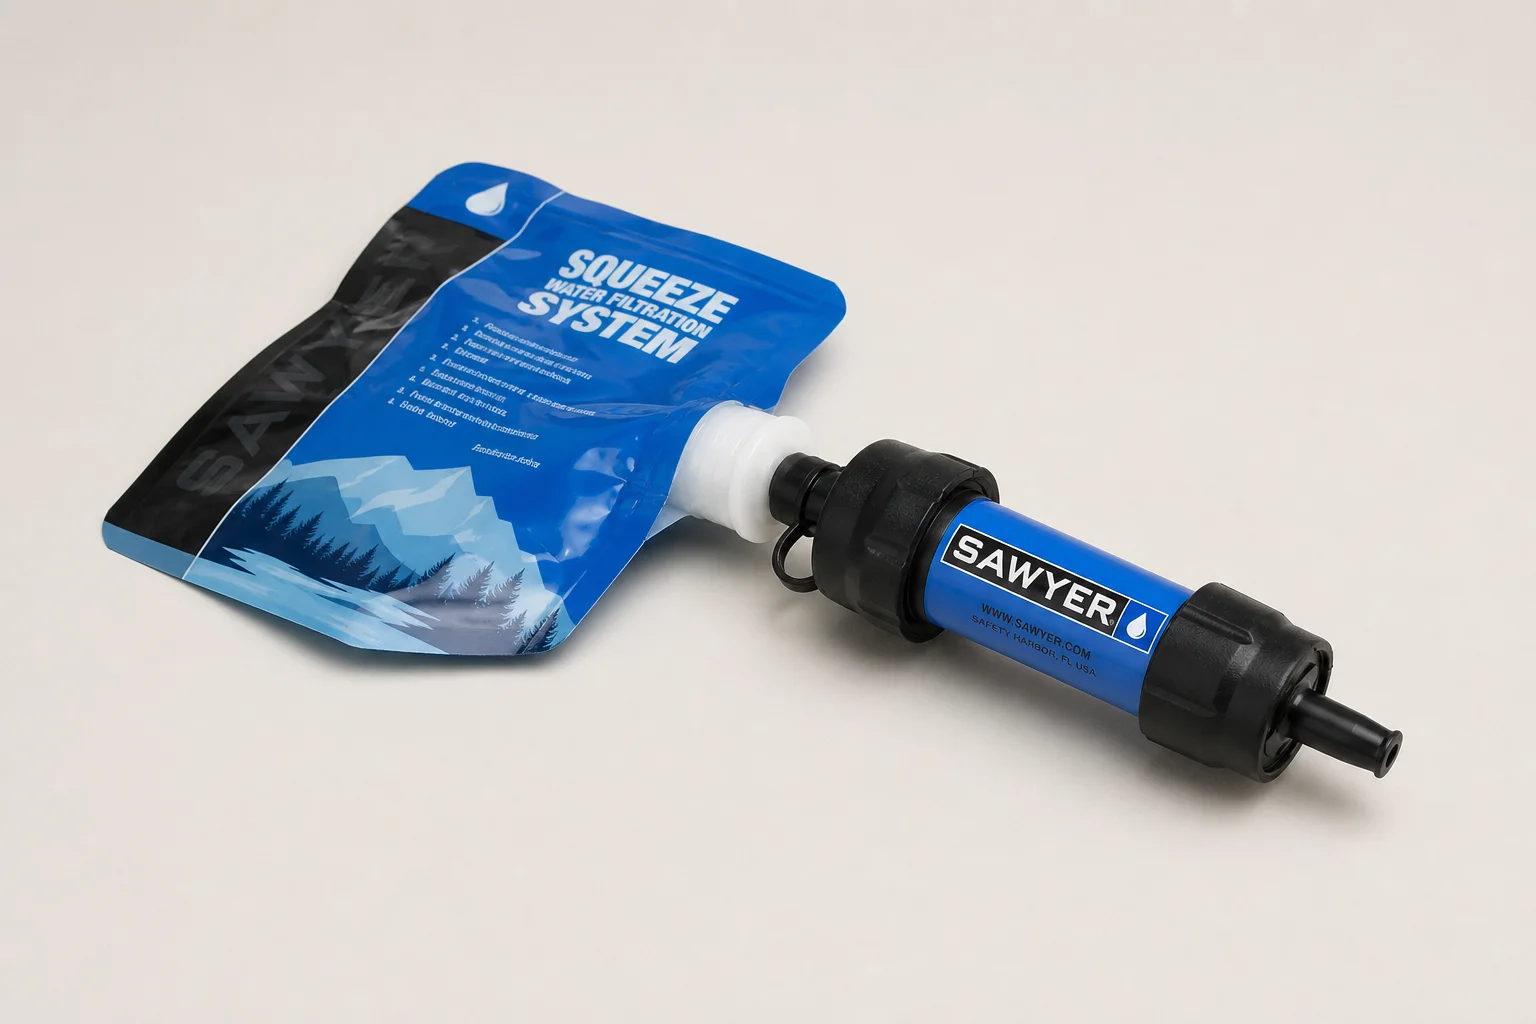
Sawyer Squeeze: Simple, Light Water Treatment
Water is plentiful along most of the Appalachian Trail, with sources often appearing every few miles, so the goal is treatment that is quick rather than bulk capacity. Filtration is the most common approach because it removes bacteria and protozoa, along with grit and dirt, and leaves no chemical aftertaste. Viruses are not a concern on this trail in the way they are overseas.
Filters need a little care. They should be backflushed periodically so they do not clog, and they must not freeze, which means sleeping with them in cold weather. Squeeze filters take some time to push water through, though that can be avoided by drinking directly through the filter instead of filling a separate bottle.
The Sawyer Squeeze weighs around 3 oz and works as a squeeze filter, and it can also be rigged into a gravity setup. Overtightening the included bladder can damage the seal, so threading it on gently is worth remembering.
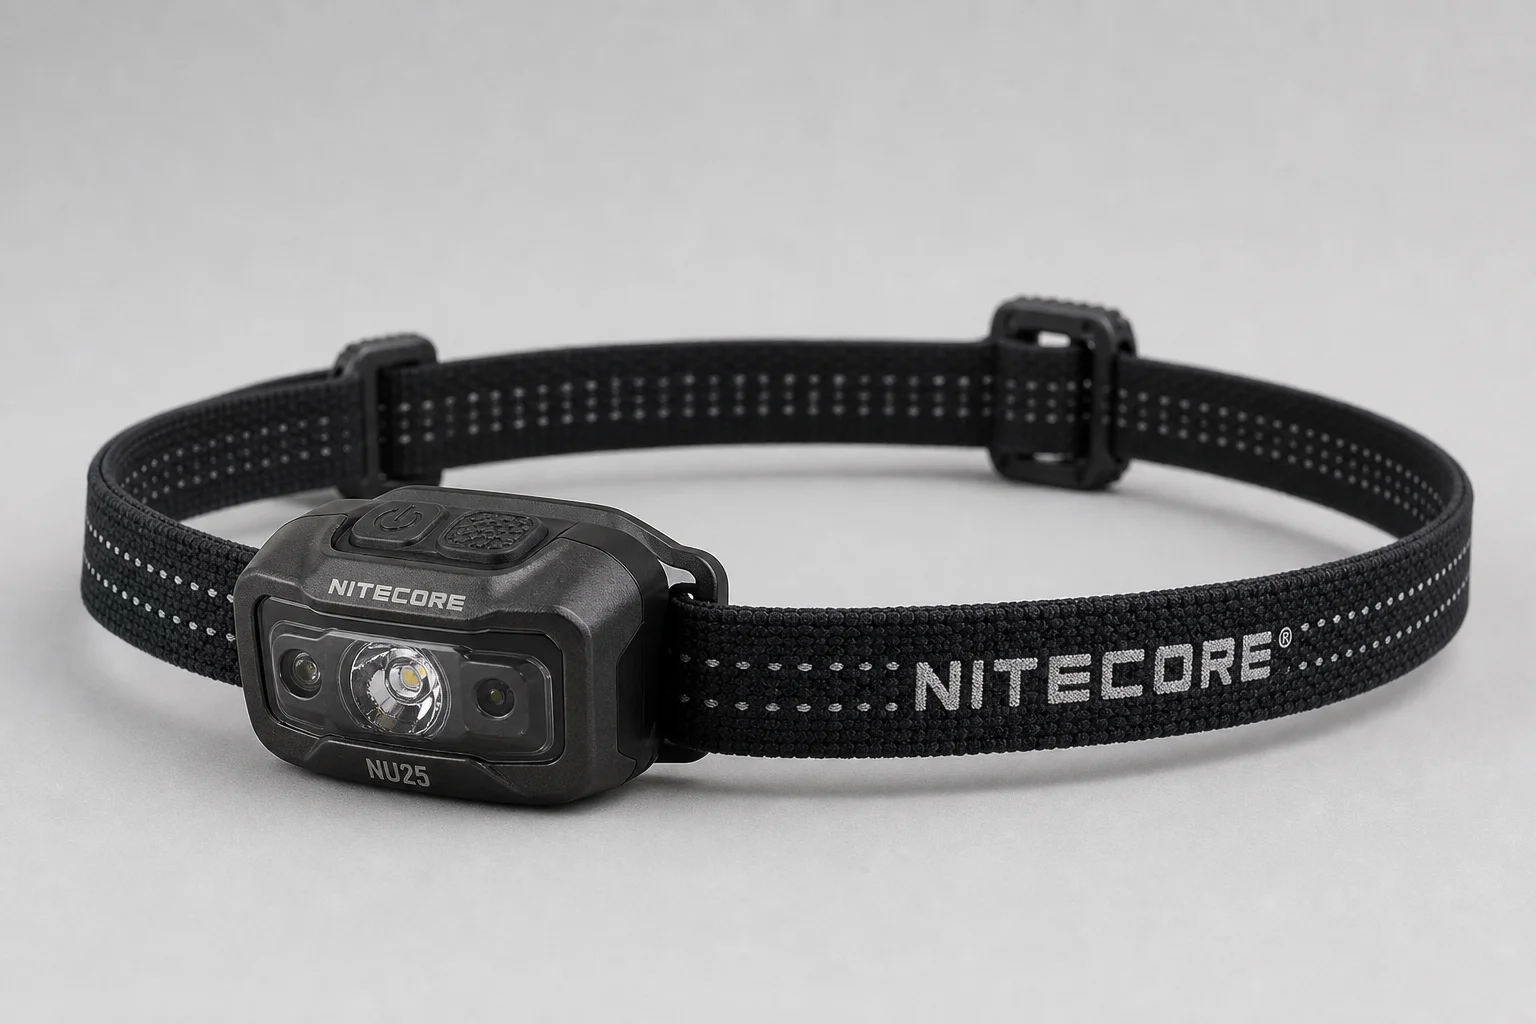
Nitecore NU25: A Rechargeable Headlamp With More Reach
A headlamp earns its place for camp chores, late arrivals at shelters, and the occasional stretch of walking after dark. A red light mode is considerate when others are sleeping, and an adjustable tilt keeps the beam on the trail instead of in your eyes.
Rechargeable models have largely replaced battery powered headlamps for long-distance hiking. Rechargeables remove the need to hunt for spare batteries in town and the weight of carrying them, and they can be topped up from a battery bank on trail or from a wall outlet during a resupply stop.
The Nitecore NU25 is a rechargeable headlamp rated at 360 lumens, a step up from the 210 lumen light that was sufficient for camp use. More output helps when the day runs long and the last miles happen after sunset.
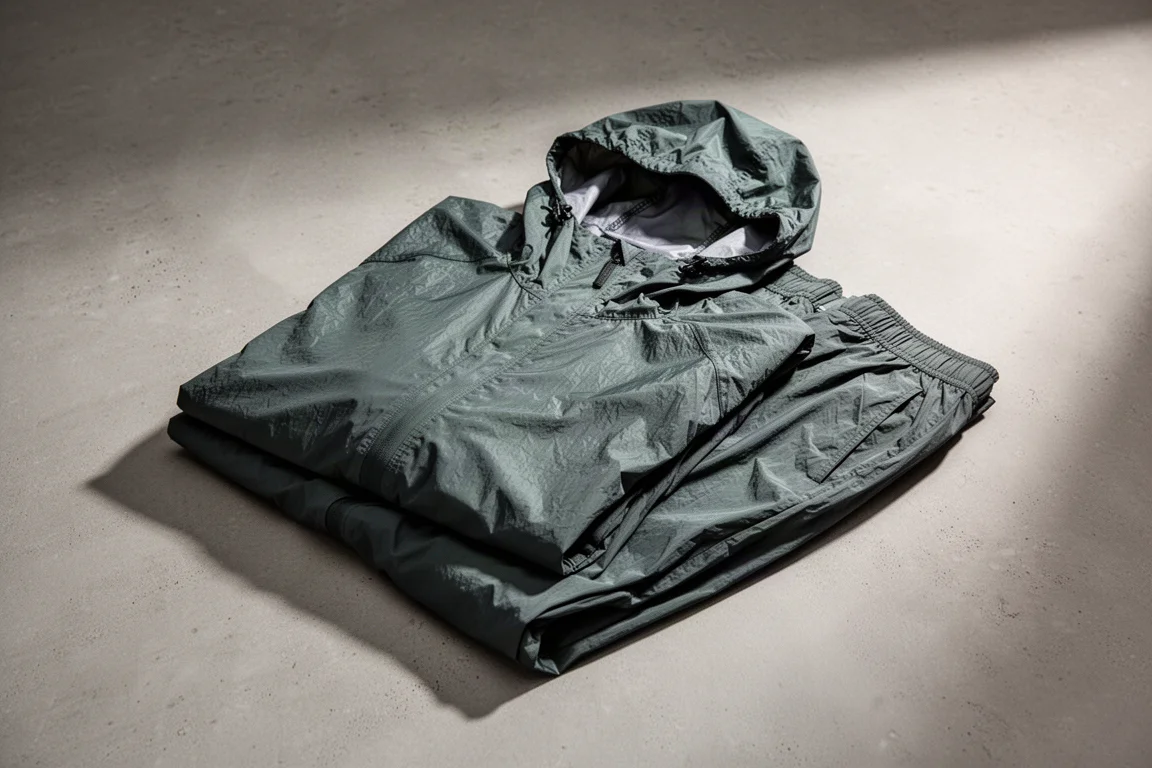
Frogg Toggs Ultra-Lite Rain Suit: Budget Rain Protection
Rain gear on the Appalachian Trail gets used often, and it does more than keep water out. A jacket and pants also cut wind and add warmth, which is why they are worth wearing even when the sky is only threatening.
The features that matter most are factory seam sealing, pit zips for ventilation, a hood that cinches down, and cuffs that keep water out of the sleeves. None of those are strictly necessary, but each one reduces how uncomfortable a wet day feels.
The Frogg Toggs Ultra-Lite rain suit covers a jacket and pants for around $20, with a weight of roughly 13 oz depending on size. It has no pit zips or other extras, and the fabric is not especially durable, so brushy sections call for care. It is a reasonable starting point for anyone who wants rain protection without spending much, and it can be replaced midway through a long hike if needed.
Buying Advice
Start with the items that affect comfort and safety every day: footwear, then the shelter, pack, and sleep system. Everything else can be refined later, and gear that is not working can often be swapped in a trail town or mailed home.
Try gear before committing to a long trail. A weekend trip or even a night in the backyard reveals fit problems, condensation issues, and awkward setups that are much easier to fix at home. For a pack, load it with the gear you plan to carry and walk around before deciding, and check the return policy in case the fit turns out wrong.
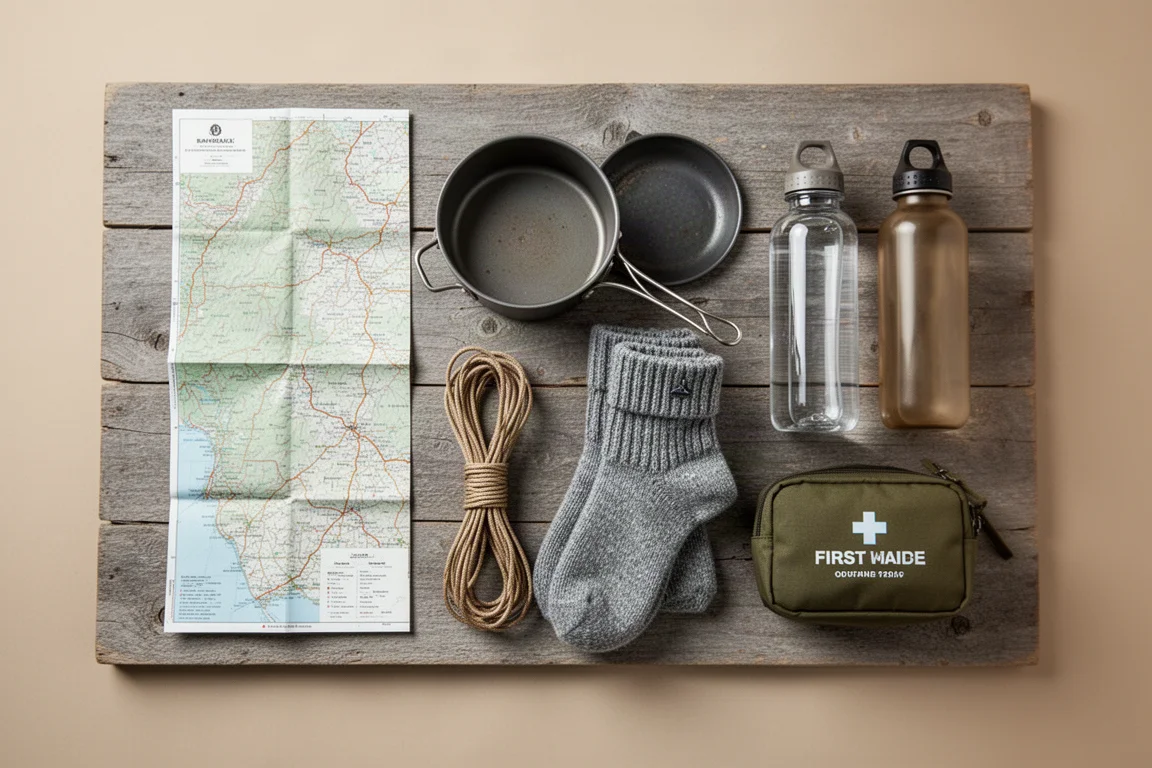
Budget is a real constraint, and it does not have to be solved all at once. Decent thru-hiking gear typically costs somewhere between $1,000 and $2,000 when bought new, and patience with sales, used gear groups, and off-season discounts can lower that considerably.
Conclusion
The gear that works on a long trail is the gear that suits the person carrying it. A 50-liter pack, a trekking pole shelter, an inflatable pad, a canister stove, a squeeze filter, a rechargeable headlamp, and a simple rain suit form a dependable foundation, and each one can be adjusted as experience grows. Choose for fit, weight, and durability first, test what you can, and the rest of the trail becomes a matter of walking.
Further reading
Related Reviews
Outdoor Gear
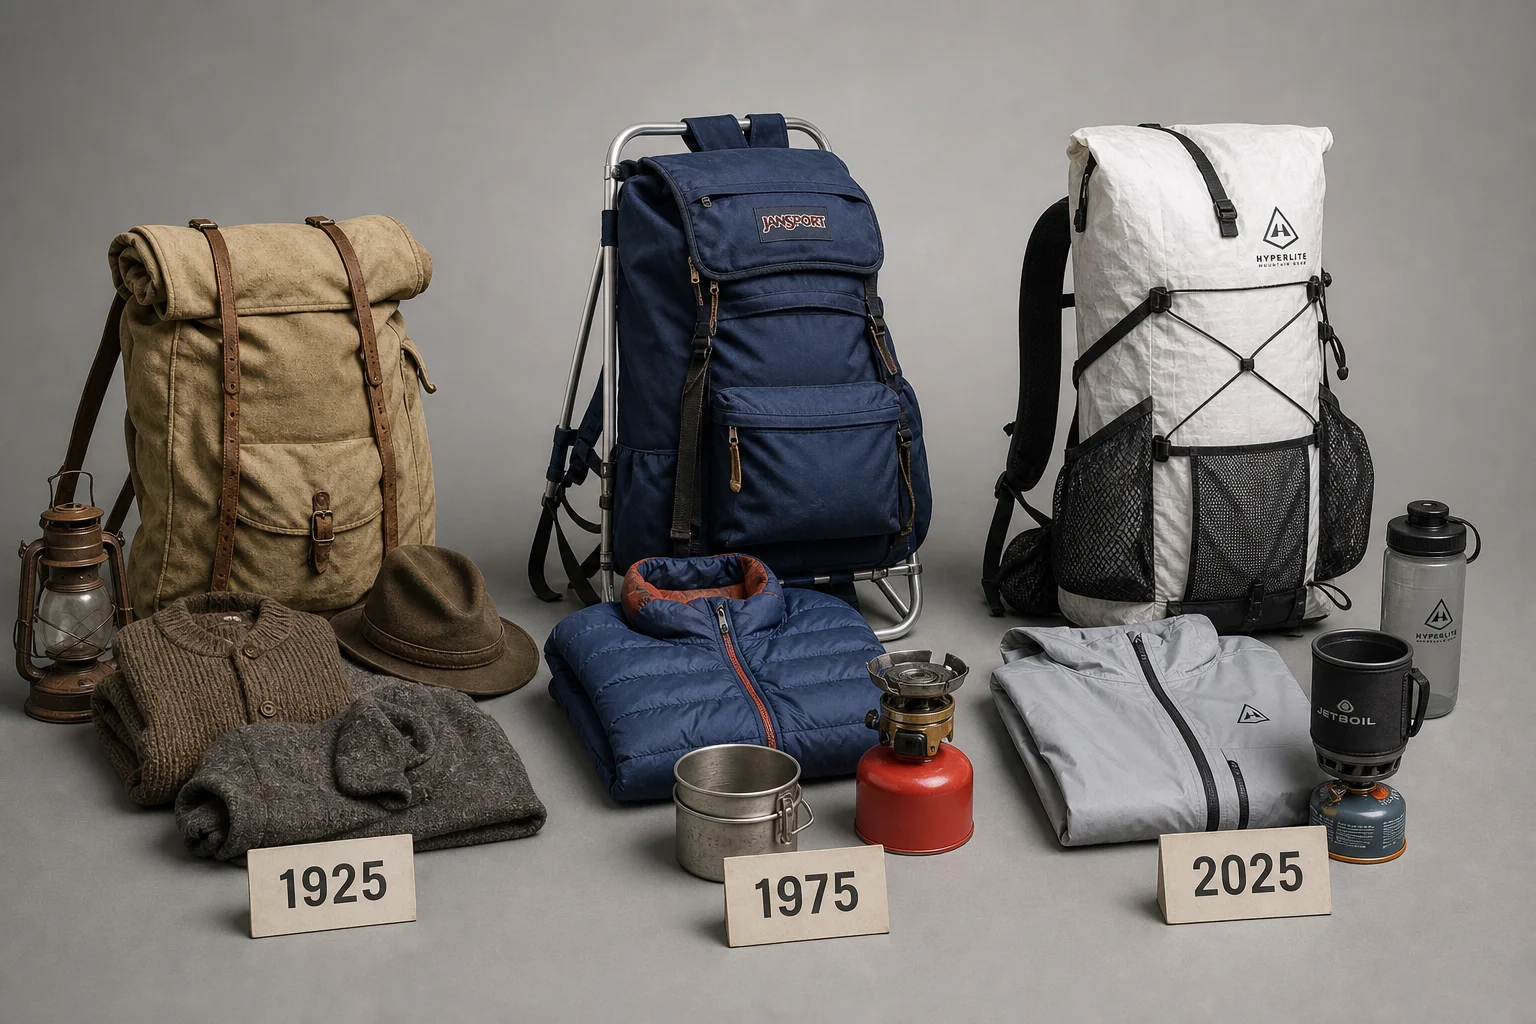
Backpacking Gear Evolution: 100 Years of Technology Compared
We tested backpacking gear from 1925, 1975, and 2025 across a three-day hike in Yosemite. Here's how technology has transformed comfort, weight, and the outdoor experience.
Outdoor Gear
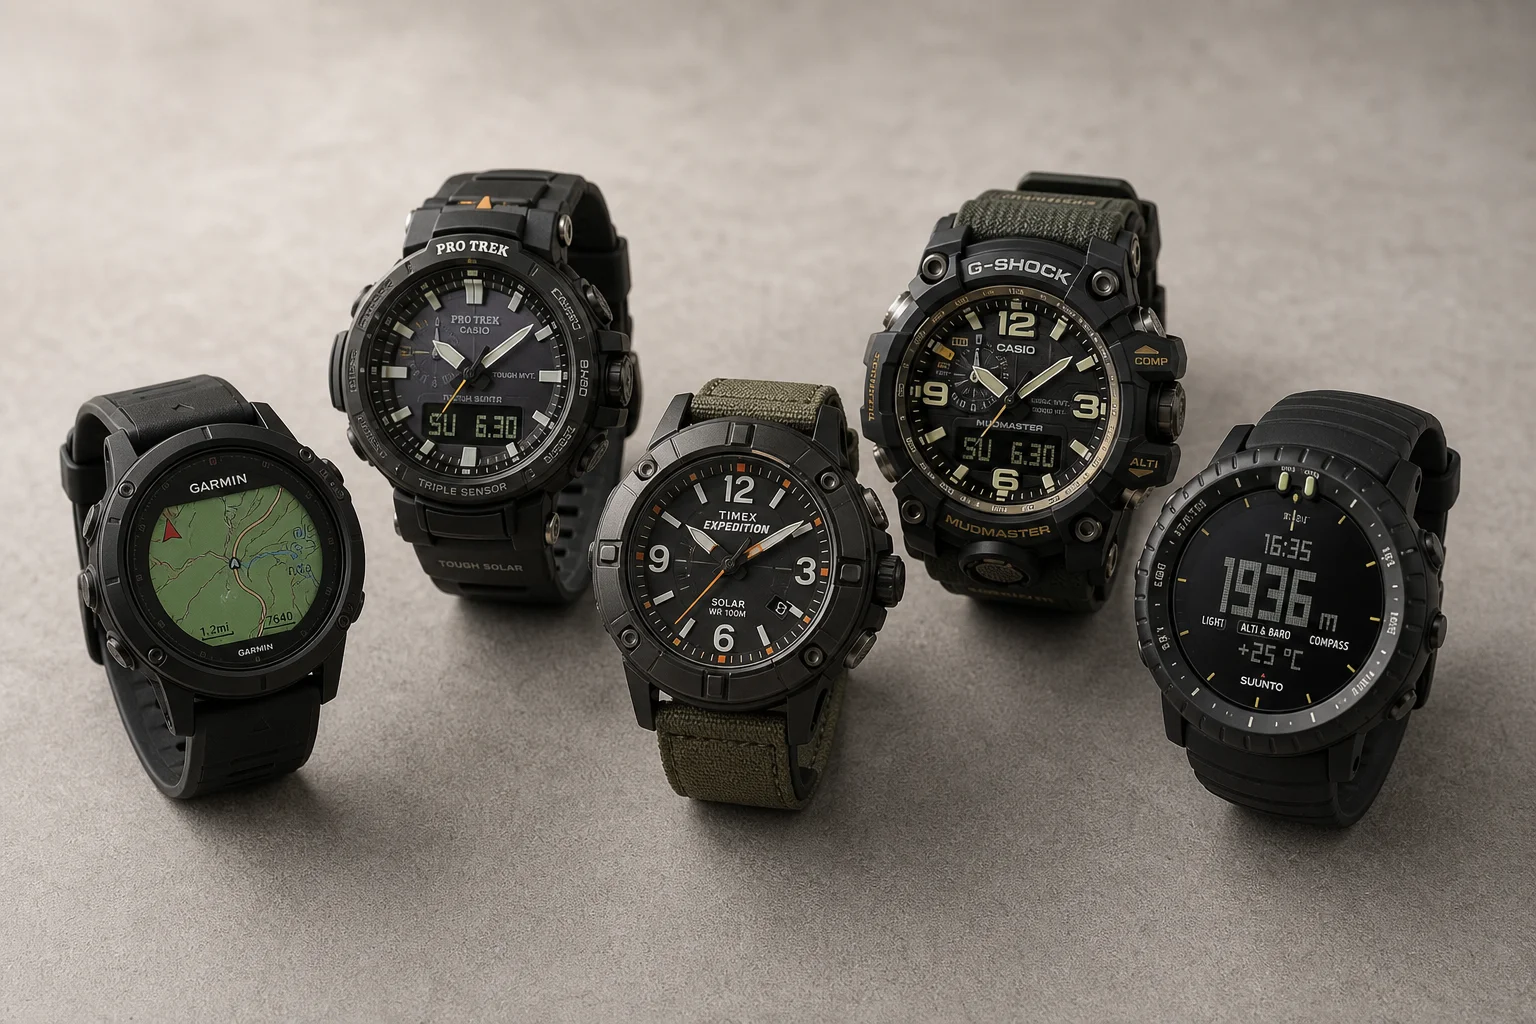
Best Affordable Hiking Watches: Five Rugged Options for Outdoor Adventures
Five durable hiking watches that balance ruggedness, functionality, and value for outdoor enthusiasts who need reliable GPS tracking and weather resistance.
Outdoor Gear
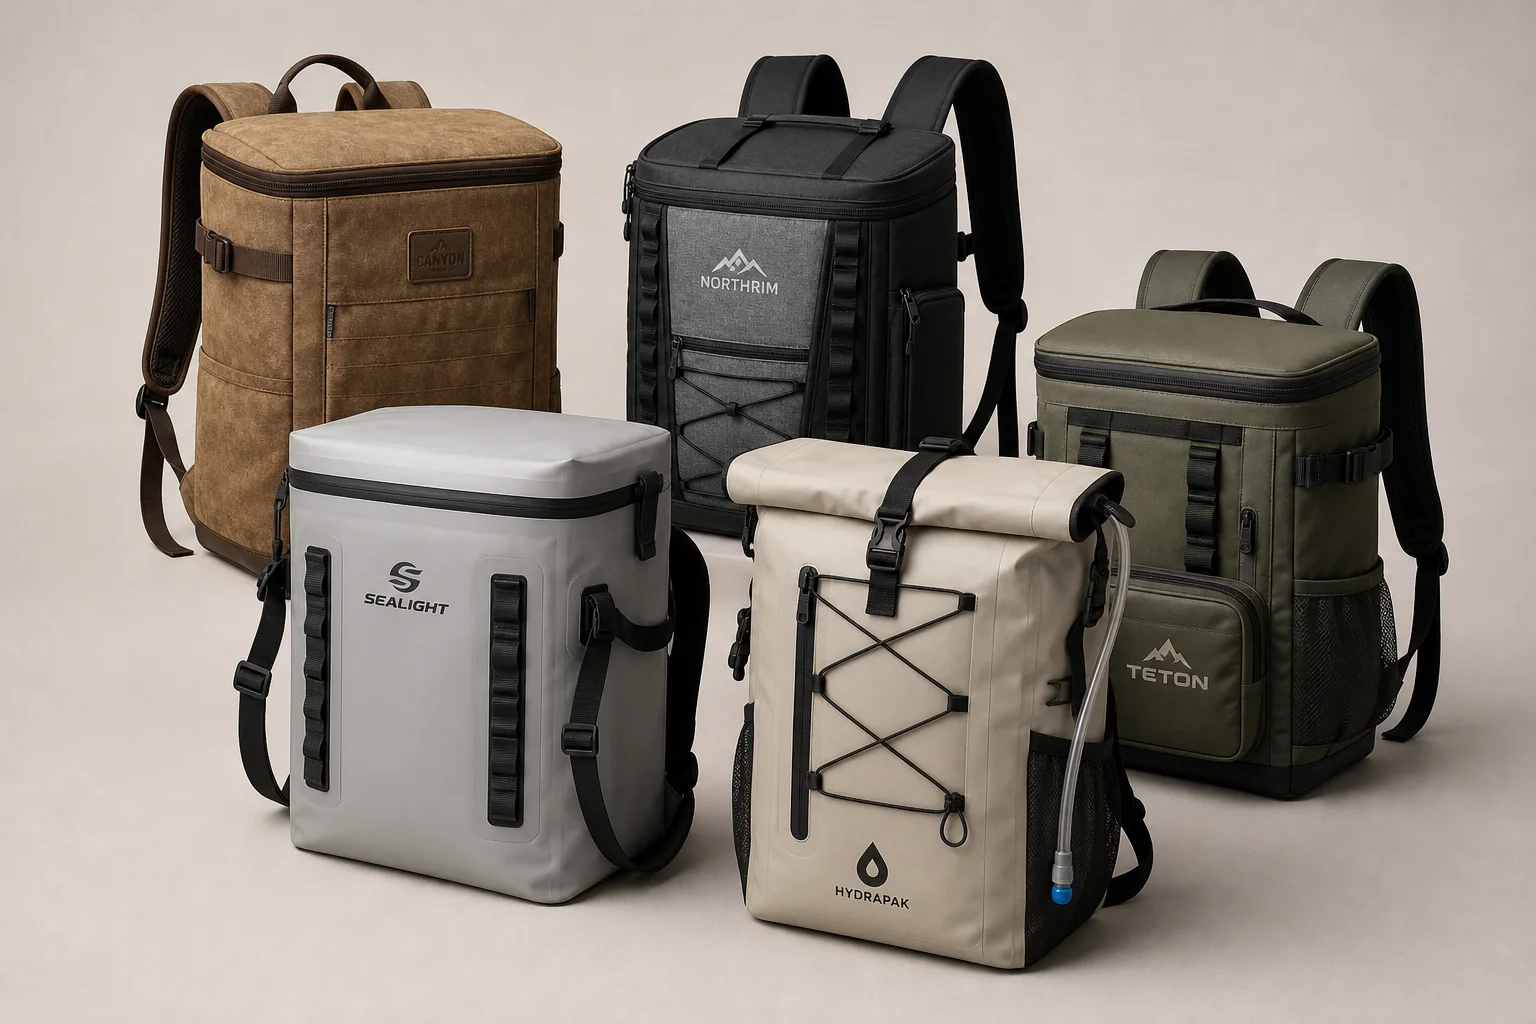
Best Backpack Coolers 2026: Five Practical Options for Outdoor Adventures
Five backpack coolers with distinct cooling capabilities, storage features, and design trade-offs to help you choose the right one for your outdoor needs.