Craft & Printing
xTool Apparel Printer Review: DTF Printing Made Simple at Home
An all-in-one home DTF printer that prints, powders, and bakes transfers automatically, making last-minute apparel designs genuinely practical.
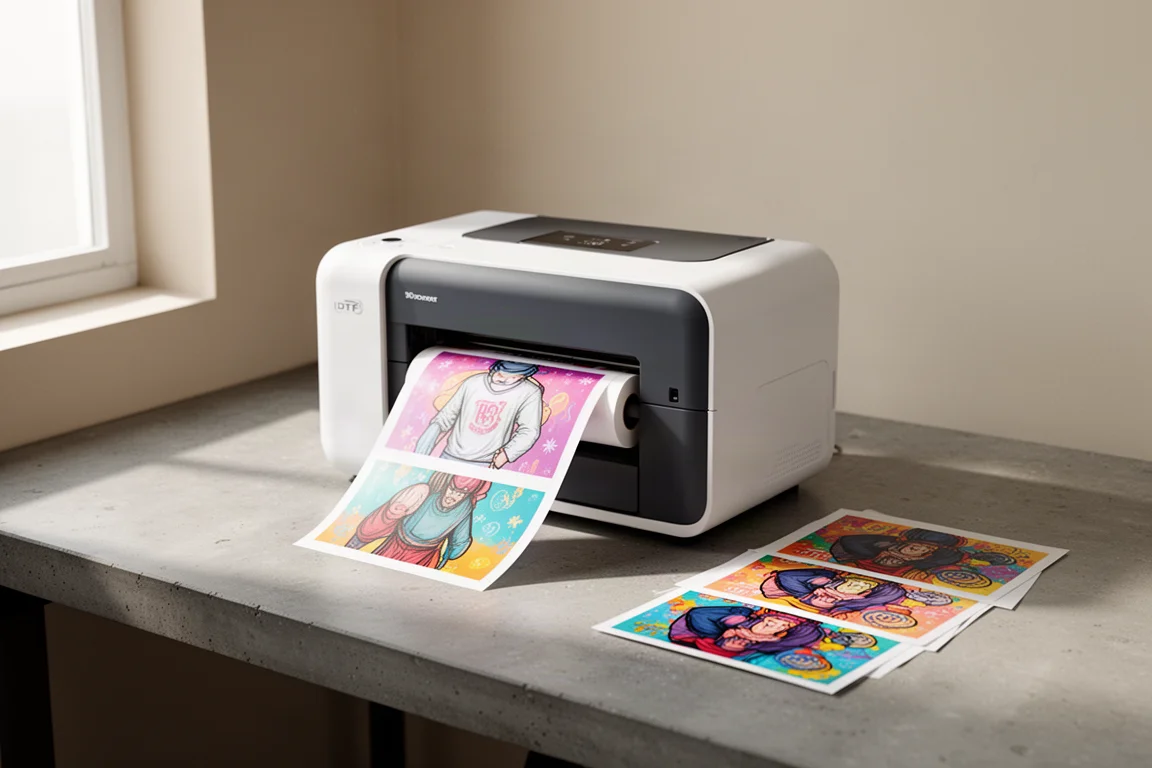
Introduction
If you sell apparel or simply love making custom clothing, the wait for outsourced DTF transfers can be the most frustrating part of the process. The xTool Apparel Printer aims to solve that by bringing the entire direct-to-film workflow into a single desktop machine that prints, powders, and bakes transfers automatically.
After setting it up and running a full project on it, from first test prints to a fully decorated zip sweatshirt, the short version is this: it produces results that look and feel like professionally made transfers, and it does so without the mess and safety concerns of traditional home DTF setups.
What the xTool Apparel Printer Actually Does
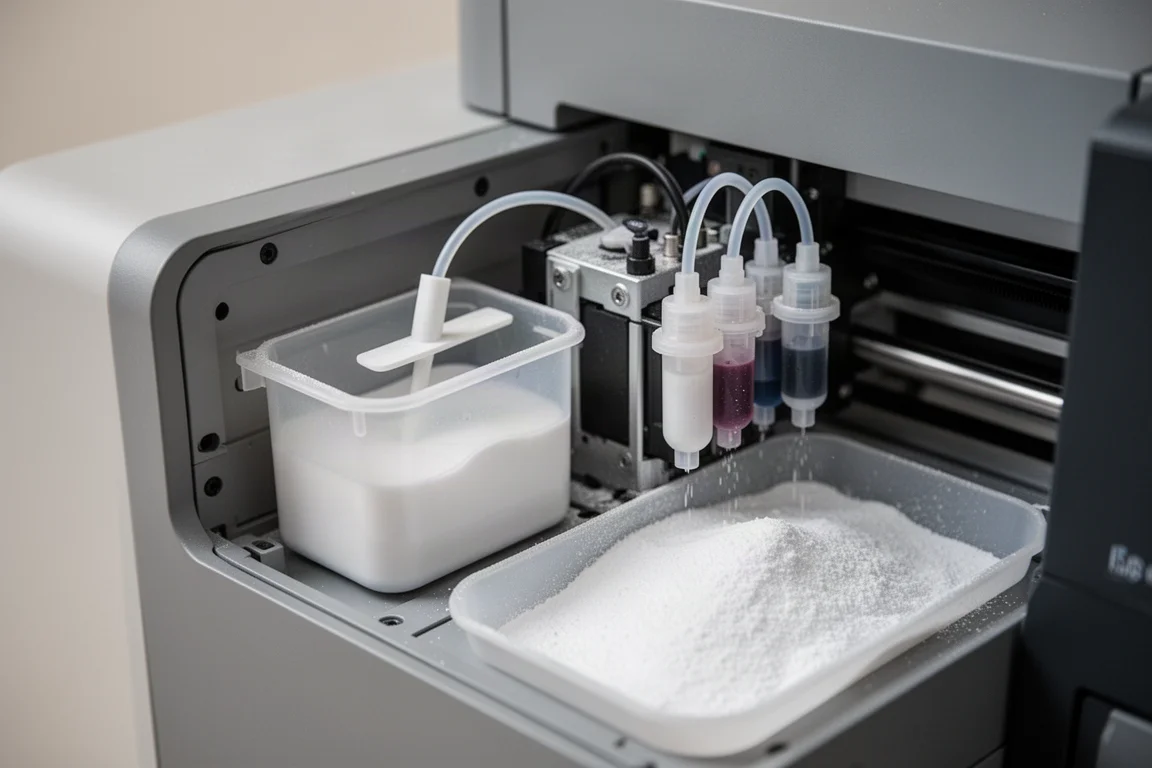
DTF stands for direct to film. The design is printed onto a clear film, then heat pressed onto fabric. The xTool Apparel Printer handles the entire sequence in one contained unit: it prints the color layer first, then a layer of white on top, and while the ink is still wet, powder is sprinkled onto the transfer. The transfer is then baked, melting the powder on the back to form the adhesive. It is not sticky to the touch, and the transfer is later heat pressed onto your fabric.
The all-in-one design matters here. Smaller home DTF printers that have appeared in recent years typically split the process into separate steps: you print the transfer, manually sprinkle powder in a bin, and then bake transfers one at a time in a flatbed-style oven. The powder is a material you should not be handling openly, and the whole workflow is slow. The xTool machine contains all of it, so you are not breathing in or touching the powder. When you hit print, it prints, applies powder, and bakes automatically.
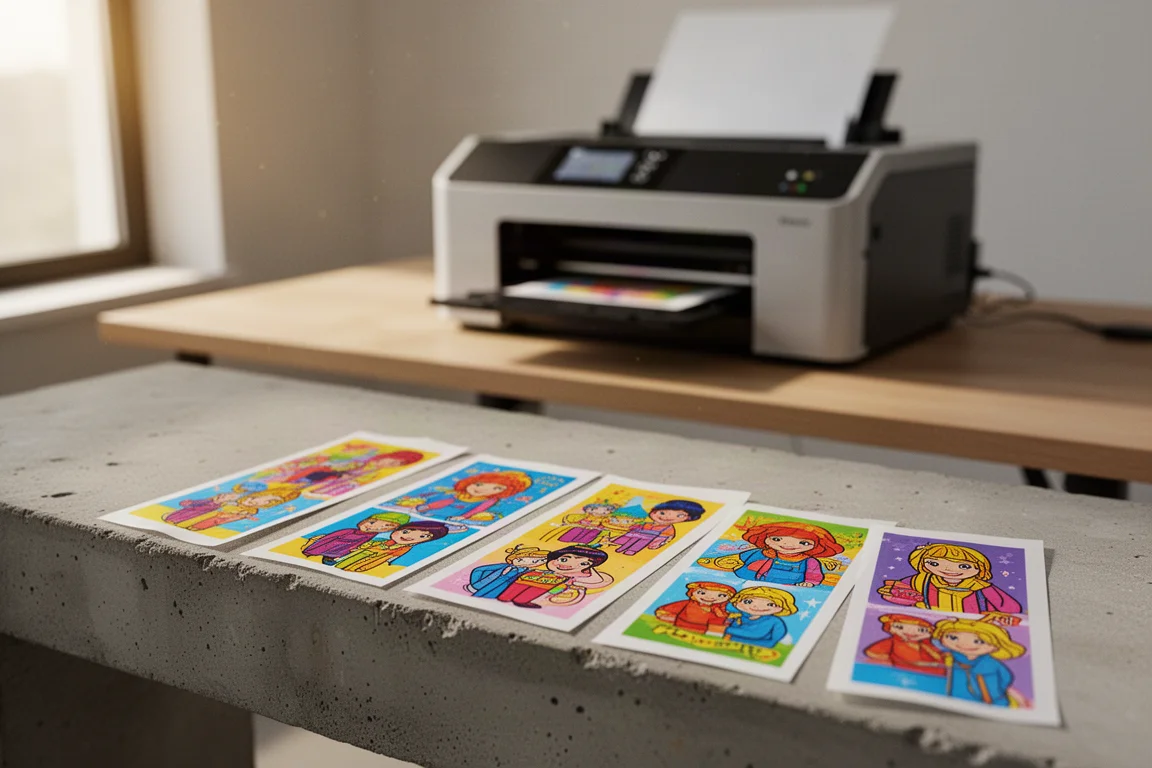
What Comes in the Box
The package is generous. The accessories box includes printer film on a roll, an output tray, moisturizing liquid, CMYK and white ink bottles, and print head cleaner. The machine ships with one of each consumable, and an optional material bundle adds one of each ink with two white inks, cleaner, moisturizing liquid, a film roll, and two bags of powder.
A separate box covers the shaker oven unit, including powder, safety instructions, a quick start guide, a hose for connecting to the air purifier, a screwdriver, screws, a paint brush, an ethernet cable, and a power cord. There is also a set of maintenance accessories: syringes, droppers, cleaning swabs and cloths, a print head protection box, and lubricating oil. Two 200-meter rolls of film were included with the review setup, which is a healthy supply for a small studio.
Setup and First Prints
Assembly involves screwing the printer to the shaker oven, mounting the film roll on brackets at the back, feeding the film through, and removing protective plastic from the print head. Ink filling is straightforward: the color tanks are 500 ml, matching the bottle size, and a magnetic panel pops off for access. Visible ink level windows on the inside make it easy to see how much room remains.
The air purifier connects via a tapered fitting and hose, with filter slots to configure in a specific order. For connectivity, the machine supports USB, Wi-Fi, and ethernet. A wired ethernet connection is a sensible choice here, since print jobs benefit from a stable link. Setup is guided by on-screen instructions, and the software detected the printer immediately.
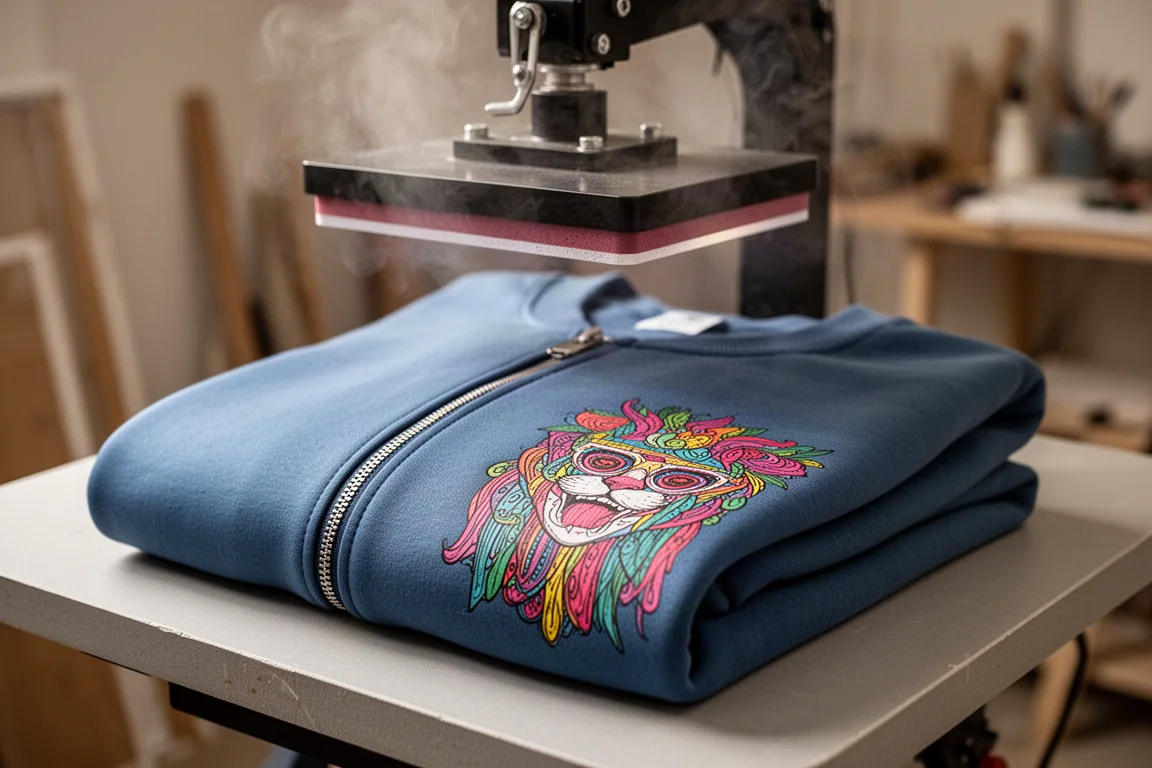
The first test print came out well. There was a slight white alignment issue that suggested running calibration once more, but no white stripe on the front and no banding. Printed at the highest resolution and feathering settings, the colors looked excellent, and a comparison against existing professionally printed transfers held up nicely.
Print Quality and Feel
The biggest concern with home DTF is often the feel of the finished transfer. Some DTF feels thick and papery on the shirt. This one does not. The transfers come out thin and comfortable, closely matching what professional print shops produce, with minimal sheen and no bulky hand feel.
For a real project, the printer handled large transfers for a decorated zip sweatshirt: designs down each sleeve, a left chest print, and a neckline name tag. A 4.5-inch wide sleeve transfer filled the print area efficiently, with three fitting side by side across the film. Settings were simple to tune: DPI set to ultra, feather to super, and a white ink reduction of 0.3. Once saved with a project, those settings persist, so there is no need to reset them each time.
One genuinely useful software feature is the cost calculator, which estimates film usage and ink consumption and shows what each print costs. For large transfers, the per-print cost was reported at around 1.05 Canadian dollars, which is remarkably low for transfers of that size.
Things to Consider Before Buying
Setup is not trivial. Mounting the film, filling inks, configuring the air purifier filters, and connecting the printer to the shaker oven takes time and patience, though the on-screen guidance helps. You will also want space for the combined printer and oven unit, plus the air purifier.
There are settings to learn. Resolution, feathering, and white ink reduction all affect output, and finding your preferred combination takes a few test prints. A first print may also reveal minor calibration needs, such as white layer alignment. None of this is unusual for inkjet-based systems, but budget some time for experimentation.
Finally, you still need a heat press to apply the transfers, and pressing bulkier garments like zips takes some technique to keep seams and fabric bulk out of the way.
Who This Printer Is Best For
This machine suits small apparel sellers who currently outsource DTF transfers and want faster turnaround and lower costs, especially for large designs that are expensive to order. It is equally appealing for crafters who want to act on ideas immediately: design, print, press, and wear or ship the same day.
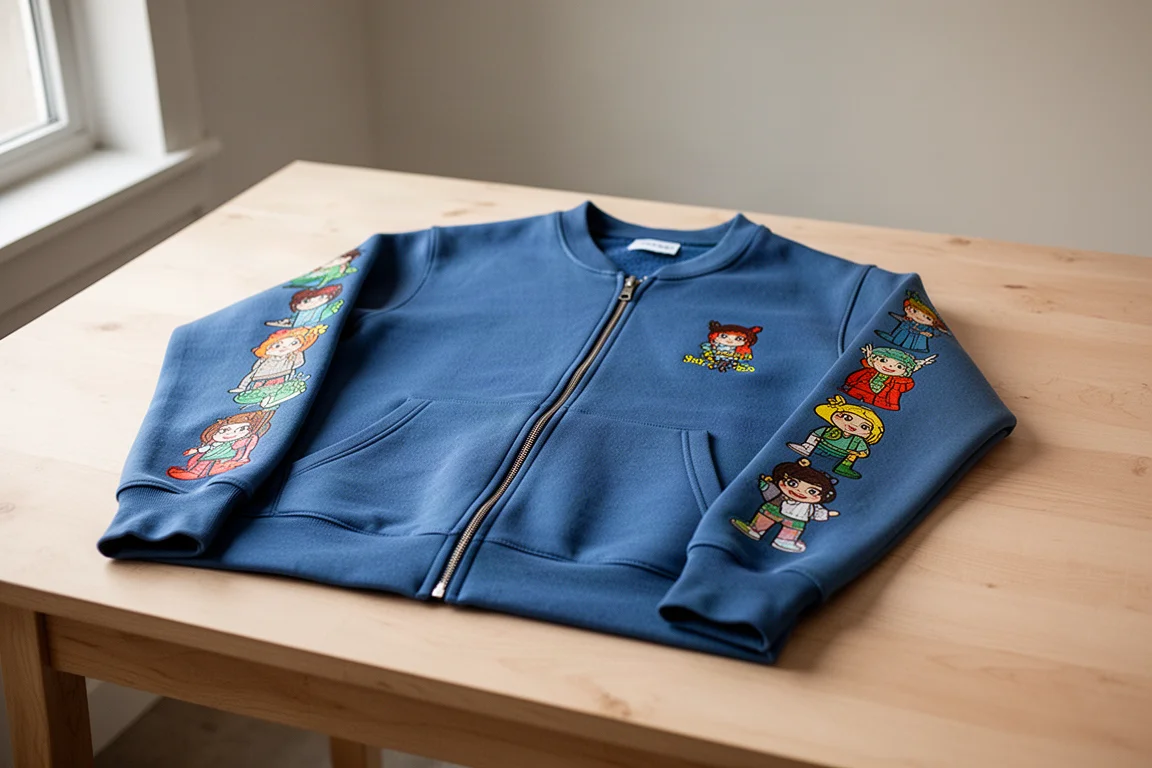
Practical uses go beyond product runs. A single custom shirt for an event, matching shirts for a group, or last-minute gifts all become quick jobs. You can even sell the transfers themselves for others to press at home.
Buying Advice
If you regularly order DTF transfers and have the space for a desktop unit, the xTool Apparel Printer is easy to recommend. The all-in-one print, powder, and bake workflow removes both the mess and the slow one-at-a-time baking of typical home DTF setups, and the output quality genuinely rivals professionally printed transfers. If you only press a transfer a few times a year, outsourcing may still be simpler, but for anyone running an apparel side business, the convenience and cost savings on large transfers make a compelling case.
Conclusion
The xTool Apparel Printer delivers on its core promise: professional-feeling DTF transfers, printed at home, with a contained and safer workflow than traditional home setups. From first test print to a finished decorated zip sweatshirt, the results were consistently impressive, and the freedom to print the moment an idea strikes is hard to overstate for anyone who makes or sells apparel.
Product link
View more details for xTool Apparel Printer
This product is mentioned in the review. Check the specifications, options, and compatibility before buying.
View more details for xTool Apparel PrinterFurther reading
Related Reviews
Metalworking Tools
xTool MetalFab 800W Laser Welder Review: A Serious Tool for Sheet Metal Work
The xTool MetalFab 800W brings laser welding, cutting, and cleaning to a more accessible price point. We tested it on stainless steel, carbon steel, and aluminum to see if it holds up.
Laser Cutting & Welding
xTool MetalFab: Common Questions Answered Before You Buy
A practical look at the xTool MetalFab laser cutting and welding system, covering cutting detail, software ease, welding performance, and real-world trade-offs.
Metal Fabrication
xTool MetalFab Review: A New Way to Cut, Weld, and Clean Metal
We put the xTool MetalFab against a traditional MIG welder and plasma cutter to see if one machine can really replace a full fabrication setup.