Hiking Gear
Water Bladders vs Bottles: Pros, Cons, and the Best Setup for Multi-Day Hikes
A practical breakdown of water bladder advantages and drawbacks, plus a real-world hydration setup for backcountry hiking.
Introduction
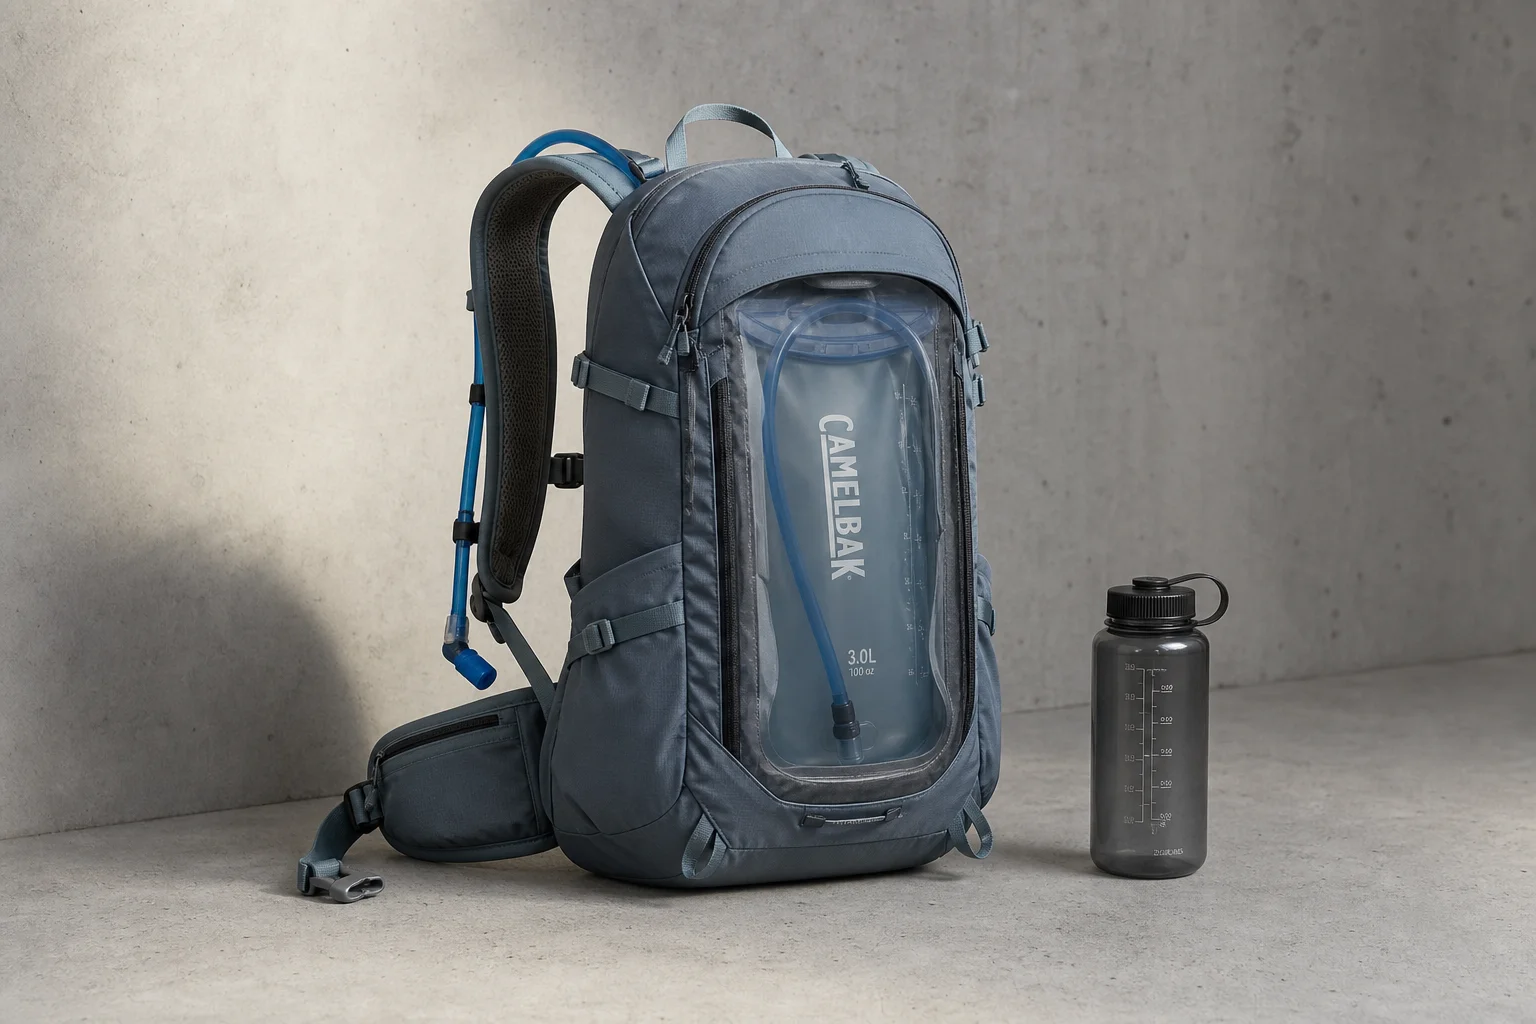
Water is essential for backcountry hiking, but how you carry it matters. Water bladders offer real convenience advantages, but they come with trade-offs that bottles don’t have. Understanding both sides helps you build a hydration system that actually works for your style of hiking.
The Convenience Factor
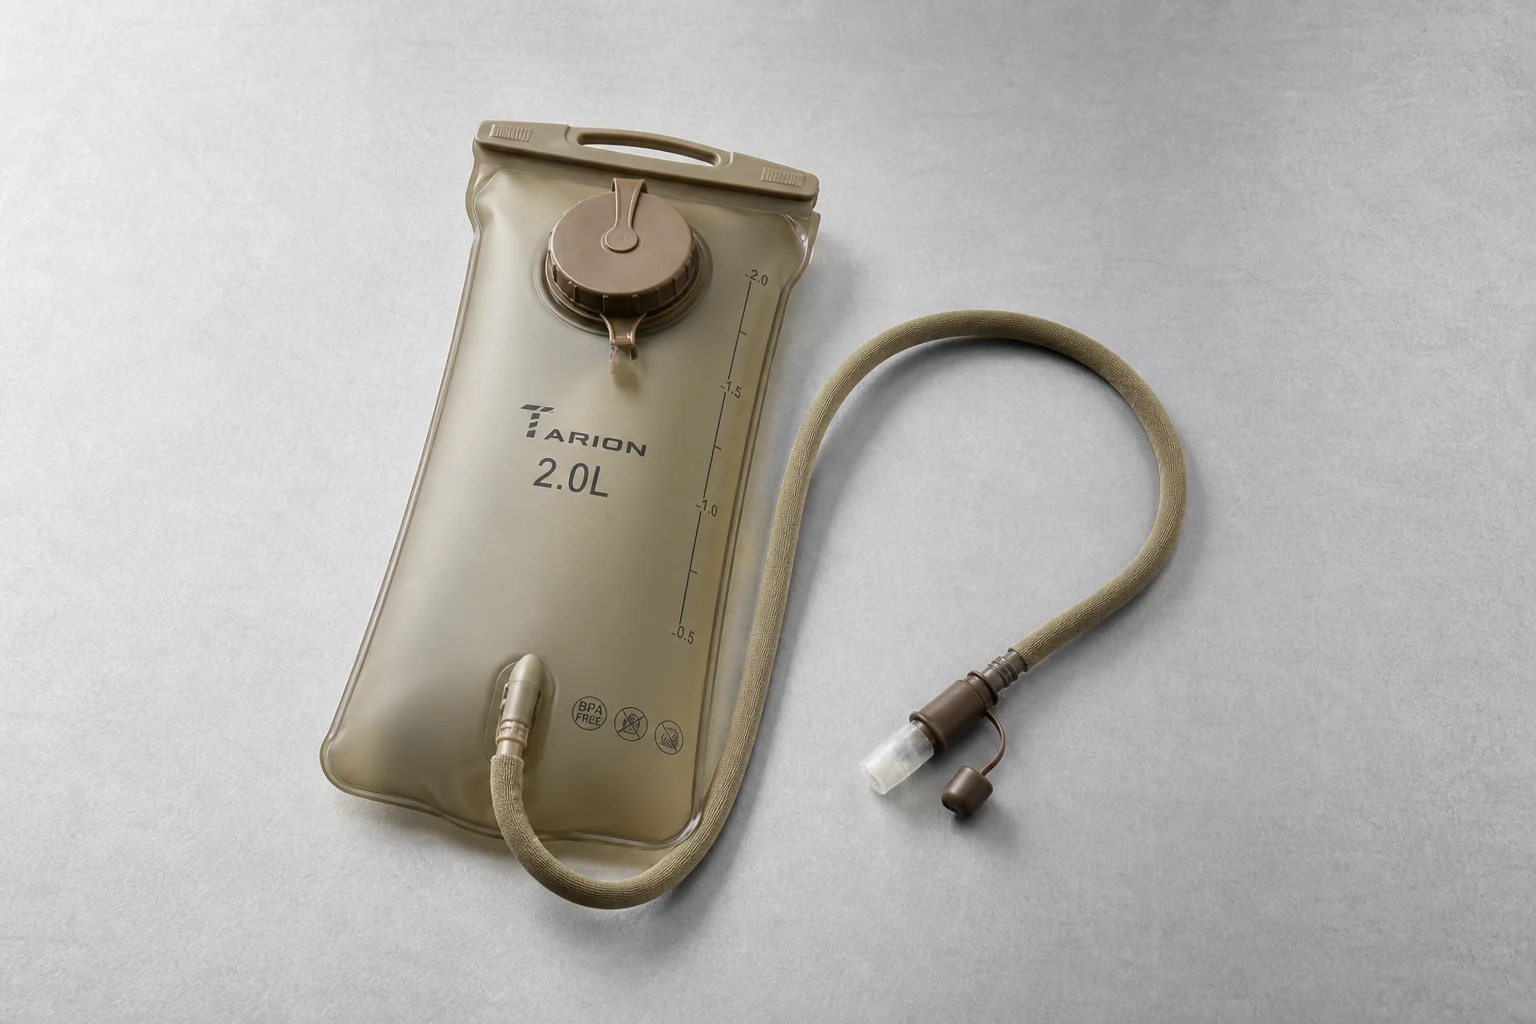
A water bladder with a tube running to your shoulder strap means you can drink while walking, standing, or sitting without stopping or removing your pack. You don’t need to contort your arms to reach a side bottle, and you avoid the awkward fumbling of trying to stow a bottle back in its pocket.
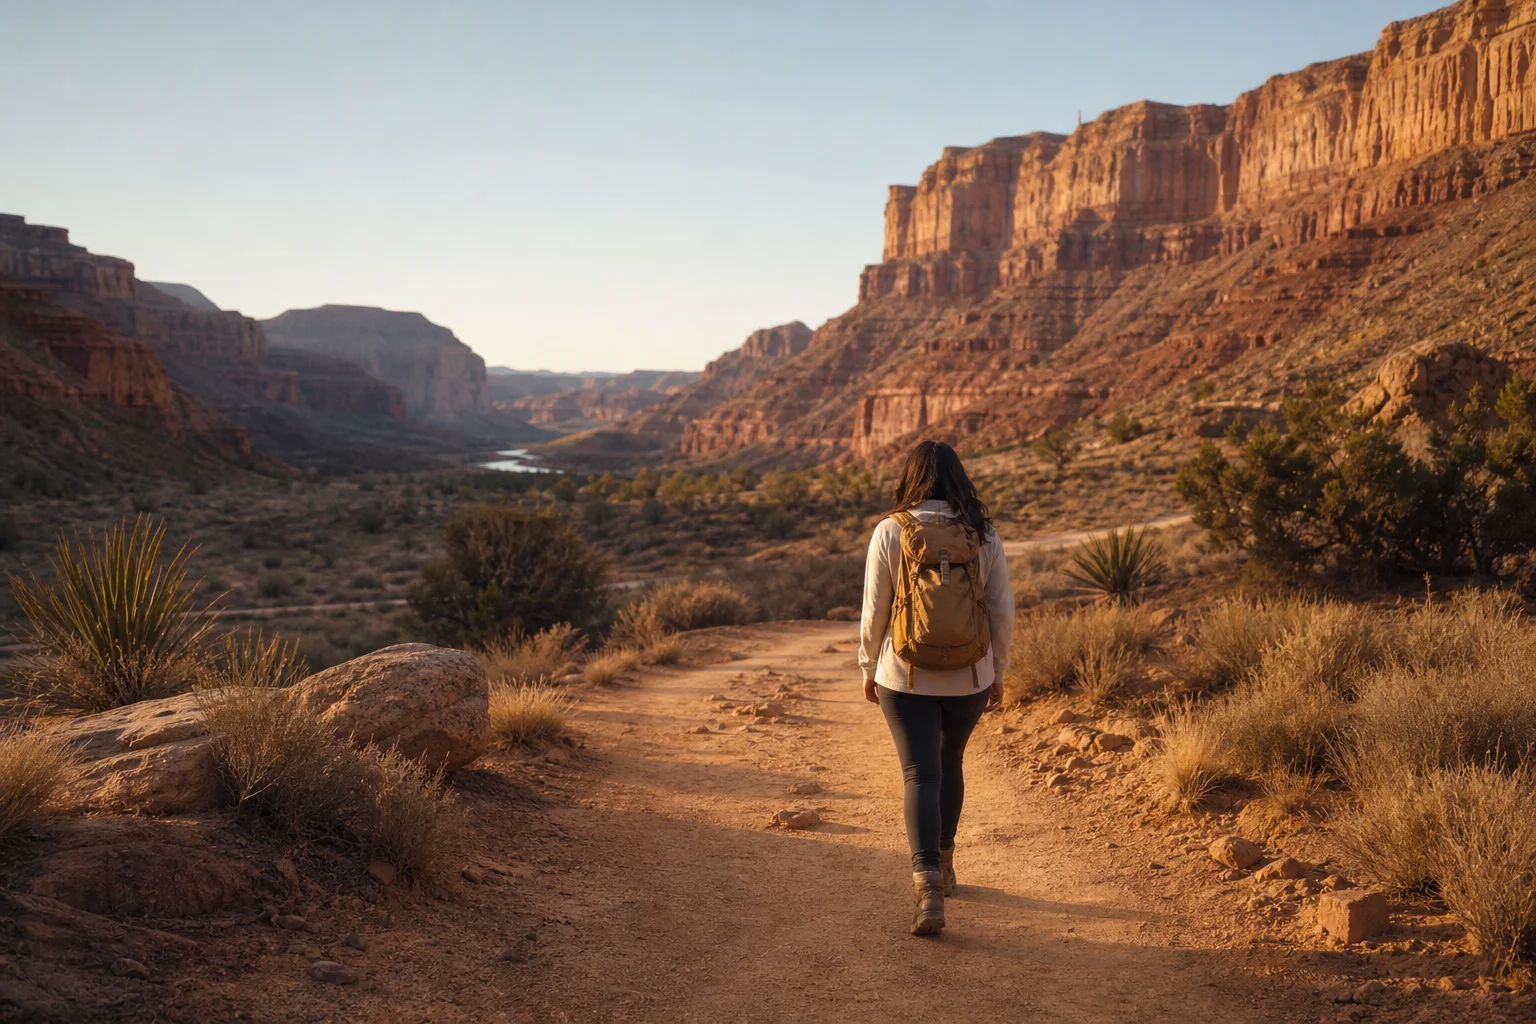
This convenience is genuine on long hiking days. The tube stays accessible, and a backpack clip keeps it from flopping around. If your pack or bladder didn’t come with a clip, adding one is essential.
Bladders also let you carry more water in the same pack space. Most bladders hold 2 to 3 litres, while standard bottles hold around 1 litre. On overnight hikes with no water sources, being able to carry 5 to 6 litres total becomes a real advantage over juggling multiple bottles.
Weight Distribution and Temperature
A water bladder tucked inside your pack sits close to your back, which matters for two reasons. First, it stays out of direct sunlight, so the water retains its coolness better than a bottle sitting in an external side pocket. On hot days, that difference is noticeable.
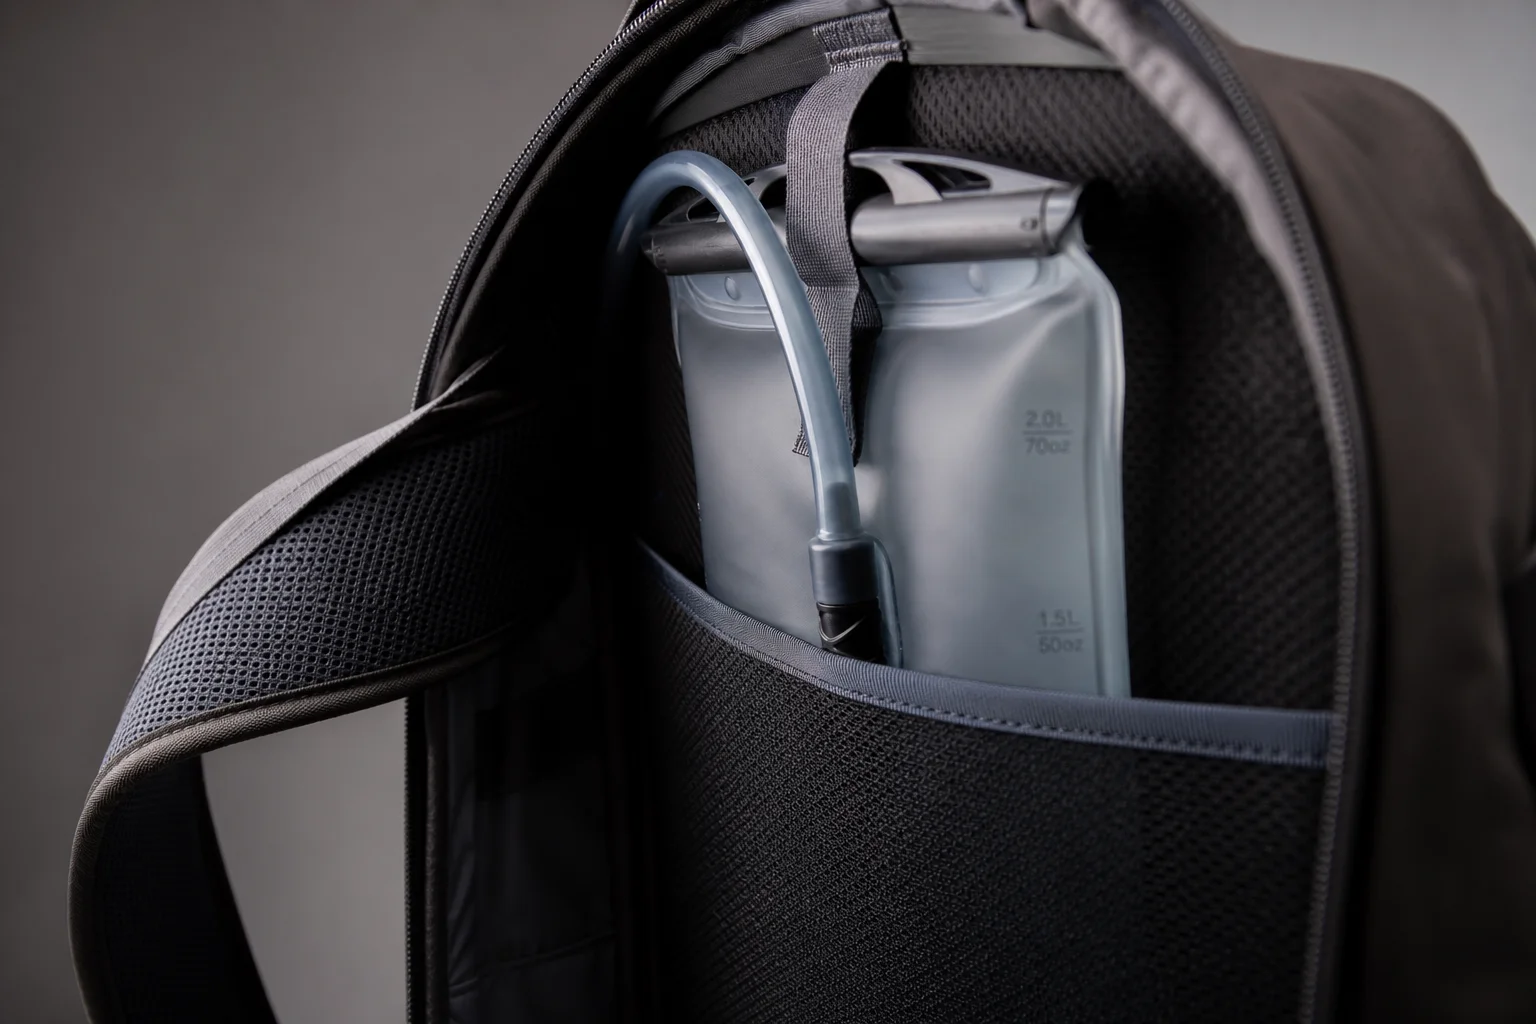
Second, water is heavy, and a bladder positioned against your back near the pack’s centre creates better weight distribution. Hiking guides recommend keeping heavier items close to your back and centred in the pack, and a full bladder naturally sits in that ideal position.
Visibility and Hydration Tracking
The main drawback of a hidden bladder is that you cannot see how much water you have left without pulling the entire pack off and digging it out. With a bottle, you see your water level at a glance, which serves as a visual reminder to drink more. This matters on long, hot days when dehydration sneaks up on you.
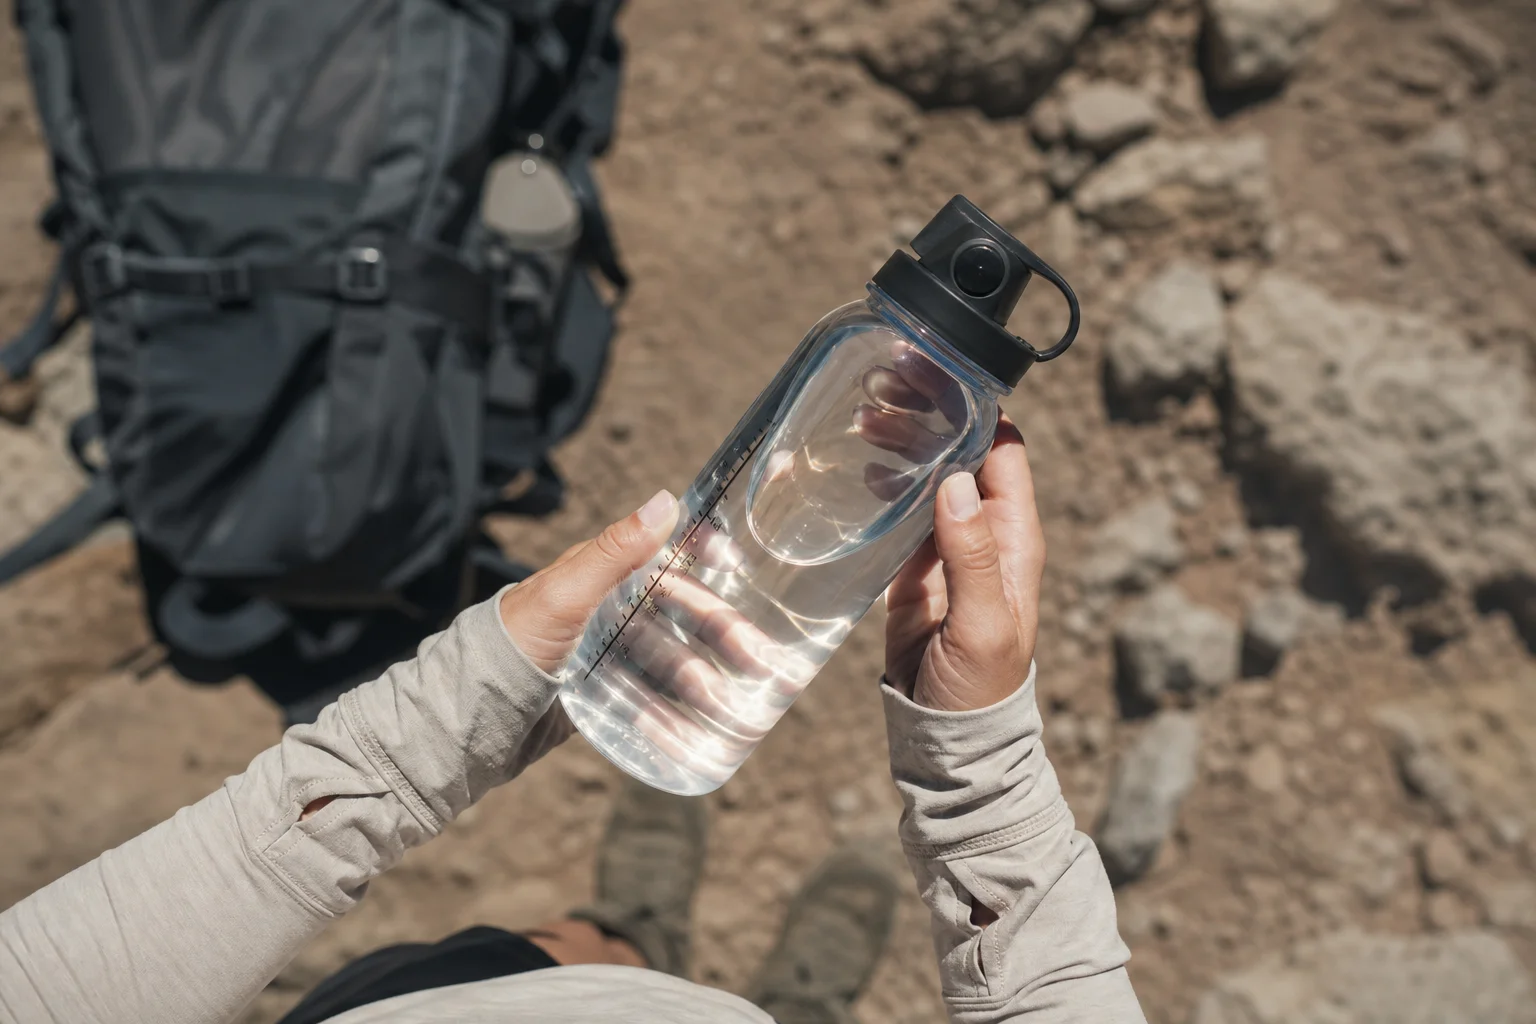
Some hikers find that visual feedback helps them stay on top of hydration. If you rely on a bladder, you need to develop a habit of checking it at regular intervals rather than relying on a quick visual cue.
Maintenance and Durability Challenges
Cleaning a water bladder takes more effort than washing a bottle. Most bottles can go in the dishwasher, but soft plastic bladders often cannot. Bladders also take longer to dry and are more prone to mold growth if not cleaned and dried thoroughly.
Some bladders develop an off-taste, especially when new. This usually fades over time, but not always. Taste issues can also linger if you use electrolytes or other additives in the bladder, so many hikers reserve their bladder for plain water only.
Leaks are the worst-case scenario. A hole in the bladder or a loose valve can ruin your water supply and soak your pack contents. While this is not common, it happens often enough that it is worth considering.
Bladders also cost more than basic water bottles and tend to weigh slightly more. A bottle offers more versatility: you can fill it with hot water for a sleeping bag warmer, pour boiling water into it without waiting for cooling, or use it to roll out sore muscles. A bladder cannot handle any of these uses without risking damage.
Building Your Ideal Water Setup
For a typical 4-day hike with water access at the end of each day, a practical setup combines both bladders and bottles. Start with a 2-litre water bladder positioned inside your pack’s back panel. Fill it to just over 1 litre on cooler days, or all the way to 2 litres on hot days. Use a pack liner as a backup in case of leaks.
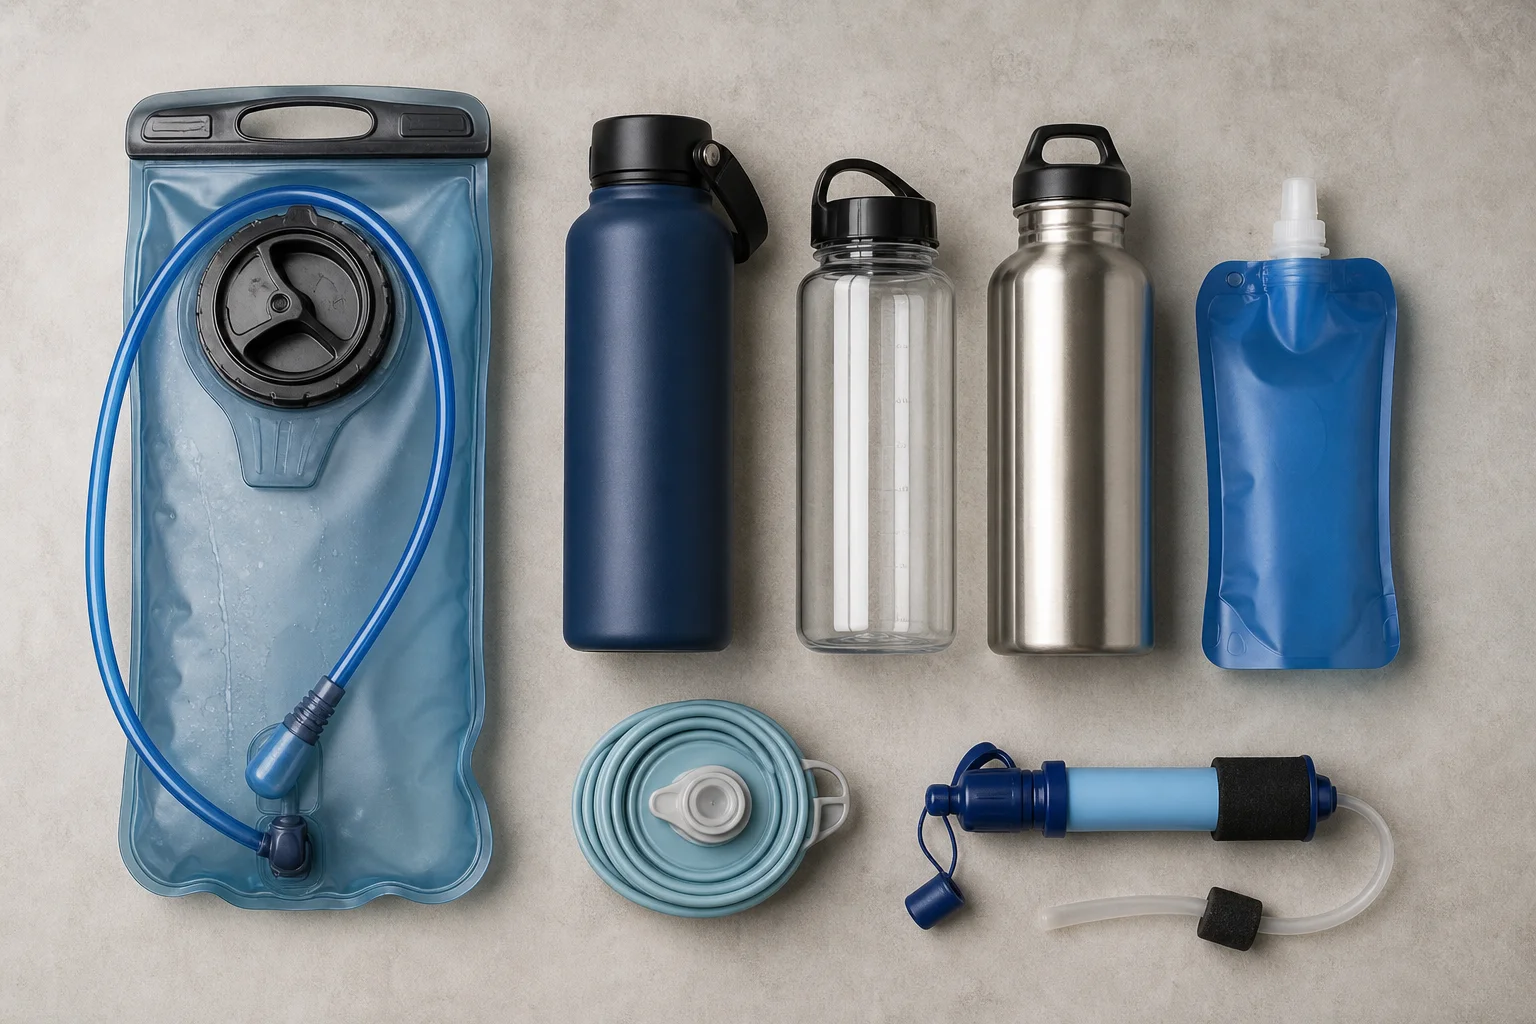
Add a 1-litre water bottle on your pack’s side pocket for breaks when you take your pack off. Use this bottle for filtering clean water and for cooking and teeth brushing. Carry a smaller bottle reserved purely for electrolytes, especially on hot or high-exertion days.
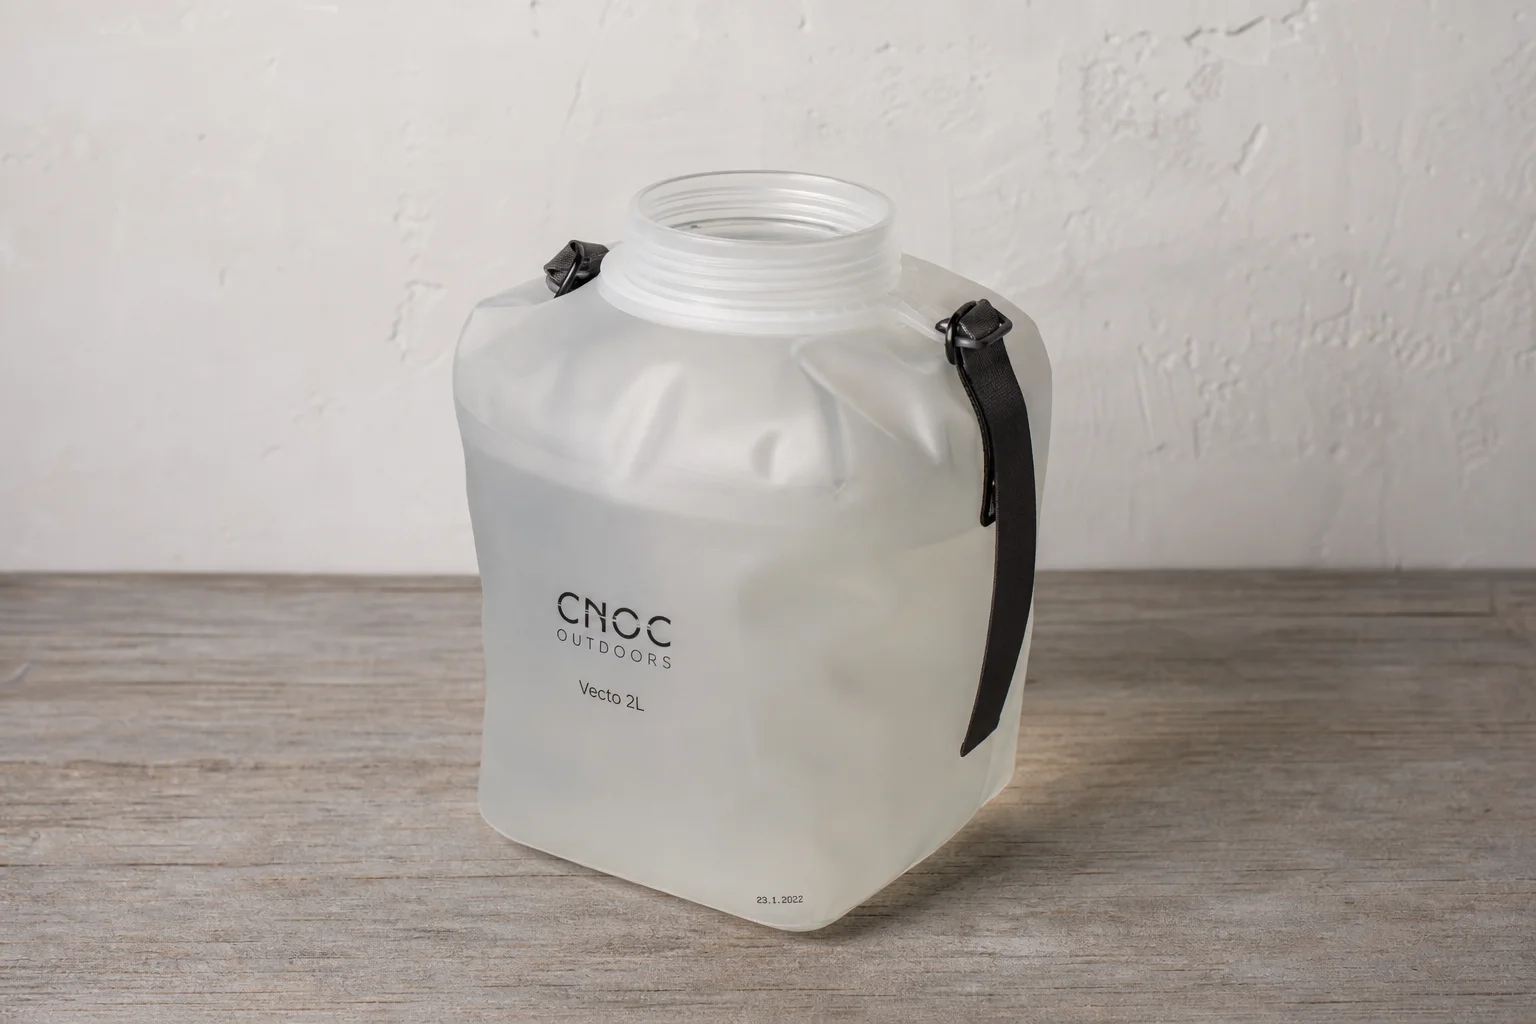
For collecting unfiltered water, bring a separate bladder with a wide opening, like the CNOC design, which makes it easy to scoop water from streams, springs, or rain tanks. Filter the unfiltered water into your main bottle, then use that bottle to refill your drinking bladder and other containers.
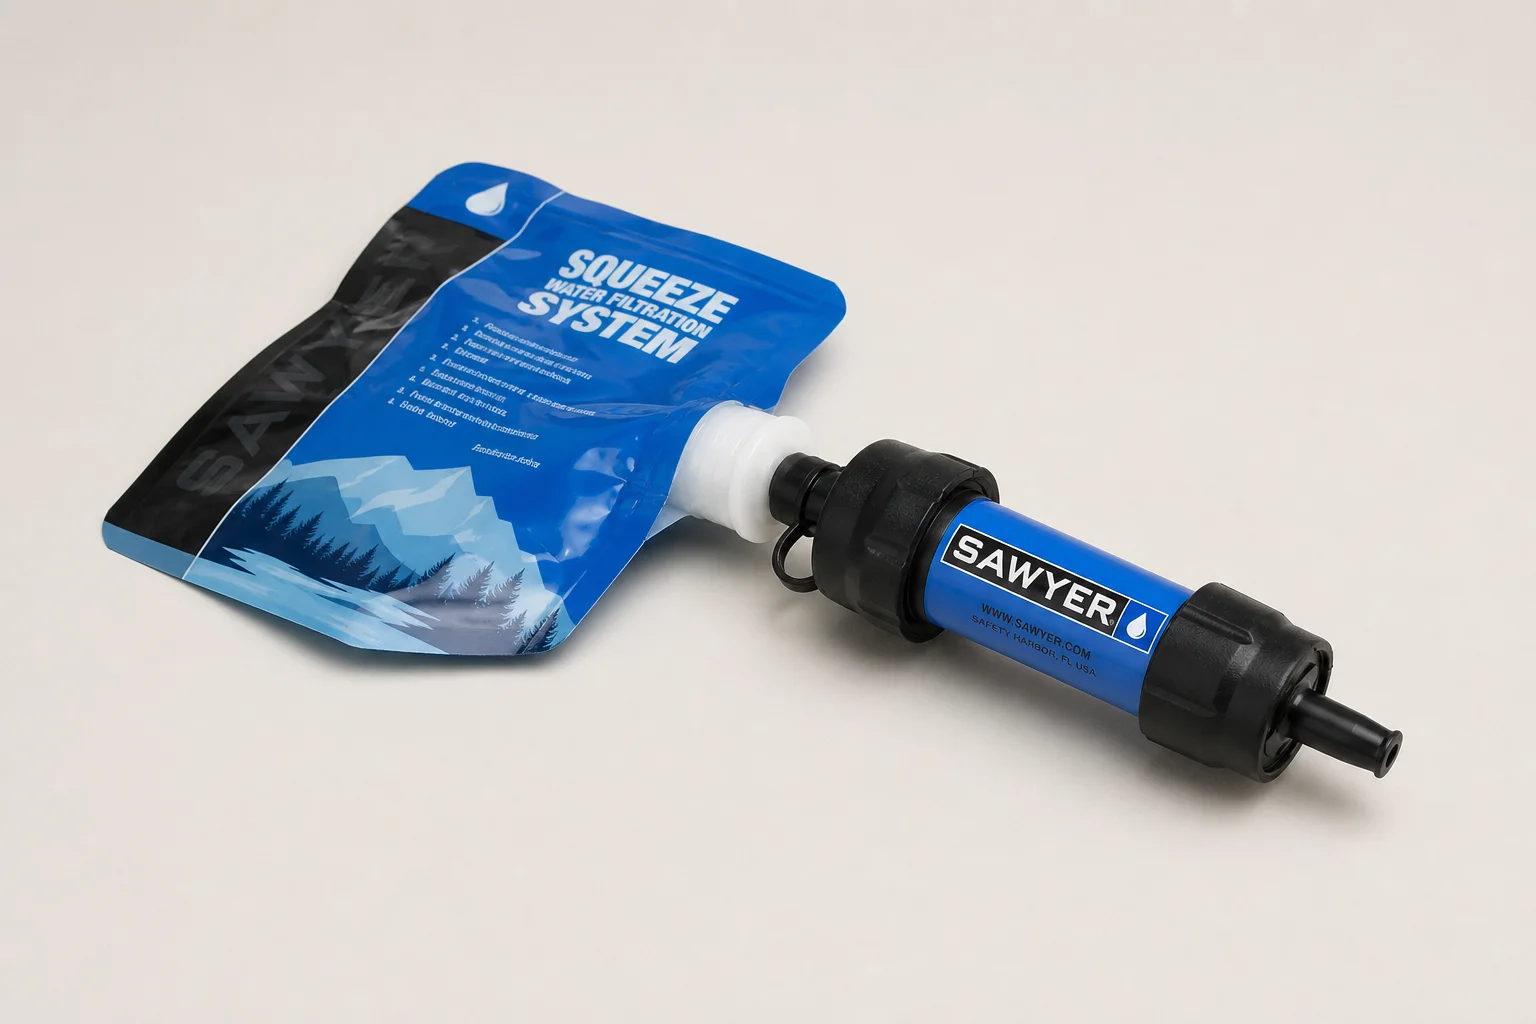
This setup lets you carry about 6 litres total if needed. If you require even more, add a collapsible water reservoir. Pair your hydration system with a reliable water filter like the Sawyer Squeeze and water purification tablets as backup.
Conclusion
Neither bladders nor bottles are universally better. The best approach is to combine them based on your hiking style and the terrain you are covering. Start with a bladder for your main drinking supply and a bottle for breaks and cooking. Test this setup on a few hikes to see what works for you. You might also consider collapsible bottles or hose attachments that mount to a standard bottle, which offer a middle ground between the two approaches. The goal is a hydration system you will actually use consistently, not one that sits unused because it is too complicated or uncomfortable.
Further reading
Related Reviews
Hiking Gear
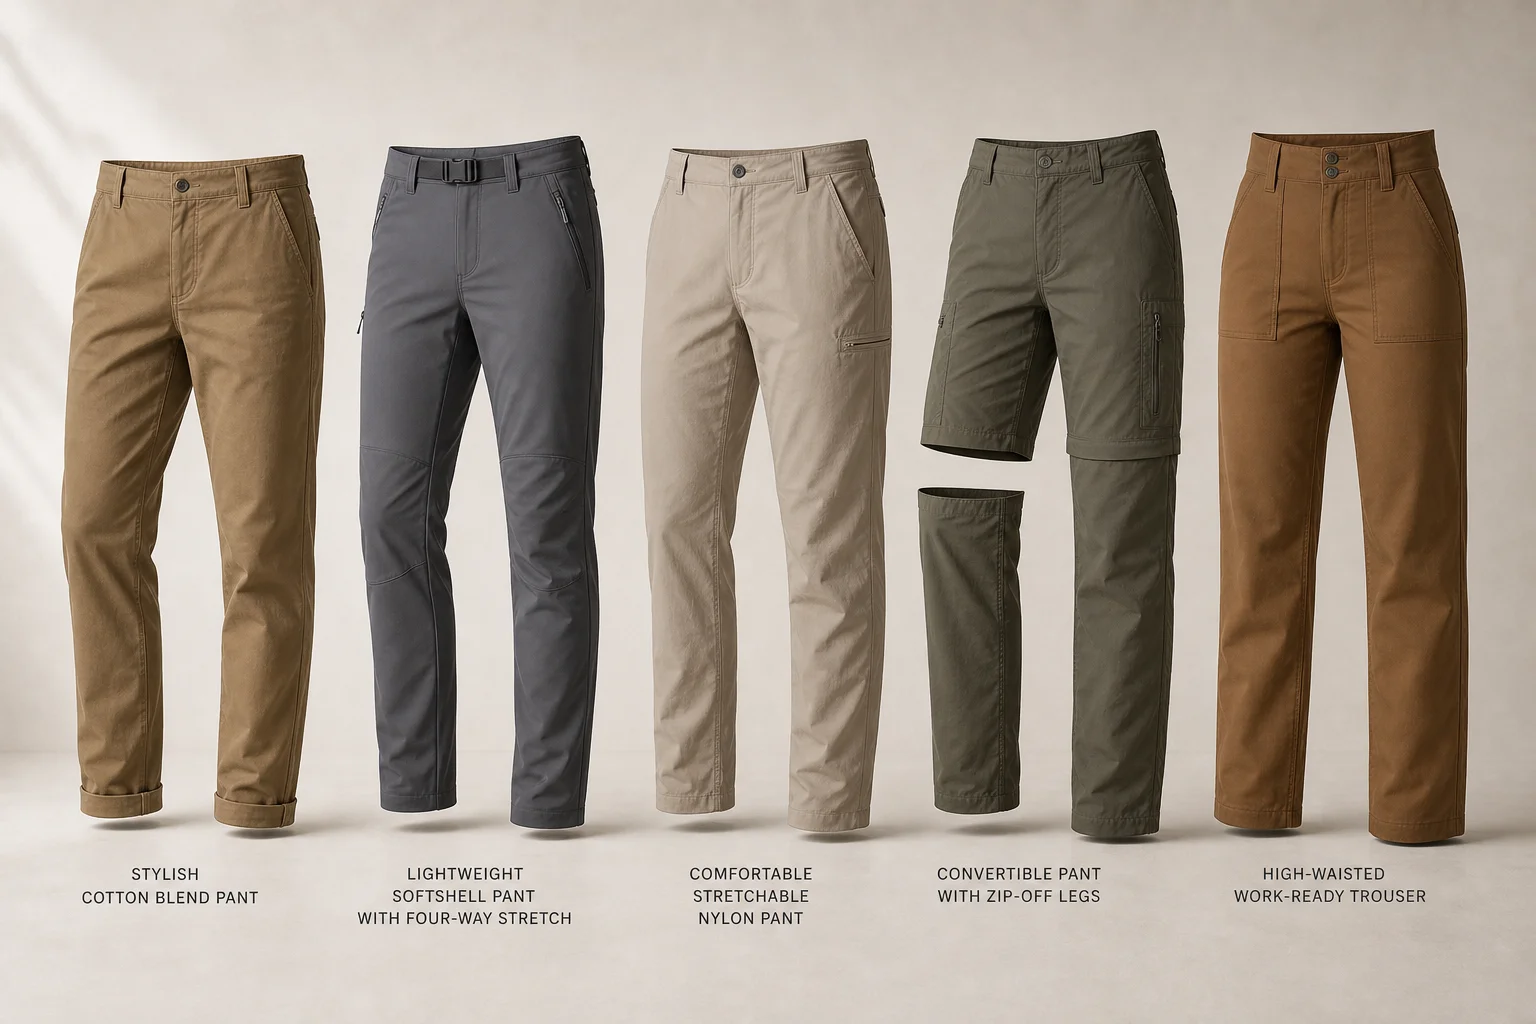
Best Hiking Pants on Amazon: Five Practical Options for Different Needs
A practical review of five hiking pants with clear strengths and trade-offs, from lightweight convertible styles to durable work-ready trousers.
Hiking Gear
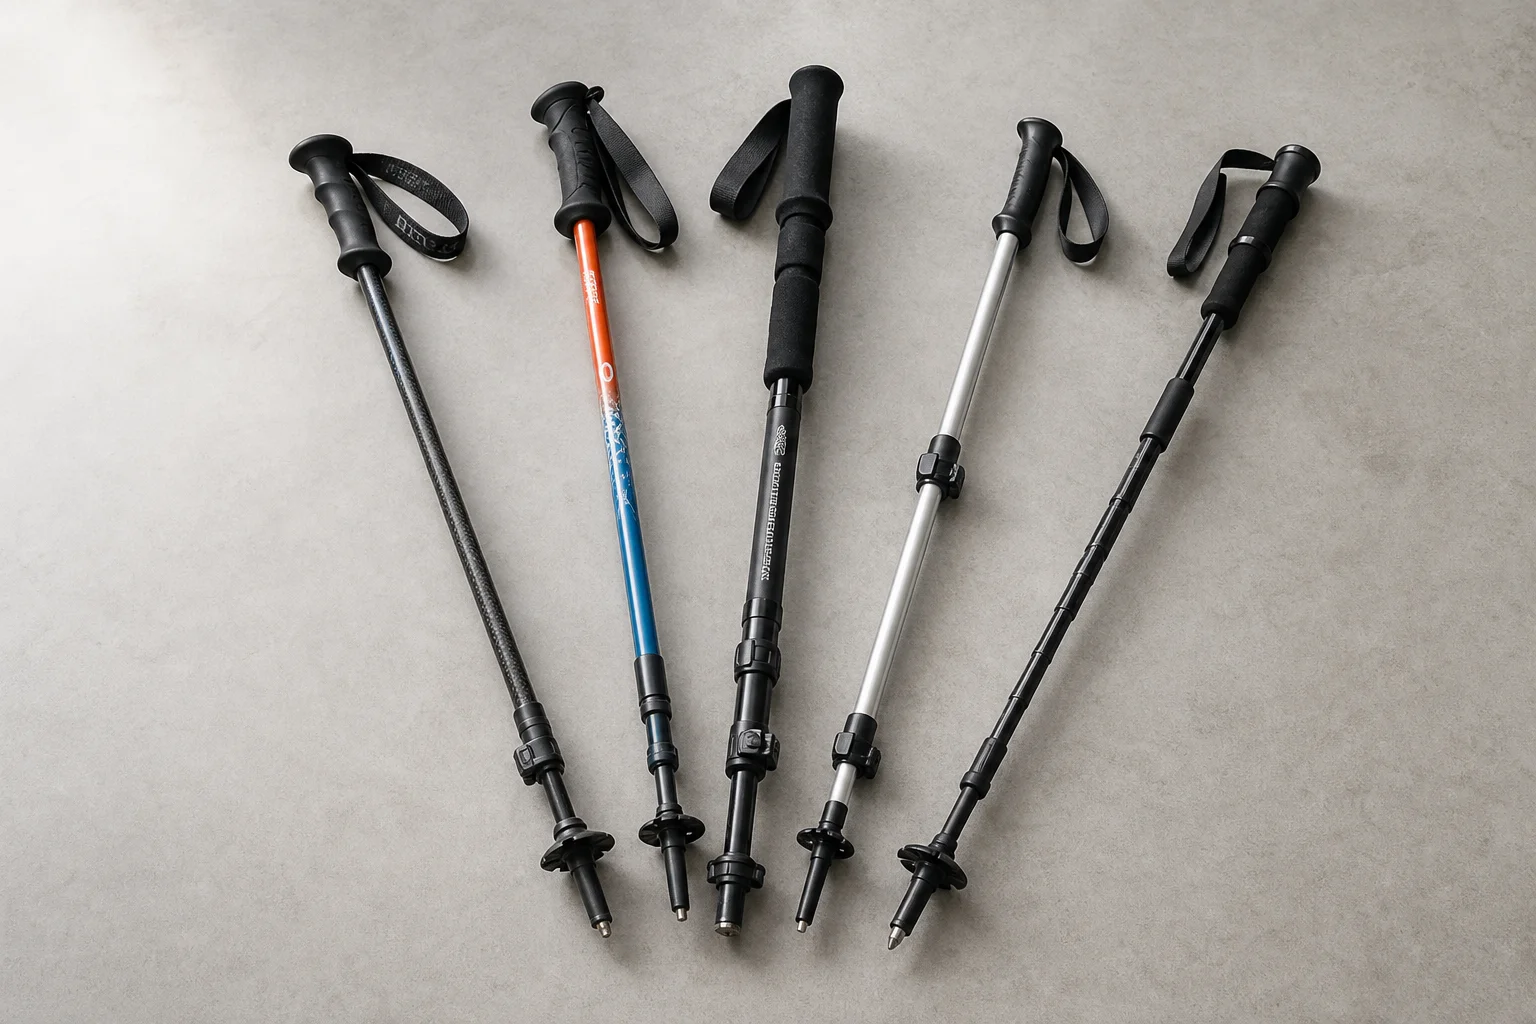
Best Hiking Poles 2026: Five Options for Different Trail Needs
A practical review of five hiking poles, from lightweight carbon designs to versatile all-terrain options, with clear strengths and trade-offs for each.
Hiking Gear
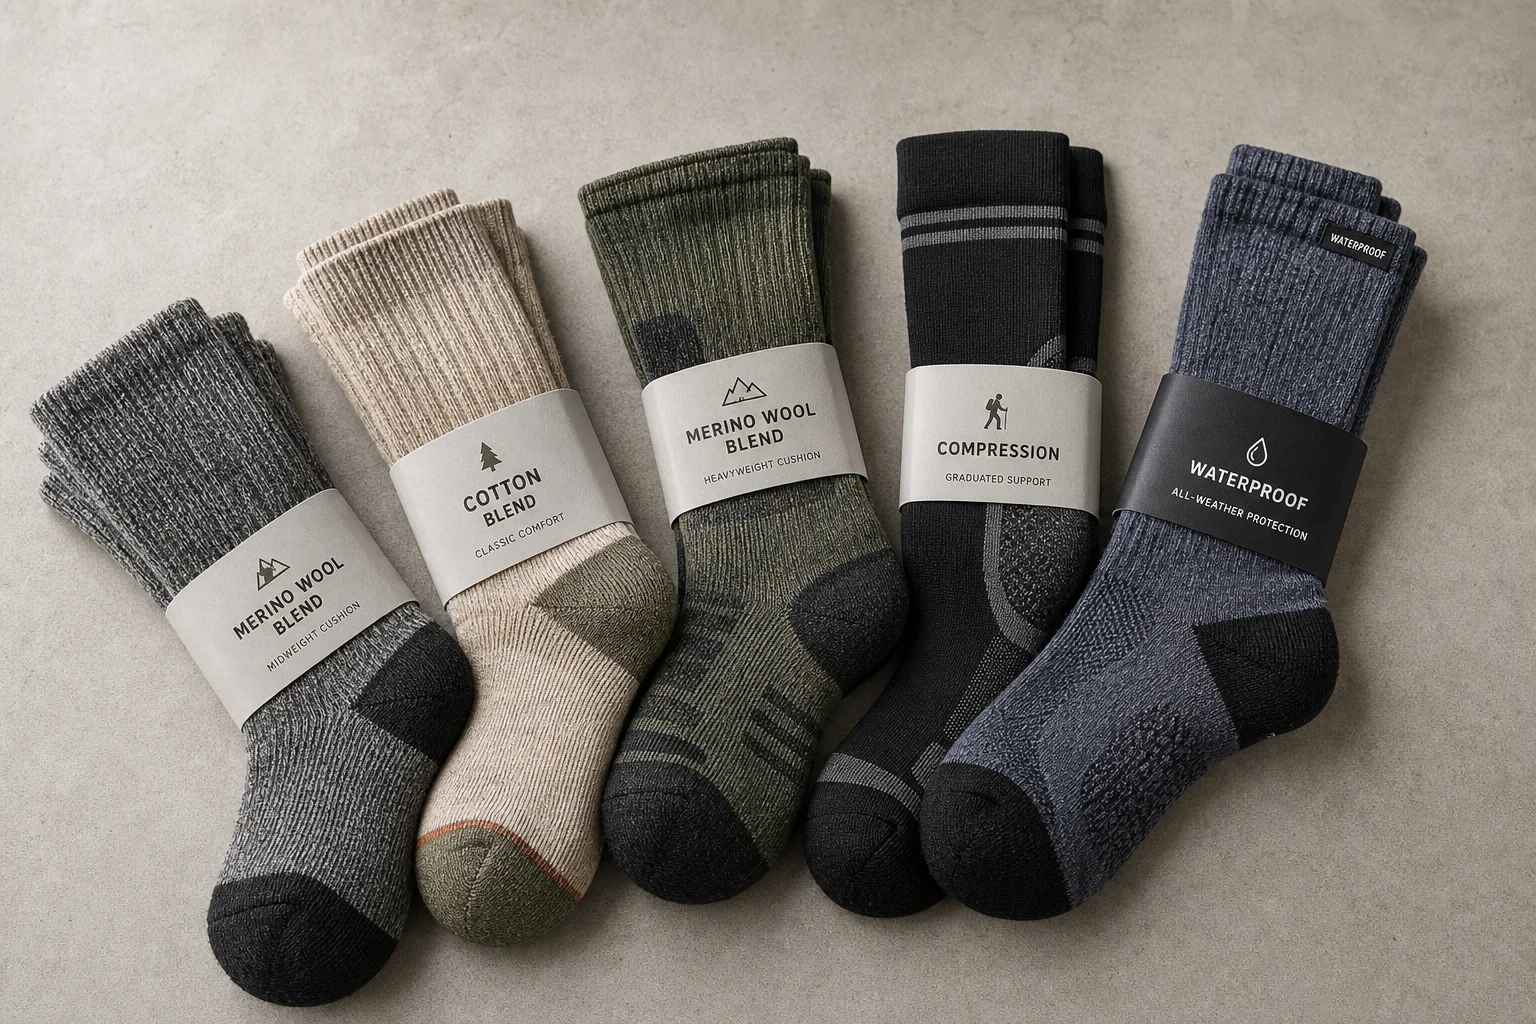
Best Hiking Socks 2026: Five Top Choices for Different Trail Needs
A practical roundup of five hiking socks, from lightweight merino options to heavy-duty compression styles, with clear guidance on which suits your outdoor activity.