Woodworking Tools
Random Orbital Sander Tips and Accessories: Three Upgrades That Make Sanding Easier
Practical advice for getting better results from a random orbital sander, plus three accessories that solve common sanding frustrations.
Introduction
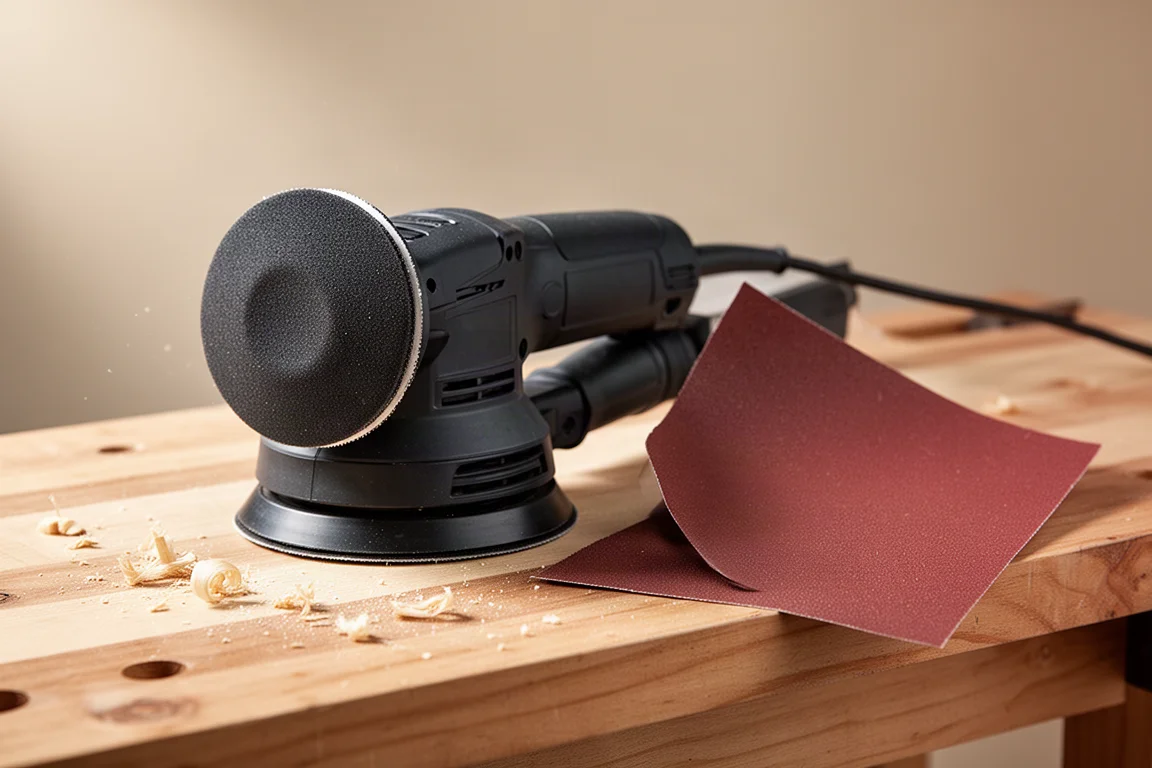
Random orbital sanders are a staple in most woodworking shops. They work well when you understand how to use them, but they can be frustrating if you don’t. Many people struggle with swirl marks, clogged paper, and discs that fly off mid-project. The good news is that a few simple techniques and the right accessories can solve most of these problems.
How a Random Orbital Sander Works
Understanding the mechanics of a random orbital sander is the first step to getting better results. The disc doesn’t just spin; it also orbits in a small elliptical pattern. These two simultaneous motions are designed to create a random scratch pattern, because in theory, no part of the abrasive travels the same path twice during the same rotation.
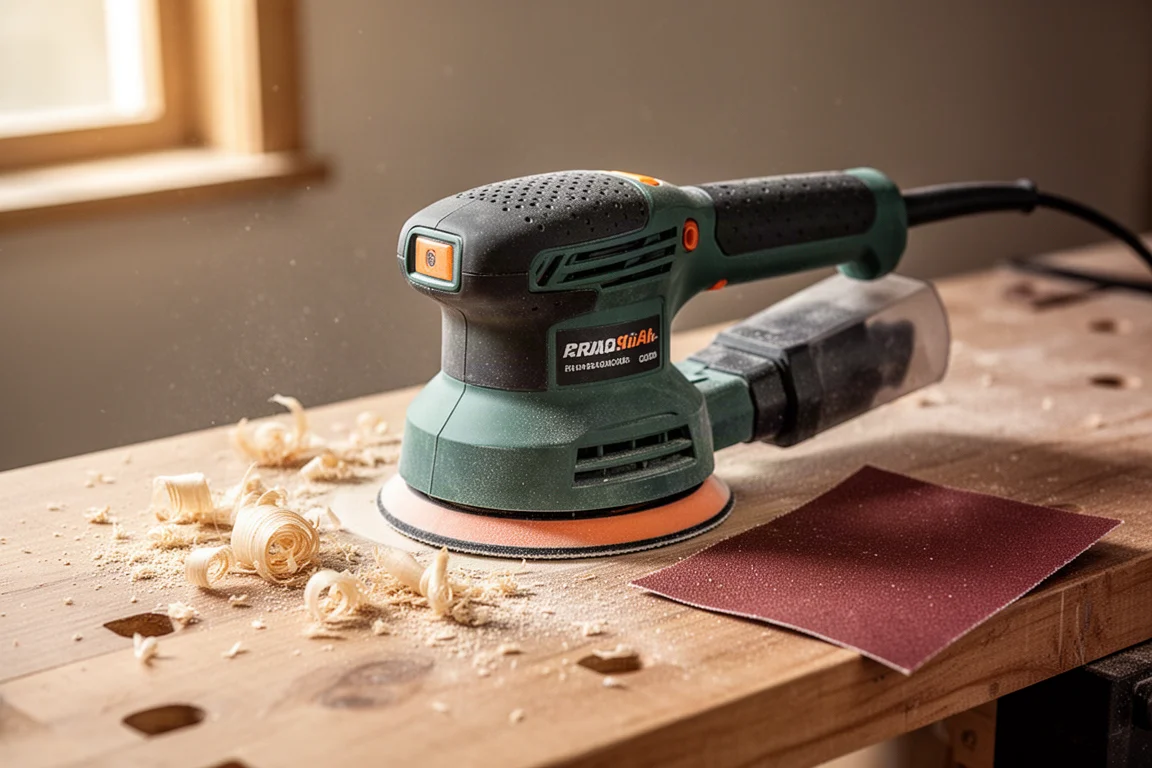
One detail that many users overlook is the orbit size. Some sanders orbit in small circles, while others use larger circles. The most common orbit sizes are 3/32 inch and 1/8 inch, but you can also find 3/16 inch and 1/4 inch options. The smaller the orbit, the finer the finish. The larger the orbit, the faster it removes material. Ideally, you want a sander with a large orbit for coarse grits and a small orbit for your finest grits. Most consumer-level sanders only offer a 1/8 inch orbit, so if you want more options, you need to look at higher-end models.
Common Problems and How to Fix Them
Random orbital sanders were designed to reduce the big circular swirl marks left by old rotary sanders. However, they can still leave tiny swirls called pigtails or spirals, which become especially visible under a stain finish. Several factors can cause these marks.
A bit of abrasive grit from your sandpaper can come off and get stuck beneath the disc. Sawdust can also compact into hard little lumps that create swirls under the disc. Keeping your sandpaper clean with good dust collection, or better yet, attaching a shop vacuum, helps prevent this. It also makes the job go faster.
If dust collection doesn’t solve the pigtail problem, consider upgrading to better sandpaper that won’t break down as you use it. For fine grits, 3M’s Cubatron 2 sandpaper stands out as an excellent choice. It holds up well during use and produces a clean finish.
Another cause of spirals is sanding too fast. The disc isn’t just spinning; it’s also orbiting, which leaves little circular scratches. The key is to leave thousands of these scratches so they blend together. If you move the sander side to side too quickly, you stretch those spirals out and make them more noticeable. Sand slowly, taking about 15 to 20 seconds to travel a foot rather than scrubbing back and forth over the same area.
Don’t skip grits either. If your 100 grit leaves a few spirals, the 120 grit will take them out. But if you skip from 100 straight to 220, you’ll have to sand for a long time to remove the deeper scratches, and you’ll likely leave behind swirls. Sanding is actually faster and more efficient when you use several incremental grits instead of just two or three.
Choosing the Right Sandpaper
For fine grits, 3M’s Cubatron 2 sandpaper is a standout option. It resists breakdown during use, which means fewer pigtails and a more consistent finish. It’s the kind of upgrade that changes how you work once you try it.
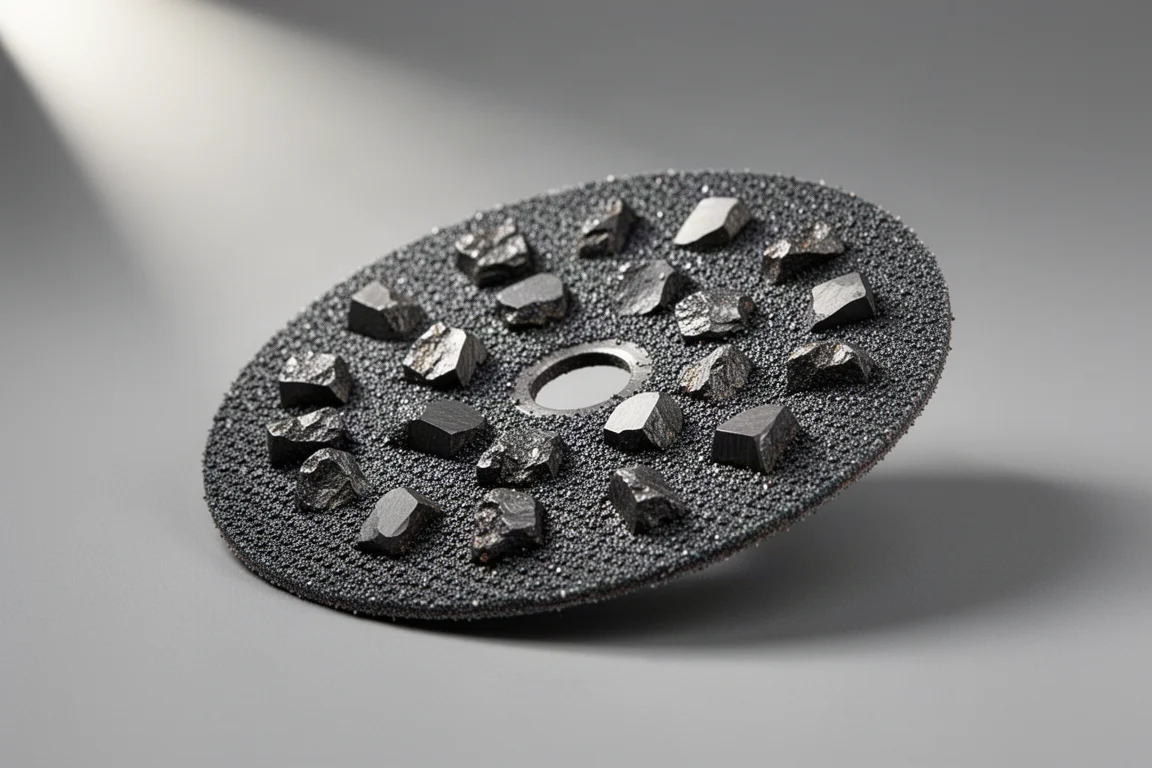
For coarse grits, Duragit carbide sanding discs are worth serious consideration. These steel discs have small chunks of tool-grade carbide embedded in the surface. The carbide won’t come off, and the discs last many times longer than standard paper discs. They’re only available in coarse grits, so they’re meant for leveling and shaping rather than fine finish sanding. A 60 grit or 80 grit disc is a great starting point.
Dust Collection Makes a Real Difference
When you sand, especially with coarse grits, dust builds up quickly. Some random orbital sanders have effective built-in dust collection, while others don’t. If dust builds up, you may get swirl marks, and your sandpaper will clog up and stop working well. This means you’ll have to sand much longer.
Testing has shown that dust collection absolutely makes sandpaper work better. Clogged paper builds up heat faster and wears out quicker. In extreme cases, you can even melt the hook-and-loop surface on the bottom of the sander that holds the paper in place.
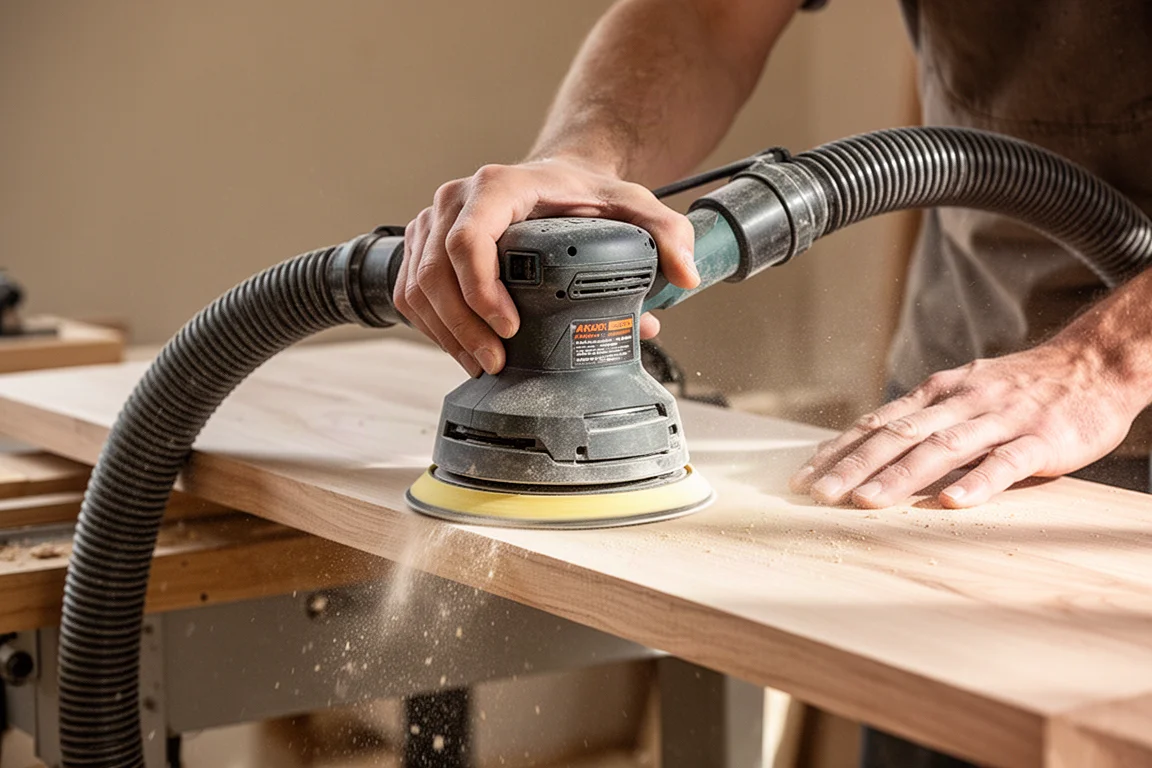
Besides using a shop vacuum, you can clean your sandpaper from time to time with a rubber cleaning stick. These aren’t expensive, and they can greatly extend the life of your sandpaper.
Keeping Your Sanding Discs in Place
A common frustration with random orbital sanders is discs that fly off or creep out of position. This problem was created by manufacturers trying to make it easier to switch grits. They made pads that grip less, and many went too far. If you pick the sander up while it’s running to reposition, the disc can fly across the shop.
There are two solutions to this problem. The first is a hook-and-loop conversion kit. This inexpensive kit includes a heavy-duty adhesive-backed Velcro-like disc that sticks to the bottom of your sander pad. You can install it by peeling off the old Velcro surface, but the easiest way is to use a sheet of fine grit paper. Without putting a disc on the sander, turn it on and set it on top of the sandpaper to sand off the old surface. Then stick the new material in place. Your sander will never lose a disc again.
Another option is a pad interface. These inexpensive accessories are double-sided hook-and-loop material with a bit of padding. They go between your existing sanding pad and your paper disc, so they wear out instead of your sander. The holes in these interfaces don’t need to line up with the bottom of your sander. There are many holes to maximize airflow, and the air and fine sawdust travel through the hook-and-loop connection into your sander’s holes.
A Safer Way to Push Workpieces
Beyond sanding accessories, there’s another tool worth considering for your workshop. The Bow expandable push shoe is a table saw safety device that solves several common frustrations with traditional push blocks.
It’s more compact than other options. Other brands know their push blocks are big and clunky for narrow workpieces, so they’ve made narrower versions. The Bow push shoe combines multiple sizes into one device, expanding from 1 3/4 inches to 6 inches. These options, along with the detachable leg, make it more stable for a wider range of workpieces.
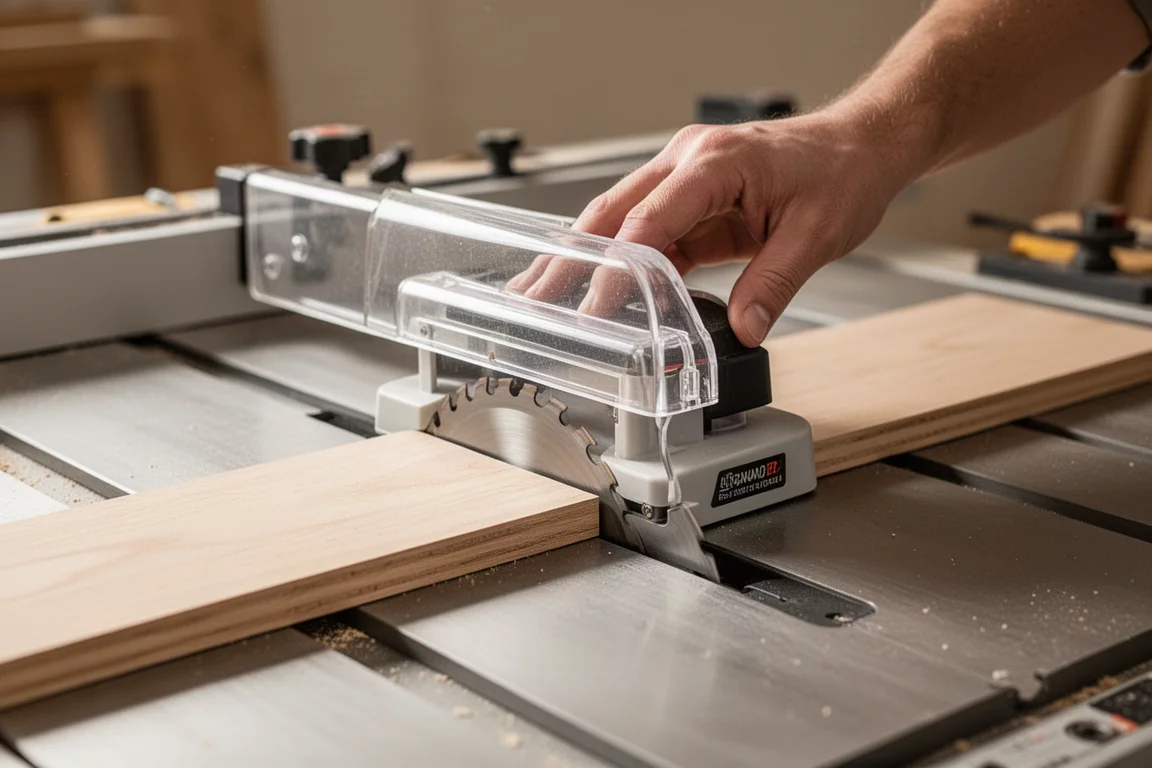
The Bow version also solves the biggest frustration with adjustable push blocks: they’re usually a pain to adjust. The clever expanding design is faster and easier because the legs move on their own, and you can see down through the block from the top. This makes it easy to position confidently no matter where the blade is. Being able to see where the blade is under the block is a big deal.
The bottom is super grippy, even when sawdust gets on it. There are three rear catches that can be set to any depth without fiddling with knobs. These are especially useful when using the push shoe on its side at the band saw. This isn’t just for the table saw; it works across multiple tools.

Buying Advice
When upgrading your sanding setup, start with the accessories that solve your most frequent frustrations. If swirl marks are your main issue, try better sandpaper like 3M Cubatron 2 for fine grits. If you do a lot of aggressive material removal, Duragit carbide discs will save you money over time. And if you’re tired of discs flying off your sander, a hook-and-loop conversion kit or pad interface is a low-cost fix.
For table saw safety, the Bow expandable push shoe is a worthwhile investment. Its adjustable design and clear visibility make it easier to use than traditional push blocks, which means you’re more likely to actually use it. As the saying goes, the best safety device is one you’ll actually use.
Conclusion
Getting better results from a random orbital sander comes down to understanding how it works and using the right accessories. Slow down your sanding, use incremental grits, and keep your paper clean with good dust collection. Upgrading to premium sandpaper for fine grits and carbide discs for coarse work can make a noticeable difference. And for table saw safety, the Bow expandable push shoe offers a practical, easy-to-use solution.
Further reading
Related Reviews

Woodworking Tools
123 Blocks and the Hardware Kit That Fixes Their Biggest Flaw
A practical look at 123 blocks, the hardware kit that solves their most common design flaw, and a sharpening station worth considering.

Woodworking Tools
Cool Tools for Woodworking: Seven Upgrades That Earn Their Place in the Shop
A practical roundup of seven woodworking tools and accessories that improve accuracy, safety, and everyday shop efficiency.

Woodworking Tools
Debuke Clamps Review: A Family-Made Aluminum Bar Clamp Worth Knowing
Debuke Clamps are lightweight aluminum bar clamps made by a small Iowa family business. Here is why they stand out from the many knockoffs on the market.