Heating & Cooling
Pioneer 24000 BTU Quantum Series Mini Split Heat Pump: A DIY-Friendly Heating and Cooling Review
We put the Pioneer Quantum series 24,000 BTU mini split heat pump through a full DIY install in a tiny cabin. Here is how the setup went, what tools you need, and why the inverter tech matters.
Introduction
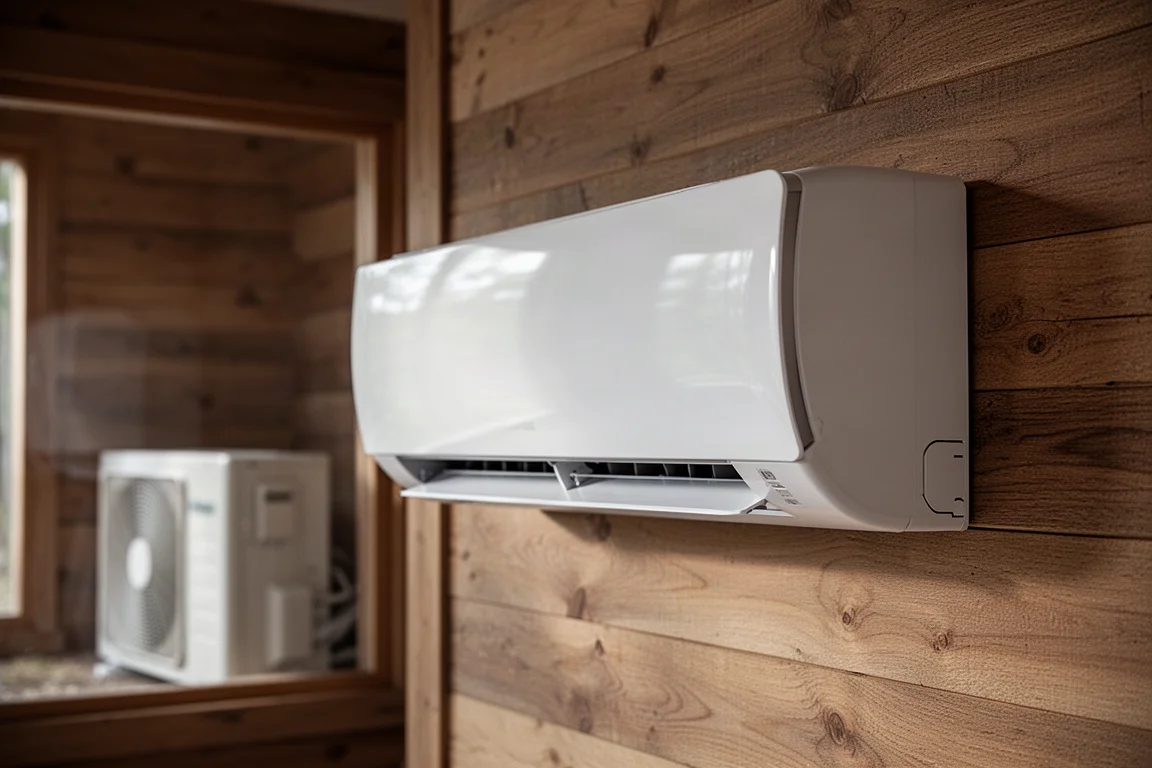
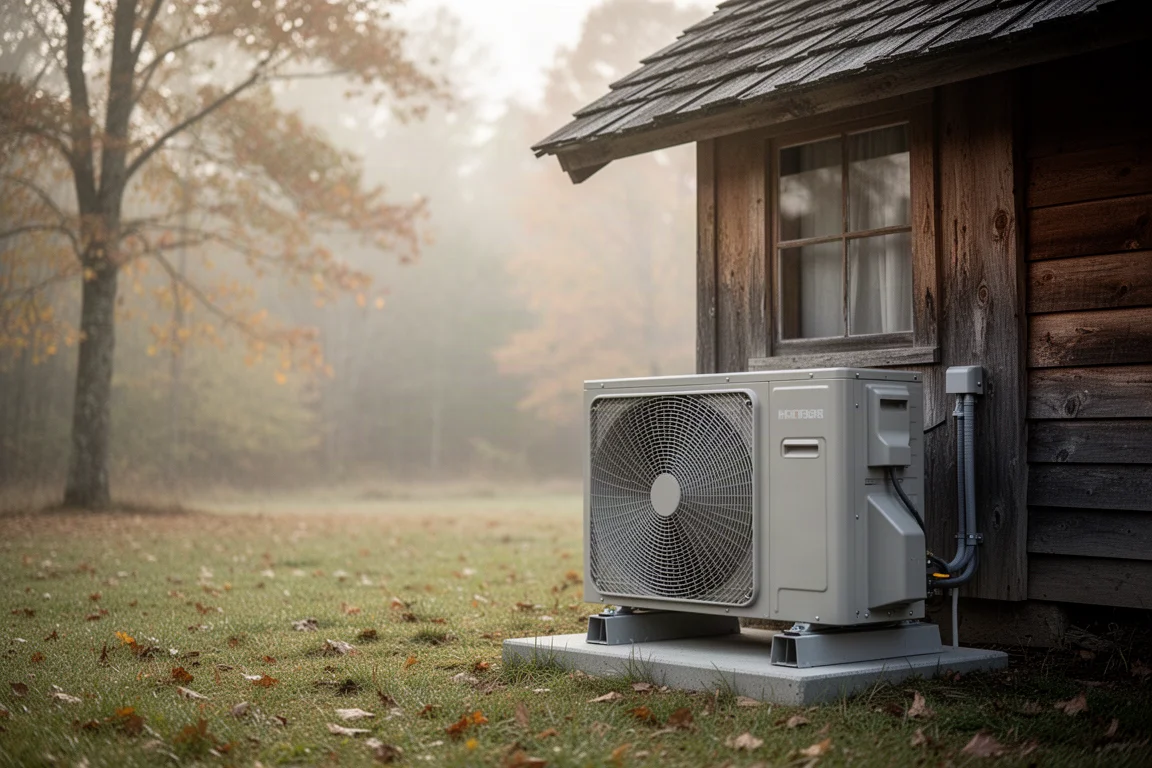
Mini split heat pumps have quietly become one of the most practical ways to heat and cool a small space, and the Pioneer 24000 BTU Quantum series unit is a strong example of why. We installed one in a small cabin used as a seasonal hunting camp, ran the full DIY setup from mounting to line charging, and then tested it in both cooling and heating modes. The short version: it worked exactly as promised, and the installation was more approachable than we expected.
One thing to flag upfront: 24,000 BTU is genuinely oversized for a tiny cabin. Pioneer offers the same platform in smaller and larger capacities, so the sizing advice below matters more than the headline number.
Who This Product Is For
This unit makes sense for anyone who wants efficient heating and cooling in a space that lacks ductwork: a small home, an apartment, a workshop, a converted RV, or a cabin like ours. Pioneer sells capacities from 9,000 BTU up to 36,000 BTU, and the 9,000 and 12,000 BTU versions run on standard 110V power. The 18,000, 24,000, 30,000, and 36,000 BTU units step up to 220V.
The key thing people overlook is that this is a heat pump, not just an air conditioner. It cools in summer and heats efficiently in winter, and there are very few ways to heat a space as efficiently. If you are shopping for cooling only, you may be underselling what this category can do for you.
Main Strengths
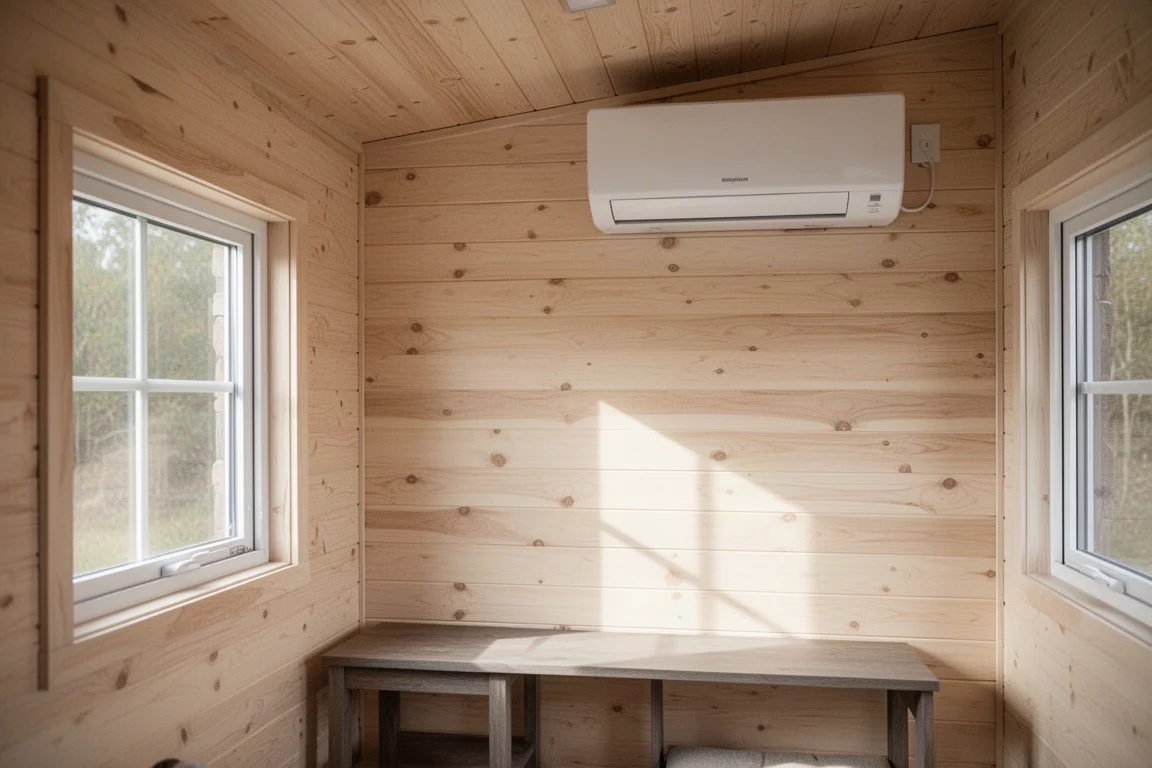
The headline feature is the inverter technology. Most air conditioners are essentially binary: fully on or fully off. The Quantum series instead dials its power output up or down based on how hard it needs to work, which translates directly into lower energy use and real money back in your pocket.
Beyond that, the feature list is genuinely useful rather than filler:
- Eco mode that lets the unit regulate how much it actually needs to run
- Energy Star certification for efficiency
- Follow Me mode, where the remote carries a temperature sensor, so the unit adjusts based on where you are standing in the room, not just where the unit is mounted
- Auto reverse dust cleaning mode that backs the airflow up and blows debris out of the unit, a nice built-in maintenance aid
- Insect and rodent prevention on the outdoor unit, which matters more than you would think in rural settings
- Auto heating for cold weather, letting the unit manage its own thermal balance as temperatures drop
The DIY-friendly warranty is the sleeper advantage here. Many manufacturers will void coverage if you self-install. Pioneer built this line specifically for homeowner installation and backs that up with a warranty that supports DIY installs.
In testing, the unit responded quickly. Cold air was flowing within moments of startup, the temperature controls worked as expected, and switching into heating mode produced warm air just as readily. Mounted high on the wall, the air handler is unobtrusive and quiet enough to forget about.
Things to Consider Before Buying
The install is DIY-friendly, but it is not tool-free. Before ordering, make sure you actually have or can borrow the following:
- A power drill and a set of wrenches or pliers
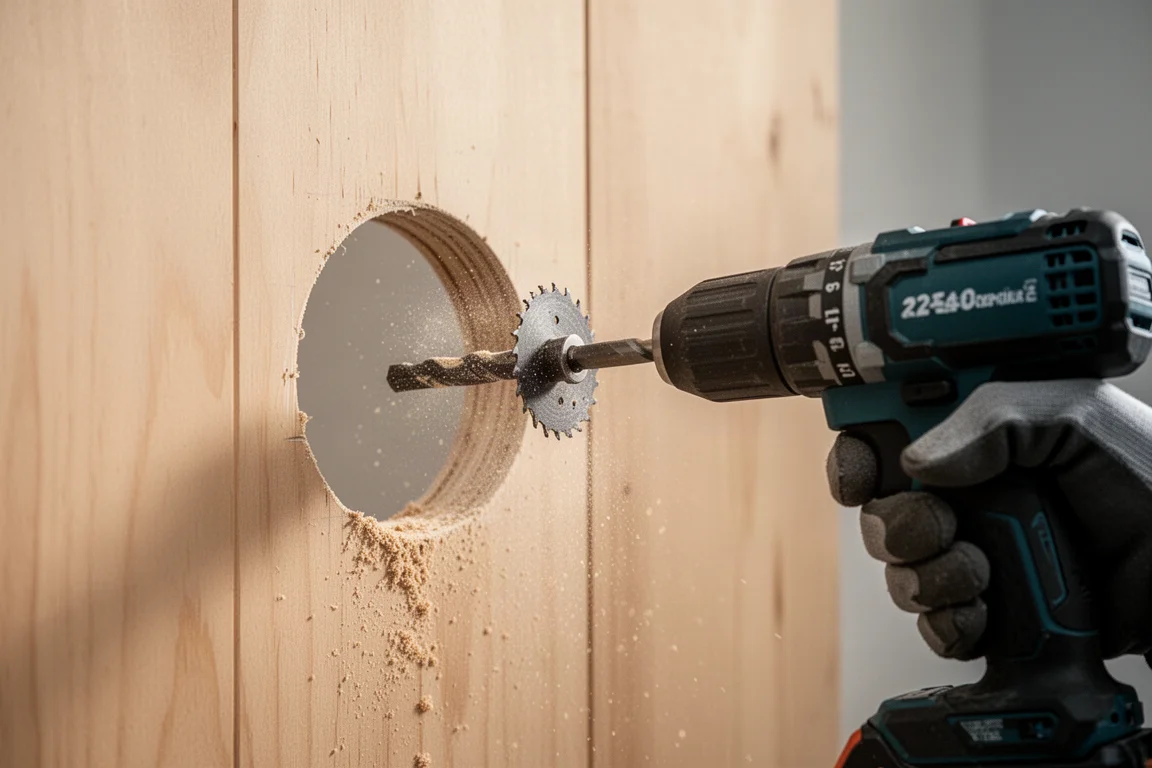
- A way to cut a 2.5 to 3.5 inch hole through the wall for the tubing (a hole saw for wood; masonry bits if you are going through brick or concrete)
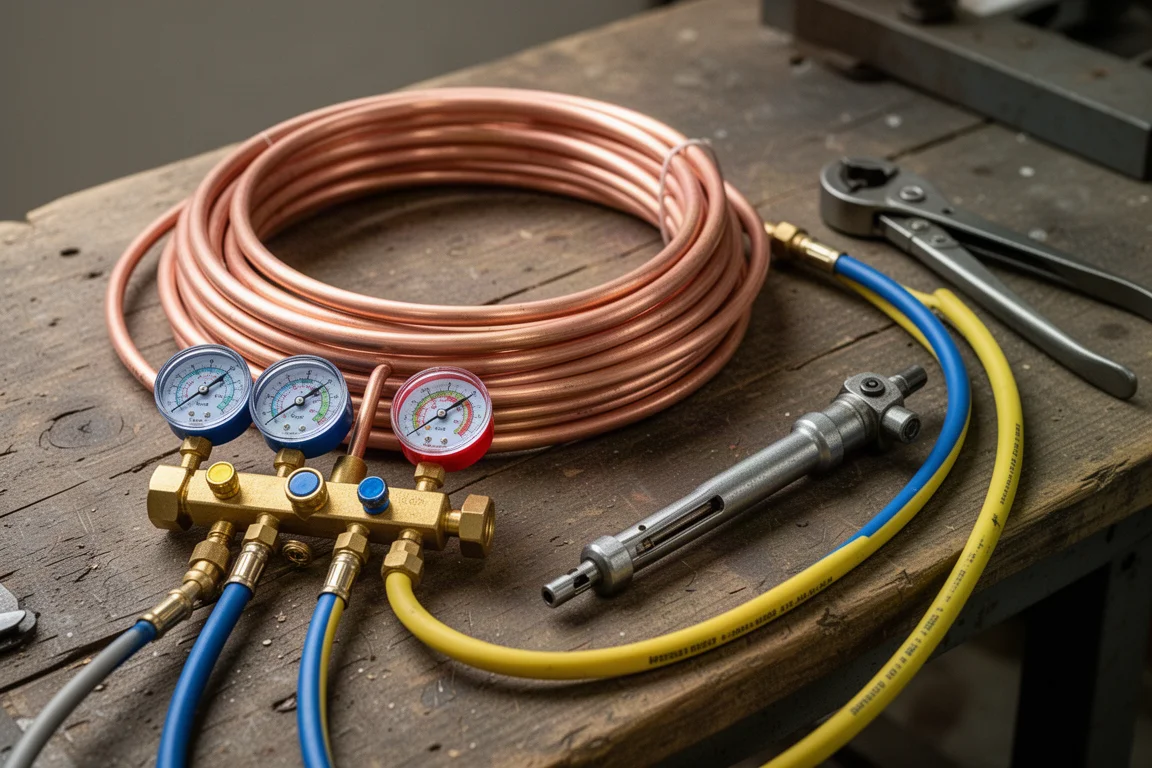
- A vacuum pump, manifold gauge, and adapters to prep and charge the lines
- A tubing cutter and flaring tool if you plan to shorten the refrigerant lines
- Gasket sealant for the connections, just to be safe
A combined vacuum pump, manifold, and adapter kit is honestly the easiest route if you do not already own HVAC tools. On the electrical side, connecting the low-voltage wiring between the head unit and the condenser is simple, matching same-colored wires to numbered terminals. Tying the unit into your home’s power supply is a different story, and that is the step where bringing in an electrician is the smarter call.
Two handling tips worth repeating. First, unroll the copper tubing gently and firmly rather than stretching it by the ends; a kinked line is a ruined line. Second, the two refrigerant connections are different sizes, so it is genuinely hard to hook them up wrong.
Buying Advice
The line-charging process is the part that intimidates most first-timers, but it follows a clear sequence. Connect the manifold’s blue side to the service port on the large gas line, connect the yellow side to the vacuum pump, leave the red side unconnected, and pull a vacuum. Fifteen minutes is the common recommendation; we ran it for half an hour to be safe. Then close the valve, let the system sit for 30 minutes to an hour, and confirm the pressure reading has not changed. A stable reading means your seals are good.
From there, remove the dust caps, use the included Allen wrench to open the service valves slowly, stopping when you feel the second point of resistance. Never force past it. Once both valves are open, the lines are fully charged, you can disconnect the blue line (expect a brief hiss), cap everything, and the system is ready to run.
On sizing, be honest about your space. Our 24,000 BTU unit is overkill for a small cabin, and if your space is modest, the 9,000 or 12,000 BTU 110V models will likely be the better and more affordable fit. If you are conditioning a larger open living area, the bigger 220V capacities earn their keep. We left our lines at full length for now since this is a test setup that may move next season, but trimming them to length is straightforward if you own the cutter and flaring tool.
Conclusion
The Pioneer 24000 BTU Quantum series mini split heat pump delivered exactly what we wanted from it: straightforward DIY installation, fast and effective cooling, dependable heating, and inverter efficiency that should keep running costs down. For anyone comfortable with basic tools and willing to follow the vacuum and charge procedure carefully, this is one of the few HVAC purchases you can genuinely install yourself without giving up warranty coverage. Match the capacity to your space, plan your tools before the unit arrives, and this is an easy recommendation.
Product link
View more details for Pioneer 24000 BTU Quantum Series Mini Split Heat Pump
This product is mentioned in the review. Check the specifications, options, and compatibility before buying.
View more details for Pioneer 24000 BTU Quantum Series Mini Split Heat PumpFurther reading