Power Tools
Makita DTR-180 Cordless Rebar Tying Tool Review: Fast, Light, and Not for Weekend DIY
A close look at Makita's cordless rebar tier: how it ties, what maintenance it demands, and why it is a specialist investment rather than a home workshop tool.
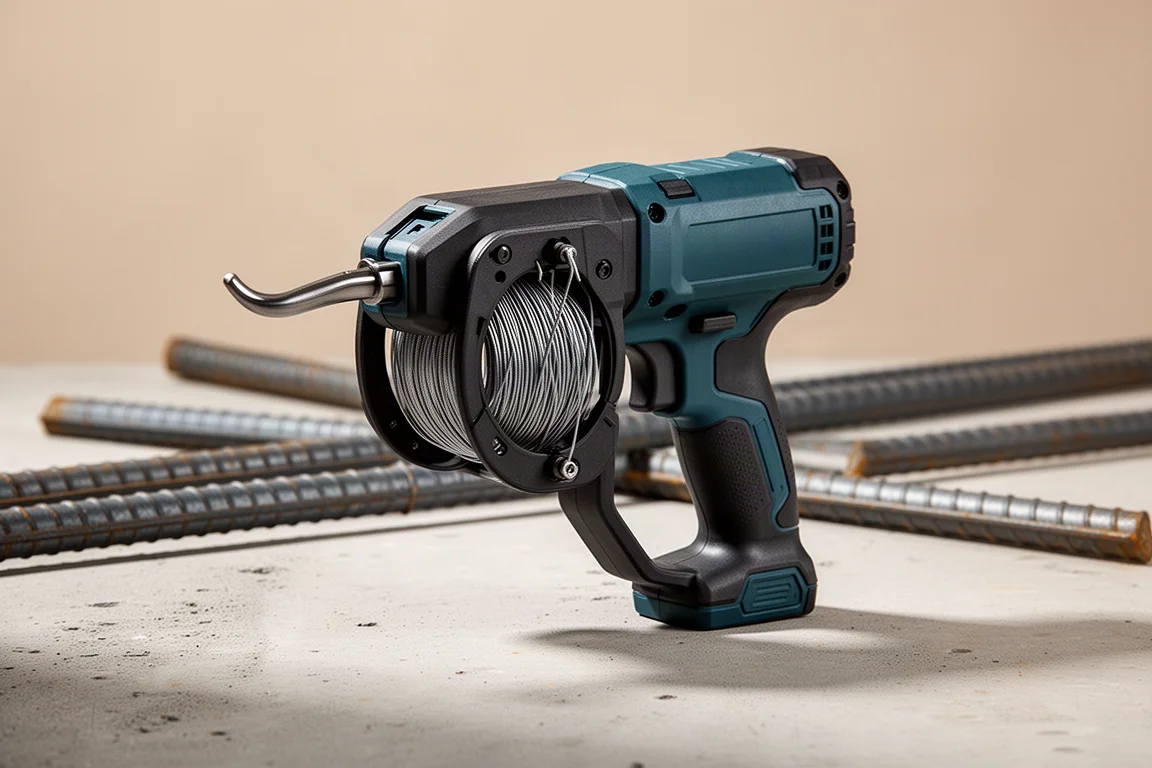
Introduction
If you have ever tied hundreds of metres of rebar together by hand, you already know the cost: sore fingers, aching wrists, a stiff back and sore knees. The Makita DTR-180 cordless rebar tying tool exists to remove all of that, wrapping, cutting and twisting tie wire in around 0.8 of a second per tie. This review walks through how it works, what it takes to keep it running, and whether it makes sense for the kind of work you actually do.
First Impressions and Design
The DTR-180 looks cumbersome and top-heavy at first glance, but in the hand it is surprisingly light. It is nothing like the heft of a rebar cutter. That said, it is an intricate tool with a lot of moving parts, and there are plenty of small pieces that can go wrong if it is not looked after.
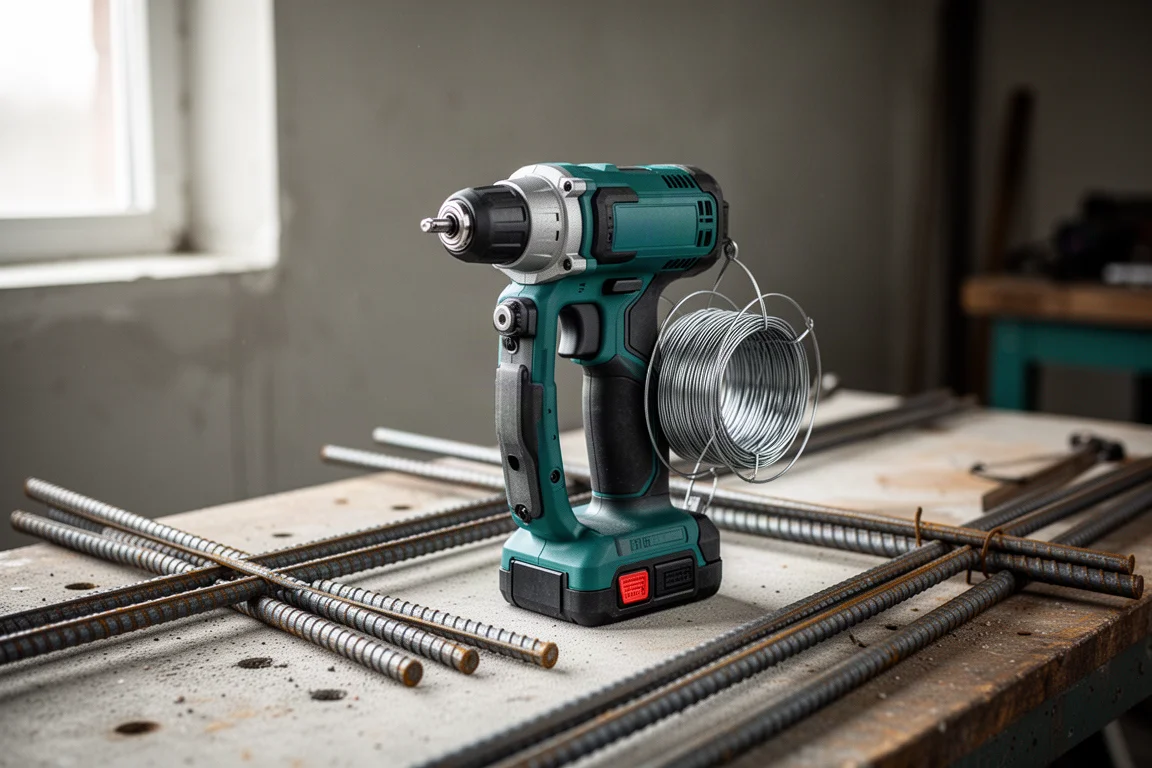
The trigger has a trigger lock, and interestingly the tool accepts both 18V and 14.4V batteries, which is useful if you still run older 14.4V packs. Around the base there are two tie modes: a single-actuation mode and a rapid or bump-fire style mode. The second mode does not mean one wrap or two wraps. Instead, once actuated by pressing the front contact area against the rebar, the tool fires automatically without pulling the trigger, much like bump fire on a nail gun. Worth noting: whichever mode you last used is the mode the tool will start in next time, so keep an eye on the setting before you bump it and fire off a tie you did not intend.
How the Tie Actually Works
The principle is simple. The tool pulls wire through internally with a couple of gears, feeds it out the front where it curls down and wraps around the rebar, cuts itself, then twists the joint tight. Tie tightness is set with a dial from 1 to 6 at the base of the tool. Too tight and you will break the wire, so you work out the right setting for the rebar size and number of bars you are wrapping.
A flat battery triggers a beeping error display, while a charged battery produces a calibration sound as the mechanism primes itself and cuts the wire end ready for the first tie.
Threading the Wire
Threading takes a little care. With the power off, trigger locked and battery removed, open the cover and load the spool the right way round, with the pointed ends of the wire facing right so the wire feeds over the top rather than from underneath. Cut the end straight, because a bend can jam inside the tool.
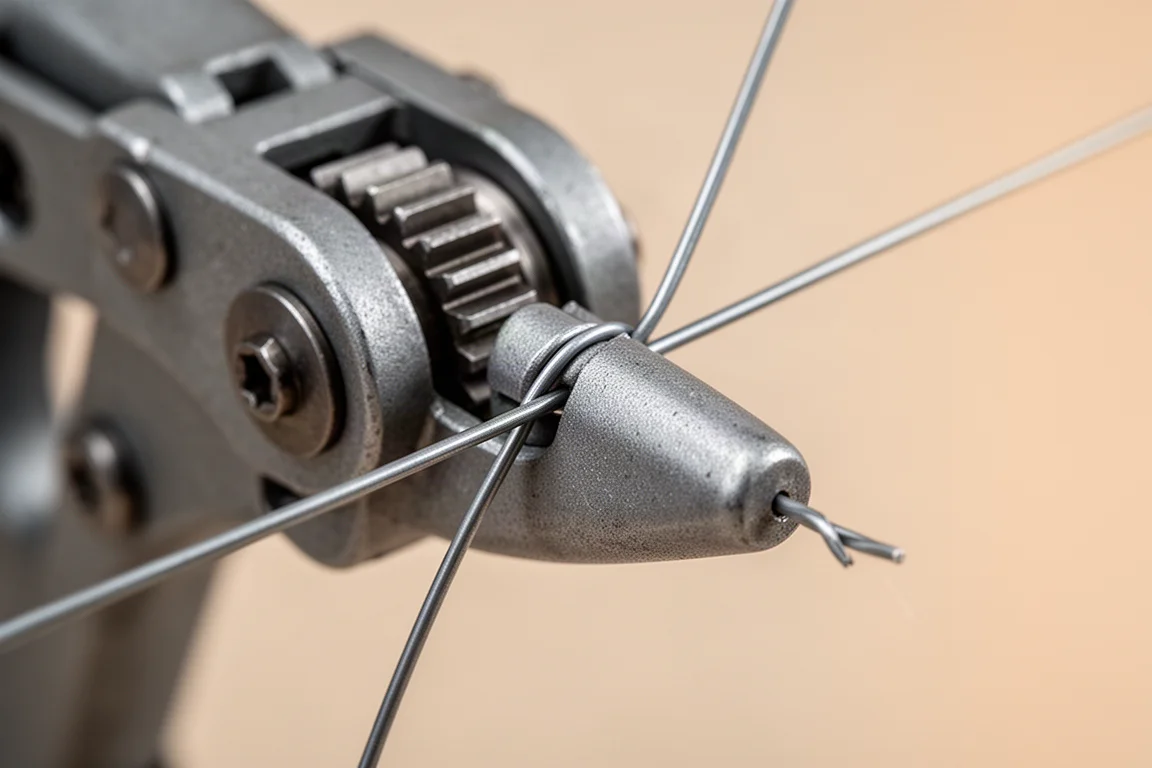
Next, press the release button and lock it with the side lever to open the feed gears, thread the wire all the way through, and leave it hanging out the front by roughly half an inch (10 to 15mm) to get the correct curl. Close everything up, release the lock, and the tool primes itself on startup. A safety guard prevents fingers from reaching the tying area, and the tool will not operate if that area is exposed.
Tying Performance
On 16mm (5/8 inch) rebar, the tool wraps the wire around a total of four times, which is tighter than it first appears given how much thinner the tie wire is than what you would use manually. The two cut ends are left sticking up rather than twisted together like a hand tie; that is not a fault, just how the mechanism works, and the ties get buried in concrete anyway.
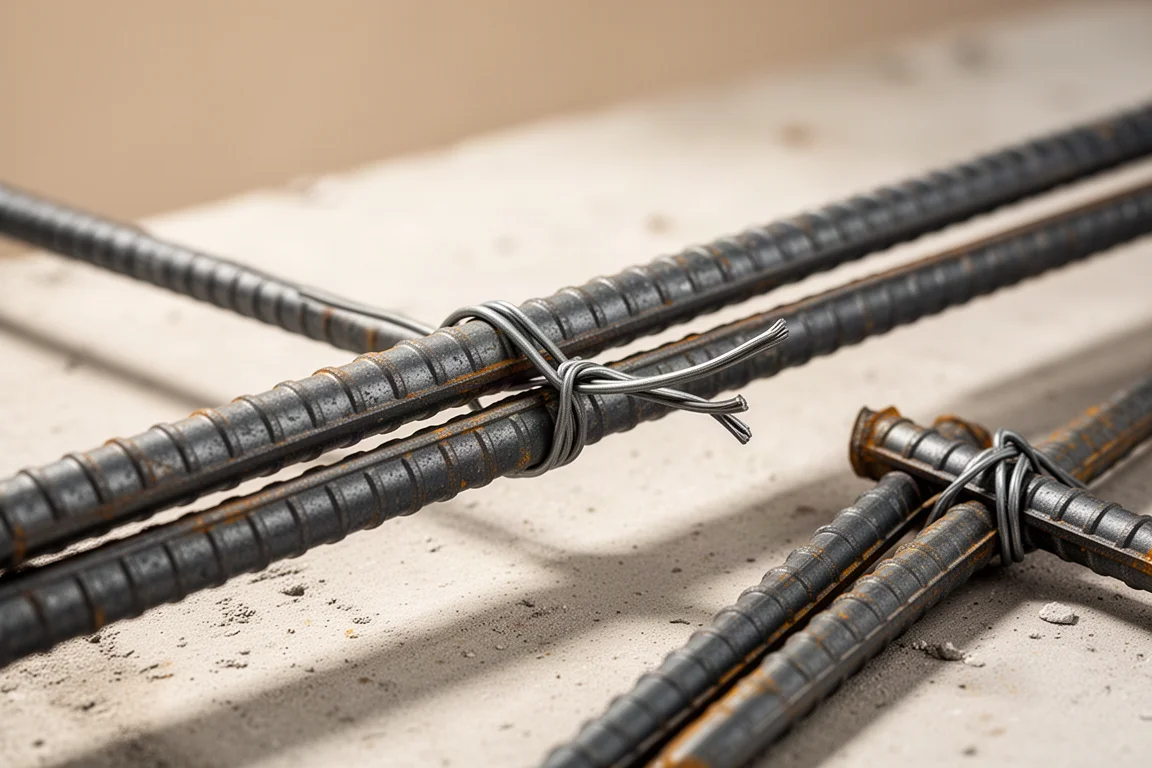
Setting 1 proved a little loose, while setting 6 pulled the joint up properly tight. The tool handled two bars of 16mm rebar easily, and three bars is the maximum. Any more than three and the tool will not fit over the bundle and the wire will not tie correctly. If a tie breaks, simply back the tension setting off until it suits your application.
Consumables, Battery Life and Maintenance
Tie wire comes in rolls of roughly 120 ties each, sold in boxes of up to 50 rolls. In New Zealand, bulk buying works out to around 10 dollars per roll, which is not cheap compared to doing it manually, but the time savings are significant. A 6.0Ah battery delivers around 6,400 ties according to Makita, so you will not be chewing through batteries in a day.
Maintenance is the real commitment. Metal filings build up quickly inside the mechanism, and the recommendation is to clean the tool out roughly every 50 rolls of wire. A small cleaning tool threads through to clear the cutting area, and an included Allen key lets you pull the covers off for a blowout or to replace worn parts. Expect to strip it down from time to time.
Who Should Buy It
This is not a DIY tool. It is a specialist piece of kit for people who tie serious amounts of rebar, and the purchase price is a hefty investment. For anyone who only ties occasionally, hiring one or paying someone else to do the work may well be cheaper than owning it.

For regular users, though, it is a genuine time saver: quick, easy on the hands and back, and consistently reliable once you dial in the tension setting. There is no direct comparison here with other brands, so it is hard to say whether it is better or worse than the competition, but as a Makita 18V platform tool it slots neatly into an existing battery setup.
Conclusion
The Makita DTR-180 does one job and does it fast: a tie in 0.8 of a second, four wraps, adjustable tension, and two actuation modes for different working styles. The trade-offs are real: consumable wire costs, frequent cleaning, a tool that needs TLC on rough sites, and a price that only makes sense if rebar tying is a regular part of your work. If it is, this is one of the very cool category of tools that will save your hands, your back and a serious amount of time.
Product link
View more details for Makita DTR-180
This product is mentioned in the review. Check the specifications, options, and compatibility before buying.
View more details for Makita DTR-180Further reading
Related Reviews
Power Tools
Best 1-Inch Pistol Impact Wrenches: Three Heavy-Duty Options Compared
We compare three 1-inch pistol impact wrenches, from a budget-friendly Harbor Freight model to a premium Caterpillar unit, to help you choose the right one.
Power Tools
Best 3/4-Inch Impact Wrenches 2026: Five Contenders Compared
We compare five 3/4-inch impact wrenches across price and performance, from a budget Amazon option to Snap-on's most powerful model yet.
Power Tools
Best Budget Cordless Tools 2026: Walmart Finds That Punch Above Their Price
We tested five cordless tools from Walmart, including a high-torque impact wrench that trades blows with Milwaukee and a $35 duster that outperforms its price class.