Automotive Lighting
Lasfit H4 LED Headlight Conversion Kit: A Simple Upgrade for Older Trucks
A plug-and-play H4 LED conversion kit with active cooling and adjustable beam pattern, tested on a first-generation Toyota Tacoma.
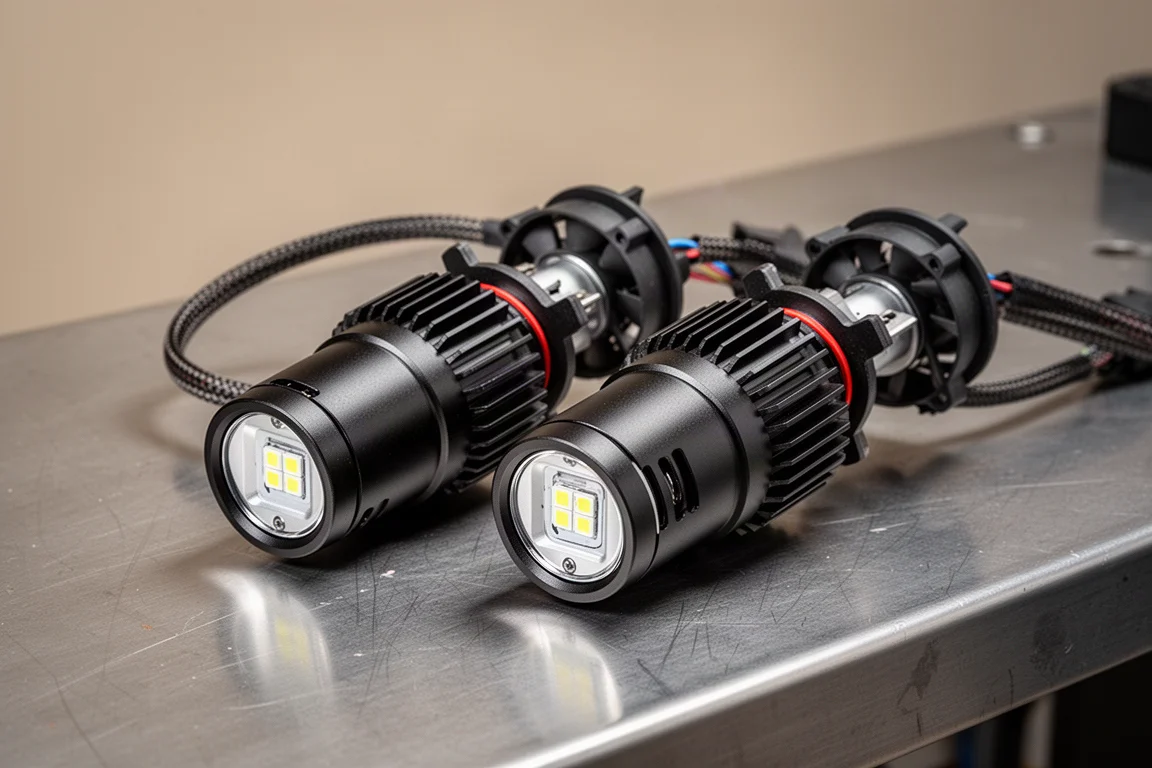
Introduction
Older trucks are usually easy to maintain, and the first-generation Toyota Tacoma is no exception. Headlight bulb swaps on these trucks are straightforward, so a conversion kit has to earn its place rather than fix a hard problem. The Lasfit H4 LED headlight conversion kit does that by making a common upgrade genuinely plug-and-play, with clean build quality and no tool requirements on this vehicle.
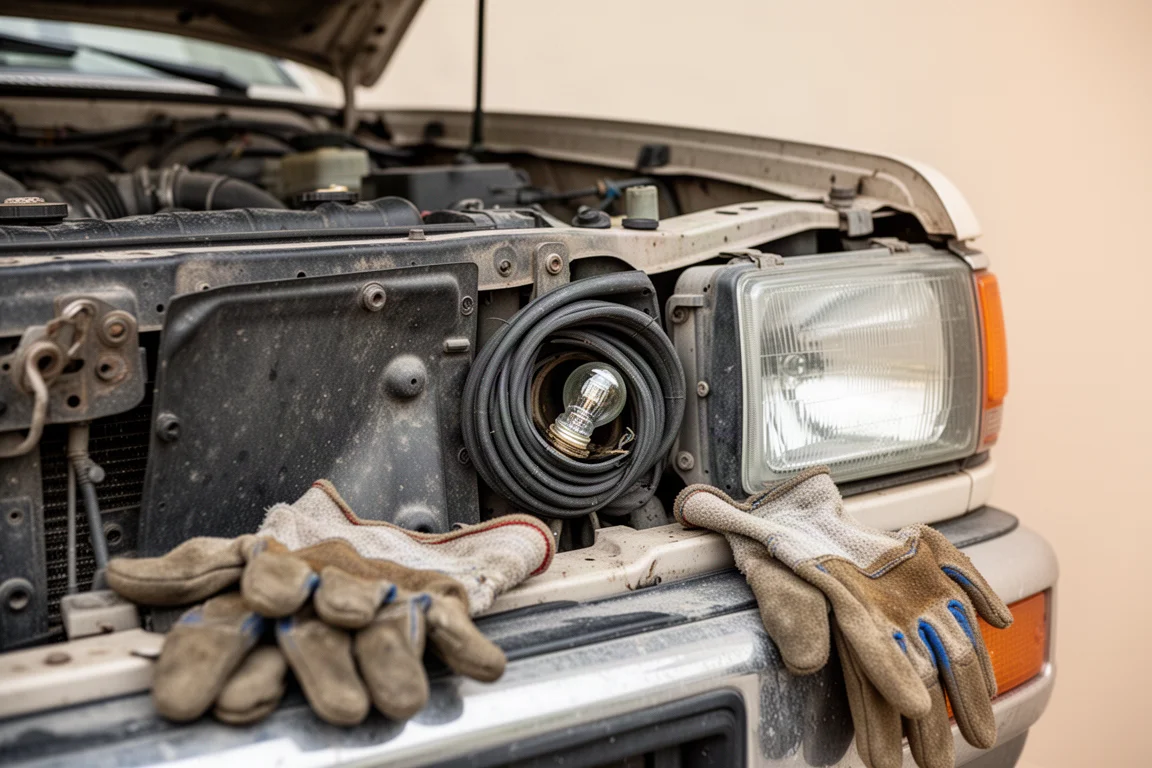
The test vehicle is a 2000 Tacoma with around 197,000 miles, running a standard halogen bulb setup with a warm, older-style light output. On modern vehicles with fully sealed integrated LED systems, upgrades like this are far more complicated, which makes an older truck with H4 sockets an ideal candidate.
Who This Product Is For
This kit suits owners of older vehicles with standard H4 halogen sockets who want a brighter, whiter light without rewiring or cutting anything. It is especially relevant for classic trucks and cars where parts are still plentiful and the headlight housing is accessible.
It is also a good fit for people who prefer working with their hands rather than a toolbox. On this Tacoma, the entire install was done without removing the battery or airbox, although removing the battery on the driver side would make access easier.
Main Strengths
The build quality stands out immediately. The kit includes braided cabling, a rear-mounted cooling fan on each bulb, and a short, well-organized instruction sheet. The packaging itself is unusually good for a lighting product, presenting more like a boutique kit than an economy bulb swap.
The lighting pattern is adjustable, which is genuinely useful because it lets you fine-tune the beam on a vehicle whose housing geometry may have drifted over decades of service. Output after installation is dramatically brighter than the stock halogens, and that was achieved with no beam adjustments at all, straight out of the box.
Installation Experience
The install is genuinely simple. The steps are: rotate the socket out, remove the old bulb, insert the LED in the direction of the arrow, rotate 45 degrees, and connect the power line to the factory connector. Depending on the vehicle, the whole manual covers three to five steps.
The passenger side on this Tacoma has generous workspace, and no tools are needed. The driver side is tighter because of the battery, but after doing the first side, the second took little effort and was even completed one-handed.
Installation Tips
The most important tip concerns orientation. Keep the power cord facing downward or perpendicular so the LED emitters sit at the 3 and 9 o’clock positions, spreading outward from the vehicle. When inserting the bulb, position the power cord slightly toward the passenger side on the driver side, then rotate 45 degrees so the cord ends up straight down. Push the lower retaining clip down and wrap the top clip back into its slot.
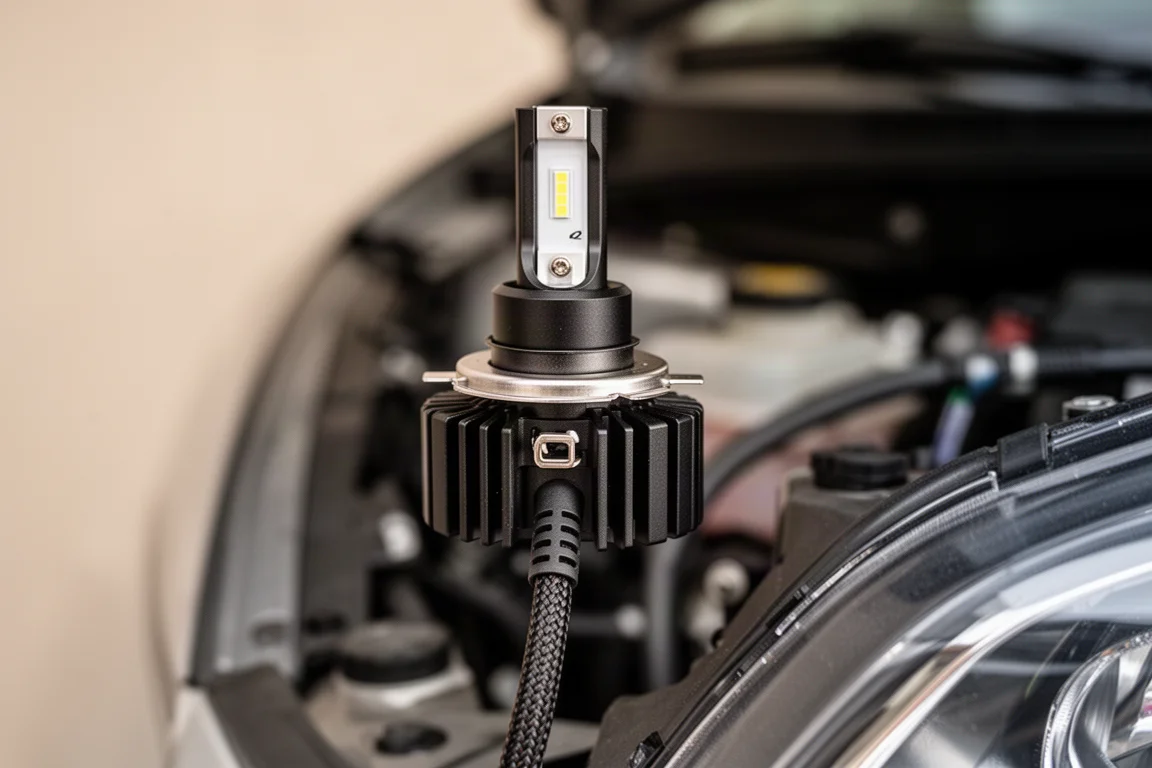
Another detail worth knowing: the original rubber dust boot will not fit back on because of the cooling fan and power cable at the rear of the bulb. That is expected with fan-cooled LED designs, so plan for the boot to stay off. Also clean the factory connector before plugging in, since grime on a 25-year-old electrical connector is worth removing before adding current draw.
Things to Consider Before Buying
Access varies by vehicle. The driver side on this Tacoma is noticeably tighter than the passenger side, and removing the battery would make the job easier, though it is doable without tools.
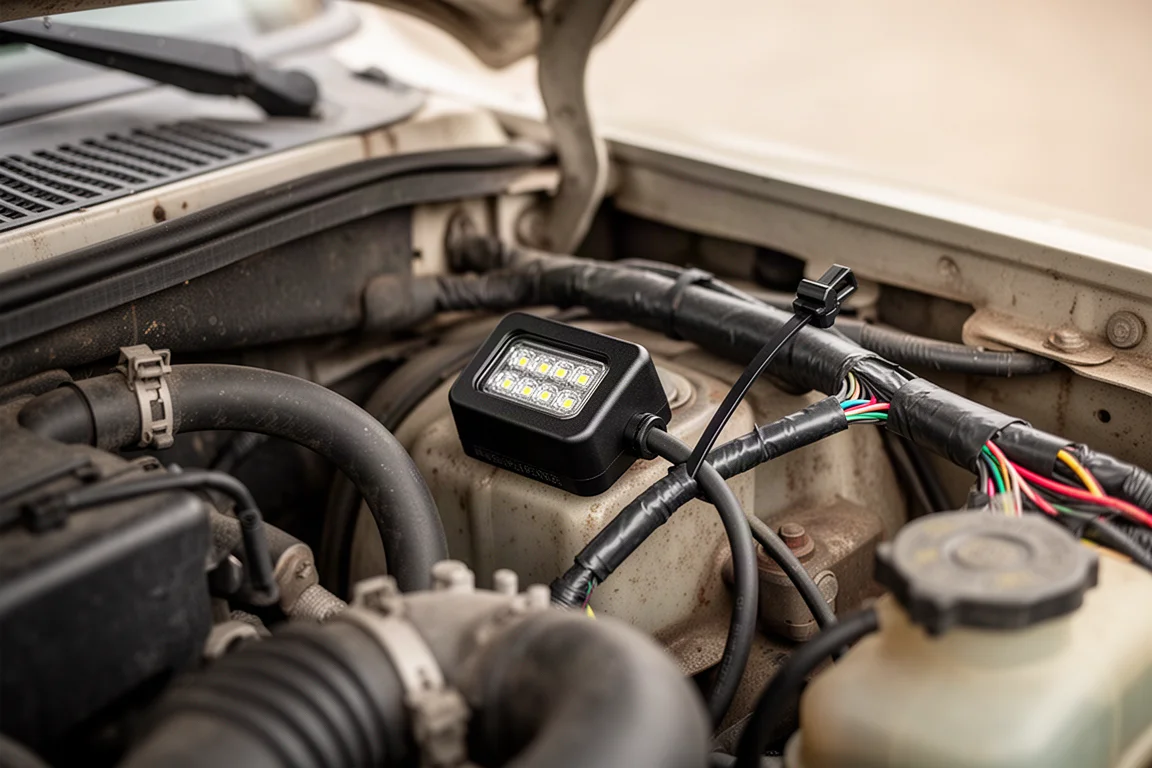
The controller box has no obvious mounting point. It simply rests in the available space unless you secure it, and zip-tying it to a nearby wire assembly is the practical solution. The airbox on the passenger side and battery on the driver side limit elbow room on both sides.
Buying Advice
If your vehicle has standard H4 halogen sockets and reasonably accessible headlight housings, this is one of the easier lighting upgrades available. The nighttime result is a major difference in brightness and color, going from a warm, older-style yellow to a crisp white output, and the adjustable beam pattern means you can dial in the cutoff once installed.
Plan the install around two practical points: secure the controller box somewhere it will not rattle, and accept that the dust boot will not be reused. Neither is a dealbreaker, but knowing about both makes the job smoother.

Conclusion
The Lasfit H4 LED headlight conversion kit delivers on the plug-and-play promise. Build quality is strong, the install requires no tools on a first-gen Tacoma, and the nighttime difference over stock halogens is substantial even without any beam adjustment. For owners of older trucks and cars with H4 sockets, it is an easy upgrade to recommend.
Product link
View more details for Lasfit H4 LED Headlight Conversion Kit
This product is mentioned in the review. Check the specifications, options, and compatibility before buying.
View more details for Lasfit H4 LED Headlight Conversion KitFurther reading
Related Reviews
Automotive Lighting
DV8 Off-Road LED Headlights Review: Factory-Style Upgrade for JT Gladiators
A detailed look at the DV8 Off-Road LED Headlights with chrome housing and clear lens for 2020+ Jeep Gladiators, including installation walkthrough and real-world performance assessment.
Automotive Lighting
Lasfit LED Headlight Upgrade Kit for 1st Gen Tacoma: A Straightforward Lighting Refresh for an Aging Truck
A plug-and-play LED headlight kit built for the first-generation Toyota Tacoma, with simple socket installation and an adjustable light pattern.
Automotive Lighting
Lasfit LED Lighting Upgrade Kit for 2020-2023 GMC Sierra 2500/3500 HD: A Practical Review
A complete LED bulb kit for the 2020-2023 GMC Sierra 2500/3500 HD covering turn signals, reverse, cargo, third brake, and license plate lights, with installation notes worth reading first.