Hiking Gear
Kilimanjaro Gear List: What Worked on the Mountain
A practical Kilimanjaro packing list covering the daypack, sleep system, gloves, hydration and electronics that held up on an eight-day trek, plus what to change next time.
Introduction
Kilimanjaro is a walking mountain rather than a technical climb, but the kit list is longer than most people expect. The route I walked was the ten-day Lemosho itinerary, which works out to eight days on the mountain plus a hotel night before and after. Warm forest days, one long wet afternoon and a summit push that starts before midnight all ask different things of the same bag of gear.
What follows is the equipment that actually went into my daypack and duffel, why each piece earned its place, and the small number of changes I would make if I were packing for the same trip again.
What Tour Operators Usually Supply
Before buying anything, it helps to know what the operator brings. On my trip the company supplied four-season tents, a thick sleeping pad, and all the kitchen equipment including cups, utensils and plates. There was no stove on the gear list because meals are cooked for you, and the team also handled water at camp and water for the hiking day, so no filtration or treatment system was needed.
Toilet paper in a private toilet tent was included as well. That detail varies between operators: some charge extra for a private toilet tent, and some trekkers simply use the shared privies. Every operator should also issue a gear list splitting what you must bring from what they provide, so it is worth asking for that document before you start shopping.
How to Decide What to Bring
The temptation is to pack for every possible bad outcome, and that is how duffels end up over the weight limit. The more useful rule is redundancy: assume one thing will get wet, one thing will fail, and one layer will be sacrificed to a rainy day. Build the list around keeping spare layers dry and keeping your hands and feet functional at altitude.
Weight is the other constraint. A porter carries your duffel on the mountain, and the limit sits at 15 kilograms, or 33 pounds. Just because a duffel has the space does not mean it needs to be filled, and shaving a kilogram off the load is a real kindness to the person carrying it.
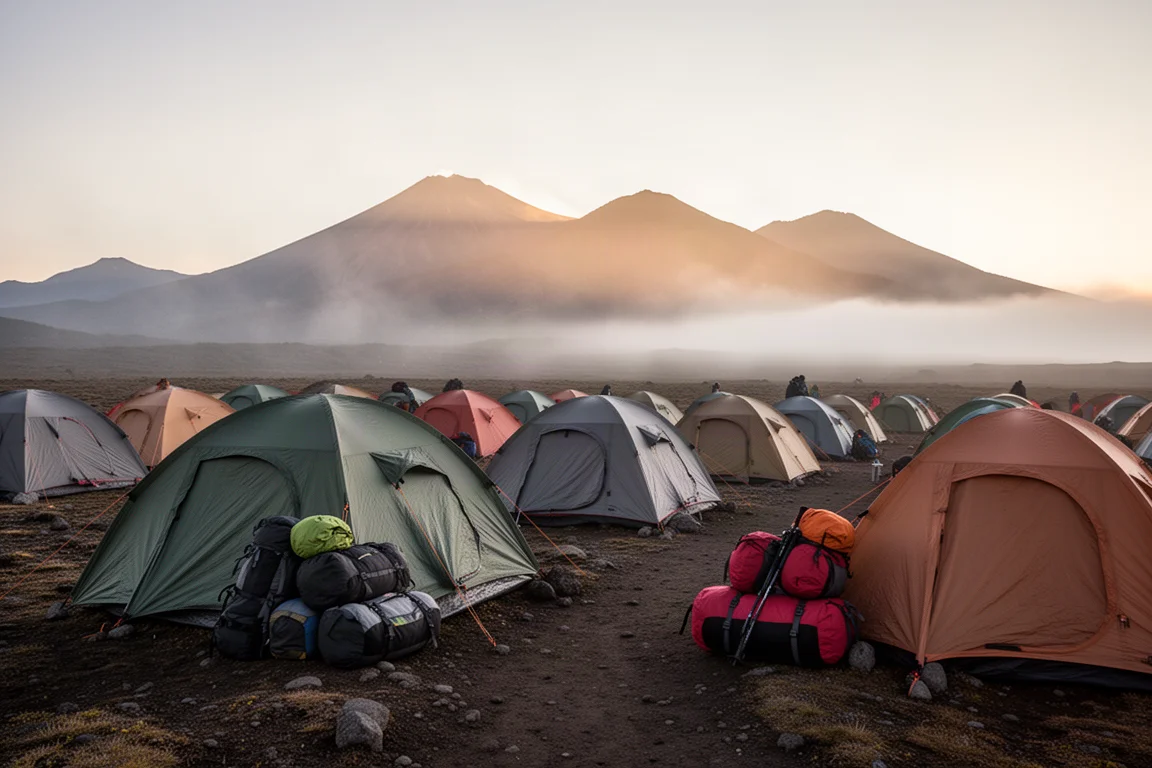
If the total cost of a full kit is the sticking point, remember that many operators rent equipment, including puffies, duffel bags and hiking pants. Asking what a company has available to borrow can be as useful as comparing their itineraries, and it may even influence which operator you book with.
Daypack: Moment Strohl Mountain Light Pack
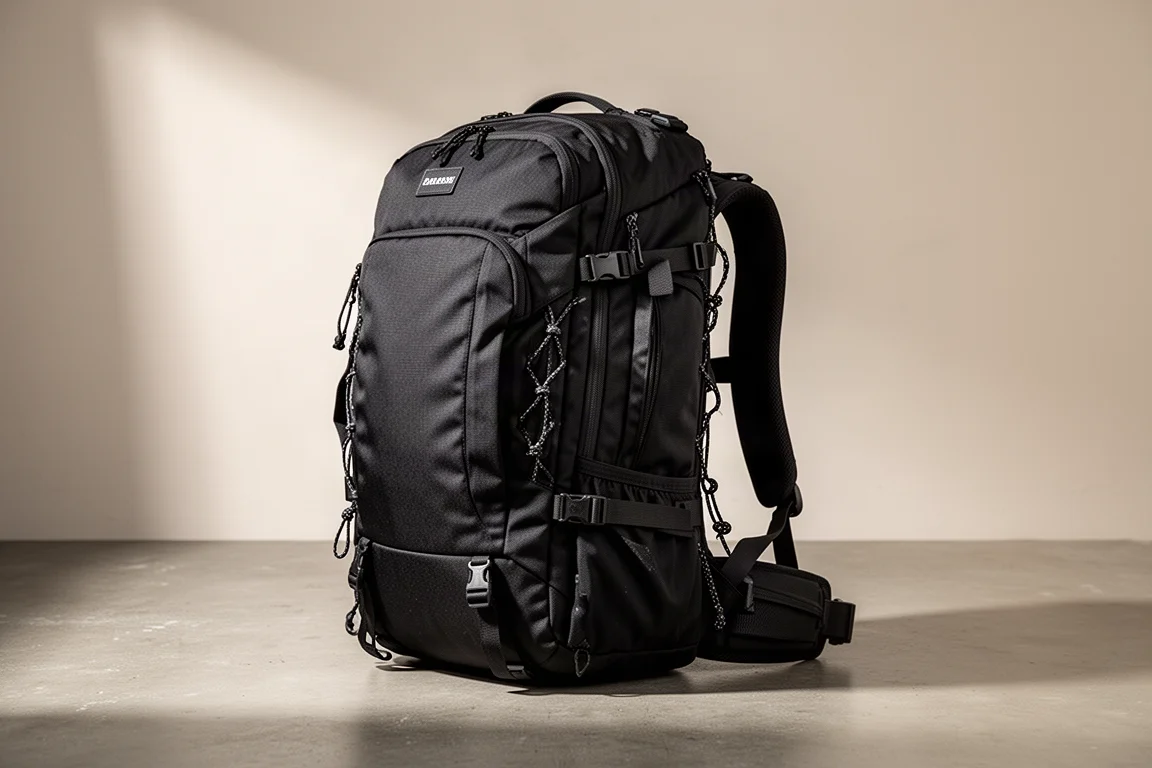
Operators typically recommend a daypack of 30 to 35 litres, which is plenty for rain gear, extra layers, snacks, water and camera equipment. Because I carry a substantial camera kit, I went larger and chose a 45 litre pack built specifically for photography, the Moment Strohl Mountain Light Pack. The extra volume was less important than the way it carried weight, and it handled a heavy camera load without digging into the shoulders.
Camera Carry: Peak Design Capture Clip
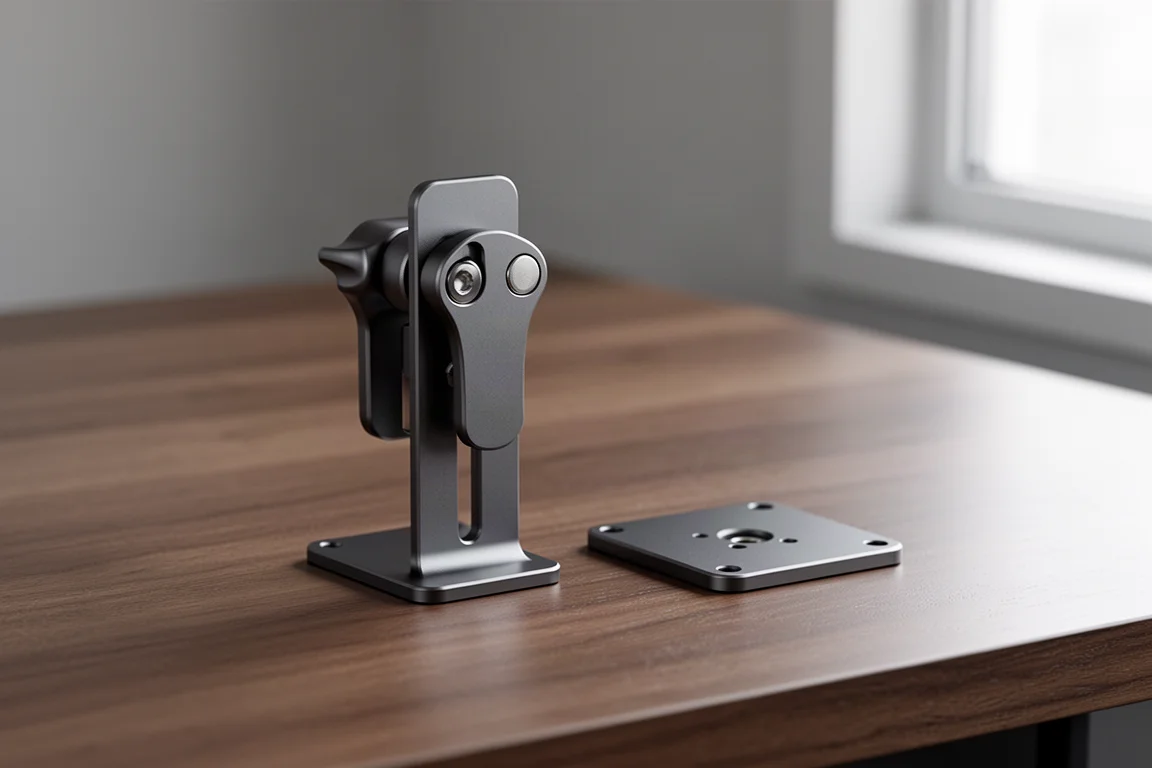
The feature I was most looking forward to was mounting the camera on the hip belt with a Peak Design Capture Clip. It genuinely gave my shoulders a break on long days. The trade-off was muscle memory: years of drawing a camera from a shoulder strap meant I had to relearn the motion from the hip, and a few shots went missing while I adjusted. Even so, it is the first thing I would add to any pack I use on a trek.
Pack Liner: Nylofume Pack Liner
Pack covers are commonly recommended, and they are also commonly disappointing. On this trip several people relied on a pack cover alone and ended up with soaked gear inside. The reliable approach is a pack liner, and I used a Nylofume liner that weighs almost nothing and costs very little. A trash compactor bag does the same job in a pinch.
Even a pack described as waterproof can develop a pinhole, so a liner is worth carrying regardless. On summit day, with temperatures well below freezing and a long climb ahead, dry spare layers stop being a comfort item and start being safety equipment.
Duffel Protection: Zpacks Airplane Case
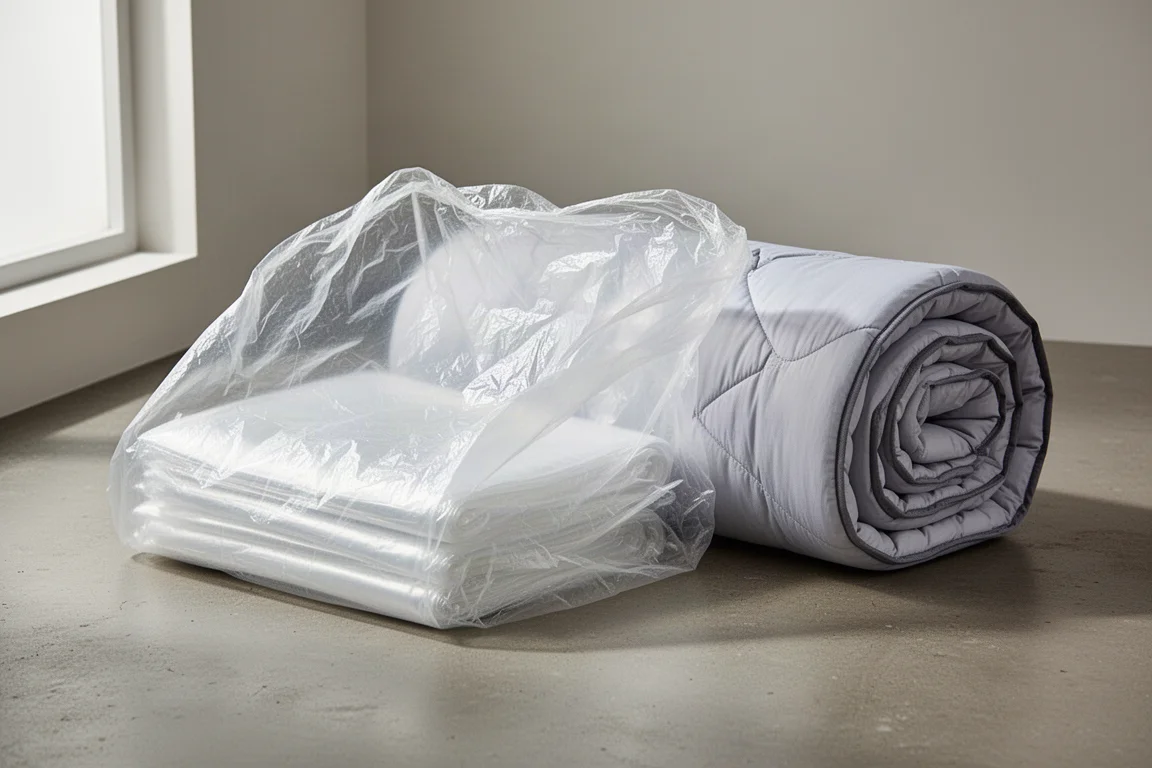
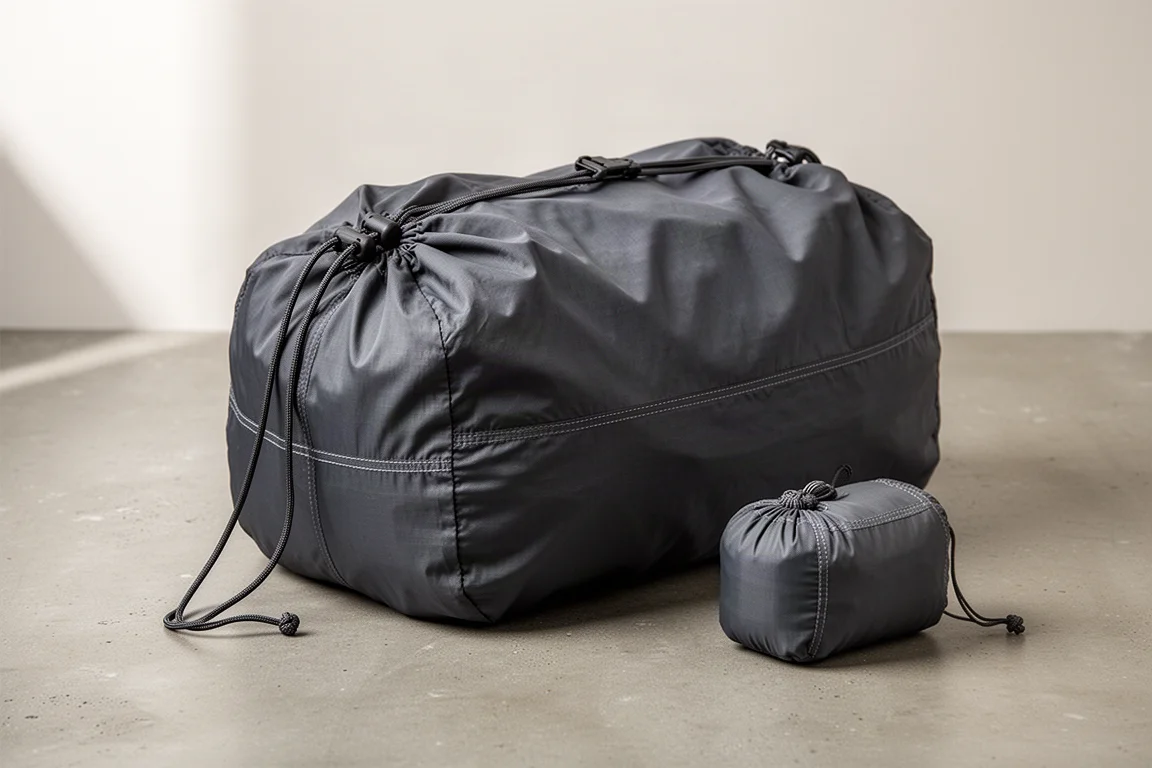
For the duffel itself, operators usually suggest 75 to 90 litres. I used one I already owned, which had the advantage of costing nothing and the disadvantage of not being waterproof. To fix that, I added a Zpacks Airplane Case, a Dyneema cover designed to wrap a pack at the airport so straps do not snag. It is waterproof, weighs only 3.2 ounces, and doubles as protection for a non-waterproof duffel without adding meaningful weight.
It works only if you actually use it. On our one rainy day I left it packed away, and the duffel came back soaked despite the tarpaulin-style cover the porters used. Dry sacks inside saved the sleeping bag and clothing, but items I had not protected ended up damp. If you do not already own a waterproof duffel, buying one outright is the simpler route.
Sleeping Bag: Enlightened Equipment Enigma
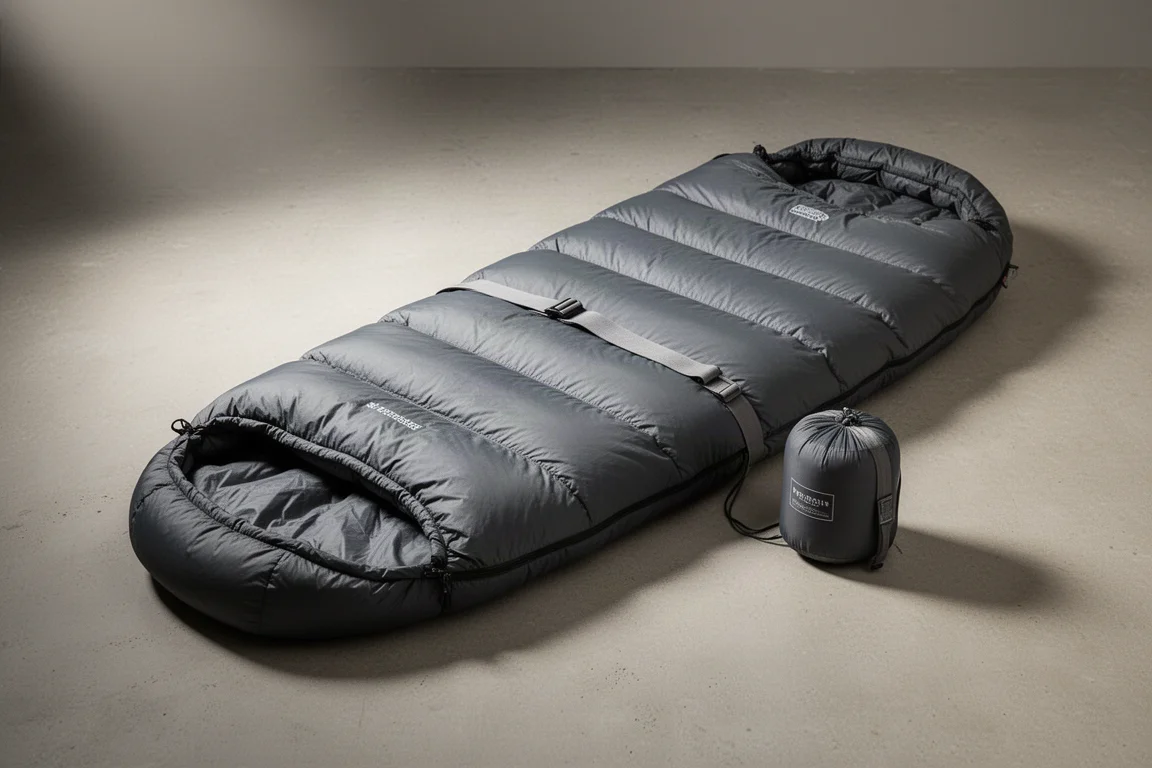
A zero degree bag is the usual recommendation for the mountain, and my Enlightened Equipment Enigma is rated to 20 degrees Fahrenheit. That gap mattered, because I sleep cold. A down allergy ruled out most warmer options, so the practical answer was to keep the bag I already owned and extend its range with a liner rather than buy a new system.
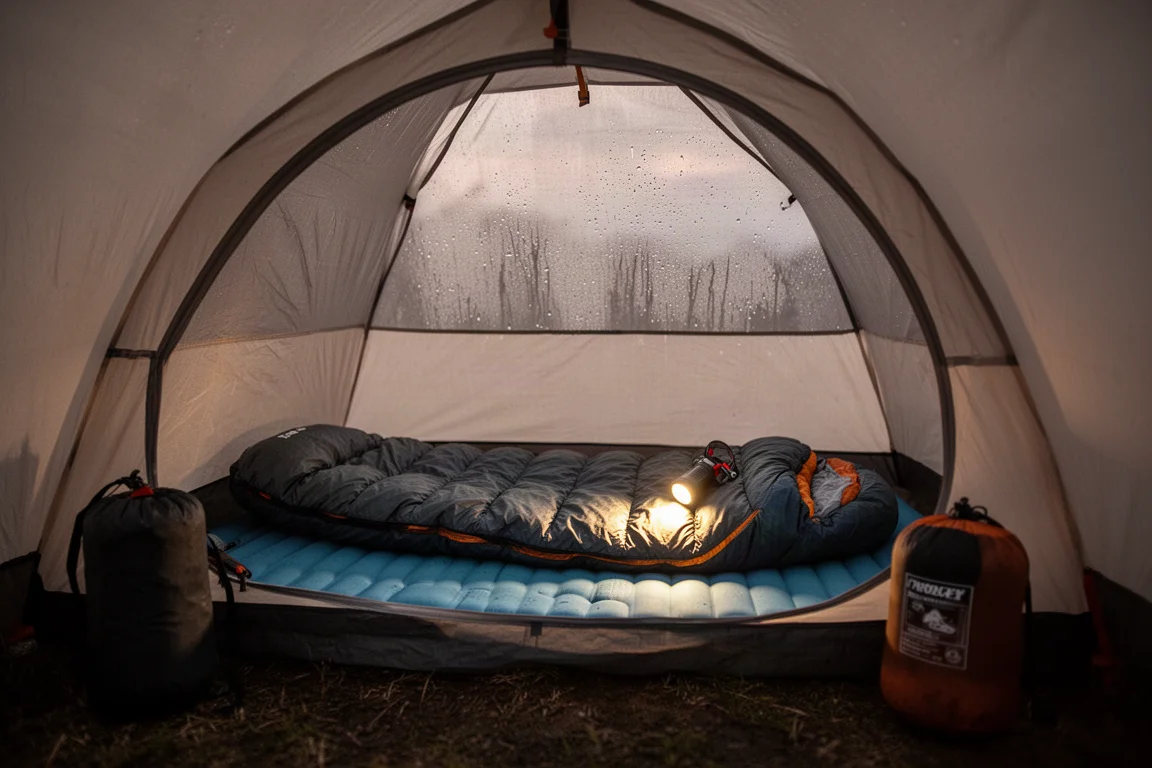
Read the rating honestly against your own sleeping habits. If you know you run cold, a lighter bag plus a liner can work, but it leaves less margin on summit night than a properly rated bag would.
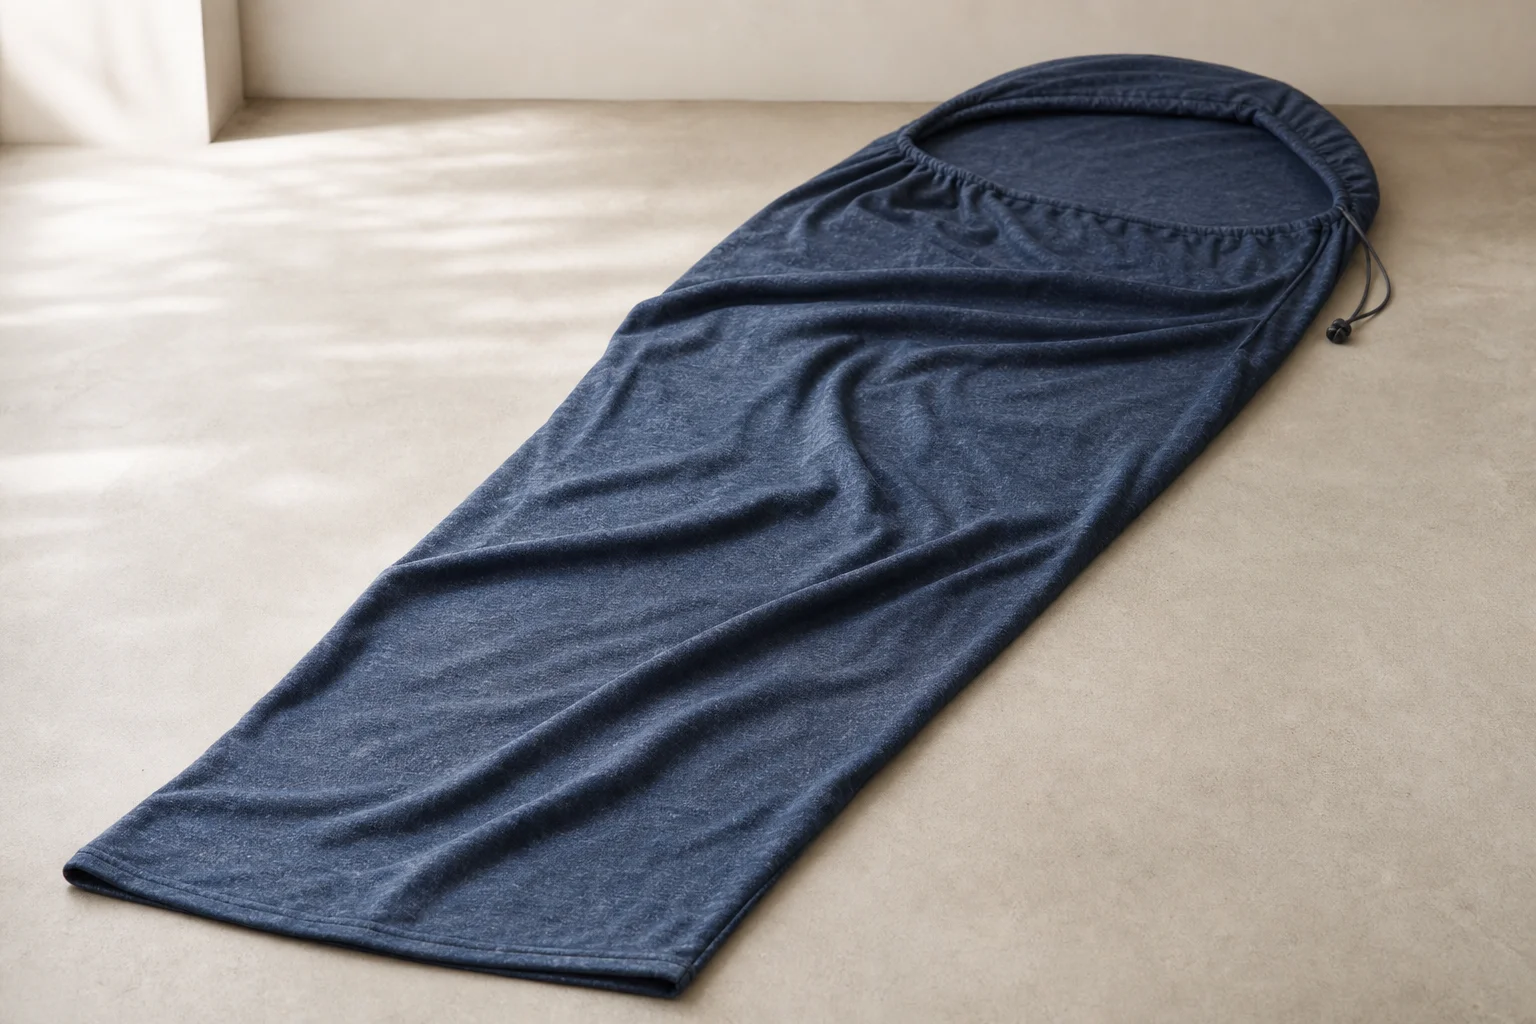
Sleeping Bag Liner: Sea to Summit Thermolite Reactor Extreme
The liner I paired with the quilt was a Sea to Summit Thermolite Reactor Extreme, which adds up to 25 degrees Fahrenheit of warmth. It packs small, weighs little, and turned a bag that was rated warmer than recommended into something I could sleep in comfortably at altitude. As an added benefit, a liner keeps the inside of a sleeping bag cleaner over a multi-day trip.
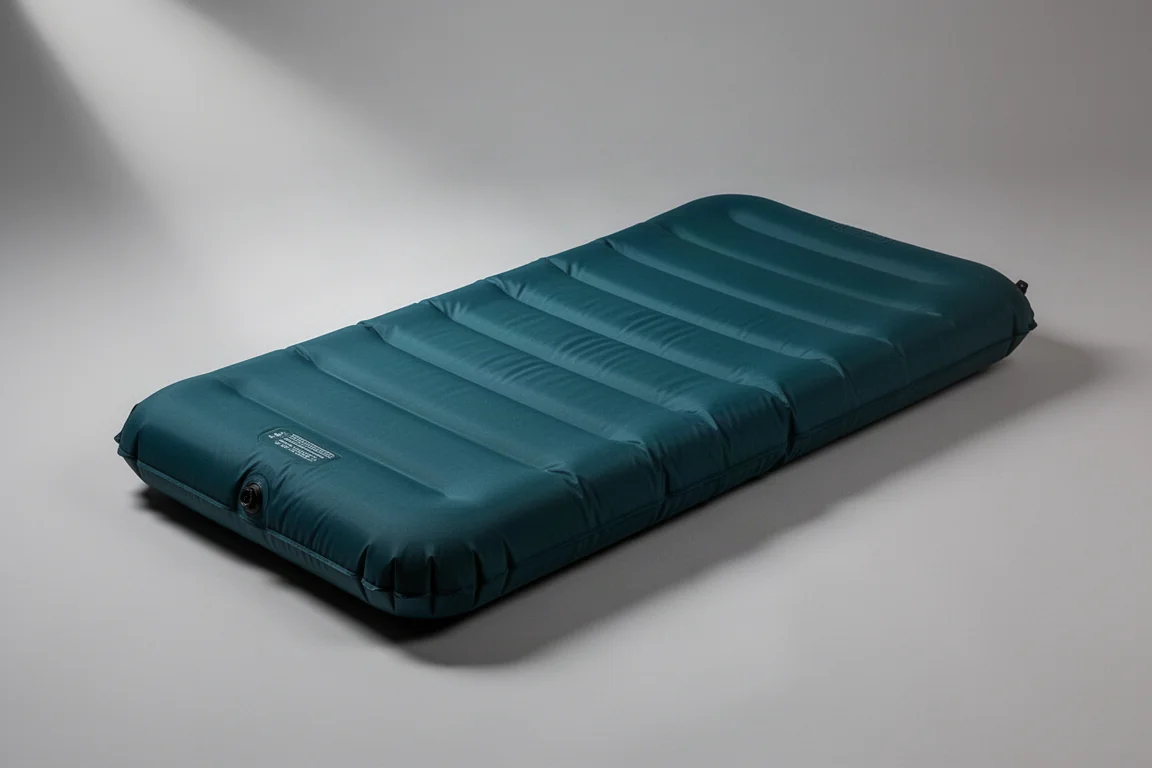
Sleeping Pad: Nemo Tensor Insulated
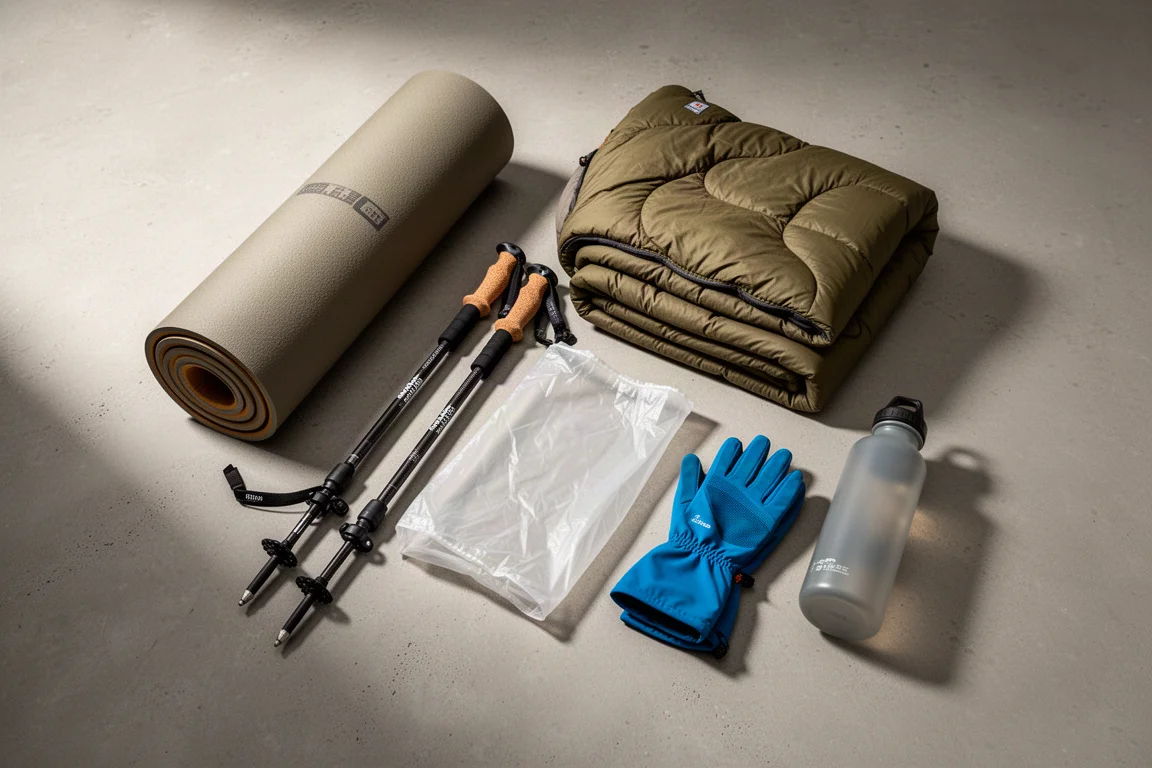
The operator provided a thick sleeping pad, and it was genuinely comfortable. I brought my own anyway, a Nemo Tensor Insulated with an R-value of 4.2, a regular length and a weight of 15 ounces. Two reasons drove that decision: I do not sleep well on foam pads, and I wanted the extra insulation given that my sleeping bag was rated lighter than the recommendation.
The full-length cut was a pleasant change from the knee-length pad I normally use on trail. It was warm, comfortable, and light enough that carrying a second pad did not feel wasteful.
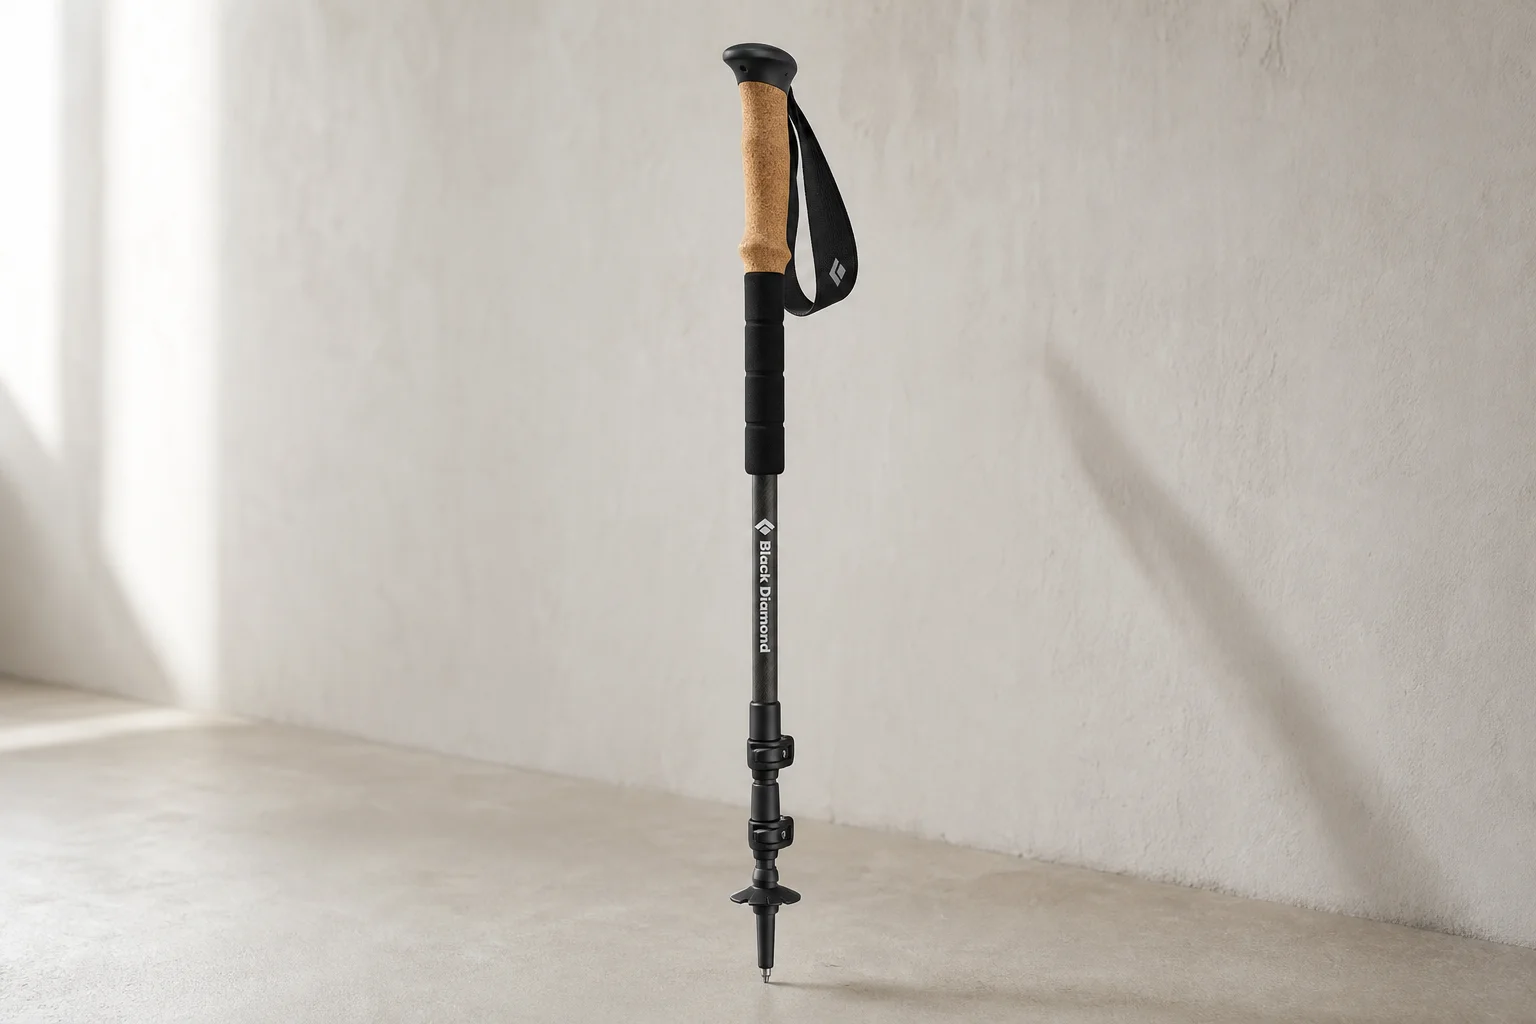
Trekking Poles: Black Diamond Alpine Carbon Cork
Trekking poles are strongly recommended for this mountain, and not everyone takes the advice. Several people walked without them, and one hiker in the group dealt with hand swelling that poles would likely have eased. I used my Black Diamond Alpine Carbon Cork poles, which I had owned for years, and they were exactly what I wanted on the long descents and the loose scree.
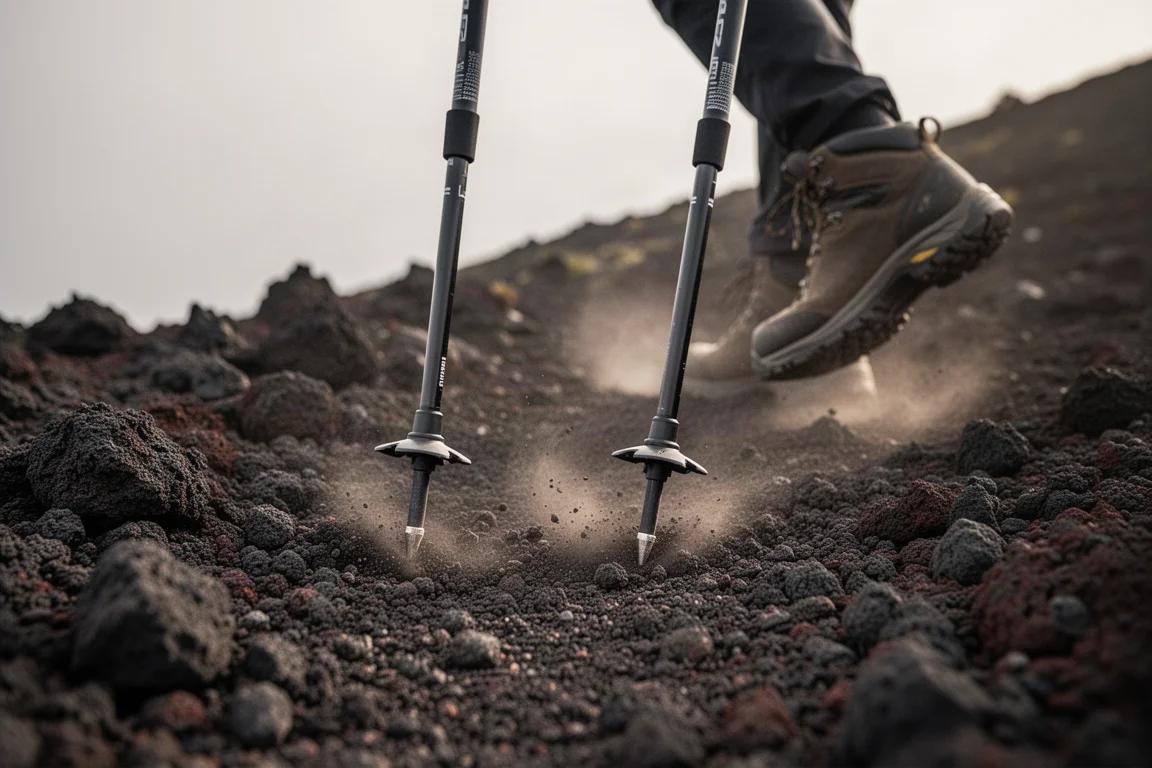
The case for poles is less about speed and more about load distribution across a very long day. If you normally walk without them, a trek of this length is a reasonable occasion to reconsider.
Waterproof Gloves: Showa TemRes 281
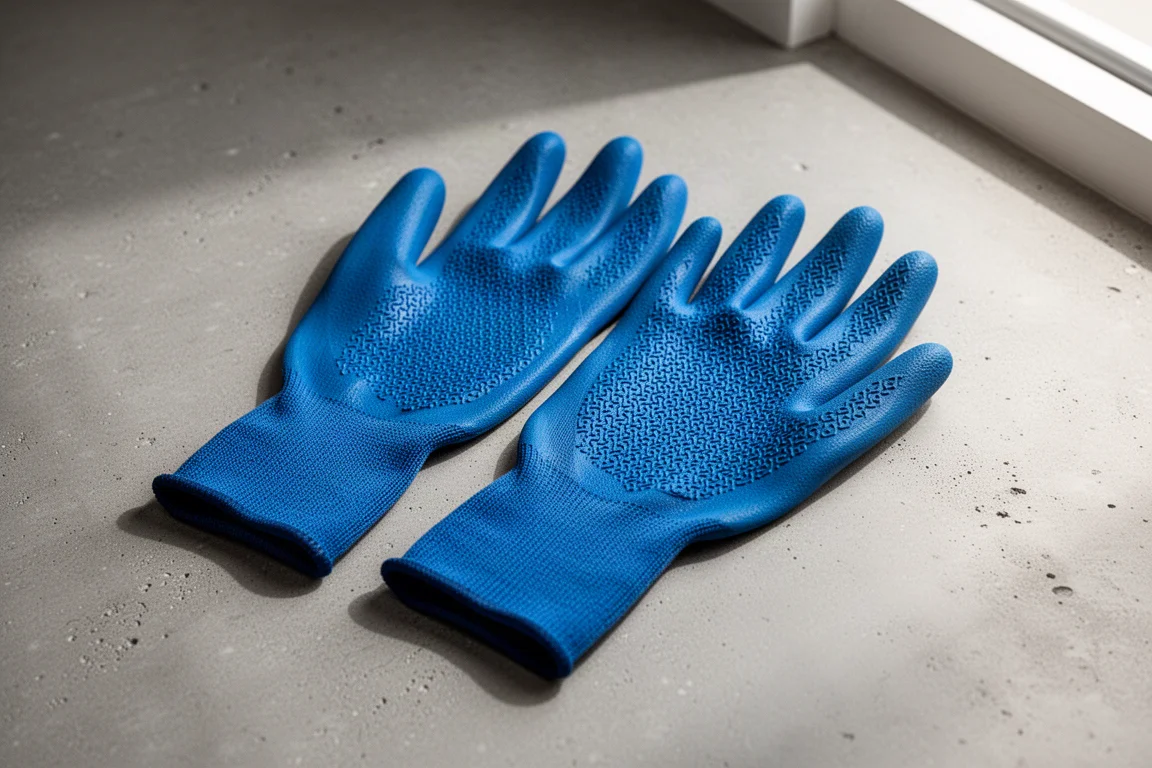
The standard glove advice is one thin pair plus one warm, heavy-duty waterproof pair for the summit. I took possum down liner gloves and a pair of Showa TemRes 281 waterproof gloves, and they handled the cold, wet day well. On summit night I also carried battery heated gloves. They kept my palms warmer than bulky mittens would have, but my fingertips stayed cold and the battery did not last the full climb, so I would choose differently next time.
One lesson applies no matter what you buy: test the waterproofing before you leave. Submerge them under a tap at home. Several people on the mountain believed their gloves were waterproof and ended up with freezing hands.
Satellite Communicator: Garmin inReach Mini
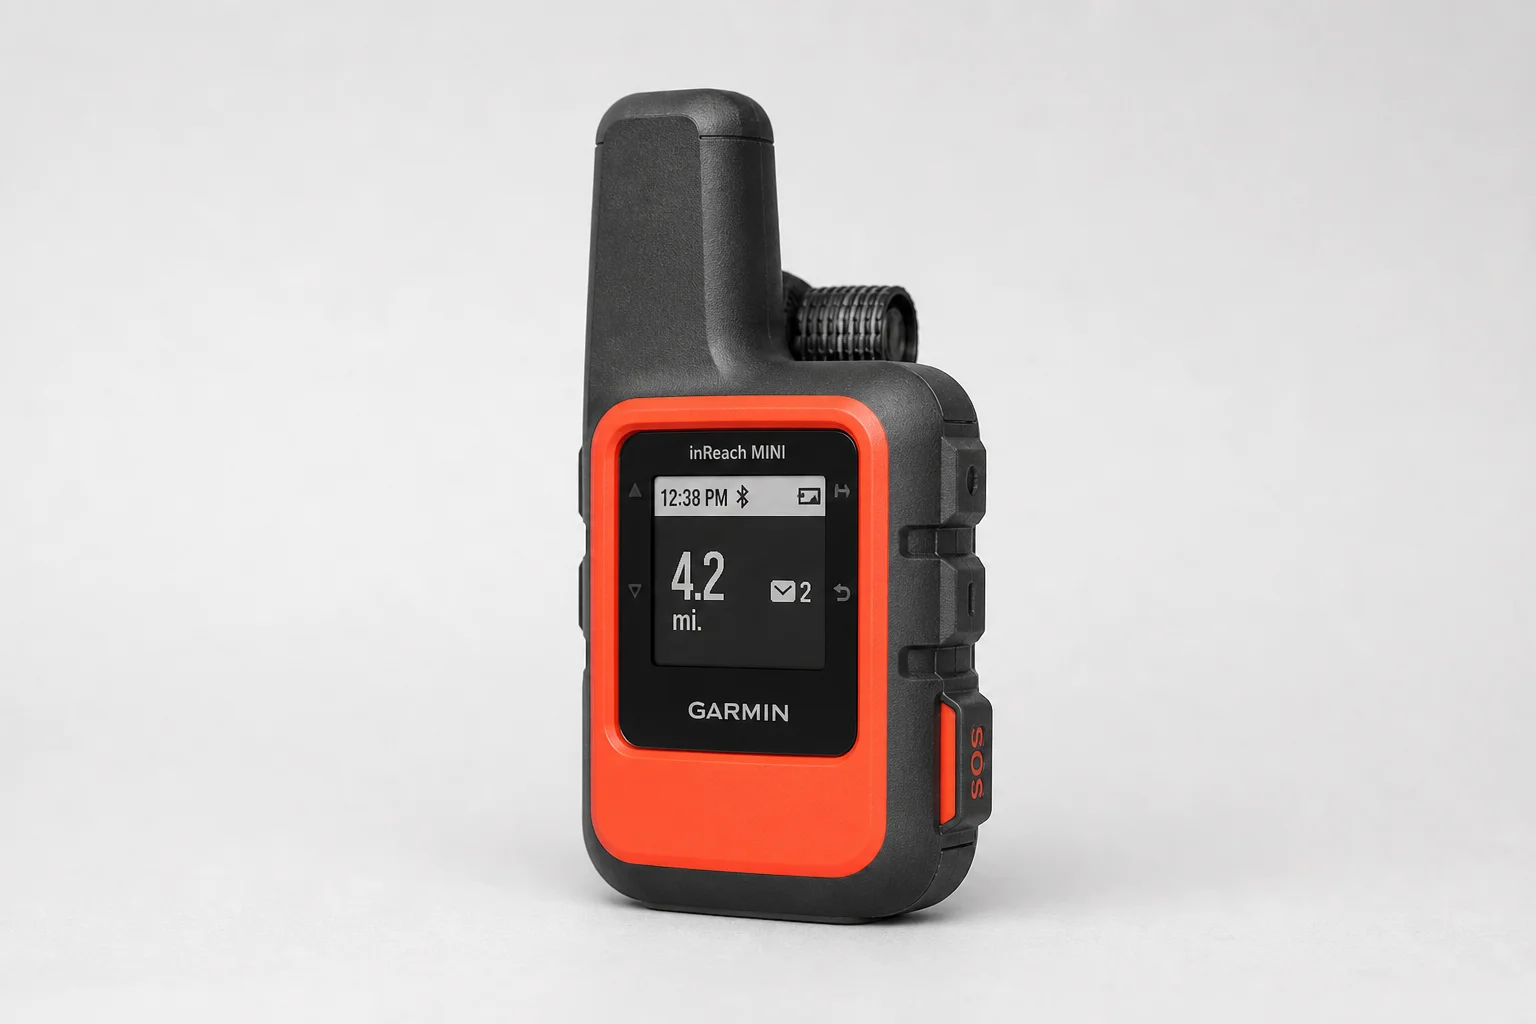
Cell service on the trail was patchy at best. A local SIM card would likely have helped, and the guides and porters clearly had better coverage at several points than I did, but the practical answer was a Garmin inReach Mini. It let me message family and let them know I was fine, which was worth the small amount of space it took up.
There is nowhere to charge anything on the mountain, so a power bank is essential if you plan to keep devices alive. A plug adapter is only useful in town, before and after the trek, since there are no outlets at camp.
Noise Reduction: Apple AirPods
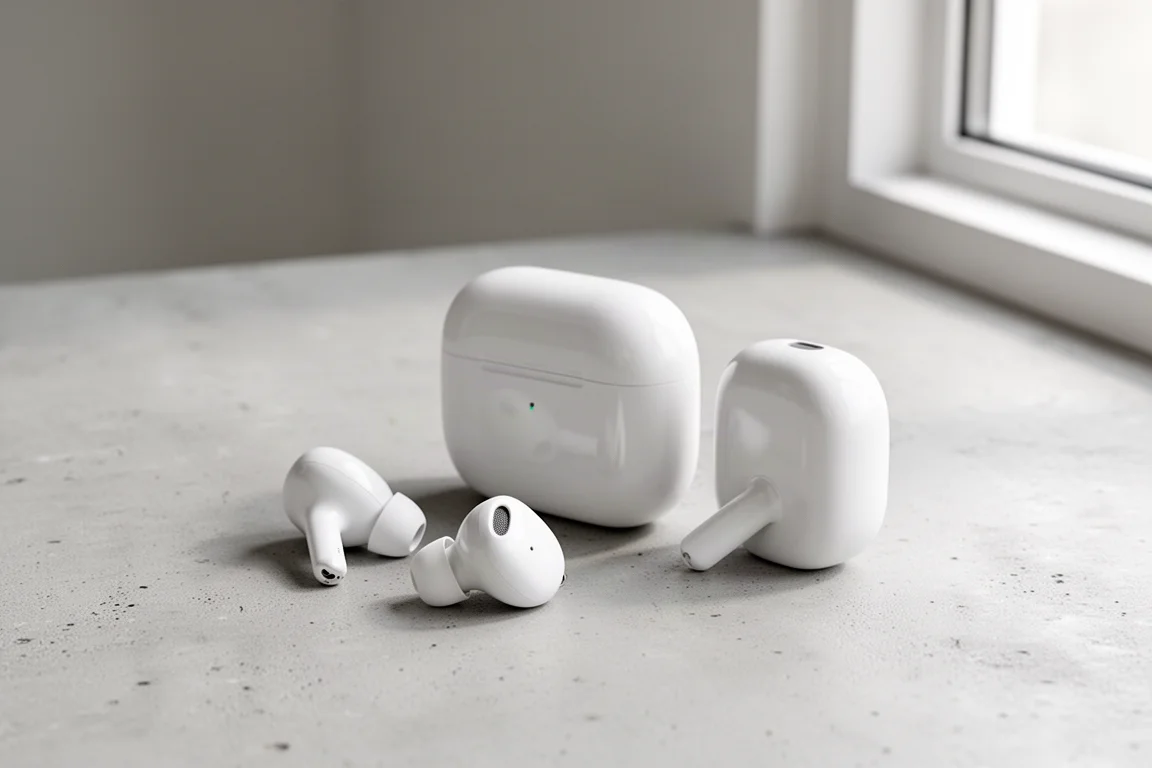
Earplugs are on most recommended kit lists, and they are worth having in some form. I do not get on with earplugs, so I brought Apple AirPods instead and used the noise cancellation to sleep. Camp is not quiet during rest periods, and on summit day in particular, nap time for one tent is not nap time for everyone.
Whatever you choose, bring something that genuinely blocks sound. Being able to sleep when the schedule allows is a bigger performance factor than most gear decisions.
Rain Jacket: AntiGravityGear Rain Jacket
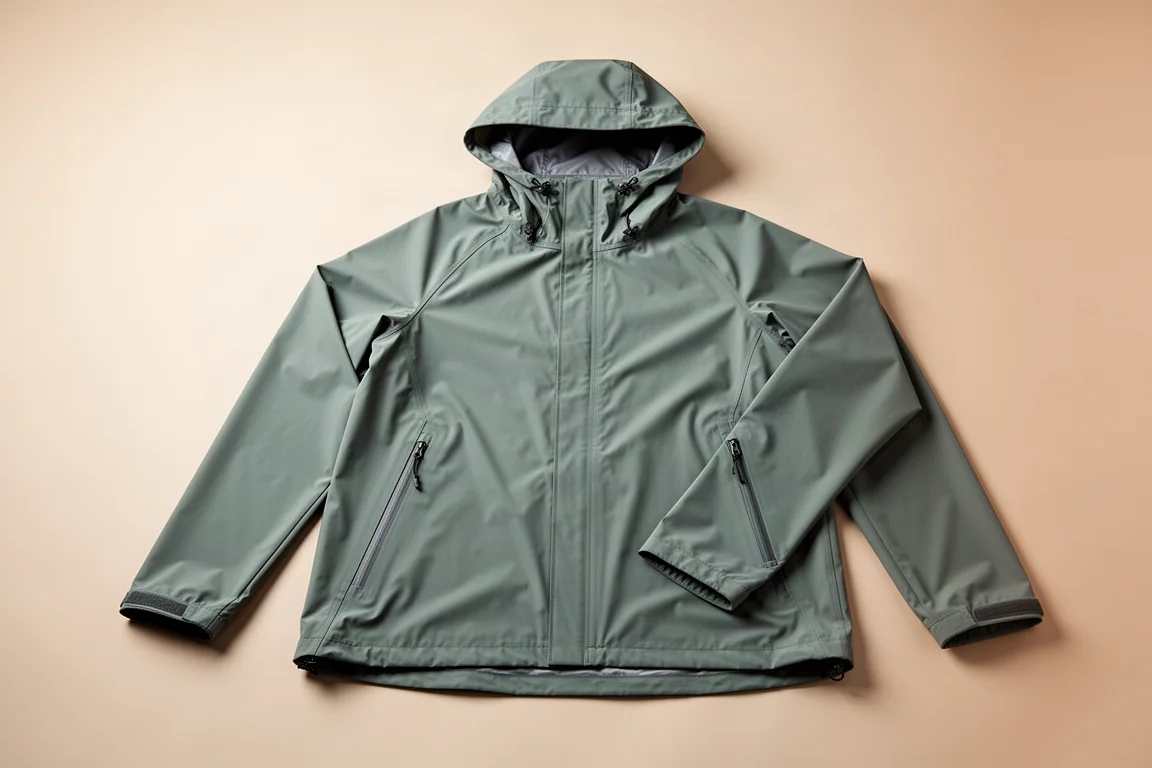
Rain gear matters most on the one day the weather turns. I used an AntiGravityGear rain jacket, the heaviest of the ultralight shells I own, and it did the job without me ever wishing for something thicker. The pit zips were the detail I appreciated most, since they let me regulate temperature while walking rather than stopping to take the jacket on and off.
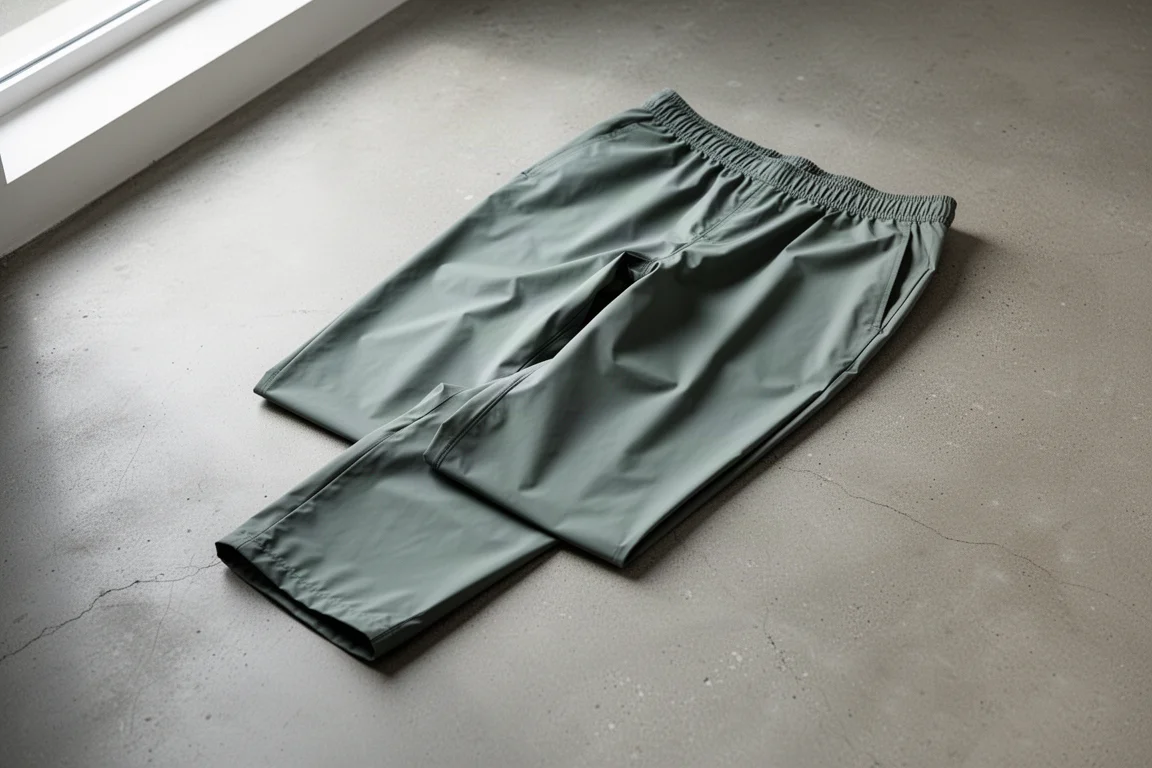
Rain Pants: AntiGravityGear Rain Britches
The matching AntiGravityGear rain britches completed the set and kept my legs dry on the wet day. Rain pants also add a windproof layer on the summit, where the combination of cold air and exposure makes a shell worth carrying even when it is not raining.
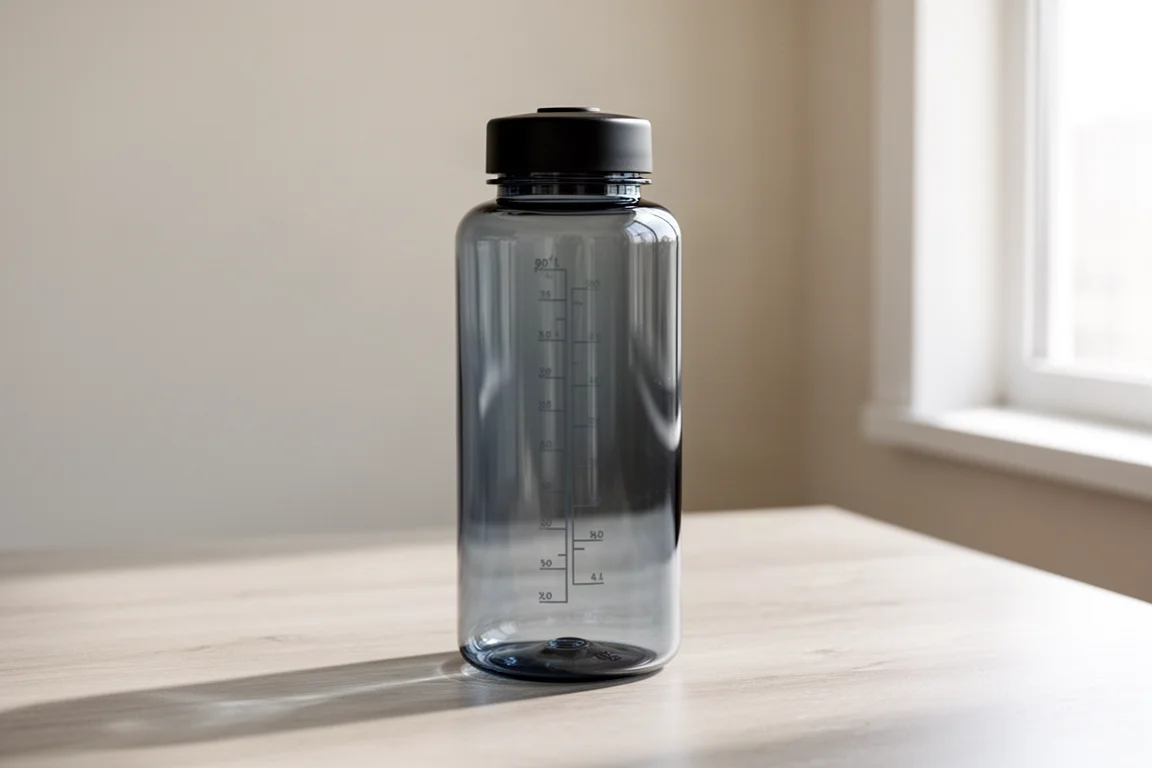
Water Bottles: Nalgene Water Bottle
Disposable single-use bottles are not allowed on Kilimanjaro, so a refillable bottle is mandatory rather than optional. I carried a lightweight Nalgene, which handled drink mixes well and, more importantly, could be carried upside down. On summit day the water at the base of the bottle freezes and the rest stays liquid, so inverting it lets you break a thin layer of ice and drink.
Hydration at altitude is one of the most effective things you can do to help your body acclimatise, and the guidance is roughly three to four litres a day.
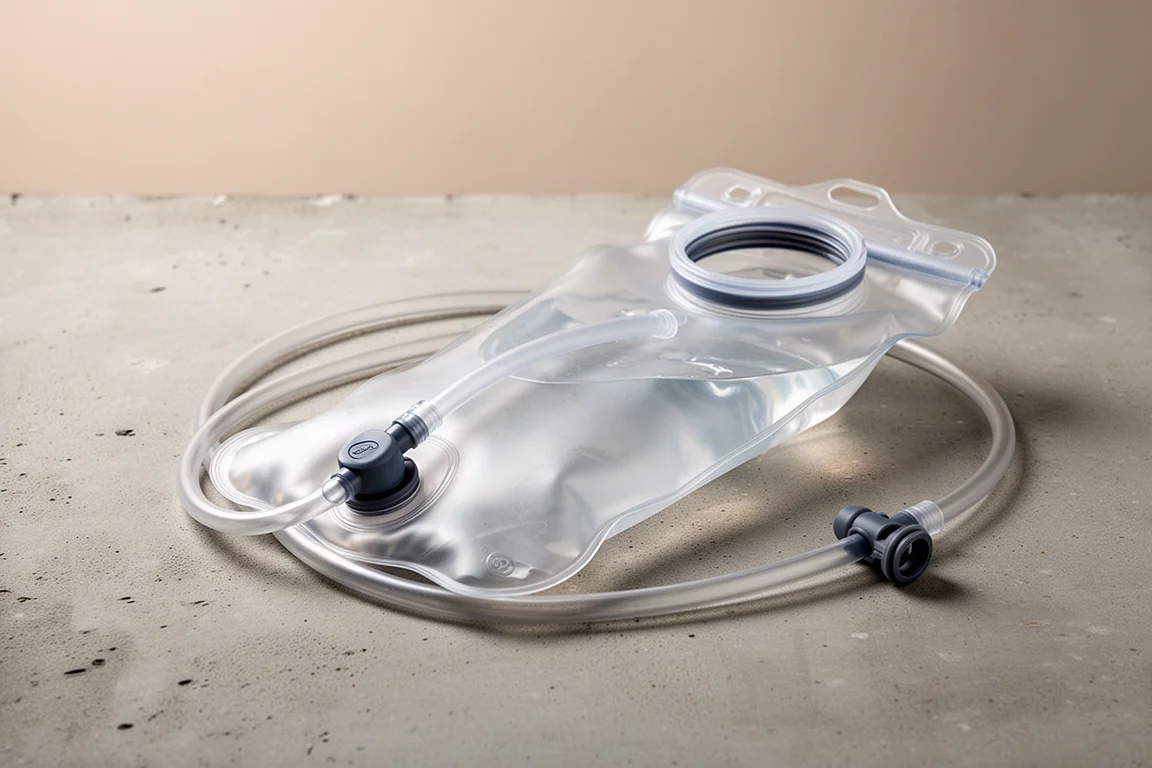
Hydration Bladder: Platypus 3L Hydration Bladder
A three litre Platypus bladder with a drinking tube is far more convenient while moving, especially when the group is striding along and breaks are brief. Drinking through a tube beats stopping to wrestle a bottle open on a dusty trail.
The limitation is freezing. On summit night the tube and bladder can become useless, which is exactly why the bottle and the bladder work well as a pair rather than as alternatives.
What I Would Change Next Time
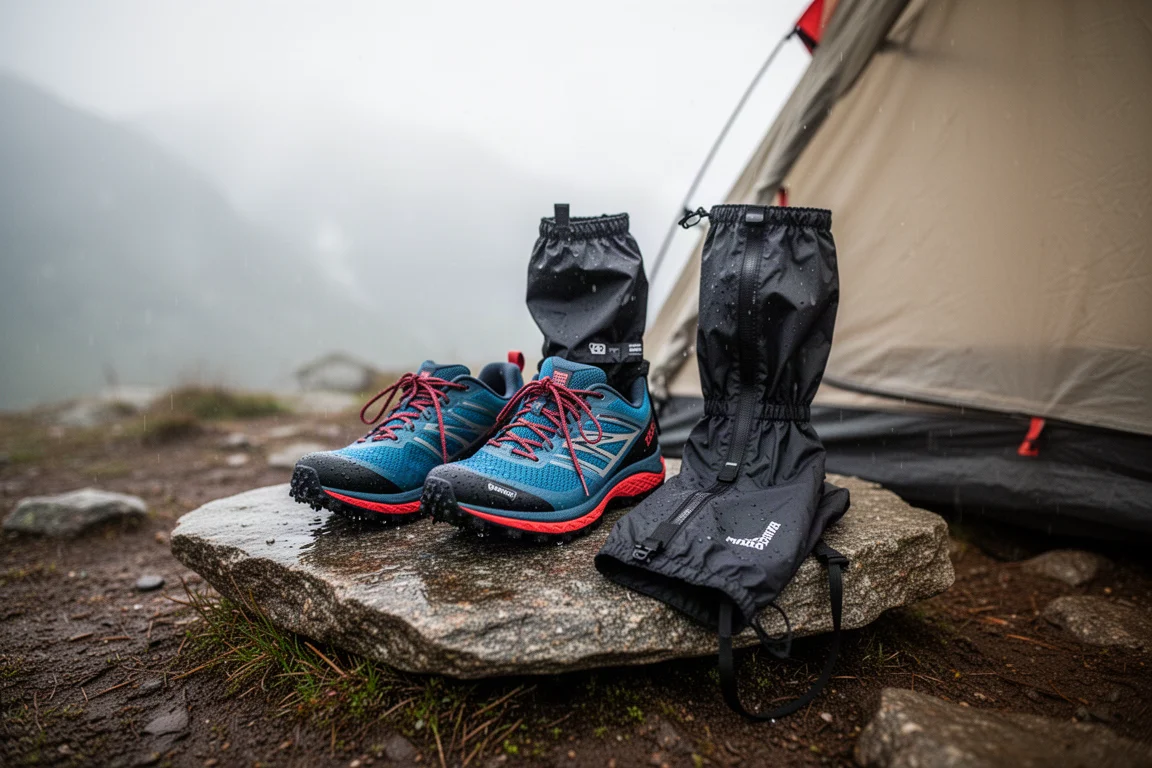
Three changes stand out. The first is footwear. I walked in trail runners, which I prefer, and the terrain and distances make it entirely doable. What I would change is the specification: waterproof trail runners, plus waterproof gaiters, which I would never carry on a long thru-hike but would happily carry here. On the wet day my shoes soaked through, and although they were fine by summit night, the windproofing and warmth of a gaiter would have made the climb more comfortable.
The second change is a spare pair of underwear. I carried three pairs and washed one, hanging it on my pack to dry, which worked but left no margin. The third is gloves: I would replace the battery heated pair with something whose waterproofing I had tested myself, since fingertips were the weak point on summit night.
Clothing volumes are worth calibrating to your own trip length. An eight-day itinerary justified two short sleeve shirts, three long sleeve shirts, three pairs of leggings for hiking, two wool pairs for sleeping, a fleece pair, two fleece mid layers and a non-down puffy, along with two Buffs so one could be wet while the other stayed dry. On summit day that stacked into five layers on top and four or five on the bottom, and by the time we reached the top I was glad of every one of them.
Conclusion
The gear that worked on Kilimanjaro was not the most expensive gear, it was the gear that answered a specific problem: dry layers, warm hands, unfrozen water, a reliable way to message home, and a pack that carried a camera without wrecking my shoulders. The few things that went wrong were all predictable in hindsight, and they all came back to redundancy and waterproofing.
If the full list feels daunting, remember that many operators rent equipment, and the lodge that hosted us before and after the trek stored the luggage we did not need on the mountain. Ask your operator what they supply, what they rent, and what they will hold for you, then build the rest of your kit around the conditions you are actually likely to meet.
Further reading
Related Reviews
Hiking Gear
Best Hiking Pants on Amazon: Five Practical Options for Different Needs
A practical review of five hiking pants with clear strengths and trade-offs, from lightweight convertible styles to durable work-ready trousers.
Hiking Gear
Best Hiking Poles 2026: Five Options for Different Trail Needs
A practical review of five hiking poles, from lightweight carbon designs to versatile all-terrain options, with clear strengths and trade-offs for each.
Hiking Gear
Best Hiking Socks 2026: Five Top Choices for Different Trail Needs
A practical roundup of five hiking socks, from lightweight merino options to heavy-duty compression styles, with clear guidance on which suits your outdoor activity.