Beauty & Personal Care
How to Apply Press-On Nails at Home: A Complete Guide to Professional Results
Learn the essential steps for applying and maintaining press-on nails at home, from proper nail prep to removal techniques that keep your natural nails healthy.
Introduction
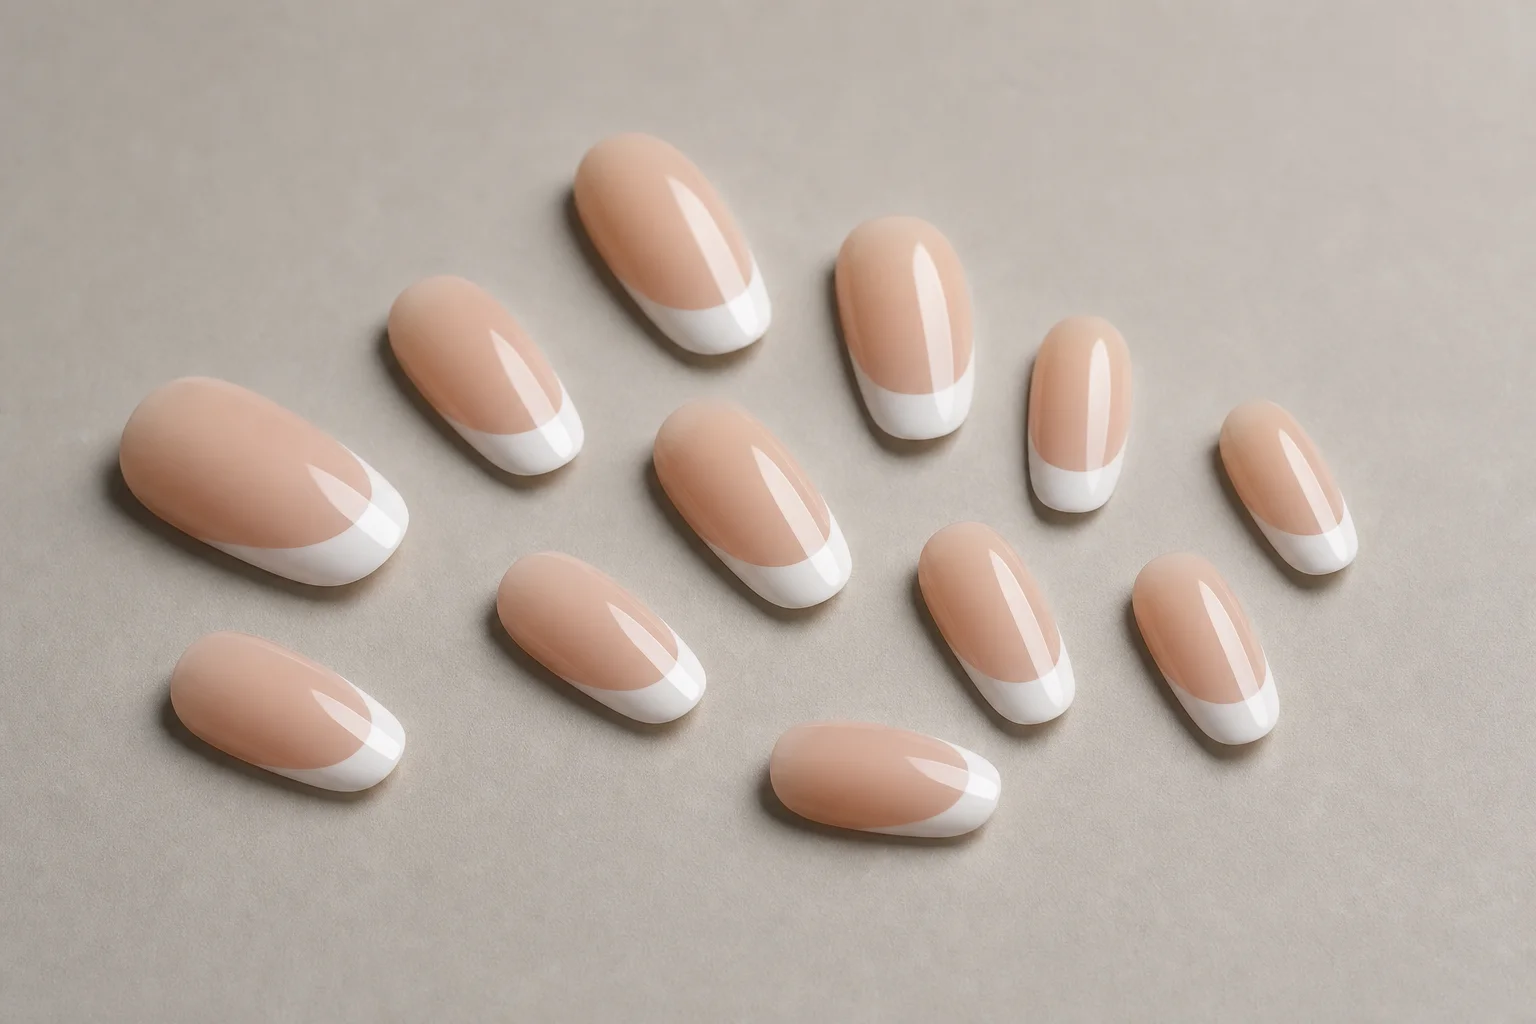
Achieving salon-quality nails at home is entirely possible with the right technique and products. Press-on nails offer an affordable, convenient alternative to professional manicures, and when applied correctly, they can last 20 to 30 days while maintaining a polished, professional appearance. The key lies in understanding each step of the process, from initial nail preparation through removal, and taking your time to ensure proper adhesion and finish.
Nail Preparation: The Foundation for Lasting Results
Proper nail prep is the most critical factor in making your press-on nails last. Begin by filing your natural nails down to a smooth yet slightly textured surface using a 240-grit sanding bit. This gentle grit is appropriate for natural nails and won’t cause damage.
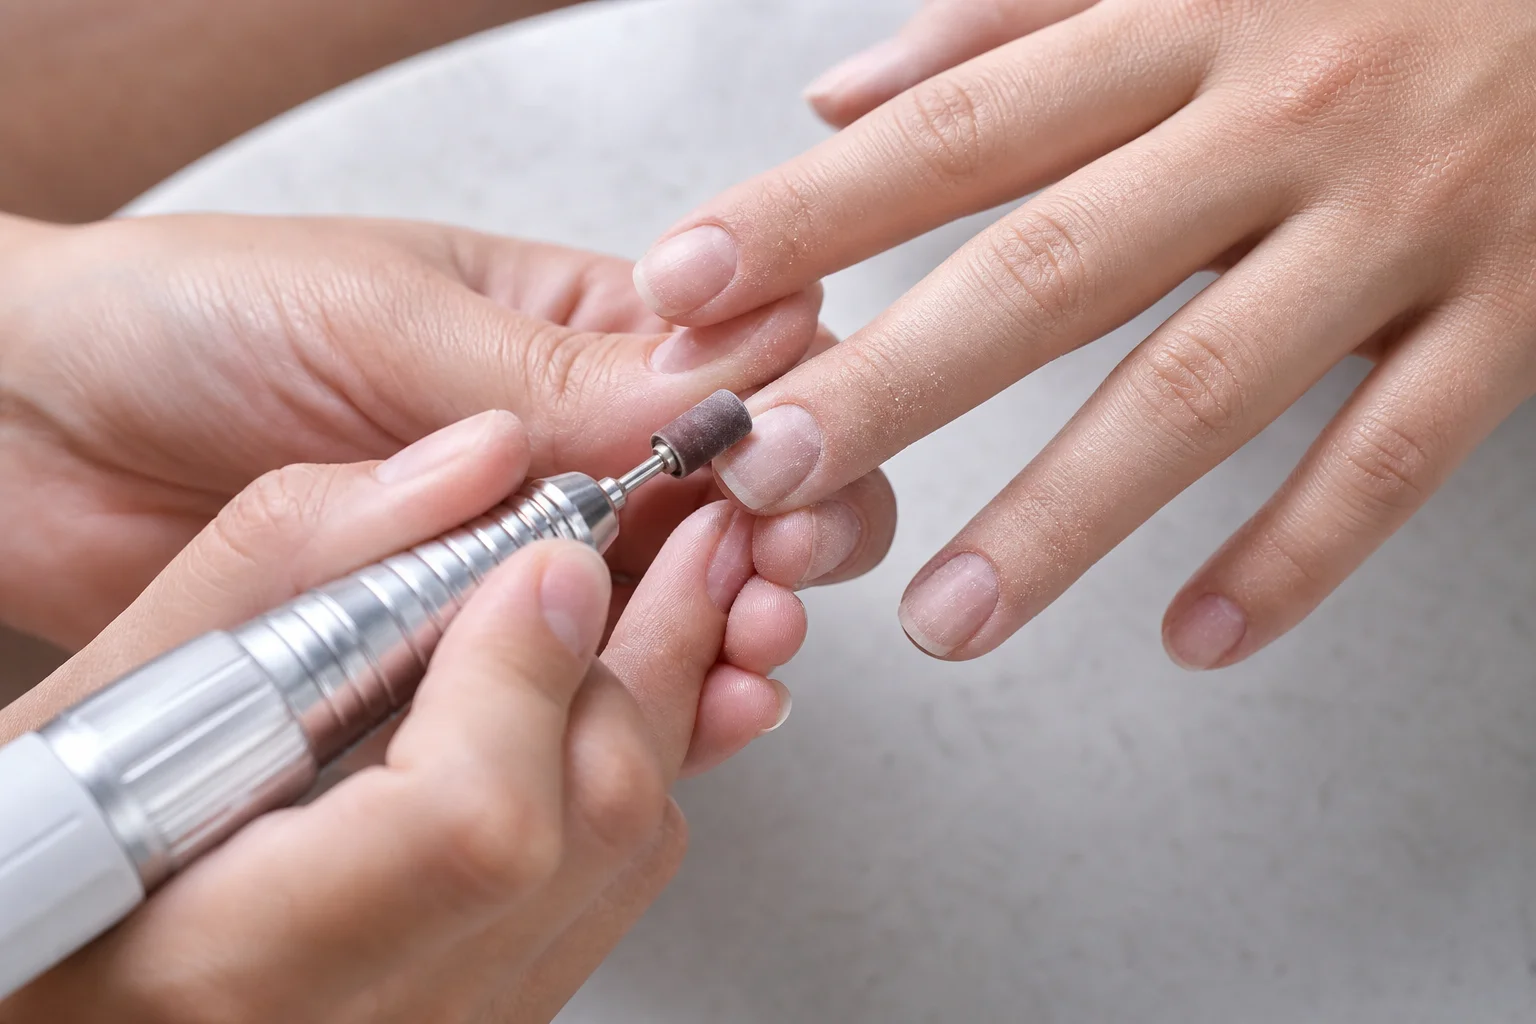
Next, use a buffer to flatten your nails and remove any ridges or imperfections. The goal is to create the flattest possible surface without damaging your nail bed. After buffing, clean your nails thoroughly to remove all oils, dust, and debris. Any residue will prevent the glue from adhering properly and cause lifting or bubbles.
Apply a nail dehydrator to your nail bed and cuticles. This step is essential because oily cuticles are a primary cause of nail lifting. The dehydrator removes moisture and oils, creating an ideal surface for adhesion. Pay special attention to the cuticle area, as this is where nails are most likely to lift.
Applying the Press-On Nails
Measuring your nails correctly is crucial. Each natural nail requires a matching press-on tip that fits snugly without being too tight or too loose. Take your time with this step, as improper sizing leads to bubbles and lifting.
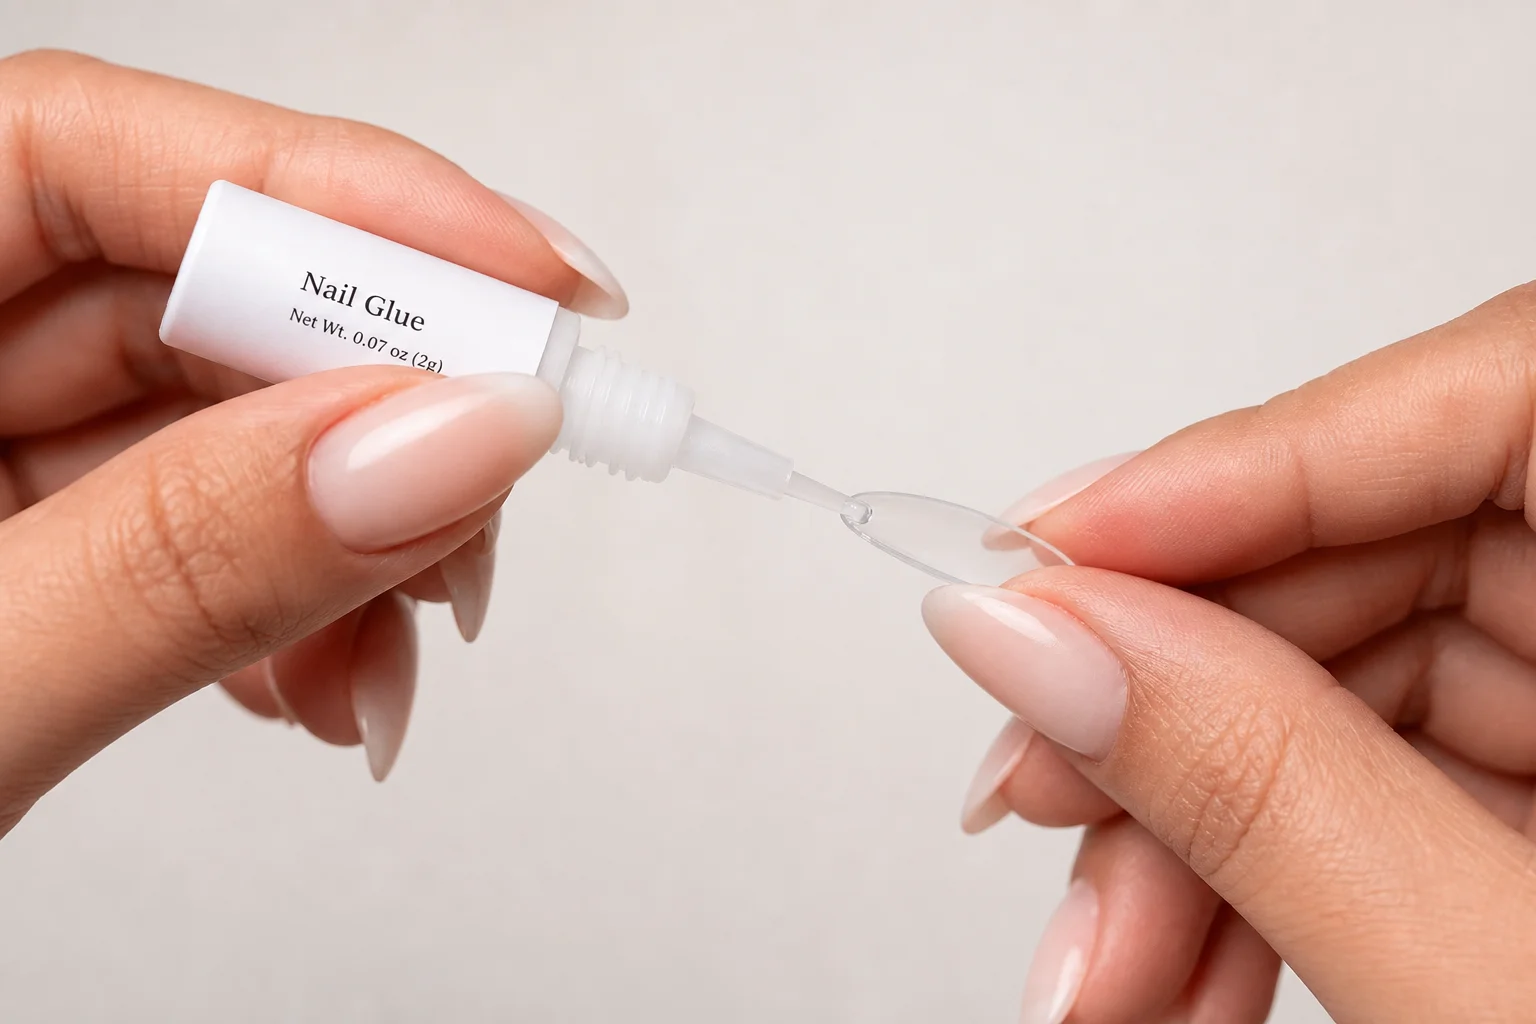
Apply a generous amount of nail glue to both the press-on tip and your natural nail. Using light to medium pressure, gently press the nail down at a 45-degree angle, then lower it flat. Hold it in place for 20 to 30 seconds to allow the glue to set properly. Do not move your hand or disturb the nail during this time, as this will create bubbles or prevent proper adhesion.
Once all nails are applied, shape them by filing away the tab at the front edge. This small detail makes a significant difference in achieving a professional appearance and prevents the nails from looking obviously artificial.
Painting and Finishing Your Nails
To achieve a salon-quality finish, apply a base gel coat first. This creates a thicker appearance and gives your nails that fresh-from-the-salon look. Cure under a UV light for at least 90 seconds.
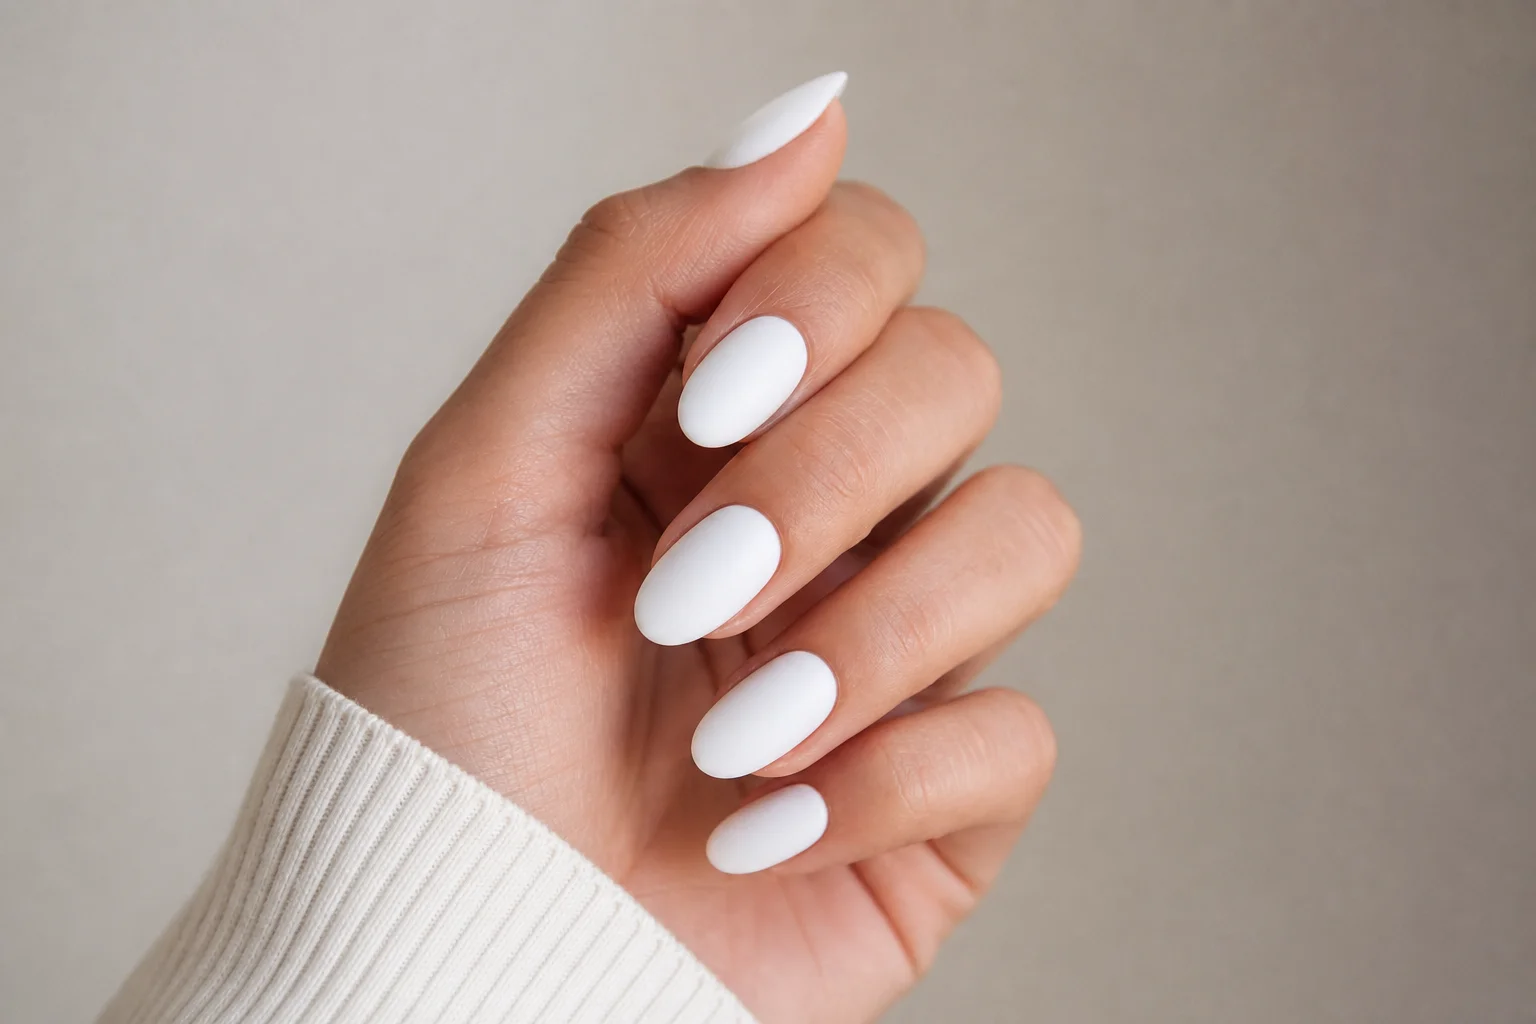
Next, apply a builder gel in a thin layer. This adds strength and durability while maintaining a professional appearance. Again, cure for at least 90 seconds. Finally, apply your chosen color or top coat, curing after each step. This layering technique ensures your nails remain chip-resistant and maintain their finish throughout the wear period.
Removing Press-On Nails Safely
When it’s time to remove your nails, use a soaking bowl with warm water and acetone. The warm water heats the acetone, making removal faster and easier on your natural nails. If your nails have grown out, trim them first to reduce the work involved.
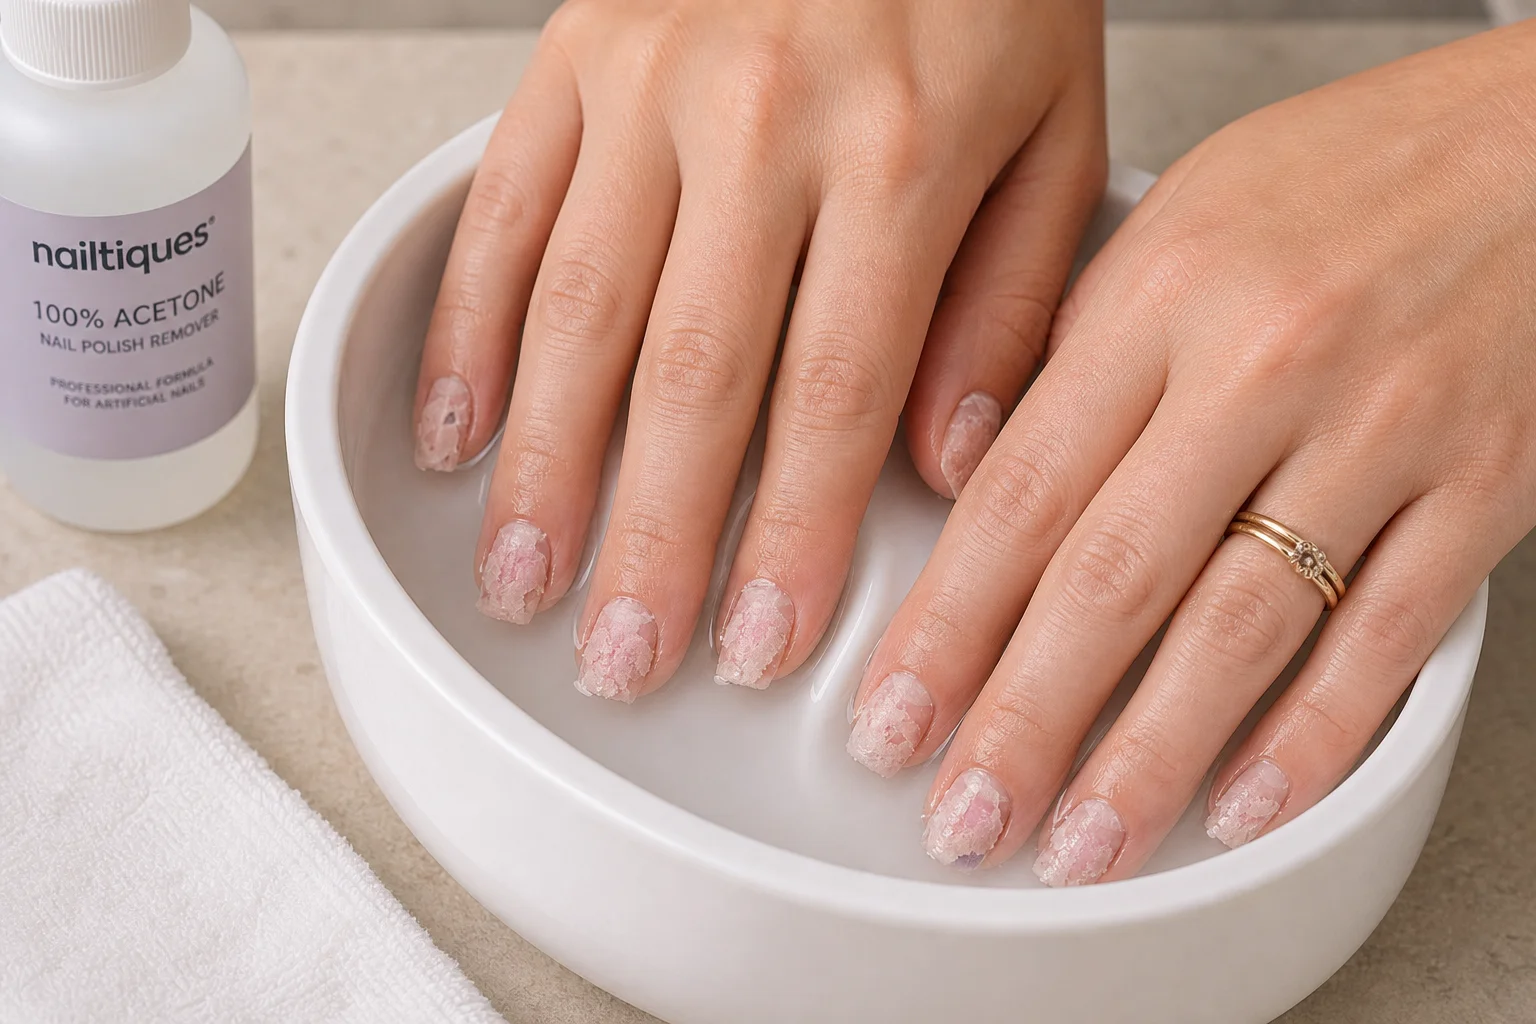
Use a safety bit or nail drill to gently remove the top layer of gel and top coat. This allows the acetone to penetrate and break down the adhesive more effectively. Soak your nails for 5 to 7 minutes, then gently remove them. Repeat this process as needed until all nails are off. Be careful not to use water that is too hot, as hot acetone can cause burns. This method is quick, effective, and protects your natural nails from damage.
Conclusion
Applying press-on nails at home requires patience and attention to detail, but the results are worth the effort. By following these steps, you can achieve professional-looking nails that last for weeks. The investment in quality products and proper technique pays off in durability, appearance, and the satisfaction of maintaining beautiful nails on your own schedule.
Product link
View more details for BTArtbox X Coat Nails
This product is mentioned in the review. Check the specifications, options, and compatibility before buying.
View more details for BTArtbox X Coat NailsFurther reading
Related Reviews
Beauty & Personal Care
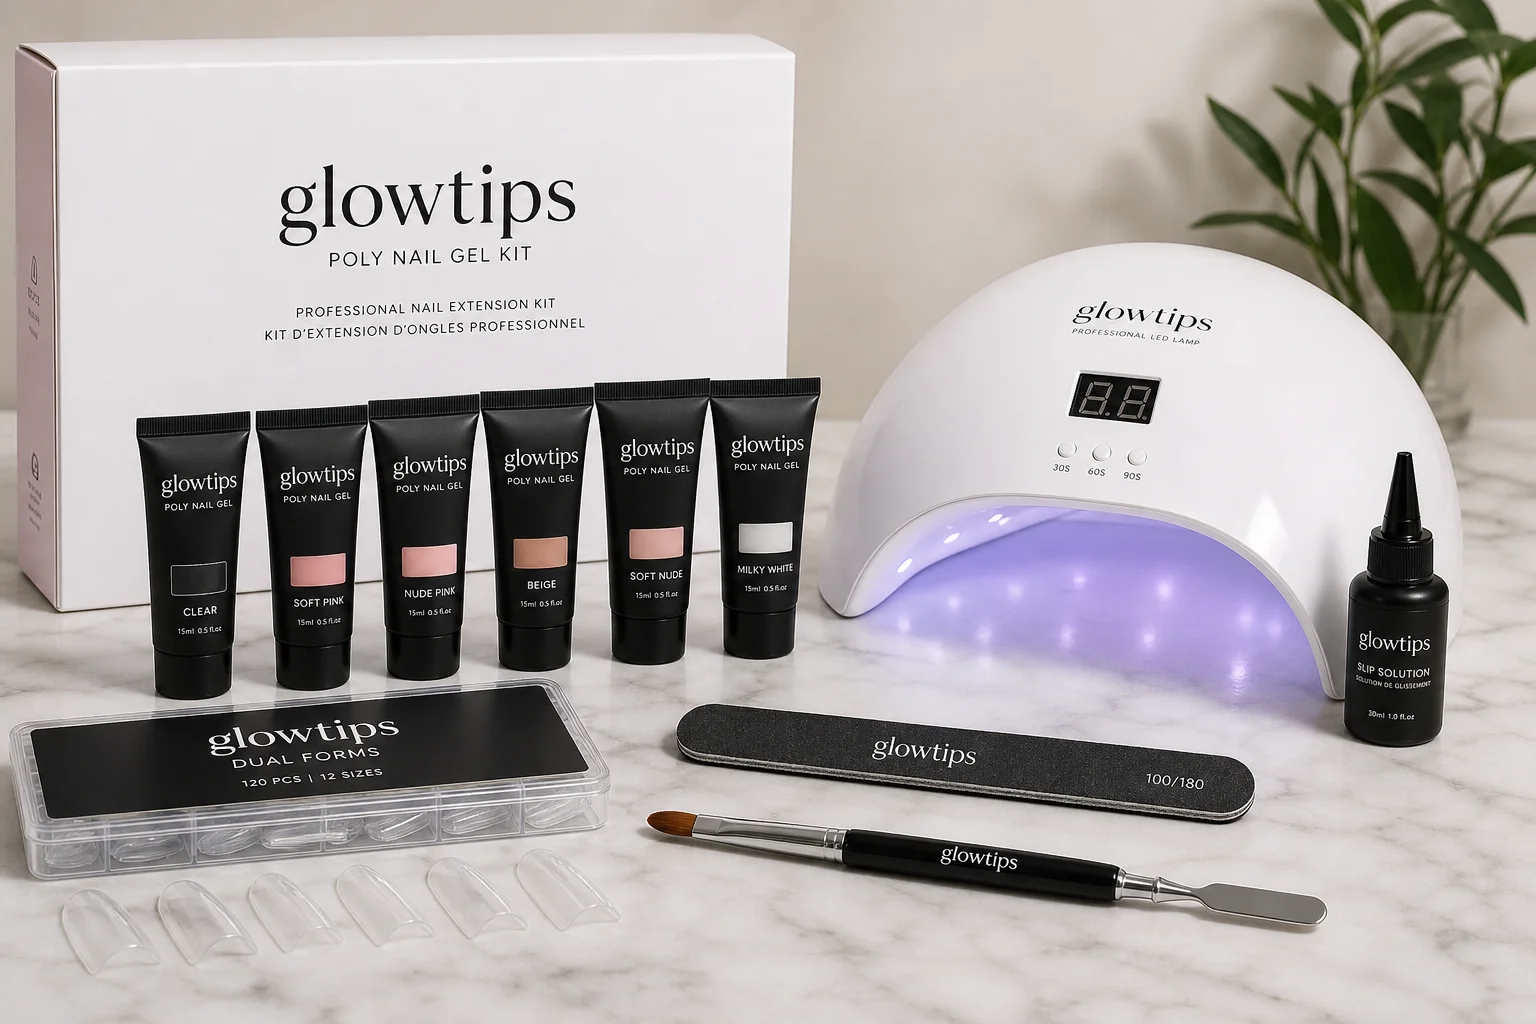
Glowtips Poly Nail Gel Kit Review: A Beginner-Friendly Nail Extension System
A complete nail extension kit with dual forms, gel, and tools. We review the Glowtips Poly Nail Gel Kit and its companion 48-watt LED lamp for at-home nail work.
Nail Care
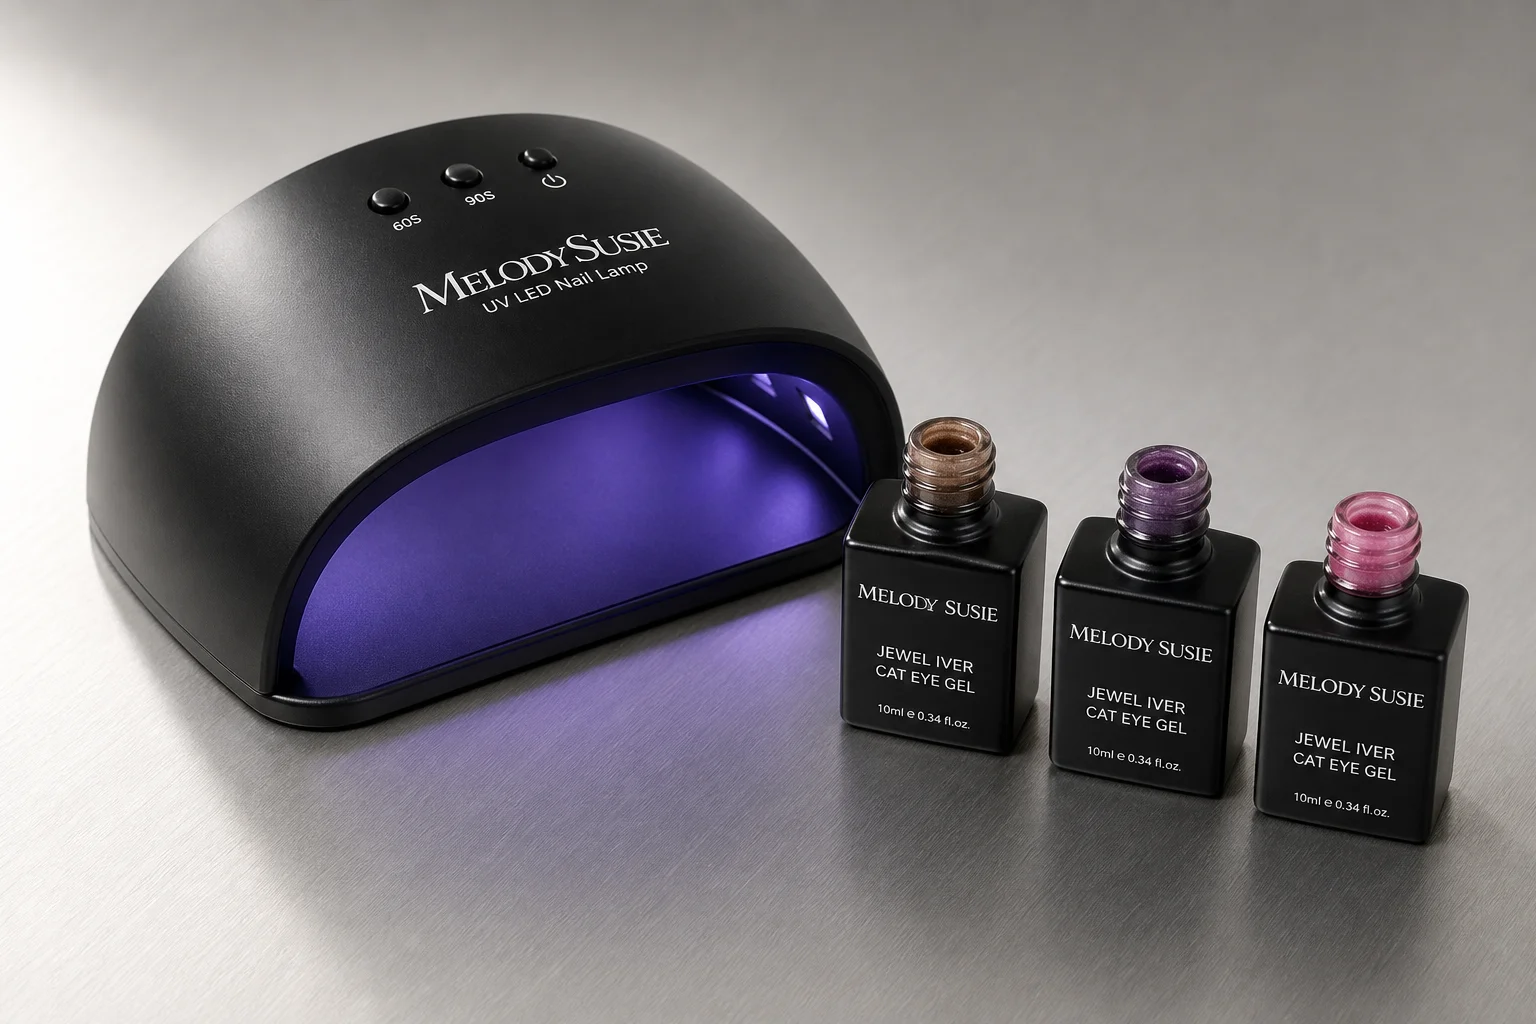
Melody Susie UV LED Lamp and Jewel Iver Cat Eye Polish: Reduced Exposure Nail Care
A compact UV LED lamp designed to minimize hand exposure, paired with three stunning cat eye polishes from Melody Susie's Jewel Iver collection.