Woodworking Tools
Handleless Chisel Kits: A Practical Guide to Saving Money and Customizing Your Tools
Handleless chisel kits offer high-quality steel at a fraction of the cost, plus the freedom to shape handles that fit your hand perfectly.
Introduction
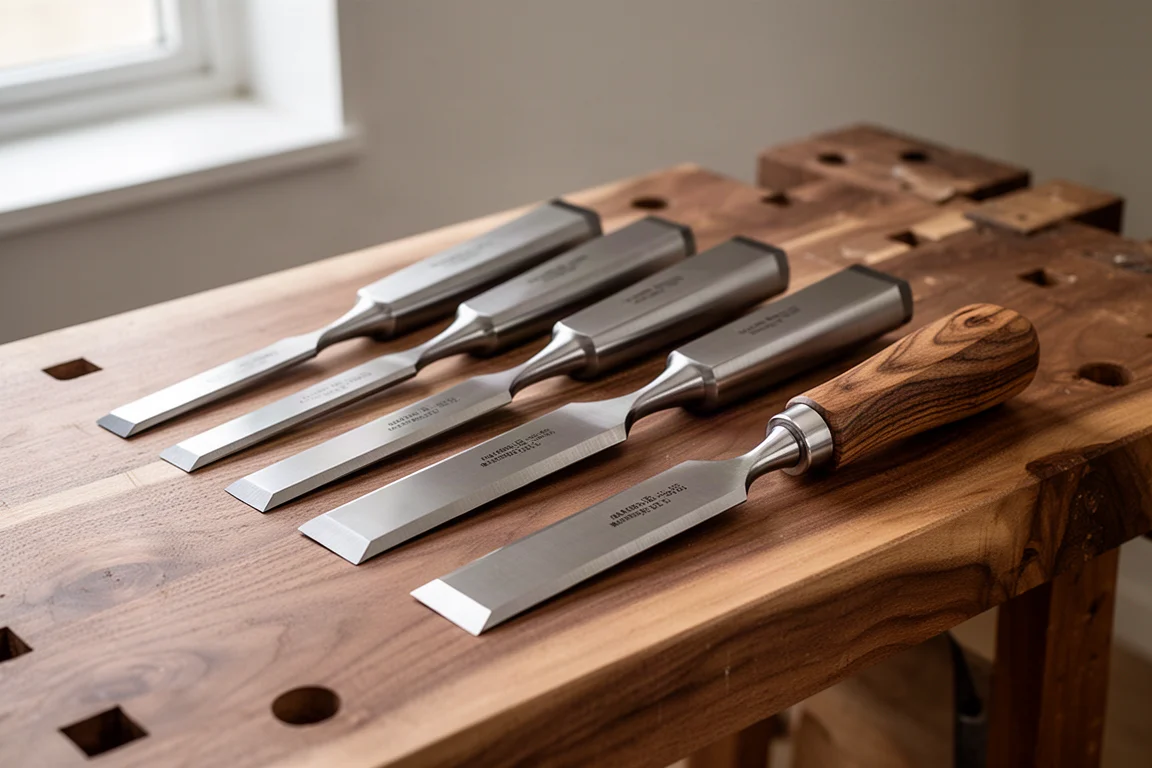
In the old days, tools like chisels were sold without handles, and nobody questioned it. It was simply how things were done. After all, if you are a woodworker, why would you not make the wooden part of the tool yourself? That sort of thinking is mostly gone nowadays, but you can still buy chisels without handles. There are several good reasons why you would choose handleless chisels, and they are worth considering for any serious workshop.
Why Buy Handleless Chisels?
For one thing, you can customize the fit of the handle to your hand. Larger, smaller, more round, more tapered, the right fit makes a big difference in comfort and control. The balance of the chisel matters too. Some chisels have handles that are just too light, and when all that weight is at the end, it can lead to sore hands and forearms.
You may also want to use a particular species of wood beyond the maple or hornbeam that most brands seem to favor. Walnut is a great choice, and it is a good way to use up some of those smaller scraps of fancy wood you have been saving. And do not think you need a lathe for this. You can make handles with a simple bandsaw jig, or even with just a rasp and some sandpaper. There is something to be said for working with a tool you made yourself, even if it is just the handle.
But the biggest reason to buy handleless chisels is that you can get much higher quality tools for your money. The savings are substantial, and the quality difference is often significant.
Comparing the Steel: Stanley Sweetheart vs. Czech Handleless Chisels
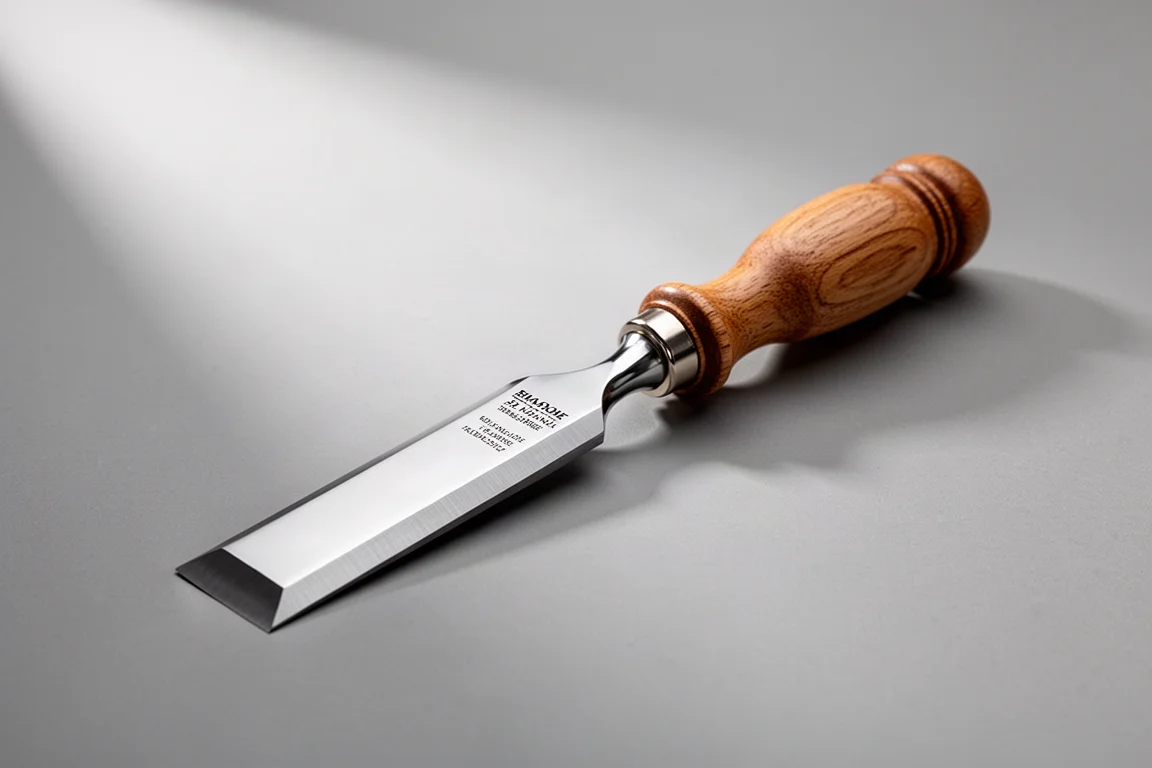
Consider the Stanley Sweetheart chisel. It is made from chrome manganese steel hardened to about Rockwell 59. It is quality stuff. The handleless chisels from the Czech Republic are also chrome manganese steel with Rockwell 59 hardness. Basically the same steel, but the handleless version is thicker and more robust, and the bevels along the edges are better ground.
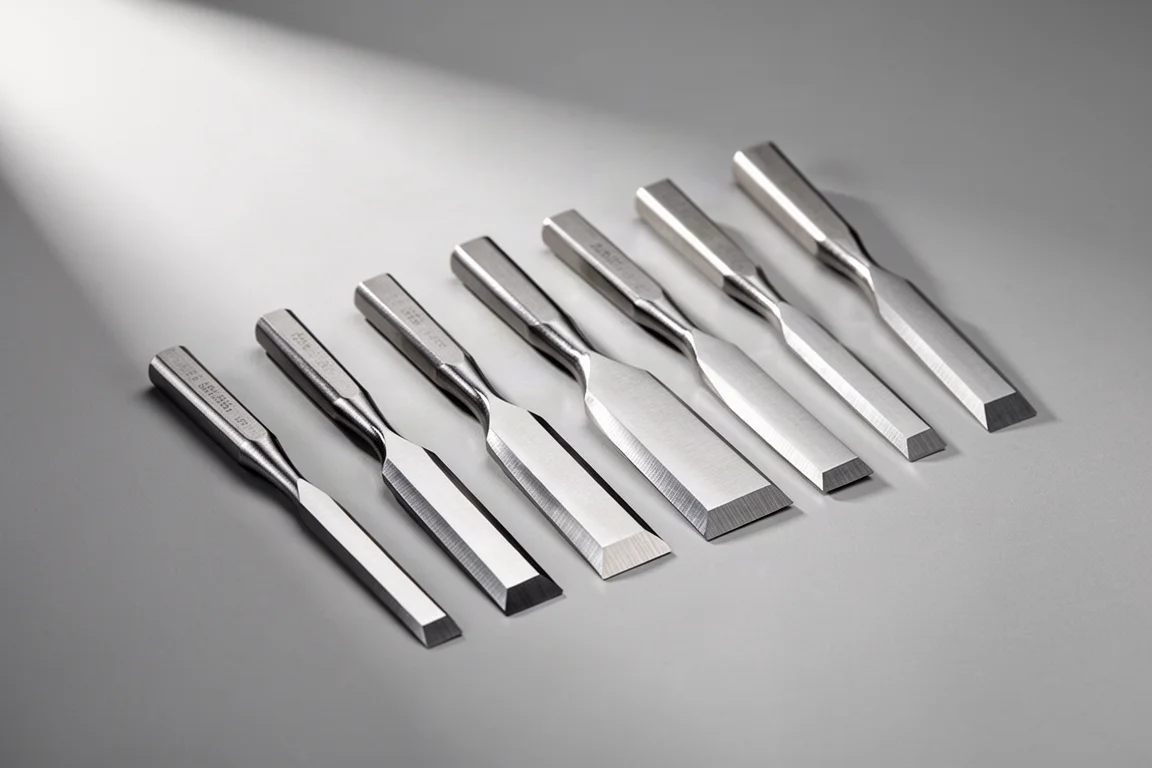
This is another thing a lot of folks do not know. When you are looking for a good chisel, always look at the beveled edges. A lot of chisels have thick edges because that is where the grinding machine needs to hold the tool in place while making it. But thick edges do not get into tight spaces very well. Higher-end chisels often have very fine, almost sharp edges along the sides. These are much more difficult to make, but the tool will be more useful. If a manufacturer goes the extra mile to create properly beveled edges, it is a sign of a good tool all the way around.
The handleless chisel is thicker and better made, including properly beveled edges. But the Stanley was 40 bucks and the handleless one was 14. Why? Because the handleless one did not come with a handle. You have to make that yourself. It is not difficult, and you do not even need a lathe, but it saves almost 70% of the cost.
The Czech Handleless Chisel Kits
The handleless chisels come from a factory in the Czech Republic that has been forging tools since 1919. They are available through a small business in Missouri. They come in six sizes from 1/8 inch up to 1 inch, and they are as little as 10 bucks each. At that price, you will probably want a full set because then you can make all your handles together. But if you want to just try one or two, go with a quarter and a 3/4. Those are the sizes that are most useful in most workshops. It is a shockingly low price for such a good tool.
Making the Handles: A Lathe-Free Approach
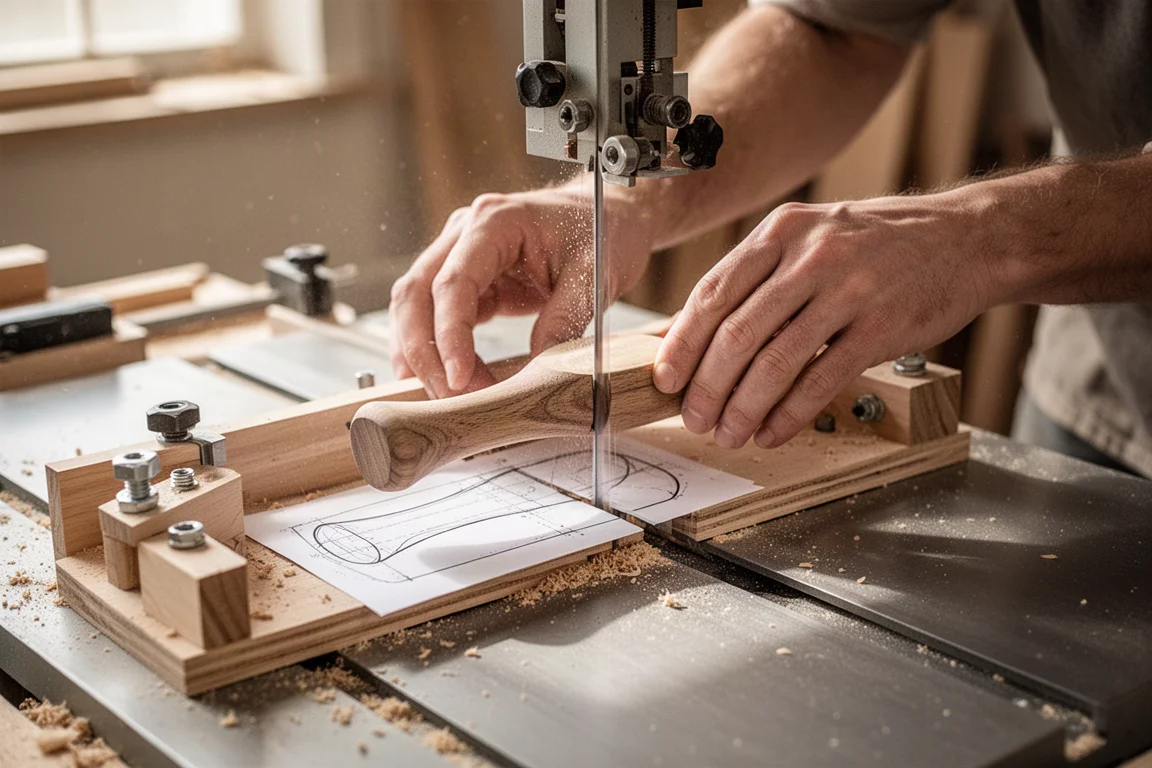
Making the handles is a lot of fun. There are many ways to do it, but one approach does not require a lathe. Instead, a simple homemade bandsaw jig works beautifully. The way it works is clever. A wooden fence is notched so it fits around the base of the bandsaw blade. This allows you to follow a template with the bandsaw just like you might with a router bit. The jig has a template attached to the bottom to give the handle a nice subtle curve to fit your hand.
The jig can slide against the fence without the blade cutting into the template itself. A wood blank fits into the jig where it is held in place between the points of two screws. An angled stop holds it at indexed positions so you can cut an eight-sided handle one facet at a time. The jig design is not original; it comes from the Pas Makes channel, which offers a free set of plans. It only takes about half an hour to make, and it can be used to create as many handles as you want.
Cutting one facet at a time, then rotating the blank and using the indexer to find and lock the next position, is quick and simple. If you are curious, a typical blank is originally an inch and a half square and a little more than 4 inches long. It is amazing how you can batch out handles with this thing, and the multifaceted look is appealing.
Fitting the Collar and Washer
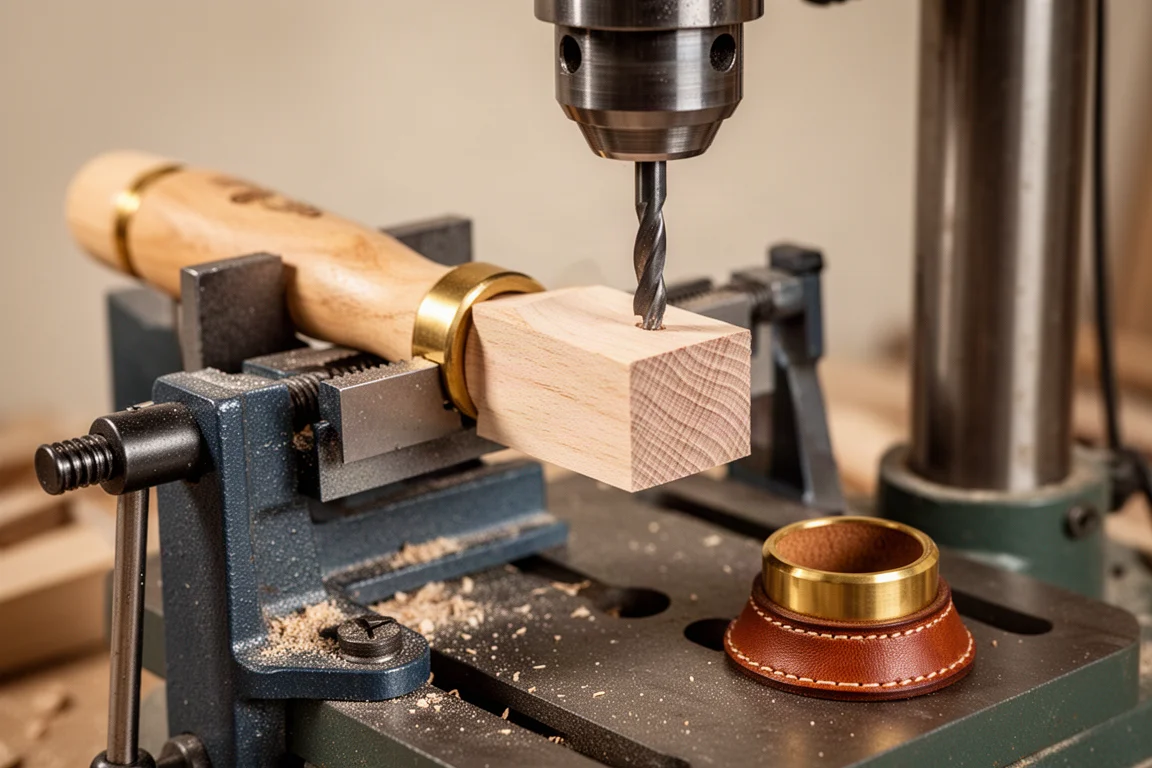
The next step is drilling the hole for the chisel’s tang. A clamp with a notch cut into it holds the handle blank perpendicular at the drill press. A 3/8 inch hole is typical. You can do this with a hand drill, and there are tricks to help you get it straight, but a drill press really makes it easy.
The chisel kit includes a brass collar and a leather washer. The washer is a nice touch. It absorbs some of the shock when you strike the chisel, so it is less likely to bounce out of position. Measure the thickness of the brass collar and leather washer, mark this measurement on the end of the handle blank, and center the collar by eye to mark the inside with a pencil.
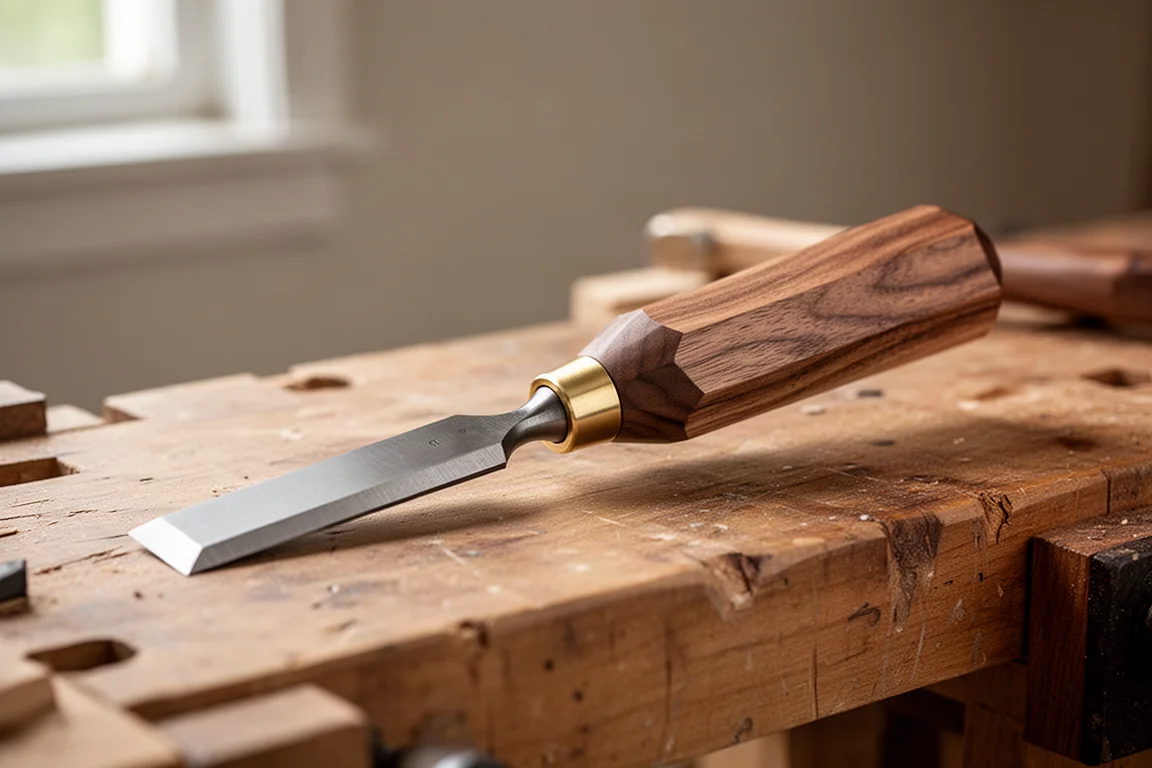
Then you need to remove the waist so the collar will slip onto the end of the handle. Saw about 3/8 of an inch deep all the way around. It is okay if you go a little too deep; nobody will see it once the collar is on. From the end, carefully begin splitting away the waist, a little bit at a time so you do not remove too much. It is easier if the grain is nice and straight, but even if the grain is a bit angled, you can manage if you take little bites. Once you are close to your line, use a file or a rasp to round the rest of the waist off. If it fits tight, you do not need epoxy. The collar should go on with some tapping, which is exactly what you want.
Shaping and Finishing the Handle
Cover the brass with several layers of tape to protect it during the next step. Draw a line about a half inch from the saw cut shoulder, then begin paring from that line, angling the end grain toward the collar. A large wood screw clamp is a great way to hold the blank while you work. Try to carry the same eight facets forward. If your chisel is sharp and you pare a little bit away at a time, you will have no problem working your way all the way around. Perfection is not the goal; a slightly handmade look is desirable.
Now it is time to clean up the bandsaw marks. A scraper is an ideal tool for this, working one facet at a time. Sandpaper works as well. Soften the edges a bit to make the handle more comfortable, and round over the end. Again, a bit of a handmade look is fine, so do not worry about the dimple from the jig.
Epoxy is not strictly necessary because the tang fits tightly in the hole. These chisels have been used for quite a while and have not come loose. One note of caution: it is worth double-checking that the washer is in place before fully seating the handle. It is a real pain to get the handle back apart if you forget. With the washer in place, fully seat the handle on the chisel. A single coat of wipe-on poly is enough to maintain a good grip without too much finish.
A Handy Companion: The Drill Block
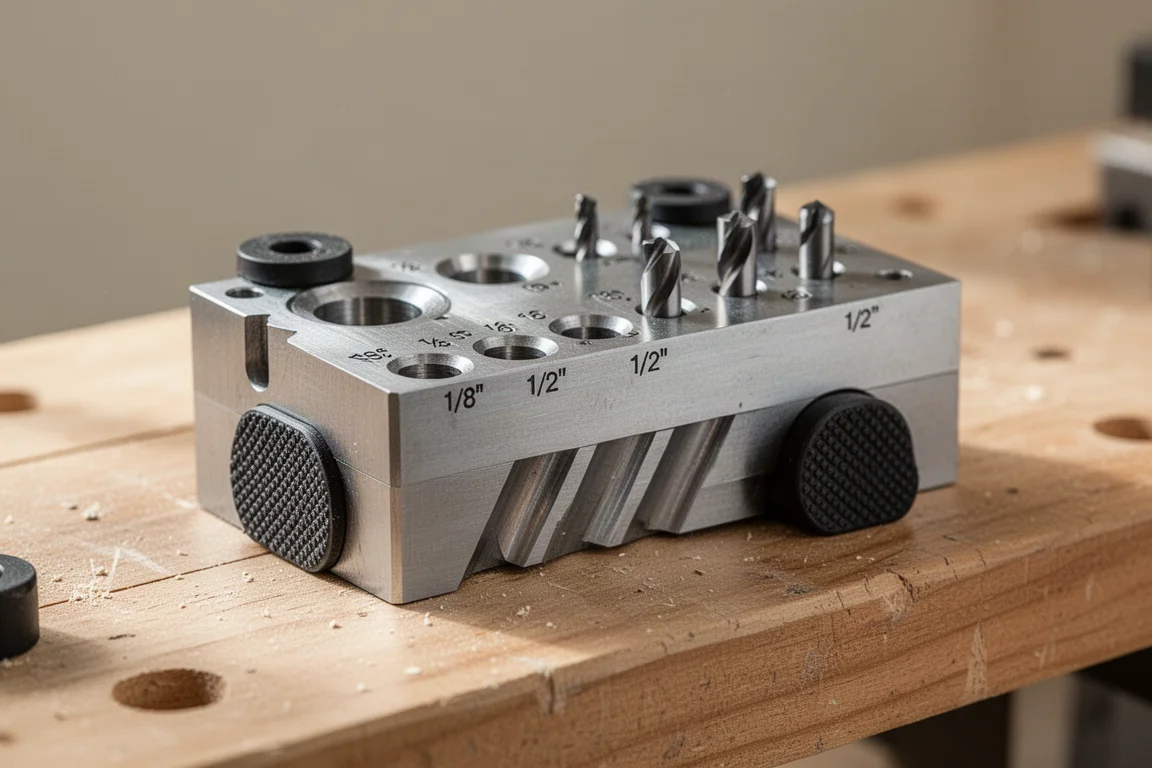
One more tool worth mentioning is the drill block. It remains one of the handiest little things to have in the shop. Sometimes it is hard to drill a straight hole while keeping the bit plumb to the workpiece. If a drill press is not available, the first thing to reach for is a drill block. It is small, really inexpensive, and has hardened steel guide holes in the most common sizes from 1/8 to 1/2. The non-slip feet on the bottom help it stay put as you work, and the V-groove on the underside makes it possible to drill into corners or even cylindrical objects. It is a lifesaver in certain situations and just flat-out handy in others. Keeping one in the shop and another in the toolbox is a smart move.
Buying Advice
If you are considering handleless chisels, the value proposition is clear. You get the same quality steel as premium branded chisels at a fraction of the cost, and you gain the ability to customize the handle to your exact preferences. The Czech handleless chisels are an excellent starting point, especially if you want to try making your own handles without a lathe. A quarter and a 3/4 are the most useful sizes to start with, but a full set is tempting at the price.
For those who prefer a ready-made option, the Stanley Sweetheart chisel is a solid choice with quality chrome manganese steel and Rockwell 59 hardness. It costs more, but it comes with a handle and is ready to use out of the box.
Conclusion
Handleless chisel kits offer a unique combination of savings, quality, and customization. The ability to shape handles that fit your hand perfectly, choose your preferred wood, and save nearly 70% of the cost makes them an attractive option for any woodworker. Whether you make your handles with a bandsaw jig, a rasp, or a lathe, the result is a tool that feels personal and performs beautifully. The Czech handleless chisels are a remarkable value, and the process of making your own handles adds a level of pride that ready-made tools simply cannot match.
Further reading
Related Reviews

Woodworking Tools
123 Blocks and the Hardware Kit That Fixes Their Biggest Flaw
A practical look at 123 blocks, the hardware kit that solves their most common design flaw, and a sharpening station worth considering.

Woodworking Tools
Cool Tools for Woodworking: Seven Upgrades That Earn Their Place in the Shop
A practical roundup of seven woodworking tools and accessories that improve accuracy, safety, and everyday shop efficiency.

Woodworking Tools
Debuke Clamps Review: A Family-Made Aluminum Bar Clamp Worth Knowing
Debuke Clamps are lightweight aluminum bar clamps made by a small Iowa family business. Here is why they stand out from the many knockoffs on the market.