Woodworking Tools
Forstner Bit Mortise Technique and Hearing Protection: Two Shop Essentials
A practical look at creating square mortises with a round Forstner bit, plus why Bluetooth hearing protection belongs in every workshop.
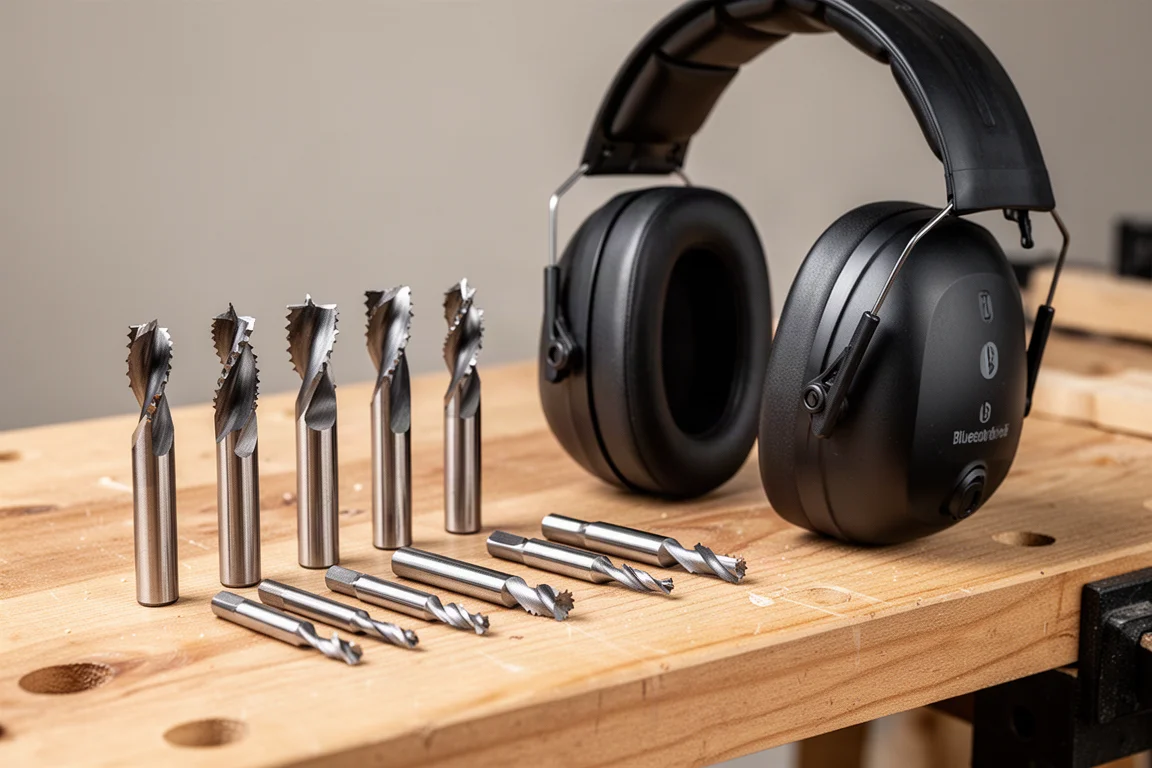
Introduction
Creating a rectangular mortise with a round Forstner bit has sparked plenty of debate in woodworking circles. The method is simple, fast, and uses tools most shops already have. Beyond the mortise technique, there is another shop essential that often gets overlooked: hearing protection. This guide covers both, starting with the Forstner bit method and finishing with Bluetooth hearing protection that makes wearing it easy.
Marking the Mortise Layout
The mortise and tenon joint is one of the strongest in furniture making. If you want pieces that last, knowing how to cut a square hole is a core skill. A round Forstner bit offers one of the simplest routes to that square hole.
Start by marking the width of the connecting workpiece on the edge of the opposite piece with a pencil. The tenon should not run the full width of the connecting board. Come in about half an inch on each side of the mortise to establish its length. The width is set by the Forstner bit itself, so only one layout line is needed down the center.
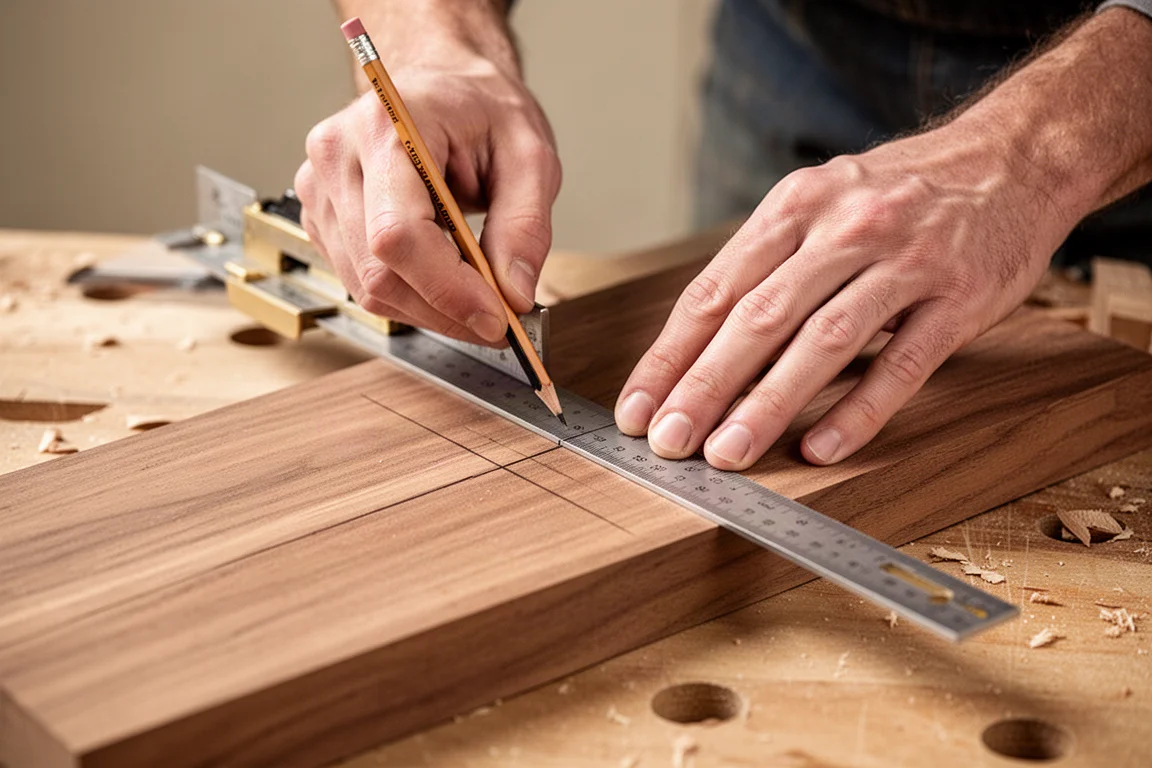
A quick way to find the center is to angle your rule so that an inch mark lands on each edge. In this case, the one and the three marks work well. The position of the two mark is the exact center of that edge. Carry that line the full width of the mortise using the end of a combination square.
Boring the Mortise with a Forstner Bit
A pencil line works as a guide, but there is a better trick for accurate holes. Use an awl to create a shallow groove over the center line. The tip of the Forstner bit slips into that groove, keeping the drill perfectly on the line every time.
The width of the mortise is determined by the bit you choose. A quality set makes a real difference. Famag, a European company in business since 1865, makes excellent Forstner bits. The 3/4 inch size is a great choice for mortising inch and a half thick material. Once you try a good bit, it is hard to go back to cheaper ones.
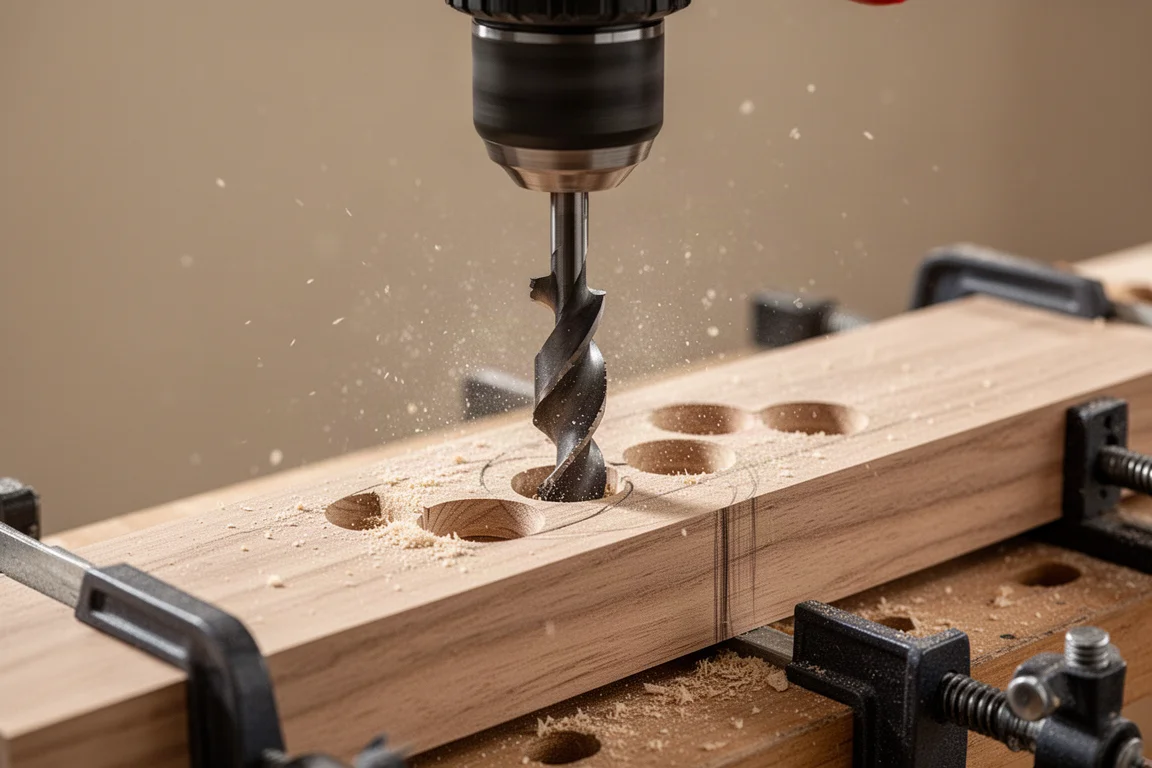
Mark the depth of the mortise on the shaft of the bit with a piece of tape. Place the point in the center groove and position the edge of the bit just beside the layout line at one end of the mortise. A variable speed drill helps here, allowing you to spin the bit slowly. Good bits cut fast, so there is no need for high speed. Stop when the tape begins brushing the top of the workpiece, then move to the other end.
Hold the drill as straight as possible. Getting the workpiece close to you makes it easier to look straight down from above the drill. Just keep loose clothing away from the spinning bit. An apron helps.
For deeper holes, pull the bit back up every so often to clear chips. This keeps the bit cool, helps it stay sharp longer, and prevents it from getting stuck inside the hole.
Squaring the Mortise with a Chisel
Once the two ends are finished, use overlapping holes to remove the remaining waste in the center. As long as the point of the bit finds a place in the wood, the guide rim does not need to be fully engaged.
With the bulk of the waste removed, turn the row of circles into a single square. There is no need to do this in one chop. Pare it back a little at a time, keeping the chisel straight up and down just as you did with the drill.
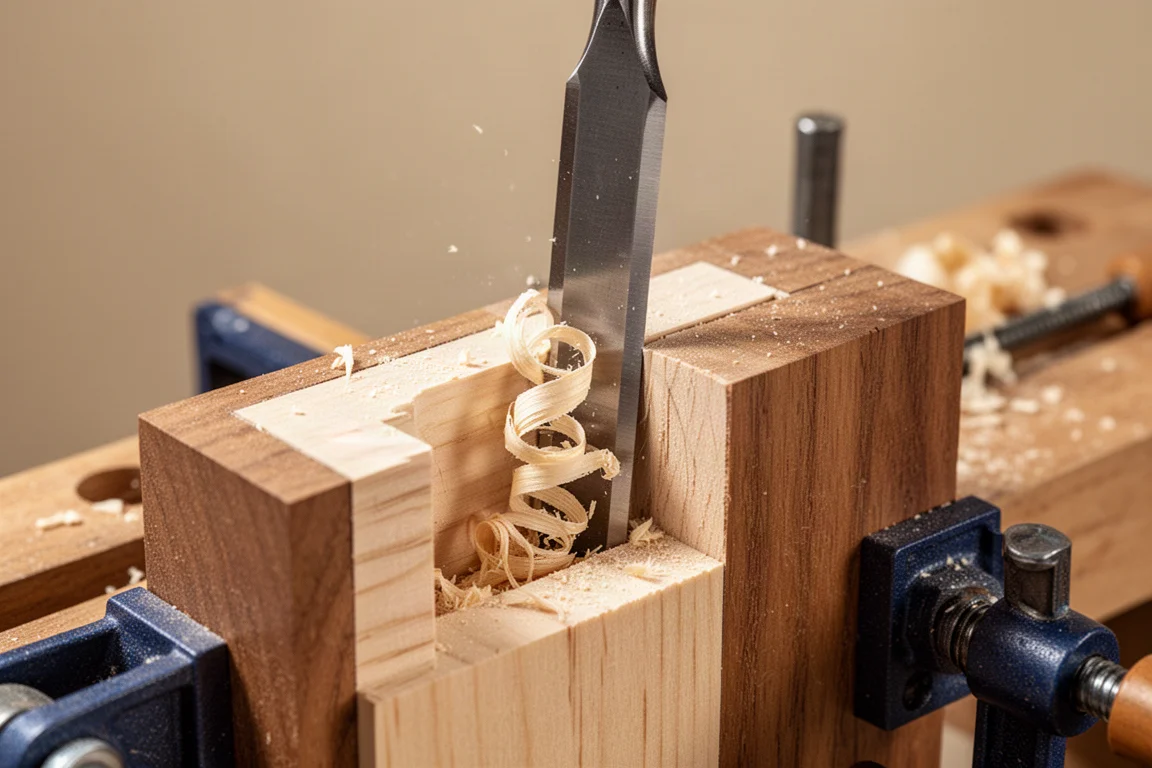
A helpful tip: clamp a piece of wood with a square edge right on your pencil line. Use it to support and guide the chisel straight downward. Another way to gauge how square the sides will be is to note the hollow marks left by the round Forstner bit. When those are all shaved away, the sides should be relatively straight.
It is better to create the mortise first because it is far easier to make a tenon smaller until it fits in the square hole than to make the hole larger until it fits around the tenon.
Using a chisel to clean up does not change the fact that the bulk of the work was done with the Forstner bit. Calling these Forstner bit mortises differentiates them from methods that use chisels alone or hollow chisel machines. The Forstner bit defined the method, just as a table saw defines the process of building a bookshelf even when other tools are also used.
Protecting Your Hearing with ISOtunes
Hearing damage is serious. Without protection, your ears are exposed to damaging noise levels in the shop, the yard, and anywhere else that is loud. The consequences are permanent.
ISOtunes Bluetooth hearing protection has been a reliable choice for a decade. These earmuffs block out unwanted noise while allowing you to listen to music, audiobooks, podcasts, or even ocean sounds. That way, if you need to make a quick cut, you are automatically protected. They come from a small family business in Indiana, which adds to their appeal.
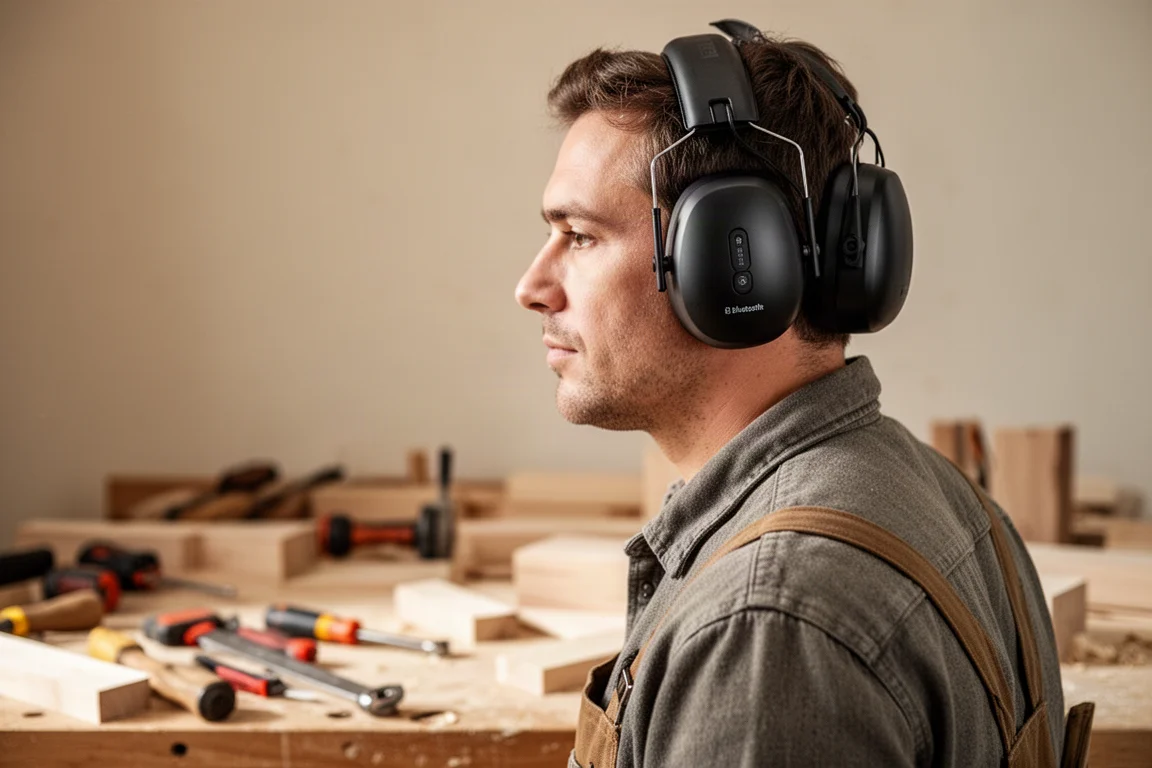
Wearing hearing protection consistently is the key. If the earmuffs are comfortable and useful for more than just noise blocking, you are far more likely to keep them on. That is the real advantage of Bluetooth hearing protection: it gives you a reason to wear it all the time.
Buying Advice
For the mortise technique, a quality Forstner bit set is worth the investment. The 3/4 inch size is a practical starting point for common mortising work. Good bits cut faster, stay sharp longer, and produce cleaner holes.
For hearing protection, look for something you will actually wear. Bluetooth capability makes the earmuffs useful beyond just noise reduction, which means your ears stay protected even during quick tasks.
Conclusion
Both products solve real problems in the workshop. A quality Forstner bit makes square holes easier and more accurate, while Bluetooth hearing protection makes it simple to protect your hearing every time you work. Whether you are building furniture or just making a few cuts, these two upgrades are worth considering.


Further reading
Related Reviews

Woodworking Tools
123 Blocks and the Hardware Kit That Fixes Their Biggest Flaw
A practical look at 123 blocks, the hardware kit that solves their most common design flaw, and a sharpening station worth considering.

Woodworking Tools
Cool Tools for Woodworking: Seven Upgrades That Earn Their Place in the Shop
A practical roundup of seven woodworking tools and accessories that improve accuracy, safety, and everyday shop efficiency.

Woodworking Tools
Debuke Clamps Review: A Family-Made Aluminum Bar Clamp Worth Knowing
Debuke Clamps are lightweight aluminum bar clamps made by a small Iowa family business. Here is why they stand out from the many knockoffs on the market.